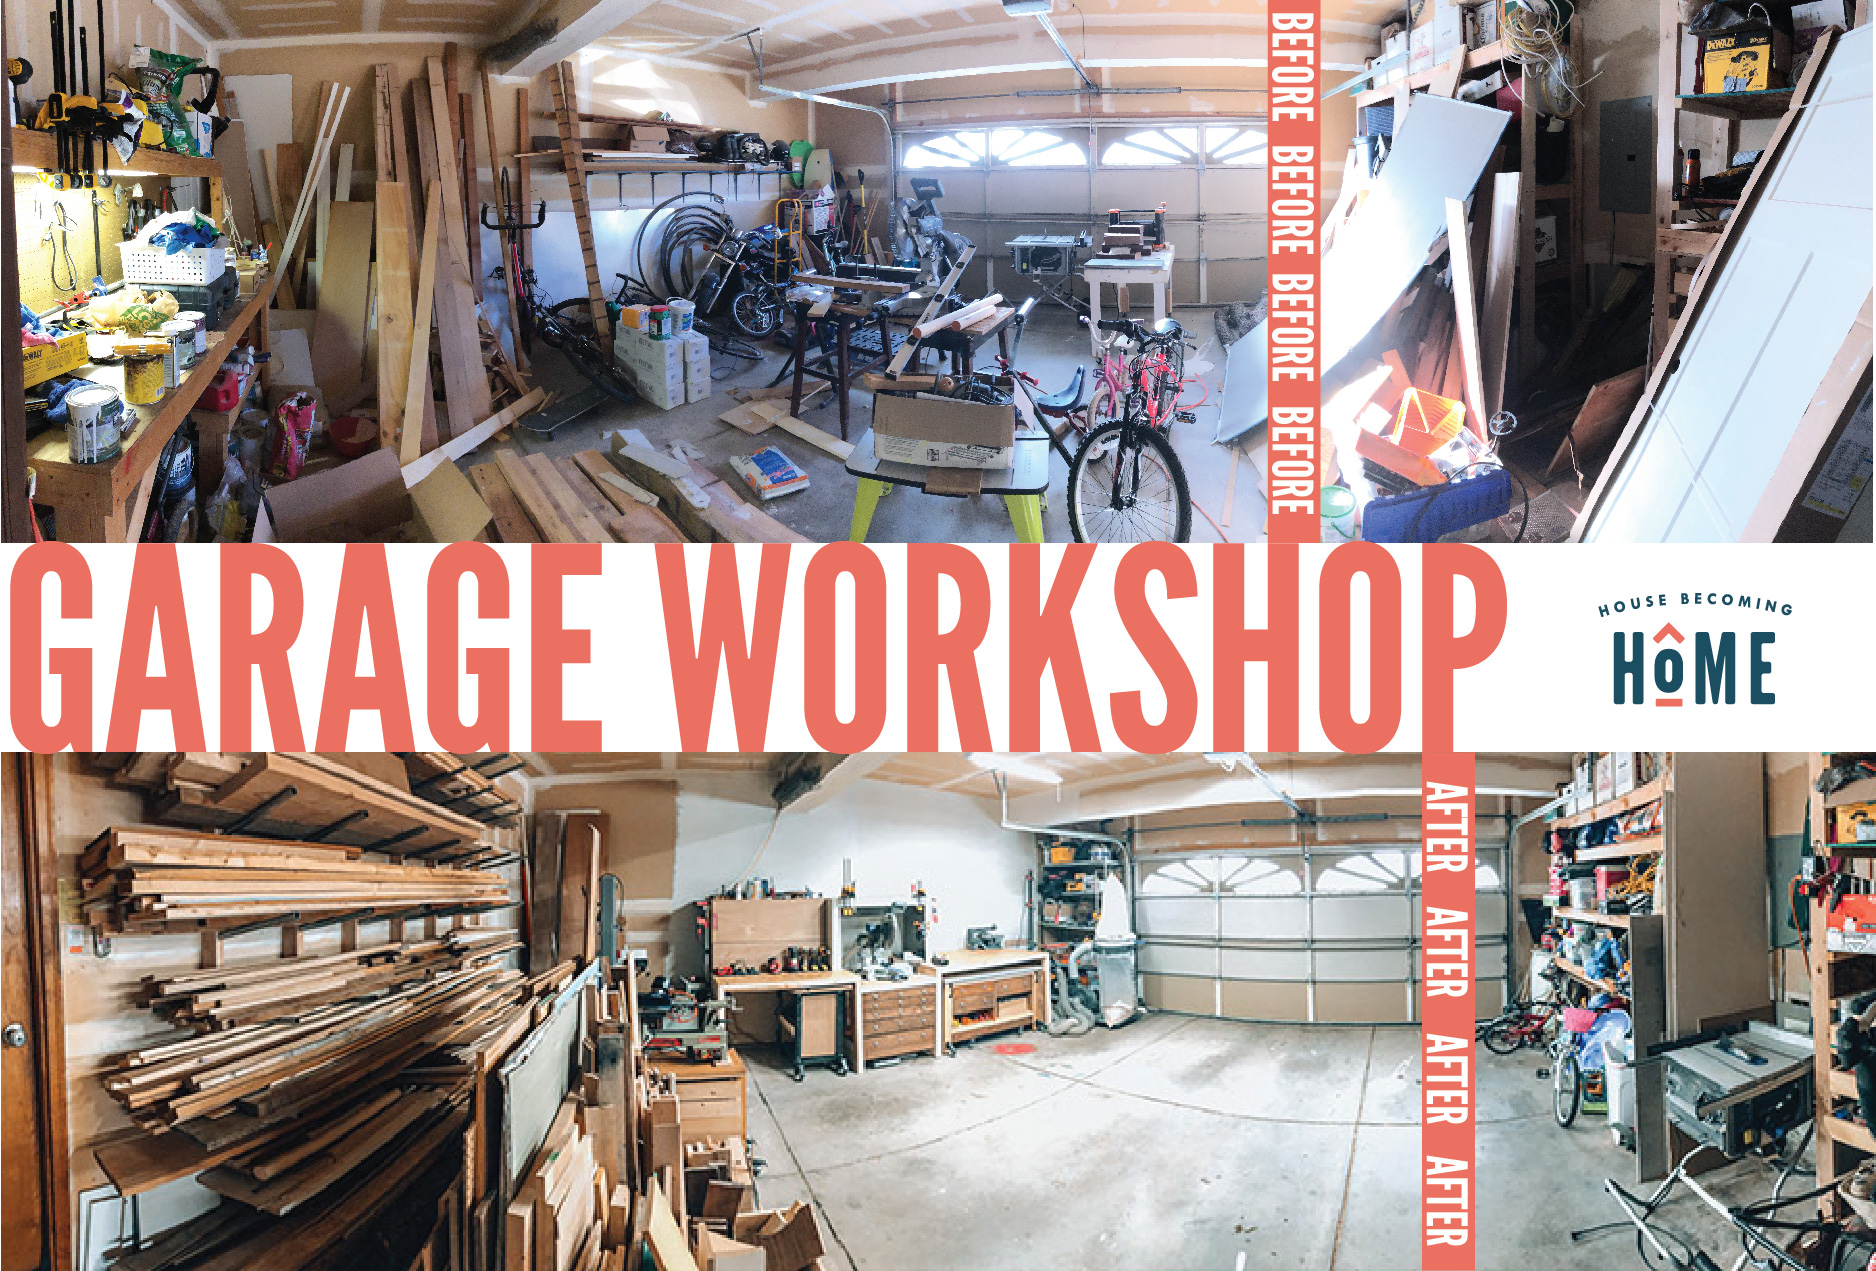
I jumped into 2019 with big plans to build lots of furniture. About midway through the year, as I was tripping over bikes and hunting for misplaced tools, I put the furniture-building on hold. I desperately needed to reorganize my garage workshop before I could continue. Check out the chaotic before:
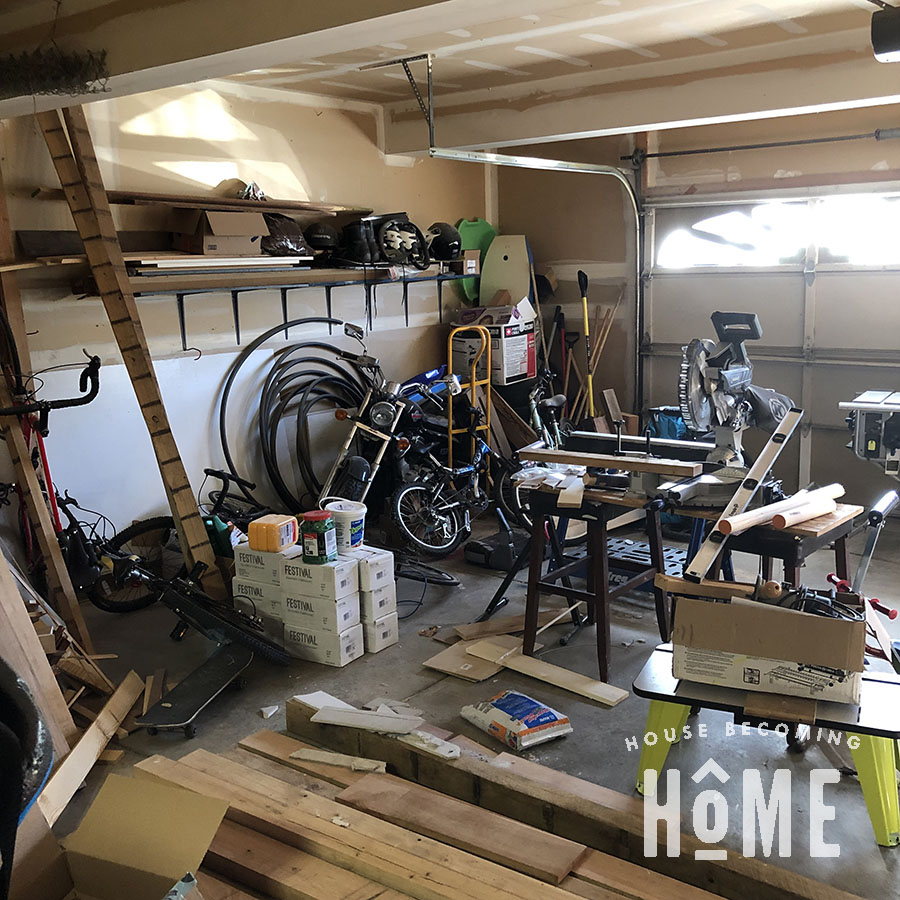
Woodworking was never a planned thing for me. One remodeling project led to another, then one experiment in furniture-building had me addicted and I kept going. As I learned more, I acquired more tools . . . and more lumber. Just as woodworking wasn’t something I ever planned on doing, the garage was never a space I planned on being a workshop. I found spots for my tools as I got them. My miter saw rested on a piece of plywood supported by two old kitchen barstools. My workbench, built by the previous homeowner, had virtually no storage, and was at least 8 inches too high for me.
It was time to clean up this mess and create an actual garage workshop.
House Becoming Home is a participant in the Amazon Services LLC Associates Program, an affiliate advertising program designed to provide a means for sites to earn advertising fees by advertising and linking to Amazon.com. Some links in this post may be affiliate links. Read my full disclosure policy here.

Converting a Garage into a Woodworking Workshop
1. Plan the Space
I began by rethinking how every inch of the garage would be used. Our two-car garage needs to pack a LOT into not a lot of space. (in addition to all of my tools, I also needed to make space for bikes, a lawn mower, gardening supplies, lots of sporting equipment, camping gear, an abundance of spray paint, etc. etc.)
Make Your Tools Mobile if You’re Short on Space
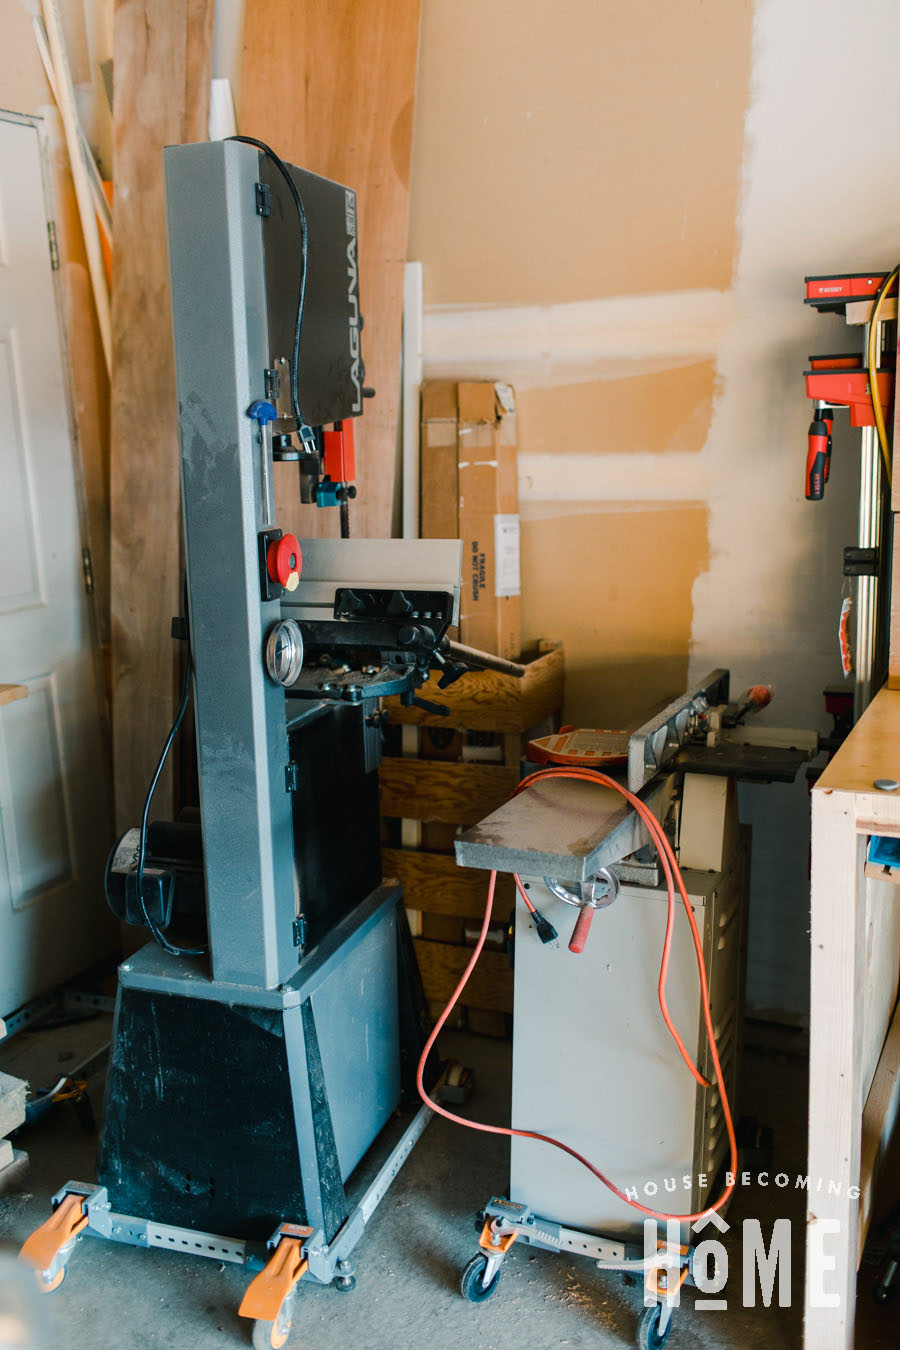
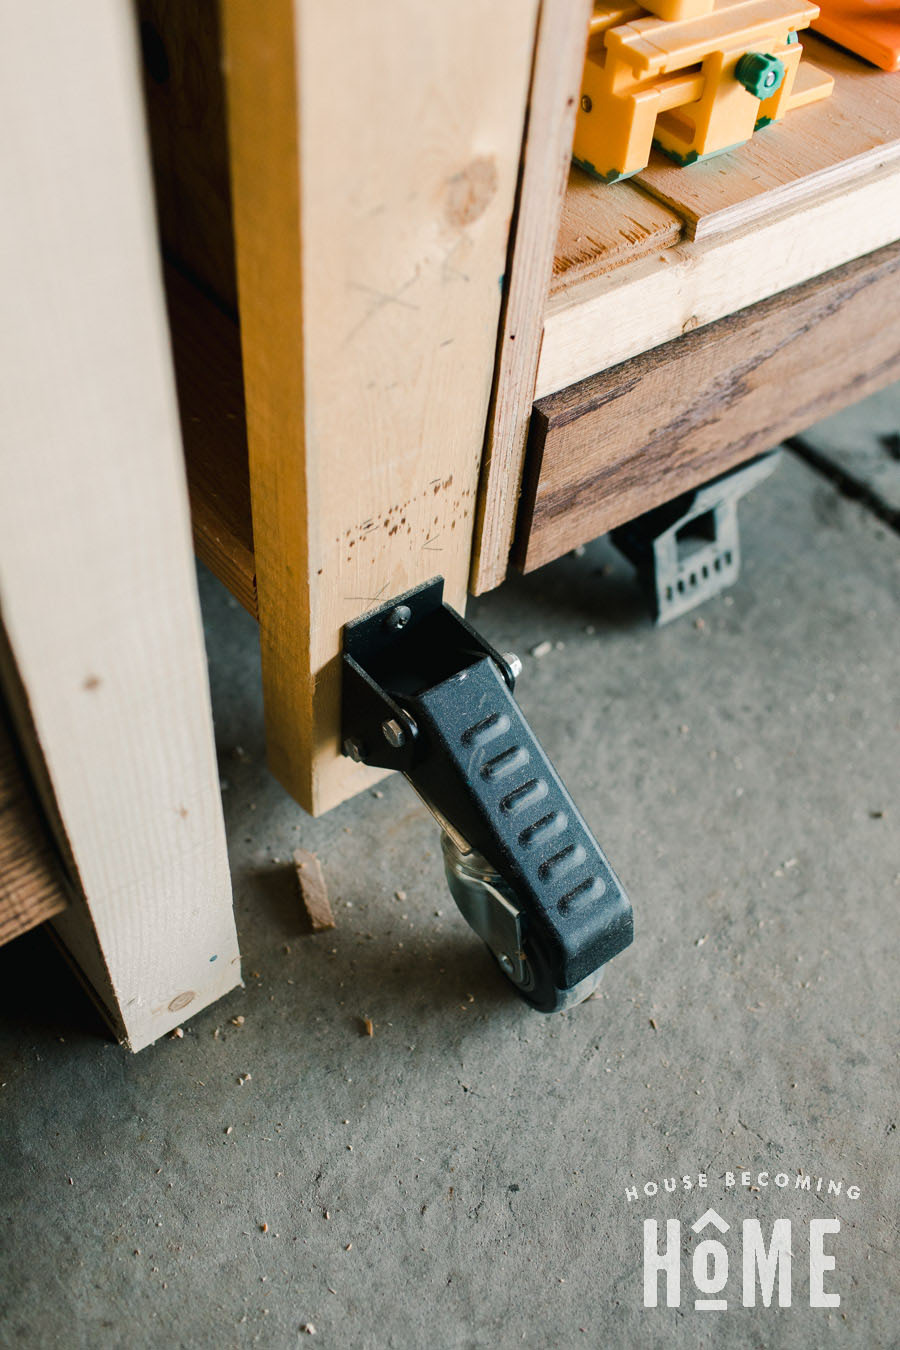
The “home” for many of my tools is not where I actually use them. Nearly everything is on a set of casters. Depending on the base, I used either:
–Customizable Bora Mobile Base which can make any tool portable.
–Heavy duty set of retractable casters. This one is wonderful for adding to workbenches and worktables. Unlike traditional casters, these don’t add any height to the table when they aren’t “activated.”
When I’m ready to use the tool or table, I wheel it out to the open center area of the garage, then wheel it back into place.
Start with a Plan for the Large Items
I sketched out the garage, mapping out a plan for where each item would go. I decided on a spot for my new workbench, lumber storage, and a few other large items, and then worked everything else around those. Here’s a rough overview of the layout:

2. Don’t rush it
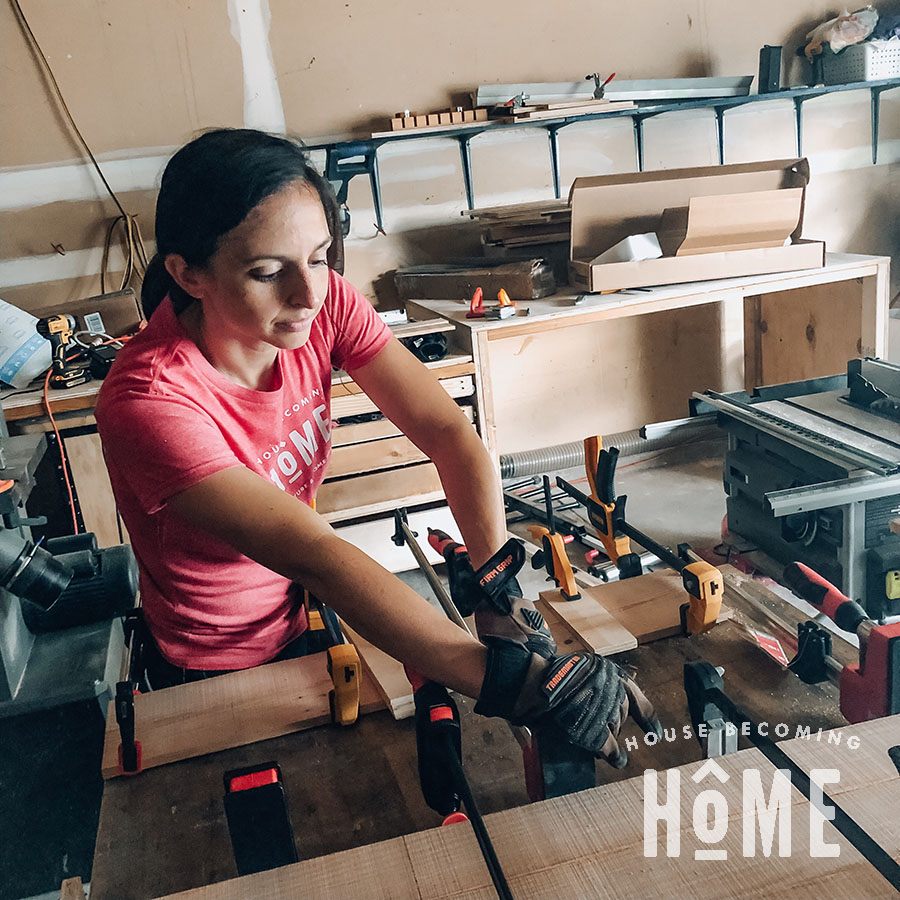
I had hoped to be done with the garage workshop within a few weeks. Here I am six months later and, even now, it’s not quite finished (I still need to build a rolling cart for my planer!). The extended time, however, ended up working to my advantage. I’d build one piece of the workshop, then live with it for a little while as I worked on other projects. As I used the workshop, I could see where the deficiencies were and what I didn’t have enough storage space for. I saw how my original plans didn’t quite fit my needs, and I made adjustments as I went. What I ended up with is different than what I had originally planned.
3. Find free materials
Craigslist and Facebook Marketplace are some of my favorite places to browse. People are ALWAYS GIVING AWAY FREE WOOD! We’re not building fine furniture here, so it wasn’t a big deal to build my workbenches and various storage solutions from a mishmash of cragislist freebies.
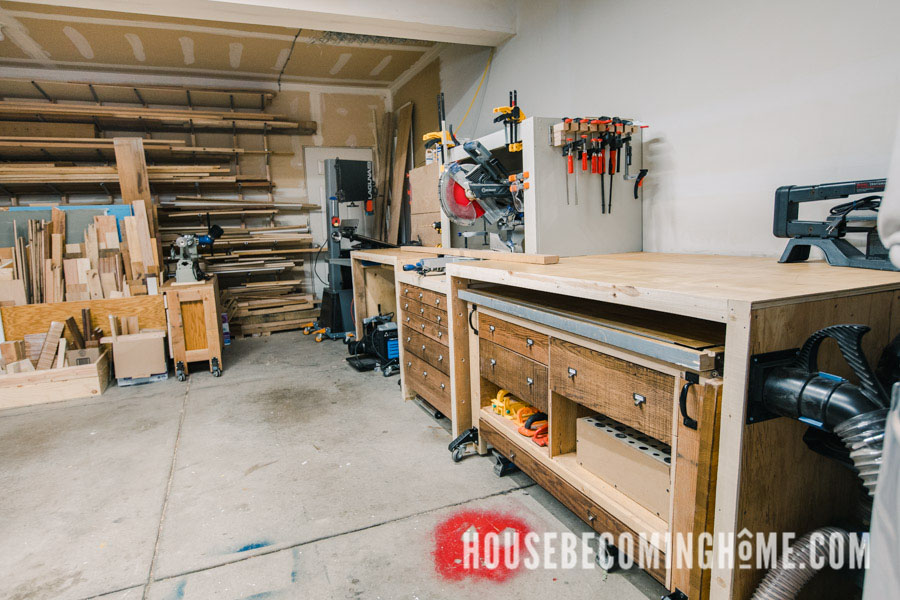

My Woodworking Garage Workshop
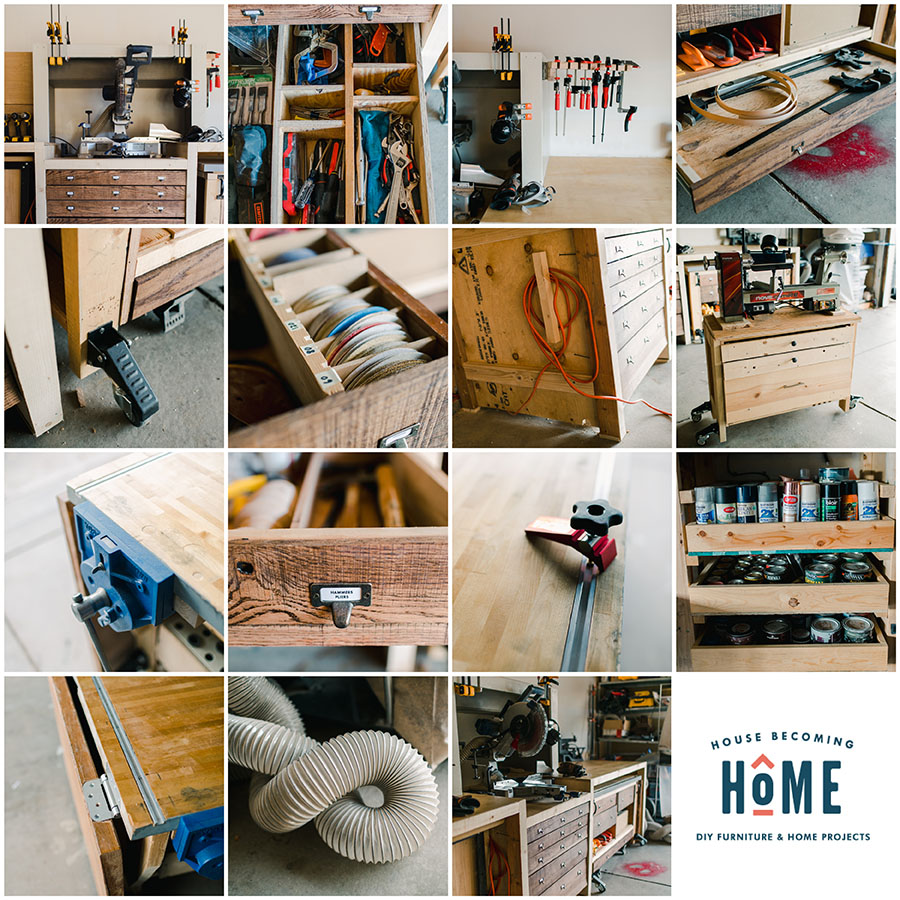
To see more photos and details about the various parts of my garage workshop, check out these more in-depth posts:
- Garage Before/After (you’re here!)
- The Heart of My Garage Workshop : Miter Station
- Garage Workshop Dust Collection Solution
- DIY Portable Assembly Table
- Garage Workshop Small Tool Organization
- Garage Workshop: Everything Else

You never cease to amaze me Angie!