
When I began planning for my woodworking garage workshop I made sure to include space for a dust collector. Though I didn’t own one yet, I knew it was time to get serious about protecting my lungs. Now that I have a system in place for dust collection the garage workshop stays MUCH cleaner. I wish I wouldn’t have waited so long to make that purchase!
* This post contains affiliate links for your convenience. Read my full disclosure policy here. *
Dust Collection for a Small Garage Workshop
This post is written for the “dust collection newbies”–the person I was just a few months ago. I was clueless about how everything worked together, what supplies I even needed to make it work, etc. I learned a lot from Shawn Stone who has tons of information on dust collection and has a helpful tour of his workshop. My workshop is a bit smaller than his. This is the dust collection system I use in my small garage workshop.
Basic Dust Collection System Supplies
-
Dust Collector
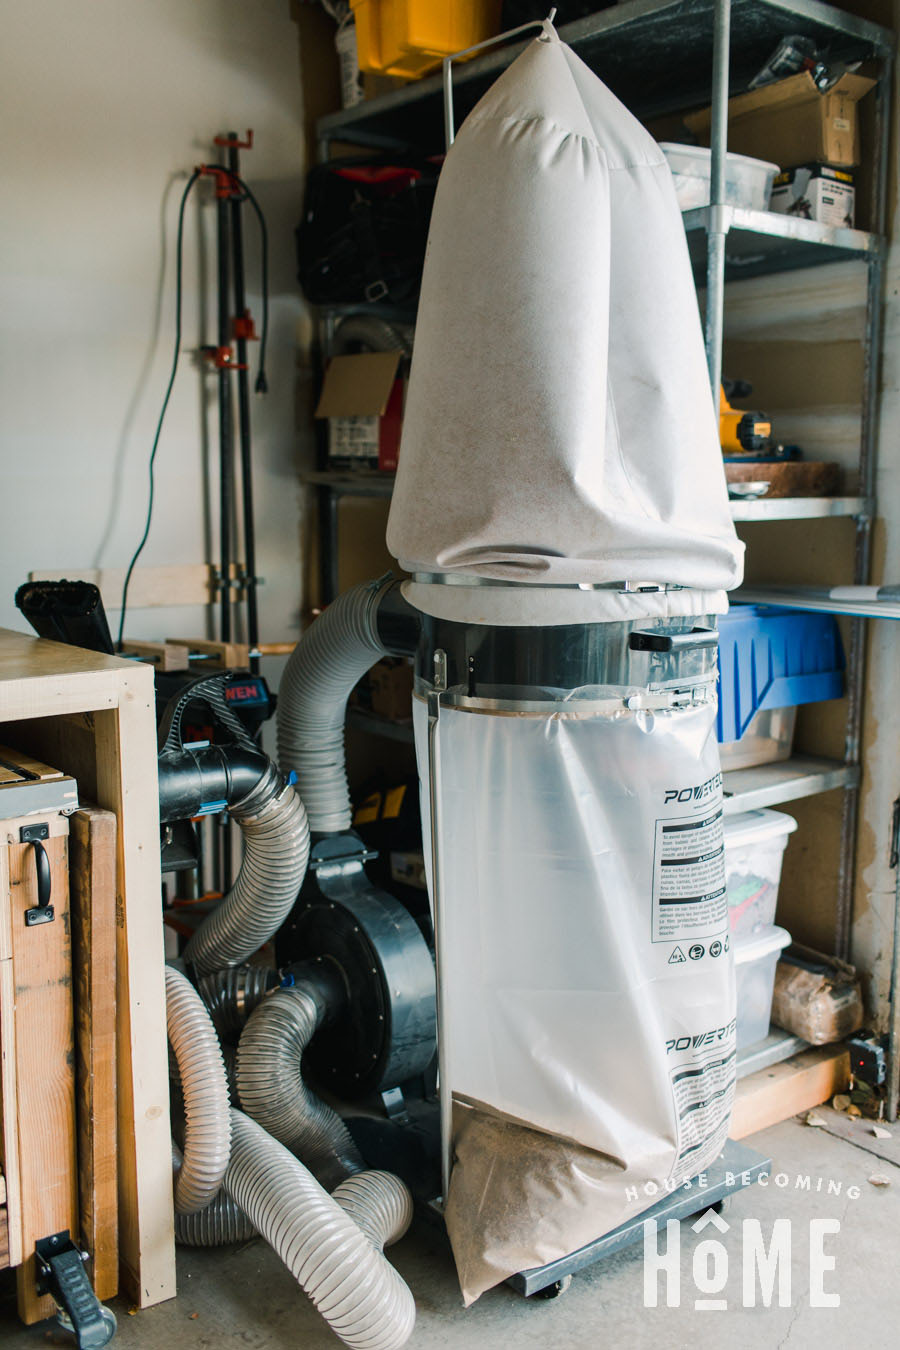
Central Machinery 2 HP Heavy Duty High Flow High Capacity Dust Collector from Harbor Freight
I bought my dust collector at Harbor Freight with one of the 20% discount coupons found everywhere online, which made it a really affordable dust collector. I’ve been using it for about six months and I think it’s great. No complaints. 🙂 Well…actually, one complaint. I don’t love the casters that it’s on. Compared to everything else in my workshop, it doesn’t roll as smoothly. Other than that, it’s great.
The Central Machinery dust collector has a 4″ branched inlet, so you can attach two separate hoses leading to different tools (if you want to. It comes with a cap if you just want to close one side off).
The base has wheels so you can move it around your shop if you need to, as I already mentioned.
-
Dust Hose
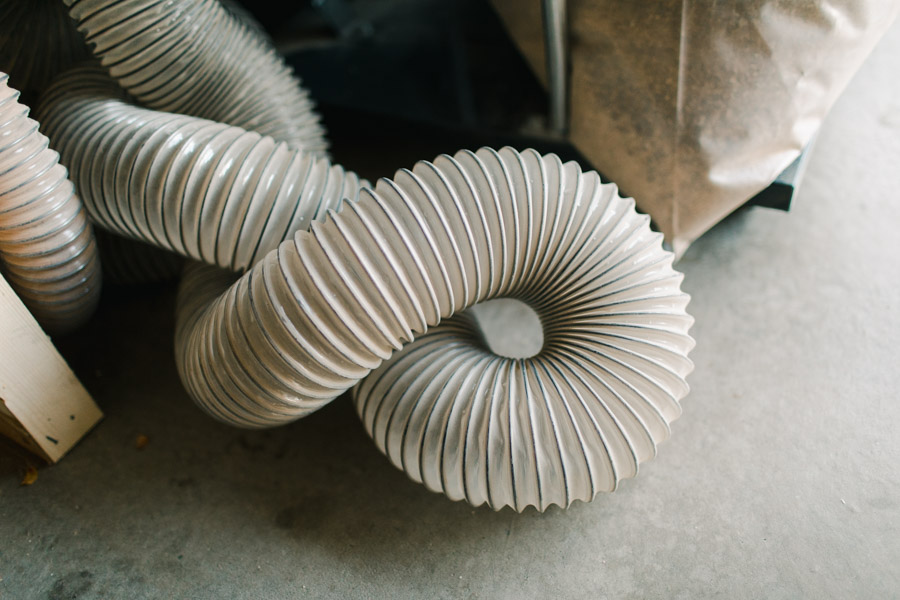
You can use a variety of materials to carry sawdust from the source to the collector. The most affordable and simplest option I found was flexible dust hose. Most ports on medium/large power tools are either 4″ or 2.5,” and thus most dust hose you find is 4″ or 2.5″ in diameter.
-
4″ Dust Hose
Nearly all of the hose in my workshop is 4.” I found a really great price on long lengths of 4″ hose on amazon here:
I only needed one of these 50′ length hoses (cut into various lengths using a razor blade and wire cutters) to serve my entire workshop.
-
2.5″ Dust Hose
The port on the back of my miter saw is smaller, so I use 2.5″ hose for that. Amazon had good prices on 2.5″ dust hose as well:
2 1/2″ x 20′ CLEAR PVC DUST COLLECTION HOSE BY PEACHTREE WOODWORKING
-
Hose Clamps
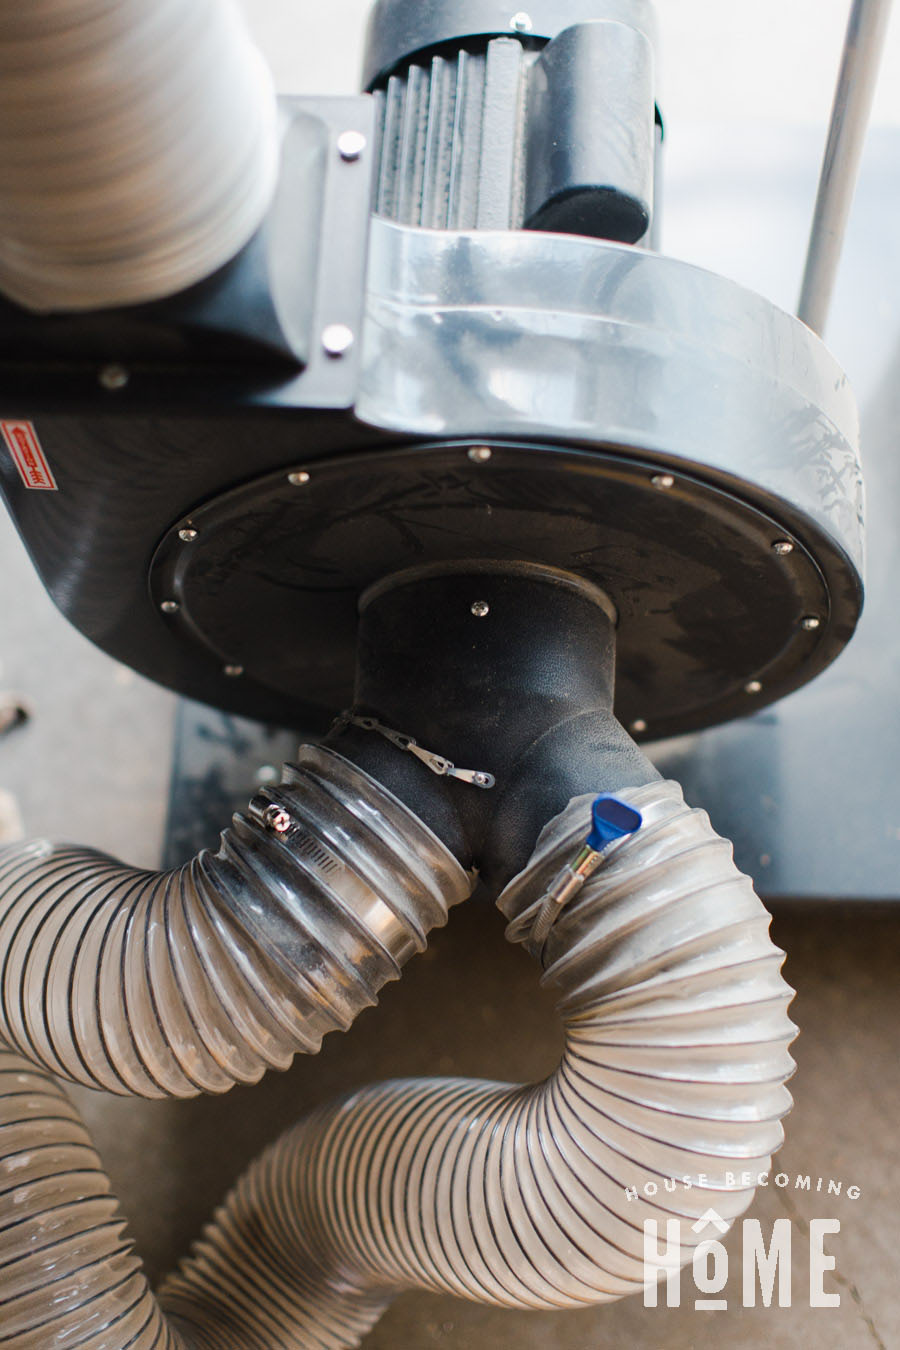
Wherever the dust hose meets a tool’s dust port, a junction, a blast gate, or the dust collector, you’ll need a hose clamp to keep it secured tightly in place. I used two different types; one that tightens with a screwdriver, and another that tightens with a thumb screw key. They both work fine, I wouldn’t say I have a preference. These are the ones I used:
-
Blast Gates
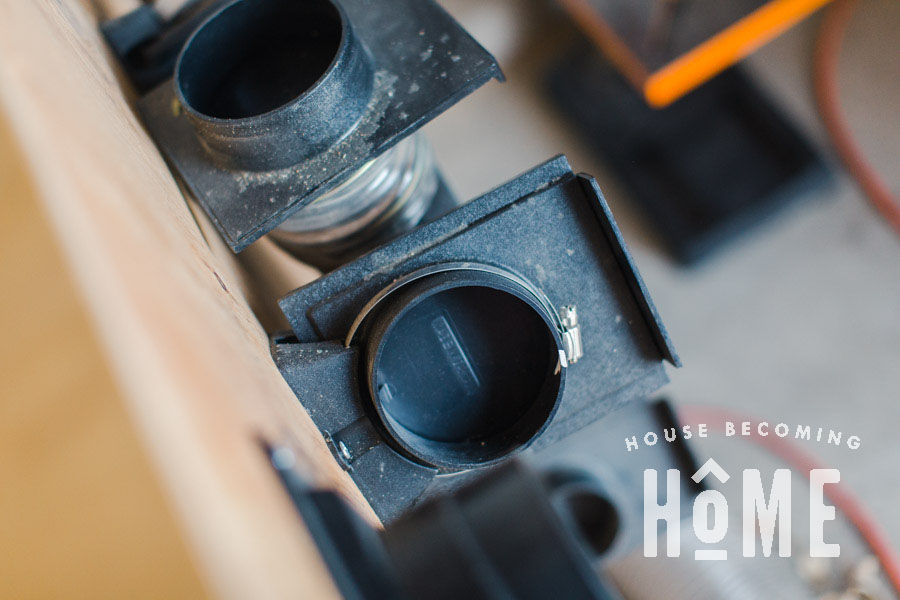
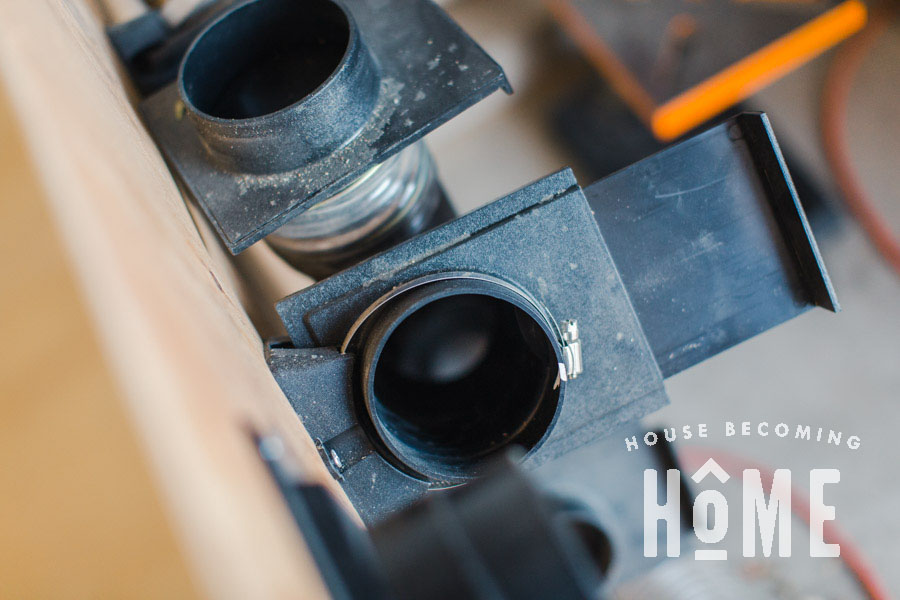
If the hoses to all your tools are all open, the suction will be far less strong where you actually need it. Blast gates close off the flow of air to the tools that aren’t being used.
These are the blast gates I use:POWERTEC 70108 4-Inch Blast Gate
-
Dust Collection Junctions
If you have more than one tool in your shop, you’ll likely need some dust collection junctions to split one hose into two or three separate lines. What you get will vary depending on your needs. The ones I use are:
- 4 to 2-1/2 Inches 3 Way Y Connector
- DCT 3-Way Dust Collection Junction 4in Hose Coupler Union Y Fitting
Miter Saw Dust Collection Solution
My miter saw is the only tool in my workshop that is kept in the same spot whether it’s being used or not. (Everything else is on portable bases and wheeled into the middle of the garage when I need to use them). Because my miter saw never moves location, I was able to set it up with permanent dust hoses.
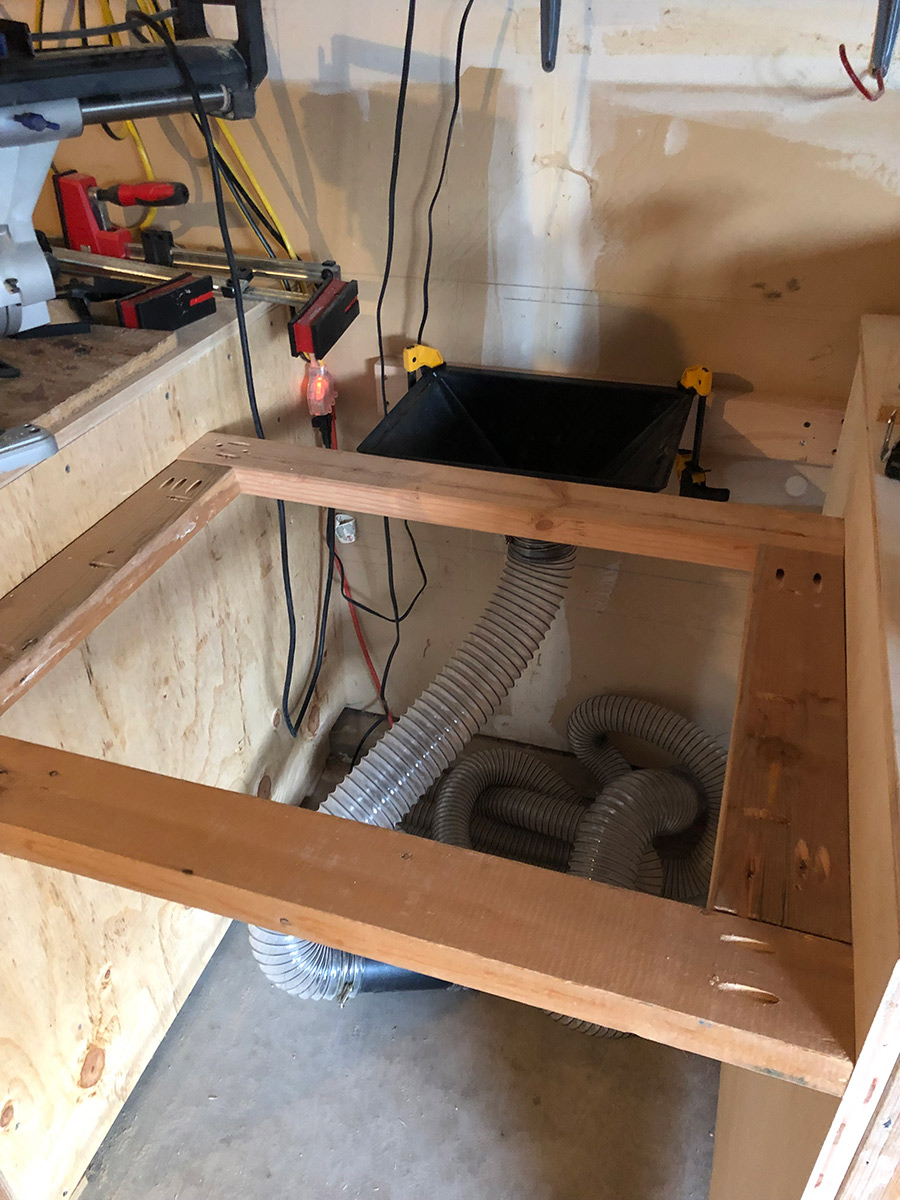
I took this photo as I was building the miter workstation. You can see I added the Big Gulp Dust Hood behind the miter saw (well, behind where the miter saw will soon be). This catches a good deal of the sawdust that the miter saw produces.
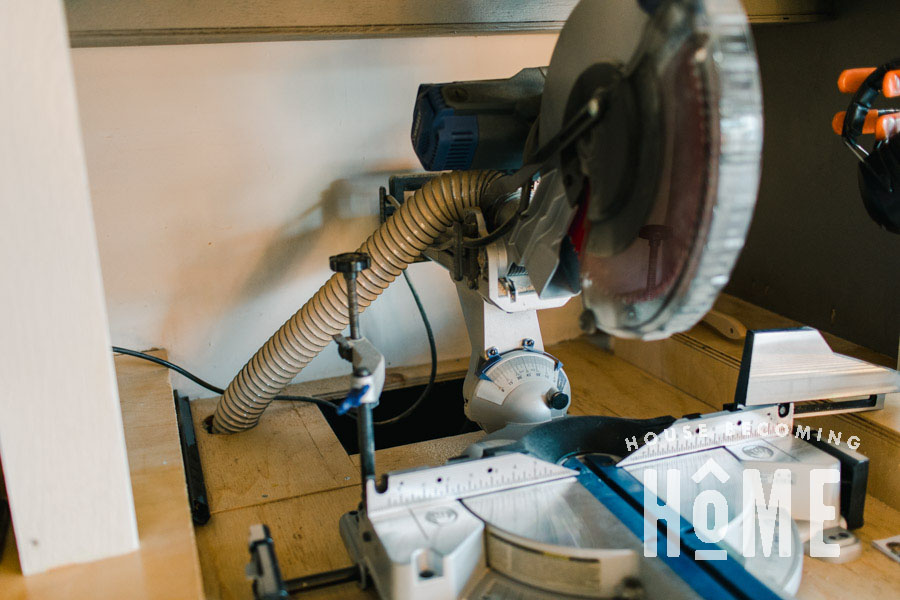
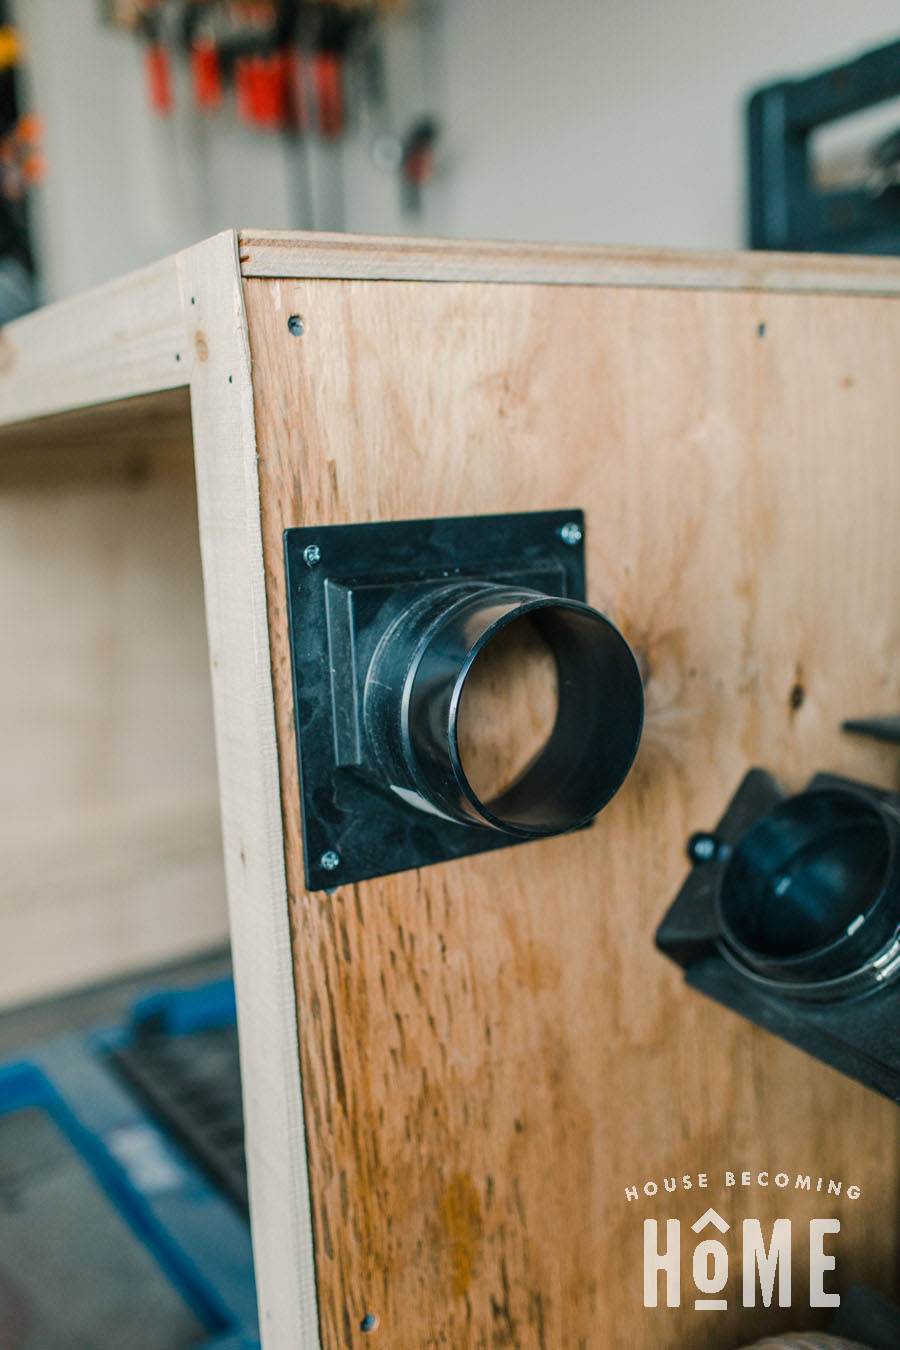
My miter saw also has a 2.5″ dust port to attach a bag or hose. I clamped on a 2.5″ hose and made a hole in the workbench so it can exit through the back, behind the entire workbench, and back to the dust collector.
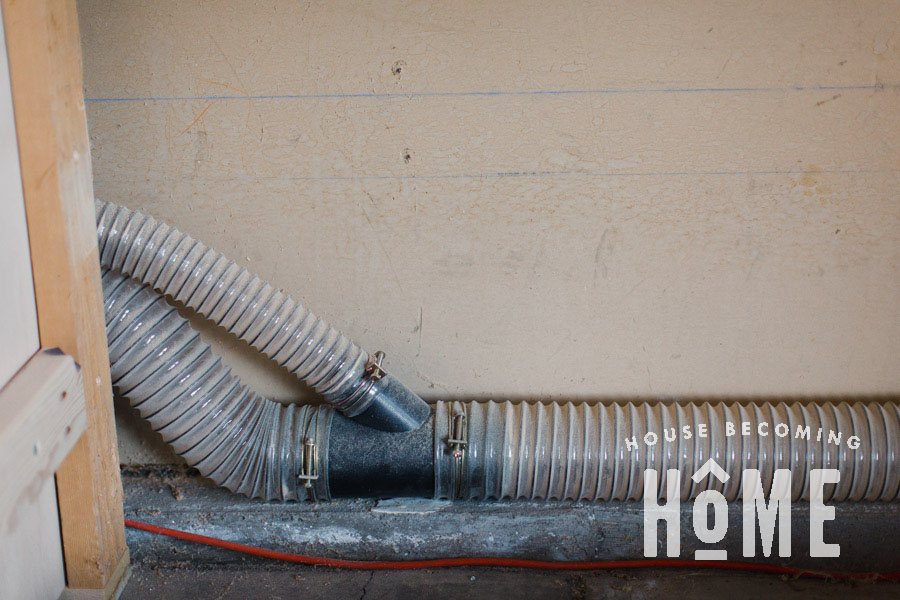
This photo shows the area to the right of the miter saw where my assembly table is kept (though obviously here, the assembly table has been wheeled out into the center of the garage). You can see here how the two hoses on the left come together with a 4 to 2-1/2 Inches 3 Way Y Connector.
Portable Dust Collection Solution
Many of my tools are stored against the wall, then wheeled out when I need to use them. Because of this, it wasn’t practical to clamp hoses to each of these tools. Instead, I use the Dust Right 4” Quick Change Tool Set.
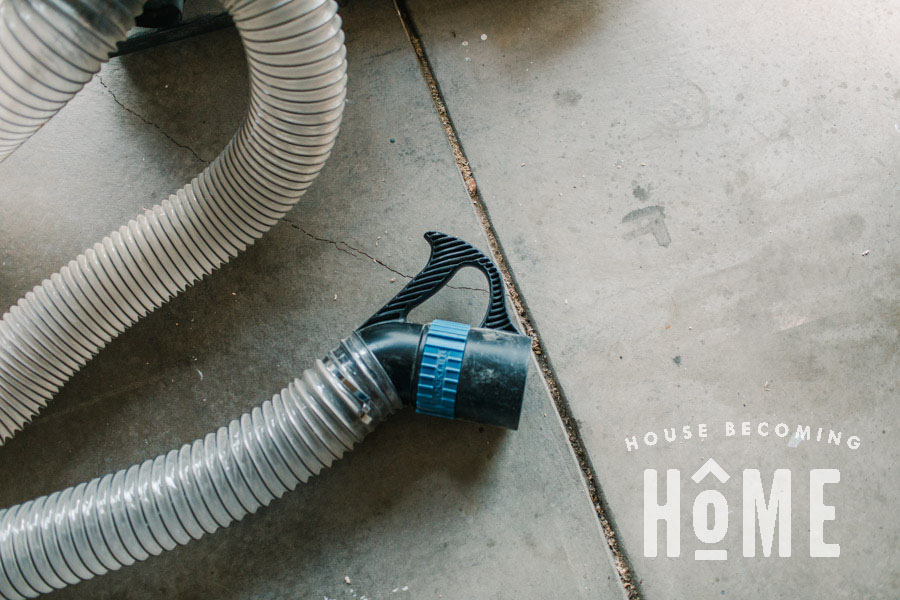
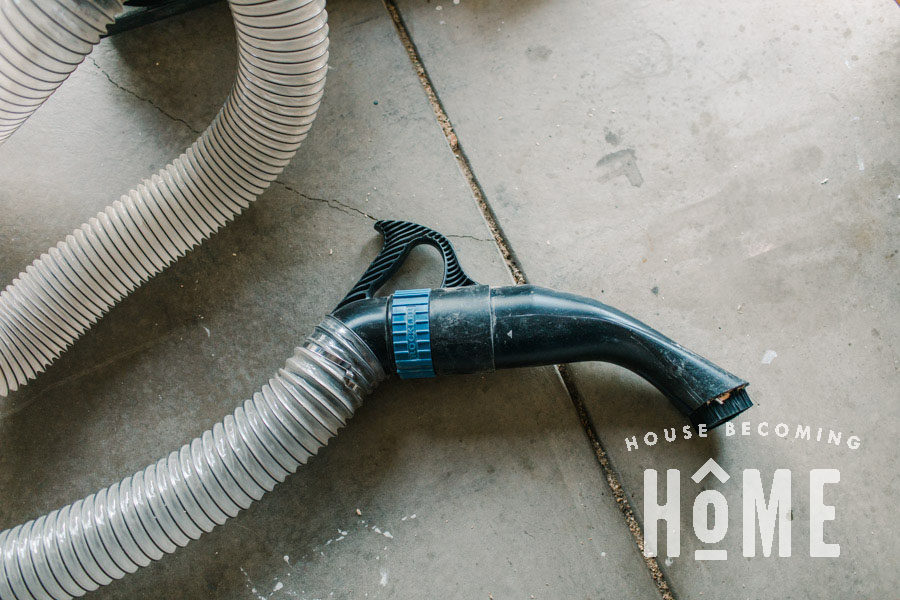
The Dust Right 4” Quick Change Tool Set‘s primary piece is the handle pictured above, clamped to a long length of 4″ hose.
The Dust Right handle allows me to quickly and easily move this hose around my small workshop and attach it to many of my tools.
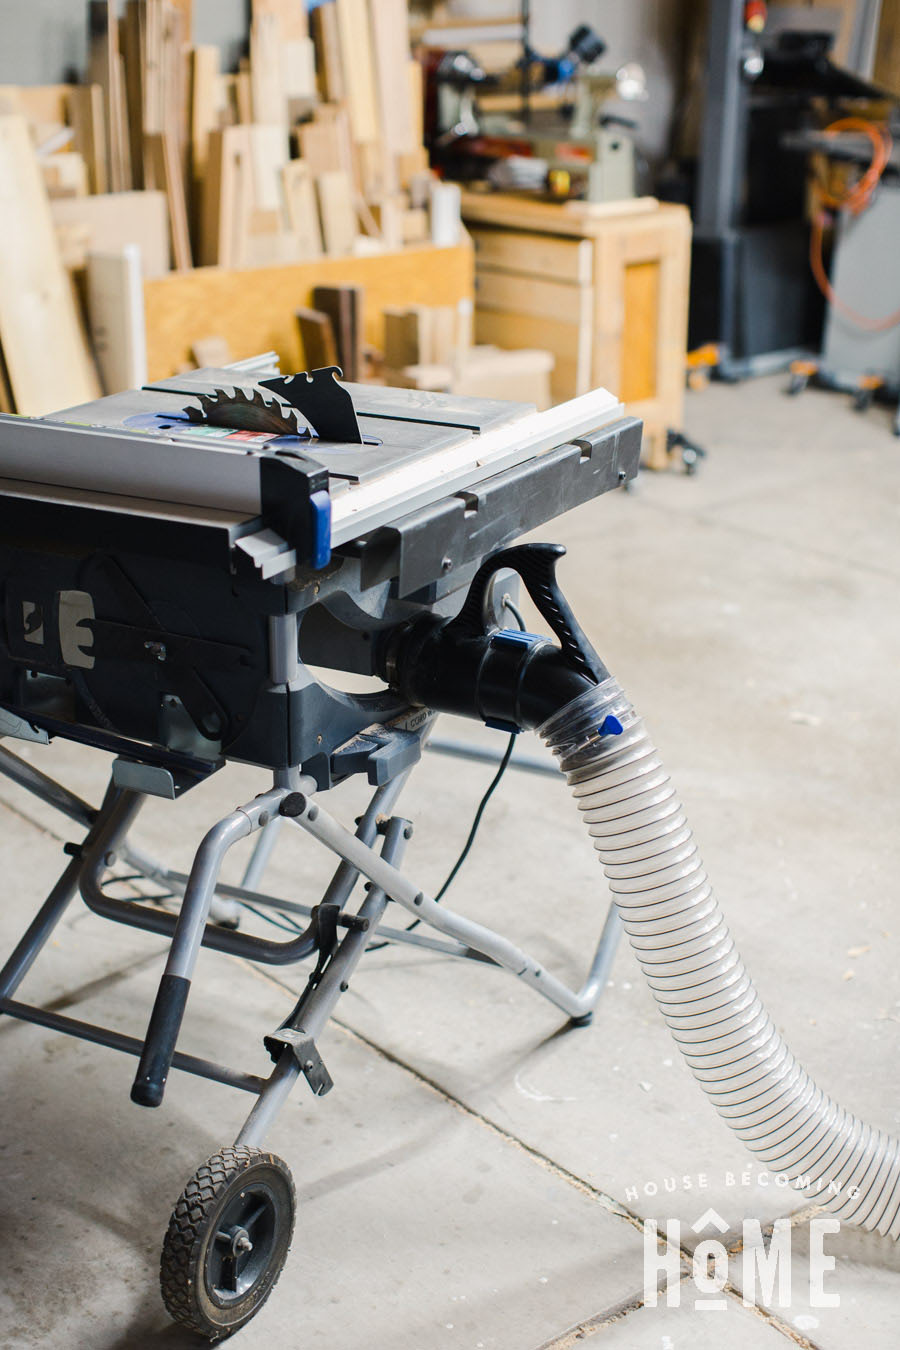
Simply clamp one of the Dust Right 4″ tool ports to your tools with a 4″ opening, or the Dust Right 2.5″ tool ports to your tools with a 2.5″ opening. Then the Dust Right handle can slip on and off quickly and easily, and you can move that single hose from tool to tool.
From my lathe, to my jointer . . .
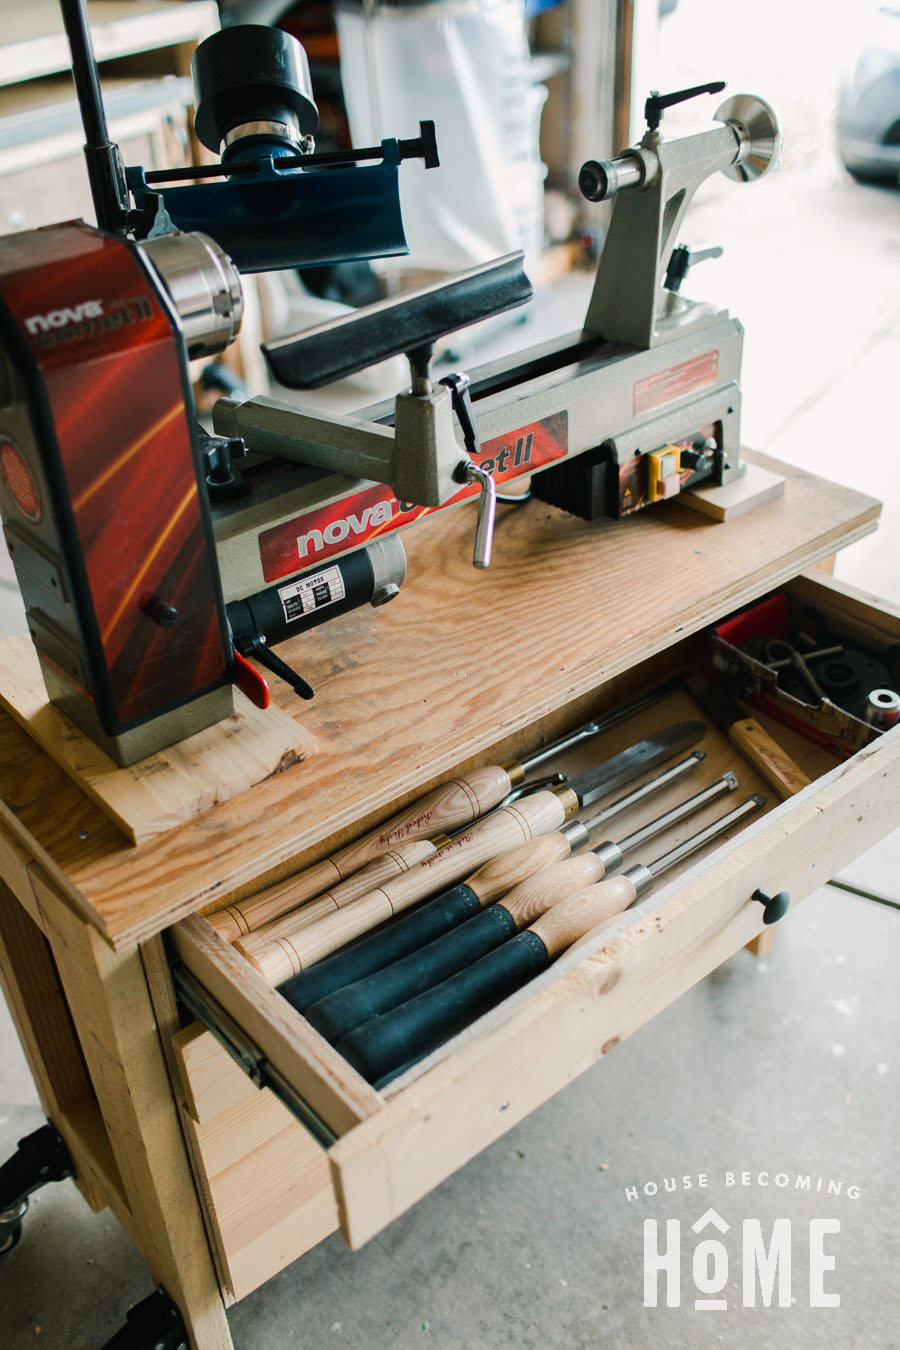
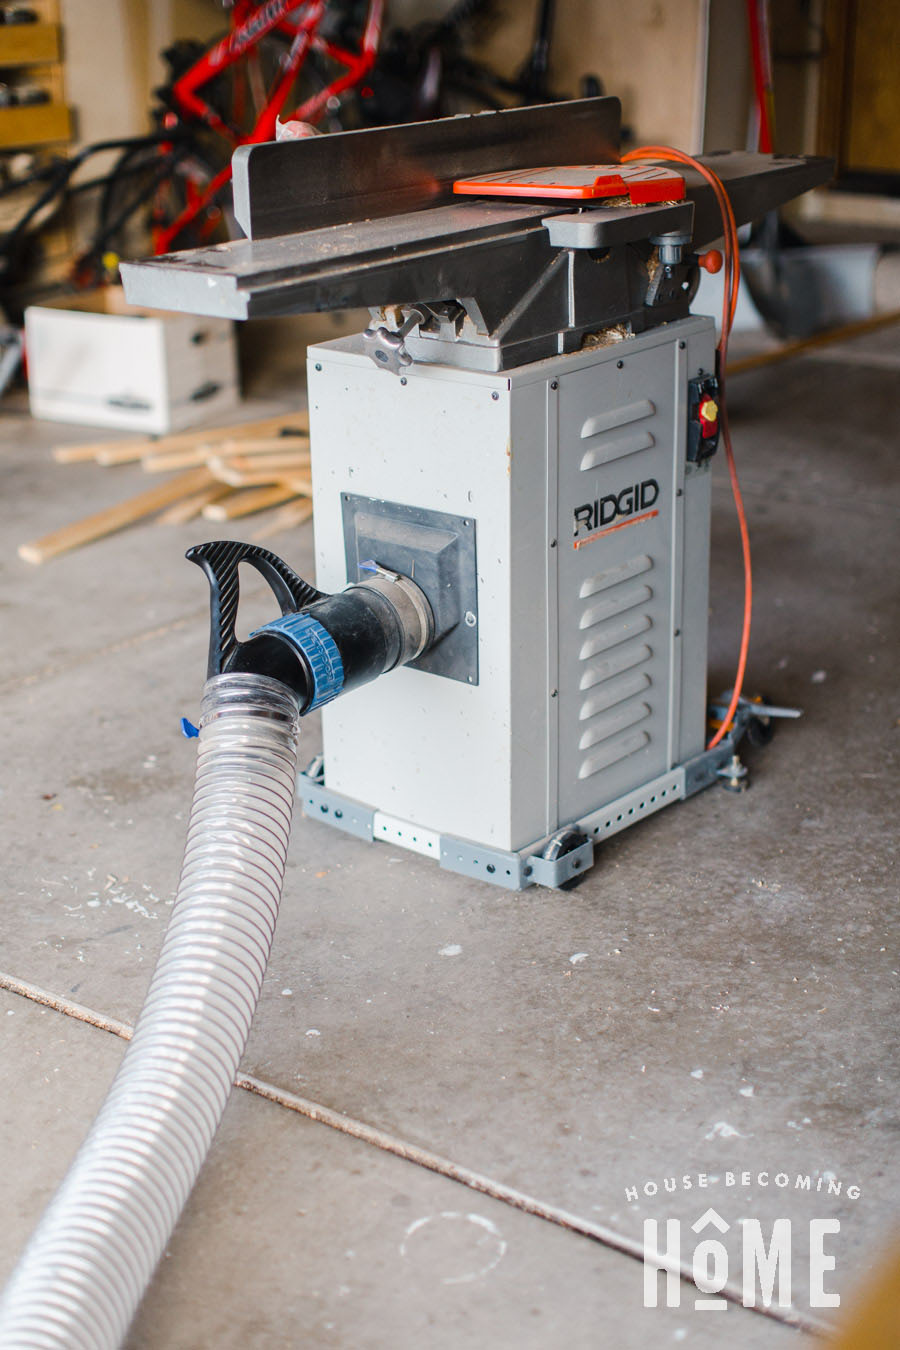
I’ve also got a port on my bandsaw and planer.
Once I’m done using it, I dock the handle to the side of the miter work station:
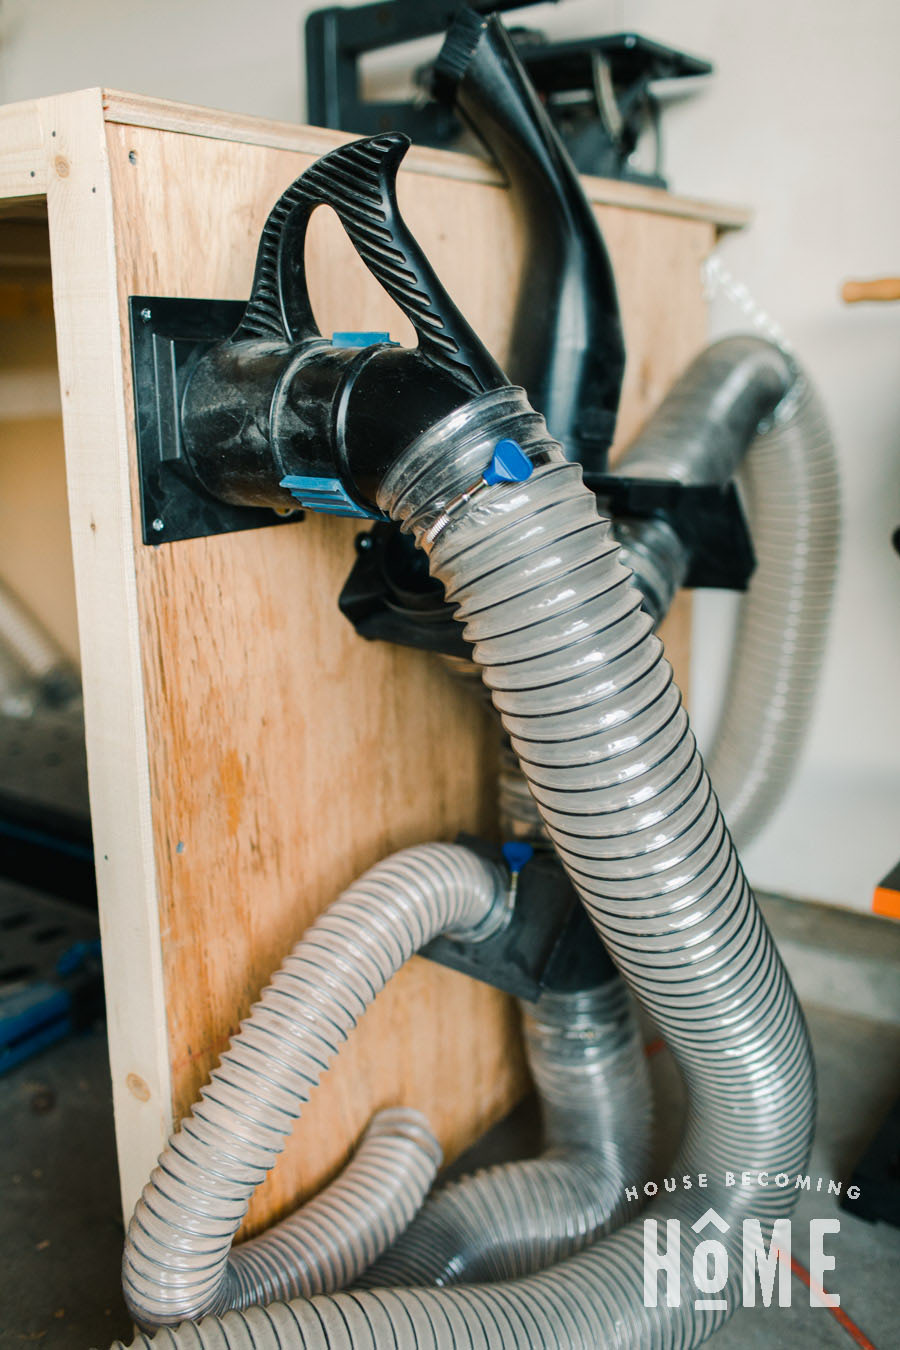
There are a variety of accessories that can also work with the Dust Right Tool handle. I really love the Dust Right Bench Nozzle. I use this thing almost every time I’m in the garage to vacuum up any dust left behind. At the moment there are several tools that aren’t hooked up to my dust collection system (drill press and router). After I make a mess with those tools I use the Dust Right handle + bench nozzle to clean up all the sawdust.
Avoid Mistakes!
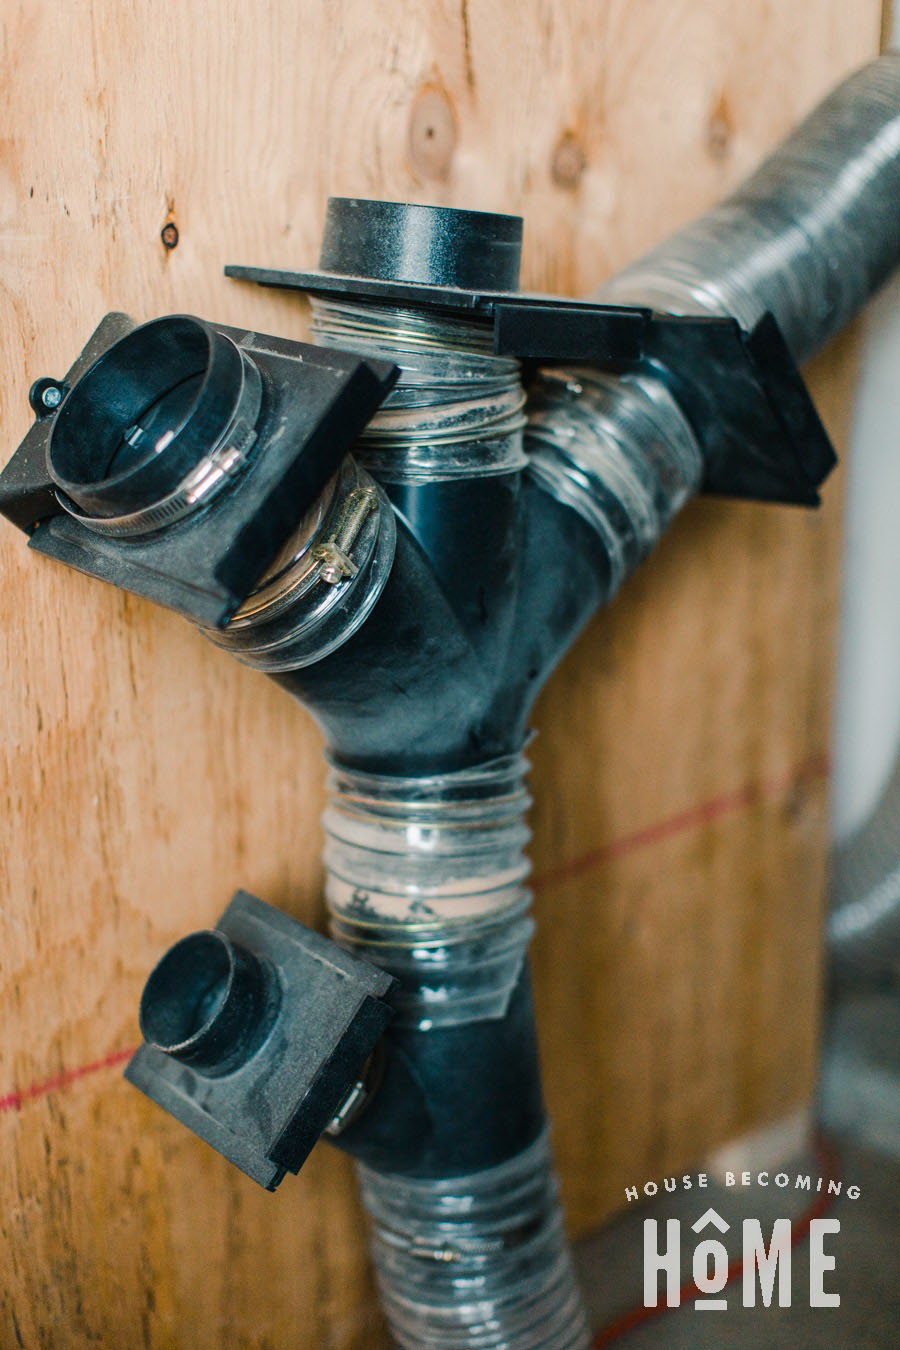
Here’s the side of the workbench where I keep the dust collector. I show this photo only to urge you to not make the same mistake I did. I ordered the pieces for my dust collection system before completely deciding how my garage workshop was going to function.
I had originally planned on having multiple hoses permanently attached to many of my tools, having a hose that led to a floor sweep, a sanding station with a dust hose, etc. Plans changed! This set up is a lot more elaborate than it needs to be with what I ended up deciding to do.
The only branch of this being used is the top right (which leads to the miter saw), and the bottom (which attaches to the dust collector’s inlet). Maybe someday I’ll attach a hose to one or two of those other spots, but for now they are kept closed with blast gates.
Order your parts when you’ve got a pretty solid idea of how you’re going to do it. 🙂
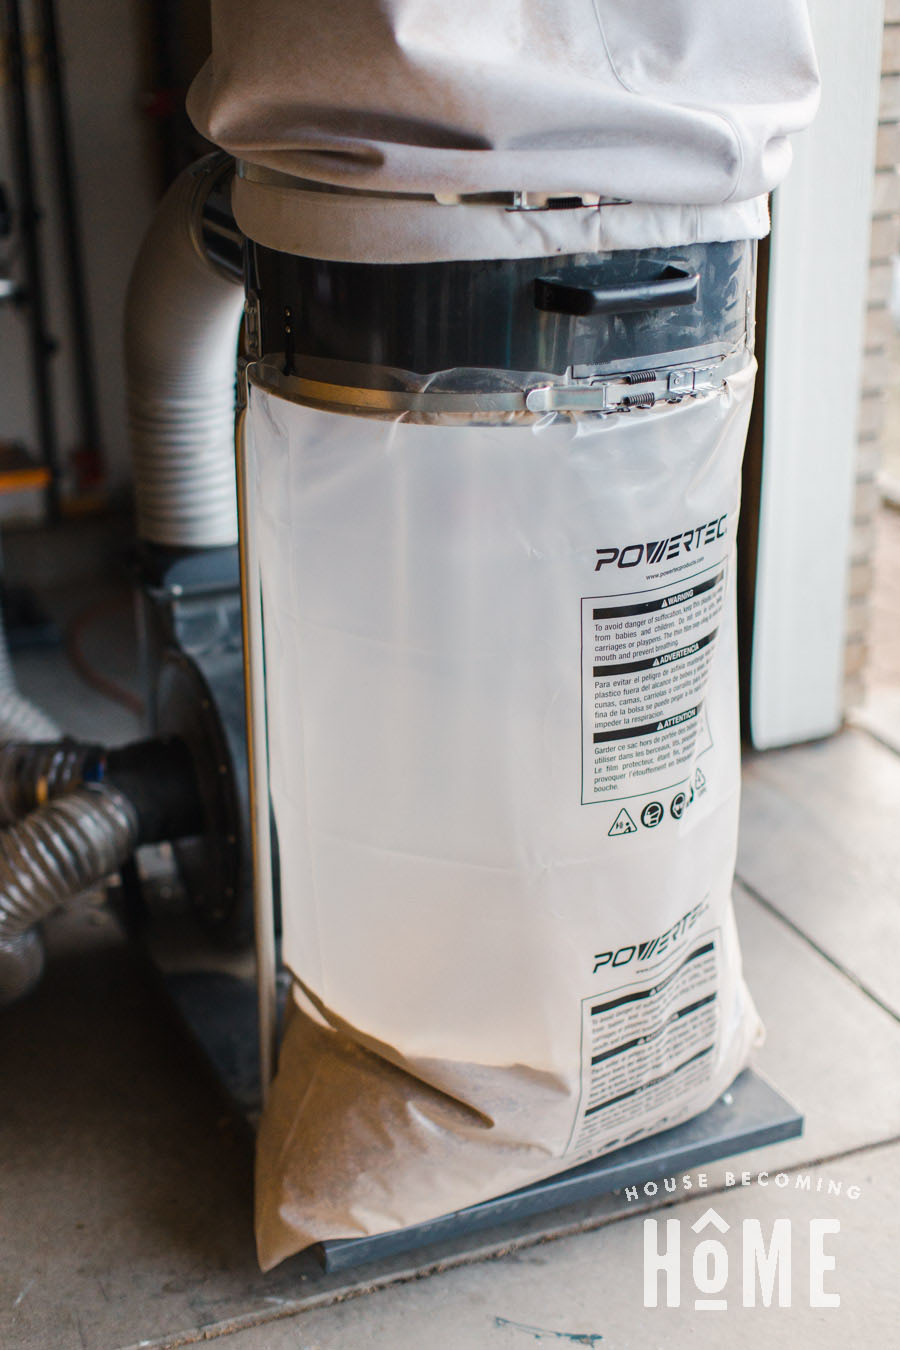
What replacement bag fits the Harbor Freight Dust Collector?
I bought my dust collector at Harbor Freight, but, as far as I can tell, they don’t sell any replacement dust collection bags for it.
These replacement dust collector bags fit the Harbor Freight Central Machinery Dust collector perfectly: POWERTEC 70010 Clear Plastic Dust Collection Bags, 19-1/2 -Inch x 41-Inch | Dust Collector Bags
And that’s my dust collection system! Let me know if you have any questions in the comments. And if you’re interested in seeing more from my garage workshop makeover, be sure to visit the links pasted below.
