About a year ago I discovered I could make my own door from affordable lumber when I built a simple one for a closet on our main level. It has held up wonderfully, but it is joined only with wood glue. When I decided to build a door to finish off our kids’ bathroom renovation, I wanted to try something a bit stronger for the joints. I was super excited to team up with Rockler Woodworking & Hardware on this project, using their Beadlock Pro joinery kit to create a type of loose tenon joint. This post is sponsored by Rockler, though all opinions are my own, as they always are. 🙂
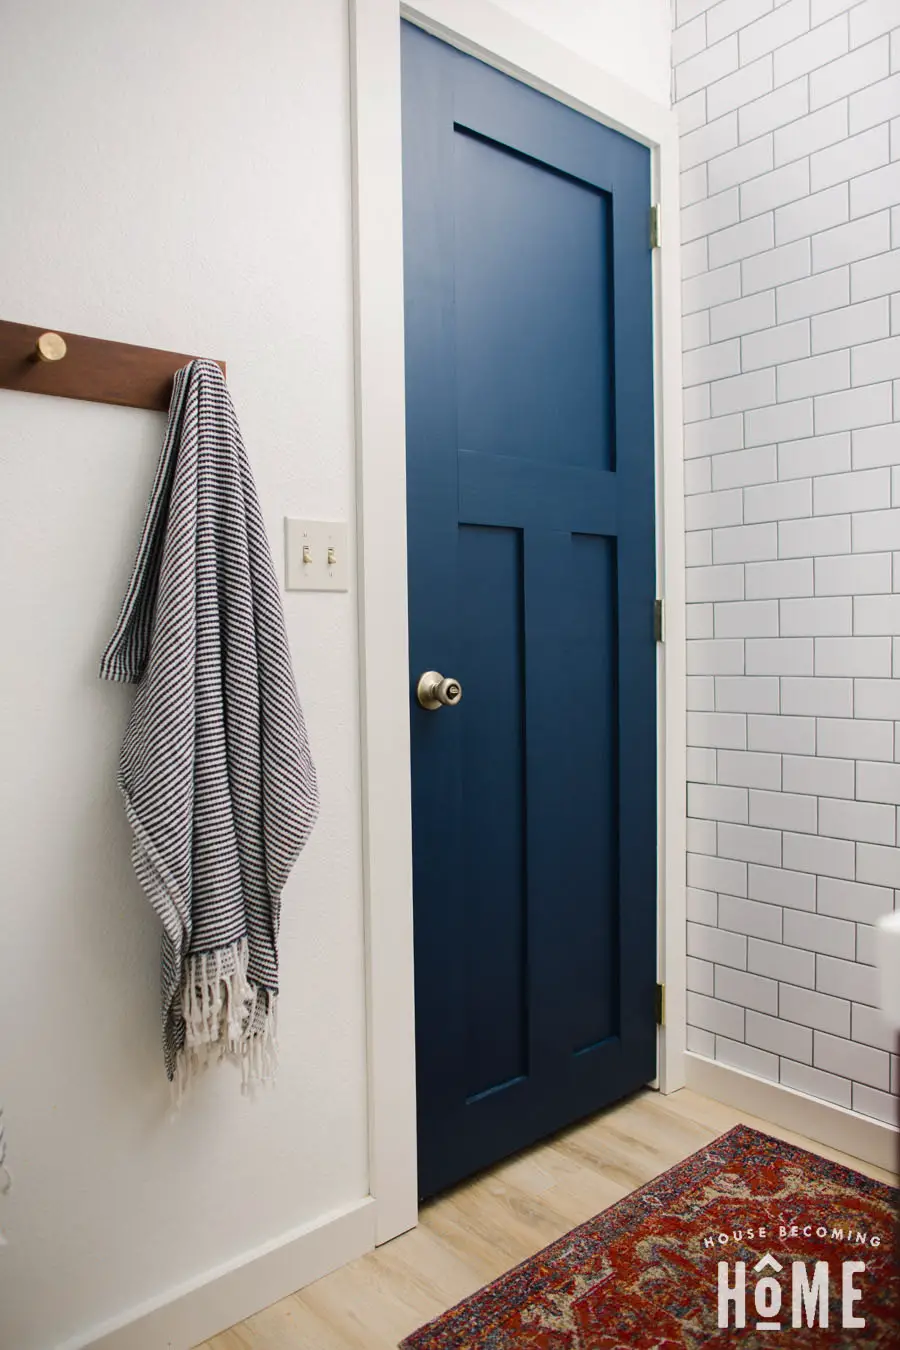
Slowly but steadily, I am working towards replacing all of the hollow core doors in our home with solid doors. I got super lucky and found someone on Craigslist selling a few new ones for a steal at $10/each. I bought the ones that were correctly-sized for our bedroom doors, but unfortunately they were all too large for our 28″ bathroom door opening. I designed this bathroom door to match the ones that I found on craigslist and are now on several of our bedrooms–a craftsman, shaker, three-panel solid door.
Made from four, eight-foot 2×6’s and one sheet of 1/4″ hardboard, this DIY door is far more affordable than the solid core three panel doors you’ll find at your home improvement stores. Are you ready to do this?!
How to Build a Craftsman Shaker 3-Panel Solid Door using Rockler Beadlock Pro Joinery Kit
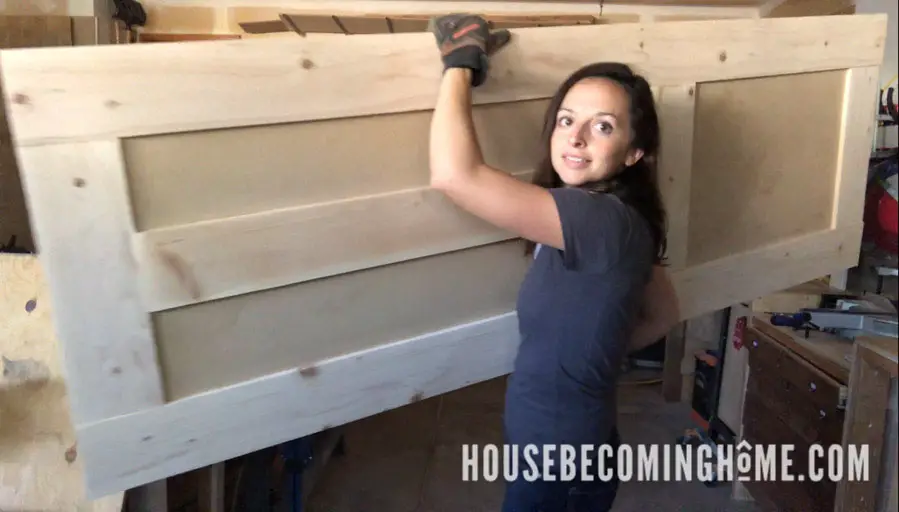
Step One: Prepare 2x6s
Remove the rounded edges of four 2×6’s. Last time I made a door, I simply ran the 2×6’s through the table saw, shaving off about ¼” from each edge. This time around I used my jointer. Either method works just fine.
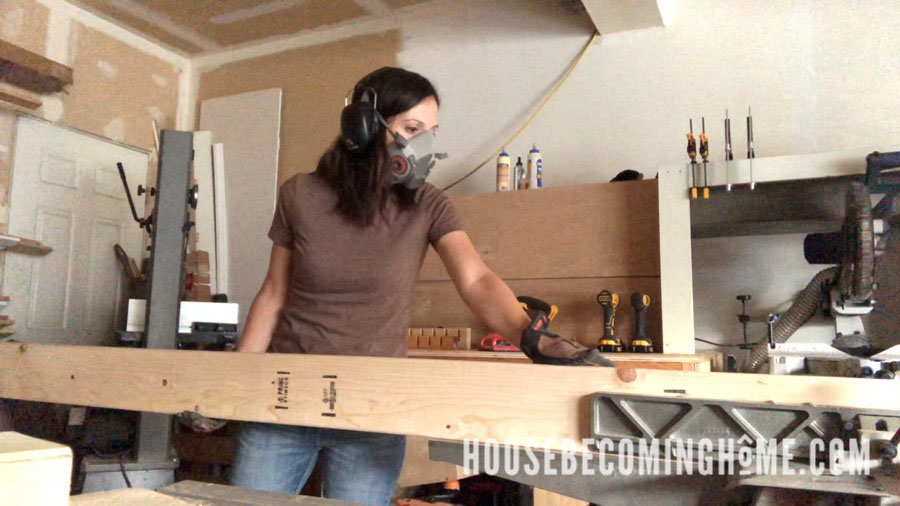
Standard door thickness is 1-⅜”, but the thickness of a 2×6 is 1-½”. You can leave them 1-½” if you want (I did last time), but for this door I ran them through the jointer, taking them down to 1-⅜” thickness.
Step Two: Measure and Cut
Trim the 2×6’s so that the final door size will be 28×80” (or whatever your door size is). I waited to make these cuts until after I had taken the rounded edges off of each 2×6, as I wasn’t sure exactly how much I’d be removing.
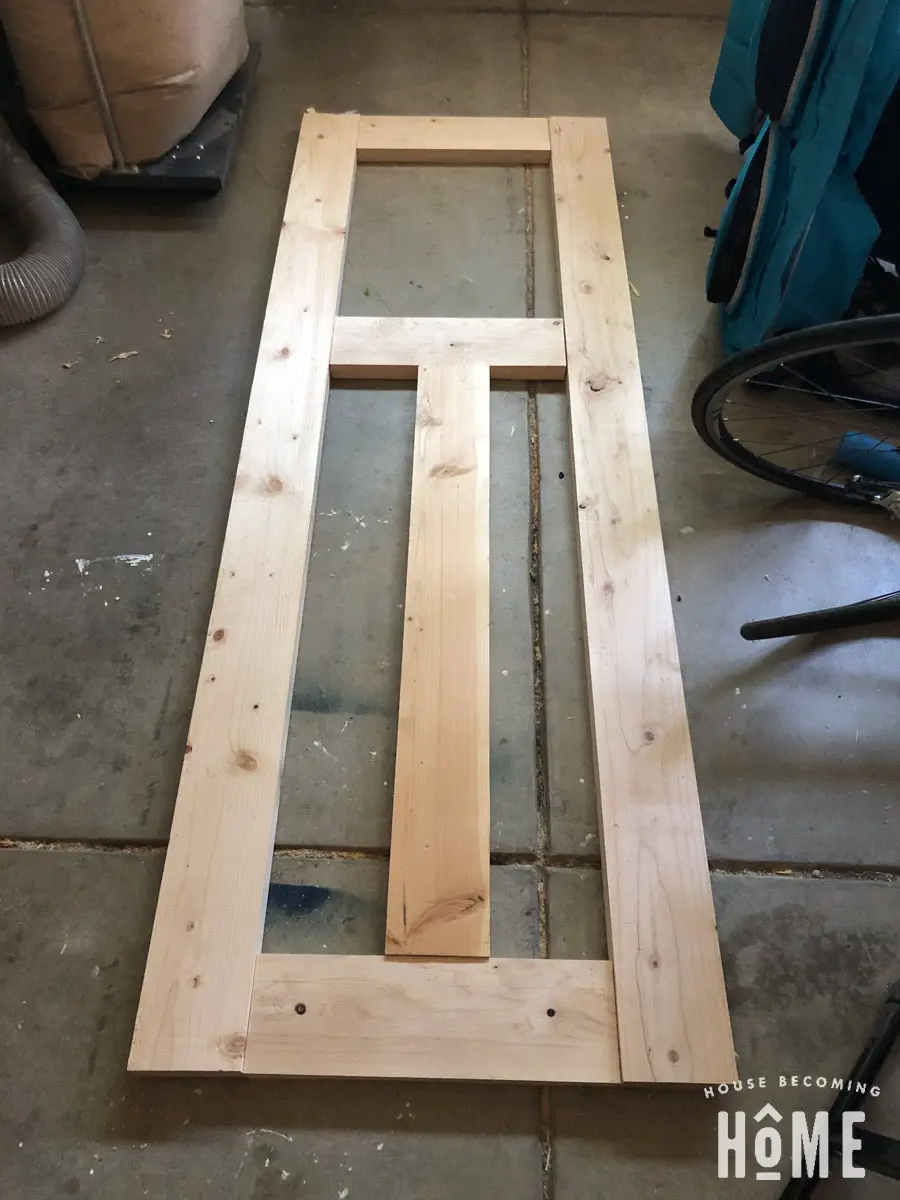
Step Three: Route Slots in 2×6’s
I used a ¼” slot cutter on my router table to make ¼” grooves on the inside edges of the 2×6’s where the ¼” hardboard panels would go (a ¼” straight bit would work too).
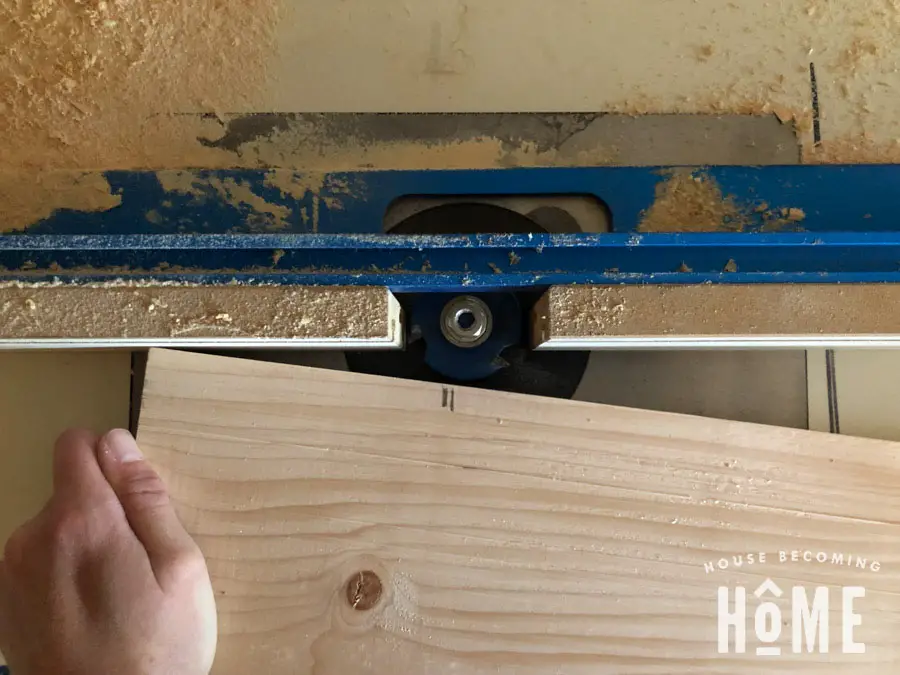
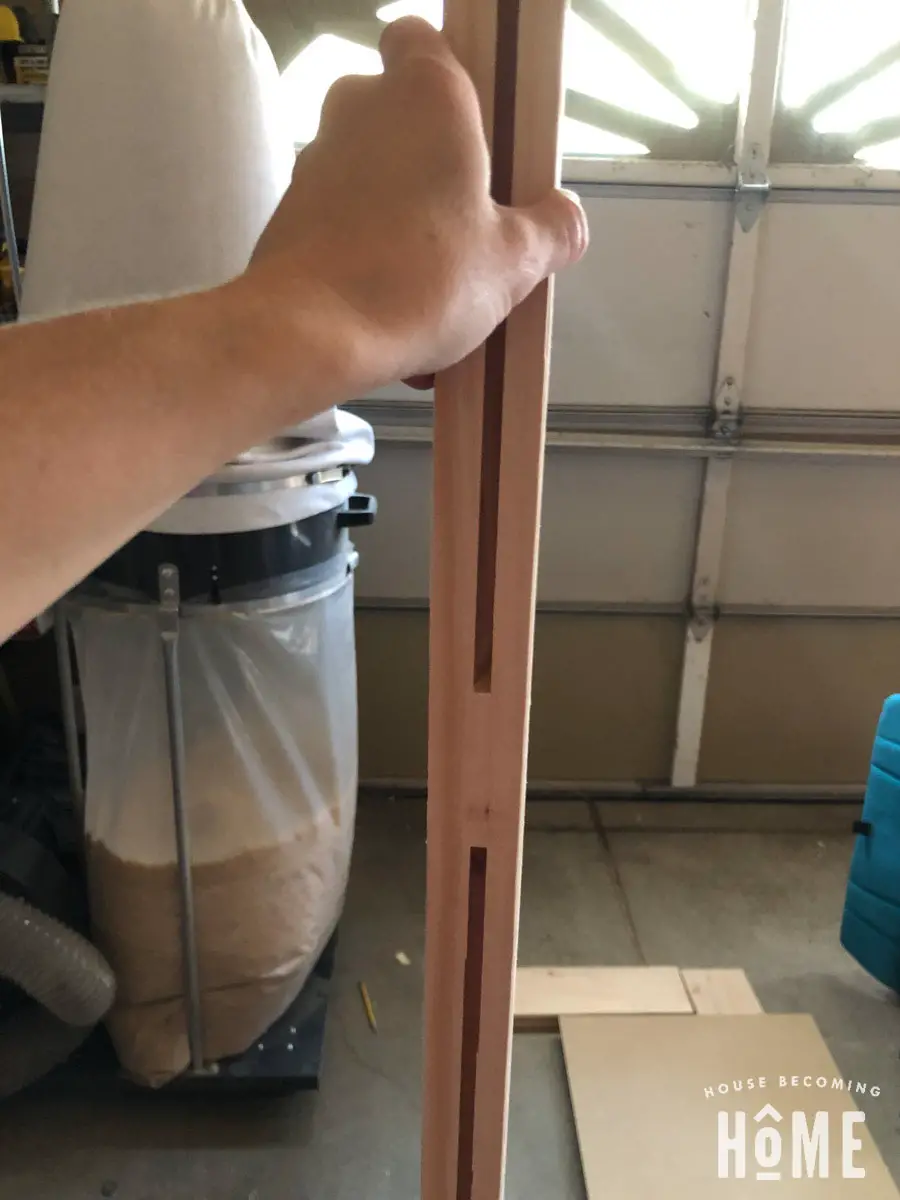
The green lines show where I made my slots:
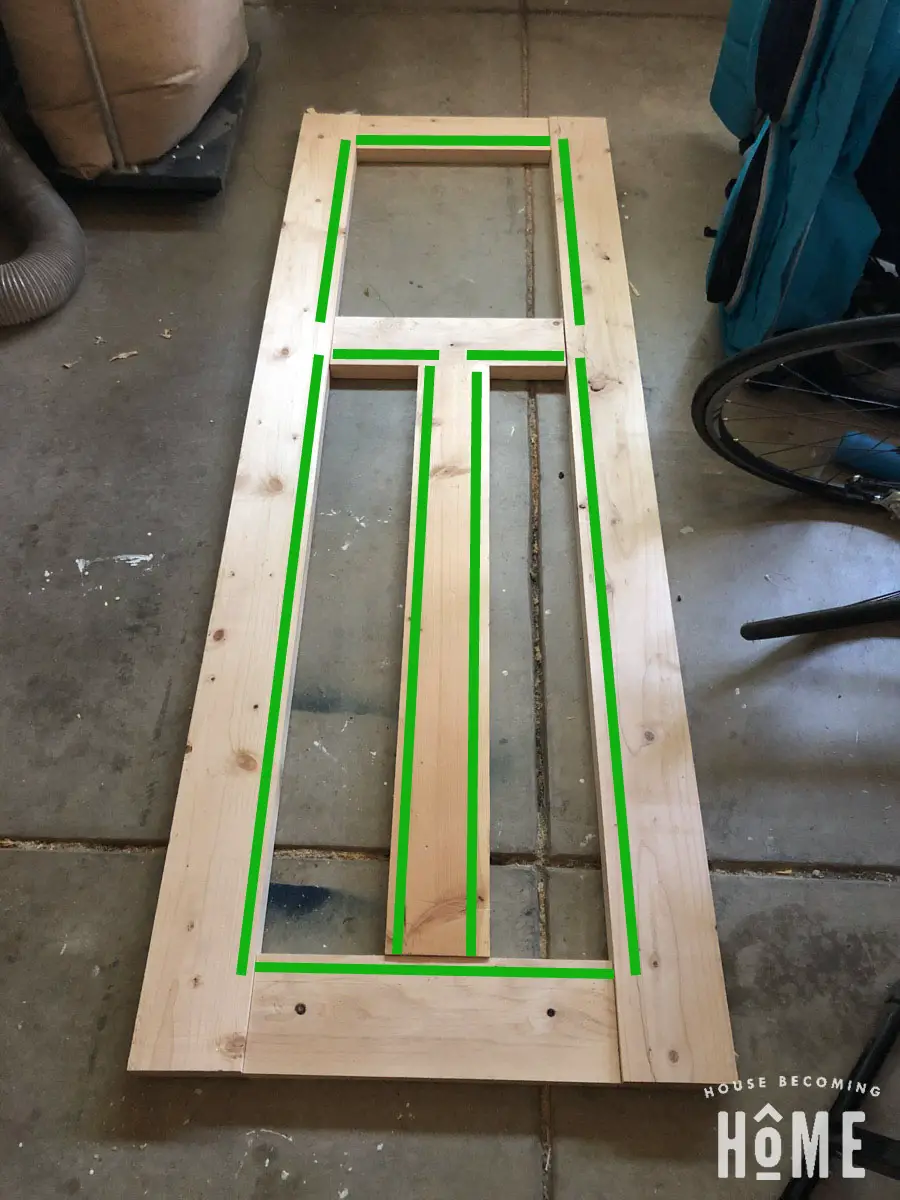
Step Four: Hardboard
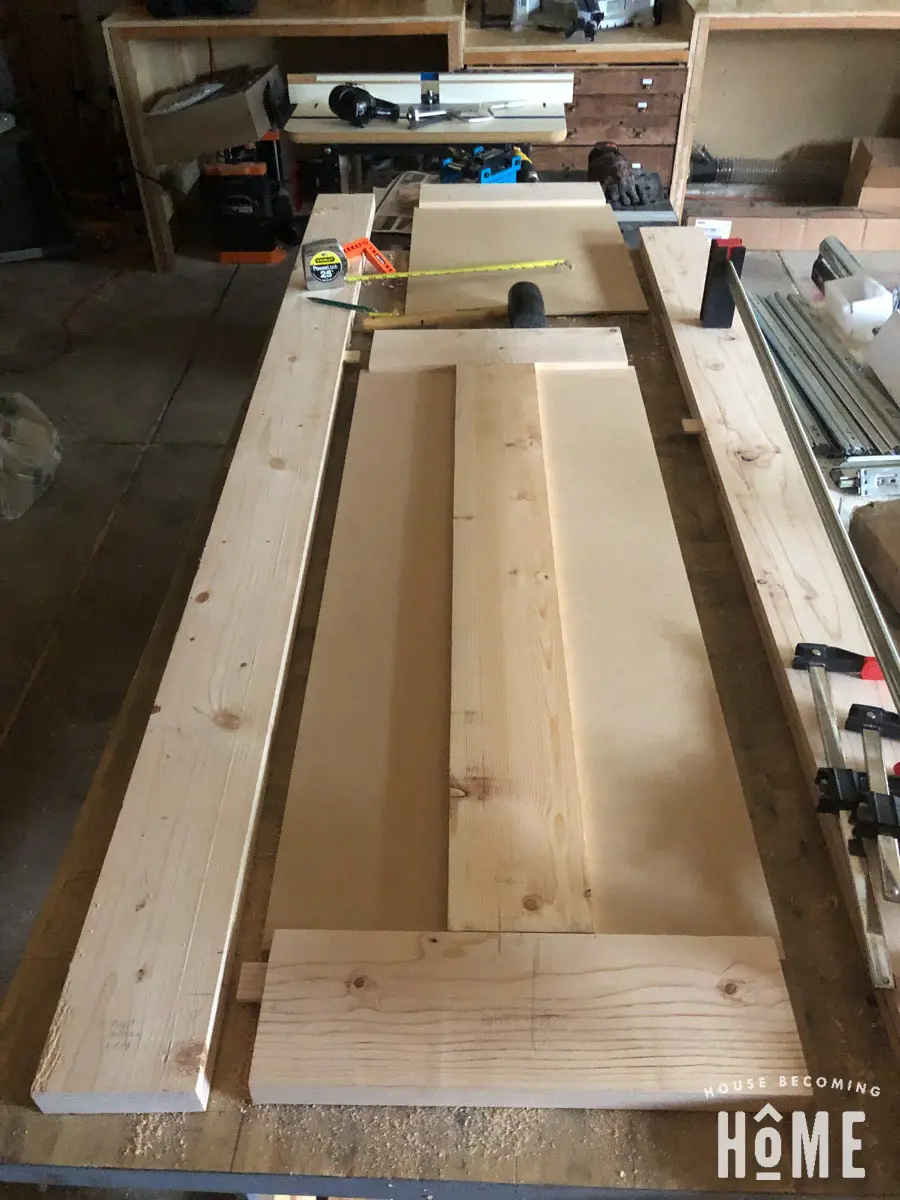
Determine the correct height/width for the three door panels, then cut ¼” hardboard panels to size. Be sure to factor in extra width and height for the slots they go into (about 1/2″ on each side).
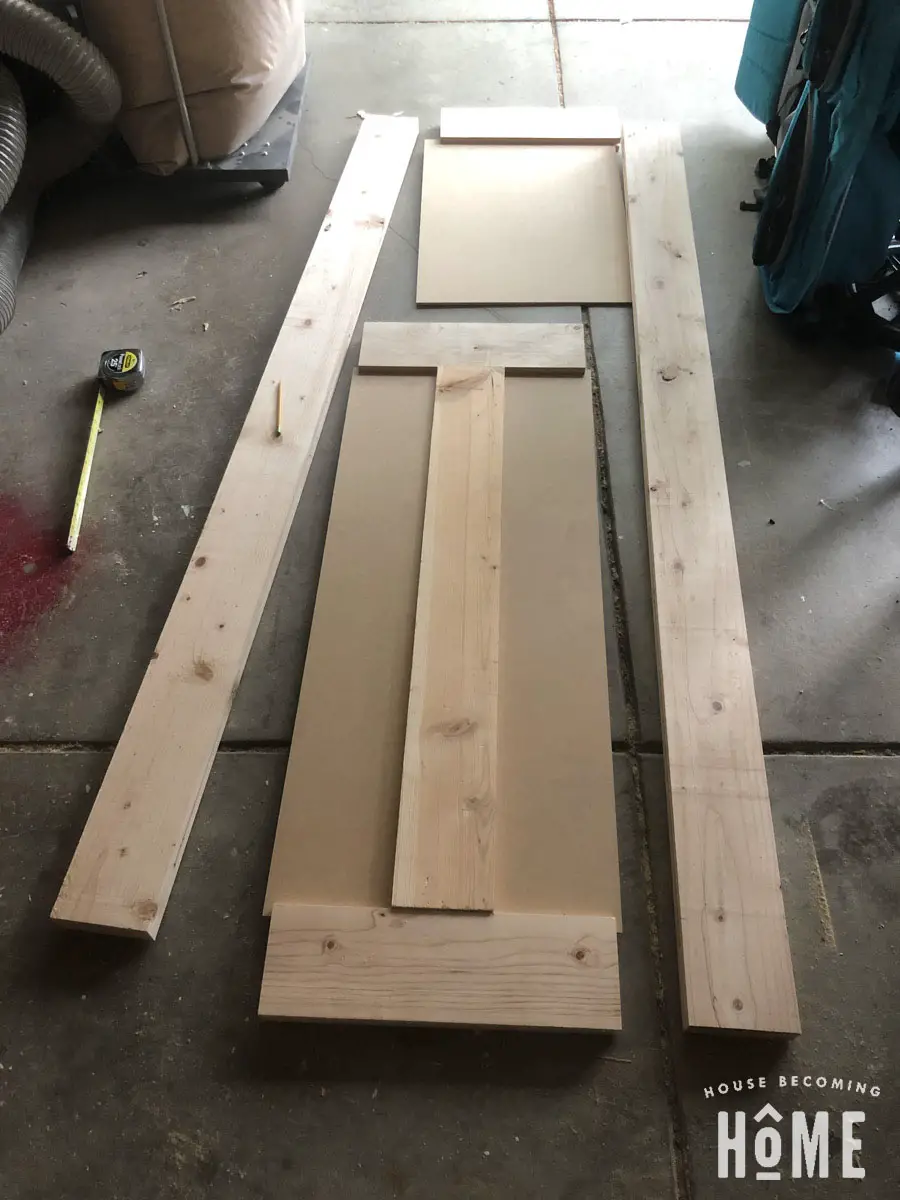
You can see in the photo above that the panels have about ½” extra on each side to slide into the slots of the 2×6’s.
Step Five: Beadlock Joinery
Begin preparing the 2×6’s to be joined together using Rockler’s Beadlock Pro Joinery Kit. If you’re not familiar with beadlock joinery, here’s a quick summary:
- The Beadlock Joinery system joins wood in a type of loose tenon joint.
- The Beadlock jig makes it easy to create matching mortises in your lumber using just a drill.
- After using the jig to make a mortise on both pieces of lumber, a 2” piece of beadlock tenon stock (+ wood glue) connects the pieces in a joint that has the strength of a traditional mortise and tenon joint.
Here’s how I used the Beadlock Pro Joinery kit when I built my door:
Lay out the pieces being joined and place the beadlock tenon stock where you want it. Make a mark on the inside edge of the beadlock, marking both pieces of lumber. You’ll use this mark to get the jig lined up correctly, so that both mortises you make will perfectly line up with each other.
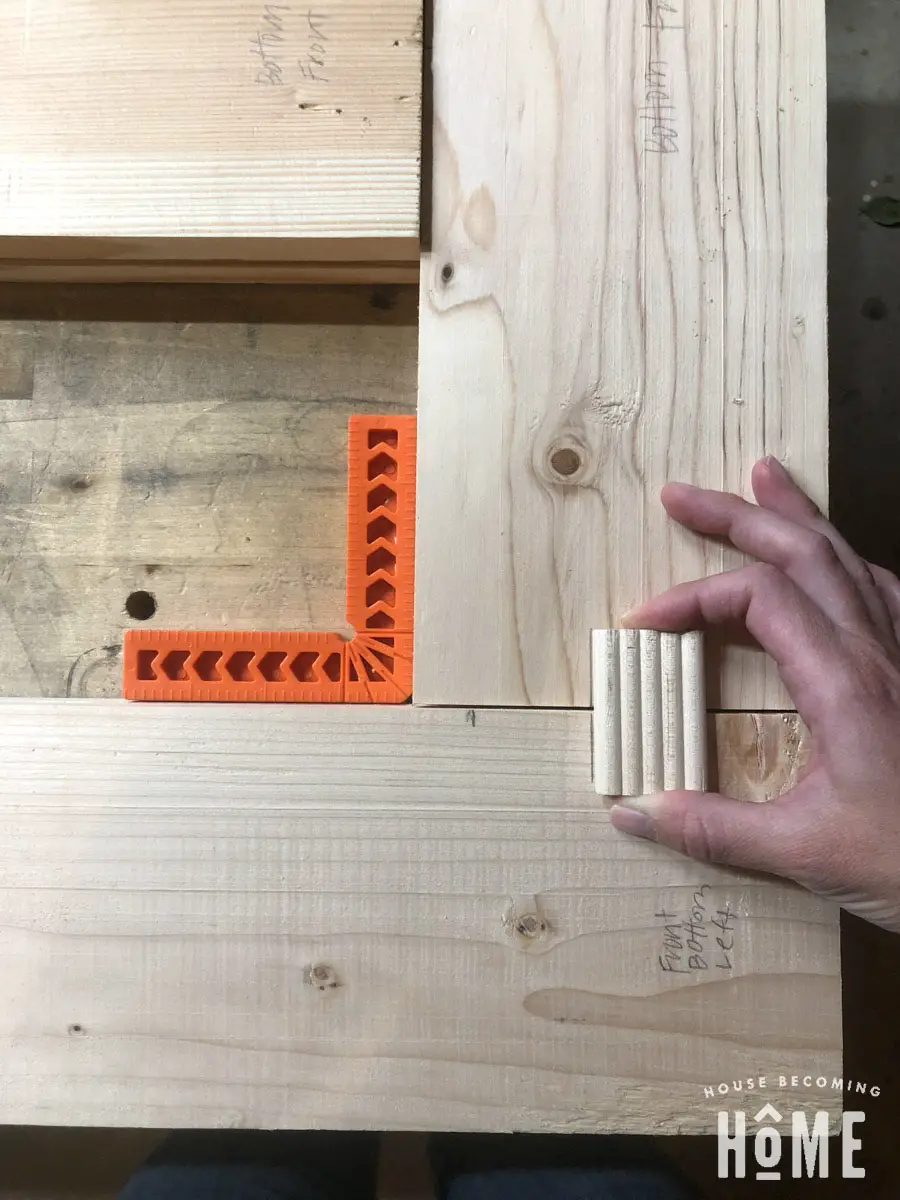
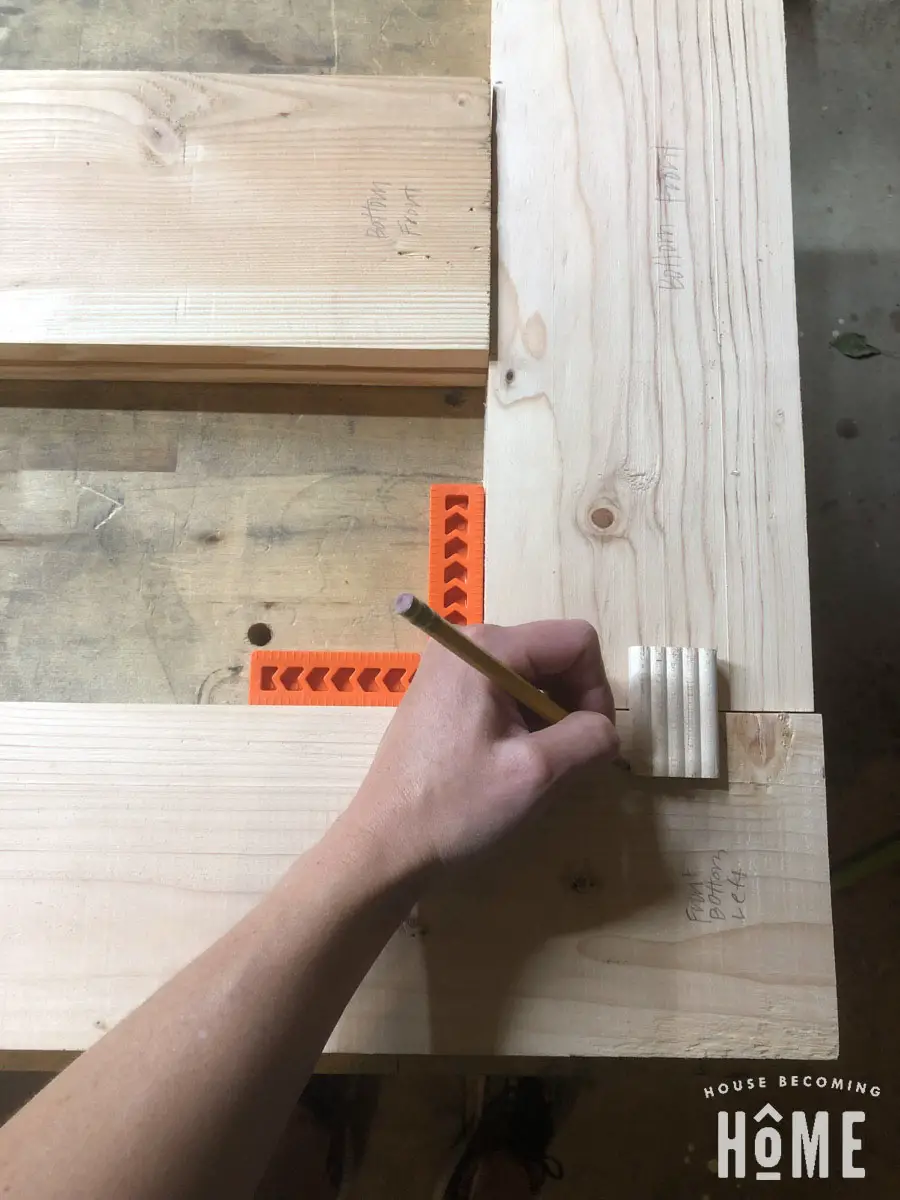
Next, make a mark in the center of the lumber you’ll be joining, on the face that you’ll be drilling into. You’ll match this up with a line on the side of the jig, which will ensure your mortises are right in the center of your lumber.
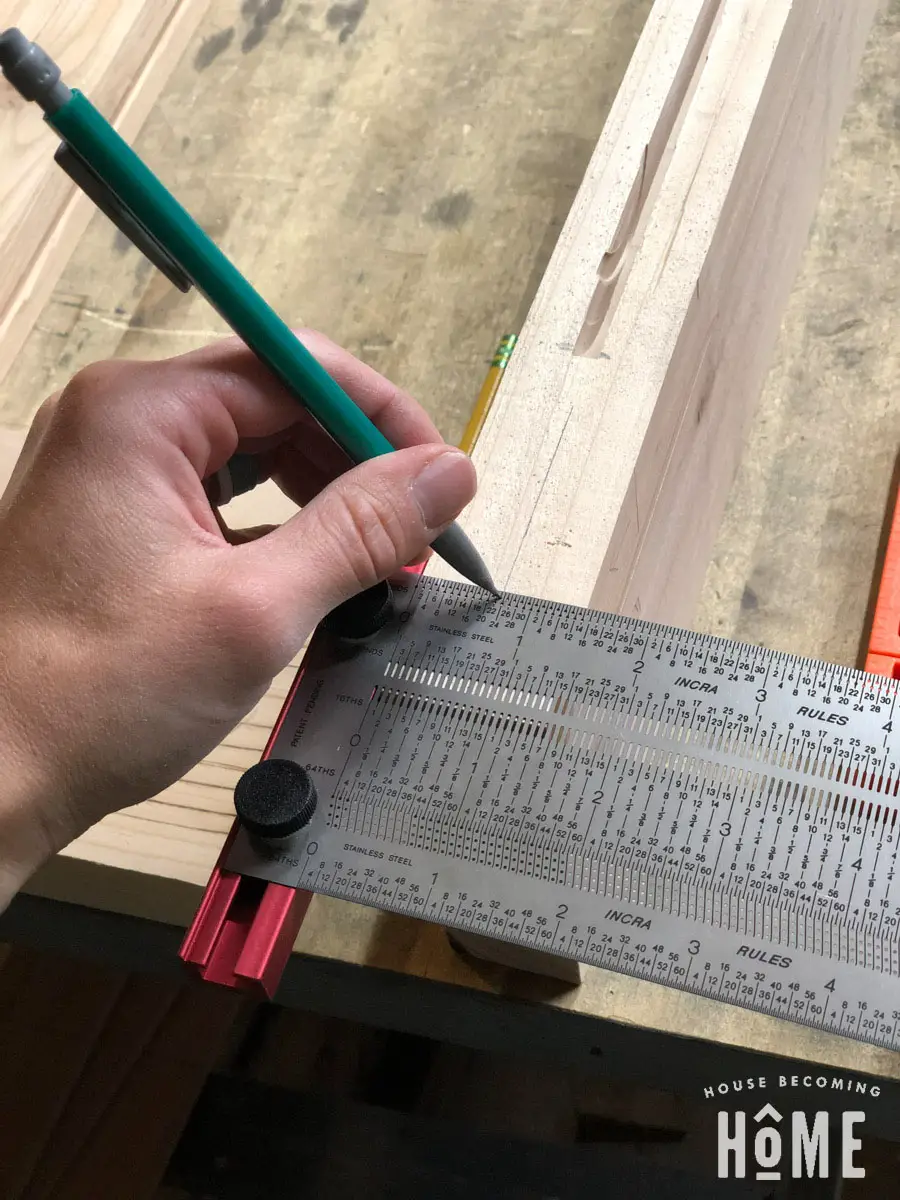
Place the jig onto the first piece you’ll be making a mortise in. To get the mortise in the exact spot it needs to be made in, you’ll need to line it up in two spots:
- The center mark on your lumber lined up with the center mark on the side of the jig.
- The pencil mark showing the placement of the beadlock tenon, lined up with a white line on the jig.
And that’s it! Once you’ve got those two marks lined up correctly, tighten the knobs of the jig and it’s fixed in place while you drill your beadlock mortises.
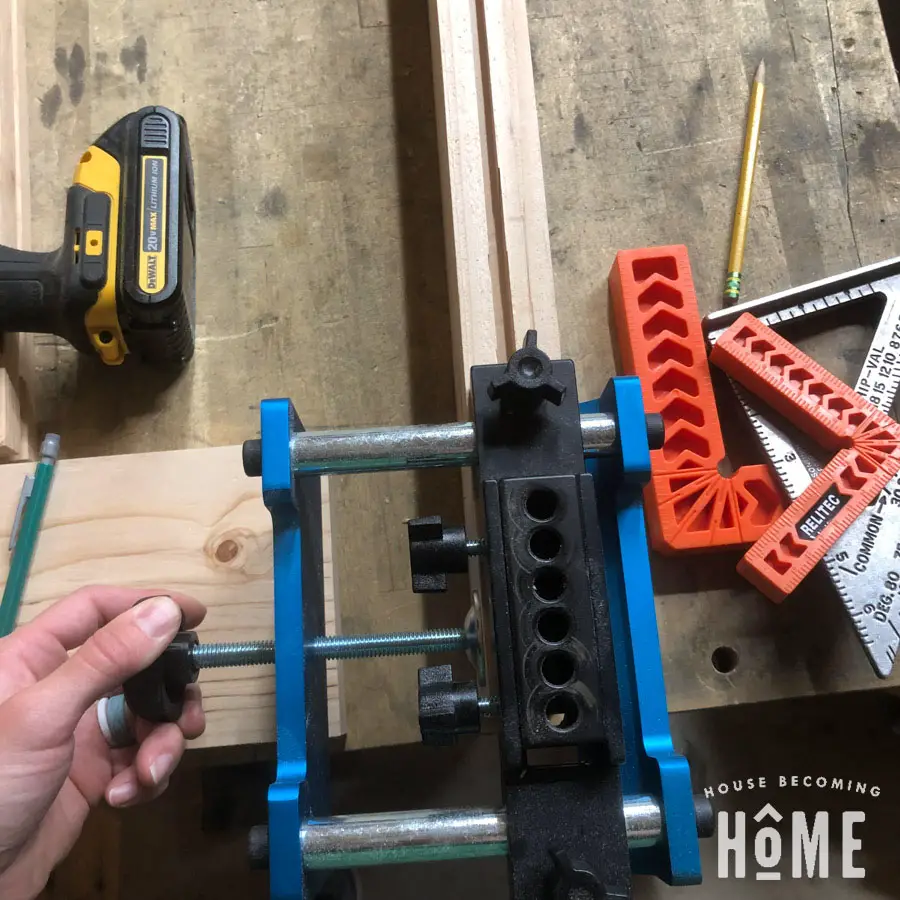
Drill into the three, far left holes.
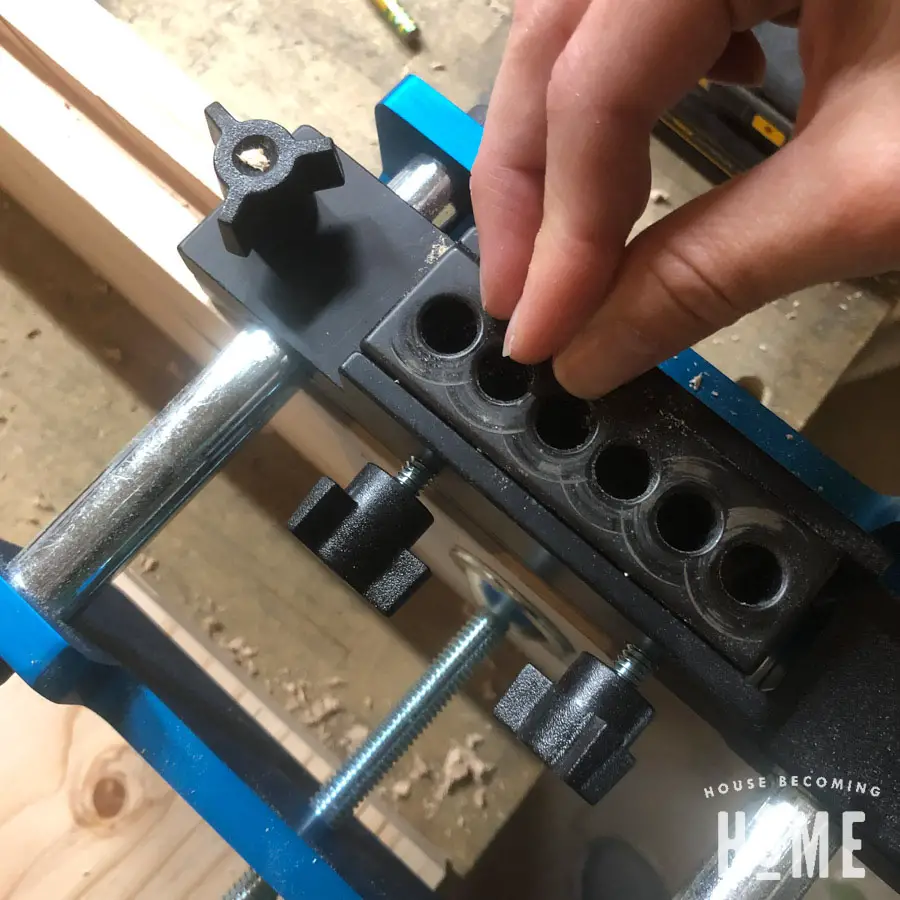
Make sure to use the stop collar provided in the kit, so that you’re drilling to the correct depth.
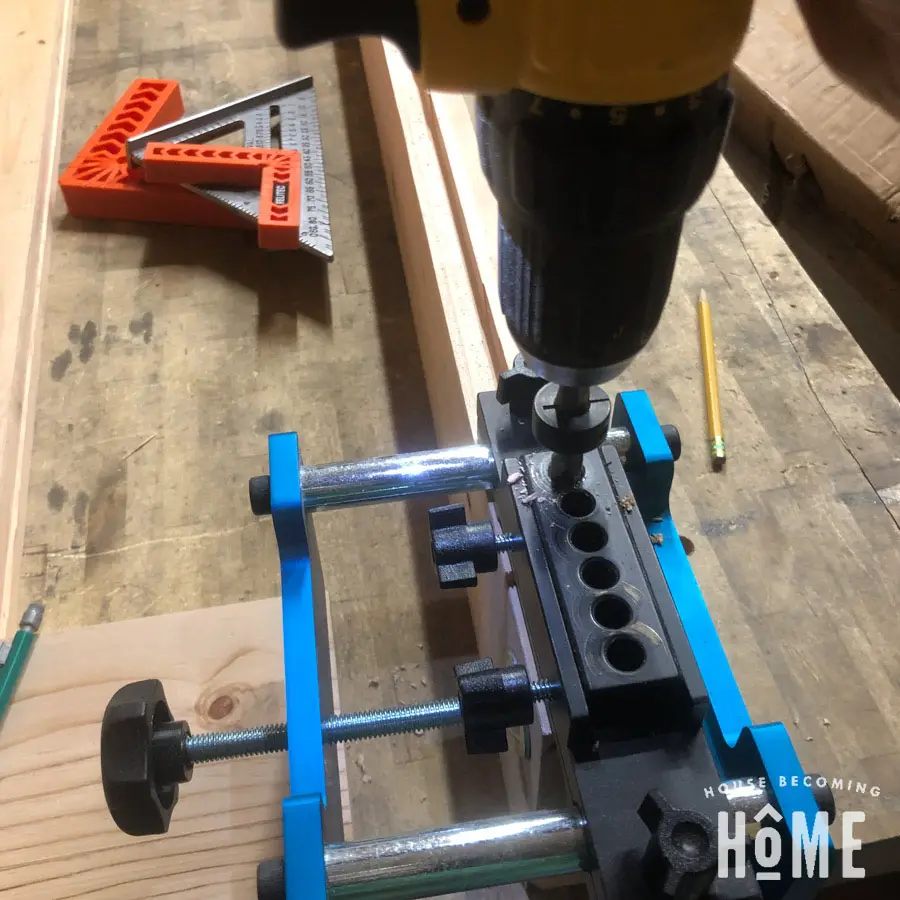
Loosen the knobs of the drill guide block, then slide the drill guide block all the way to the right. Tighten the knobs to secure it in place.
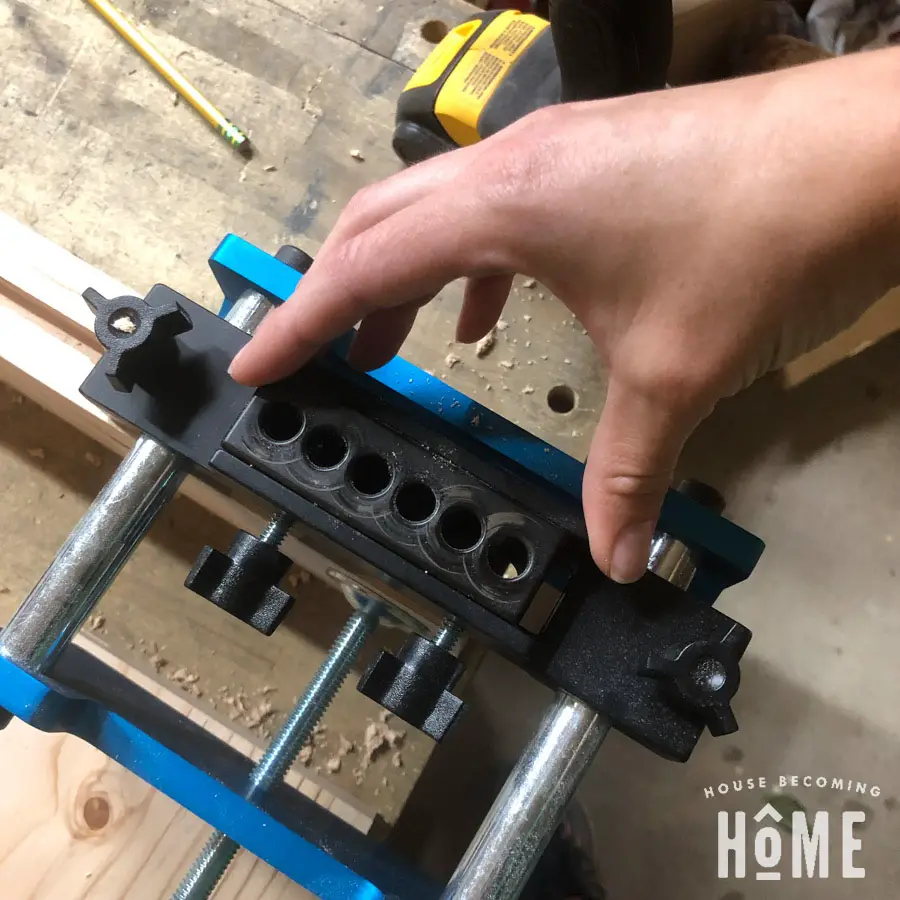
Now, drill two more holes, this time only into the far left two holes.
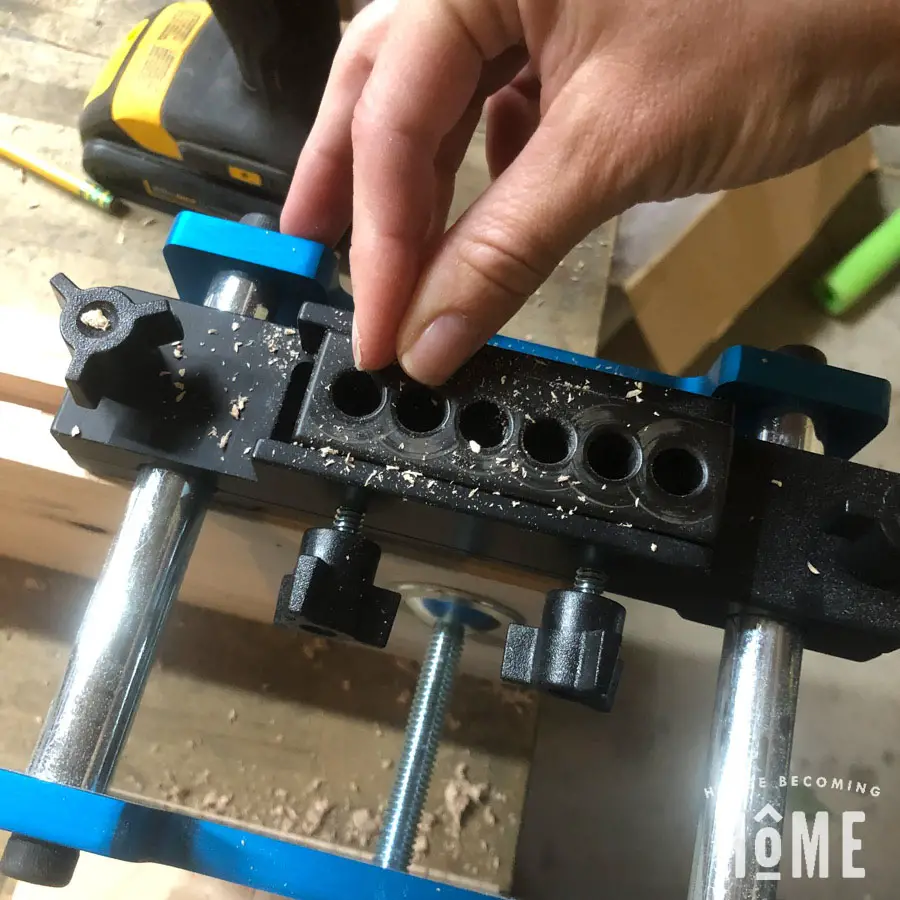
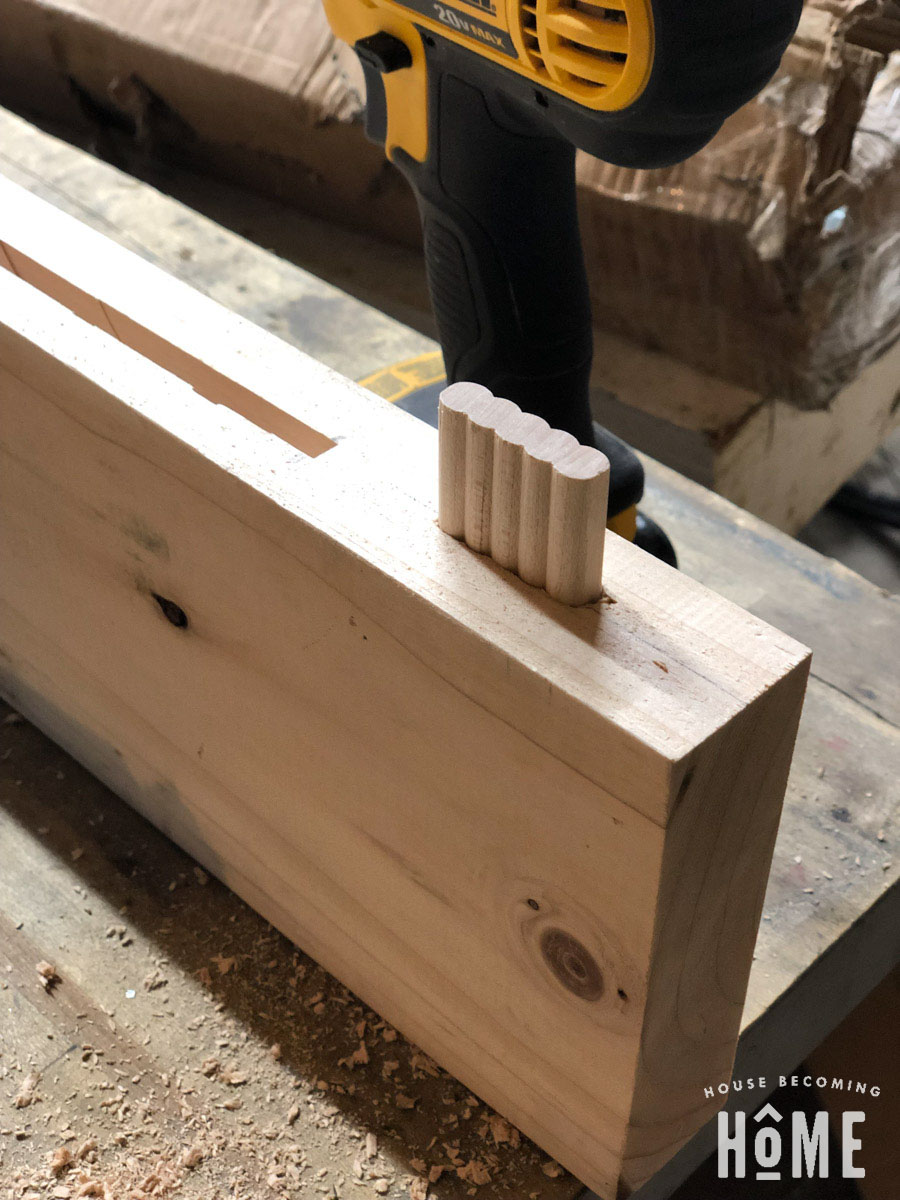
Remove the jig, clear any saw dust from the mortise.
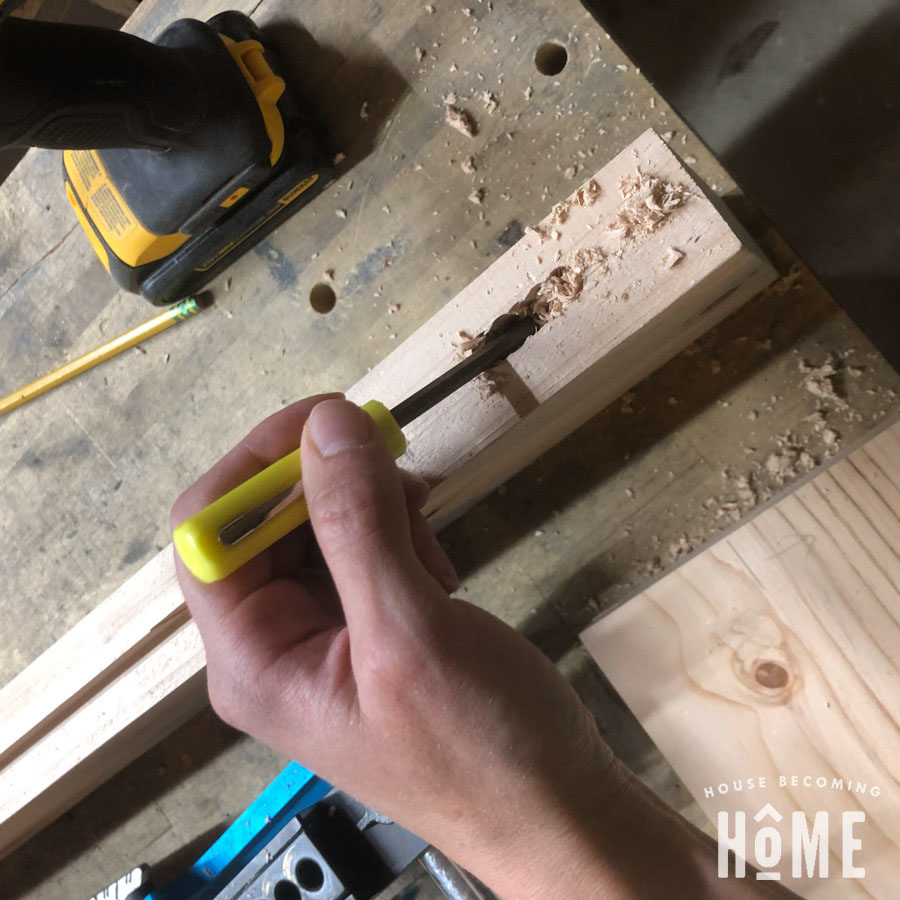
Here’s what it looks like:
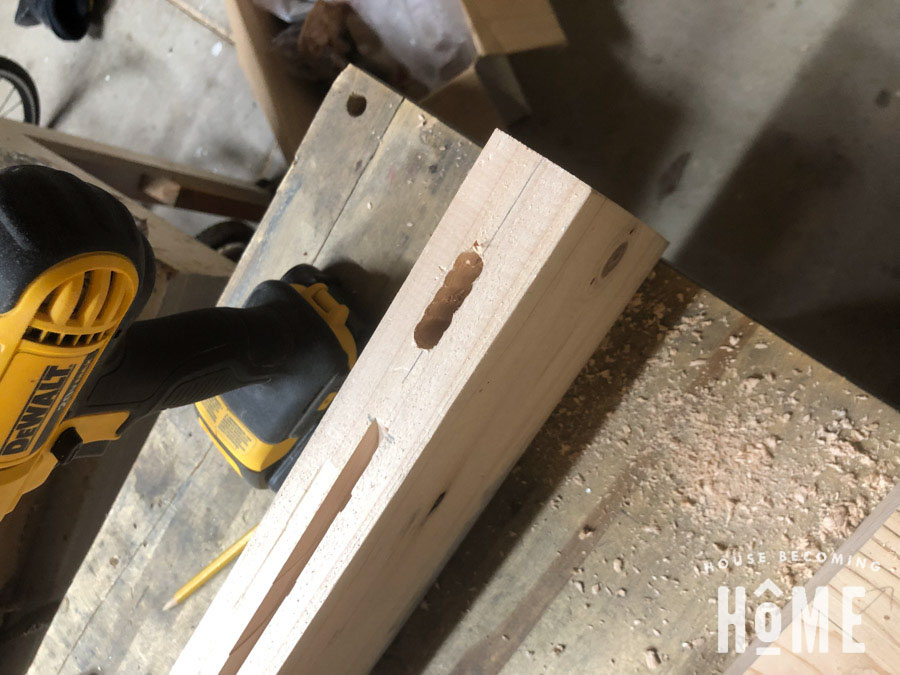
A piece of beadlock tenon stock will fit nice and tight:
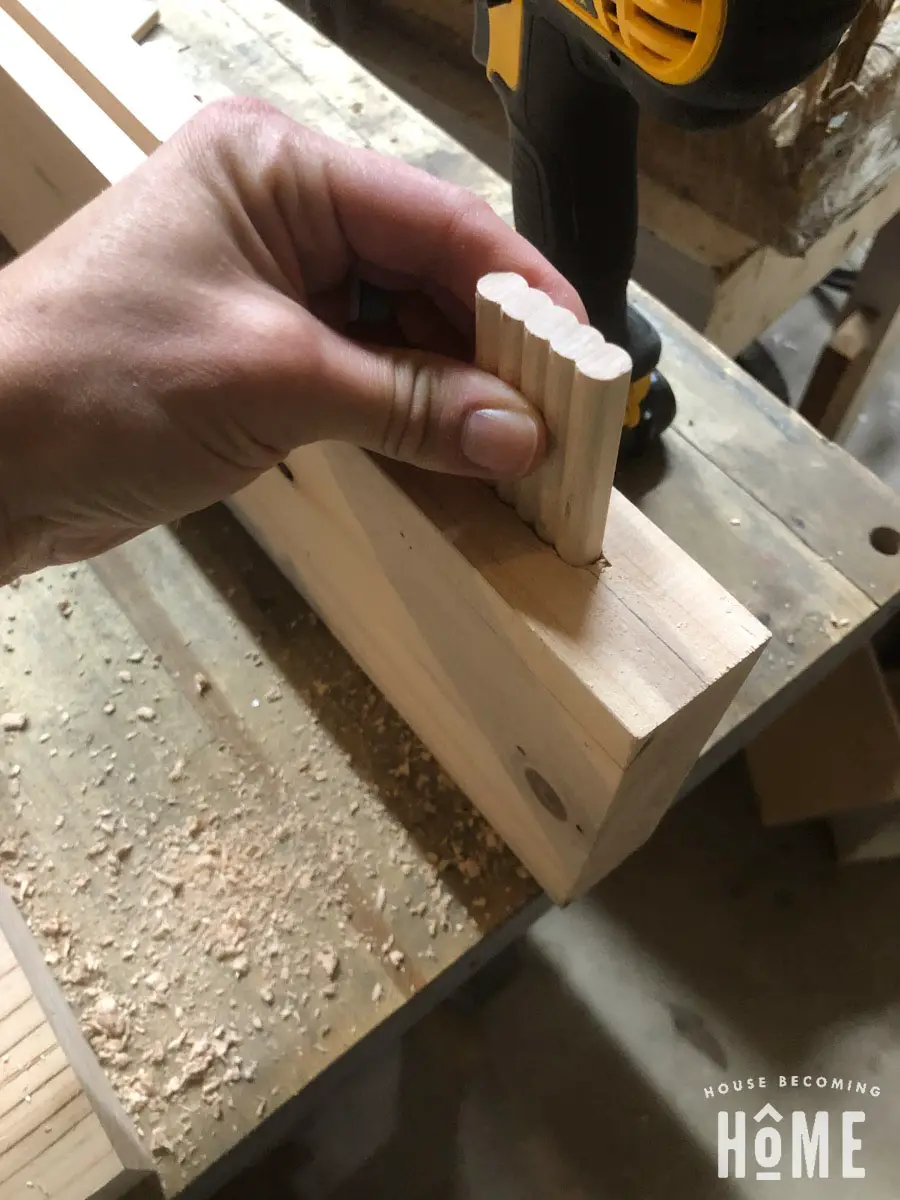
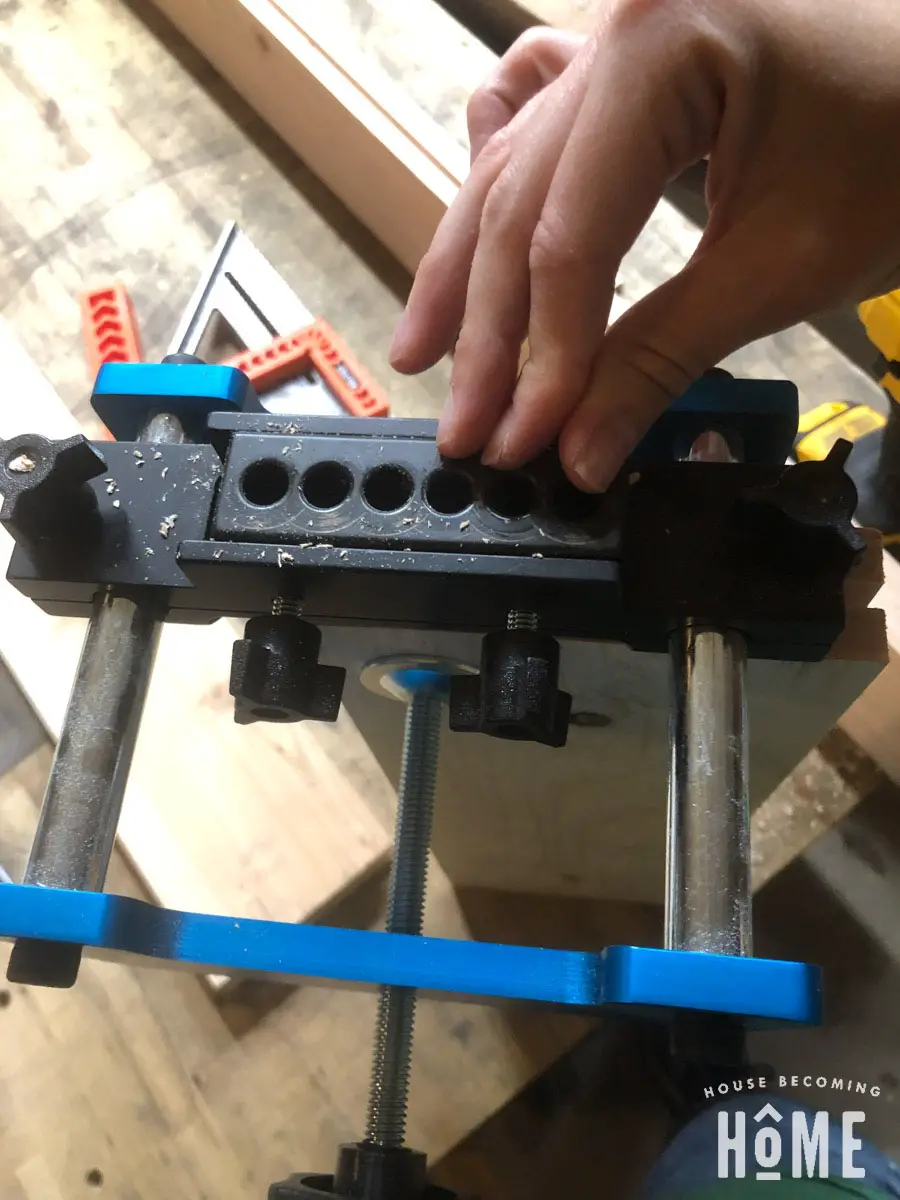
Without changing the position of the drill guide block, secure the jig to the other piece of lumber. Again, align the center mark of the lumber with the center mark on the jig, as well as the beadlock tenon mark with the white line on the jig. Tighten the knobs to secure into place.
This time, drill into the three, far right holes of the drilling template:
Loosen the knobs of the drill guide block, then move it all the way to the left. Tighten the knobs to secure. Drill two holes into the two, far right spots.
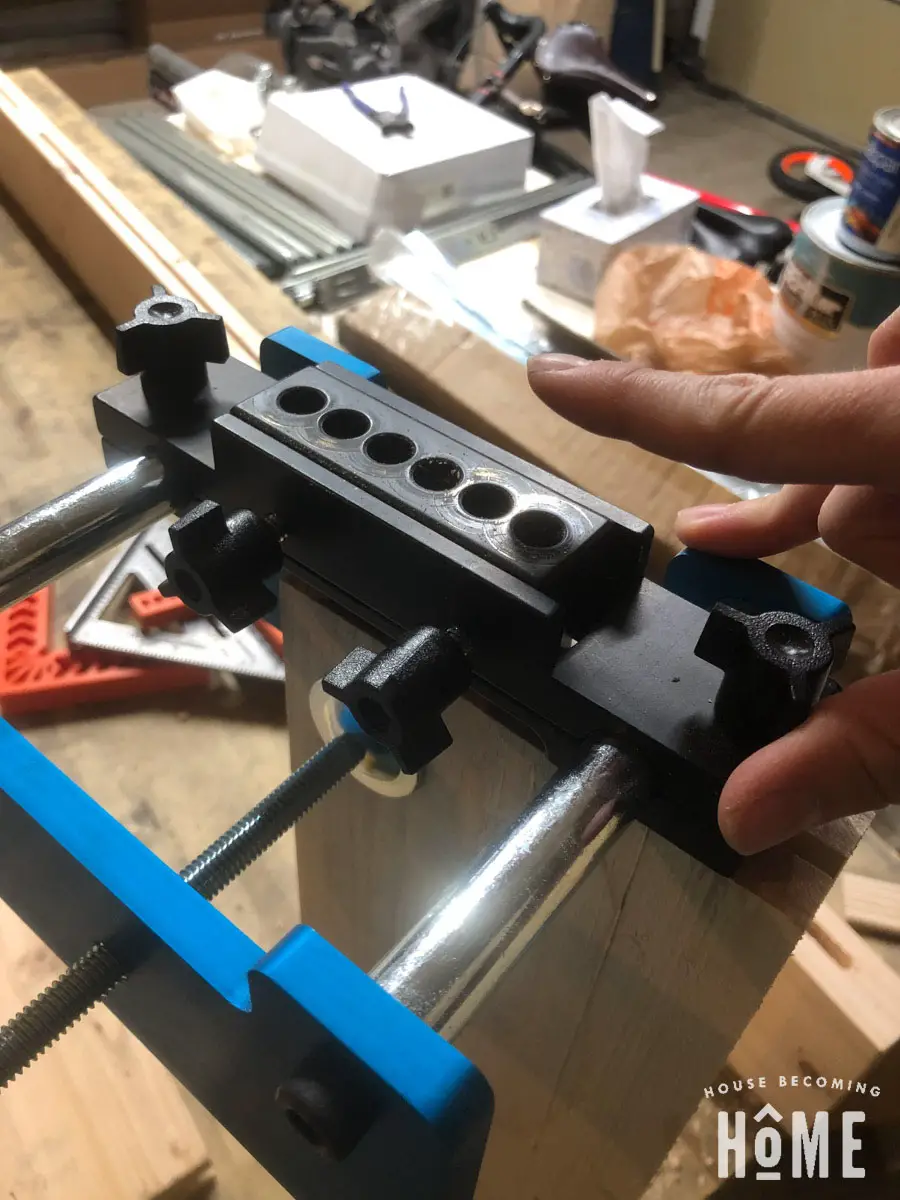
Remove the jig, clear any debris from the mortise.
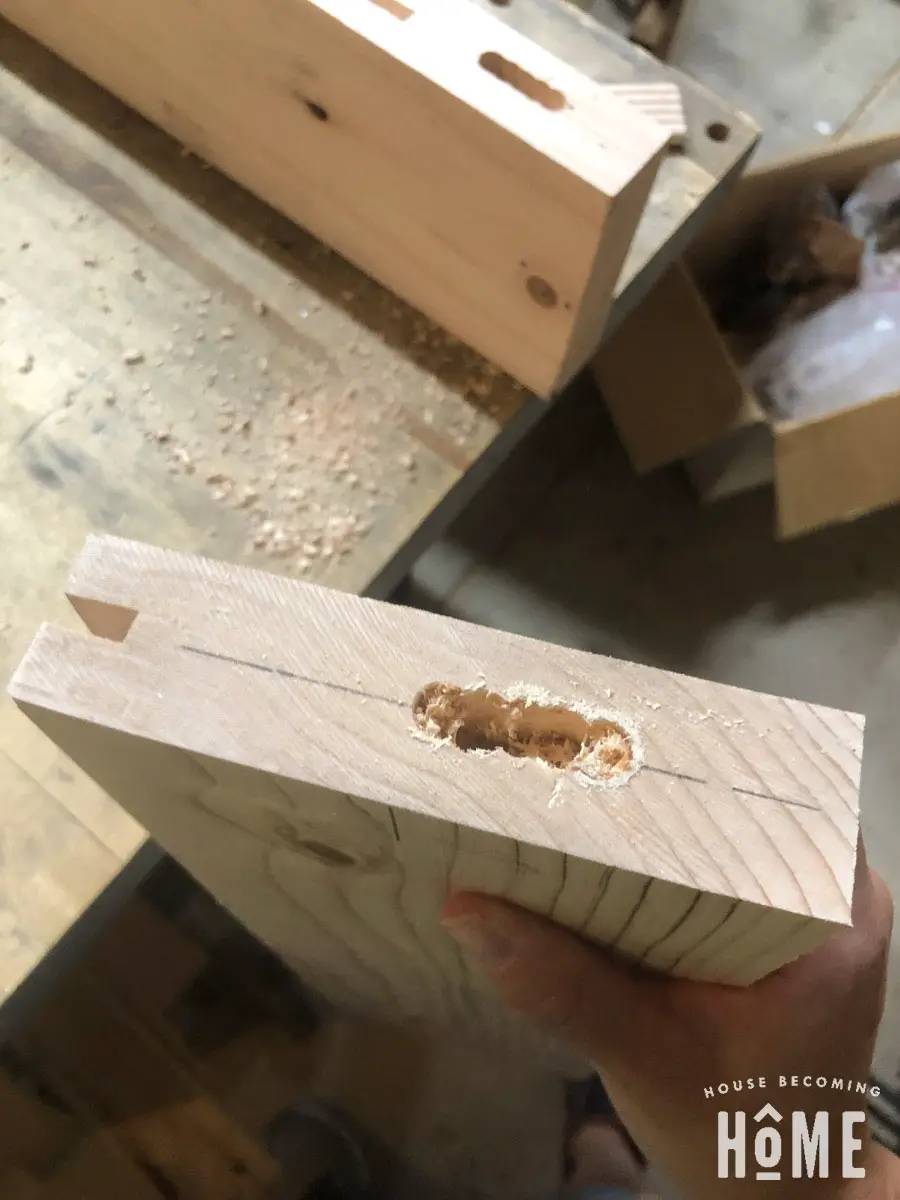
Now you’ve got both mortises made, and they should perfectly line up.
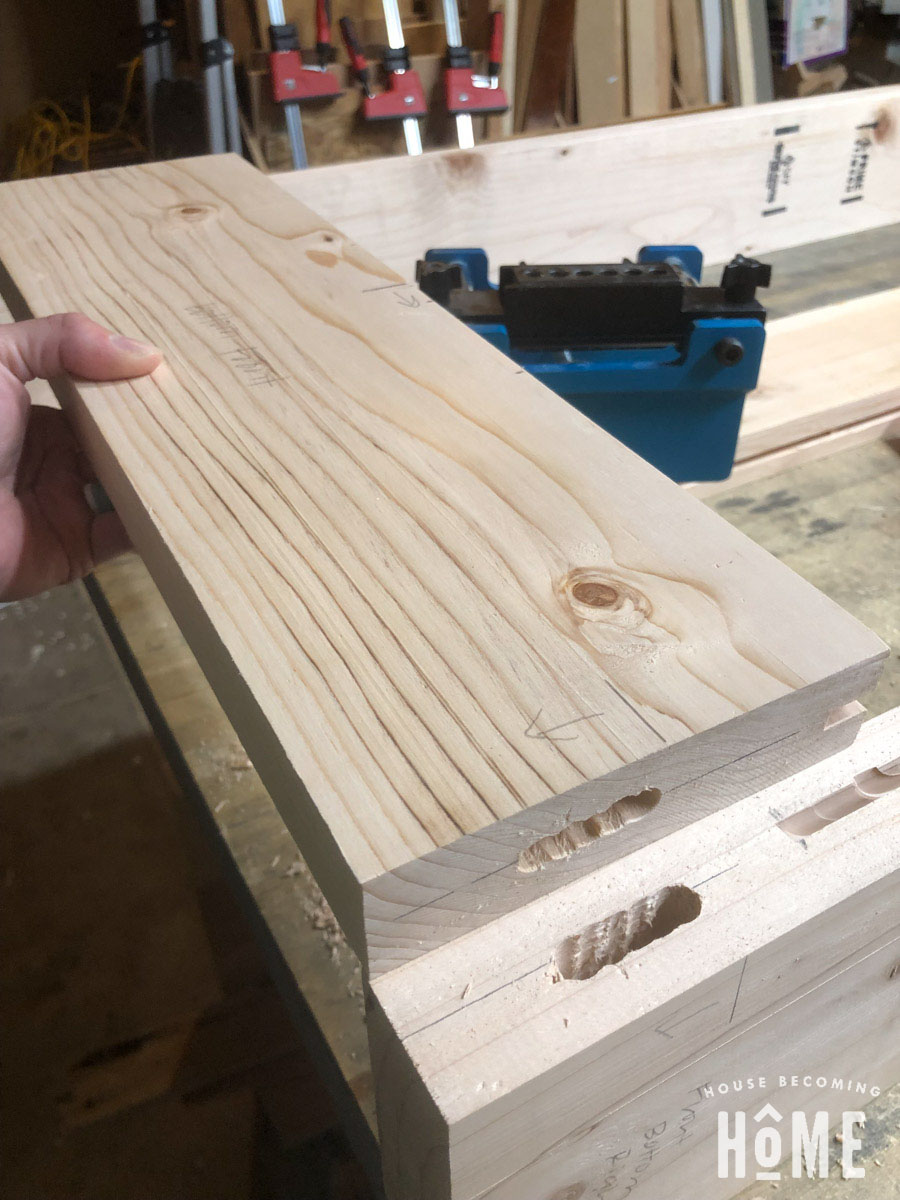
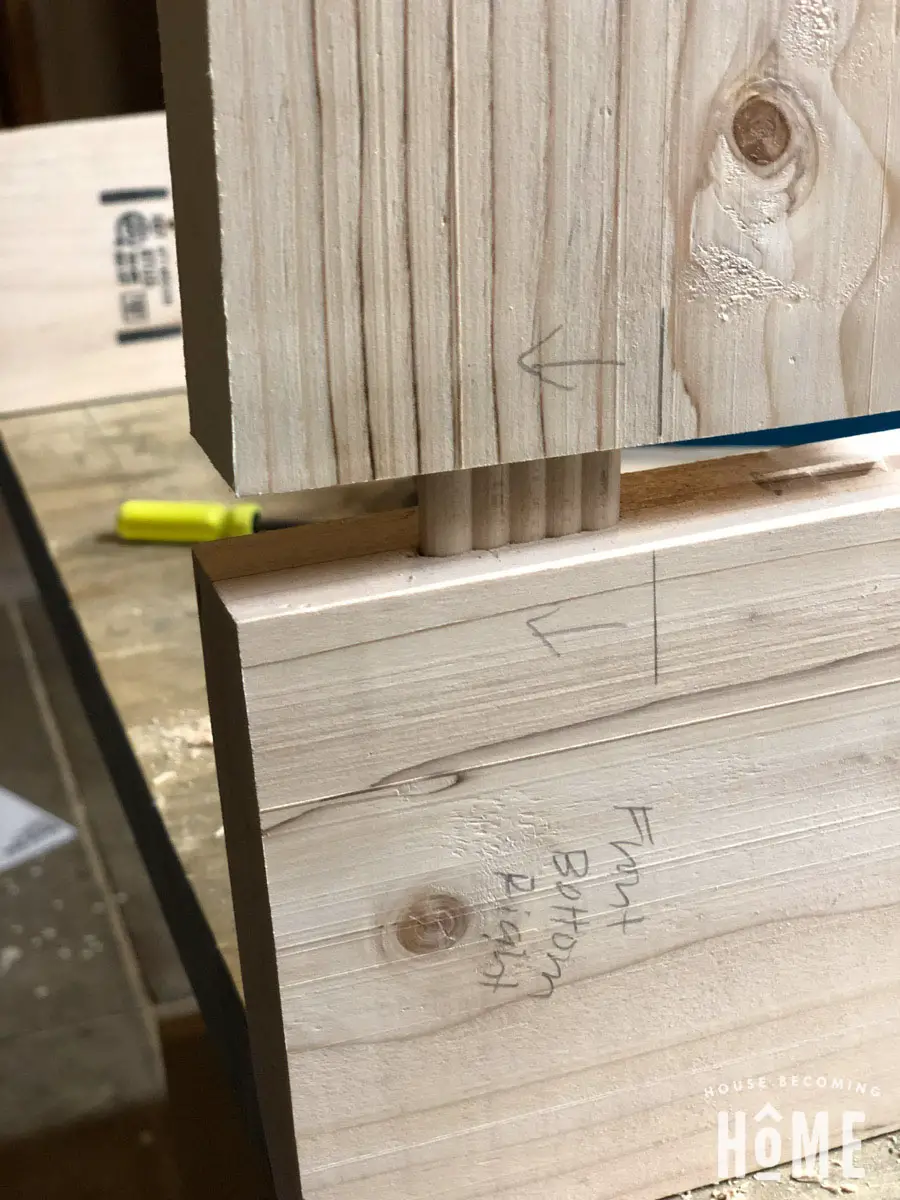
Look at that fit!
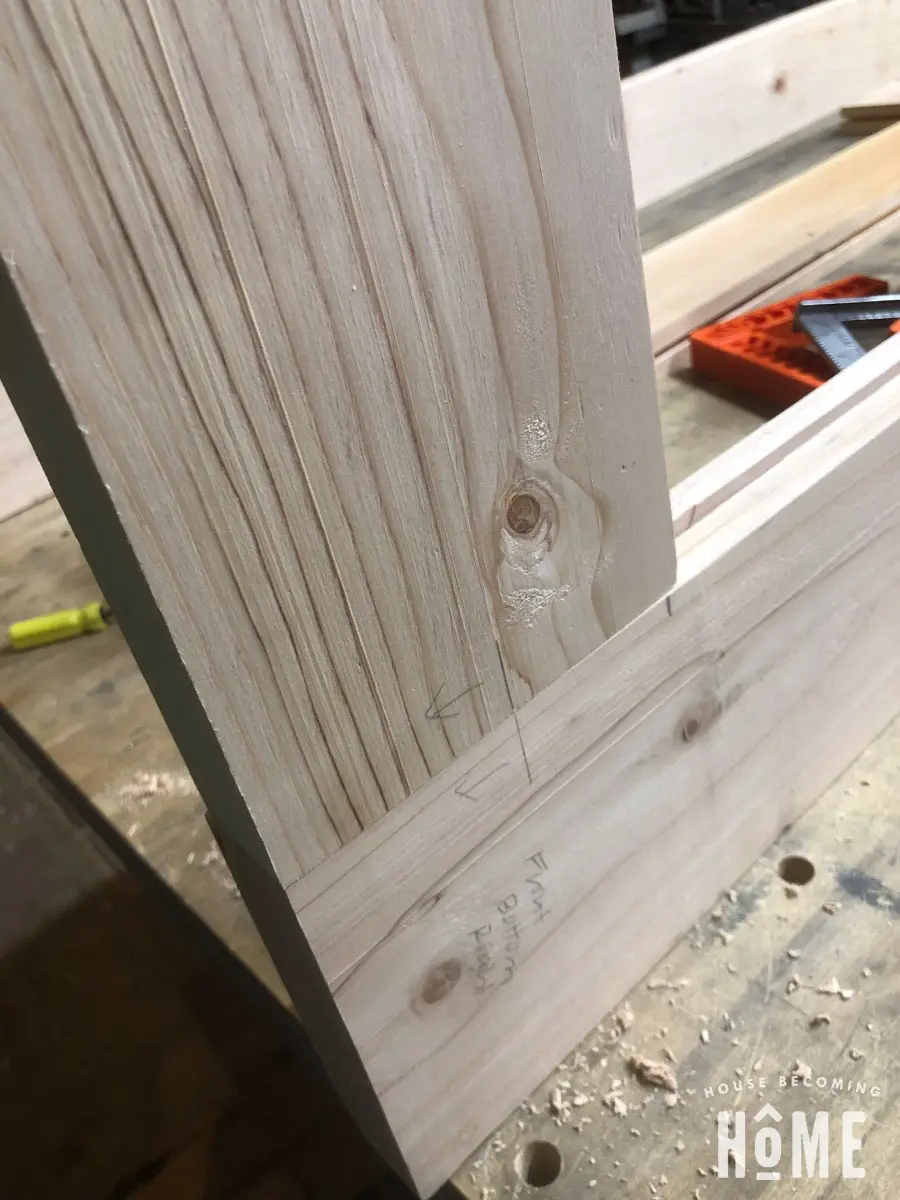
Continue using the Beadlock Pro Joinery Kit to make mortises in the spots you’ve determined. You can see here where I placed mine (top two not shown, as my door was too large to fit on my assembly table).

Step Six: Assemble the Door
Test the fit of all pieces without glue, making sure everything fits:
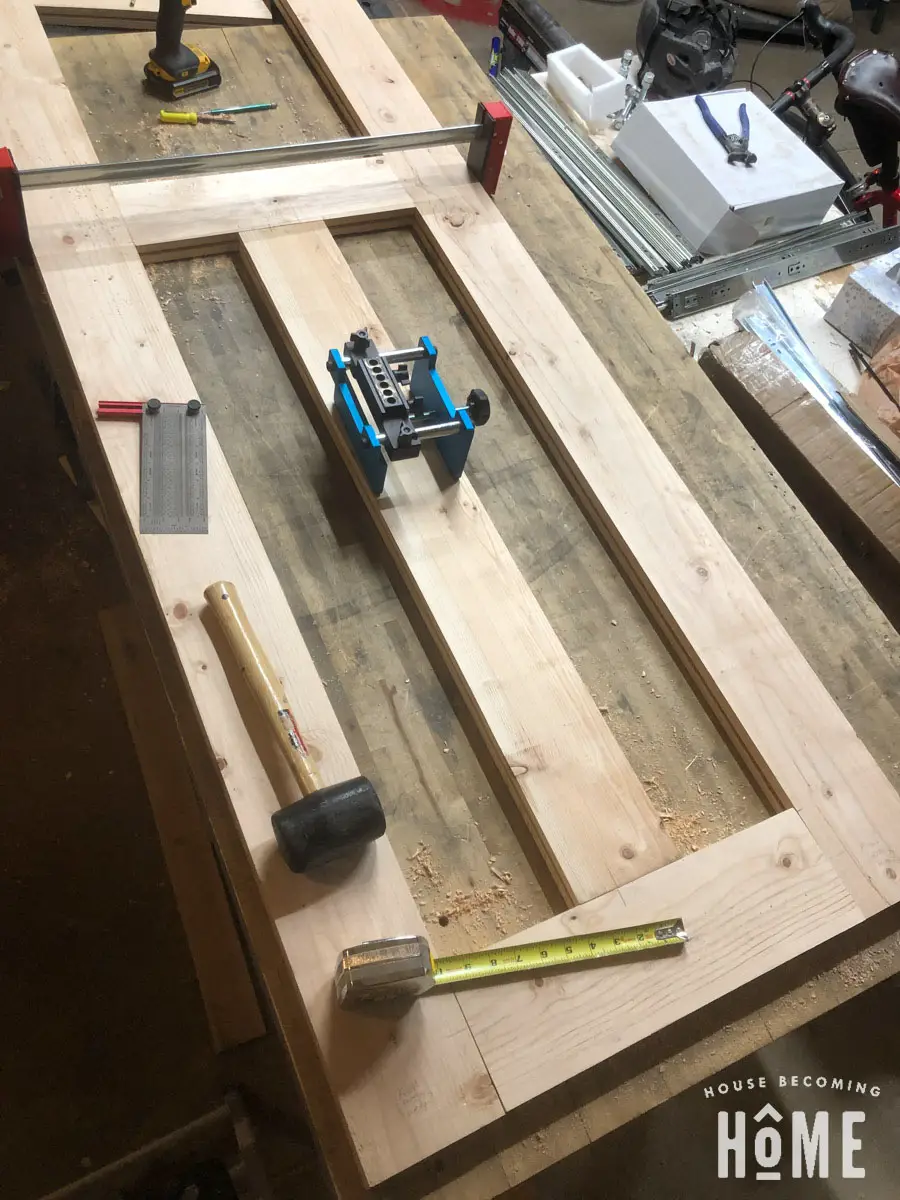
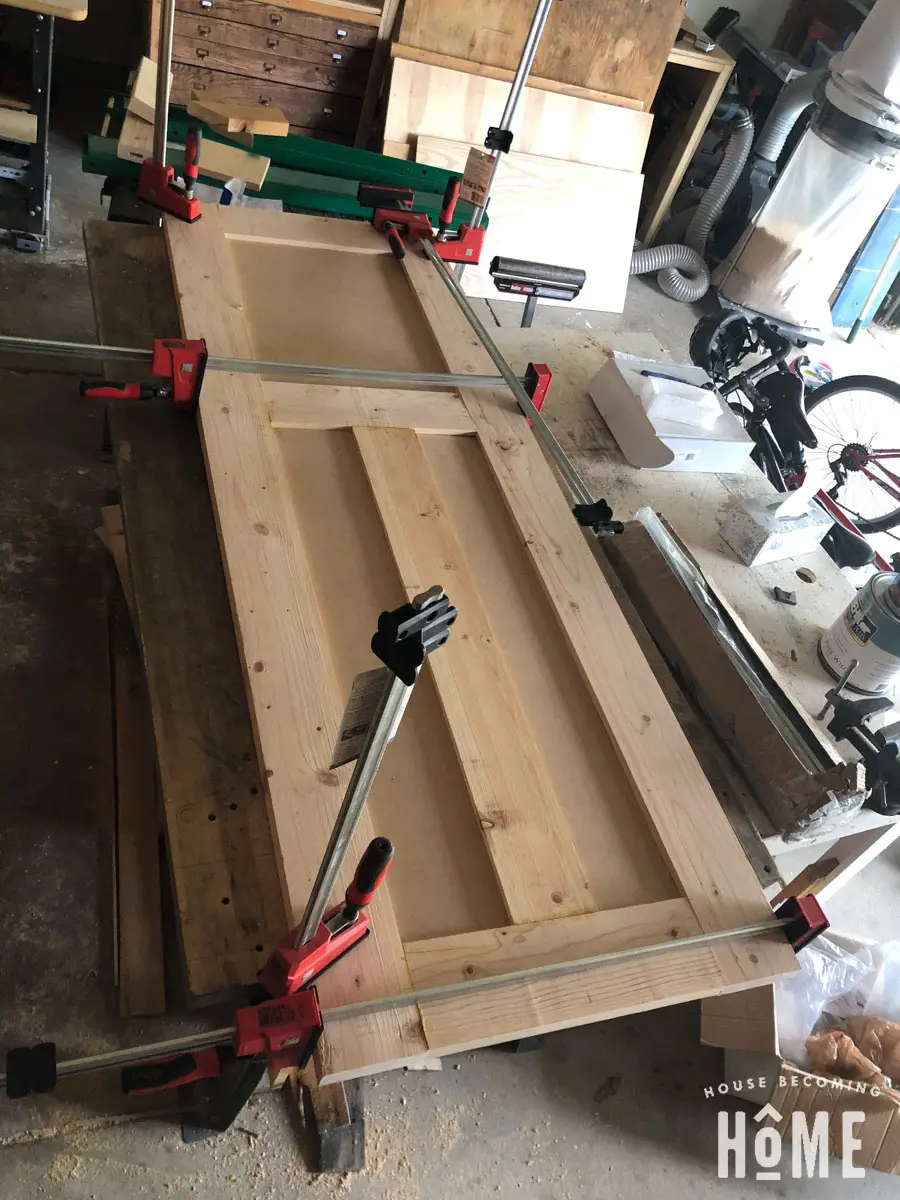
After you’re sure everything lines up, use wood glue in the slots, on the beadlock + beadlock mortises, and along the edges of 2×6’s that meet. Clamp it all together and let dry.
Step Seven: DIY Door Pre-Finishing
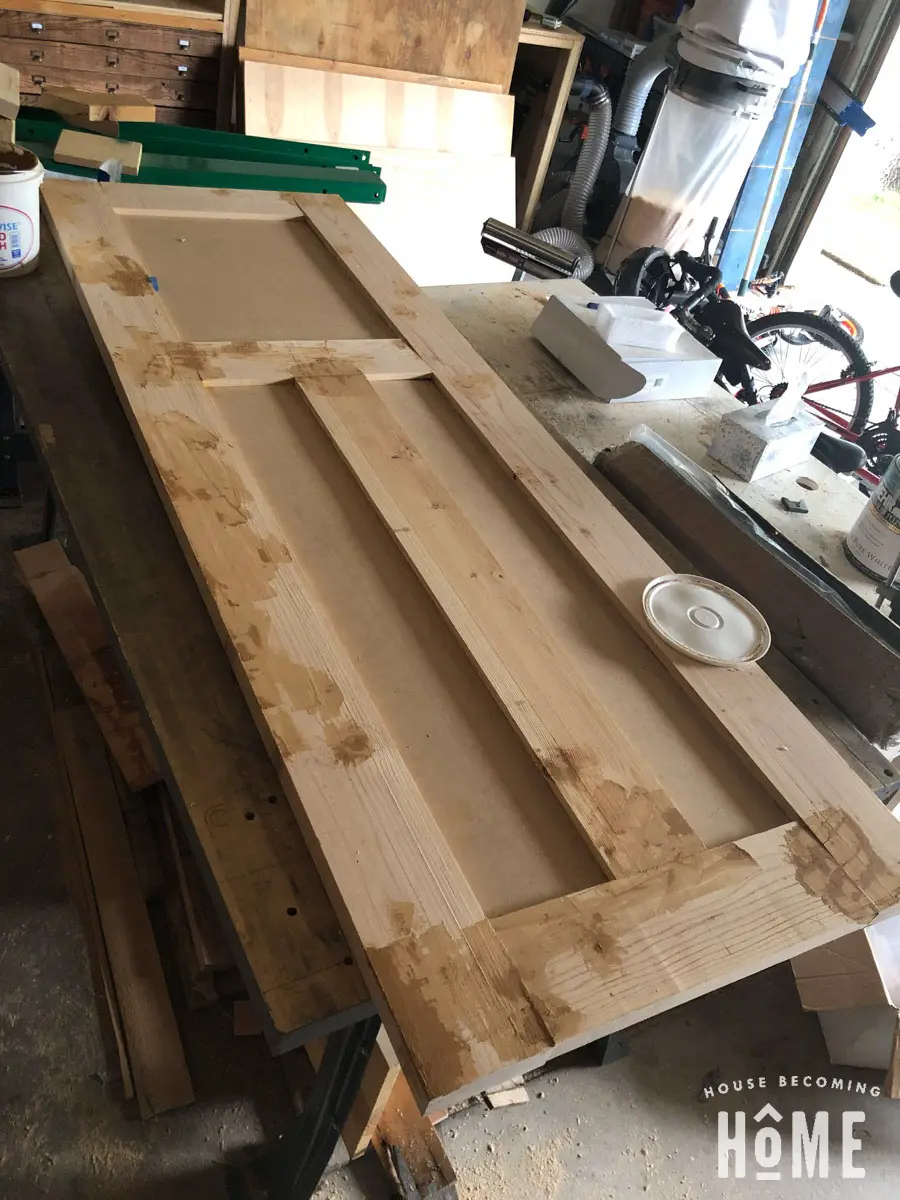
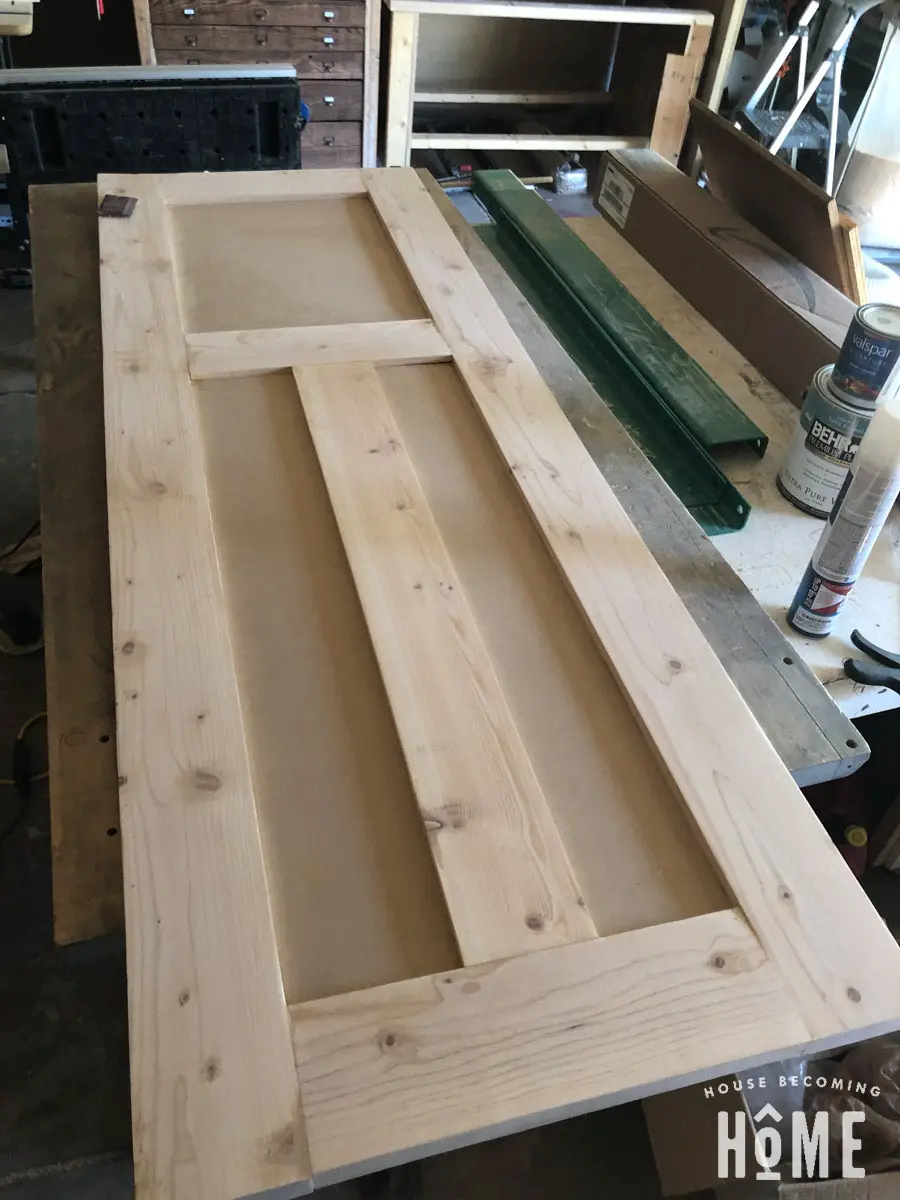
If you went cheap with construction-grade 2x6s, you’ve probably got lots of cleaning up to do like I did. I used wood filler to fill the cracks, dents and knots in the wood. Once dry, sand.
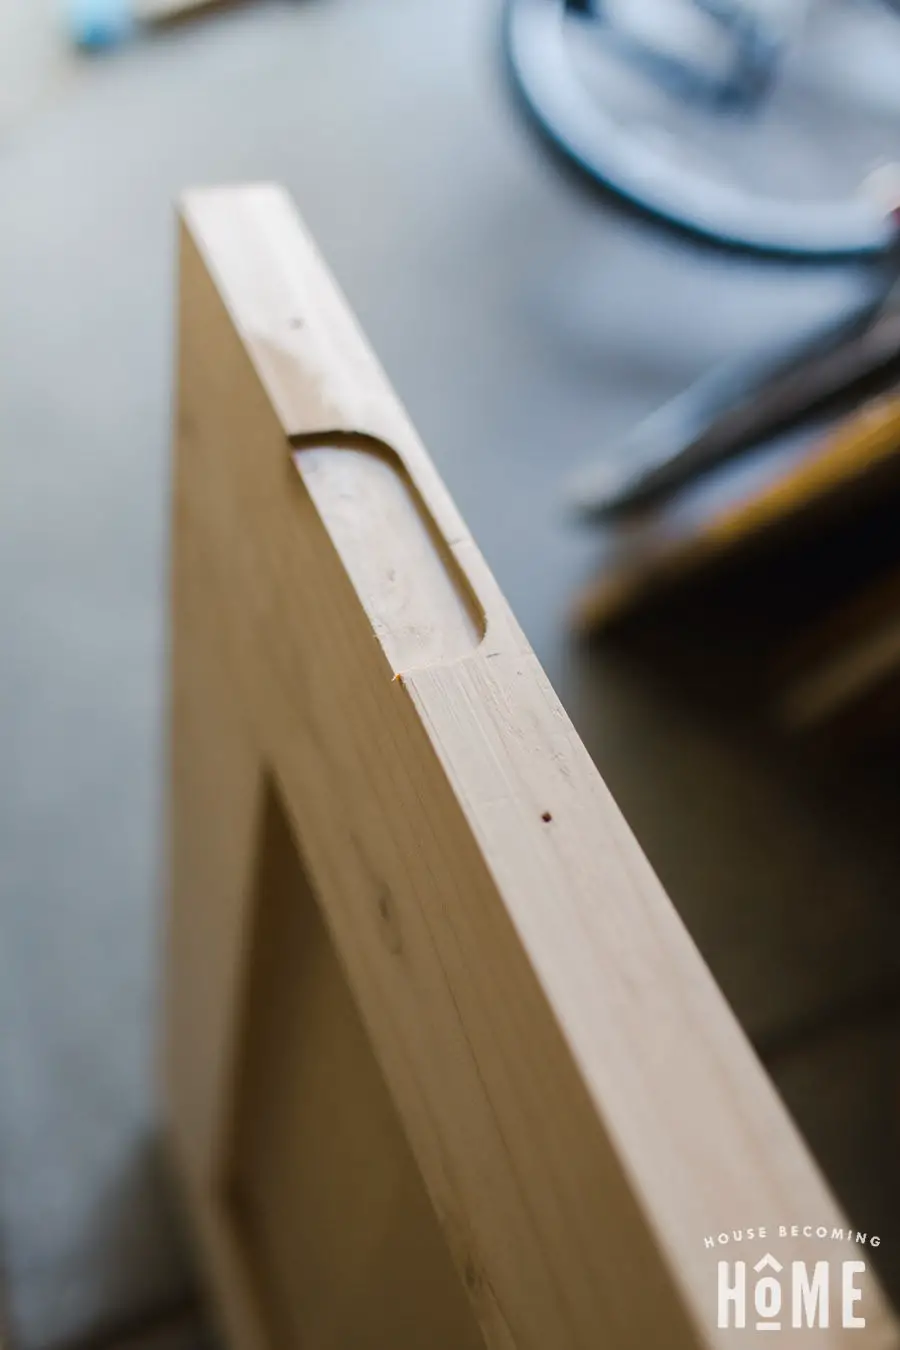
Step Eight: Cut hinge mortises
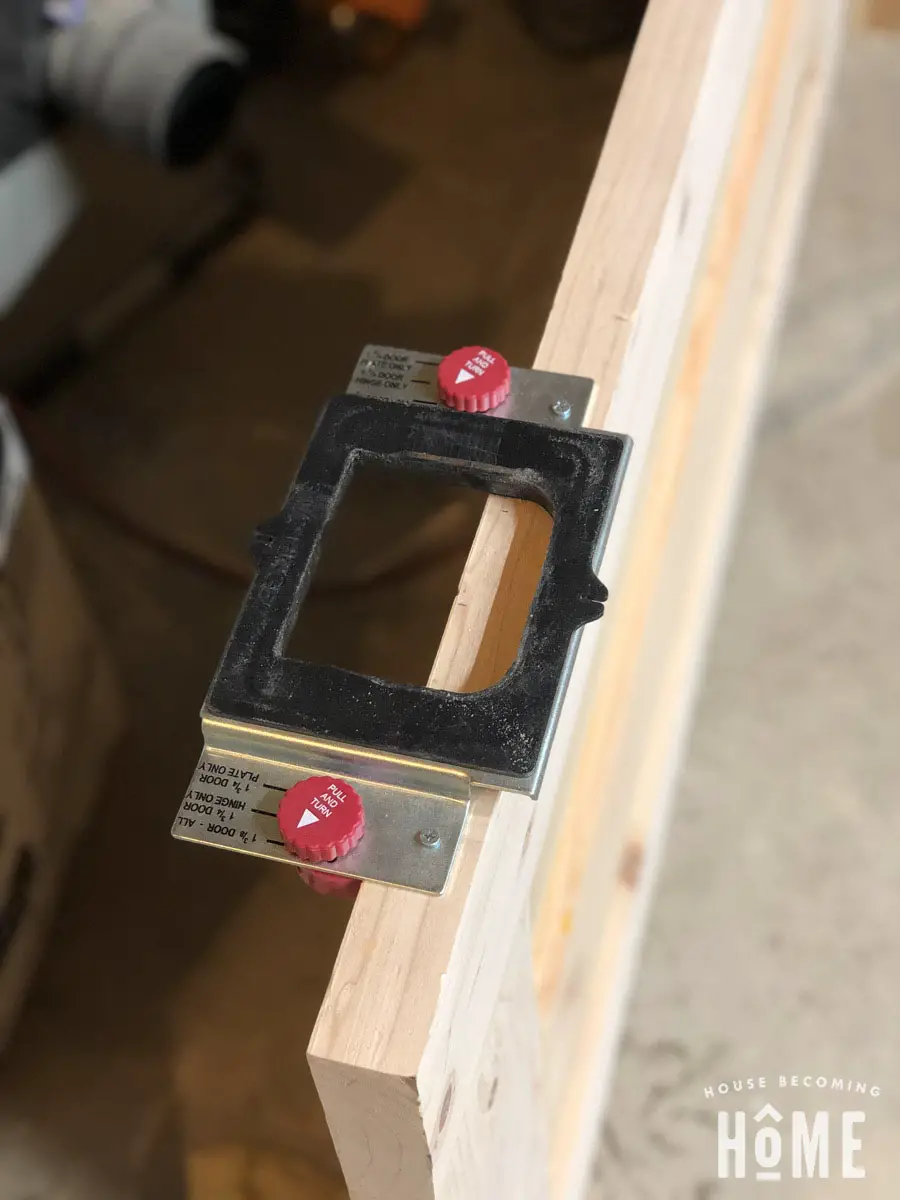
I used my Milescraft Mortising Template (affiliate link) and router. To read more about the process of making hinge mortises, see this post.
Step Nine: Build A Door Jamb
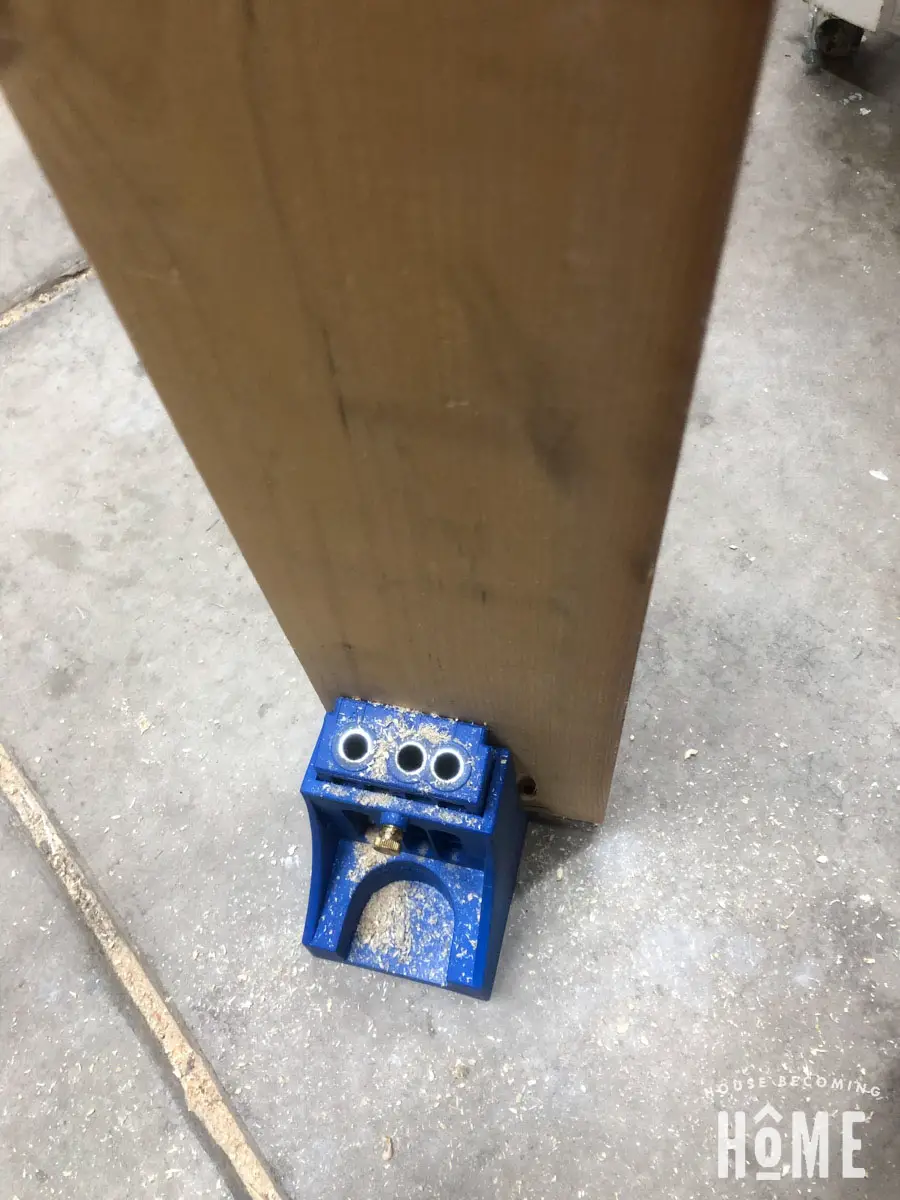
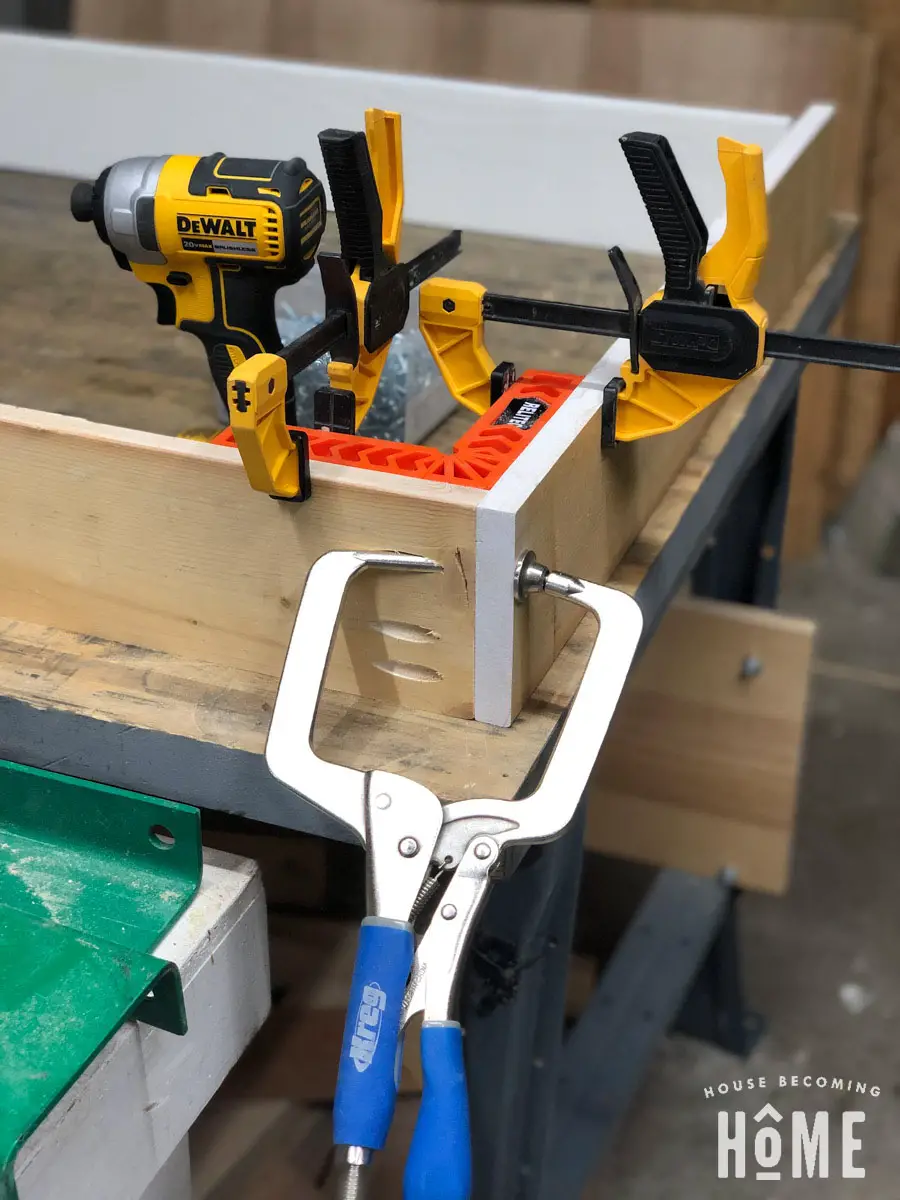
This is pretty simple. Make the door jamb from ¾” thick lumber. It’s opening needs to be the size of the door + ⅛” gap on the left, right, and top sides, and a 1” gap on the bottom. I made pocket holes and joined the sides to the top with pocket hole screws. (Be sure to make the hinge mortises on the door jamb before you join the sides together.)
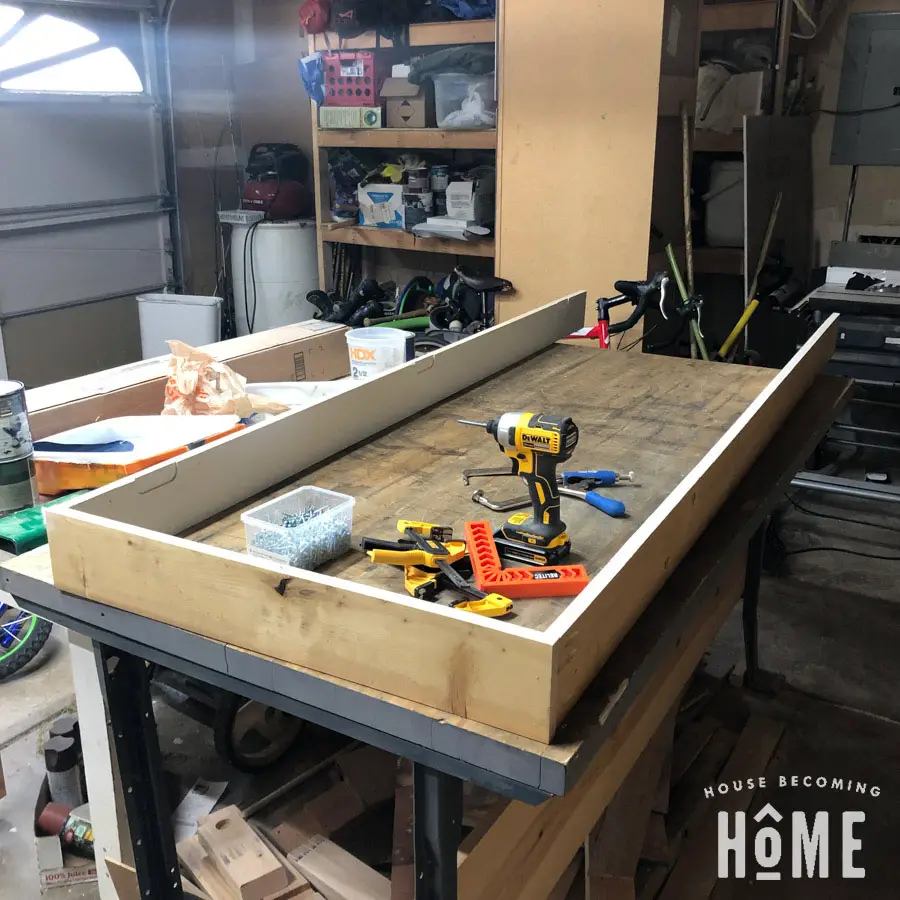
Step Ten: Prime & Paint
For tips on this, see the method I used to paint the door.
Step Eleven: Hang & Trim
Hang your door with 2-1/2″ construction screws through the door jamb. If there’s any interest, I’ll put together a more detailed post showing exactly the steps we took when hanging the door. Let me know. 🙂
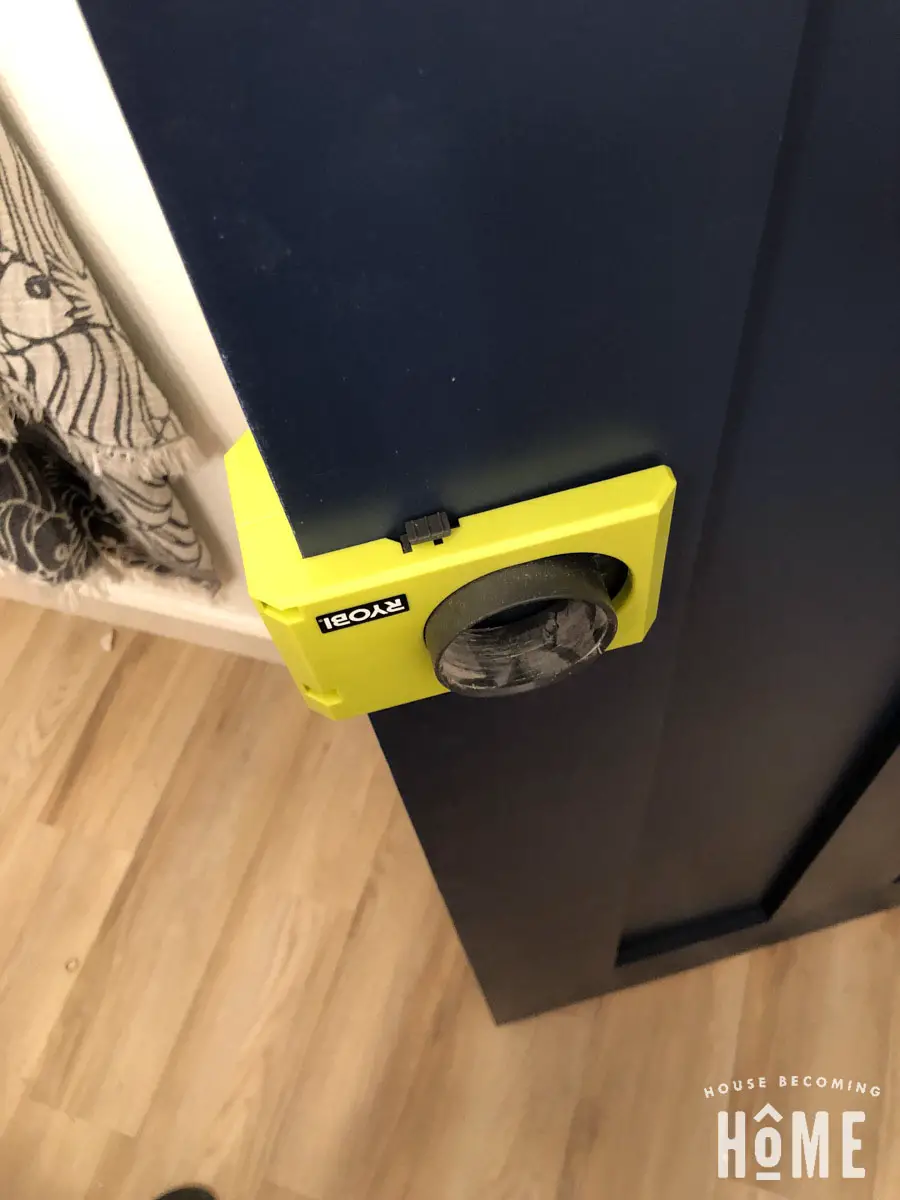
Drill a hole for the door knob. Ryobi’s Door Lock Installation Kit (affiliate link) makes the process really easy.
Add trim around the door and door stop molding along the door jamb.
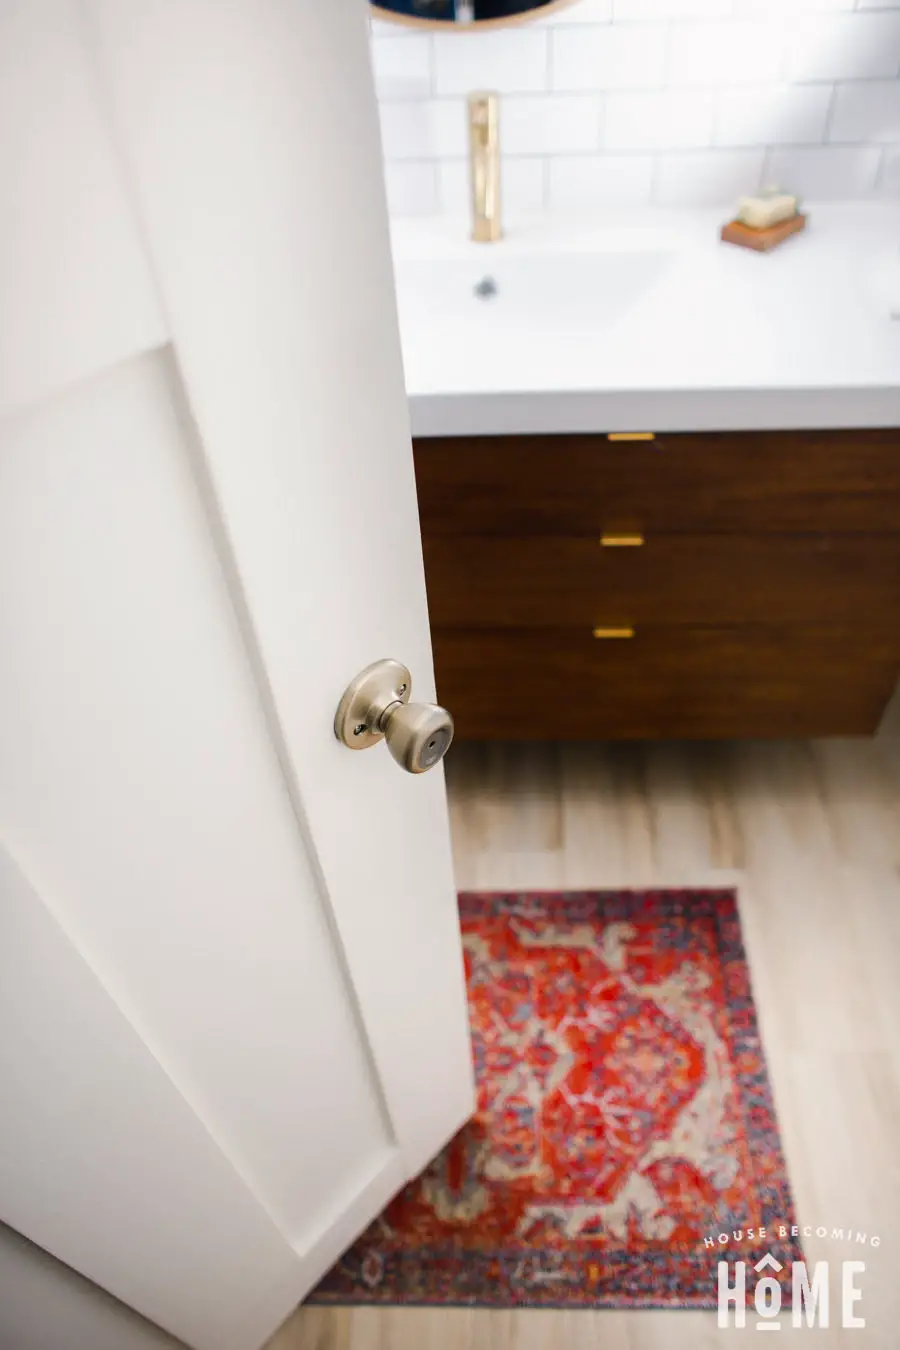
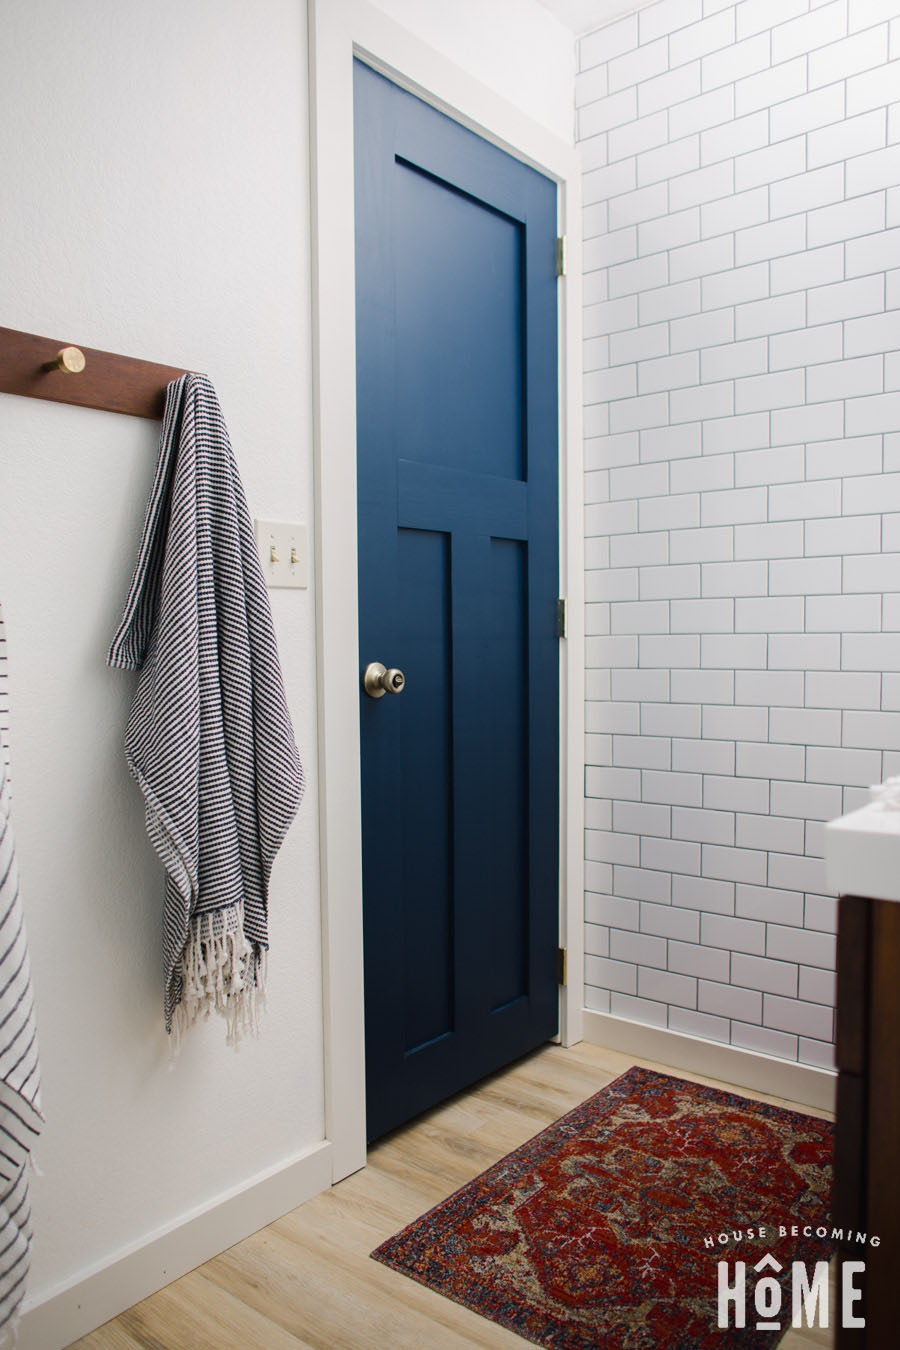
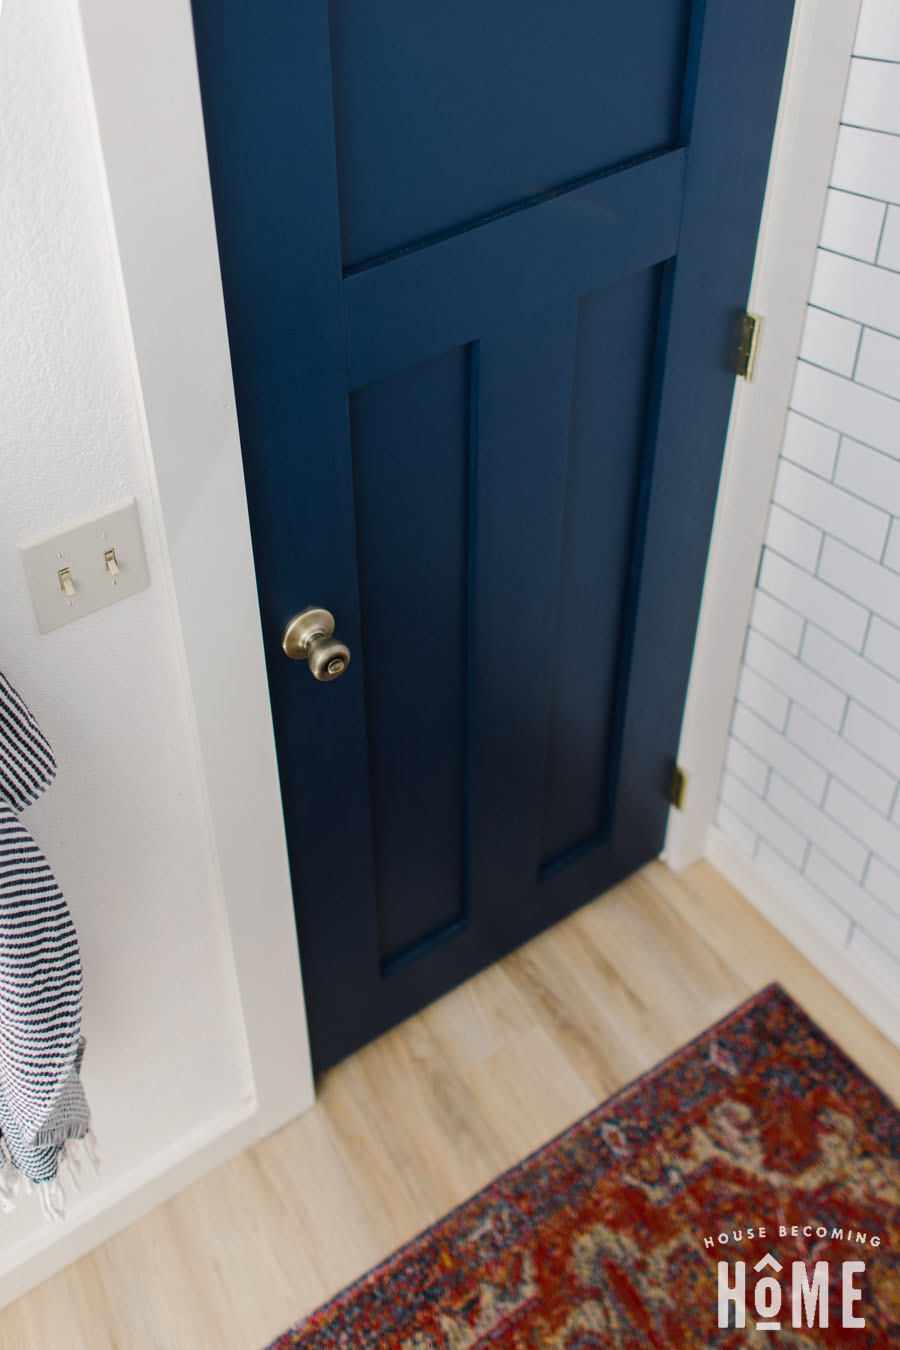
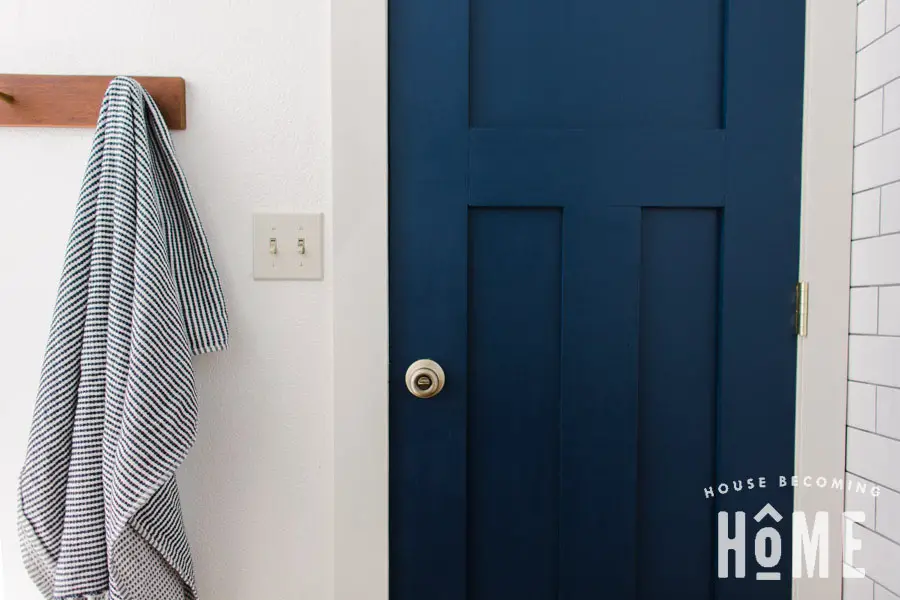
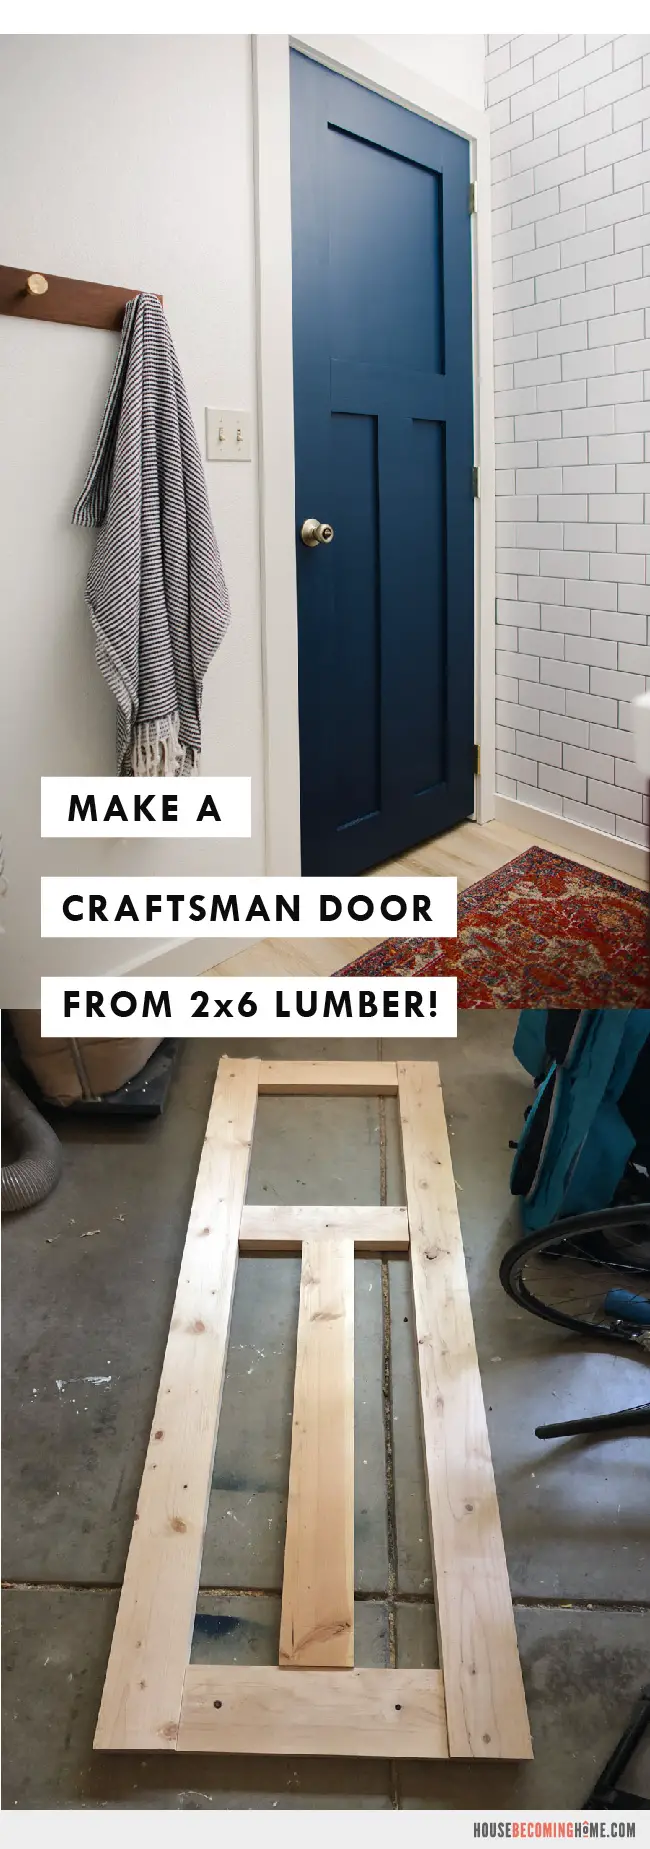
And here it is, all finished up: a solid, 3-panel, shaker door.
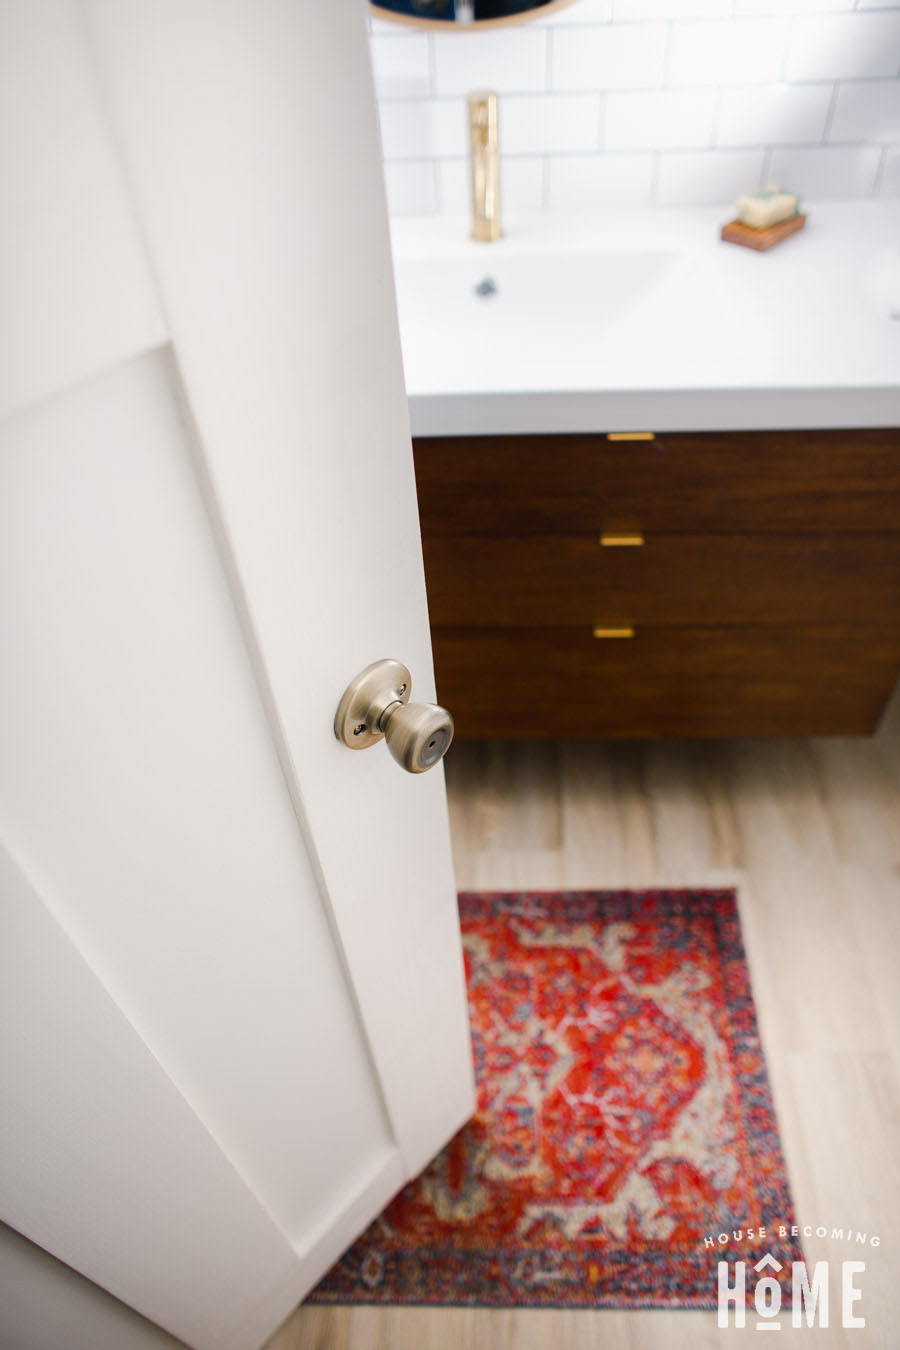
Creamy white on the outside:
Dark blue on the inside:

Have you ever used Rockler’s Beadlock Pro kit in any of your projects? Got any upcoming projects you think you might try with it? I’d love to hear what you think! 🙂

I love this and can’t wait to build these when we begin our new home construction next month. Have you had any issues or concerns of the wood warping?
Thanks Amy! There has been no warping and no concerns! I’d definitely recommend building them for your new home–how exciting! 🙂
I’m not clear on whether you glued the panels into the frame? If you did how would that account for movement of the wood?
I did glue the panels. So far there haven’t been any issues with wood movement.
Thank you for this post! We are building a house next year and to save on the builders total I am going to make ALL of the doors needed!
That is awesome! It’s my dream to someday build our own home, and I will DEFINITELY be building all of the doors!
Great job! I love building doors (it’s one of my favorites) and I also love the Beadlock system!
Thanks Cher! I have I feeling I’ll be using the Beadlock kit a lot!! 🙂