When you’re making your own door, an essential step is making mortises for the hinges. This post walks you through my process making door hinge mortises using the Milescraft Mortising Template for both my DIY bathroom door and DIY Shaker Style Closet Door.
House Becoming Home is a participant in the Amazon Services LLC Associates Program, an affiliate advertising program designed to provide a means for sites to earn advertising fees by advertising and linking to Amazon.com. Some links in this post may be affiliate links. Read my full disclosure policy here.
Making Door Hinge Mortises – Tools Needed
- Milescraft Mortising Template
- Router that has a 1/4″ collet (I use this one)
- Drill or Impact Driver
- 150 grit sandpaper (*optional to clean up any rough edges)
Milescraft Mortising Template
The Milescraft Mortisting Kit makes routing mortises in your door easy-peasy. I used it to make the hinge mortises as well as the strike plate mortises for both of the DIY doors I made (for a closet and our kids’ bathroom).
Here’s a basic overview of the mortising kit:
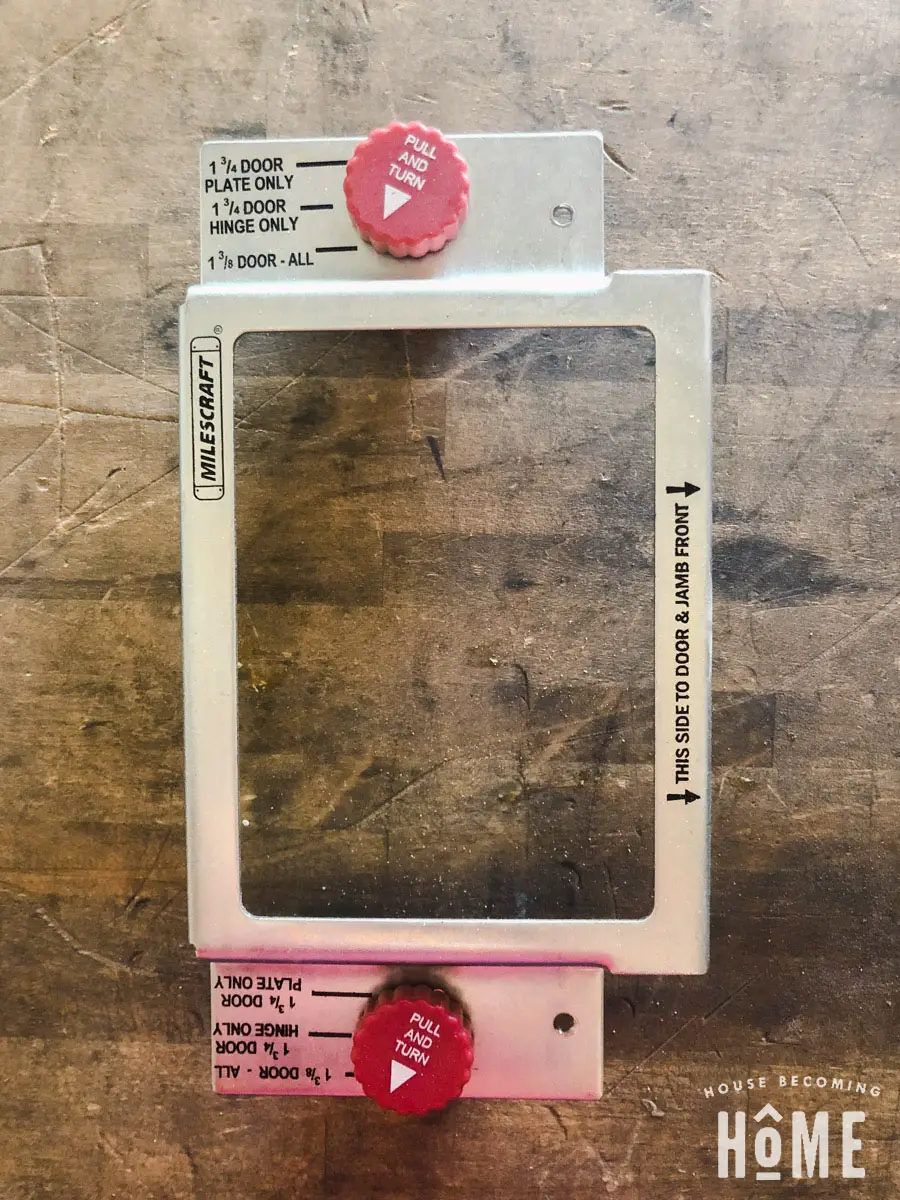
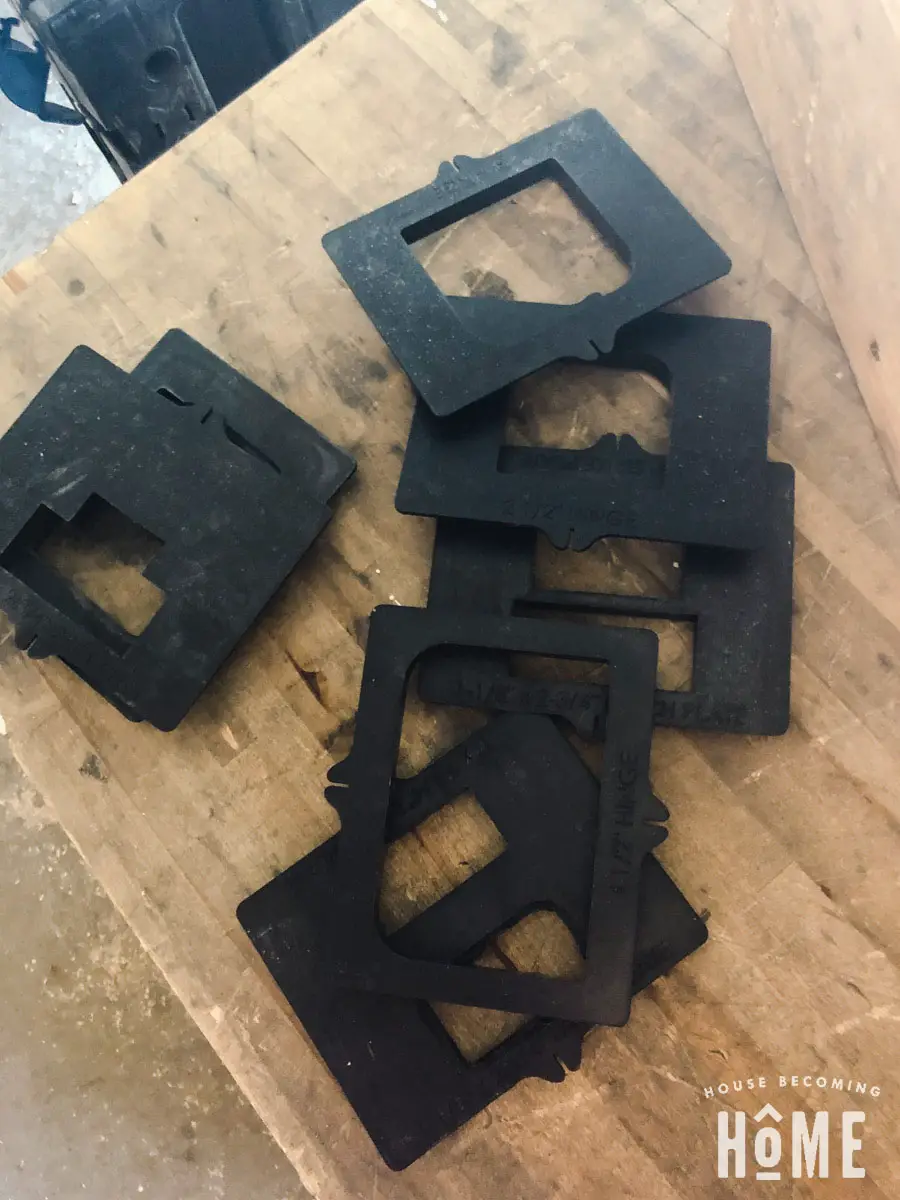
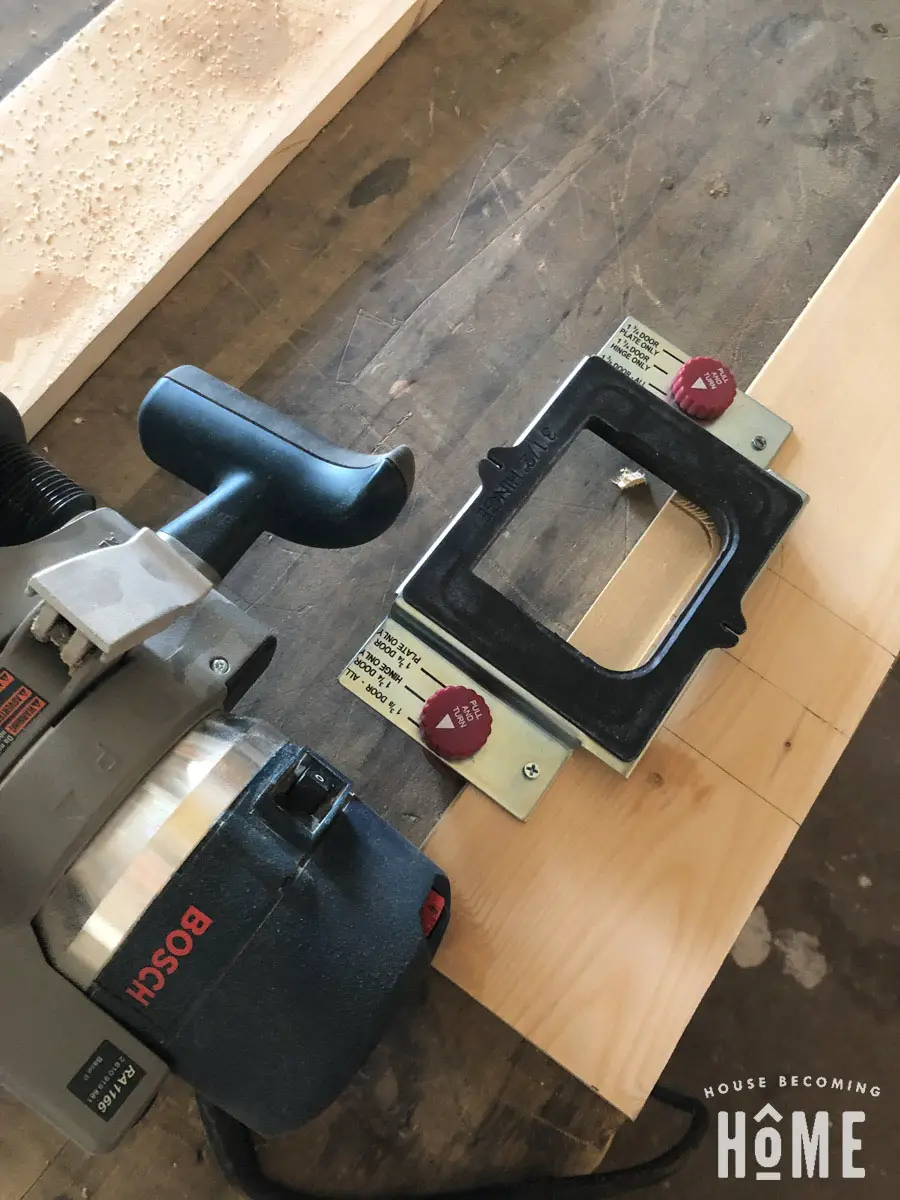
The kit comes with a steel frame and seven black templates that snap into the frame. Select the correct template for your specific door hinge size (or strike plate). In the photo below, the 4″ door hinge template is snapped into the steel frame:
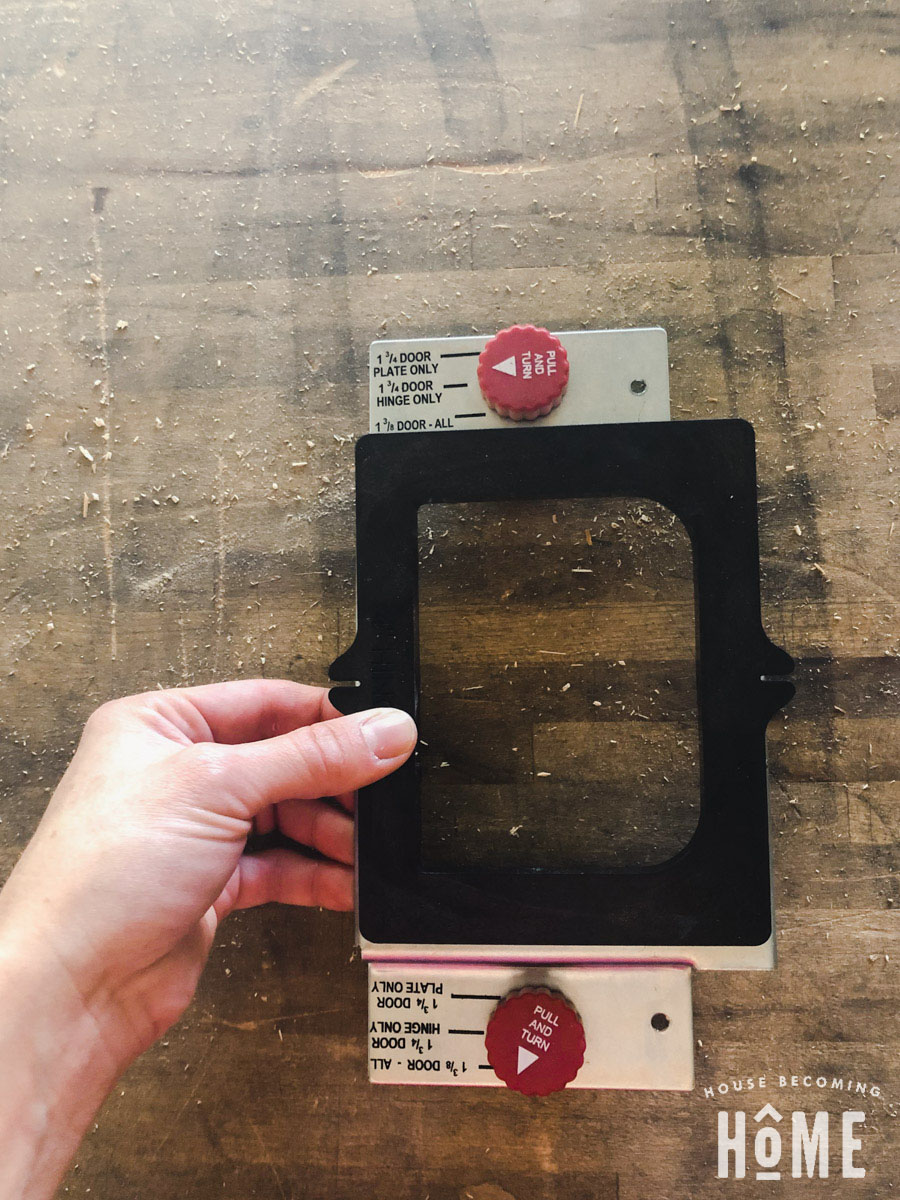
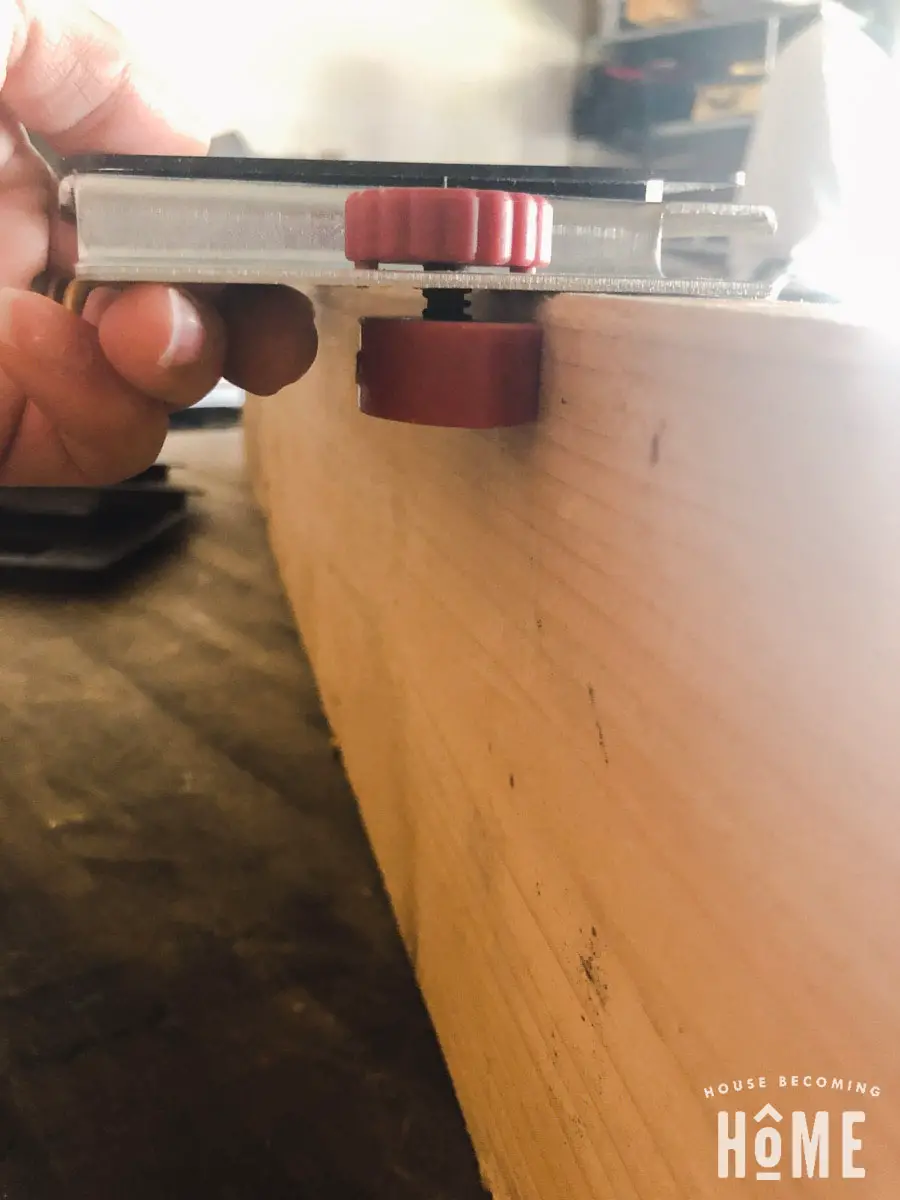
Use the red knobs on the top to set your door thickness. Standard doors are 1-3/8″ or 1-3/4,” so those are the options.
Here’s the view from the bottom, which may give you a better idea of how the door thickness knobs work. As you turn the knob, the position of its flat edge rotates. This flat edge is pushed up against the edge of the door, which will center the template.
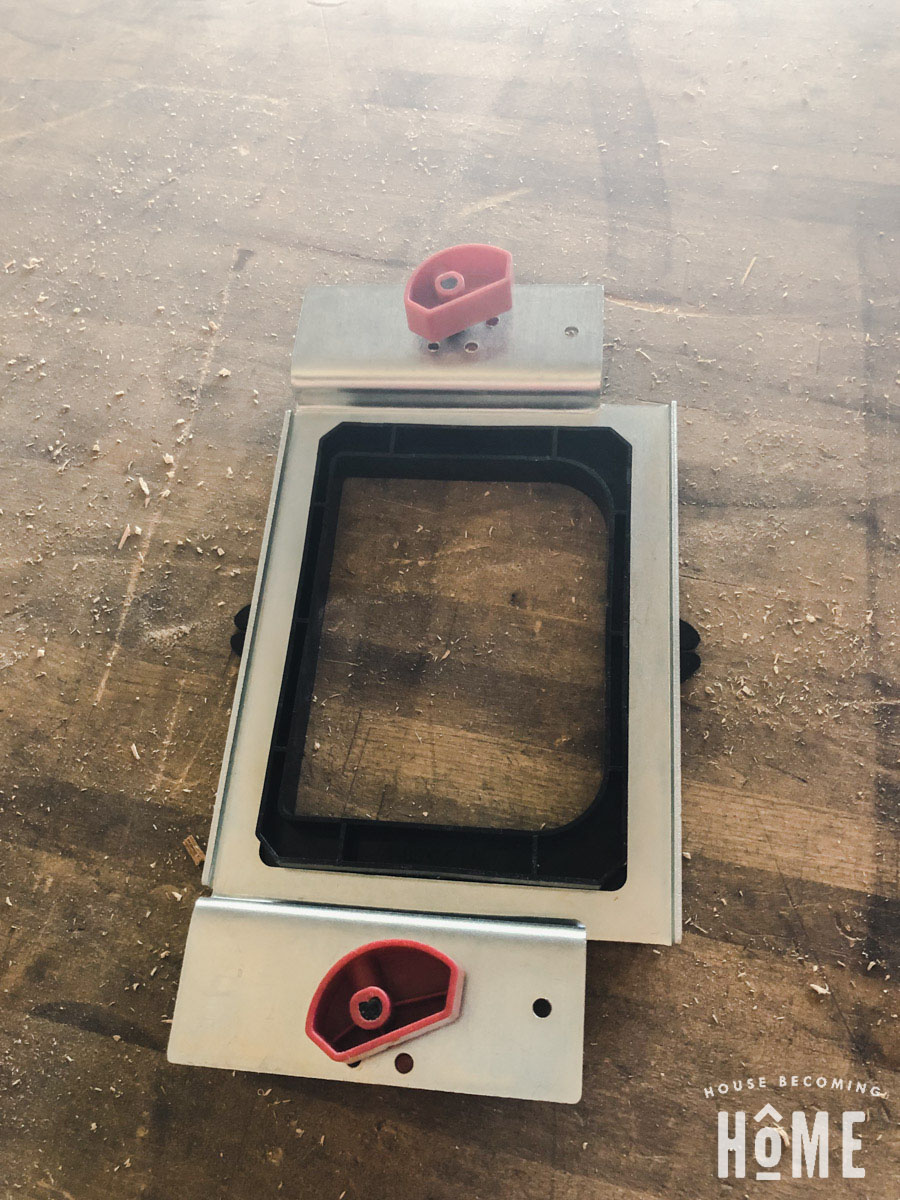
Here it is in “action.” The red thickness knobs stop the template in a position that is perfectly centered in your door.
The Milescraft Mortising template kit also comes with a tungsten carbide-tipped router bit. It’s got a 1/4″ shank, so it will fit any router that has a 1/4″ collet.
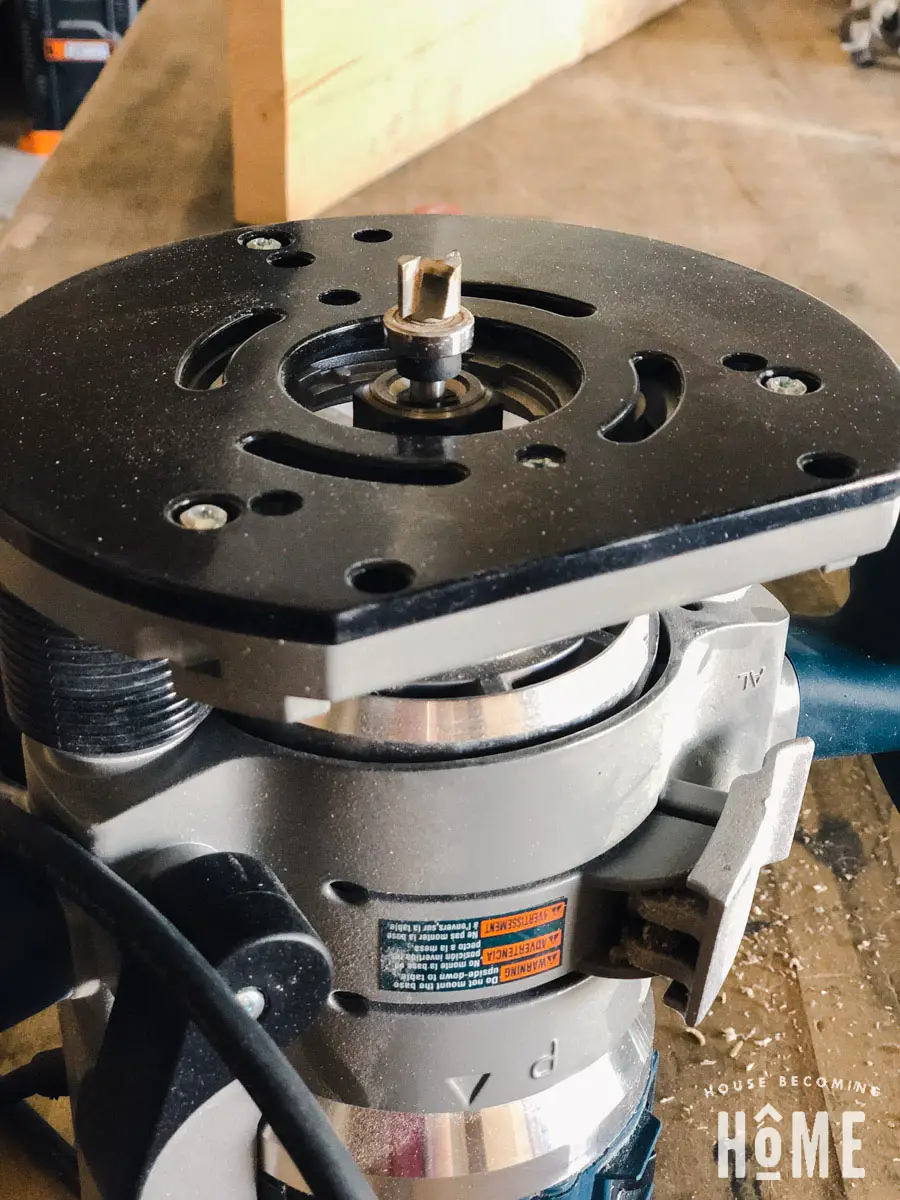
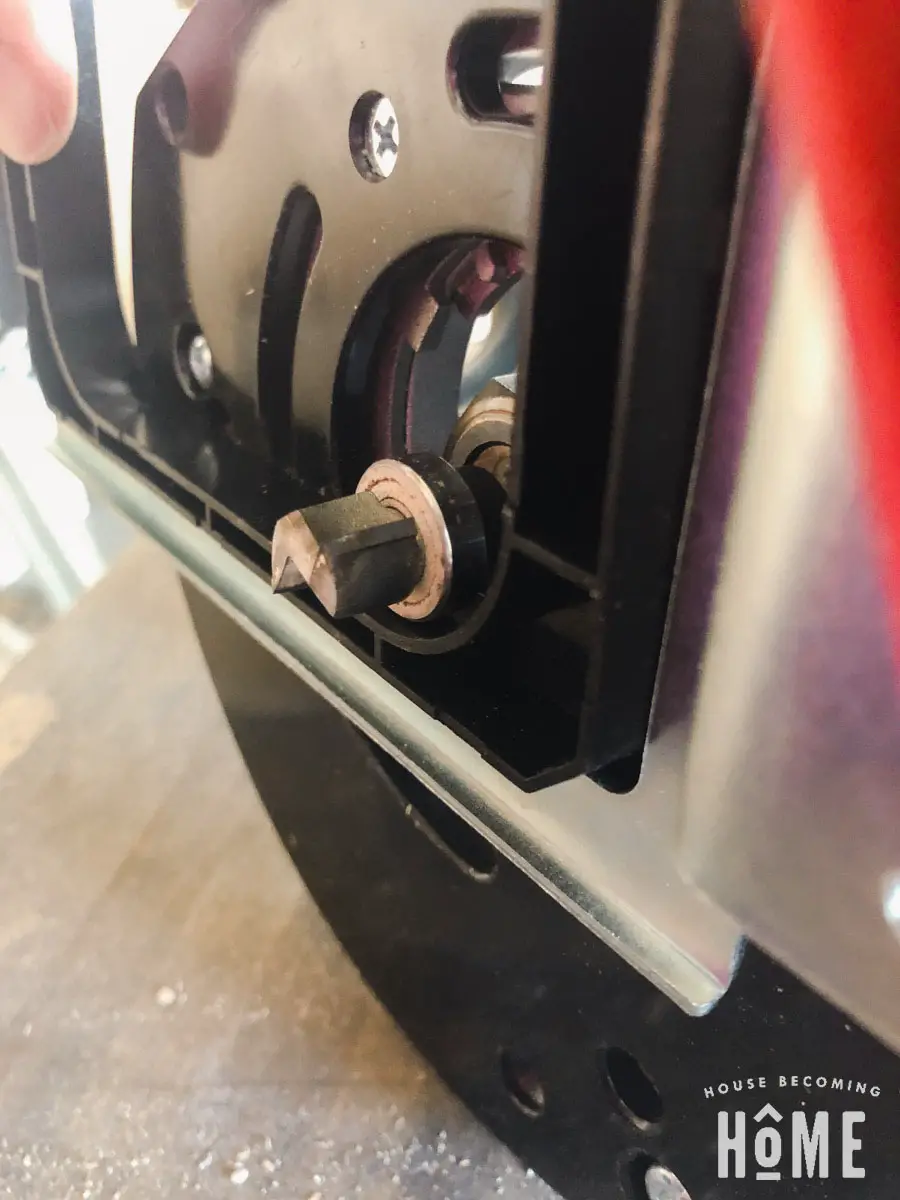
The bit has a bearing at the top, which will guide your router along the template without chopping it to pieces. 🙂
Here’s a view from underneath, with the router bit bearing moving along the edge of the template.
How to Make Door Hinge Mortises
Step One: Set the Depth of Router Bit
Get the router bit set at the correct depth, so that you’re cutting out the depth of the door hinge (the depth of only one side of the hinge, not both).
Don’t forget to factor in the extra depth of the steel template, which is raised above the door:
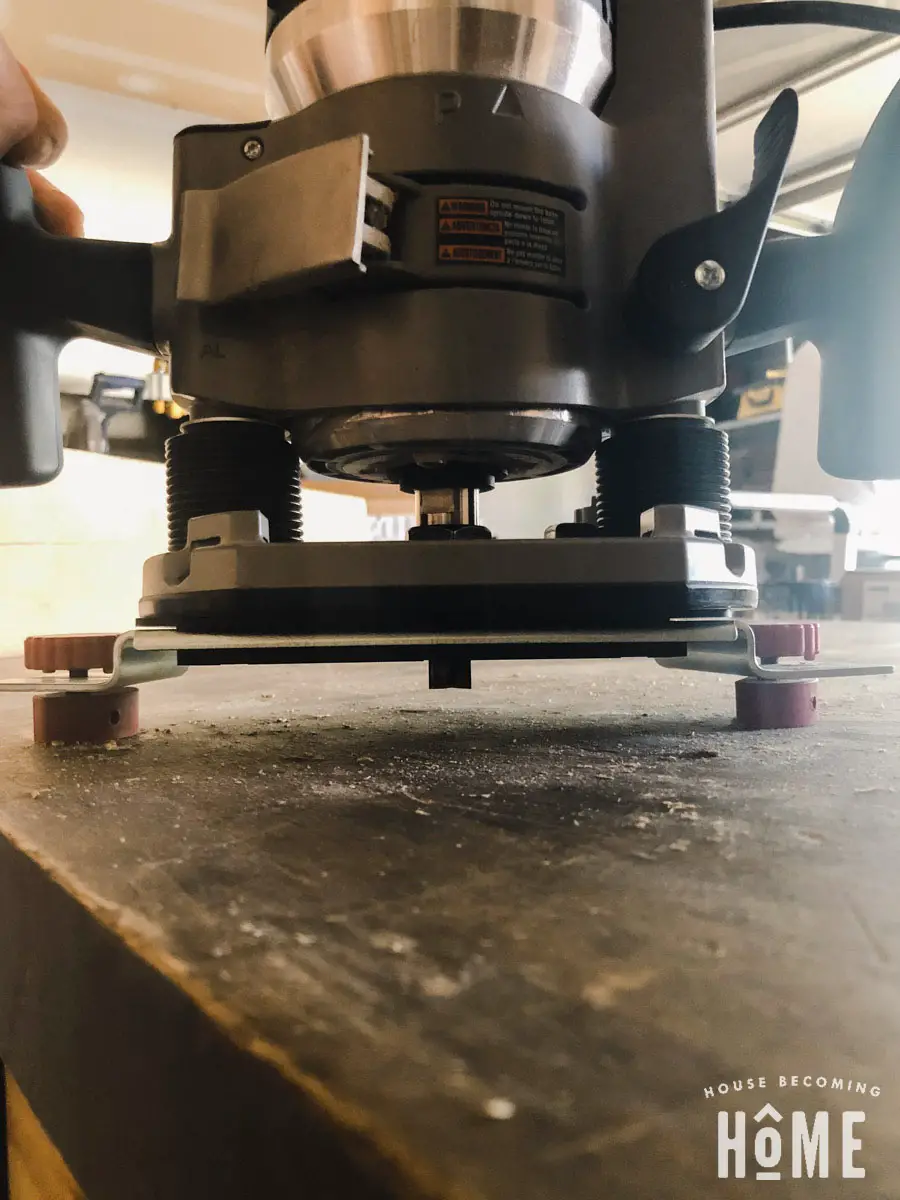
Do some tests on scrap wood until you’ve got the correct depth dialed in. As long as your hinges are all the same, once you get the depth set you won’t be changing it this entire project. The depth will be the same for all mortises in the door as well as the mortises in the door jamb.
**Captain Obvious Tip**
Cut your mortises to a depth that will have the hinge sitting as flush to the edge of the door as possible. I mistakenly assumed that having a mortise about 1/16″ too deep would be no big deal. Turns out, once the door is hung, it lacks the 1/8″ gap between it and the door jamb, making it semi-difficult to shut. I fixed it by adding some thin paperboard underneath the hinges, but you can avoid this step by just getting the depth right from the start. 🙂
* * * * *
Step Two: Placing the template
The door thickness knobs ensure your template is in the center of the door, but where along the door do you place the mortises?
There seem to be various opinions on placement, but I made my mortises:
-
5″ from the Top
- 5″ from the Bottom
-
Centered between the top and bottom
Step Three: Attach Template and route Hinge Mortise
I used #6, 3/4″ screws to attach the template to the door. You’ll fill these holes later.
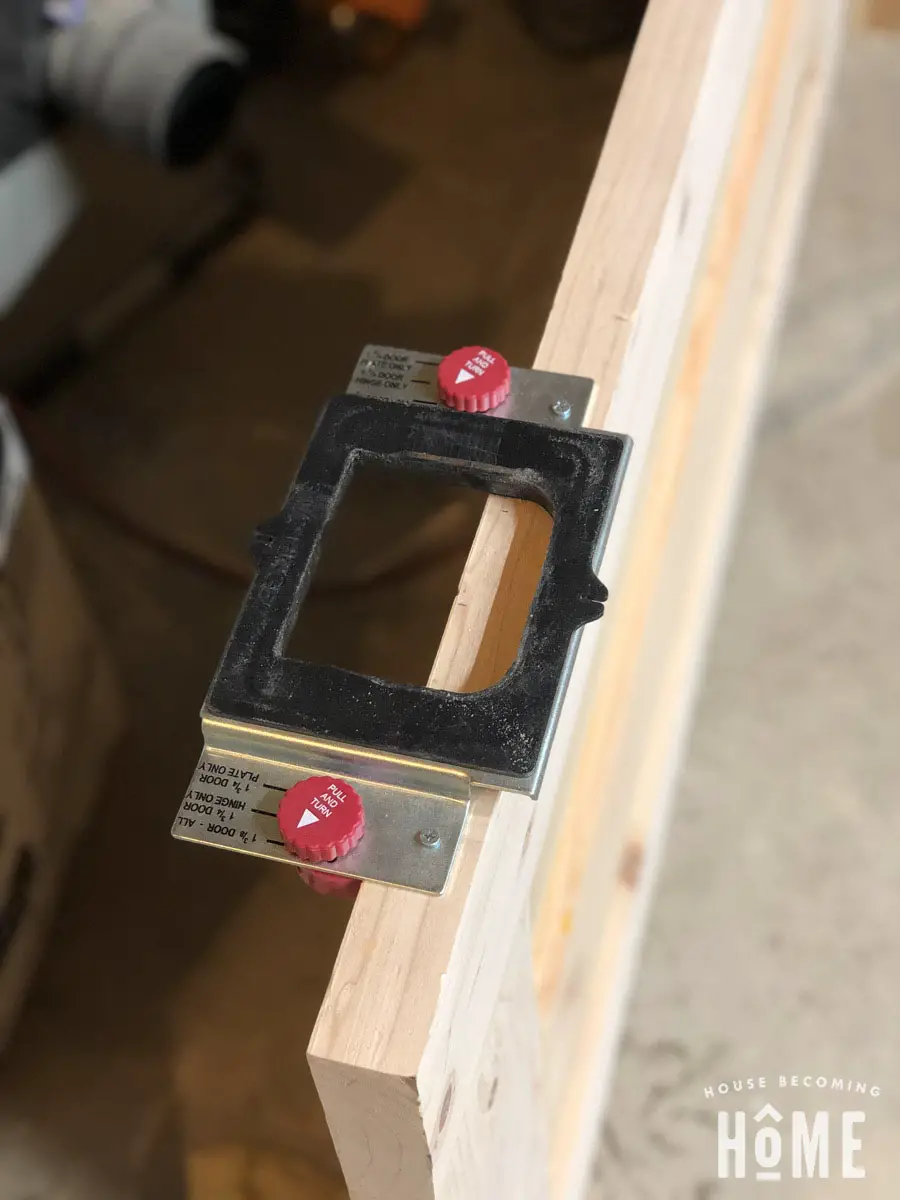
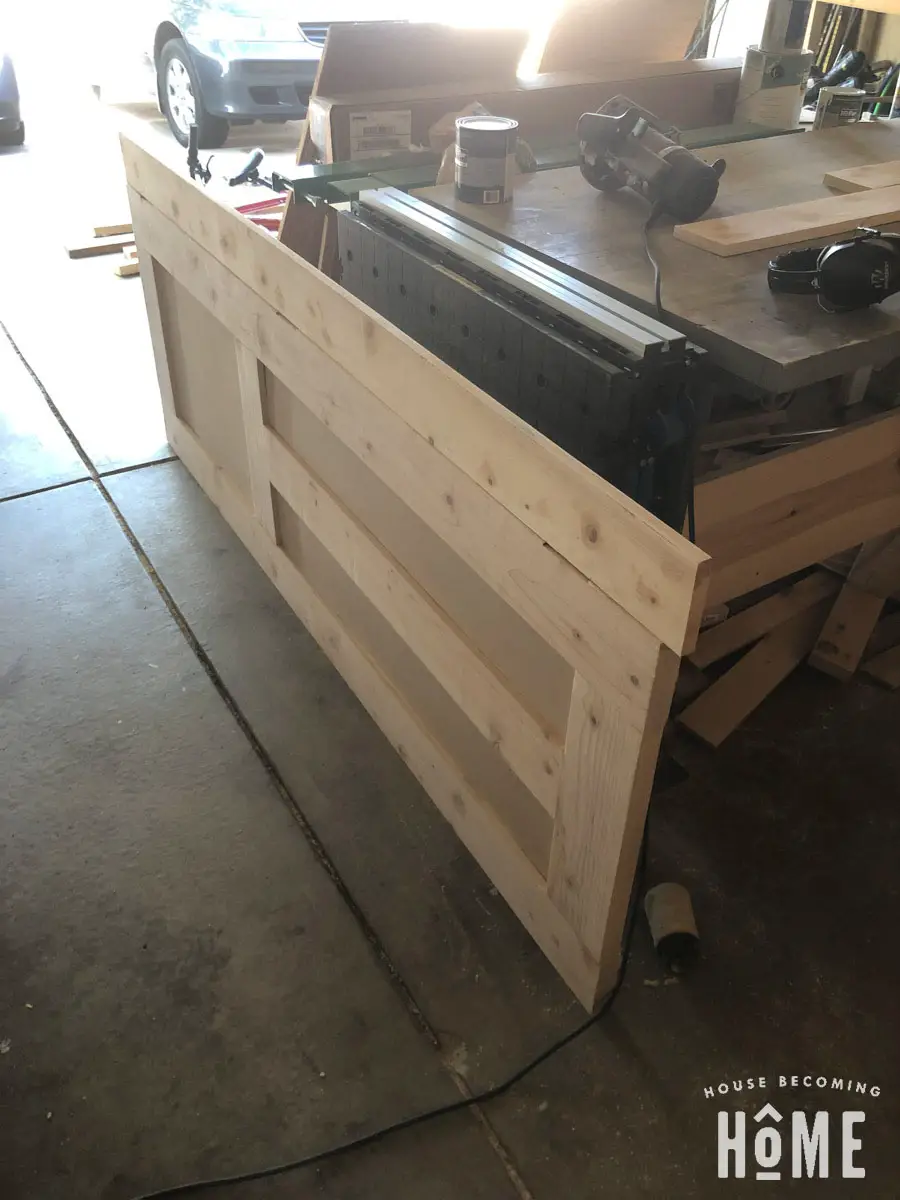
I clamped my door to the side of my workbench to keep it in place while I routed. If it helps to see the process in action, here’s a sped-up version of me making one of the door hinge mortises:
Making Matching Mortises on the Door Jamb
Next, you’ll need to make some matching mortises on a door jamb. When I made my kids’ bathroom door, I put together a quick door jamb from 1×6 pine, trimming down the width to perfectly fit the door opening. Before I joined the pieces together to form the door jamb, I made the mortises on the side of the jamb.
This is the drawing from a closet door I built last year, but the spacing between the door and the jamb applies to any door. You can see that there is 1/8″ gap between the door jamb and the door on the top and sides, and a 1″ gap between the door and the floor. You’ll make your mortises on your jamb assuming the same spacing.
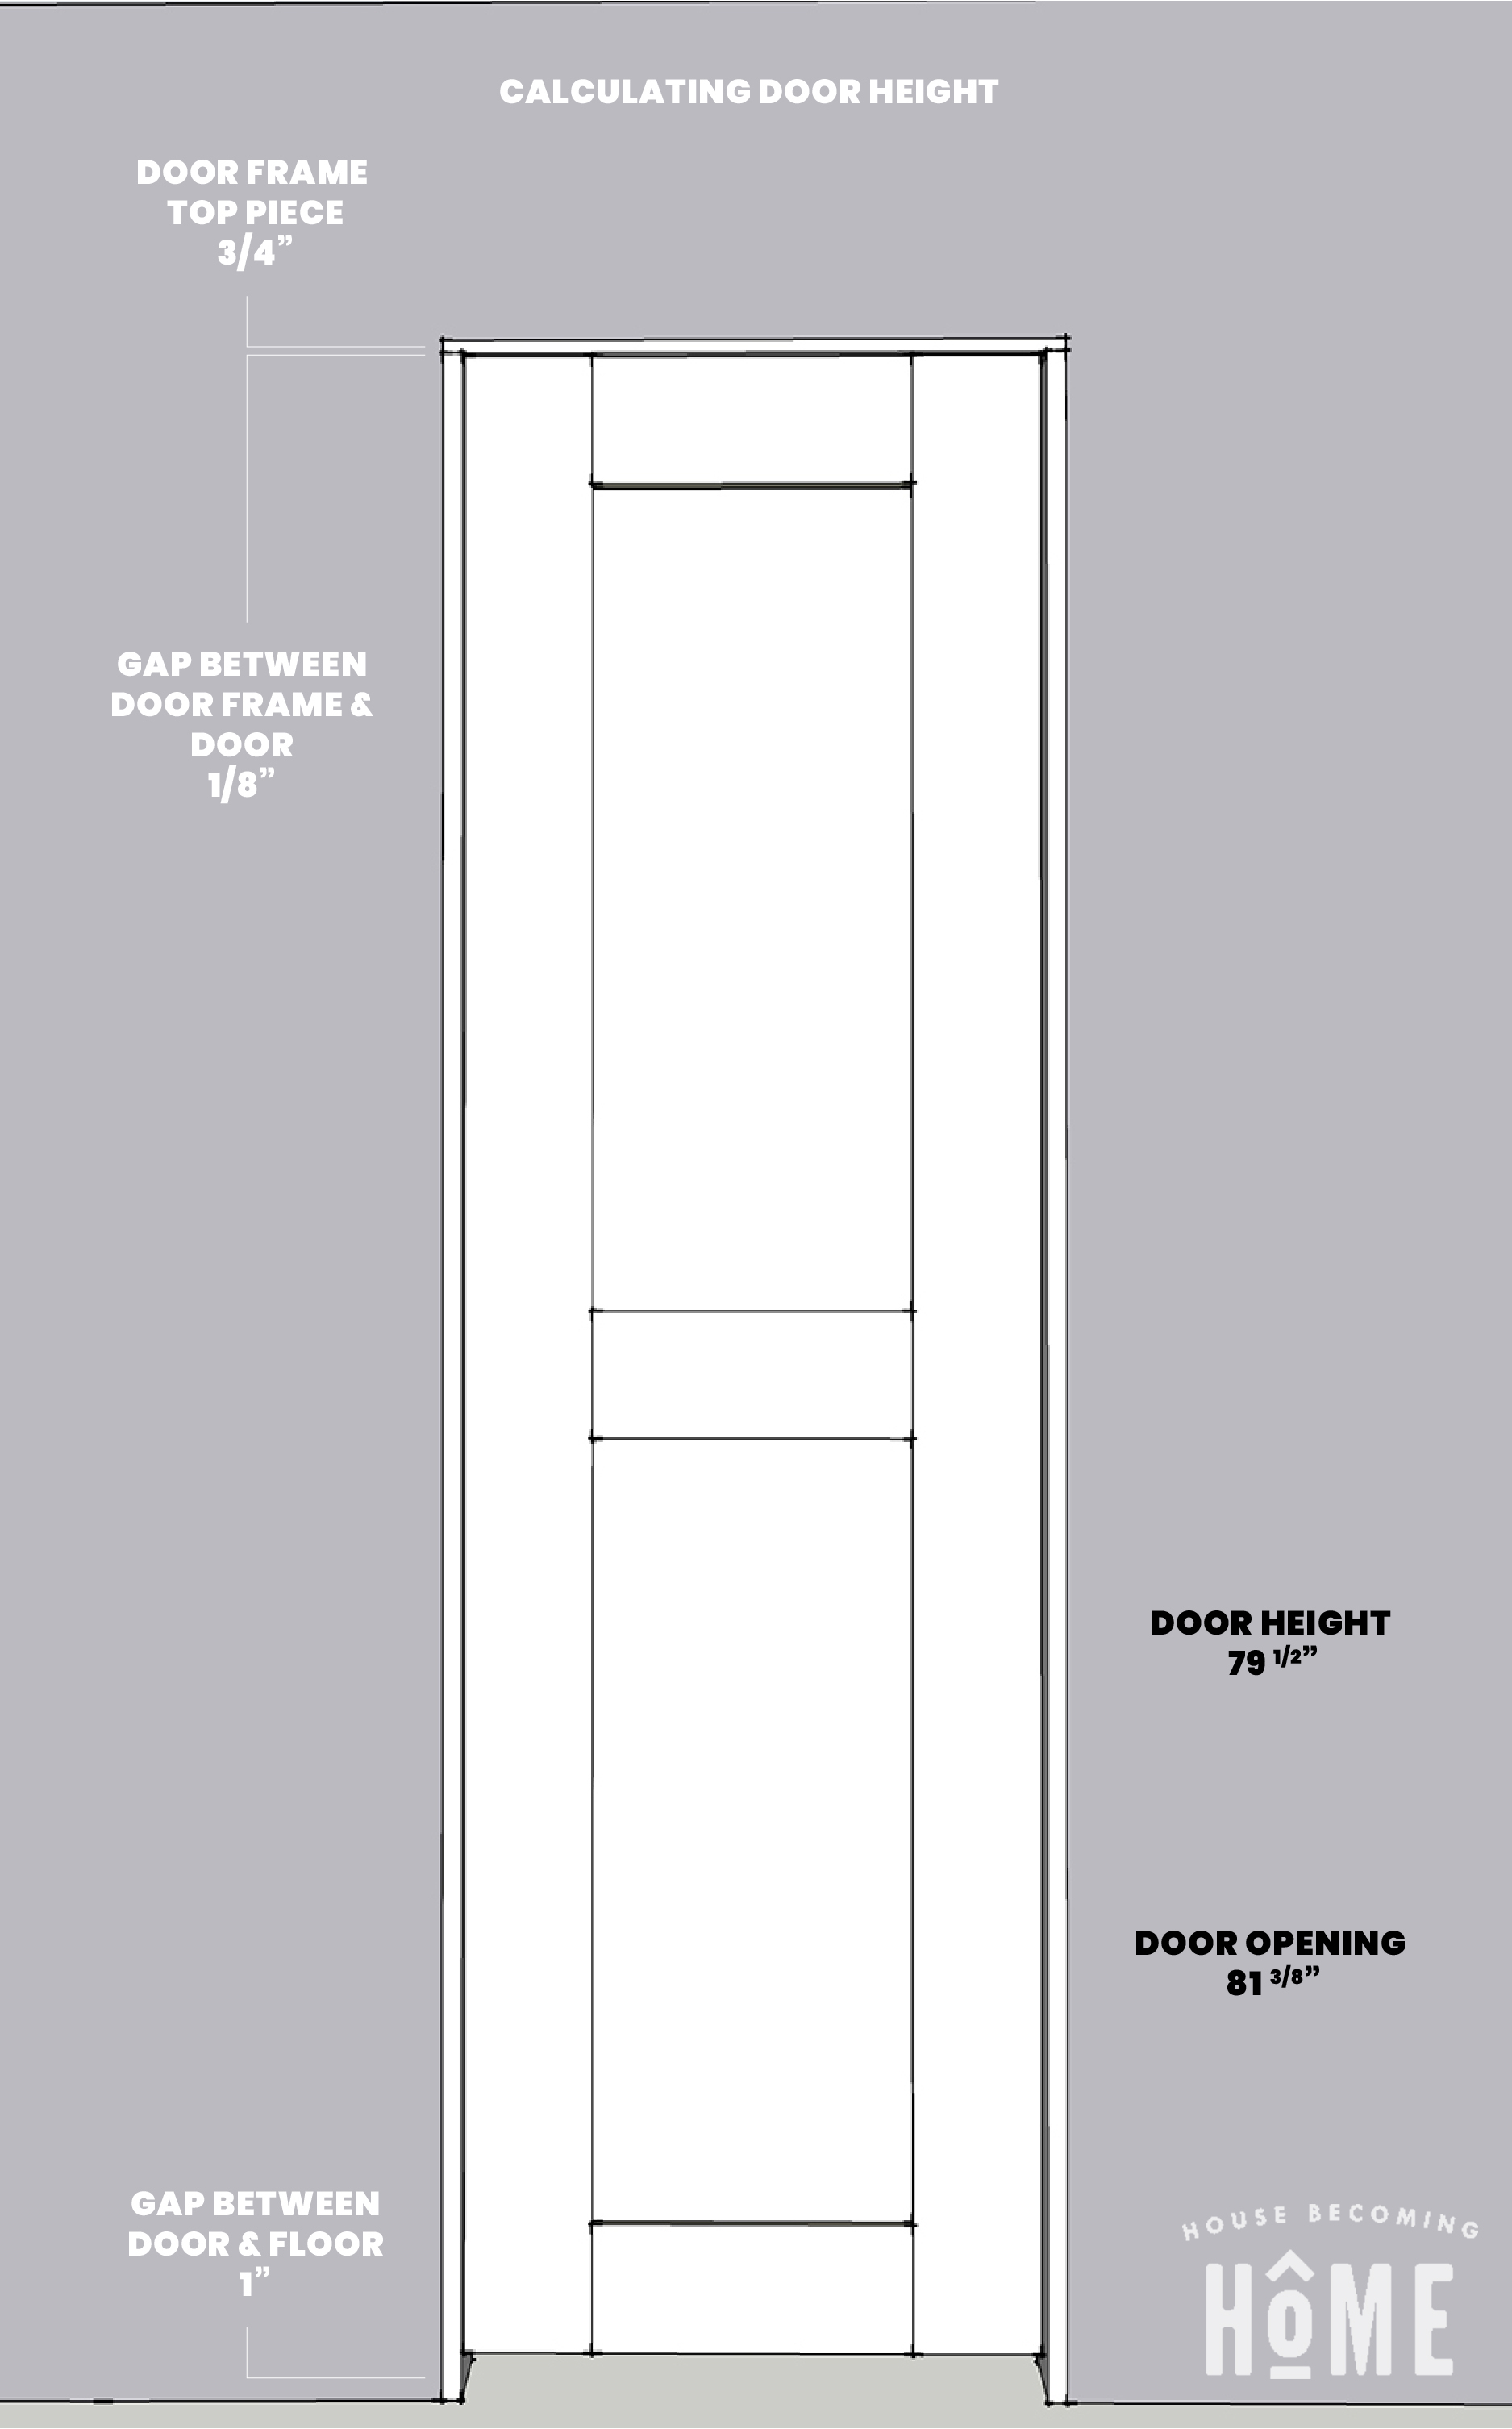
Determining Hinge Placement on Door Jamb
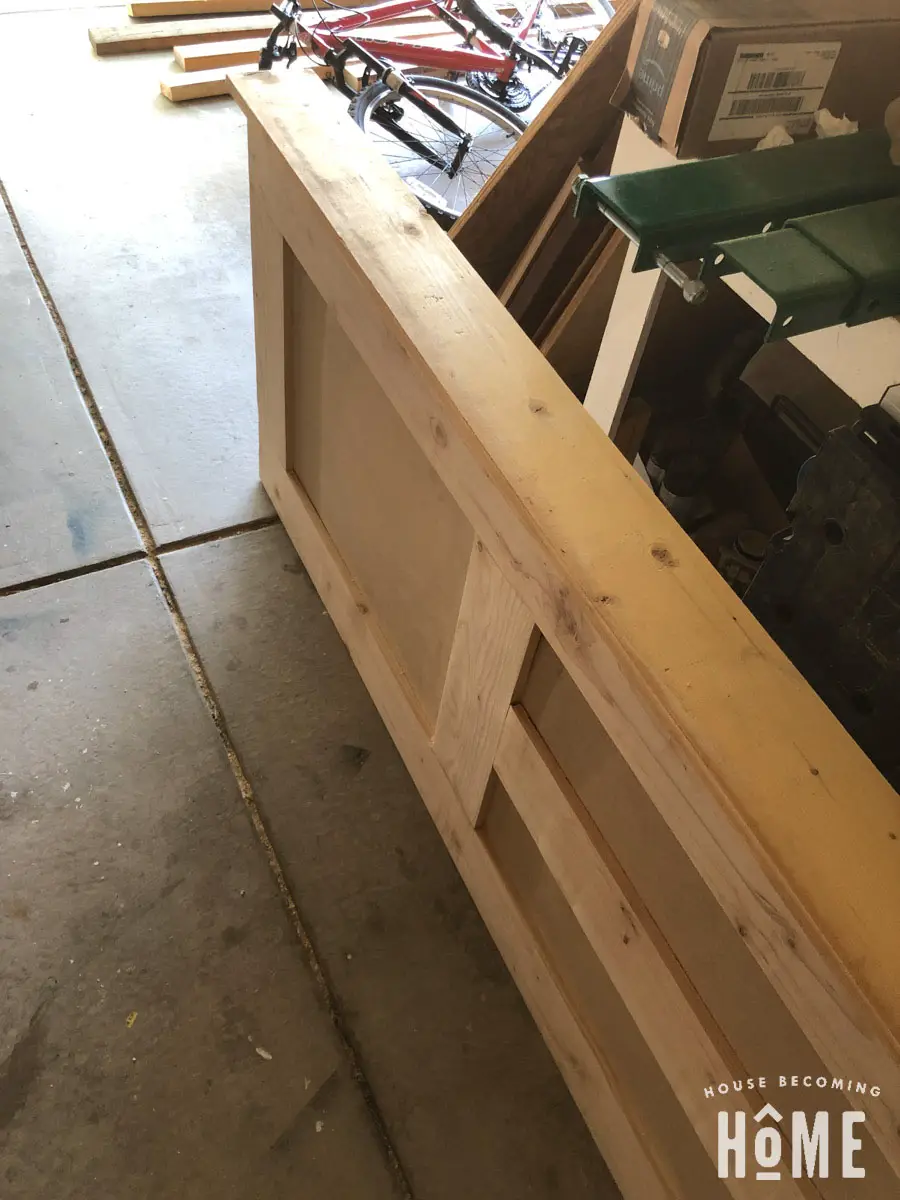
Set the door on its side, hinge side up. Place the door jamb piece on the door, in the exact position it will be when the door is hung. (door is 1/8″ below the top of the jamb piece, and 1″ above the bottom of the jamb piece).
Once it was in position I simply made lines marking both sides of the door hinges.
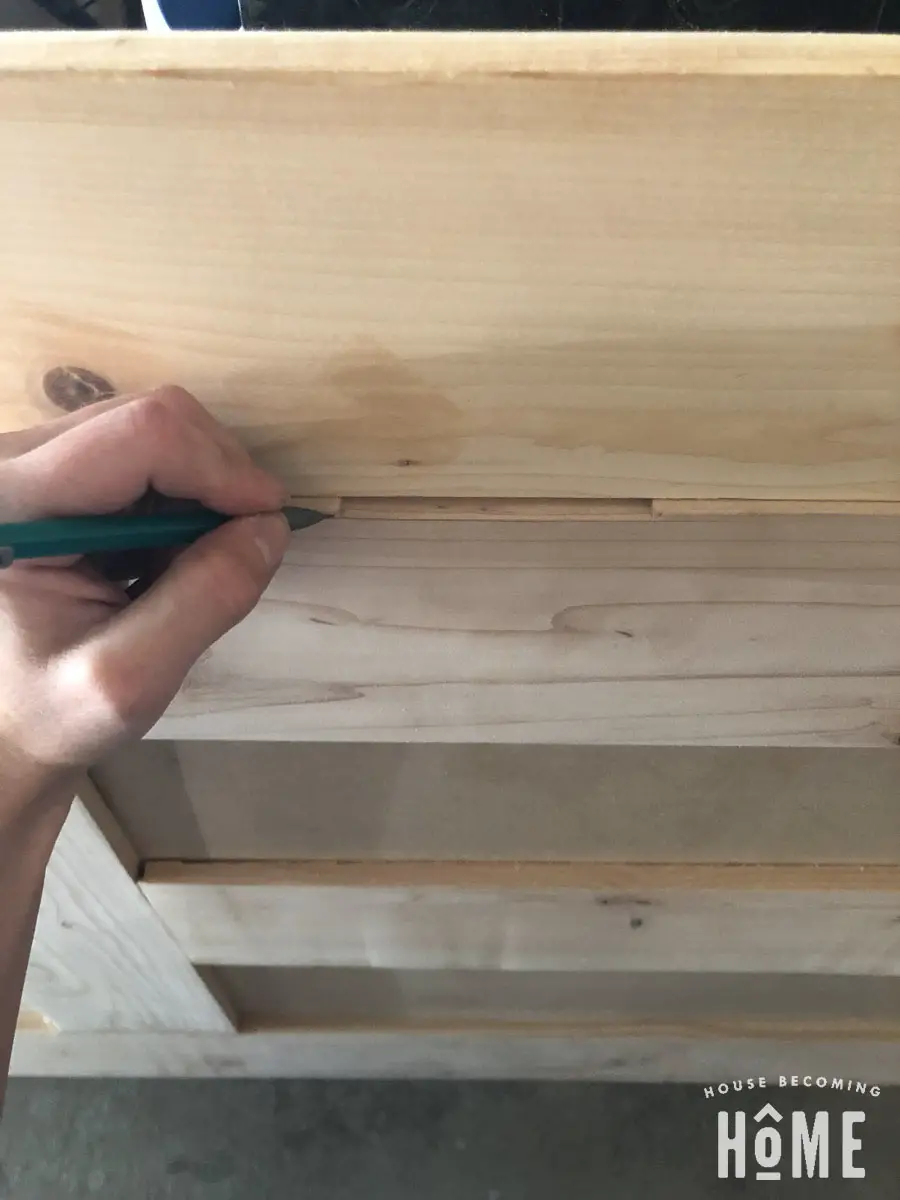
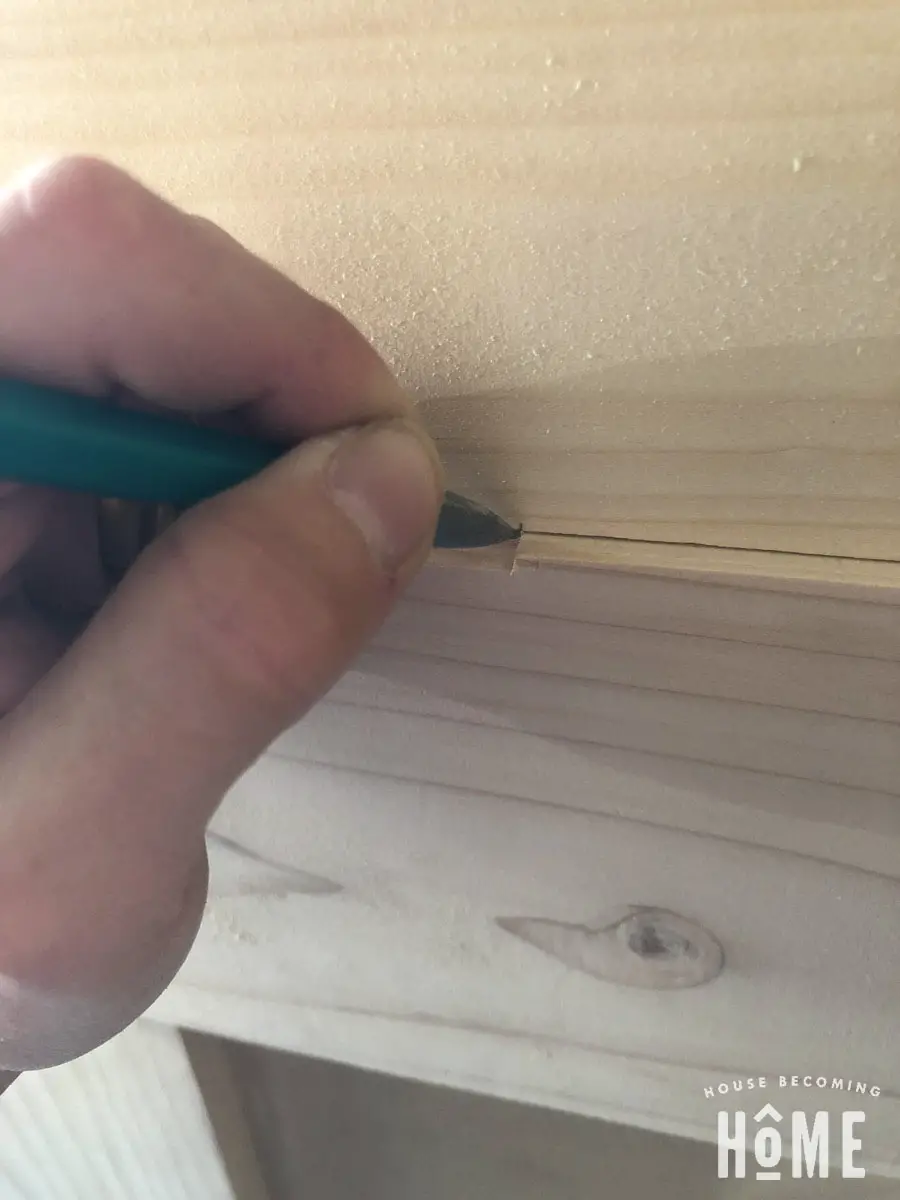
Use a square to carry the marks across the jamb piece.
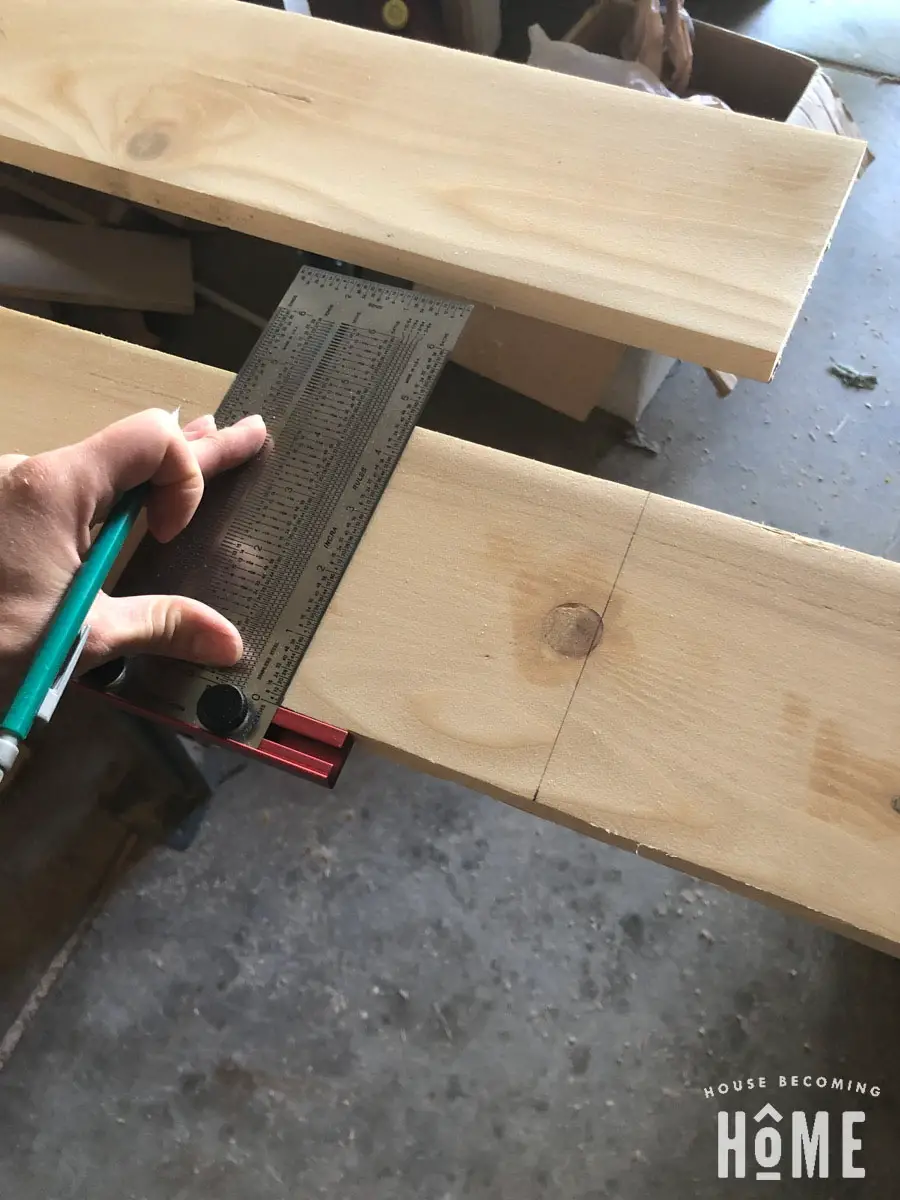
Now set your jamb piece on the door (facing it as it will when the door is hung). Double check that all your marks line up with all the hinge mortises in the door.
Because the template is raised up from the door, its difficult to just “eyeball” its placement on the marks. To ensure I was getting the mortises in the right spot, I measured and made a line directly in the middle of the hinge marks.
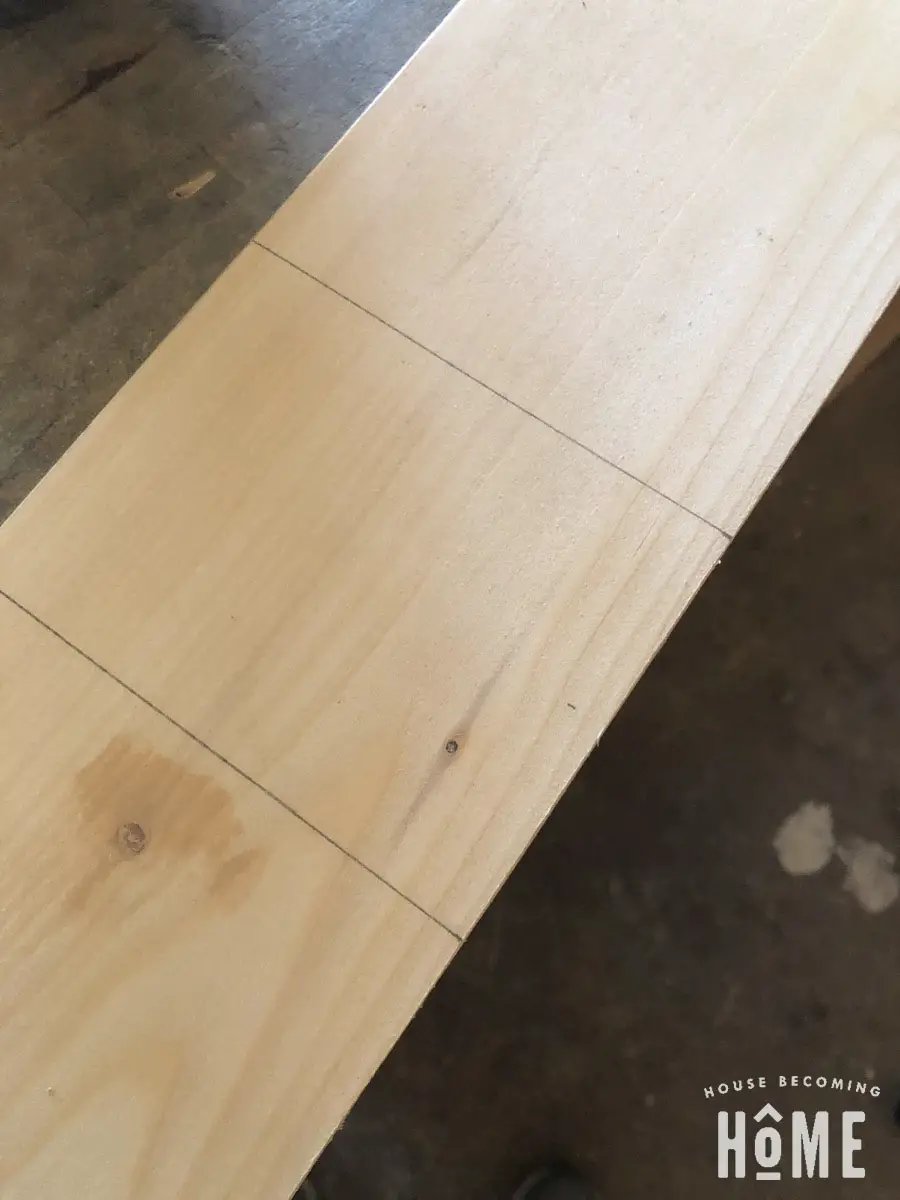
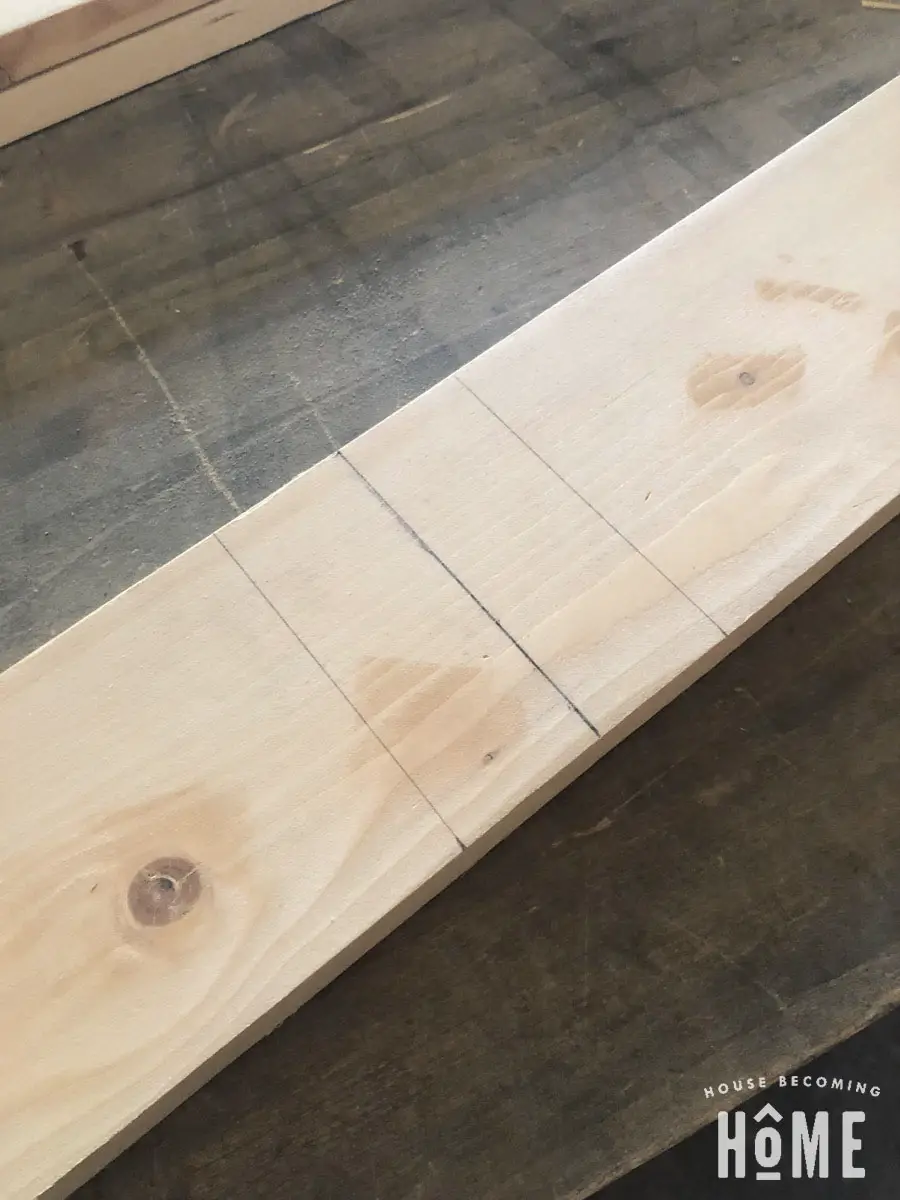
Place the template on your door jamb. Ensure it is in the correct spot by standing a ruler on its edge on the midpoint line. If the ruler lines up with the midpoint indent on the template, you’ve got it in the right spot. Use 3/4″ screws to attach the template to the door jamb.
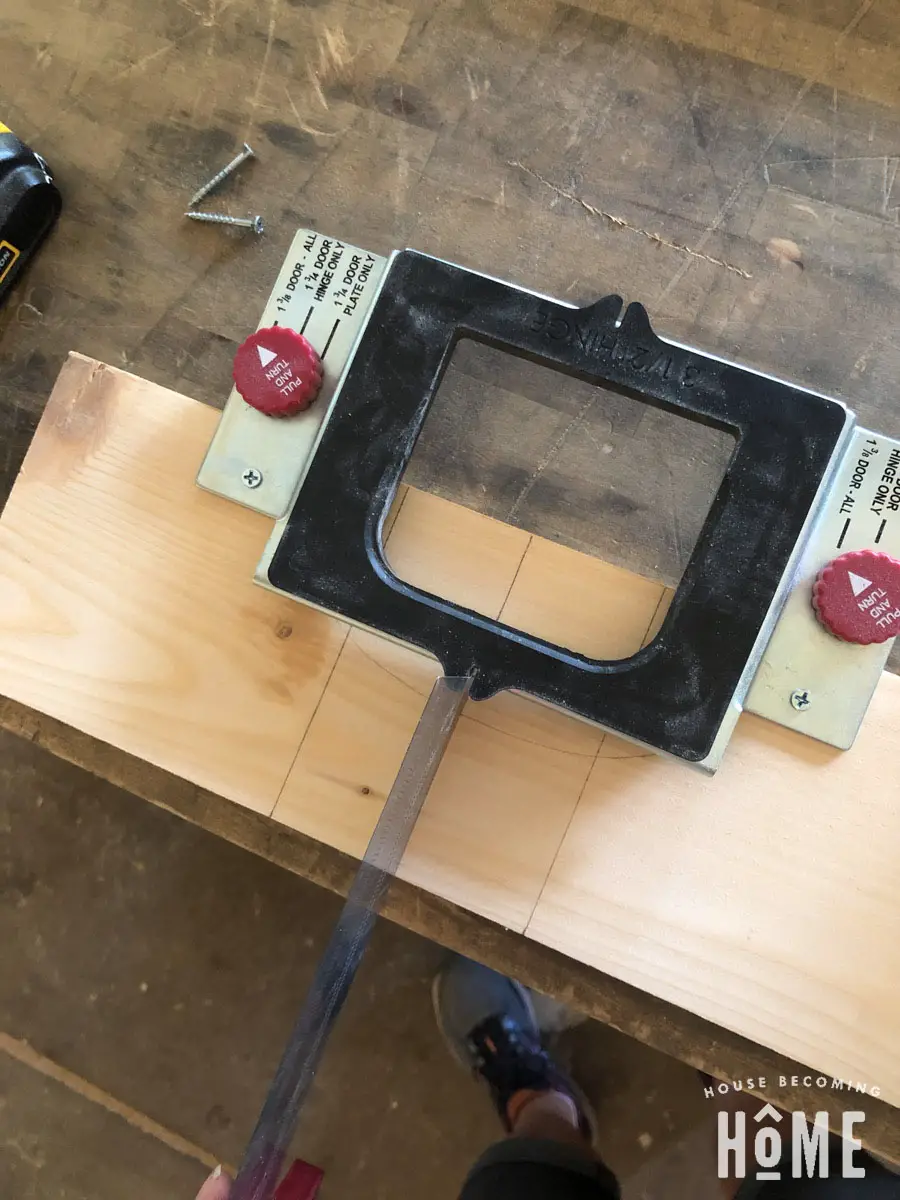
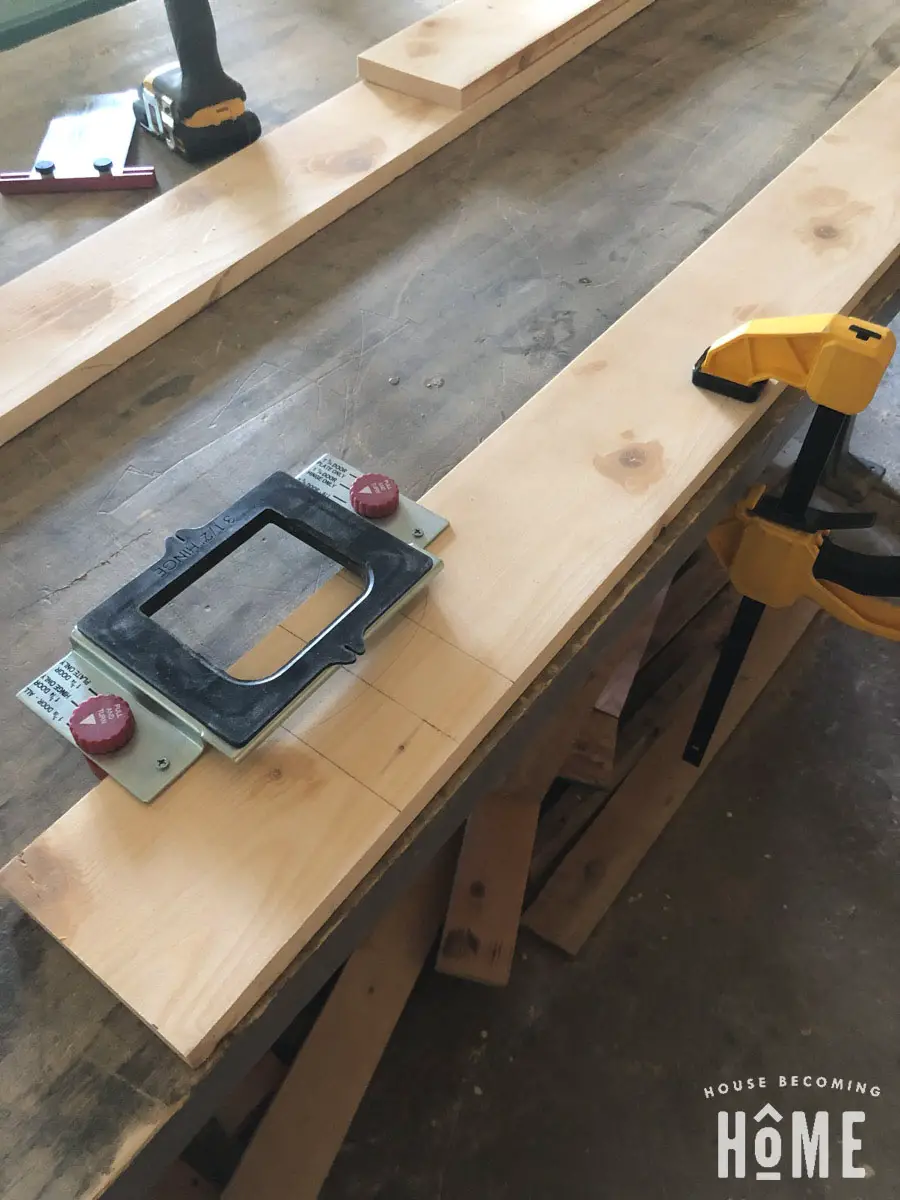
I wouldn’t say extreme precision is a normally a strength of mine, but . . . wow. That midpoint trick worked really well to get those mortises PRECISELY where they needed to be. 🙂

Making Hinge Mortises on the Door Jamb – IN ACTION
Once again, here’s a super quick, sped-up video clip of me making the hinge mortises on the door jamb:
After you’ve made all three mortises, you’re done! The door hinge mortises will match up with the hinge mortises on the door jamb.
Let me know if you have any mortise-making questions in the comments! 🙂
