I’m no pro when it comes to painting. In fact, painting is one of the steps I dread when I’m working on a project. But painting my kids’ bathroom door was actually kind-of enjoyable, with an upgrade from brushes and rollers to the HomeRight Super Finish Max paint sprayer! I am super pleased with the way the bathroom door turned out, and today I’ll be sharing the process. Thank you HomeRight for sponsoring this post!
House Becoming Home is a participant in the Amazon Services LLC Associates Program, an affiliate advertising program designed to provide a means for sites to earn advertising fees by advertising and linking to Amazon.com. Some links in this post may be affiliate links. Read my full disclosure policy here.
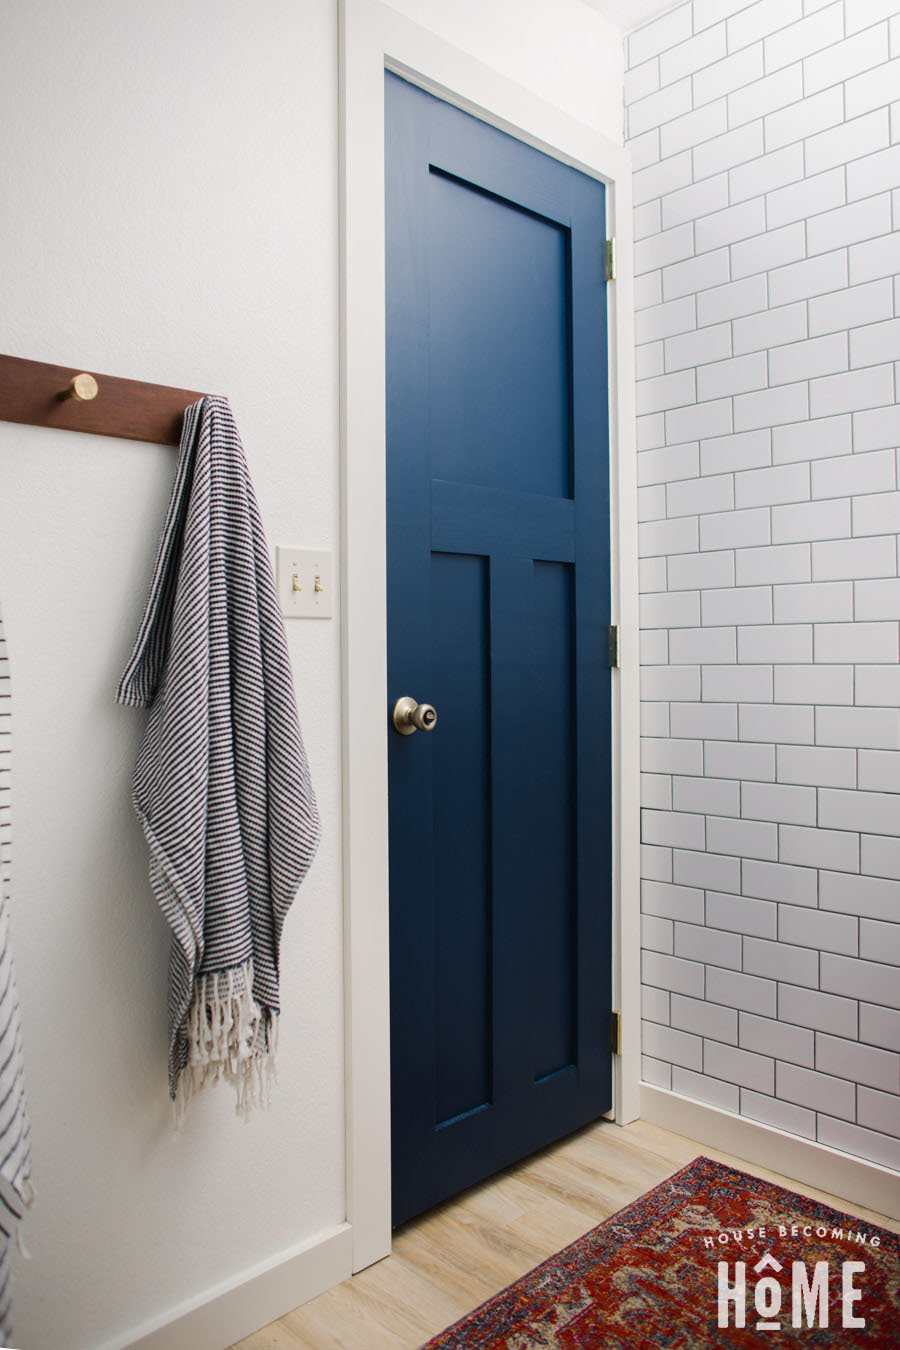
Using the HomeRight Super Finish Max to Paint a Door
Step 1 : Prepare for Paint!
A good finish starts before you paint. This DIY bathroom door was made from construction-grade 2×6 lumber – filled with knots, cracks and dents. First item of business – grab the wood filler + a putty knife and fill those imperfections.
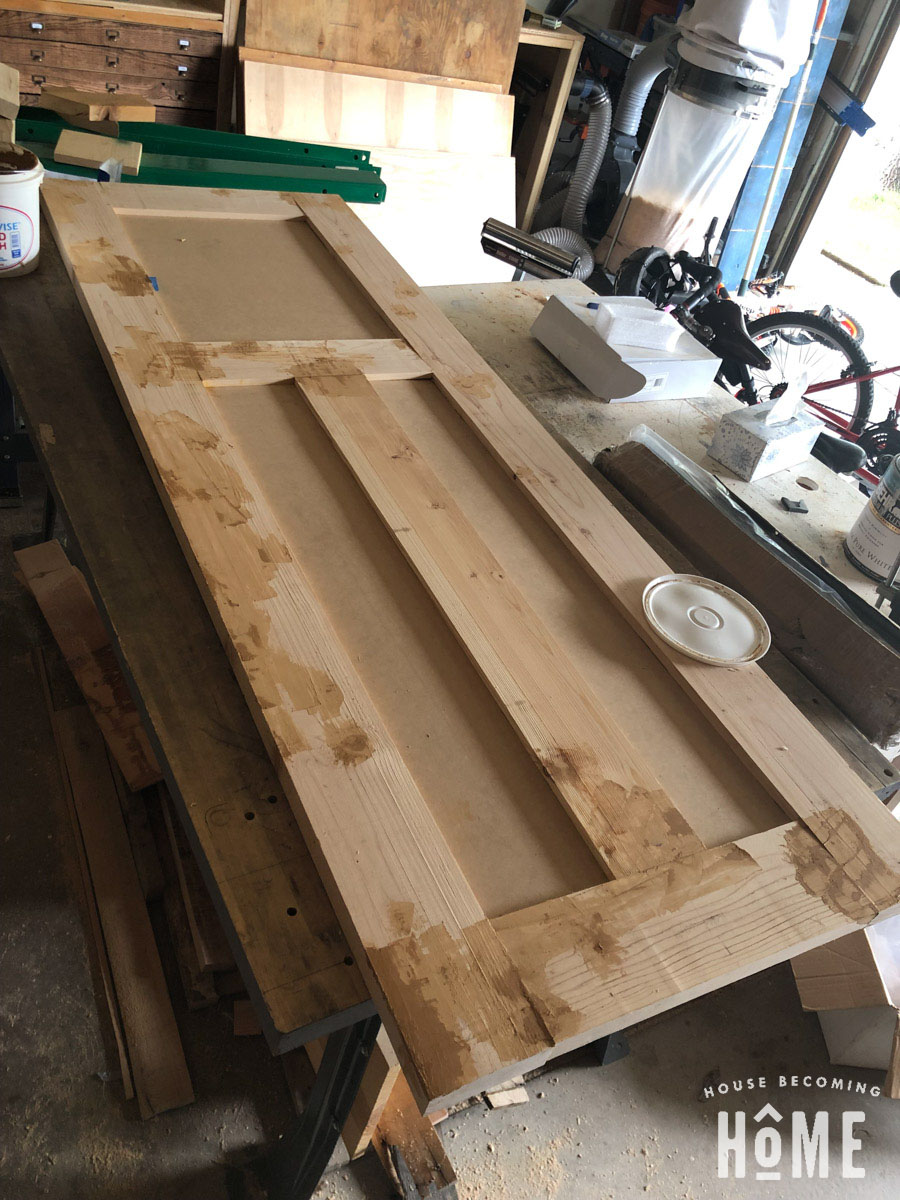
Next comes sanding, which . . . let’s just say I’m not a fan. Unfortunately it’s a necessary step to obtain a nice finish. I started with a coarse 40 grit paper and worked my way through the grits – 60, 80, 100, 120, 150.
STEP 2: PRIME
A few years ago I met a painter and I asked him his advice for painting my 90’s honey-oak trim in a way that it would stick and not chip off over the years. He told me to use oil primer before I painted. I took his advice and prepare surfaces with an oil-based primer on almost every project I’ve done since – I’ve been really happy with how well the paint adheres.
The HomeRight Super Finish Max paint sprayer will spray water-based or oil based paints/primers and finishes, but I wasn’t feeling up for cleaning an oil-based primer from the sprayer. For this step I simply used a can of Zinsser oil primer spray, which was enough to cover both sides of the door as well as the pieces of lumber that would soon be made into the door jamb:
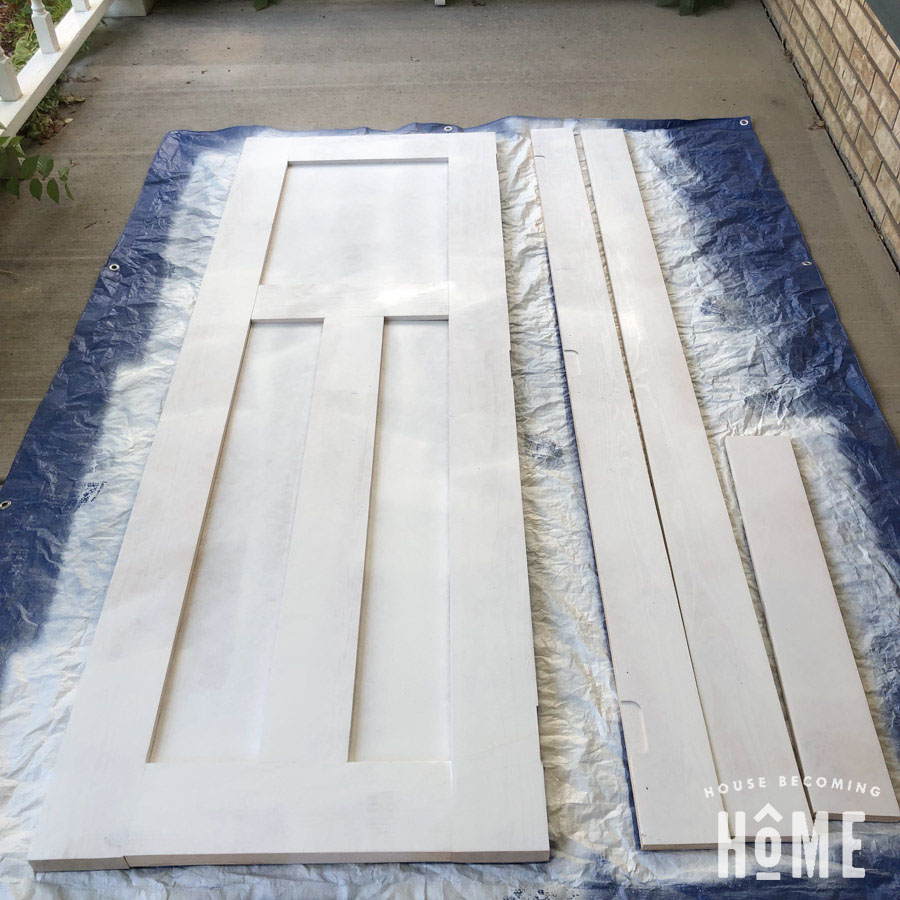
After the primer is dry, use a fine-grit sandpaper to smooth out any imperfections, then wipe clean with a rag to remove any dust.
Step 3 : Set up a Workspace
**This should really be done before step 2**
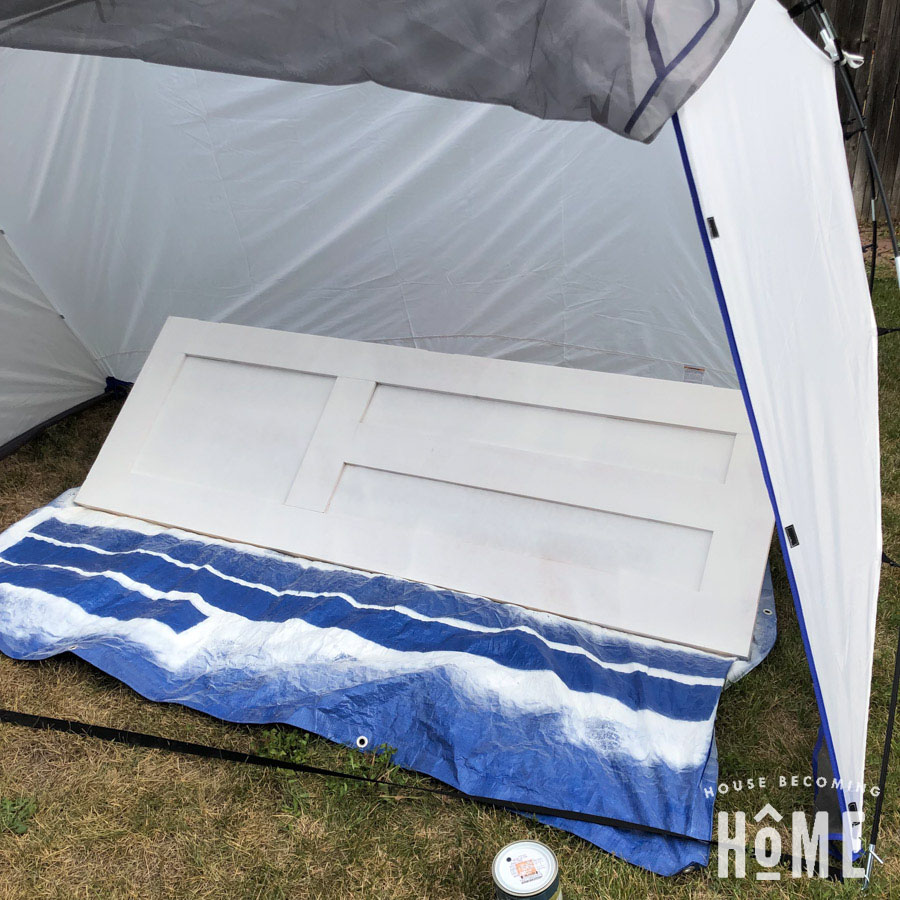
The large HomeRight spray shelter perfectly fit my 80″ door with enough room for me to move around. I’ve never used a spray shelter before, but I was super glad to have it for this project:
- The spray shelter prevents overspray from landing on everything behind your project.
- The shelter’s door was SUPER useful. Our peach tree is attracting quite a few bugs and it was great to keep them out and away from the wet paint. (I can’t tell you how many times before this project that I’ve had to peel a bug off of a painted surface!)
- It started raining shortly after I finished painting, which I hadn’t even realized was in the forecast. My DIY door was protected under the shelter while the rain came down. I was glad I didn’t have to scramble to move it while it was drying.
Step 4 : Time to Paint! HomeRight Super Finish Max
In February I attended Workbench Con in Atlanta. I stopped by the Wagner Paint booth and got to try out their sprayers as well as learn a few tips. One tip was to keep my hand underneath the sprayer as I painted, to prevent myself from twisting my wrist and spraying at an angle. Ideally you keep the sprayer parallel to the work surface – keeping a hand underneath the sprayer helps make that happen.
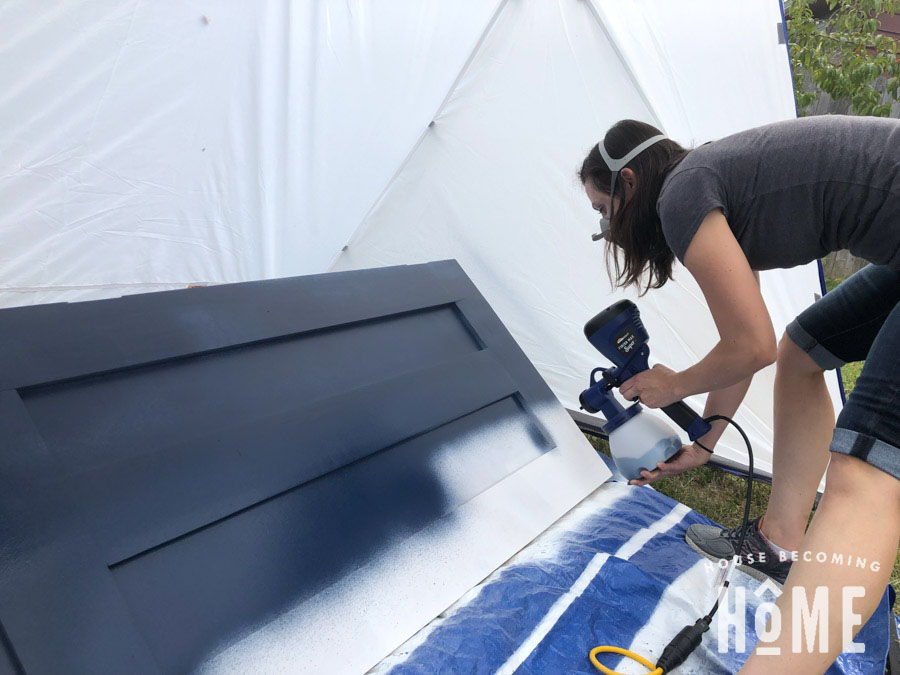
The HomeRight Super Finish Max has a knob to control the flow of paint from the sprayer. I set the flow fairly light, with the idea that it is better to do several light coats than one thick coat.
Let the first coat dry, then sand any imperfections with a fine grit sandpaper and wipe clean before spraying with a second coat.
Step 5 : Clean the HomeRight Super Finish Max Sprayer
Cleanup is another one of my least favorite parts about projects and painting, but it wasn’t too tough to clean the sprayer. Rinse the paint container with water, and run water through the sprayer until it comes out clear. The paint sprayer even comes with a small bristle brush to get all of the paint out of the nozzle.
Door Painted!
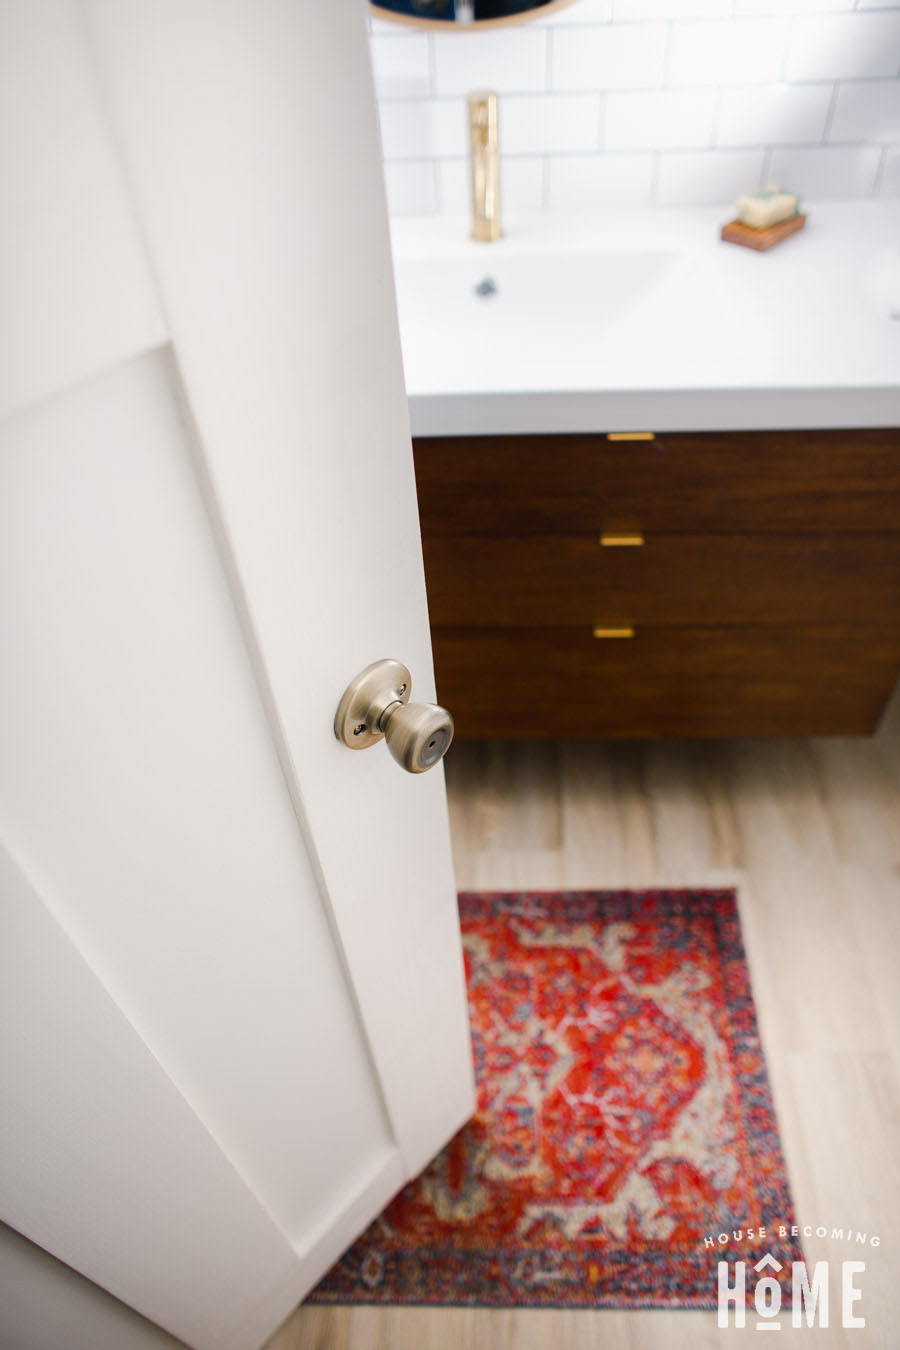
Doesn’t it look nice? I don’t often say that about my painting skills, but I love the way it turned out. 🙂
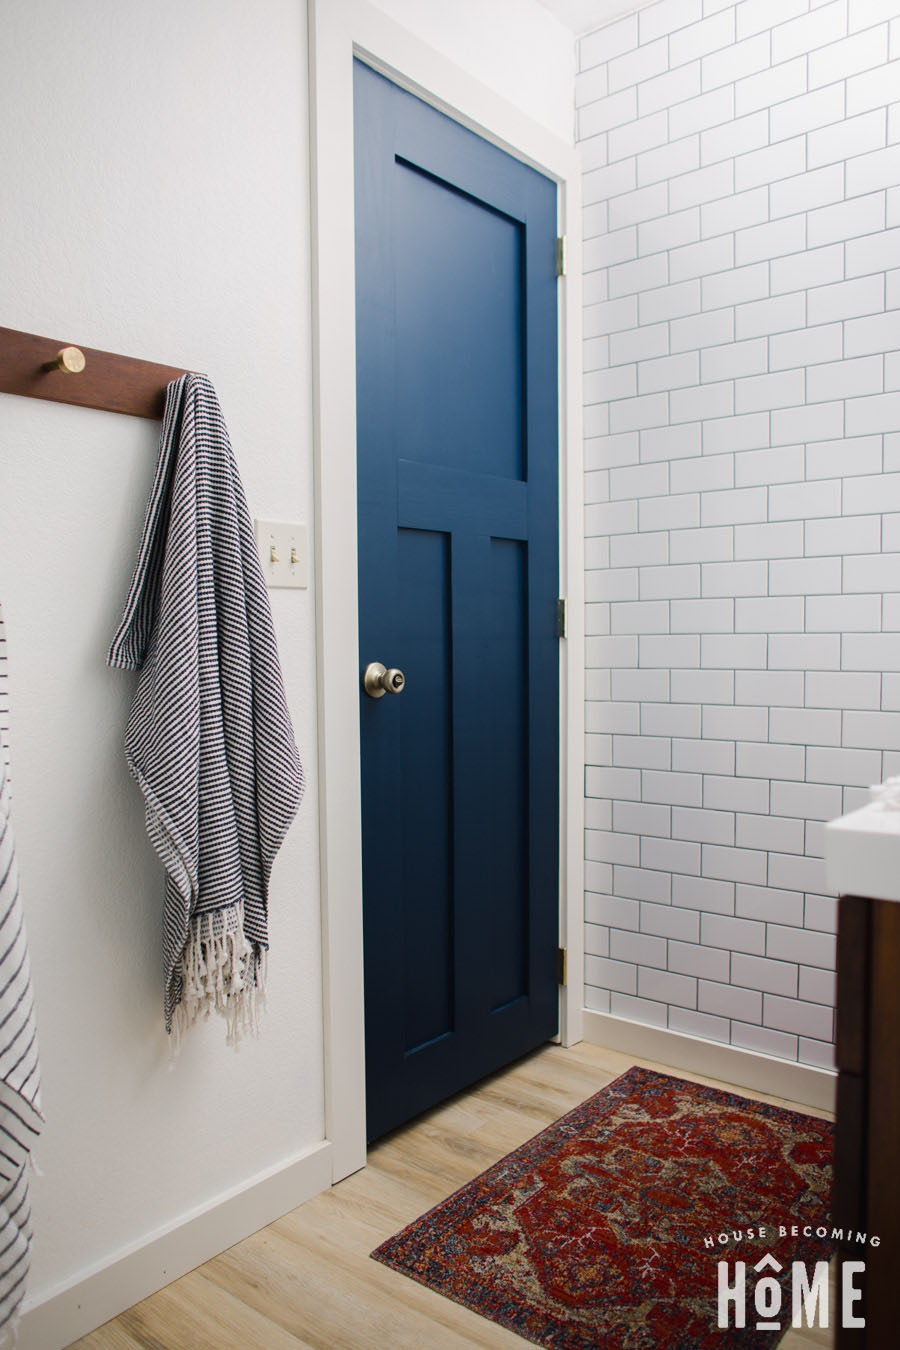
If you’re interested in seeing how I built the door, be sure to check out this post.

what color tip did you use?