If you’re anything like me you’ve got gobs of scrap wood in your workspace. After I made the cherry wood DIY bathroom vanity for our kid’s bathroom renovation, I had a few leftover scraps of cherry wood to add to my pile. As we were putting the finishing touches on the bathroom renovation, I decided a cherry wood soap dish would be the perfect accessory for the bathroom, and a perfect way to put the small scraps to use.
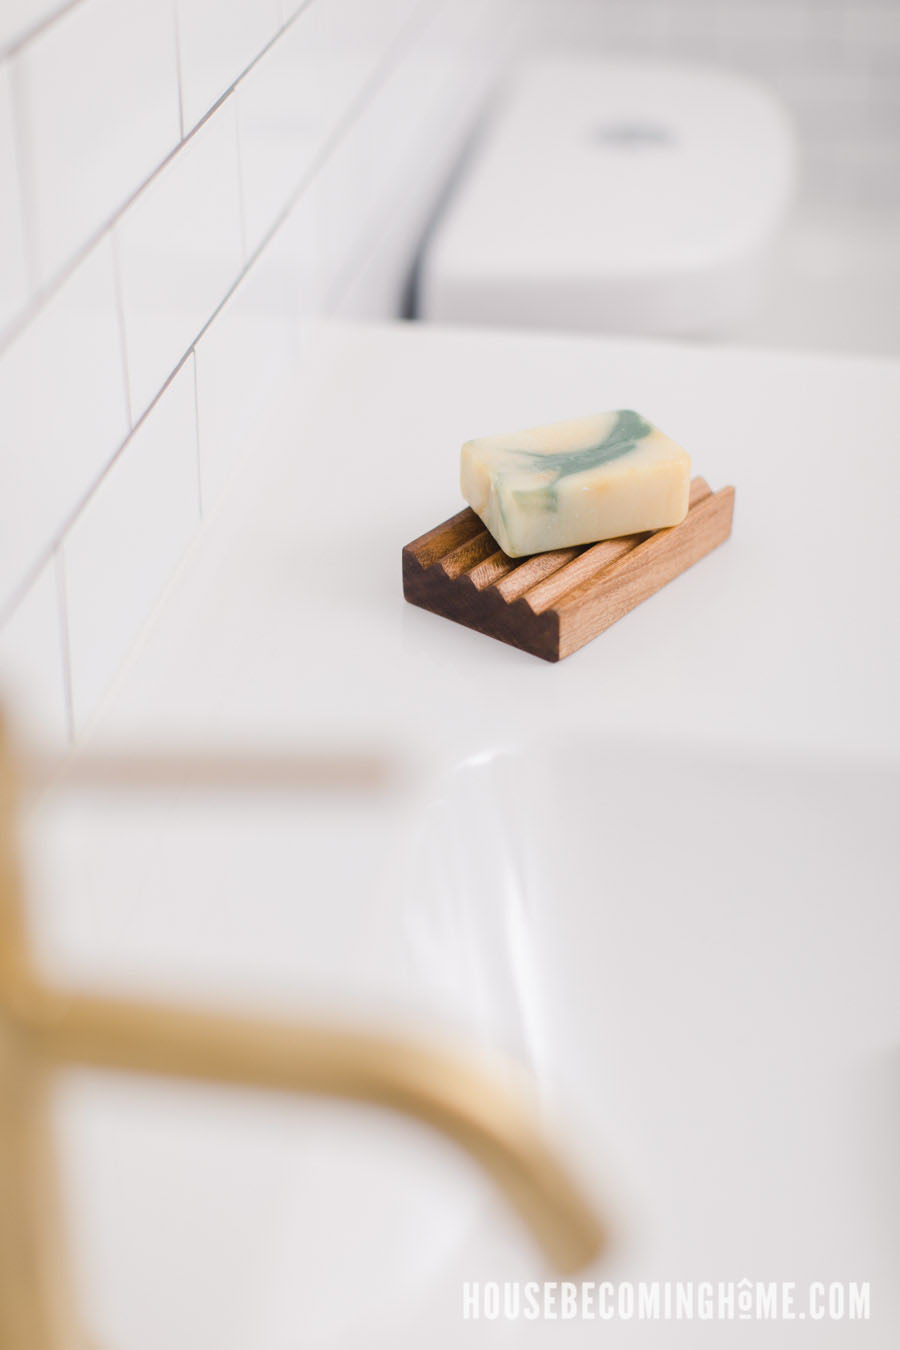
How To Make a Solid Wood Soap Dish – from scraps!
* This post contains affiliate links for your convenience. Read my full disclosure policy here. *
Tools
- V Groove Router Bit
- Router table
- Saw (table or miter)
- Jointer, or jointer jig for your table saw
- Sander + sandpaper
Supplies
- Scrap Wood – pine, cedar, cherry, walnut, oak . . . anything goes!
- Protective Finish
Step 1
Gather the scrap wood you intend to make into a wooden soap dish. Here’s a scrap cut off of cherry wood that I used to build our bathroom vanity cabinet. (I used one side of it to test out different stain choices, if you’re wondering what all the splotches are.)
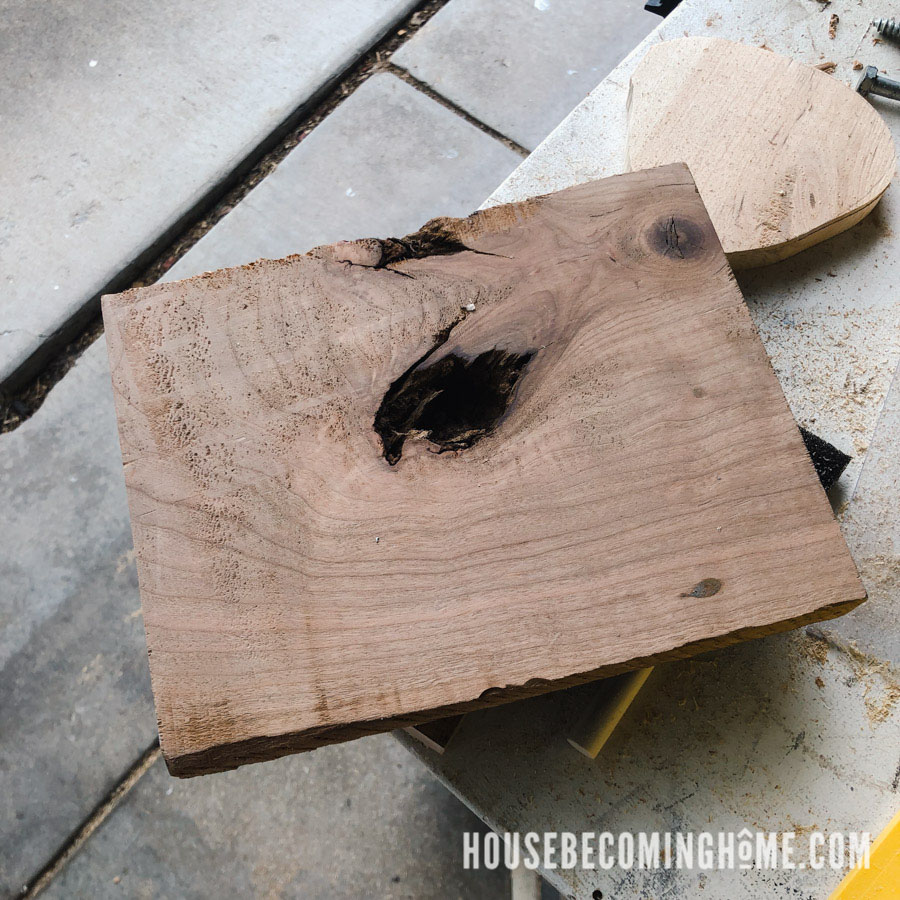
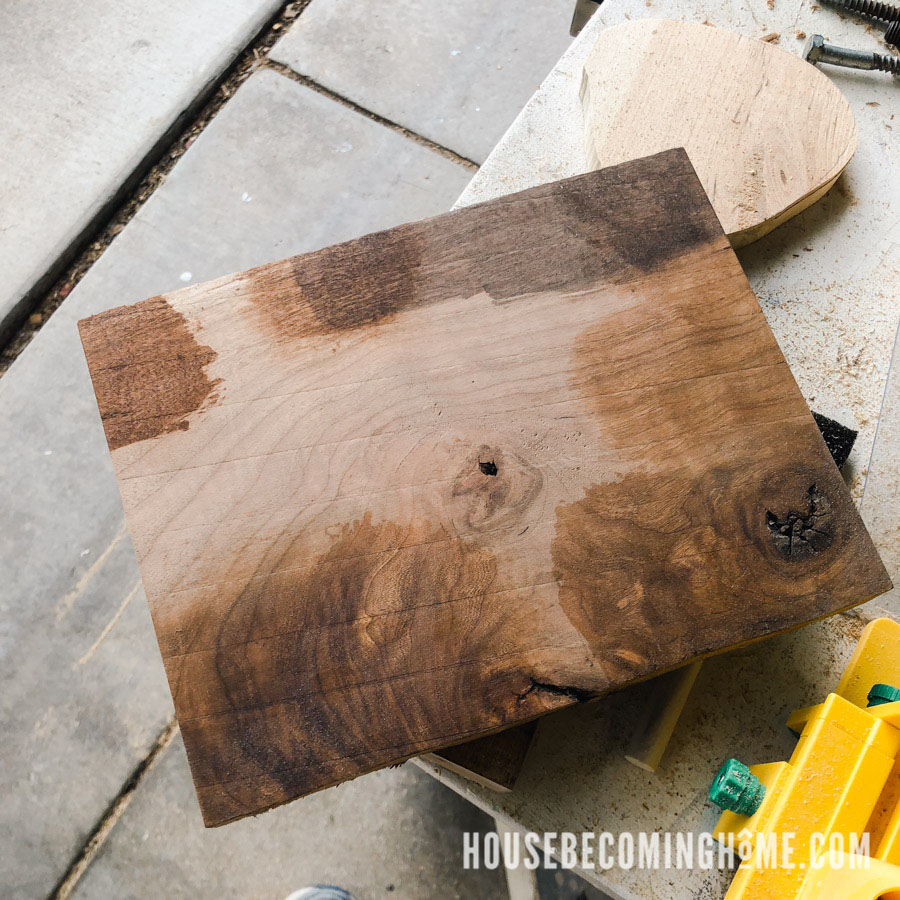
Confession: Even I, LOVER OF SCRAP WOOD, doubted the potential of this piece when I cut it off to make the bathroom vanity. With its huge knot right in the center, I’m not sure I thought I could do much with it. Even so, I held onto it, because . . . wood hoarder. 🙂
And as it turns out, there was just enough useable space to the side of the knot to make two great wood soap dishes. 🙂
**TIP: Though the soap dish will be small, don’t cut the scrap wood down yet. It’s easier to run a medium-sized piece through the router table
Step 2
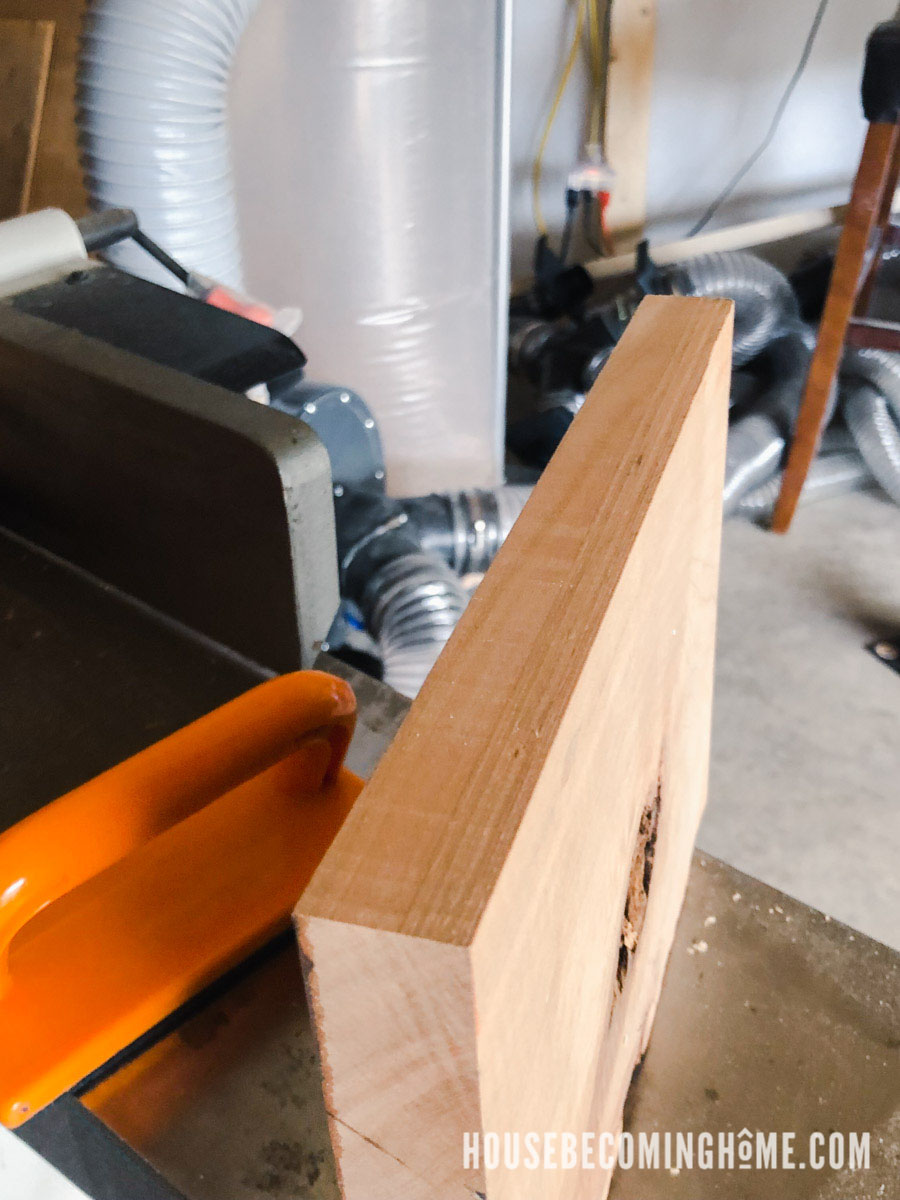
Use a jointer (or a jointer jig on your table saw) to square up the edge that you’ll be running along the router fence.
Here’s the edge after one pass on the jointer:
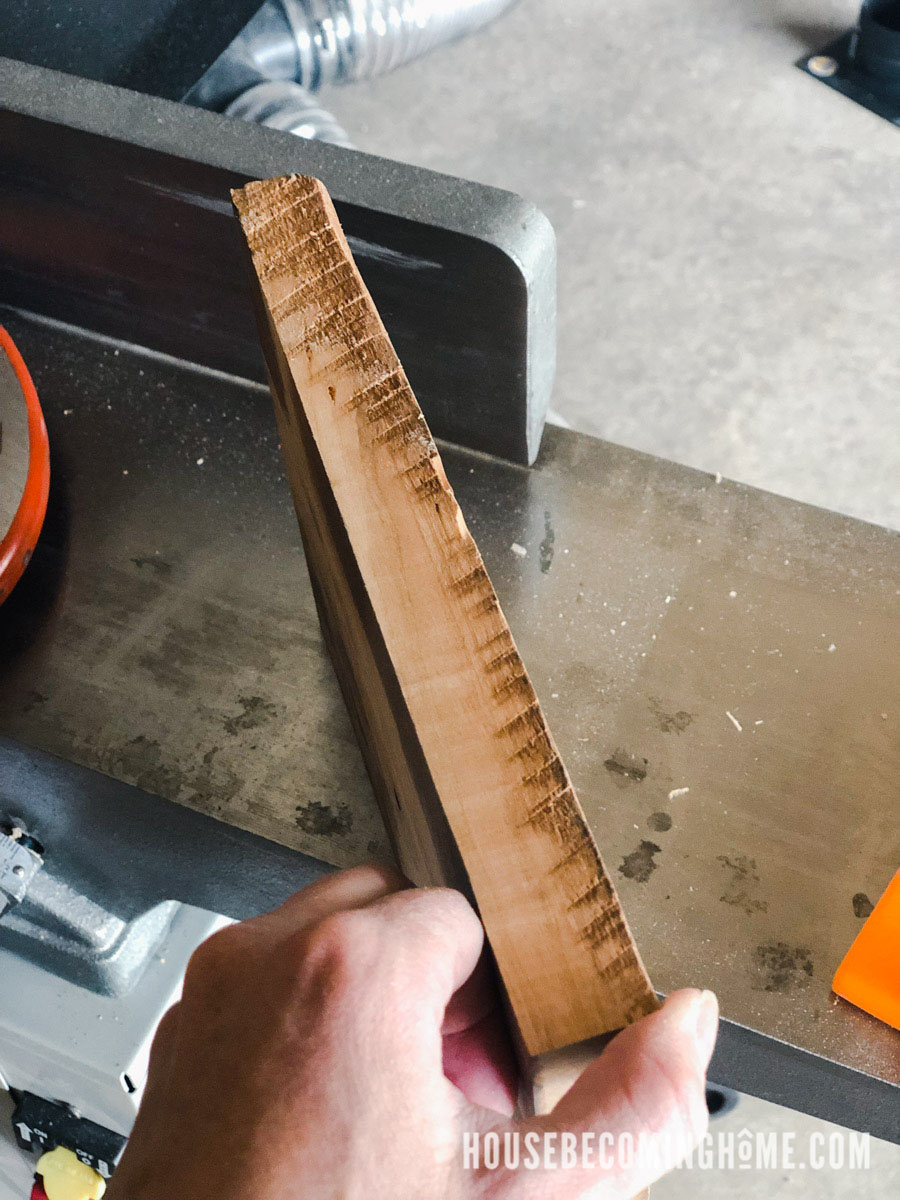
And here it is after several more passes. Nice, square edge. 🙂
Step 3
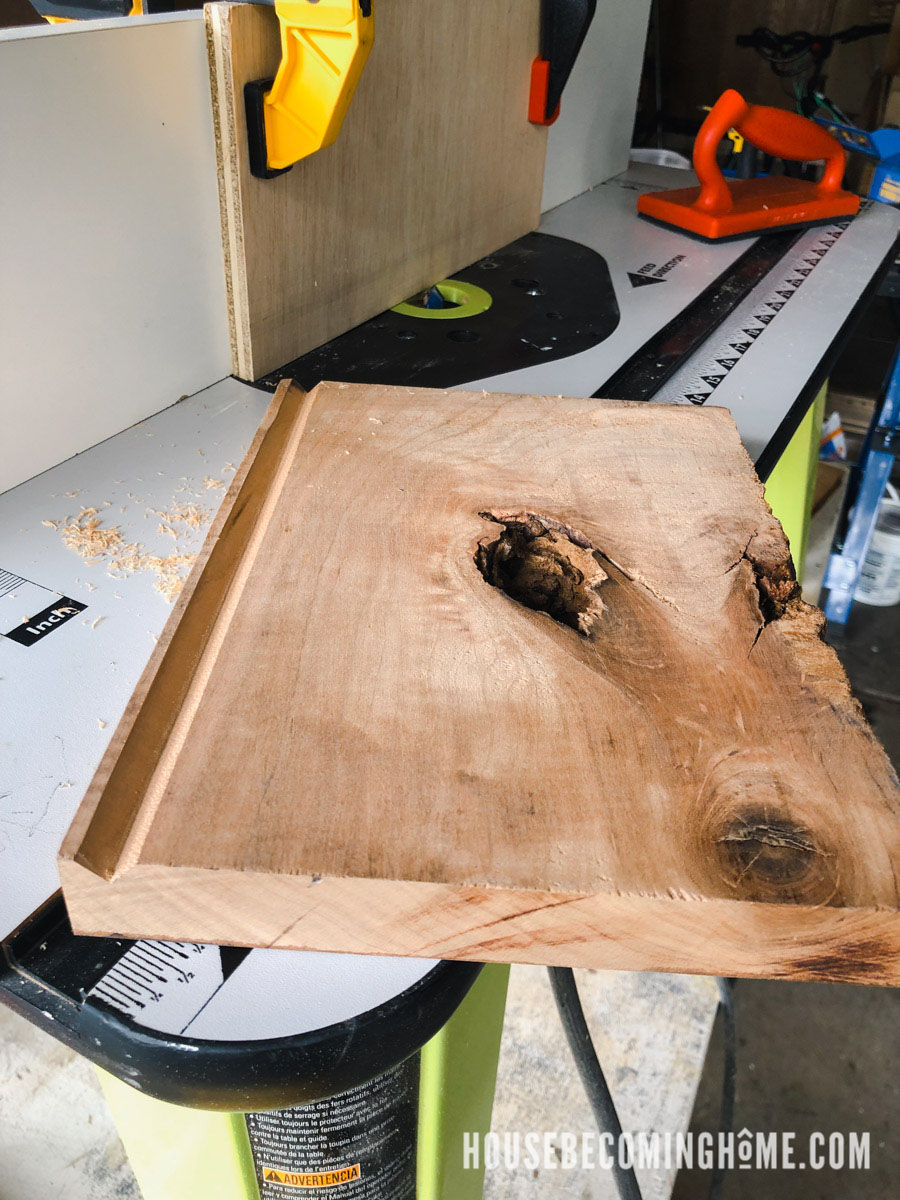
Add a v groove router bit to your router and table. Set the router table fence to begin the first cut about 1/8″ from the edge of the wood. Run the squared edge of your scrap wood along the fence.
Step 4
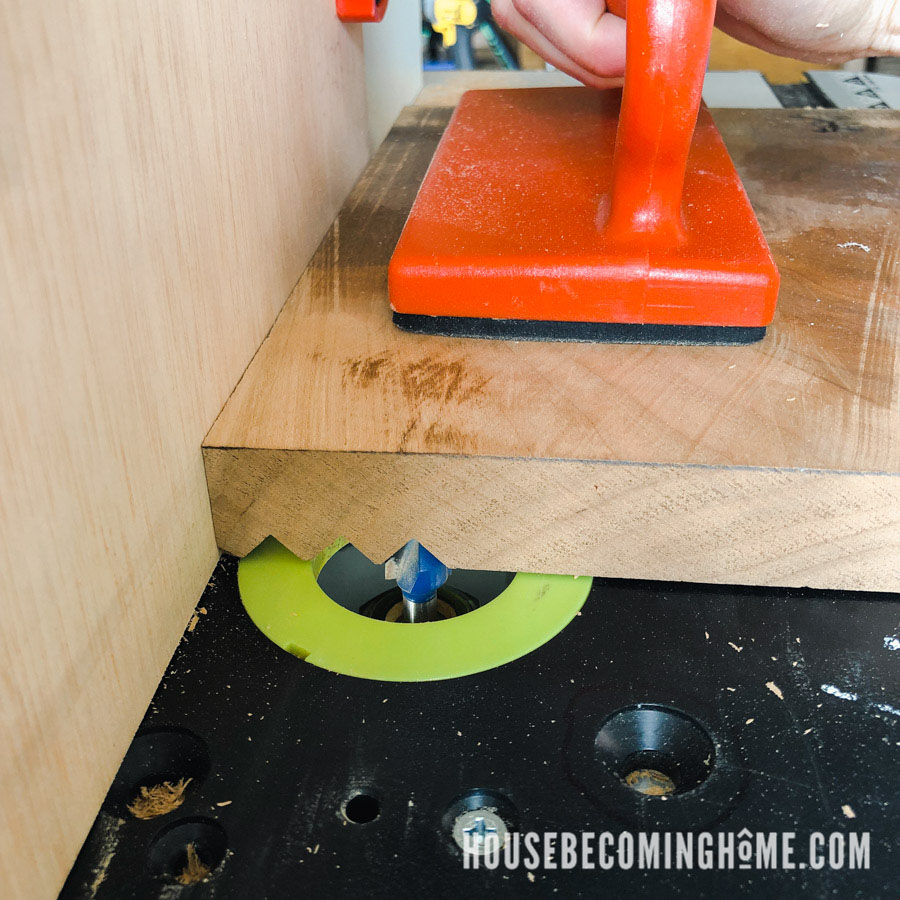
Move the router fence back 1/2″, then make another pass. Continue until you’ve made six grooves.
Step 5
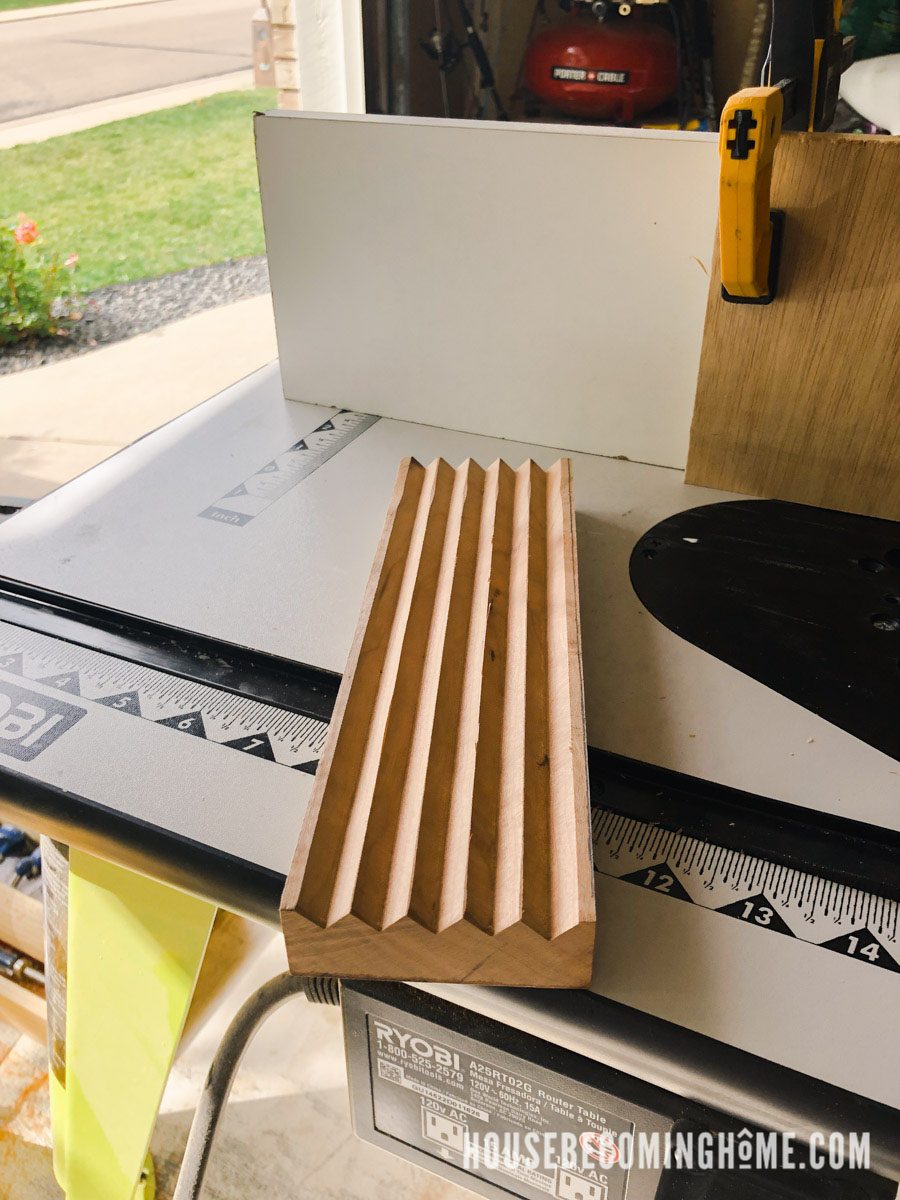
Use a saw to trim off the non-grooved side. Leave about 1/8″ on the side of the last v groove so that it matches the other side.
Step 6
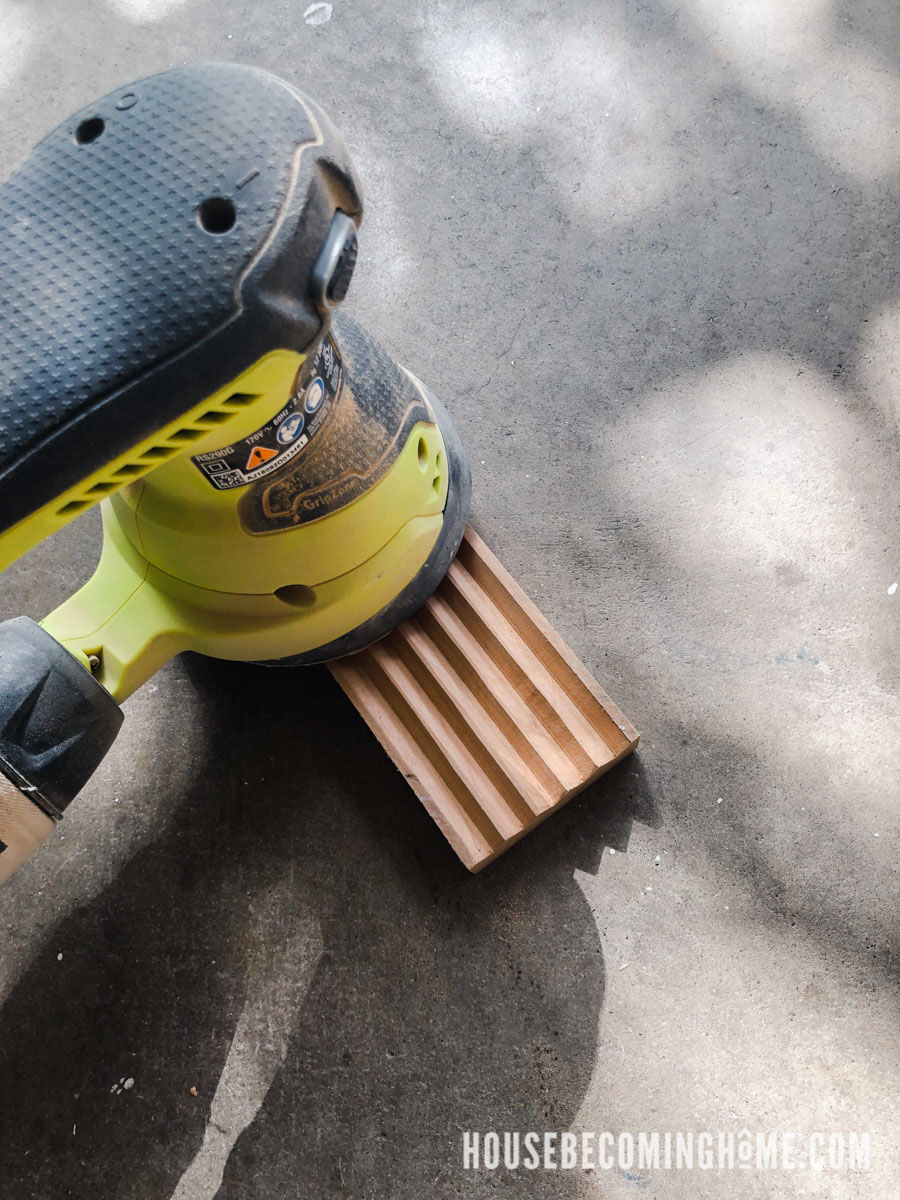
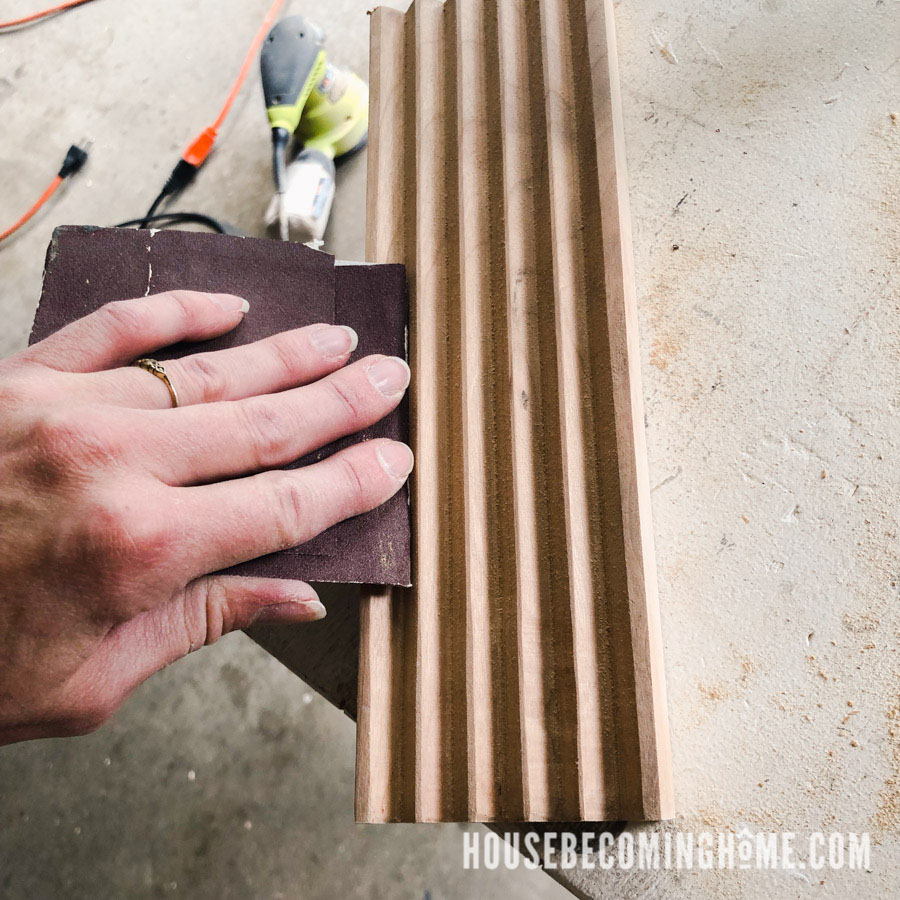
Sand the top of the grooves to take off a little bit of the “point,” then sand the back and sides. Sand by hand to get inside each groove.
Step 7
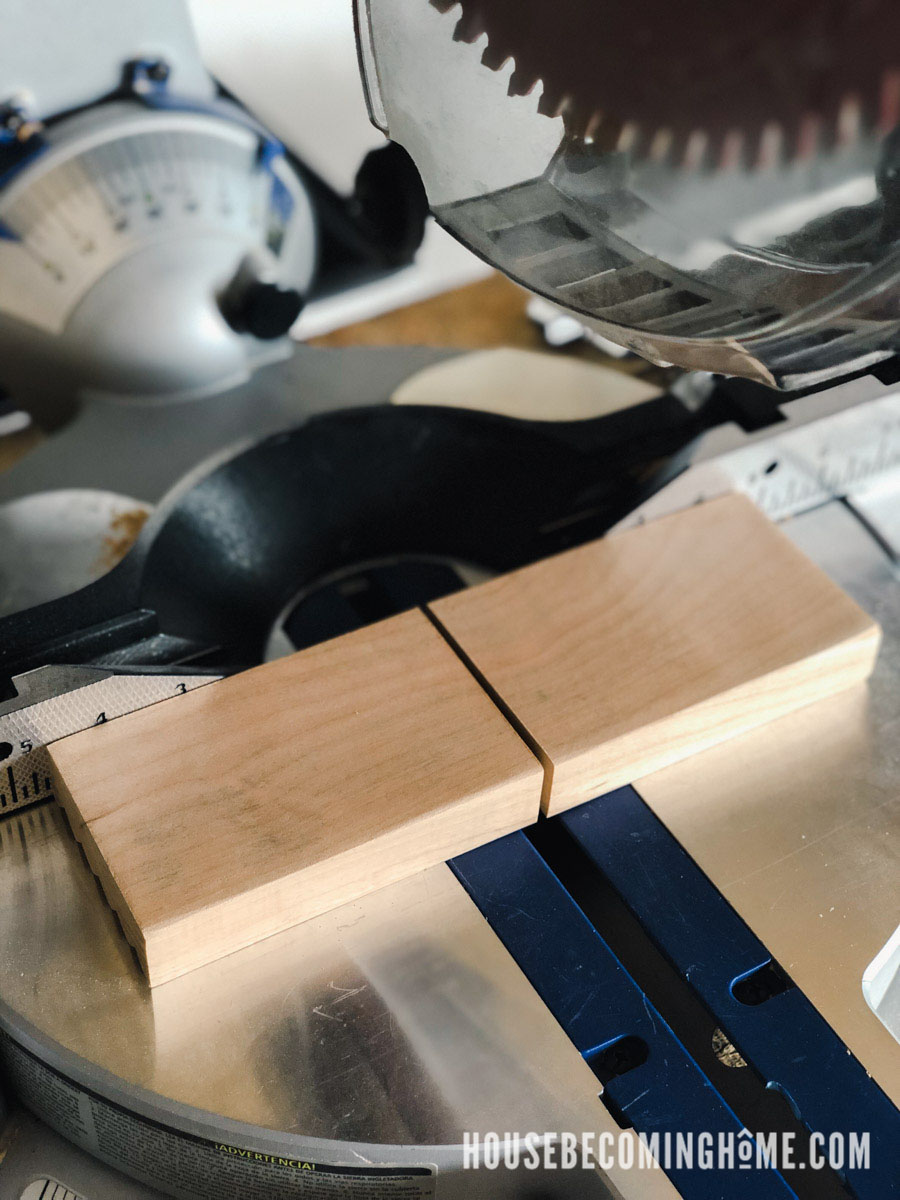
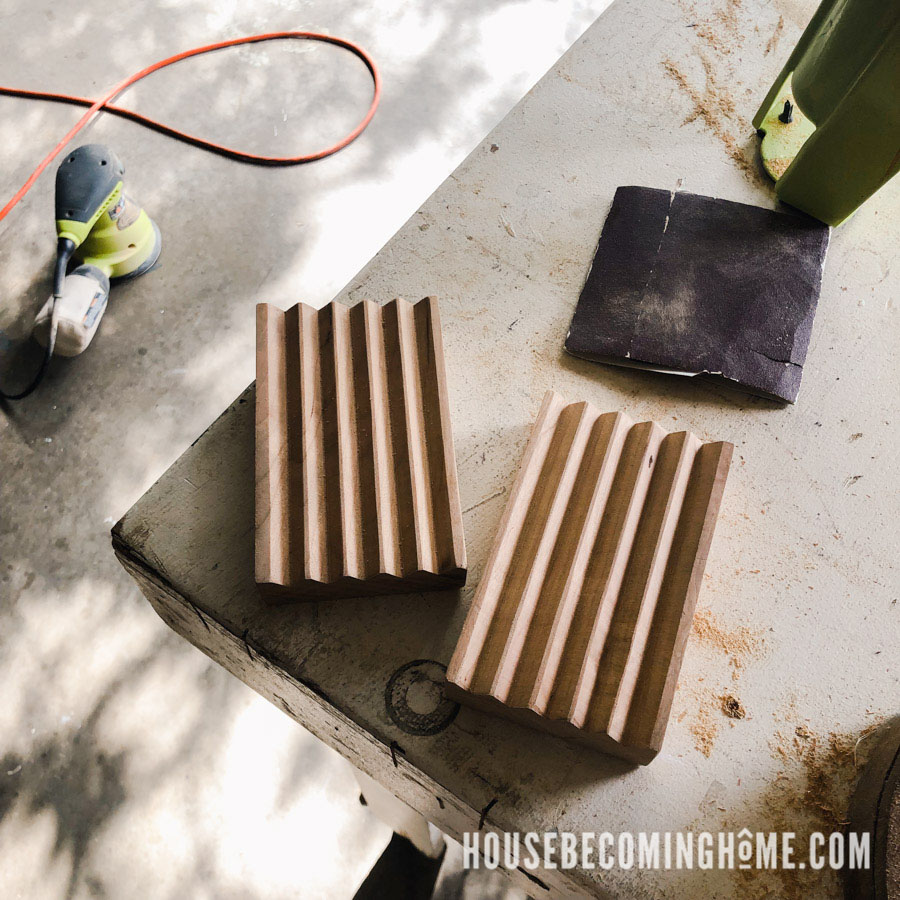
Cut the wood into individual dishes, about 4.5″ wide.
Step 8
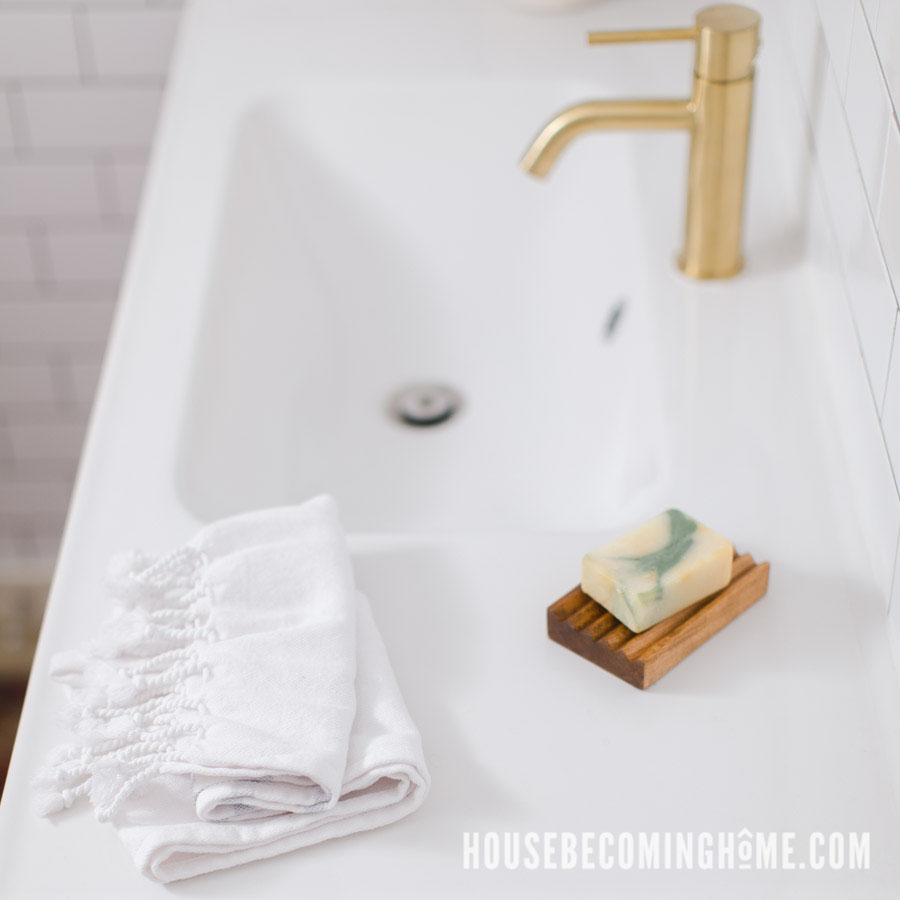
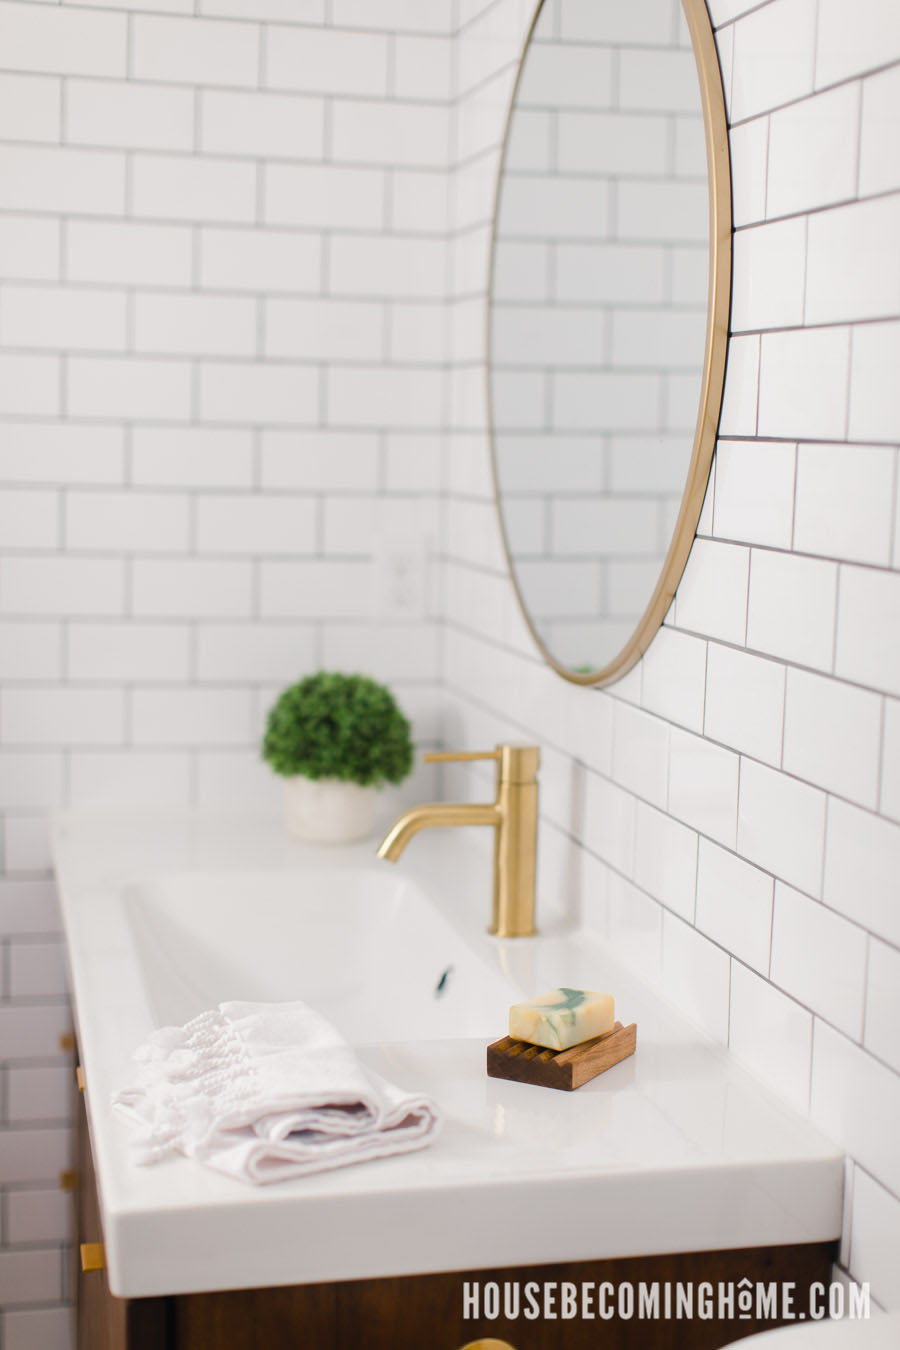
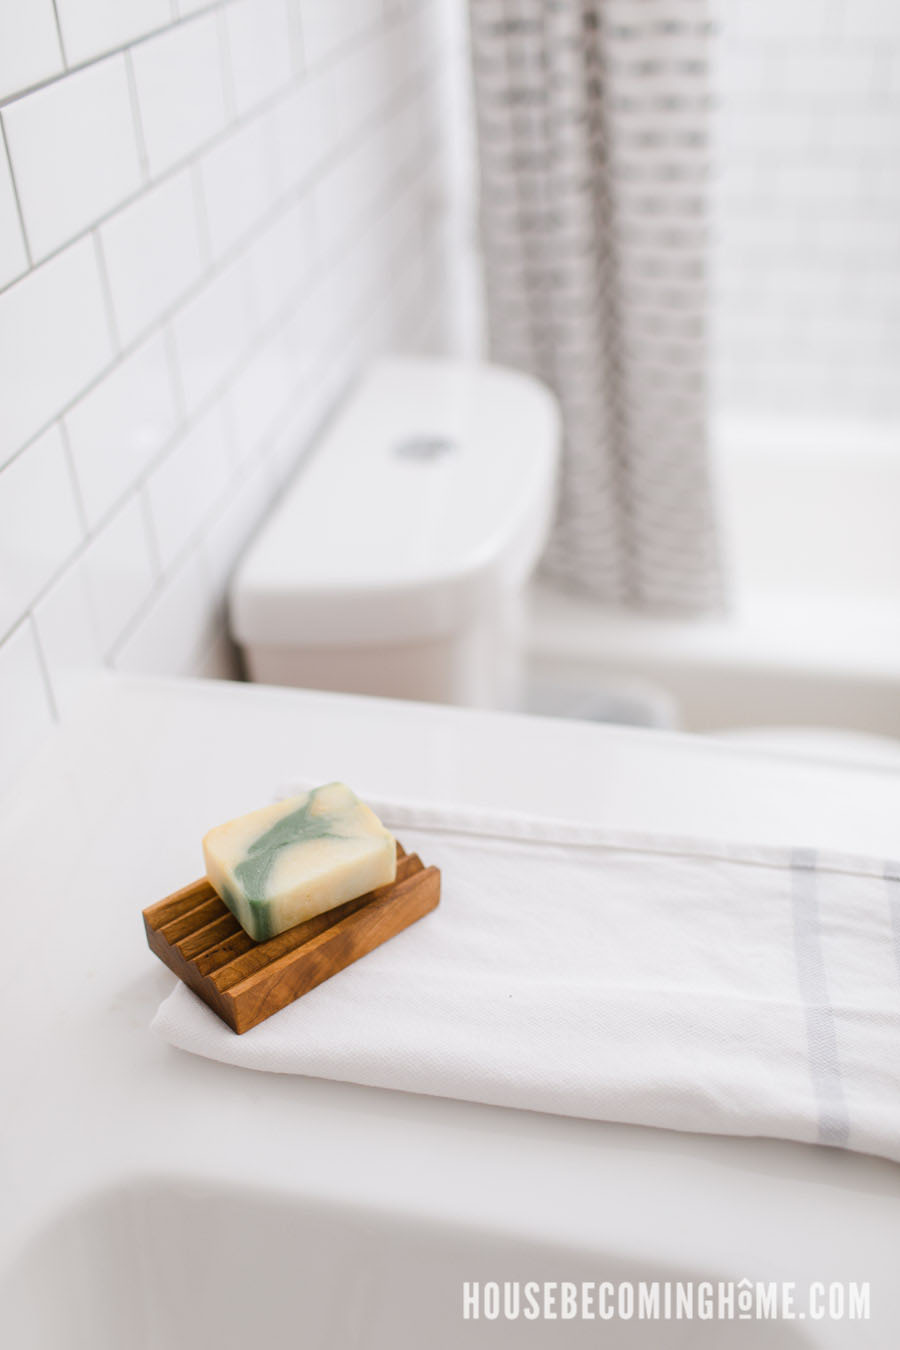
Add several layers of finish to protect the soap dish from the water that will inevitably fall on it. Wooden Soap dish, completed! Add a bar of soap and place it on your bathroom countertop!
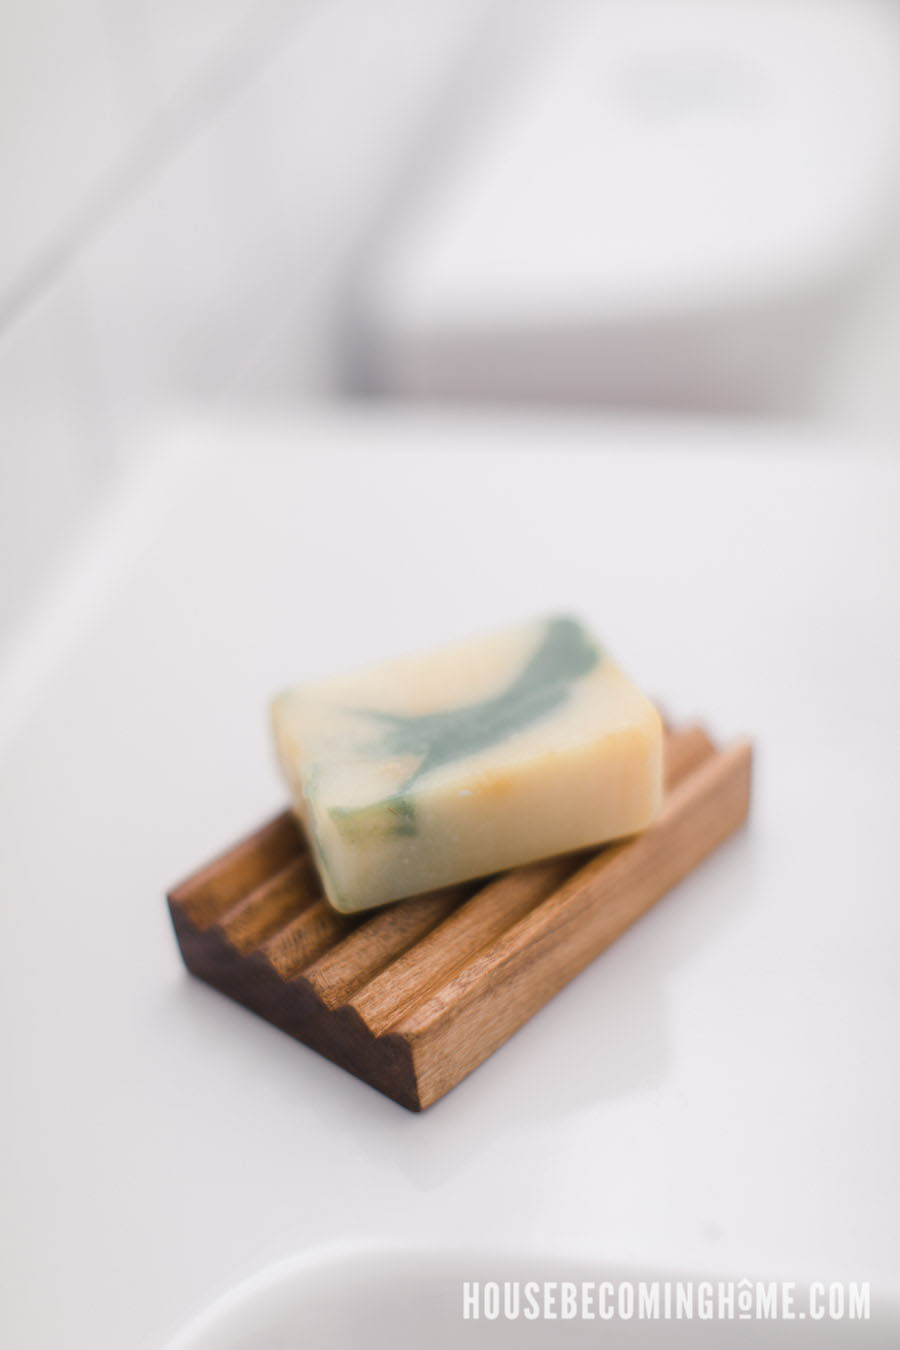
If you’re not up for making the soap wood dish, but think it would look great in your bathroom, you can head to my newly opened shop and purchase one of the extras that I made. 🙂
Attention all Wood Hoarders 🙂
If you’re a wood hoarder like me, be sure to check out the tutorial for the DIY Wood Scrap Cart I built earlier this year–it’s been super helpful in keeping my scraps organized and accessible. And to see more ideas of what to do with your scrap wood, check out these other projects from this month’s Scrap Wood Challenge:
Scrap Wood Challenge
- Addicted 2 DIY : DIY Noodle Board
- Remodelanda La Casa : Scrap Wood Coat Rack
- Jaime Costiglio : Scrap Wood Wall Installation
- The Created Home : Modern Doll House Furniture
- My Love 2 Create : Tiered Serving Trays
- Ugly Duckling House : Scrap Wood Wall Art
- Hazel and Gold Designs : Colorful Scrap Wood Geometric Art
- Joyful Derivatives : Wooden Dog Bed
- House Becoming Home : Wood Soap Dish
- The Inspired Workshop : Scrap Wood Outdoor Planter

This is so beautiful! I have a neighbor that makes soaps and I think I may need to make her a few of these!
I love this! I totally want to make one now.
I now need to run out and finally purchase a router table…this sealed the deal! I love that soap dish, it’s perfect!
Oh my goodness, I love these soap dishes! I want to make some now. Such a smart way to do it too. I need to utilize my router table more now. Nice work!!!
Angie that is the most beautiful little piece of wood ever! And very clever to use the router table. Love this project with purpose.