
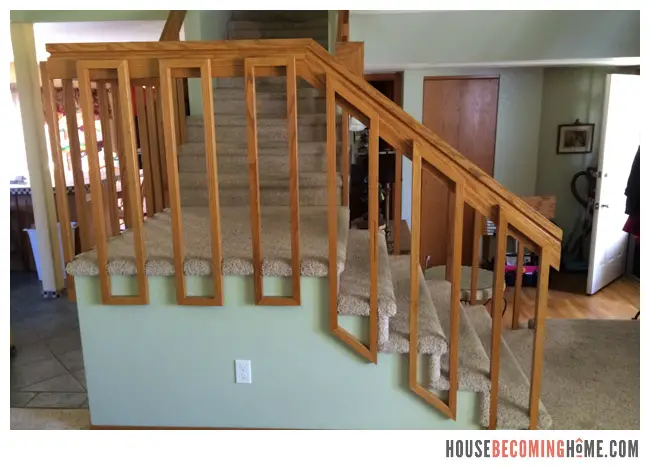
Well hello there, ugly stairs! There were a lot of things I didn’t love about our house when we bought it and the stairs were definitely one of them. Here’s how they looked the first day we saw the house on our walk-through tour. Those balusters and handrails . . .What the . . .?
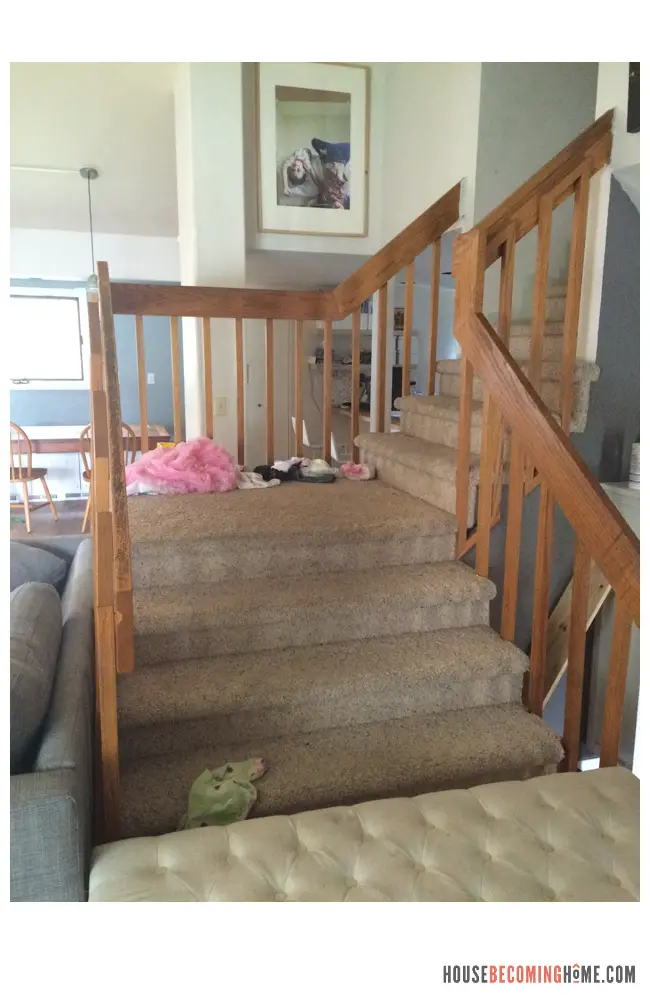
And after two years of living with them they only got worse. The carpet got even more nasty and the handrails started falling apart. **Please ignore the falling-out-of-its-frame photo in the background and our makeshift baby gate (bench) blocking the stairs!
House Becoming Home is a participant in the Amazon Services LLC Associates Program, an affiliate advertising program designed to provide a means for sites to earn advertising fees by advertising and linking to Amazon.com. Some links in this post may be affiliate links. Read my full disclosure policy here.
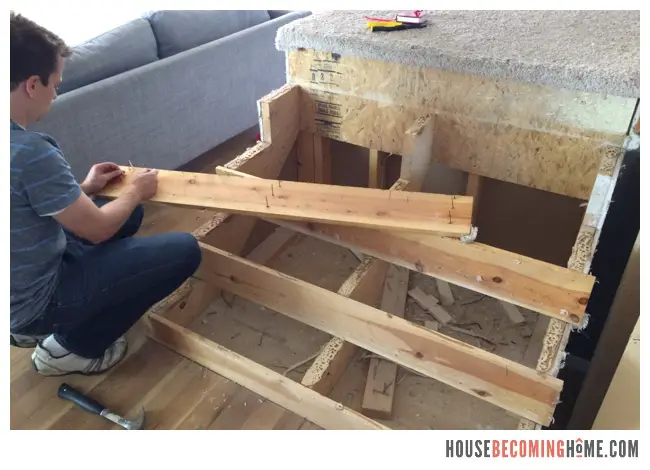
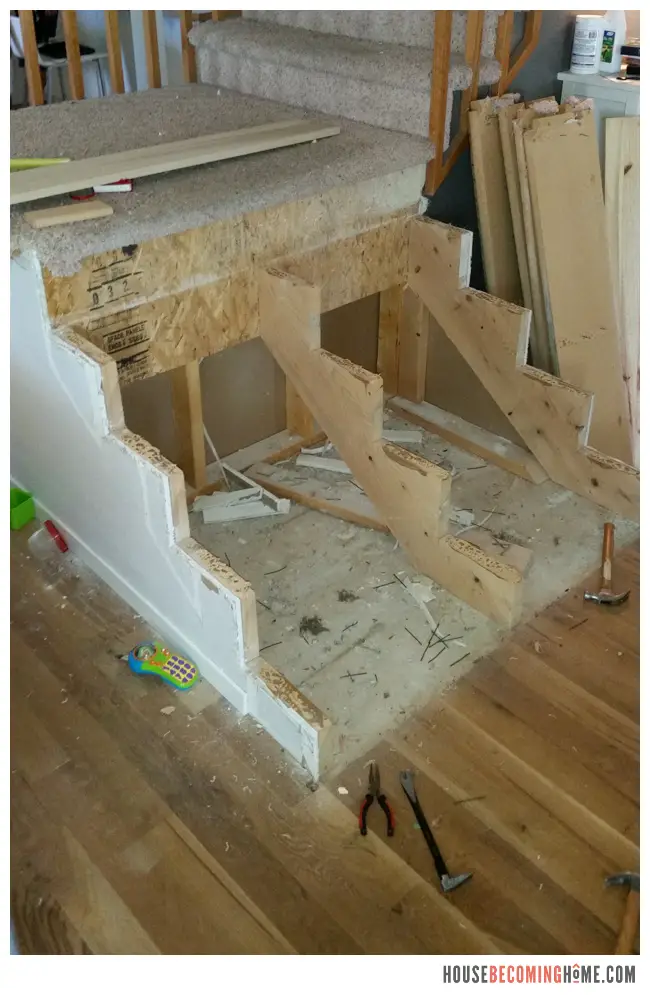
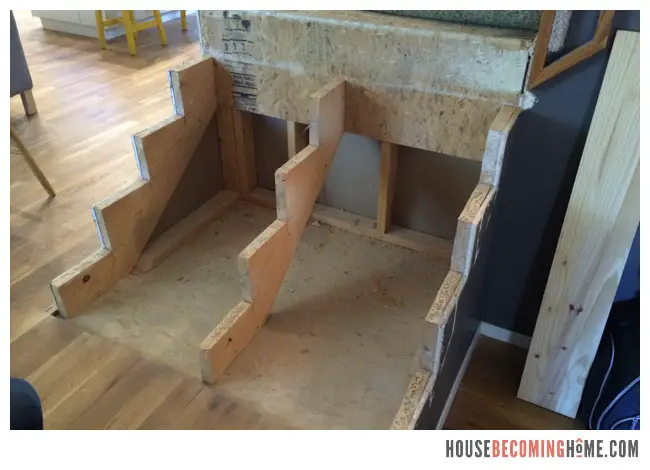
Finally by year two we found a bit of time to fix the stairs. Here’s Jim, pulling off the risers. We decided to reuse these since they are good solid pieces of wood.
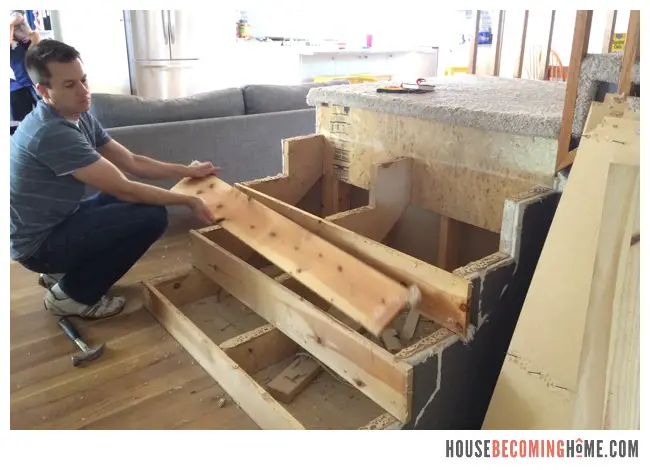
We just had to remove some nails, fill the holes and give them a sanding before painting them white.
And there are the risers all fixed up and back in their place: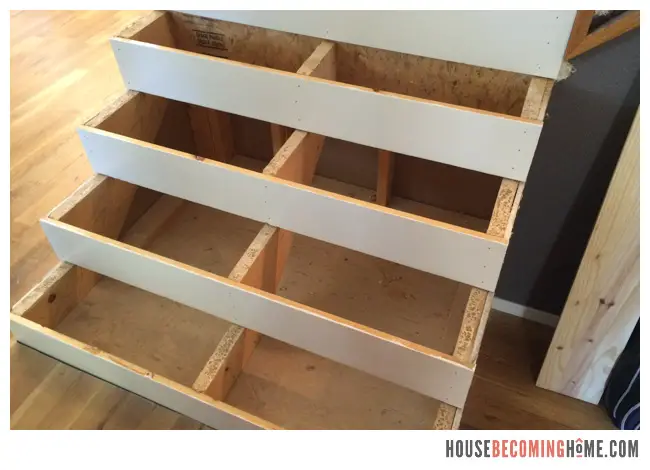
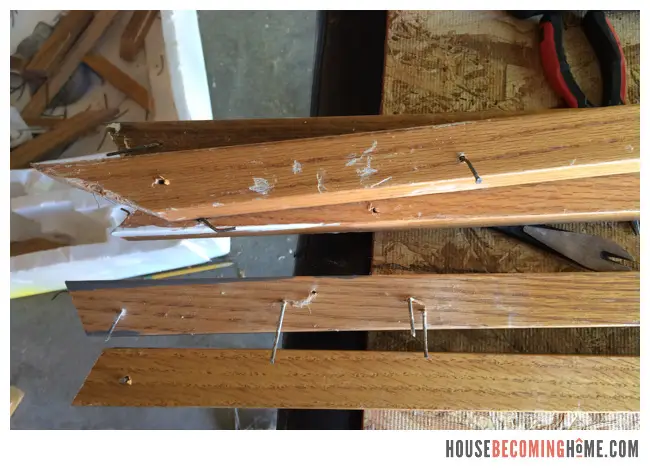
Next we nailed down the white oak stair treads: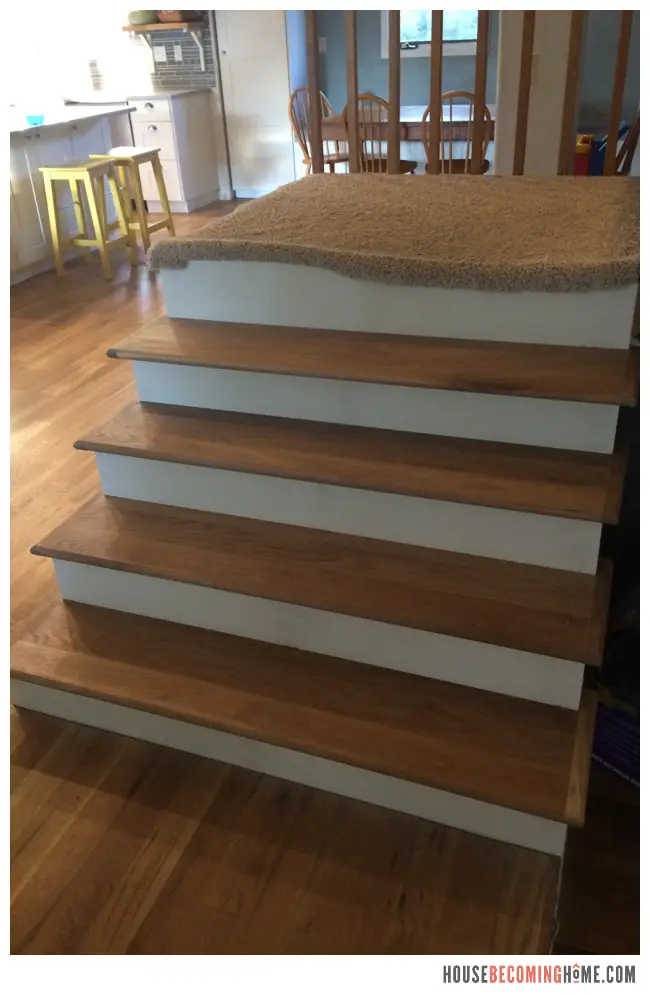 After removing the balusters I took out all of the nails. We were able to reuse almost every single baluster and only ended up having to buy a few more. I LOVE saving money!
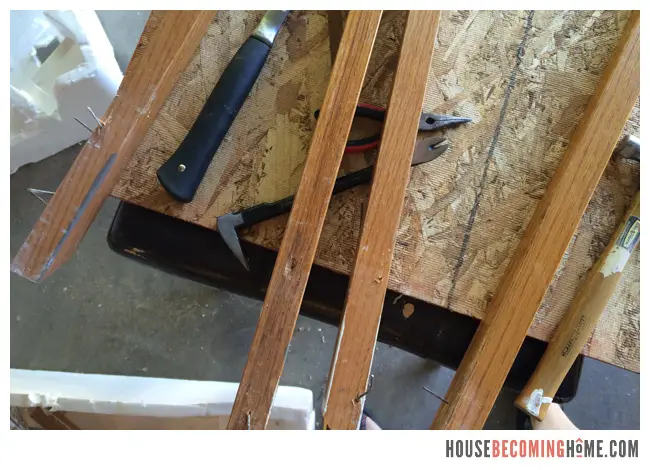
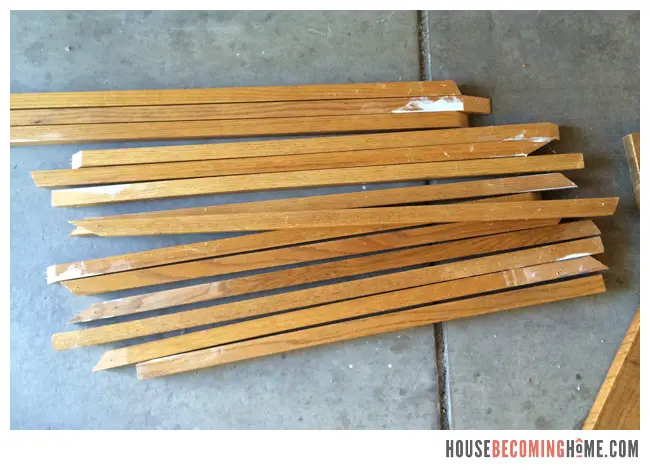
There’s one of my stacks of old balusters, nails removed and holes filled, ready to be taken to the miter saw where I cut off the angled ends. After that they were sanded, given a coat of oil-based primer, and then several coats of white paint.
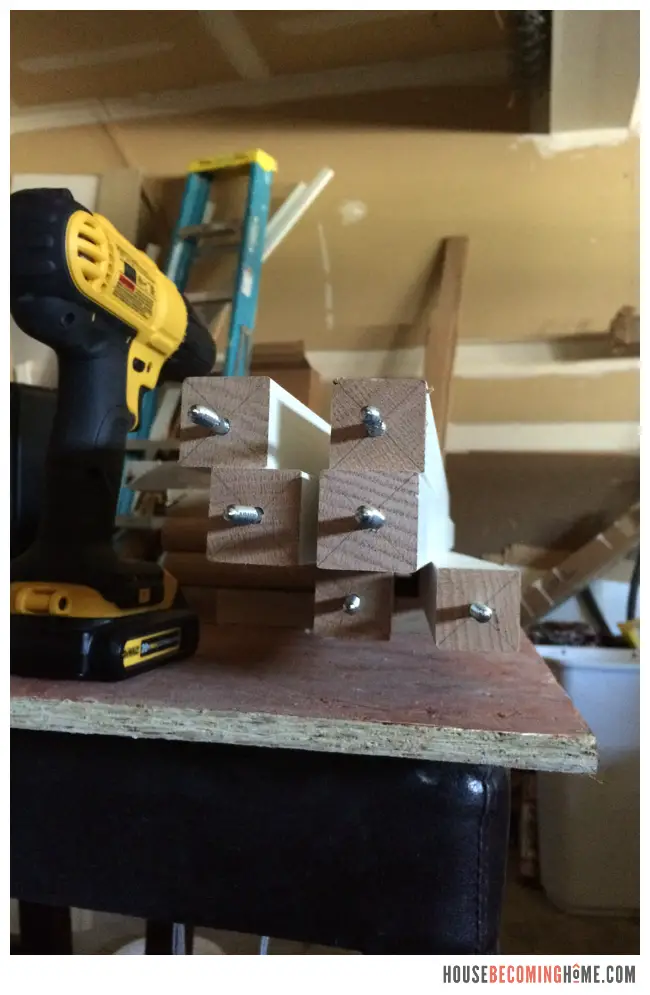
Once that was dry we pre-drilled a hole into the bottom of the baluster and then put in one of these two-sided baluster screws. (<–affiliate link)**Tip: drawing an X on the bottom will give you the exact center point to place the screw.
Before we were able to put in the balusters, we installed the (unfinished) DIY newel posts and landing posts. Then we put the handrail in place using clamps. This made it so we knew where we needed to cut off the top of each baluster. I know there is a mathematical way of calculating all of this, but I just didn’t get it. Our method worked for us.
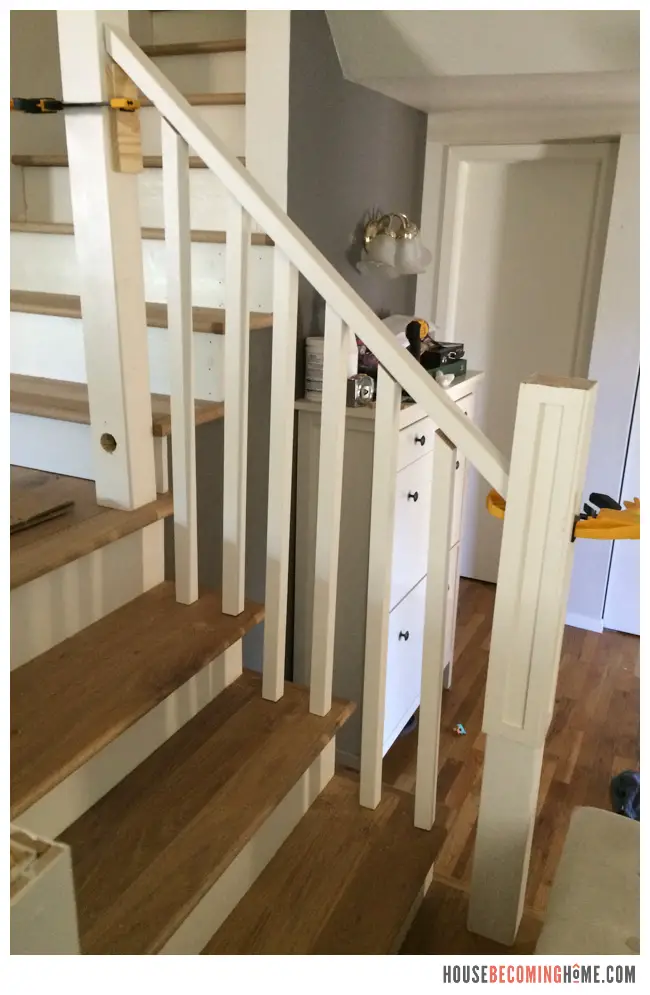
Here’s a close-up look at putting a baluster into place. After a hole was drilled into the baluster, we’d put a two-sided screw halfway into it. Next, we’d pre-drill a hole into the stair, and then we would basically “screw” the baluster into place until it was flush against the floor:
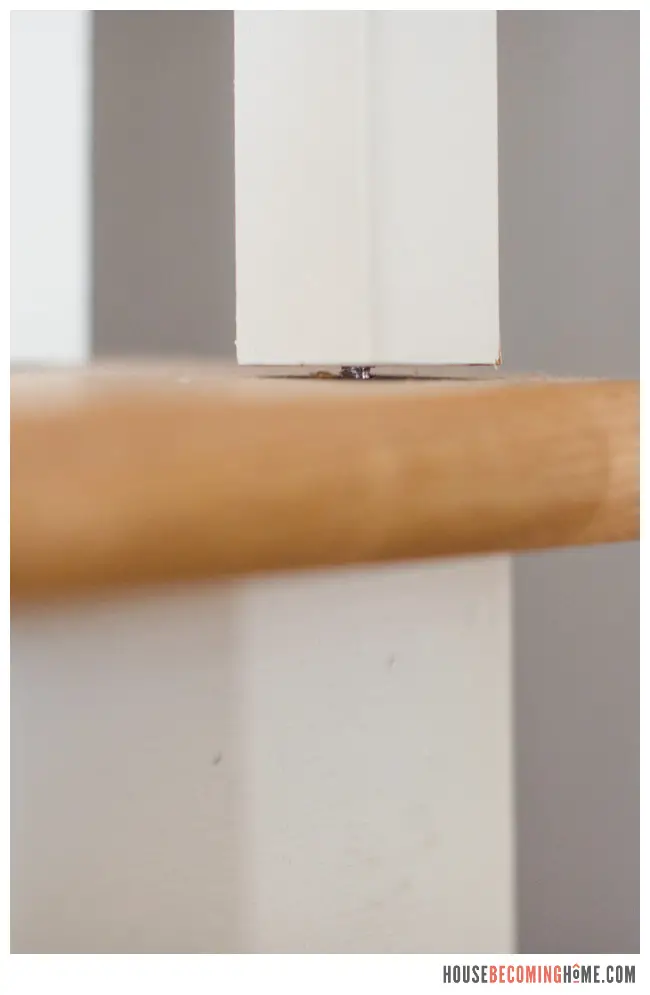 And here’s the DIY handrail in place. By the way, this is a simple 2×4 with the rounded edges sawed off, then primed and painted. The tops of the balusters were nailed into the handrail (from the underside of the handrail).
To see how our updated stair project turned out click here:
Stair Update Part Two

Pingback: Simple Modern 8-Drawer Dresser | DIY Furniture - House Becoming Home
Pingback: DIY Hot Cocoa Bar & Free Printable Tags - House Becoming Home
Pingback: Adding a Dash and Albert Stair Runner | Stair Update Part Two - House Becoming Home
Pingback: Twisted Copper Pipe | Modern DIY Light - House Becoming Home