
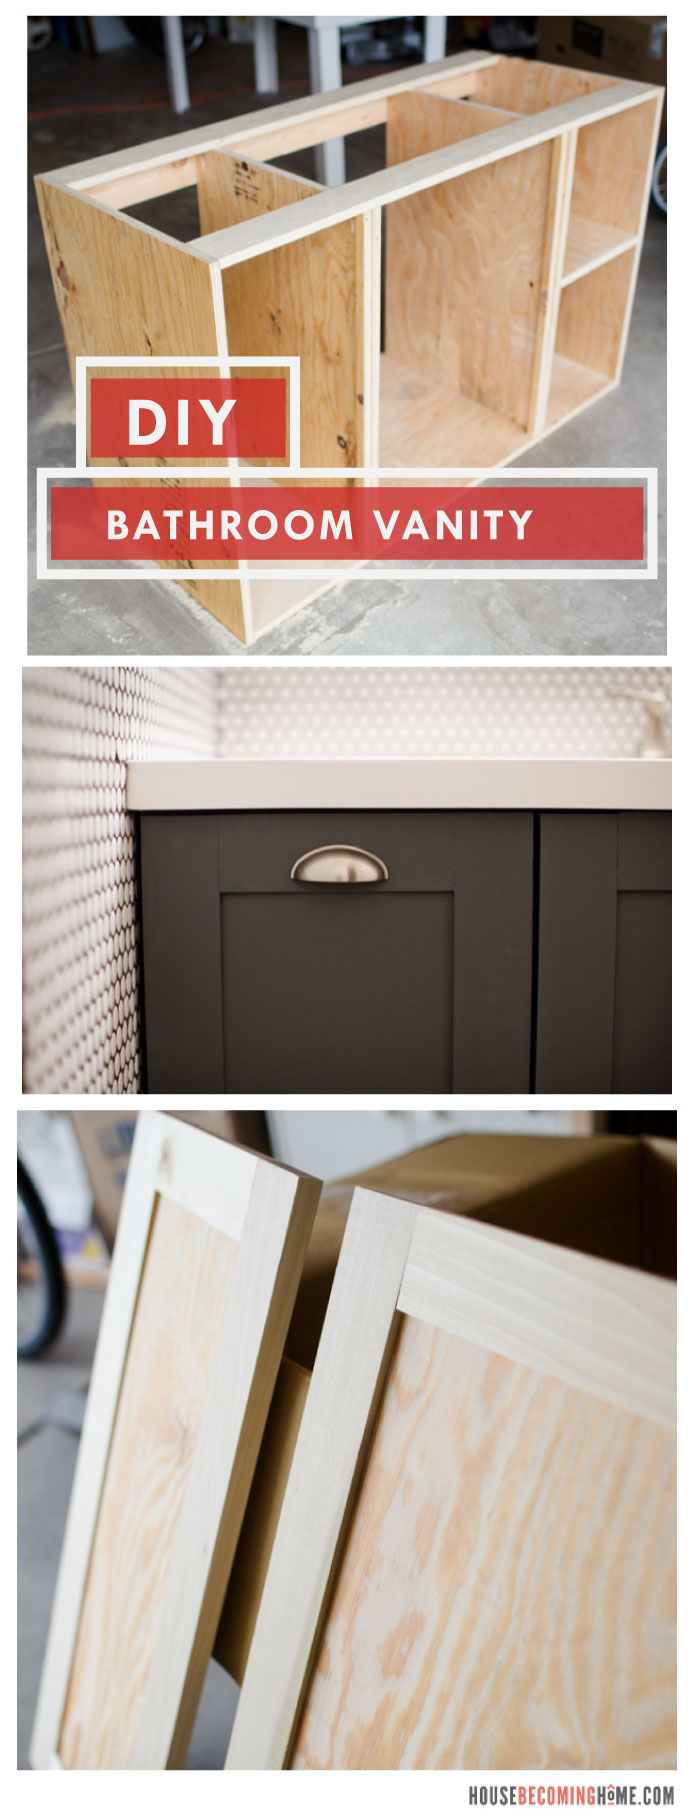
This simple bathroom vanity was my first DIY “furniture” project. It isn’t too complicated of a piece–basically a box with a few dividers and easy-to-build shaker style doors–definitely a feasible starter project.
The Process:
After browsing through tons of images of bathroom vanities, I found this one on Ana White’s DIY furniture website that I liked quite a bit: Image from Ana White
What I Liked:
The shaker style doors, the dark grey color and the basic three section layout.
What I Didn’t:
I wasn’t a huge fan of having an open shelf area. Though I would normally like drawers, it wasn’t something that we needed for the vanity in our powder room (it’s main purpose is to store toilet paper and cleaning supplies).
So, using that image as inspiration, I sketched out a plan for our own bathroom vanity, making adjustments to meet our needs with dimensions specific to our space.
House Becoming Home is a participant in the Amazon Services LLC Associates Program, an affiliate advertising program designed to provide a means for sites to earn advertising fees by advertising and linking to Amazon.com. Some links in this post may be affiliate links. Read my full disclosure policy here.
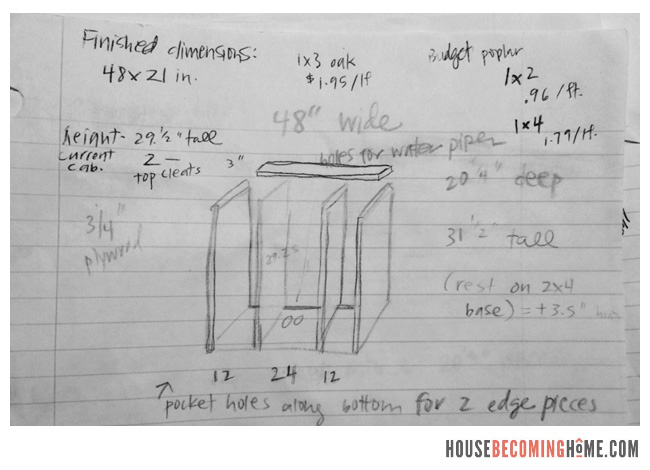
(Pencil and paper worked this time around, but I decided after completing the cabinet that learning SketchUp to make 3-dimensional drawings was a must.)
I bought the most affordable 3/4″ plywood I could find. This was my first project, remember, and let’s just say I wasn’t completely convinced I wouldn’t totally screw it up. Better to mess up on a $30 sheet of plywood than a $75 sheet.

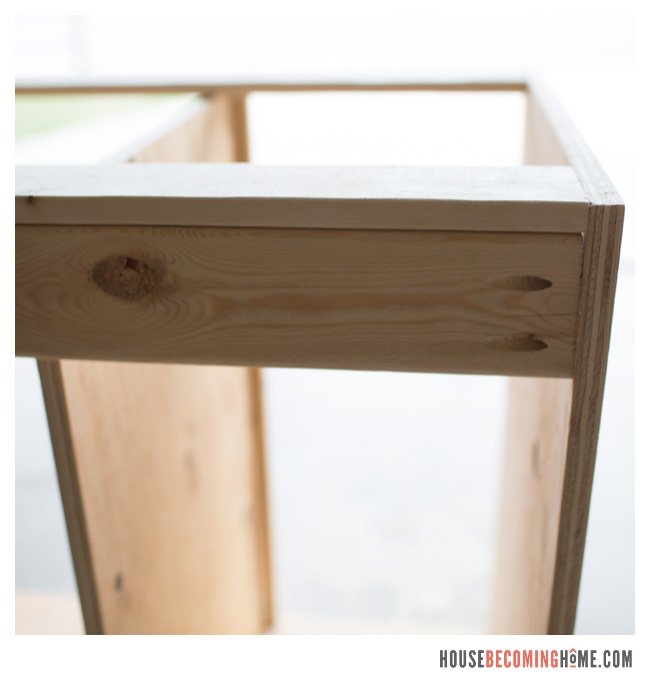
Here is the cabinet before doors were added. You can see how simple it is. The whole thing is put together using pocket holes.
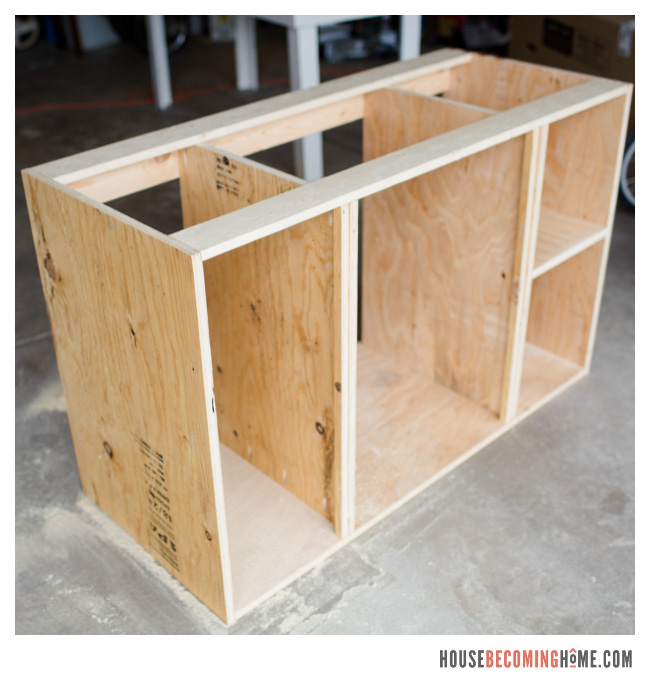
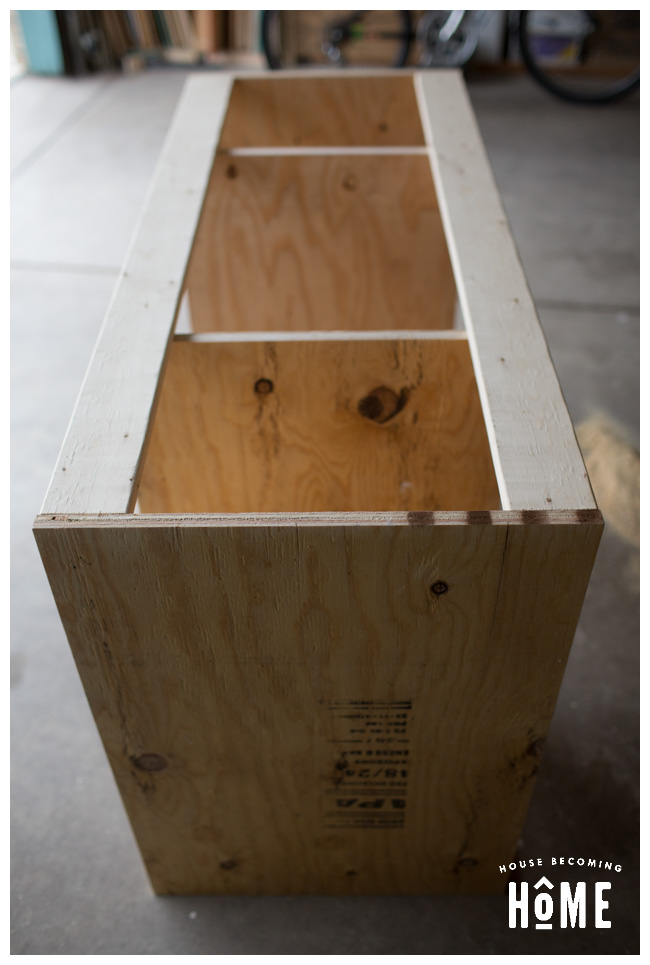
The back support is a simple 2×4 connected to each side of the cabinet with pocket holes. This piece helps the cabinet keep its shape. It is also the piece you drill through to attach the cabinet to the wall.
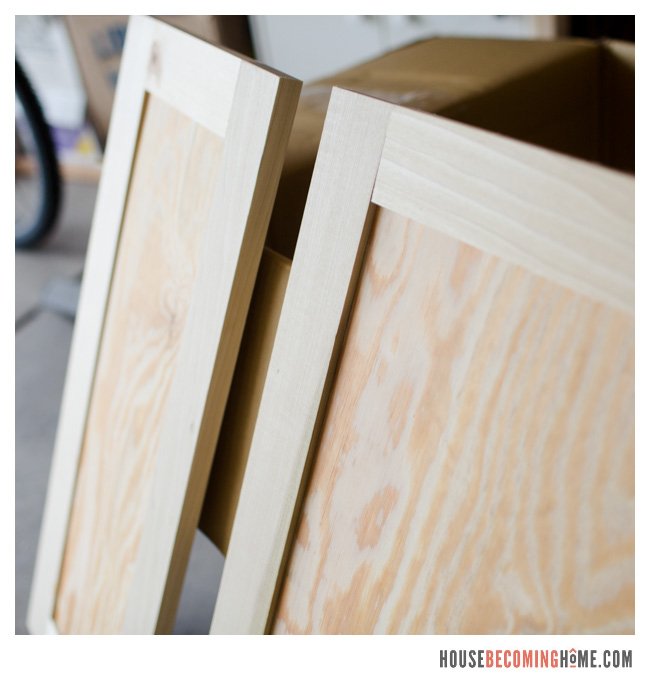
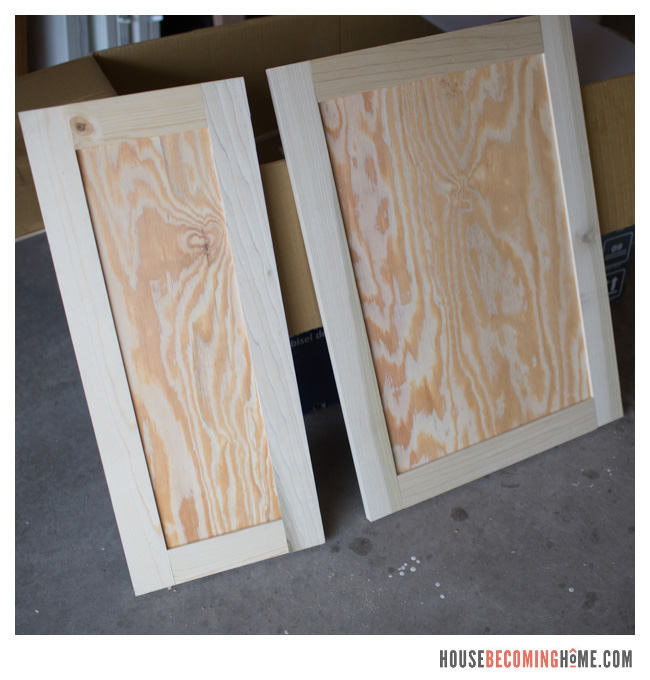
I love shaker style doors. So simple. So clean. So attractive. And, as it turns out, super easy to make. I followed Ana White’s tutorial which you can find here.
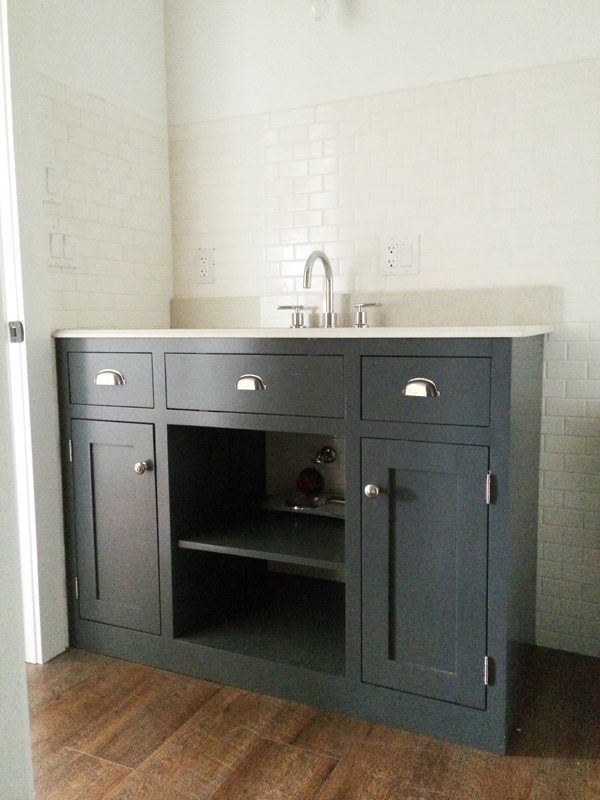
And here it is after sanding/painting and attaching the doors. I used European style hinges that attach to the inside of the cabinet. The Liberty Silver Cabinet Mounting Template* (*Amazon affiliate link) made installation of the hinges a breeze.


What I learned:
- I didn’t bring the cabinet high enough off the ground–the toe kick area is a bit too short. Watch your feet when you open that large middle door!
- I placed the hinges for all of the doors on the left side. I thought that keeping it “consistent,” would be a good choice, but getting into the door on the far right feels somewhat awkward. The hinges on that door should have been placed on the right side.
Good things to know for the next vanity build! 🙂
Definitely the best tutorial I’ve seen so far. If you don’t mind sharing what was the total cost of the project?
Thanks Kenia! The total cost of the vanity or the entire bathroom reno? It’s been a few years since I did this, so I can’t remember for certain, but I do remember I was trying to keep the entire bathroom renovation to about $500. I think the vanity was somewhere around $100 . . .
You did a lovely job! I’d like to see the counter and the rest of your bathroom!
Thanks Kate! I will try to put something together and post it on the blog!
Pingback: Simple Modern 8-Drawer Dresser | DIY Furniture - House Becoming Home