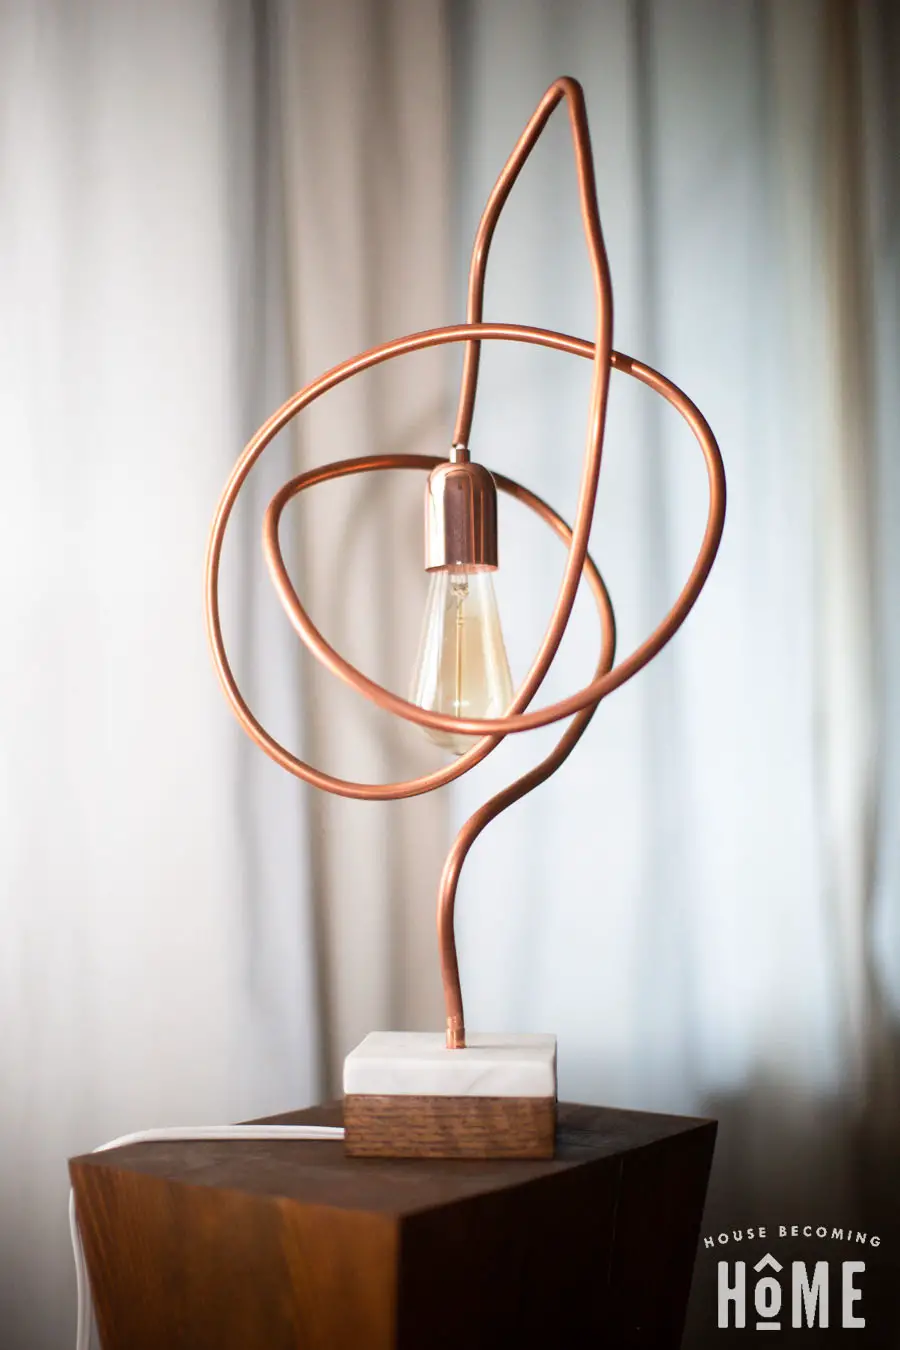
Earlier this year, somewhere in the midst of my pinterest-inspiration-browsing-sessions, I began to fall in love with the look of copper pipe, twisted and bent into abstract sculptures. At the same time, I was also learning how to make my own lights and lamps. So, of course, the two obsessions combined into one crazy project–the twisted copper pipe, modern DIY light. 🙂
House Becoming Home is a participant in the Amazon Services LLC Associates Program, an affiliate advertising program designed to provide a means for sites to earn advertising fees by advertising and linking to Amazon.com. Some links in this post may be affiliate links. Read my full disclosure policy here.
Twisted Copper Light How-To
Materials
- 3/8″ Copper Tubing (about seven feet), also called Refrigeration Copper Coil
- 1/4″ copper coupling with stop
- Wood/stone/metal (whatever sounds good to you, to be the light base)
- 10-12 ft extension cord, or 10-12 feet of 16 gauge lamp wire
- Plug end
- Super Glue/Gorilla Glue
- Copper cord grip (male)
- Basic light socket
- Copper light socket cover
Tools
- Pipe cutter
- Drill with bits
- Fishing line and weight
- Wire cutters
- Miter saw/tile saw (depending on what material you use for the light base)
- *optional* pipe bender
Copper Pipe Light Instructions
Step One: Build copper pipe light base
In selecting material(s) for the base, be sure that it is heavy enough to support the weight of the copper pipe and bulb without tipping over. I chose to make my light base from a combination of marble and oak.
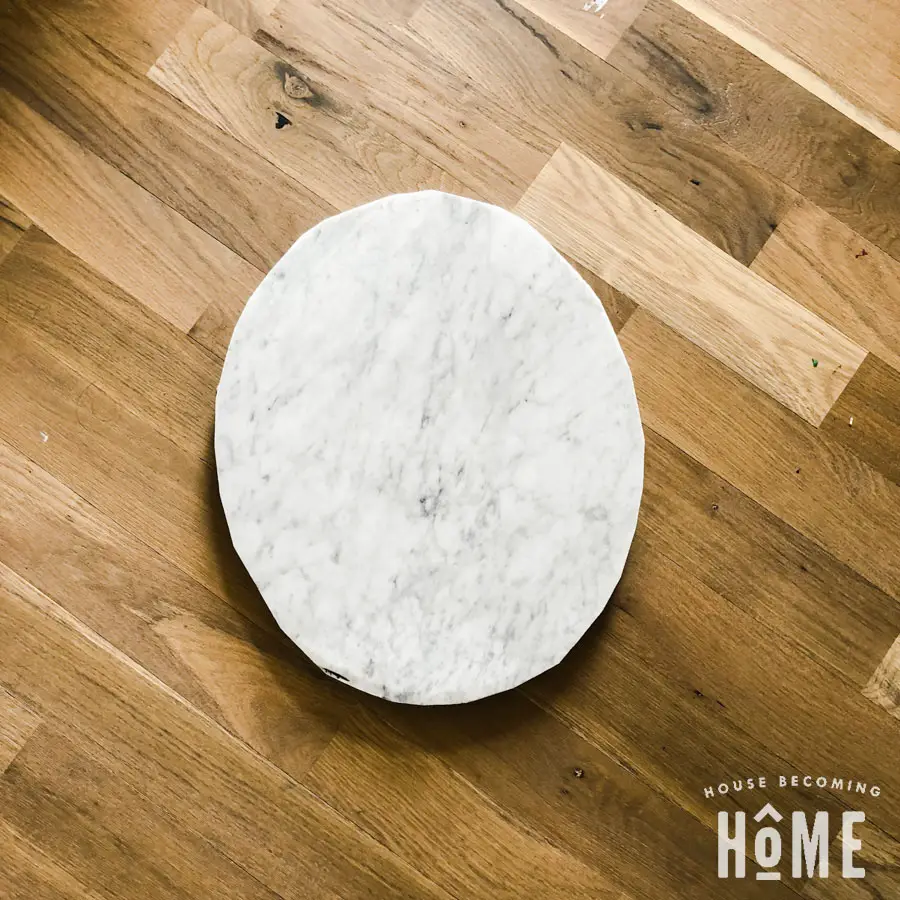
I dropped by a local stone yard and asked if they had any marble scraps I could buy. They walked me around the grounds, and eventually we found this Carrara marble beauty. Total price, $0.
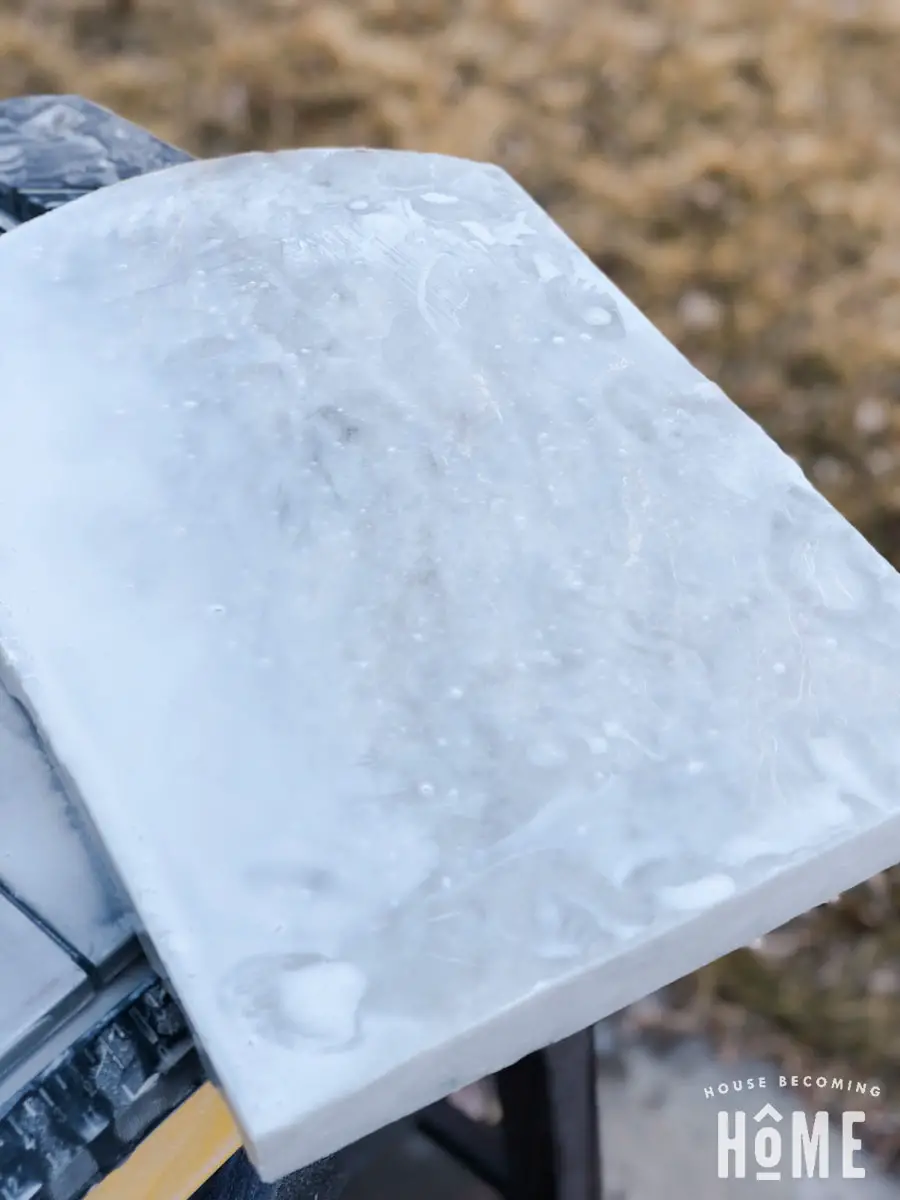
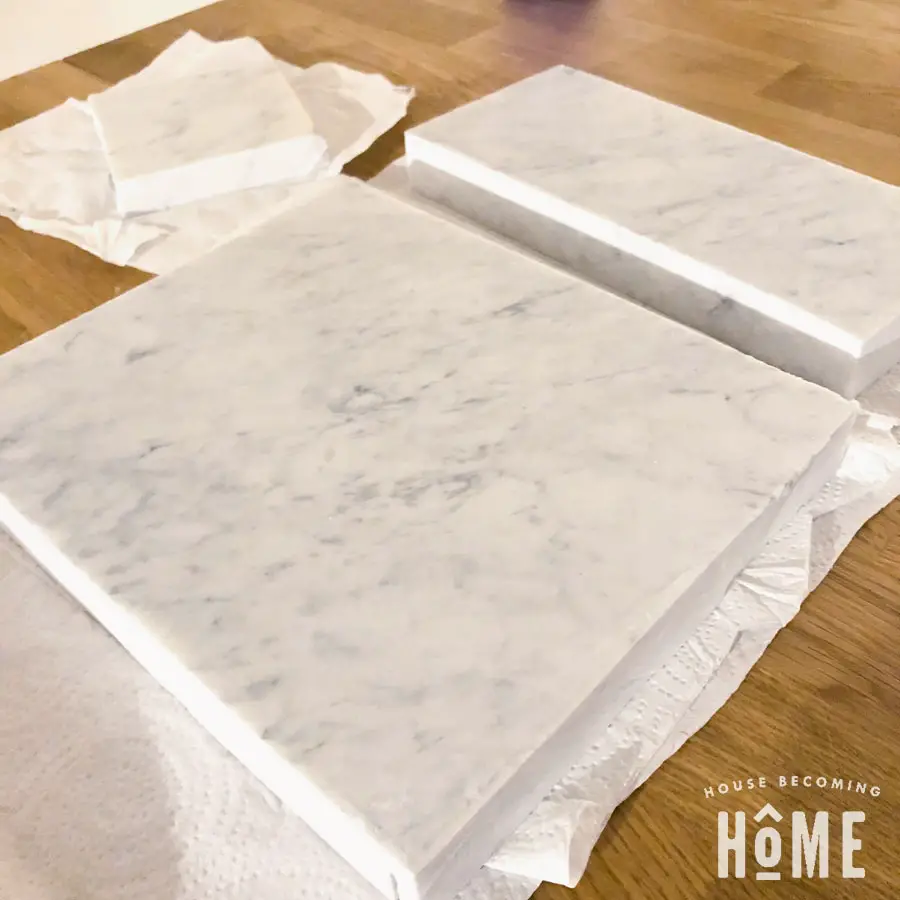
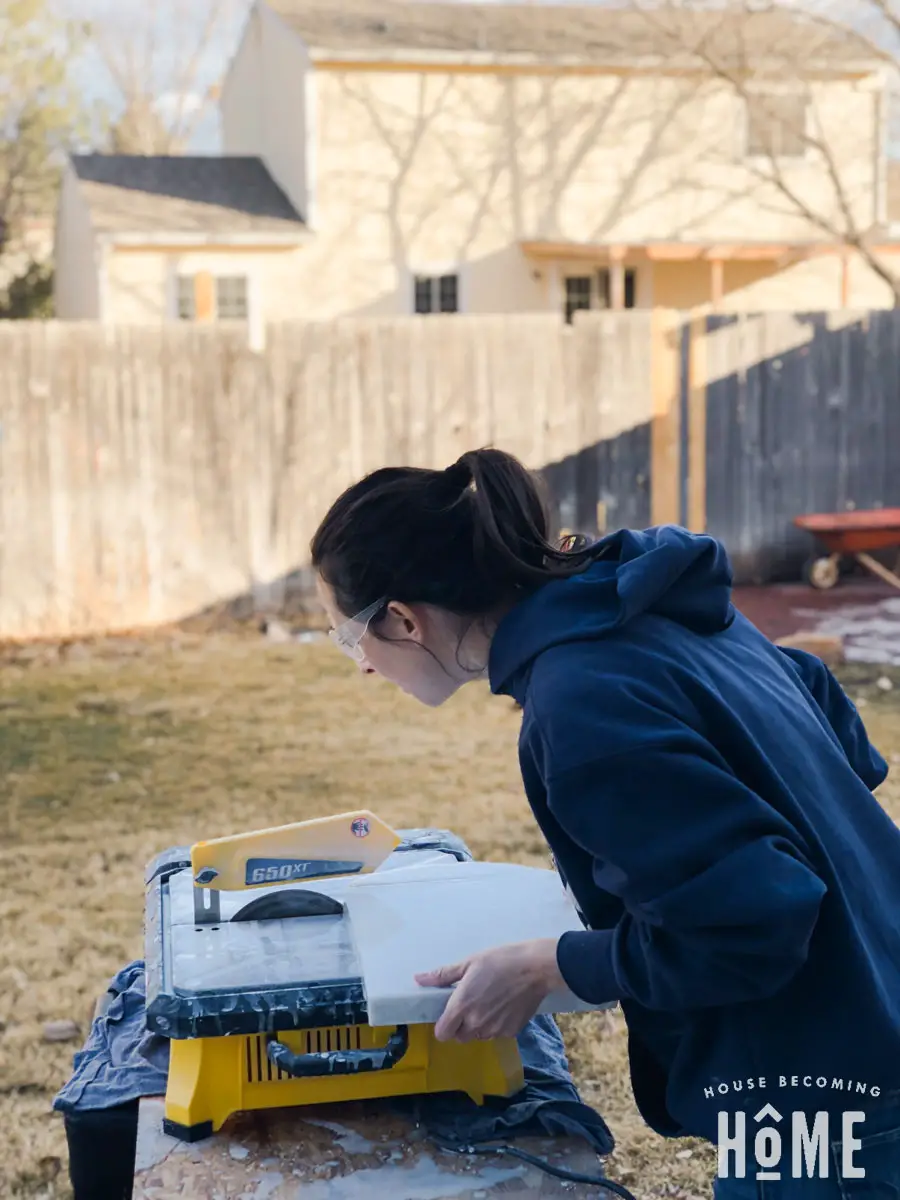
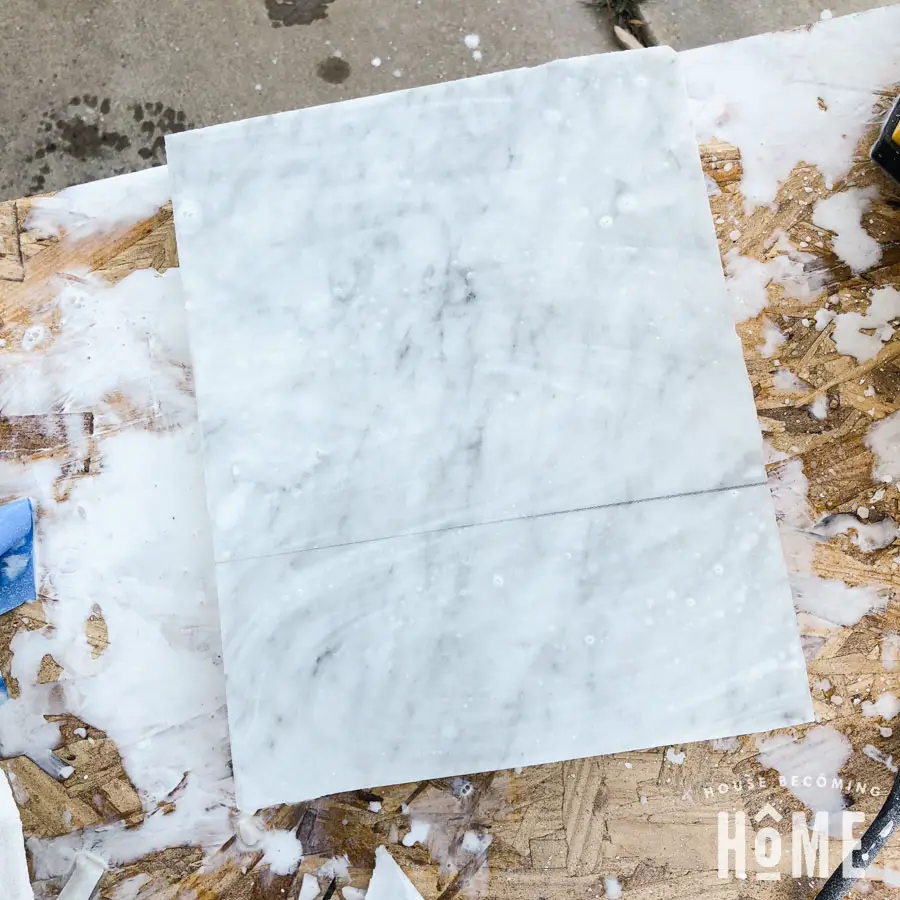
Jim and I brought it to the tile saw where we first cut off the rounded edges, making it into a rectangle (woah, messy!). We then cut it into several smaller pieces. We held onto the rounded scraps. With no experience drilling into marble, I wanted to try it out on the scraps before the real deal:
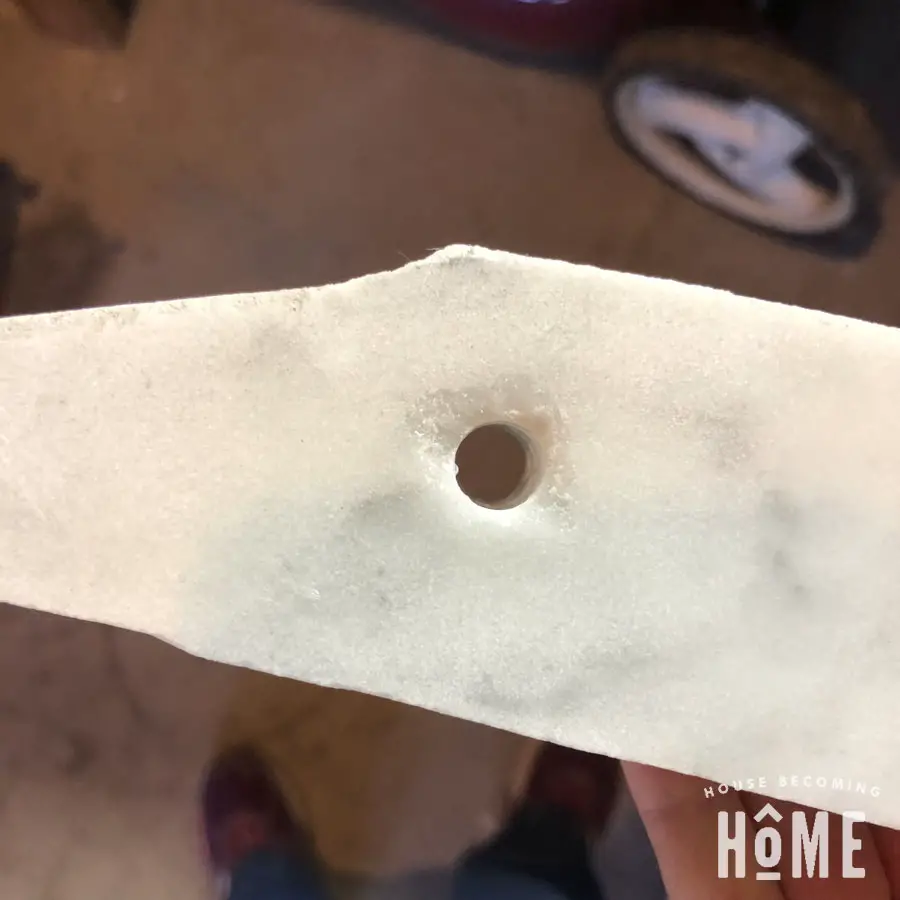
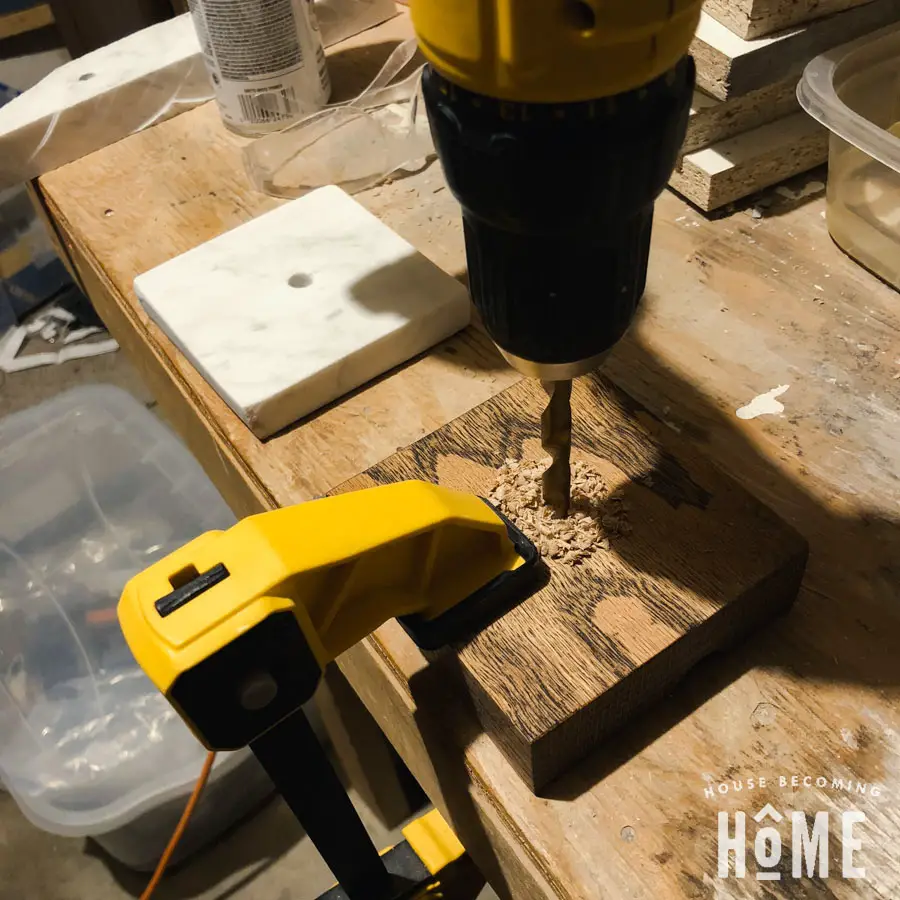
Clamp down the marble square, then drill a hole through the middle with a diamond-tipped drill bit. [I have set set similar to this one (affiliate link) which I’ve also used when drilling into glass. They are pretty wonderful, and crazy affordable compared to what was offered at my local hardware stores.]
Keep a water-filled spray bottle close by and stop often to spray the bit, to prevent it heating up too much. I took the same approach to cutting marble that I used when cutting glass: go slow. Think about it as “carving away” a circle rather than “cutting” a circle.
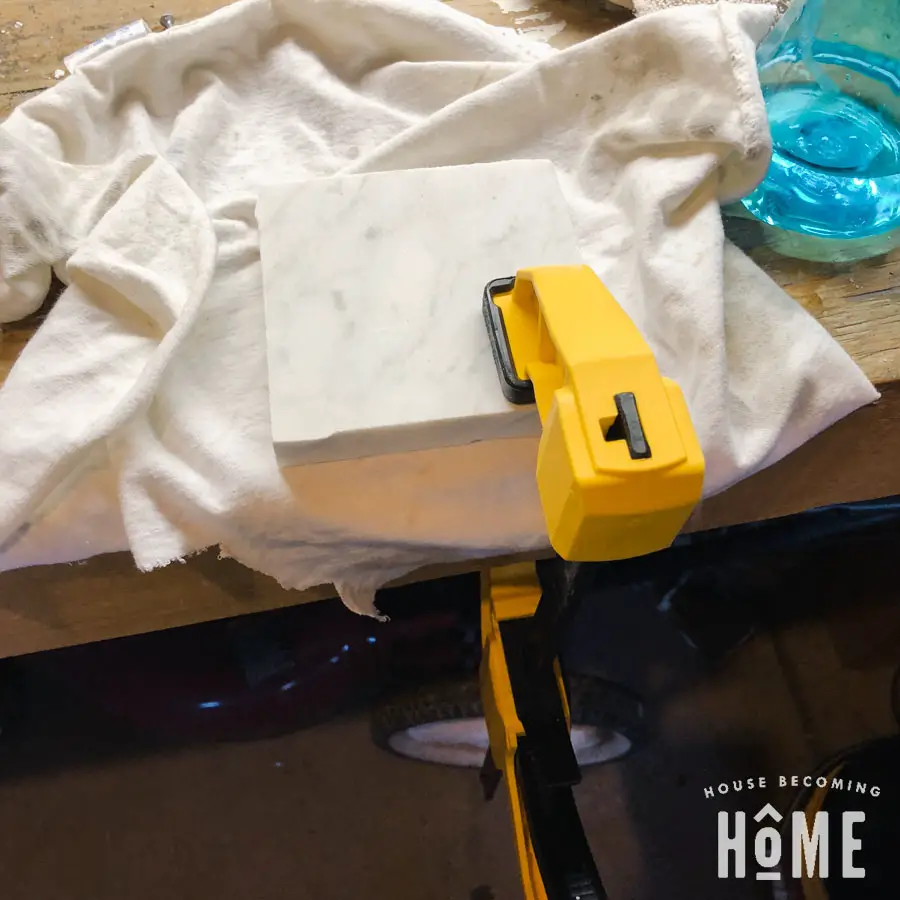
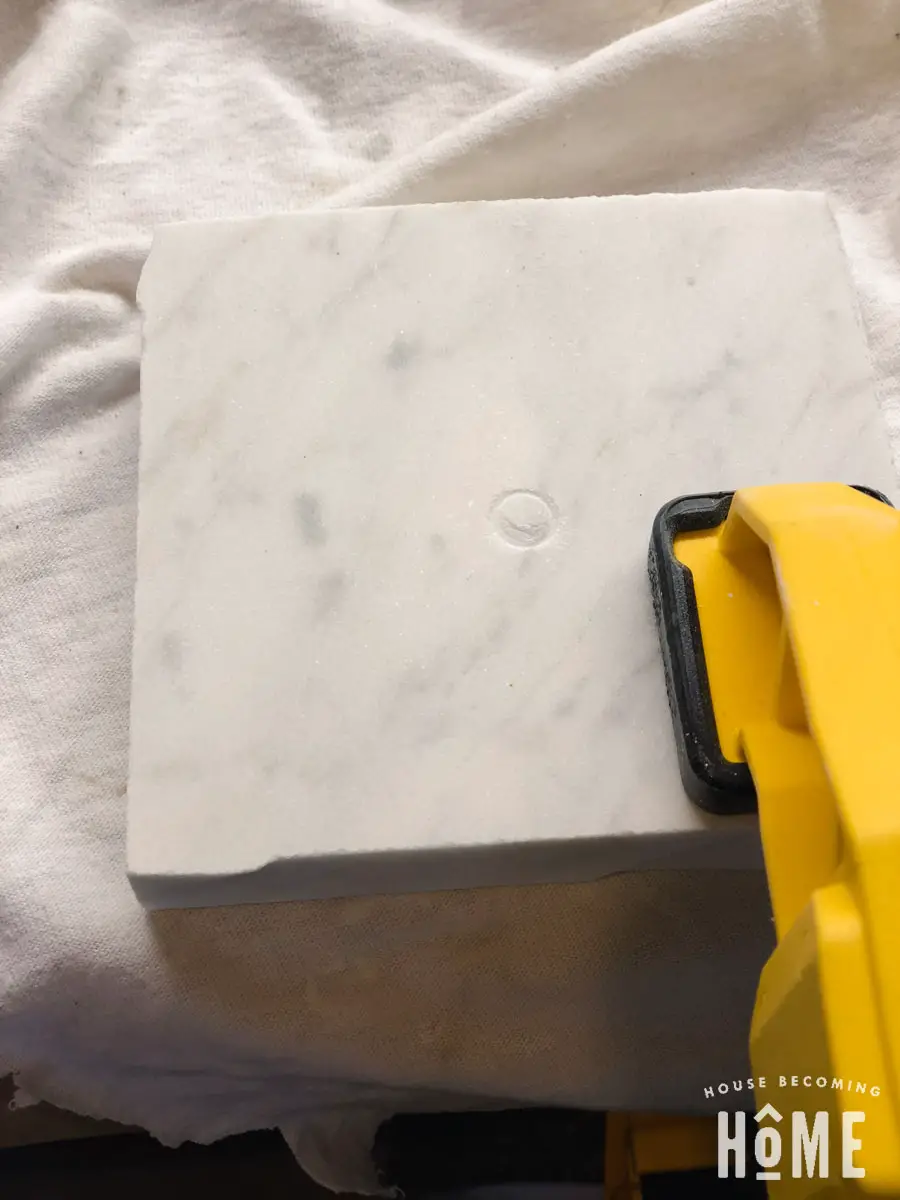
Use 80 grit sandpaper to smooth out any rough/irregular edges:
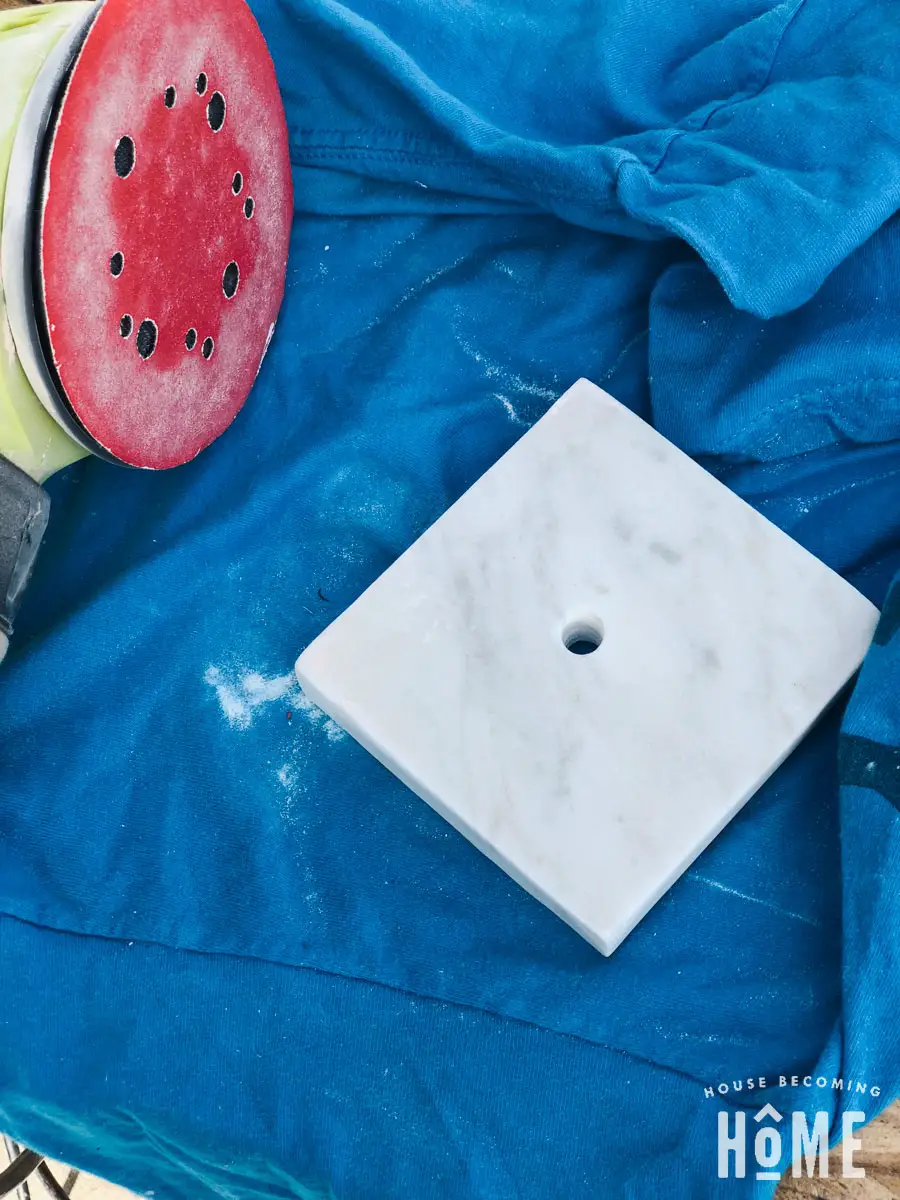
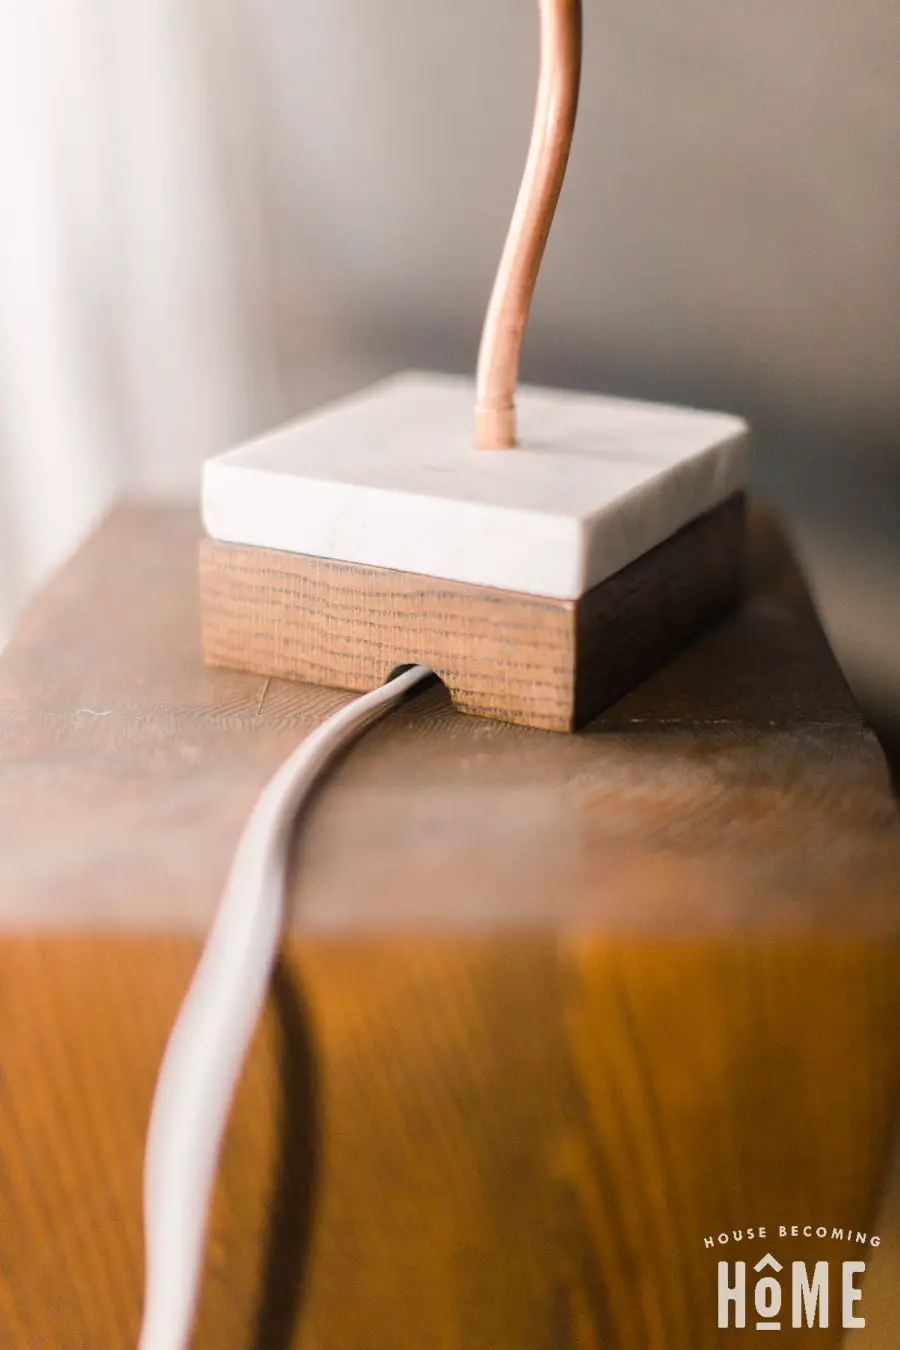
When we re-did our stairs a few years ago, I held onto the old oak handrails (because I kinda have this thing about holding onto wood scraps, as I described in this post). They turned out to be the perfect material to pair with the marble for my oak base. The rounded groove cut into the bottom was an ideal exit point for the light’s plug. (If your wood doesn’t already have this, use a router to cut a groove across the bottom).
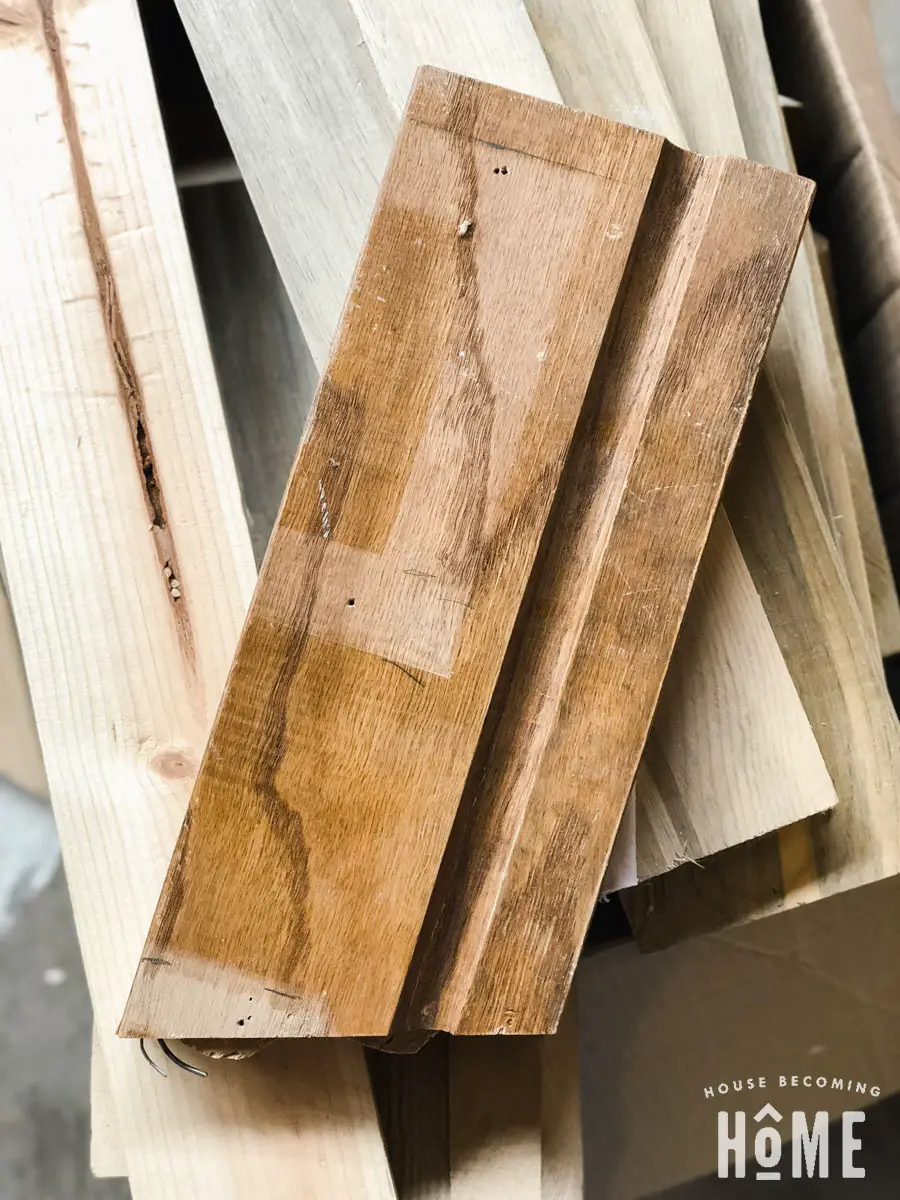
Measure the width and depth of the marble and cut the oak to the same size:
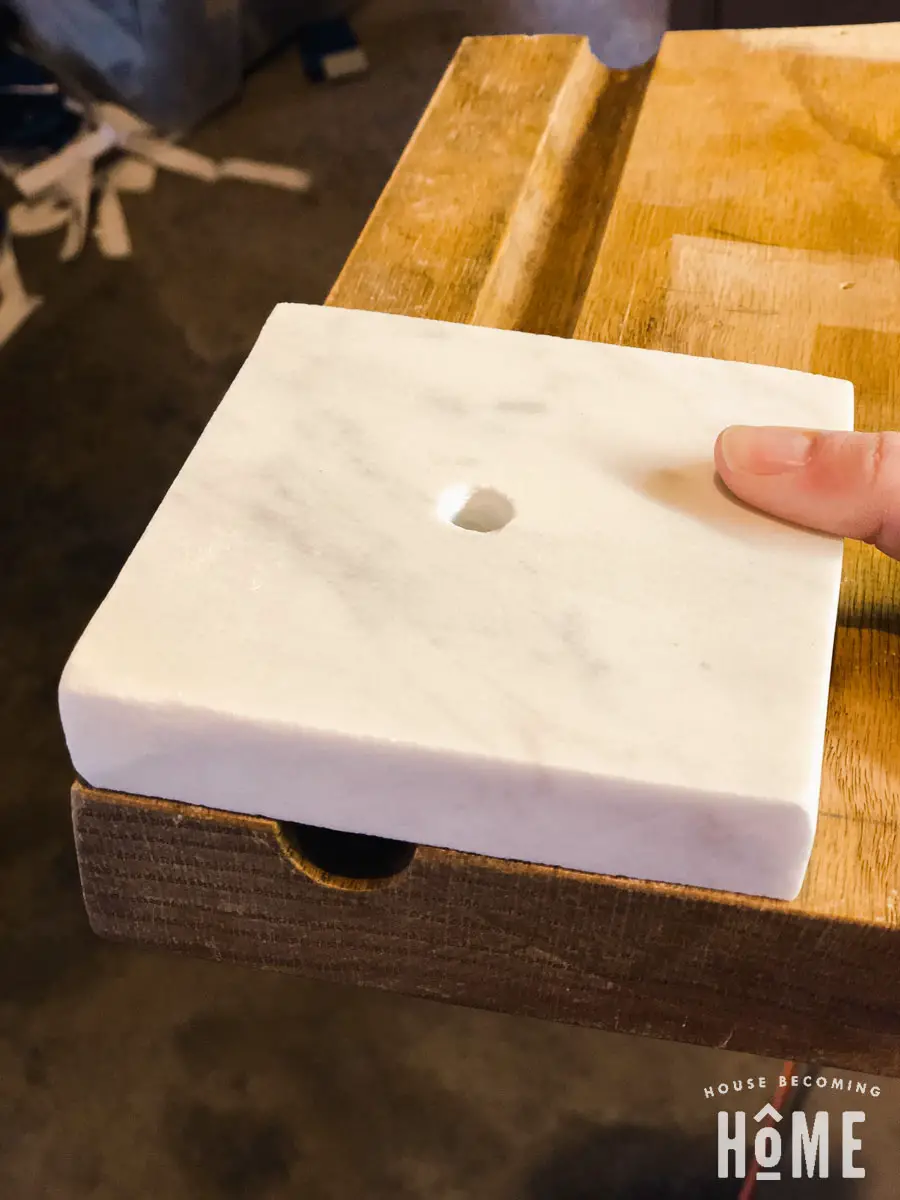
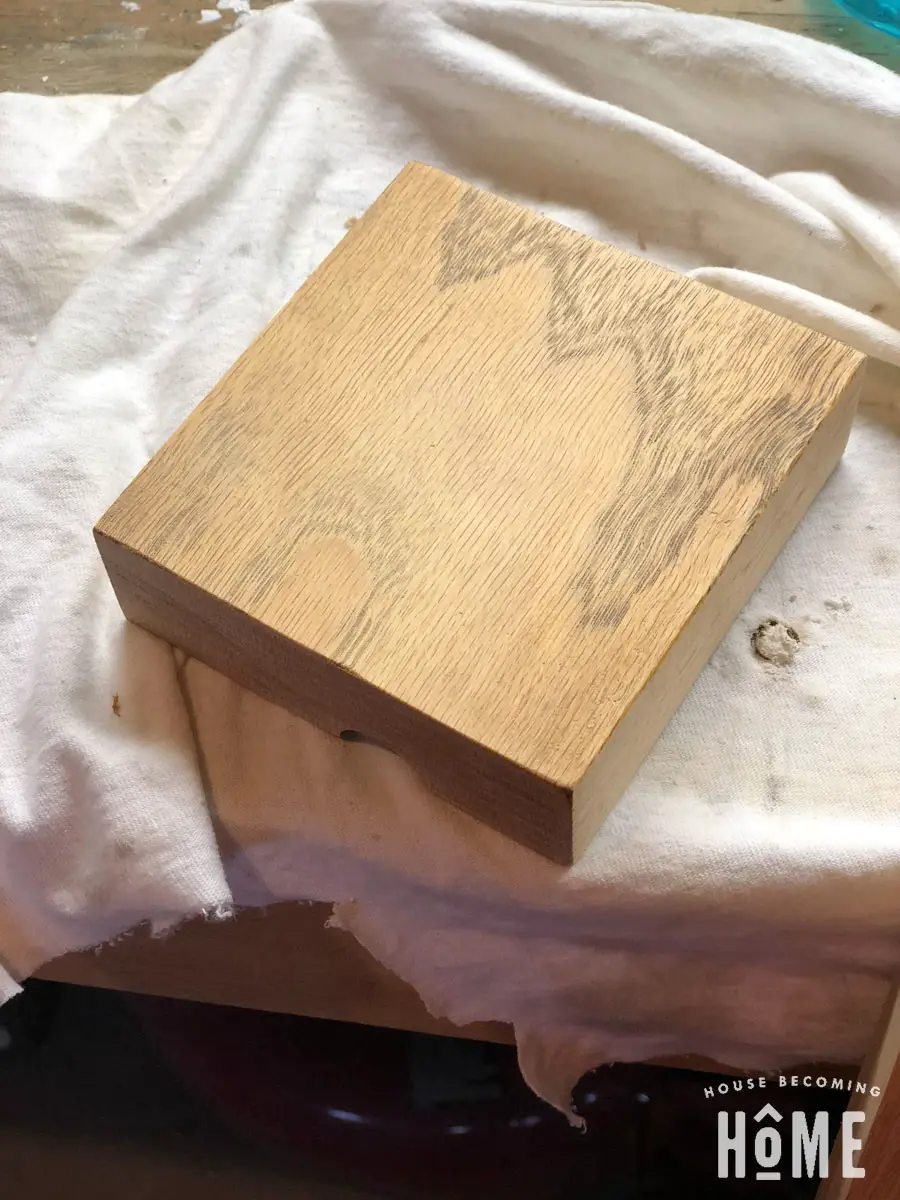
Drill a hole through the oak, making sure it is centered like the hole through the marble. This hole should also go through the rounded groove in the bottom — the copper pipe light’s cord will exit through this groove.
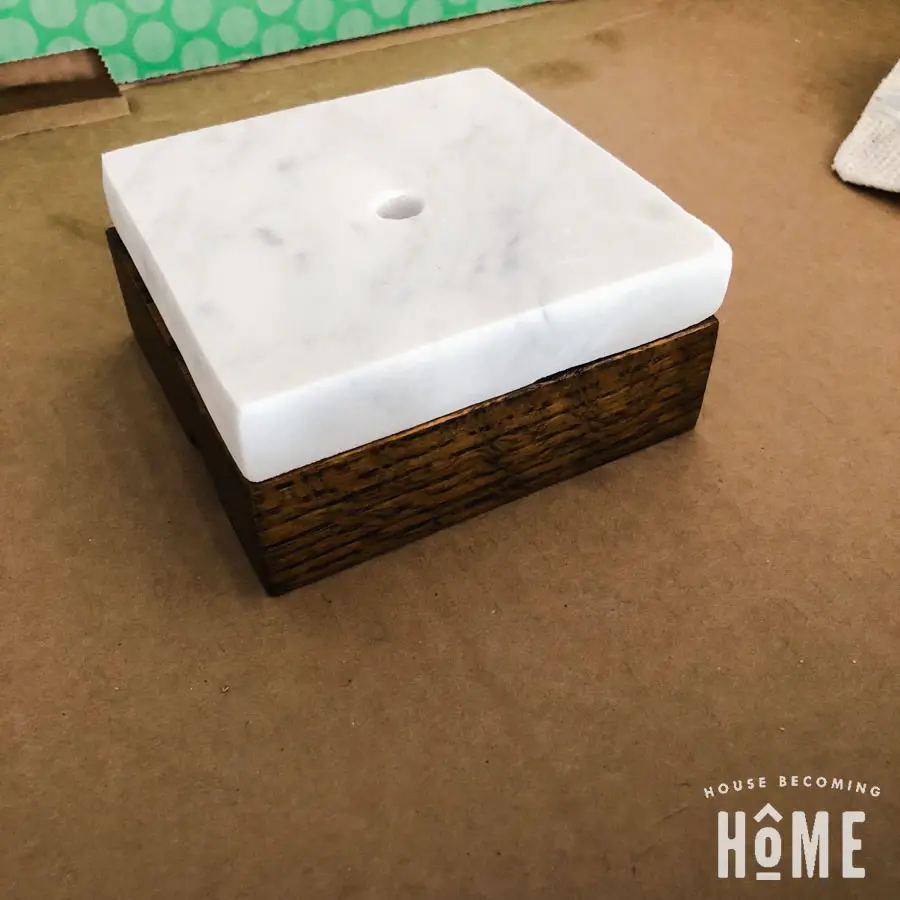
Stain and seal the oak. Seal the marble. Let dry. Using a strong glue like Gorilla Glue, attach marble to oak.
Step 2: Make the body of the copper pipe light
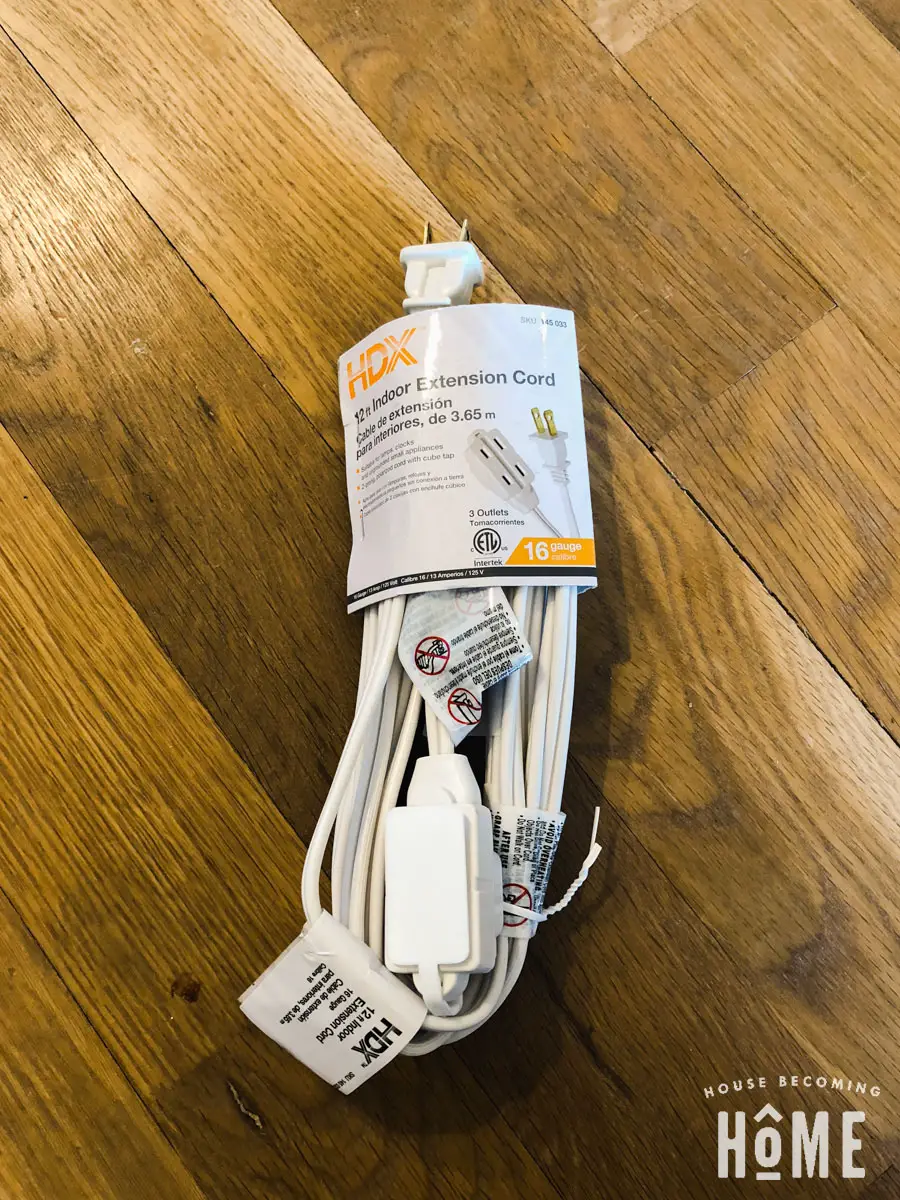
Now that the base is done, it’s time to make the body of the light. You’ll need your copper pipe, a cheap 12′ extension cord, a basic light socket, copper cord grip, and a copper socket cover.
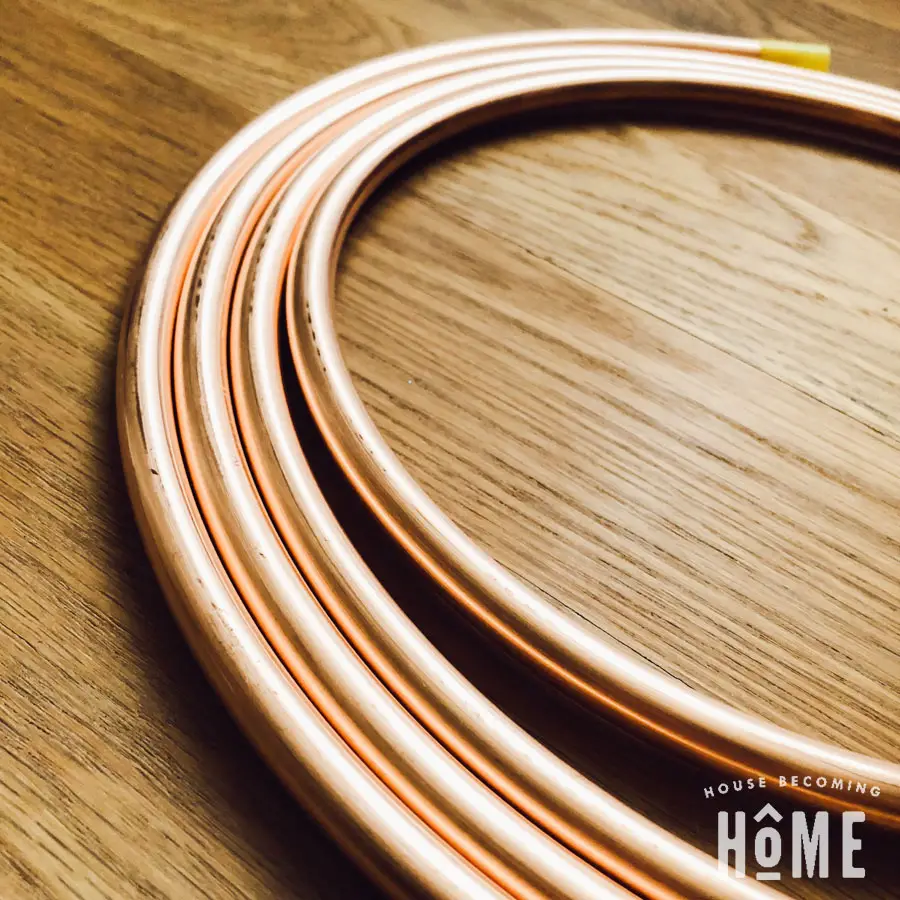
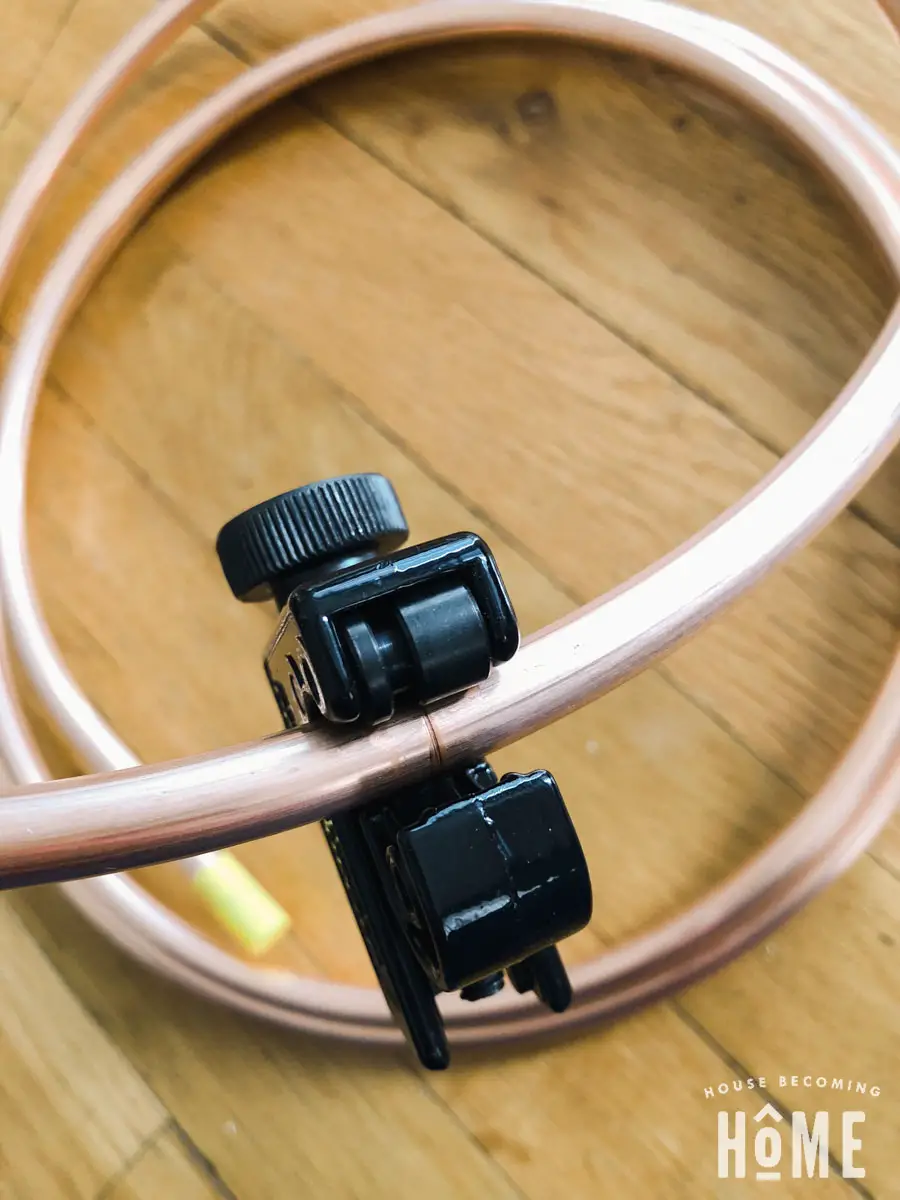
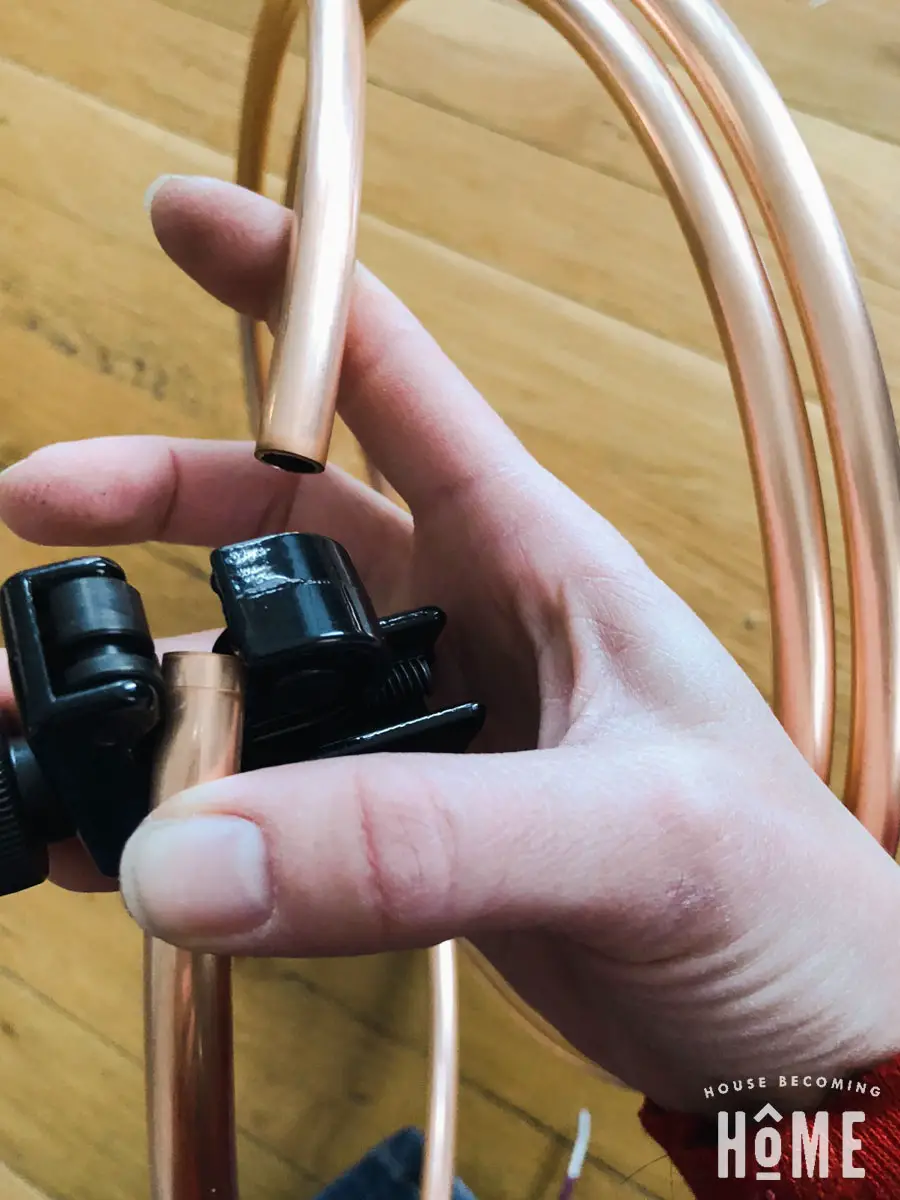
Begin by cutting your copper pipe to about 8′ long (if your extension cord is 12′).
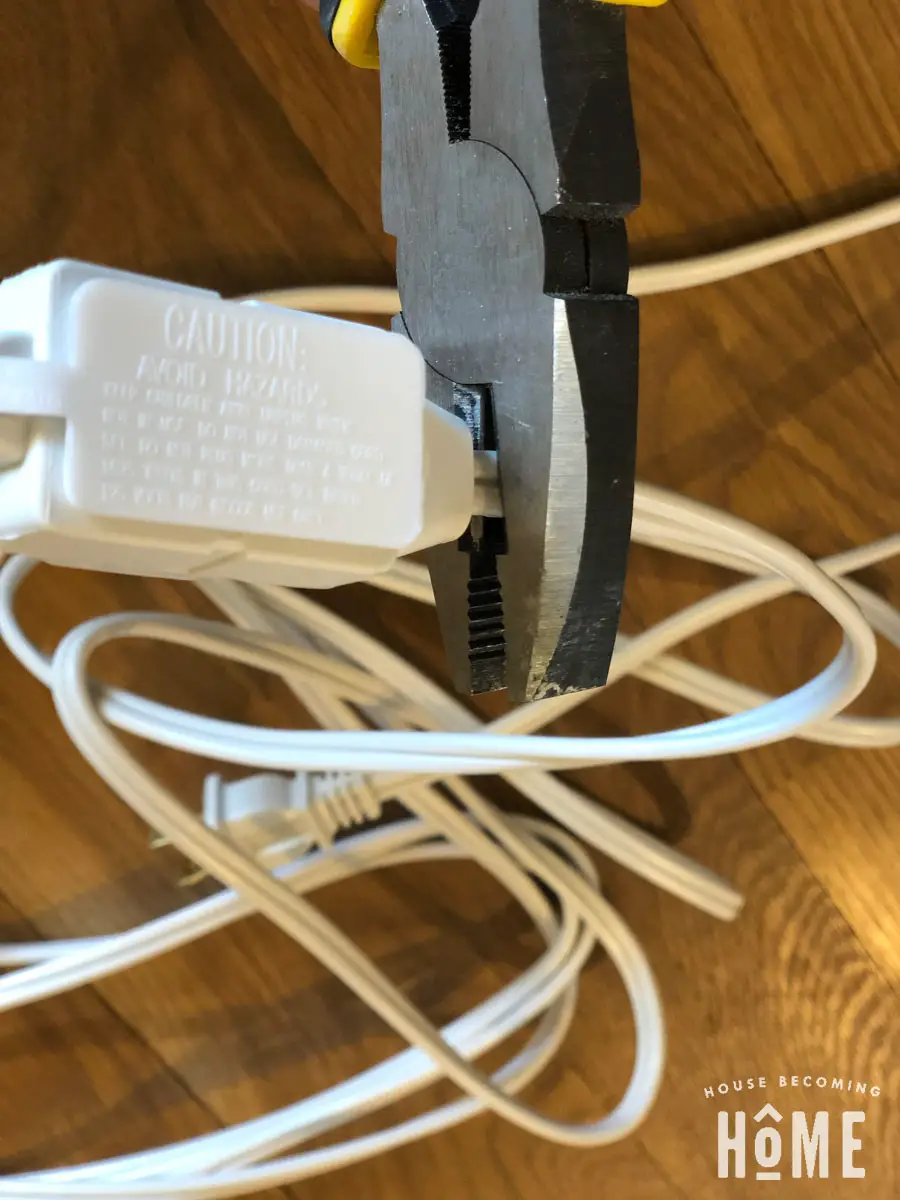
Next, trim both ends off of your extension cord. You could also start with plain 16 gauge lamp wire (which is what you’ve now got), but I found this way was actually a bit cheaper.
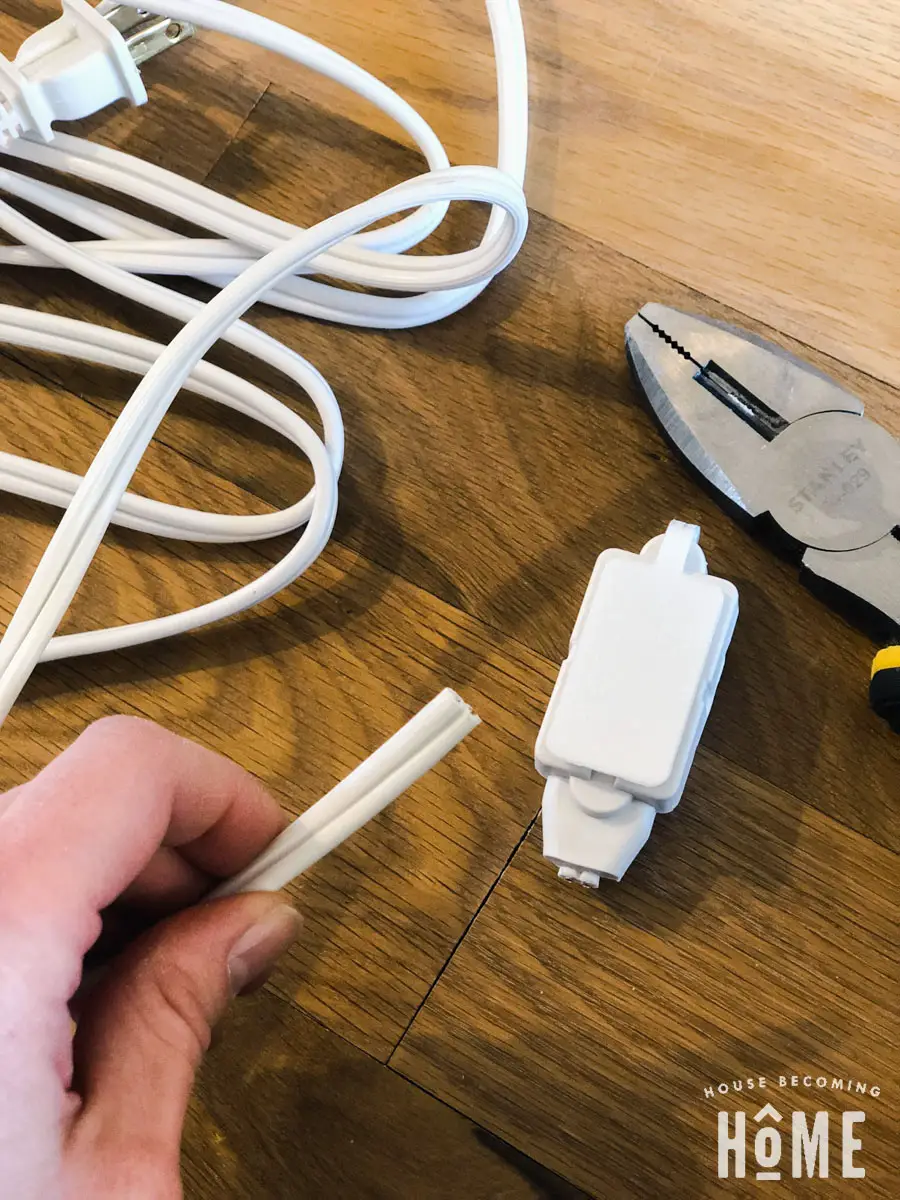
Next up, my least favorite part of this DIY project, stringing the cord through the copper pipe! I really wasn’t anticipating it to be as time-consuming as it was, so I’ll give you some tips:
The wire is a pretty tight fit through the copper pipe, so it’s impossible to just push it all the way through to the other side. Time to raid your (or your husband’s) tackle box!
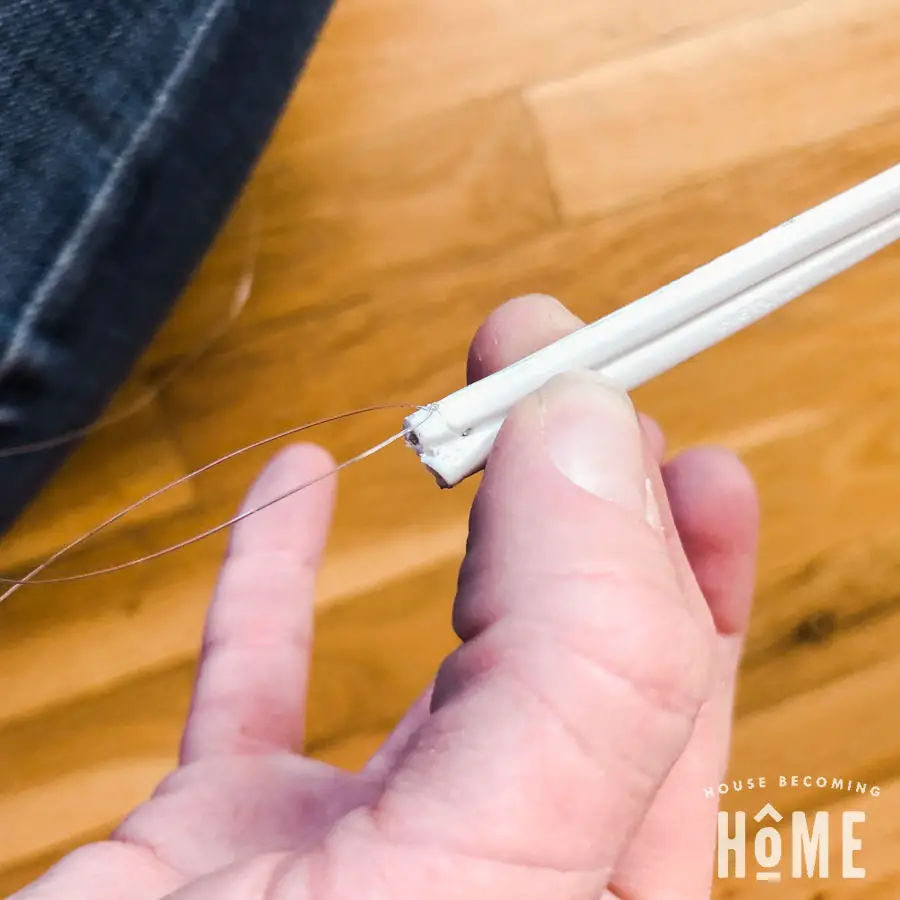
First, cut about 8.5 feet of fishing line. Thread it through a needle, then poke it through the groove in the middle of the electric wire. Tie a couple of good knots to be sure it stays firmly attached.
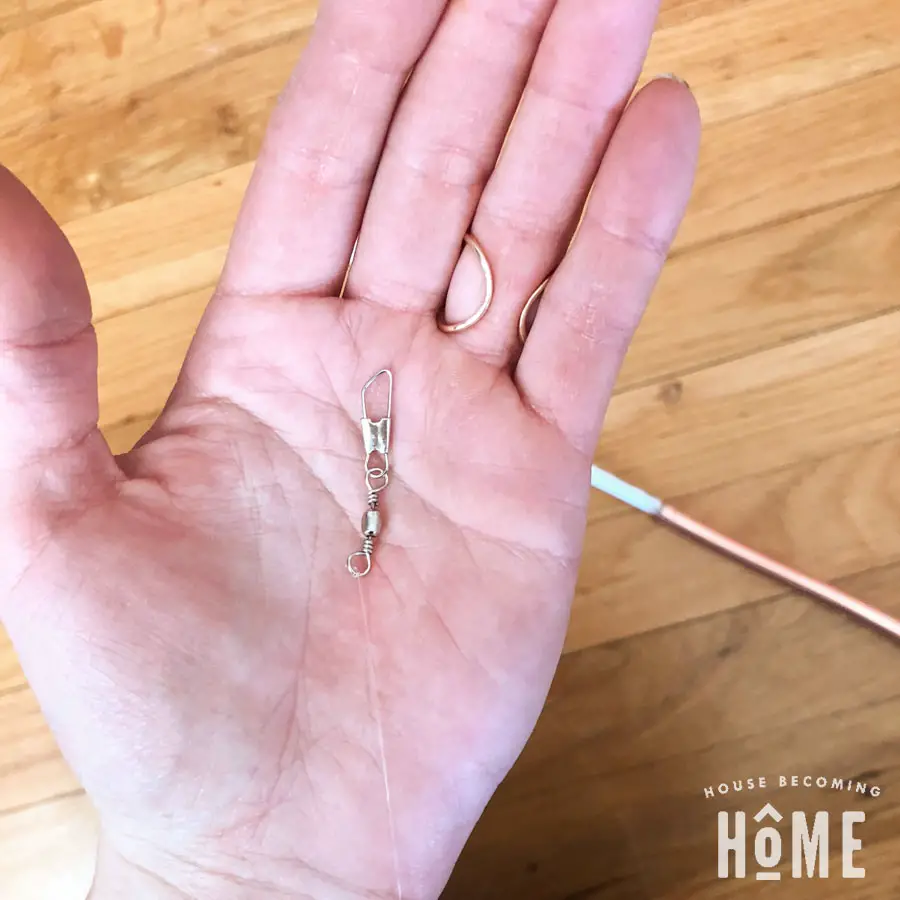
Now for the other end of the fishing line, find something in the tackle box that is small enough to fit through the copper pipe. It needs to have a loop or something to tie the fishing line to, and it also needs to have a little bit of weight to it. If you just drop the fishing line through the pipe, it’ll never make it out the other side. This tiny bit of weight helps it move through the copper as long as you hold the pipe at an angle and let gravity do its thing.
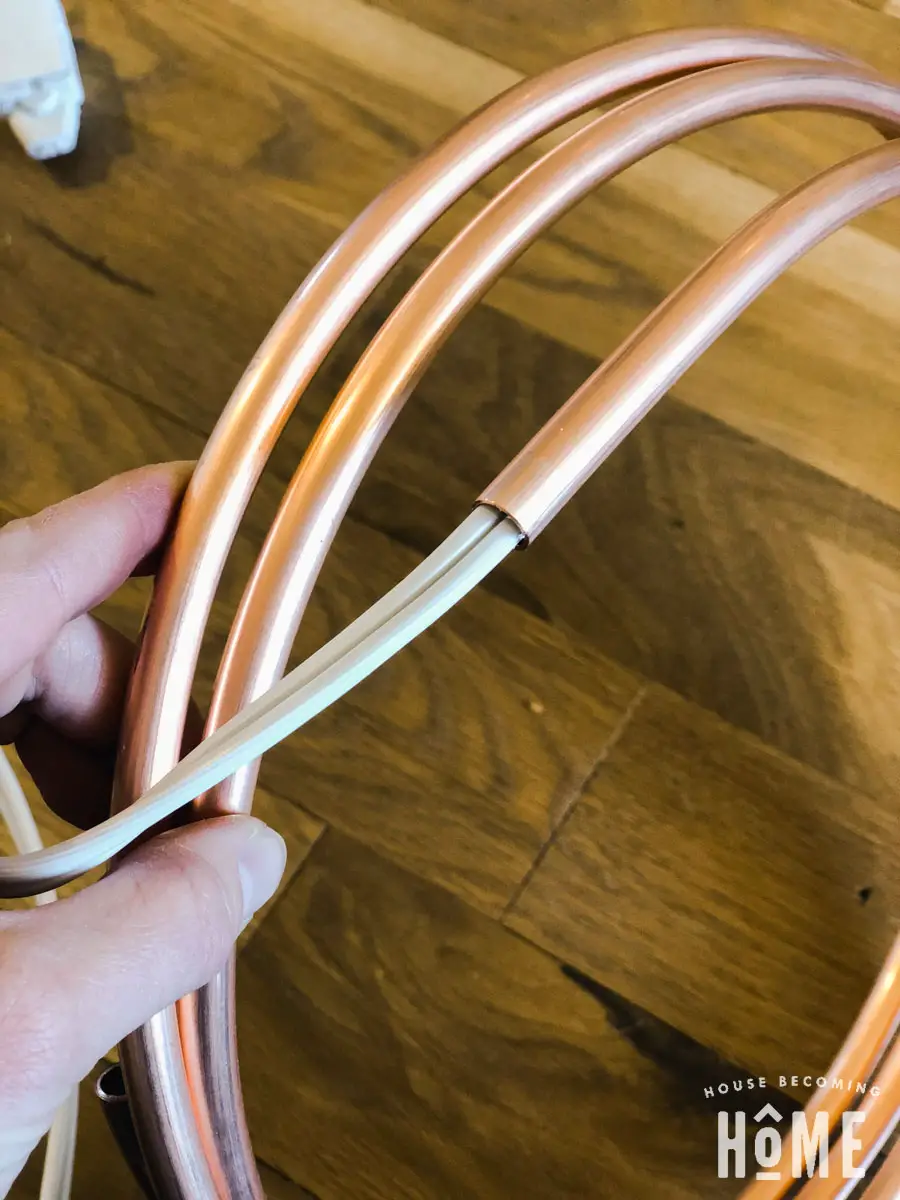
Drop the weight/fishing line down the copper pipe. Once it’s on the other side, have a friend (or your son!) hold onto it. From your side, start feeding the electric wire (which is connected to the other end of the fishing line) through the pipe. The first few feet go in pretty easily, but then the fishing line becomes 100% necessary. The photo above shows the copper still coiled up. Sad news: you’re going to have to uncoil it and get it as straight as possible.
I had my son on one end holding the fishing line, while I was on the other end feeding the wire into the pipe. Once it starts having a hard time moving through the copper, here’s what we found works best. My son would pull pretty hard on the fishing line for about 5 seconds while I, at the same time, pushed the wire into the pipe. Then we’d stop for a few seconds, then start again . . . repeat . . . repeat . . . repeat. It’s a slow process–you only get a few inches for every pull. Eventually the other side of the wire will come out the opposite end and it will be a joyful moment. 😉
Before removing the fishing wire, make sure you’ve got the right amount of cord on each side. You’ll want at least 3-4 feet of wire on the end where the plug will be attached, and about 6 inches on the other side of the copper to be attached to the light socket.
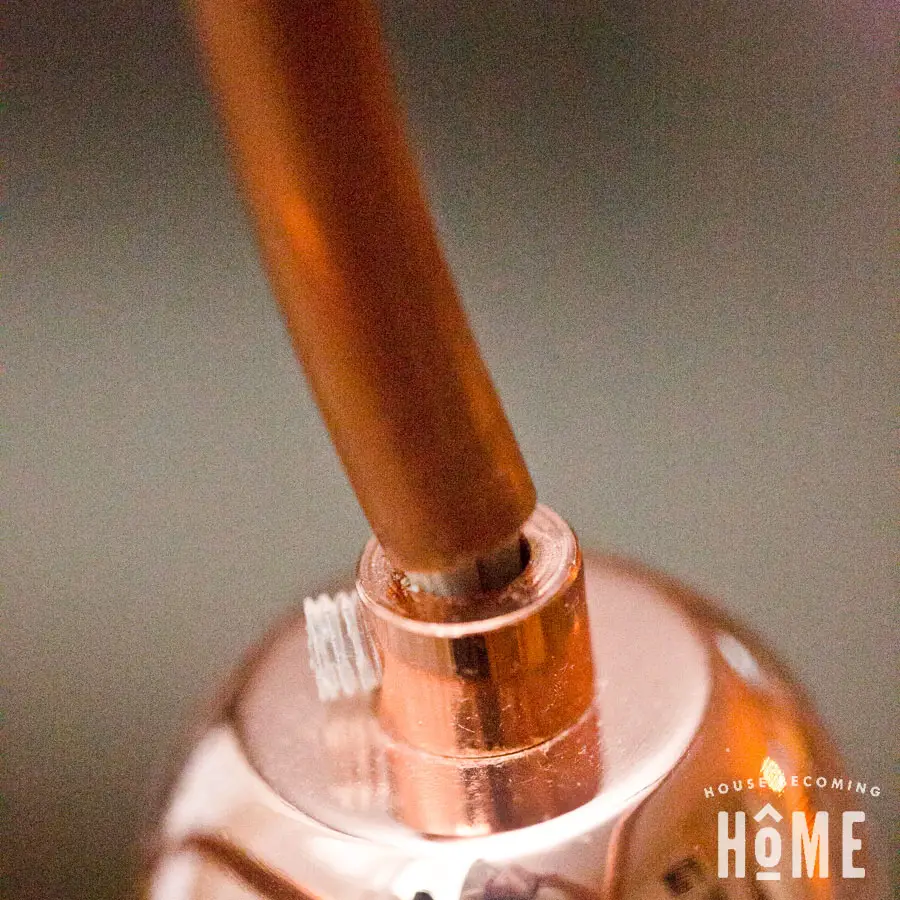
Next, attach the light socket to the electric wire. Be sure to first feed the wire through the copper cord grip (image above), then the copper socket cover, and THEN attach the wire to the light socket. Once that’s all connected, pull the wire tight so that the socket isn’t dangling. Tighten the cord grip, then screw the male end of the cord grip into the threads at the top of the light socket.
The image below from Family Handyman demonstrates how to wire a socket, if you’re not already familiar with the process.
**Be sure to use extreme caution when working with electricity!! If you don’t know what you’re doing, find an electrician that can help you wire the socket.**
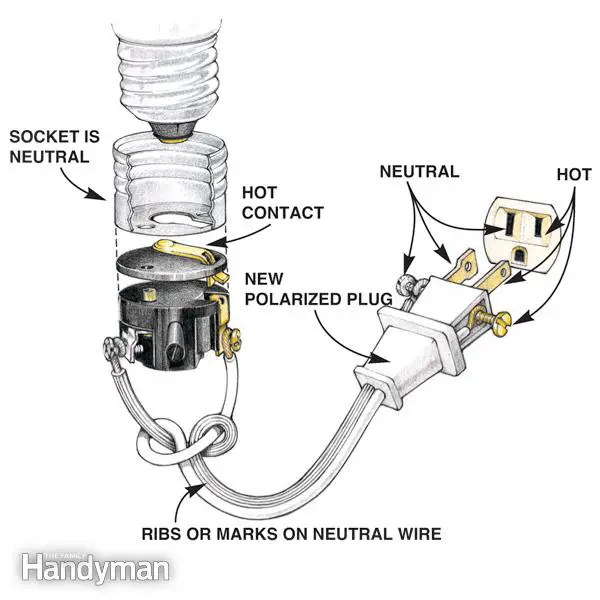
Image Courtesy of The Family Handyman, a Trusted Media Brands, Inc. publication. All rights reserved
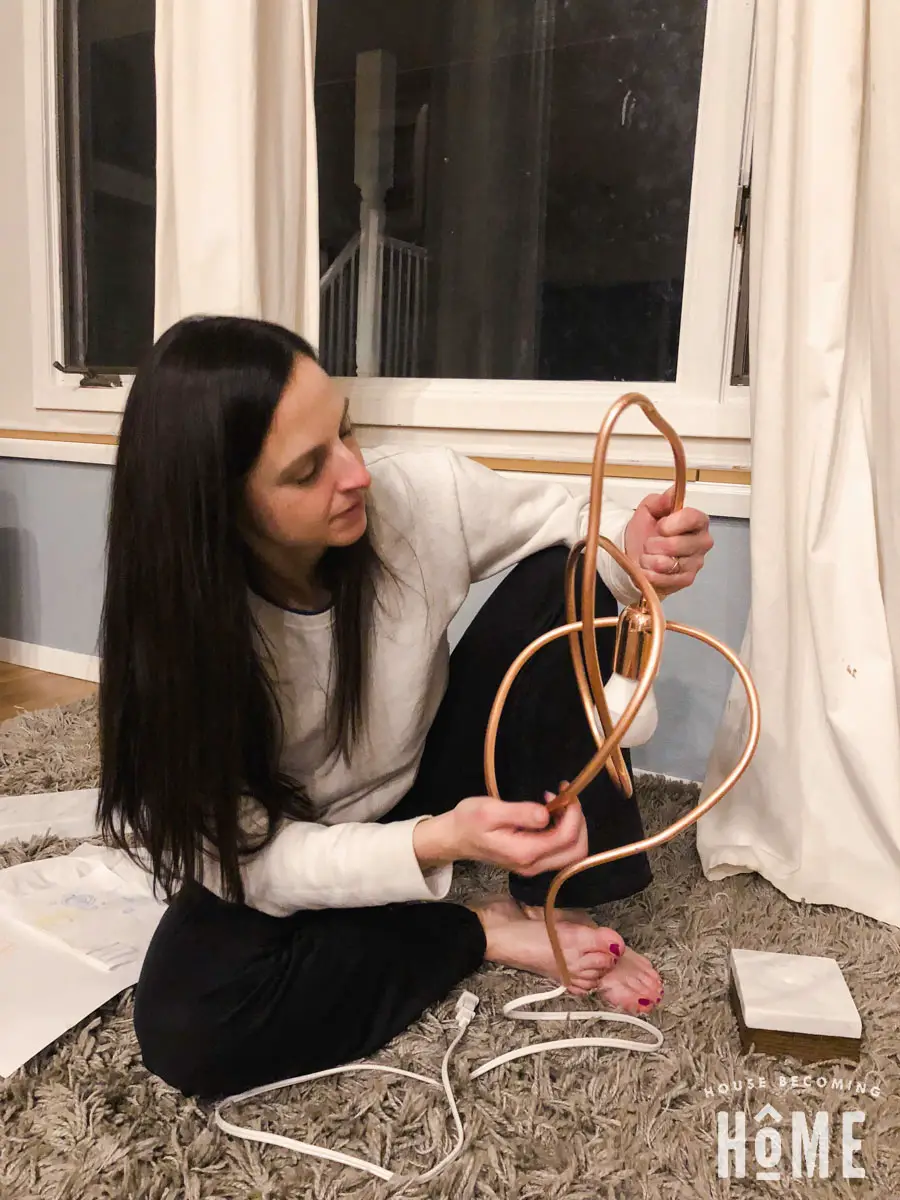
Now is time to let your inner artist shine and start bending and twisting that copper pipe into something that looks interesting. I used a pipe bender for some of the twists, and my hands for some of the easier bends. I found that the pipe bender left nicks and scratches on the pipe, so I tried not to use it too much.
I made sure to first attach a light bulb into the socket, so that as I was bending and twisting I was leaving room for the bulb. You’ll also want to make sure you’ve left enough room to be able to change the bulb, so leave a path for that.
Step Three: Attach the light body to the base
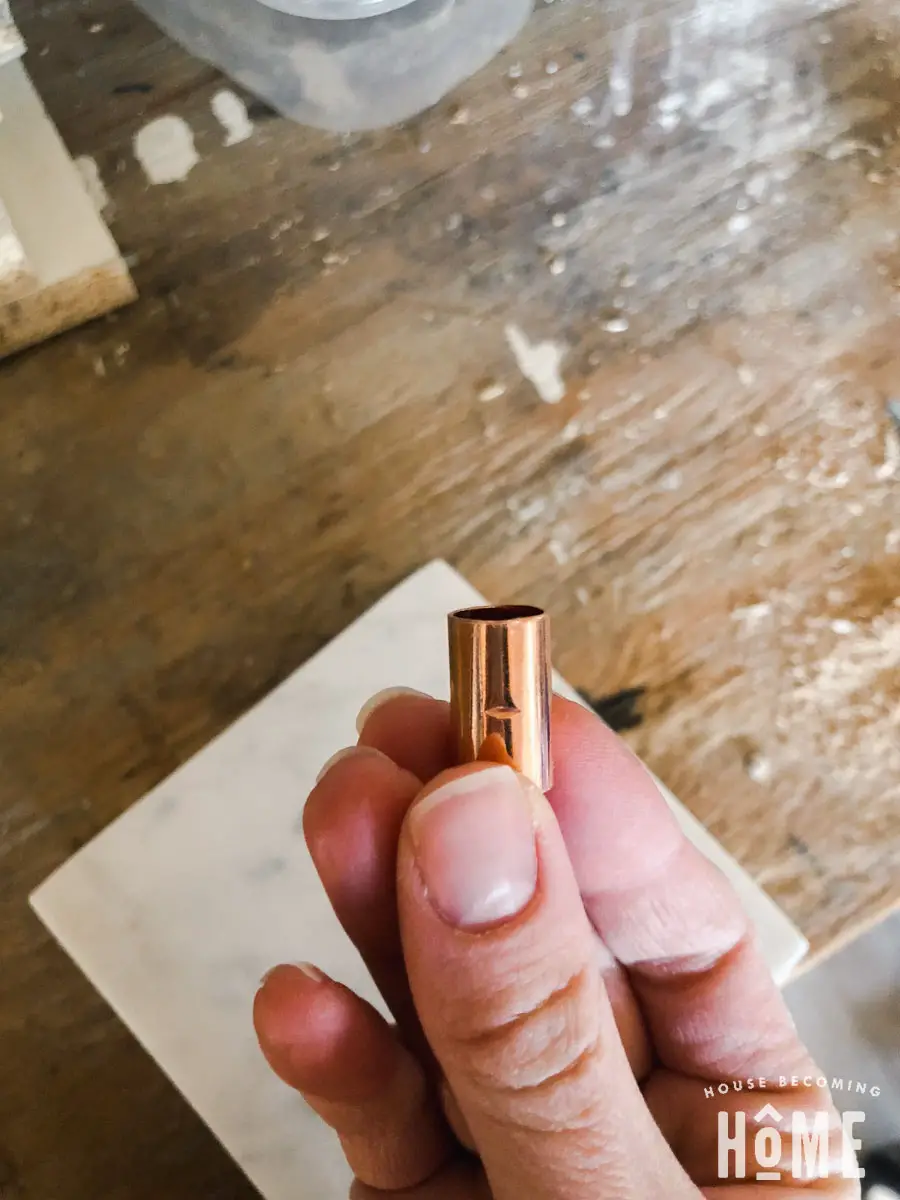
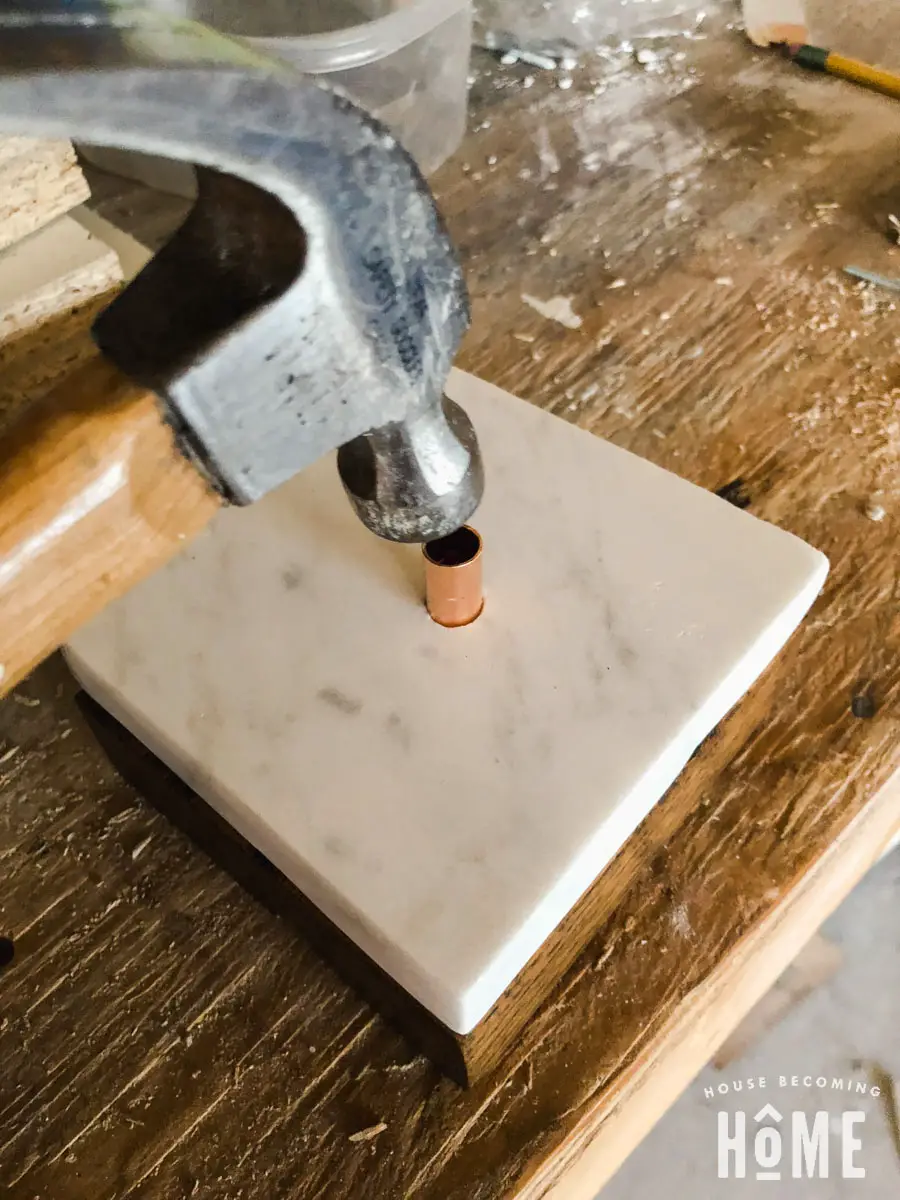
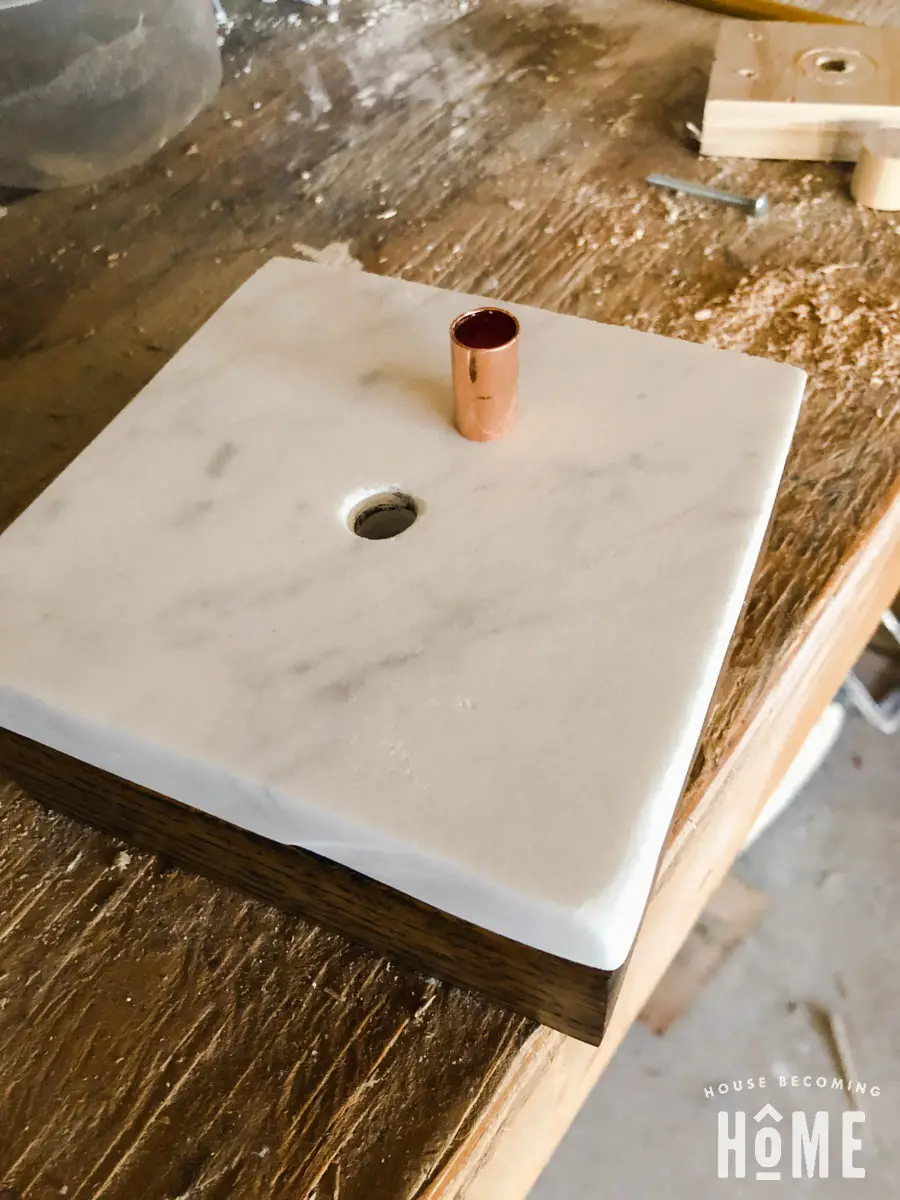
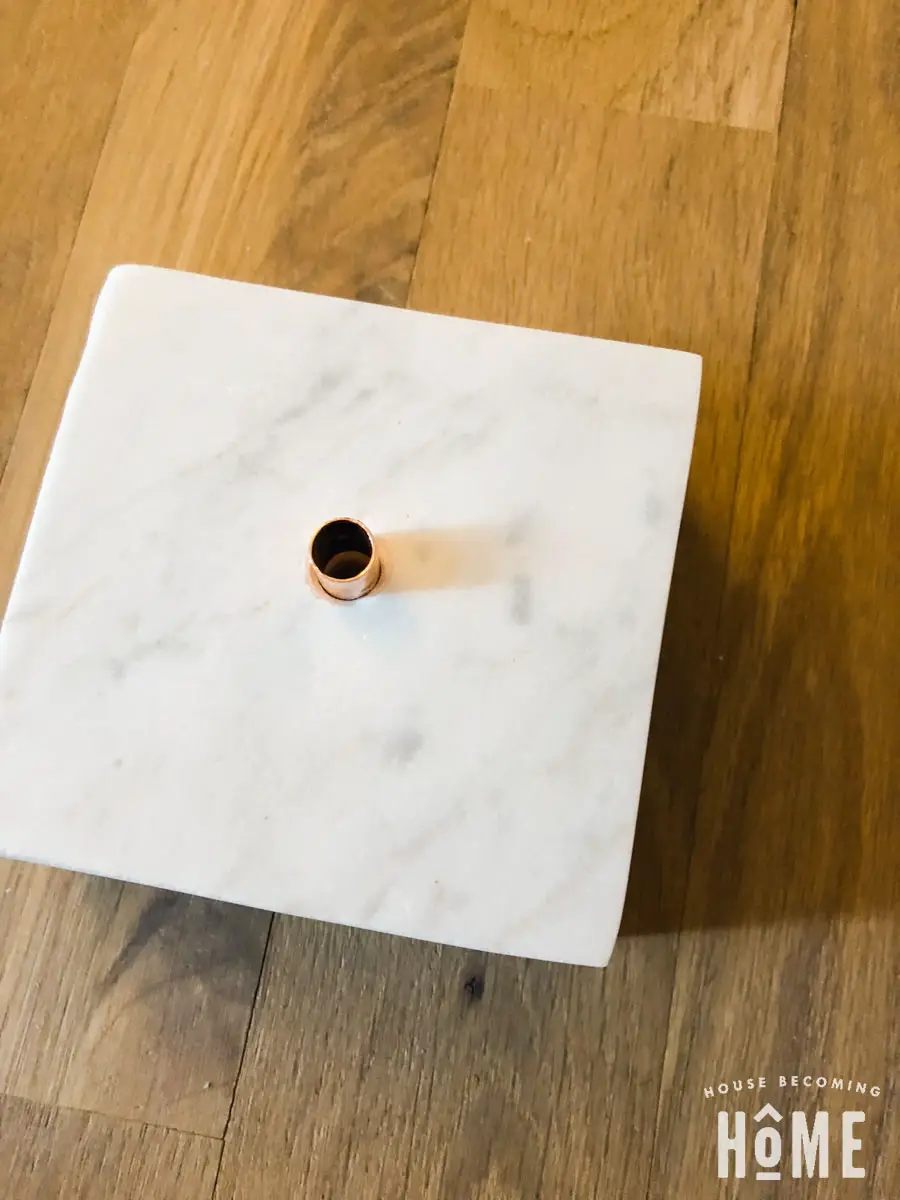
Finally, grab a 1/4″ copper coupling with stop and gently hammer it into the hole of the base, with half inside the marble, half outside the marble. I think I had planned on using glue, but it was such a snug fit I decided it wasn’t necessary.
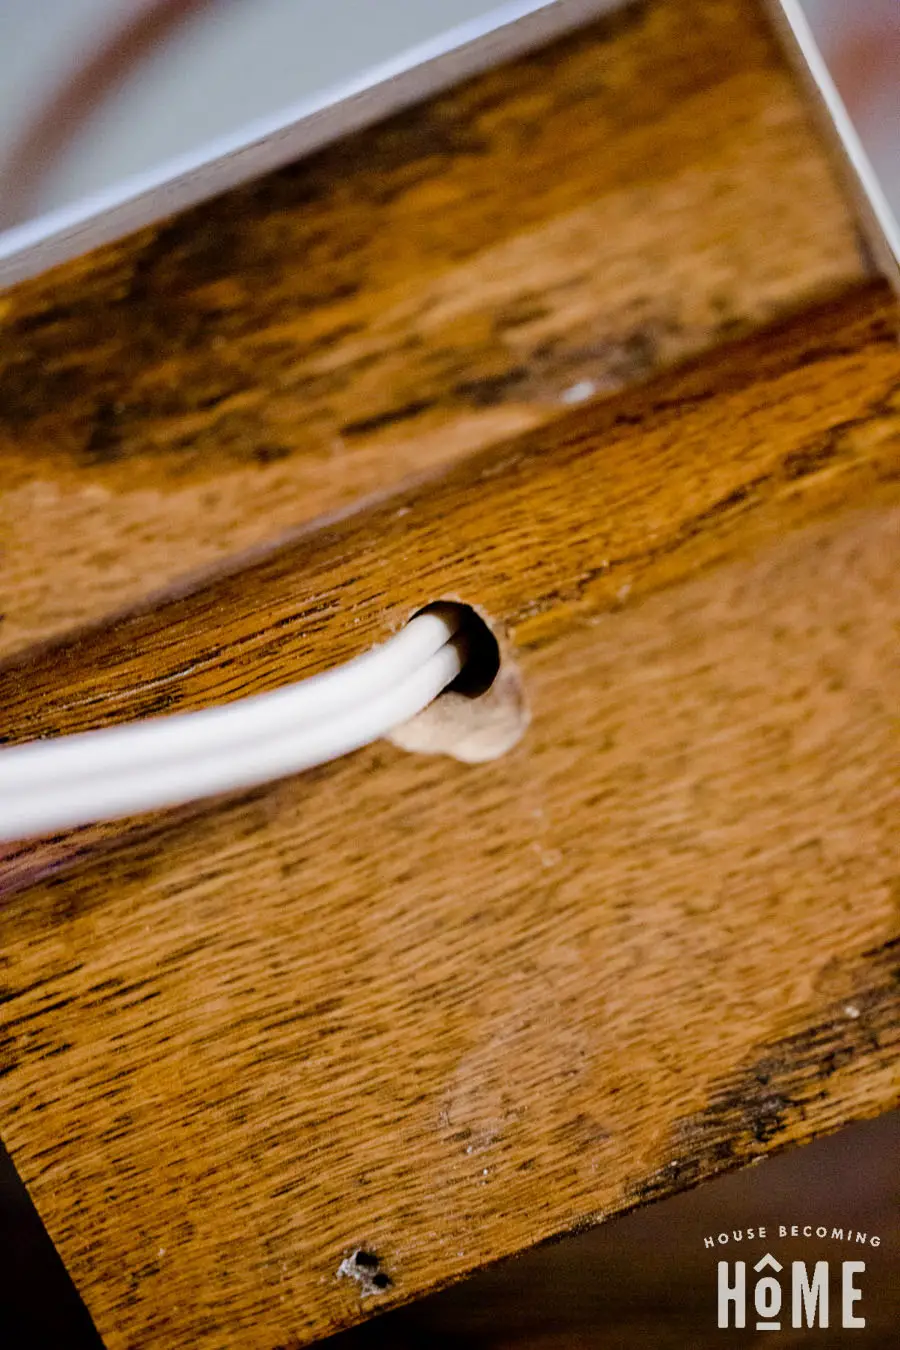
Feed the wire through the copper coupling and out through the bottom of the base. Put a dab of glue on the inside of the coupling, then insert the bottom of the light body.
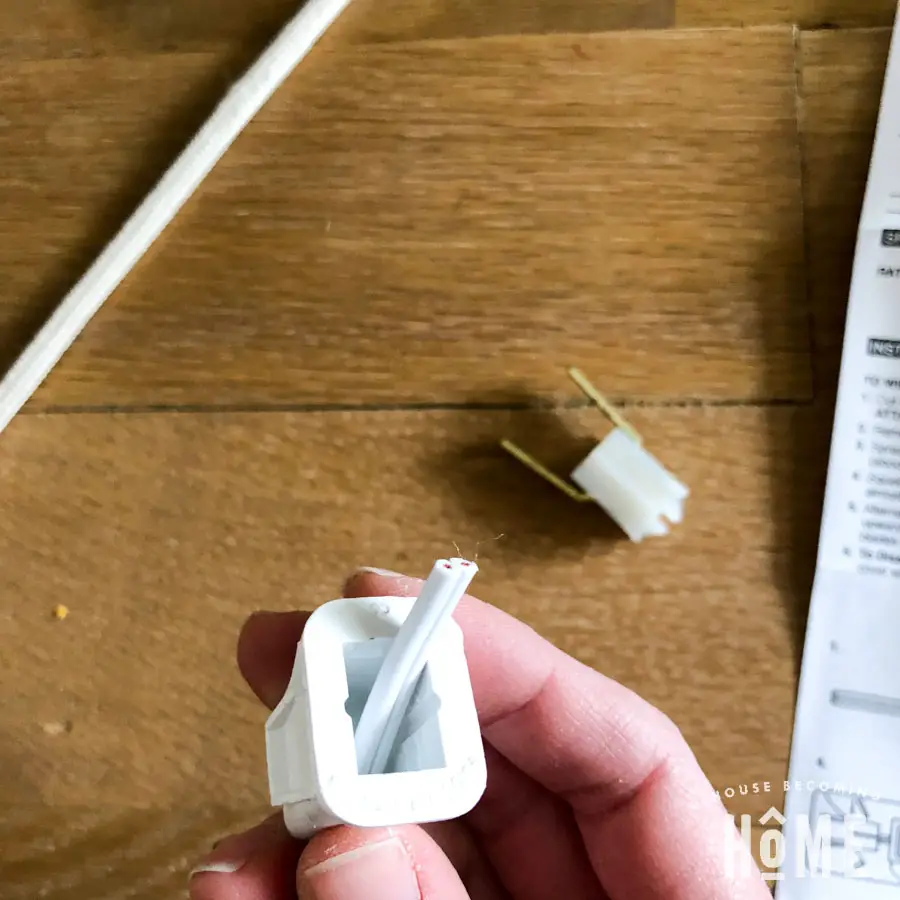
Attach an outlet plug to the end of the wire. The photos below are actually from the light I made from a thrift store cup, but it’s the exact same process:
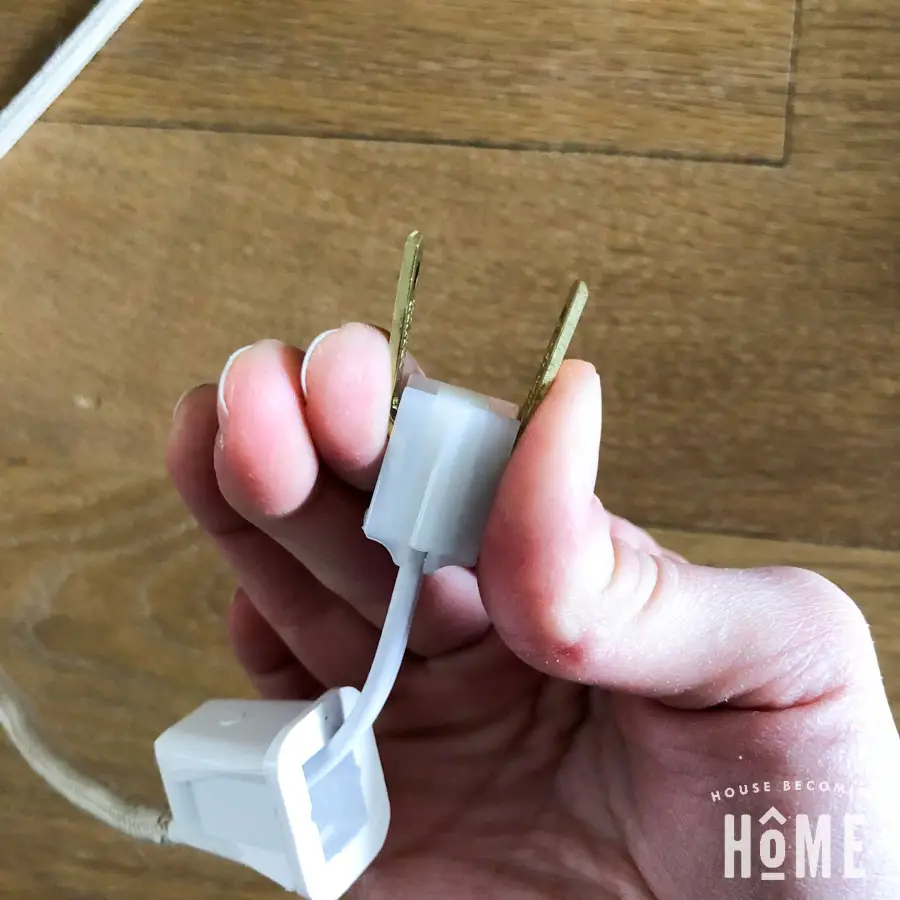
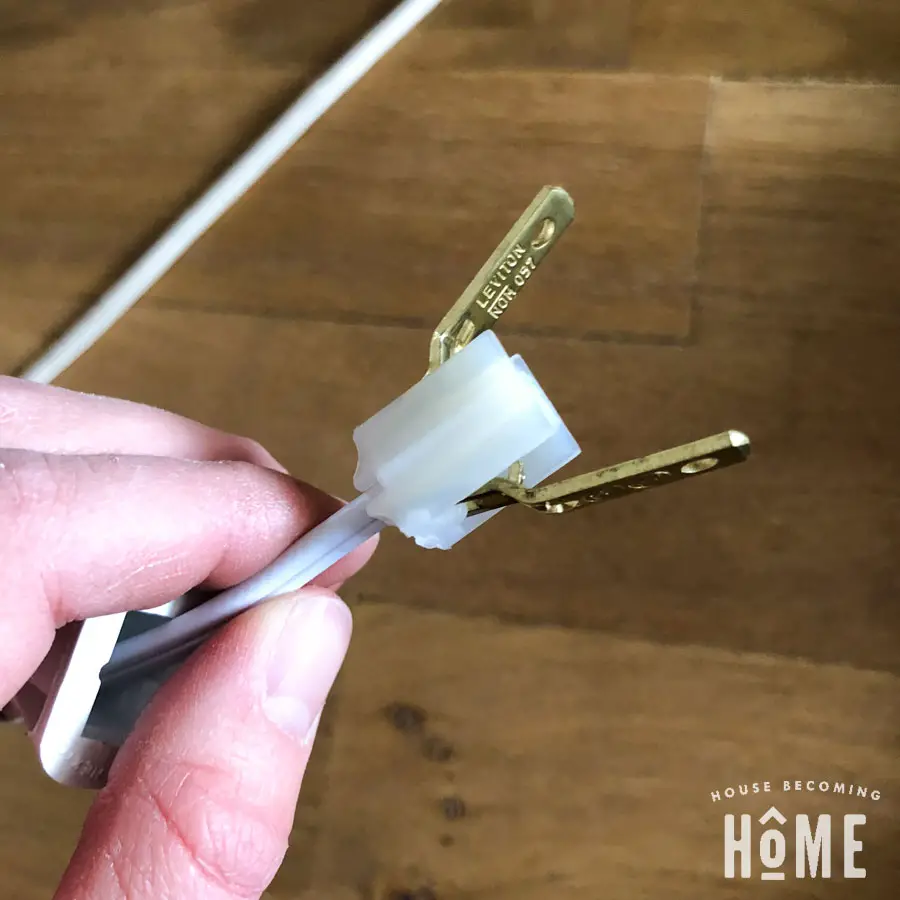
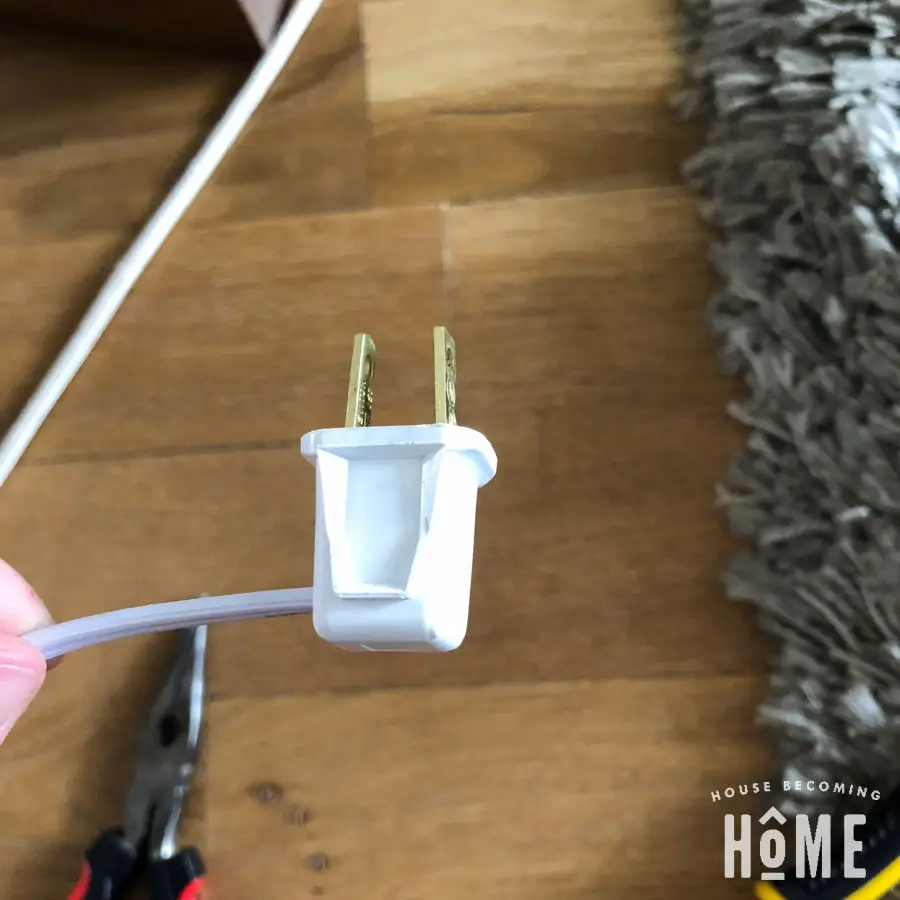
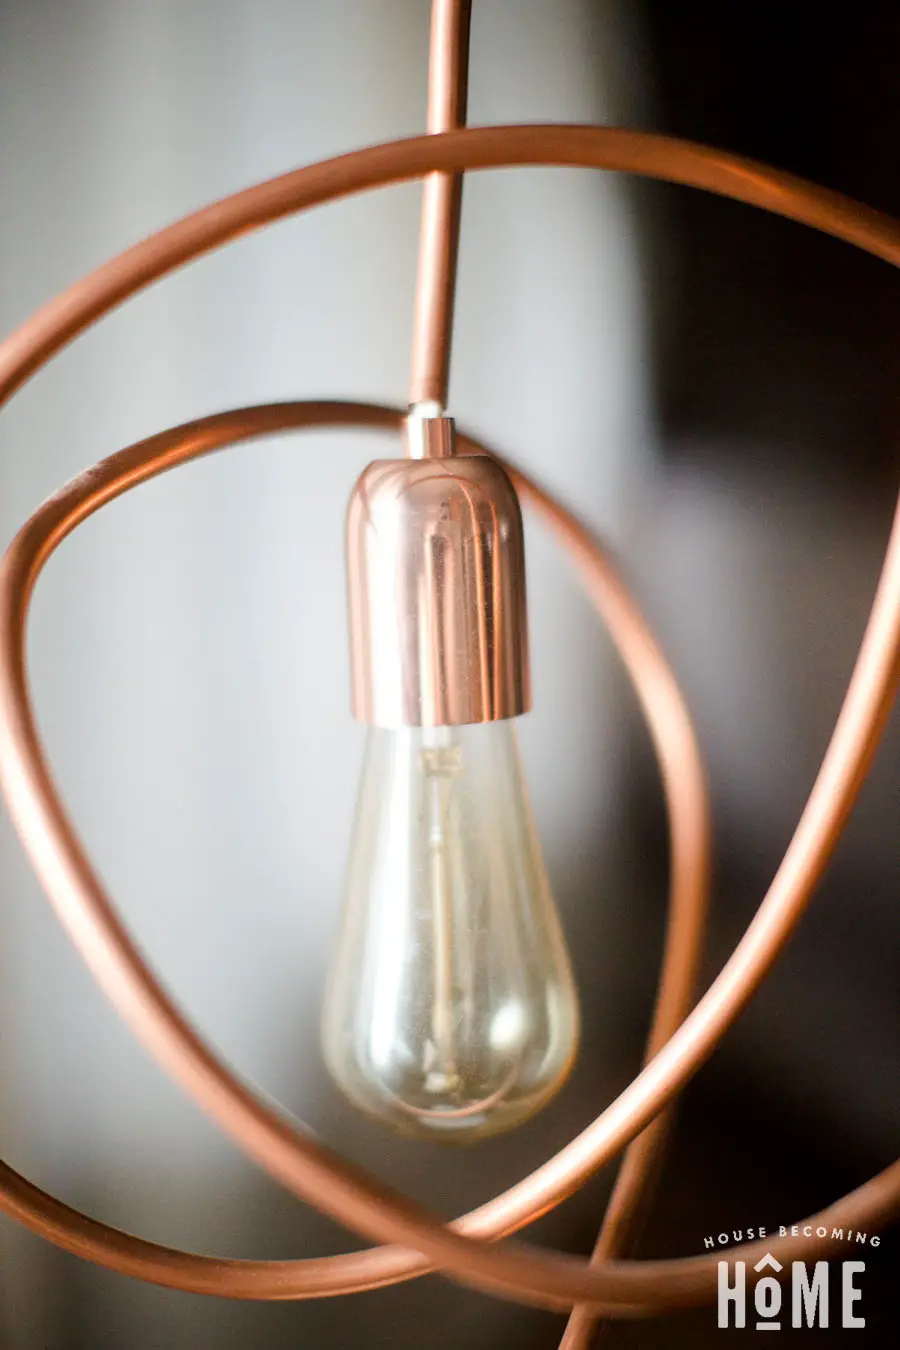
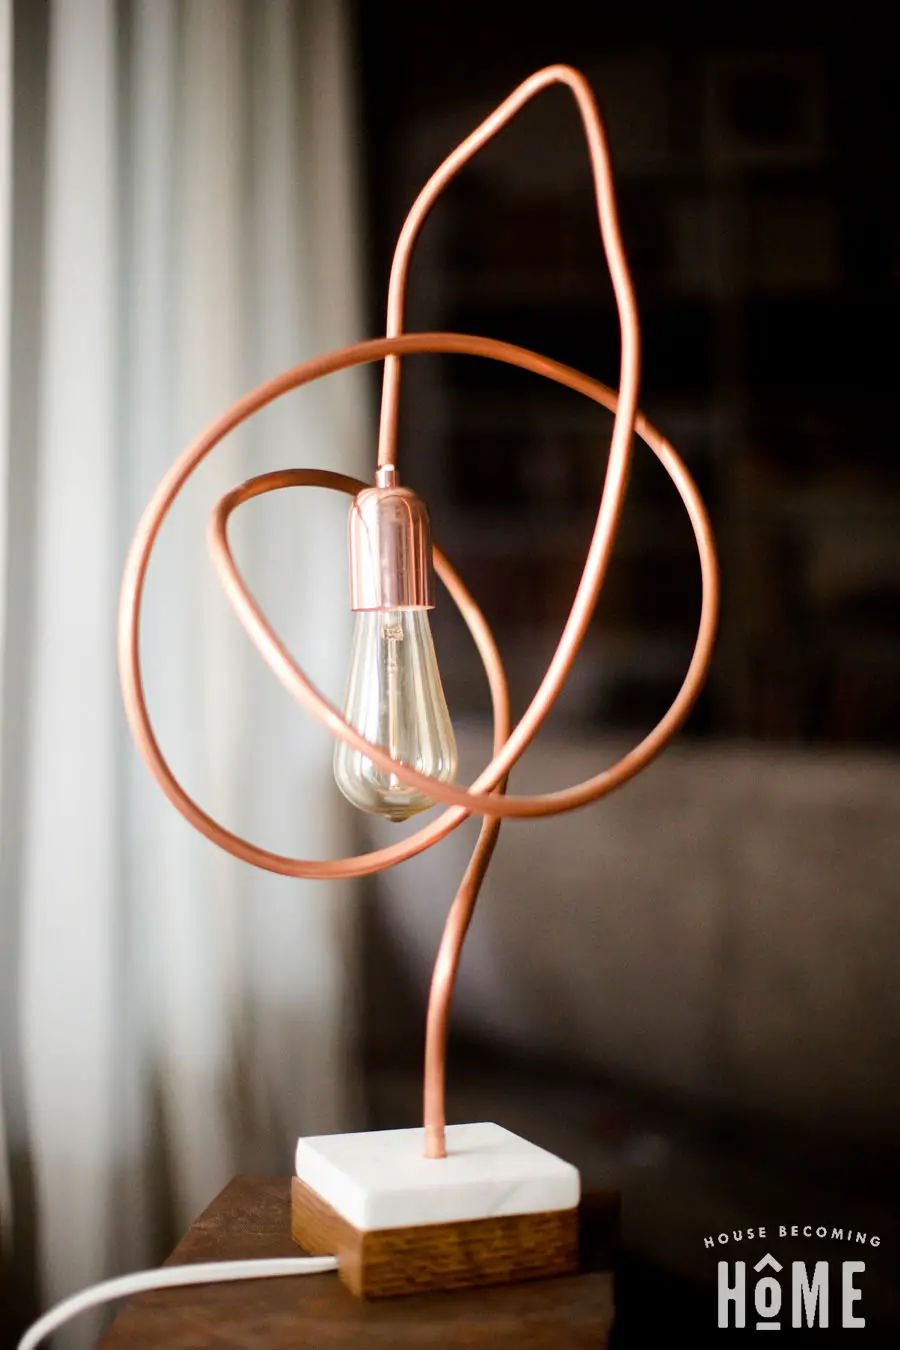
Plug it in somewhere nice, screw in an Edison bulb, and enjoy your modern, twisted copper pipe light. 🙂

Could you please explain why you have to clip off BOTH ends of the extension cord at the start? If you rewire the male end at the end anyway, couldn’t you just leave it on from the start?
You could probably leave it on from the start, just make sure you feed the wire through the finished base before feeding it through the pipe. It’s been awhile since I did this project (so I can’t completely remember my reasoning), but I’m thinking I just found it easier to do the pipe twisting/bending without having a base dangling at the bottom . . .