Cutting Penny Tile
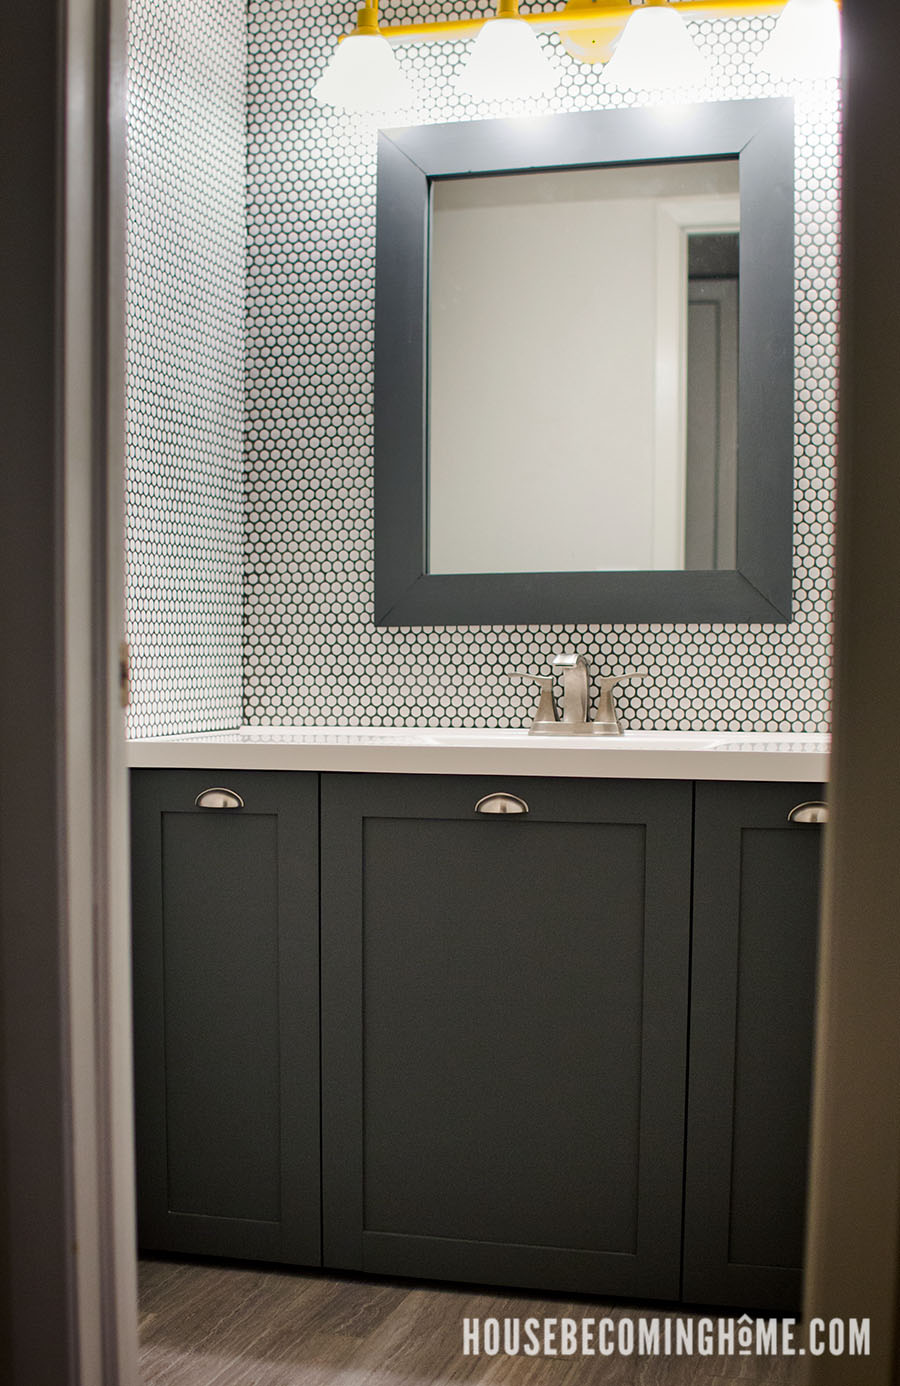
When we renovated our small powder room, one of the first design decisions I made was to cover one of the walls in white penny tile. I learned a few things through the process–if you’re interested in those tips, you can find them here: Four Tips Before you Install Penny Tile.
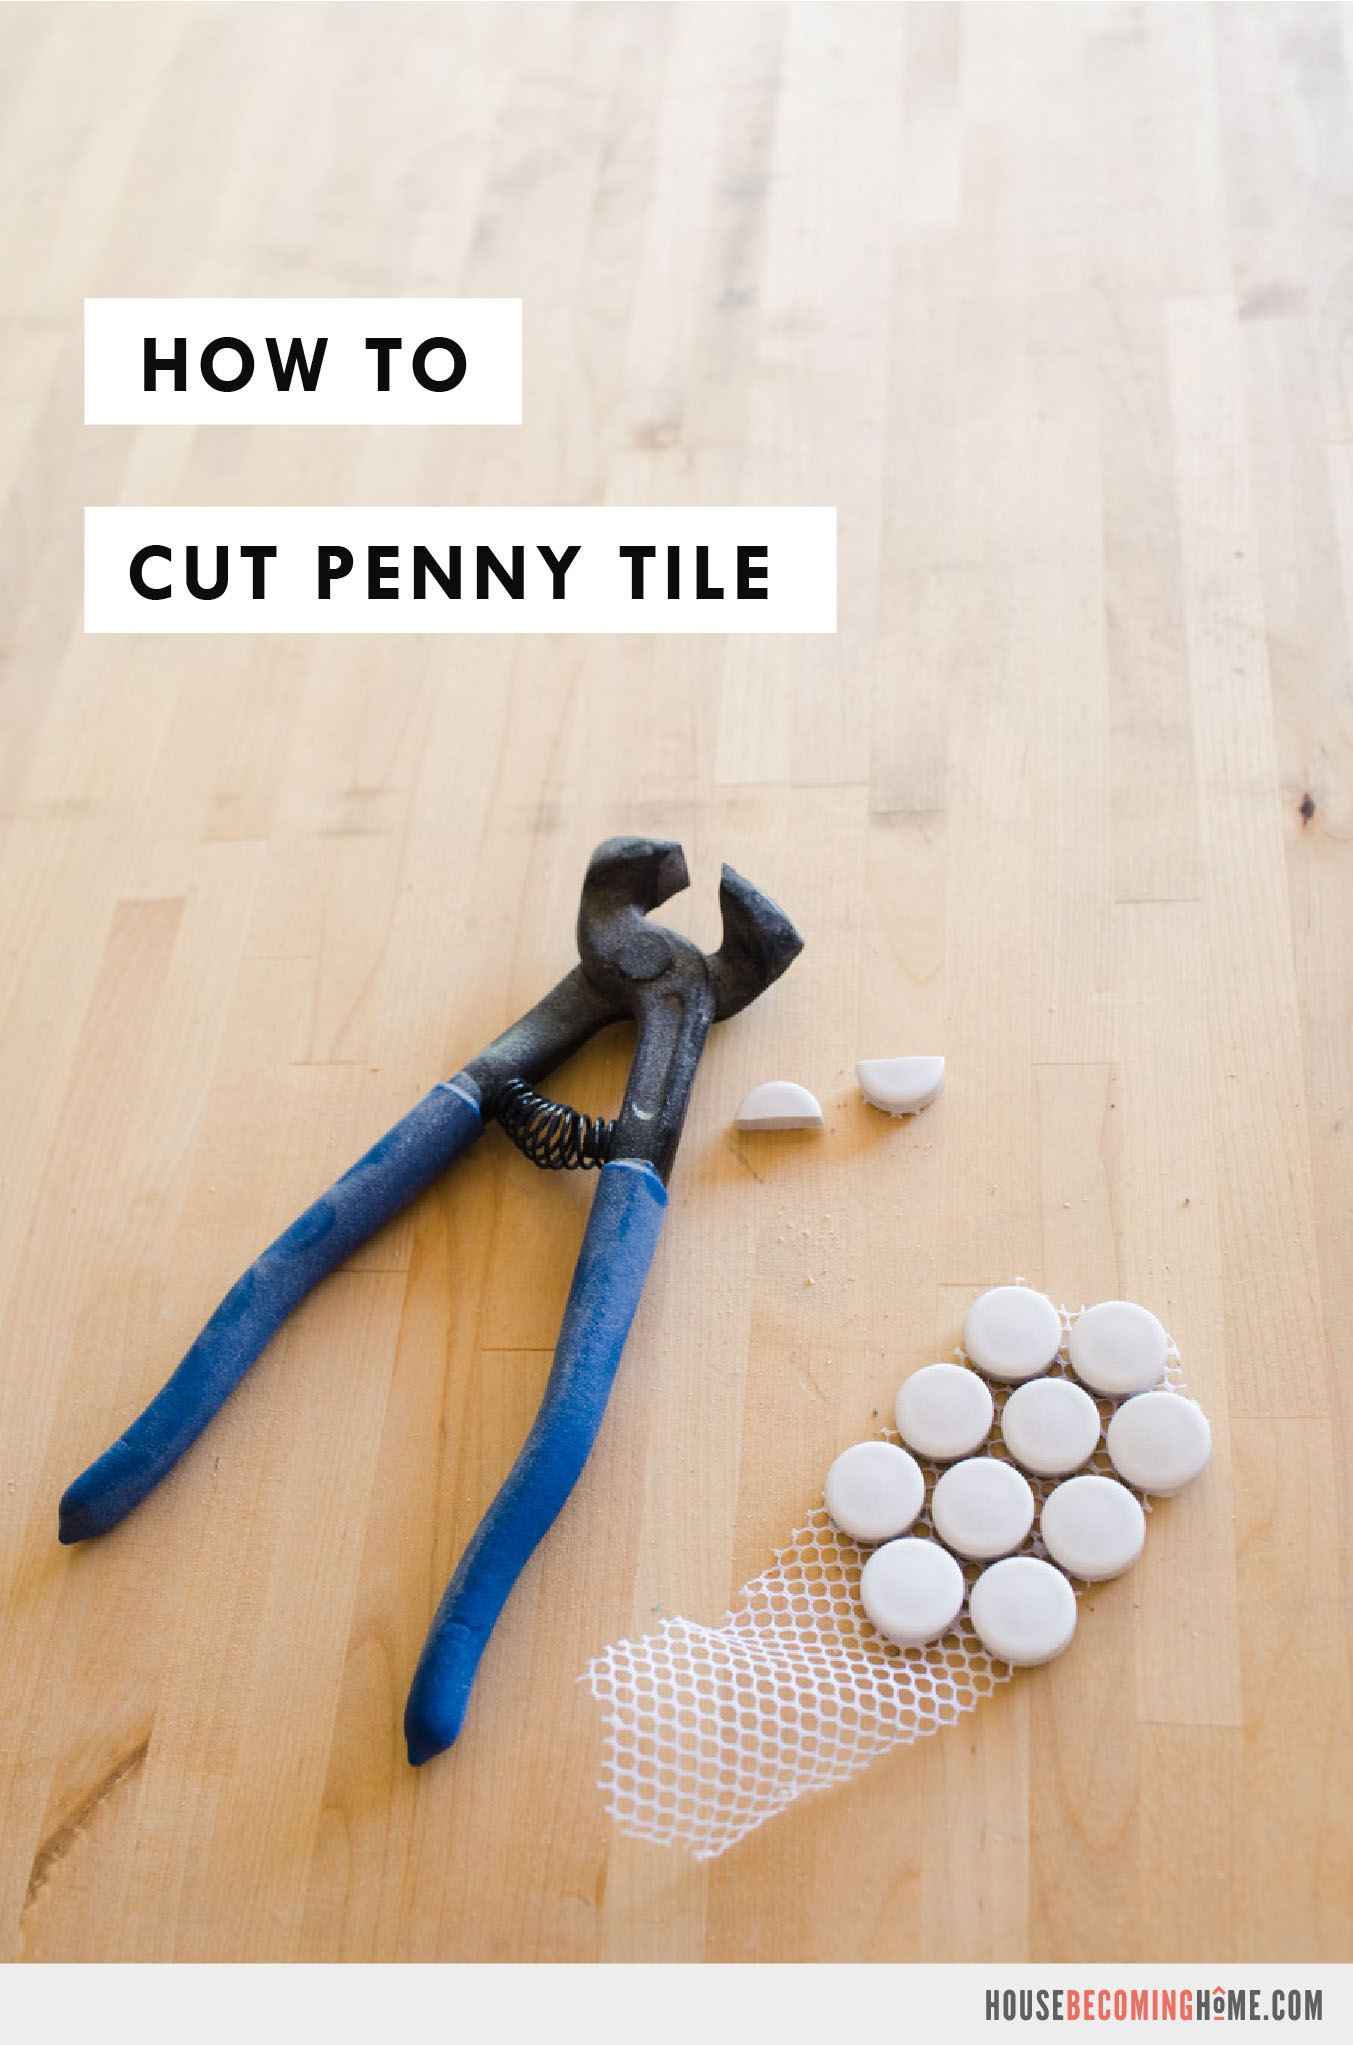
But first, if you’re installing penny tile on a wall or floor you’ll need to learn how to cut it. Today I’m showing just how simple it is to cut penny tile.
House Becoming Home is a participant in the Amazon Services LLC Associates Program, an affiliate advertising program designed to provide a means for sites to earn advertising fees by advertising and linking to Amazon.com. Some links in this post may be affiliate links. Read my full disclosure policy here.

What tools do I need to Cut Penny Tile?
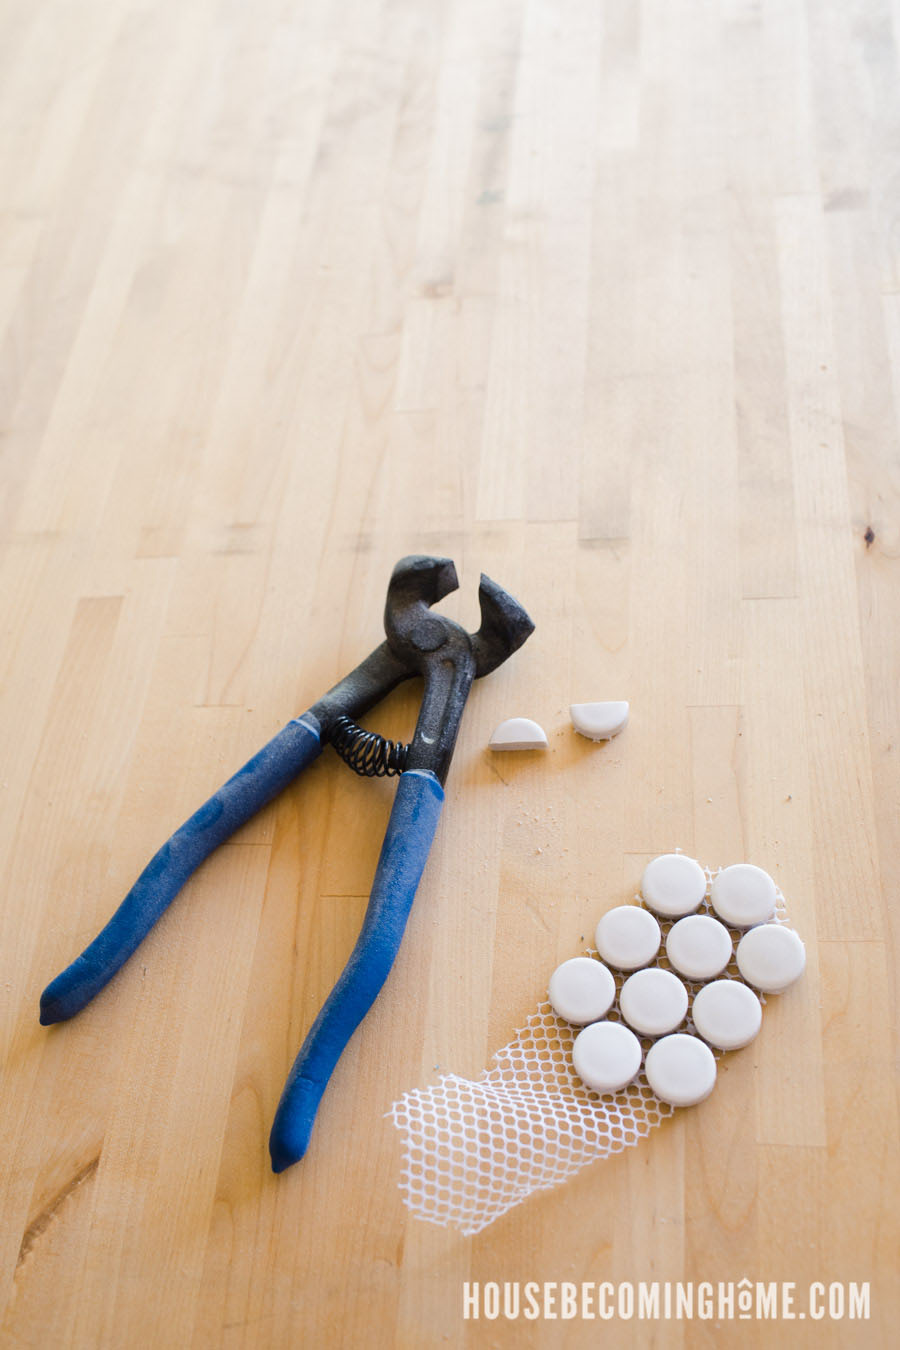
While a wet saw works great for the more standard sized/shaped tiles, it isn’t ideal for the small penny rounds we used to cover our bathroom walls. Good news: the tool you need to cut penny tile is far more simple, far less messy, and far more affordable than a wet saw. No water or electricity required! All you need is a pair of tile nippers:

Tile Nippers
Tile nippers are a very basic handheld tool that look like a pair of pliers. While many people use them to make round cuts in more “standard” tile (removing small bites at a time), they are extremely useful for cutting penny tile – in half, or even off-center, along a line that isn’t the diameter.
How to Use Tile Nippers to Cut Penny Rounds
- Place a piece of tile in the jaws of the tile nippers. Where you place the tile is important. If you want the tile cut exactly in half, place the jaws along the center of the circle. If you need a piece slightly larger or slightly smaller, adjust the placement of the jaws as necessary.
- Squeeze the handles of the tile snips together. I have small hands (and maybe I’m weak???), but I found it easier to use both hands to apply enough pressure, rather than just one.

**TIP**
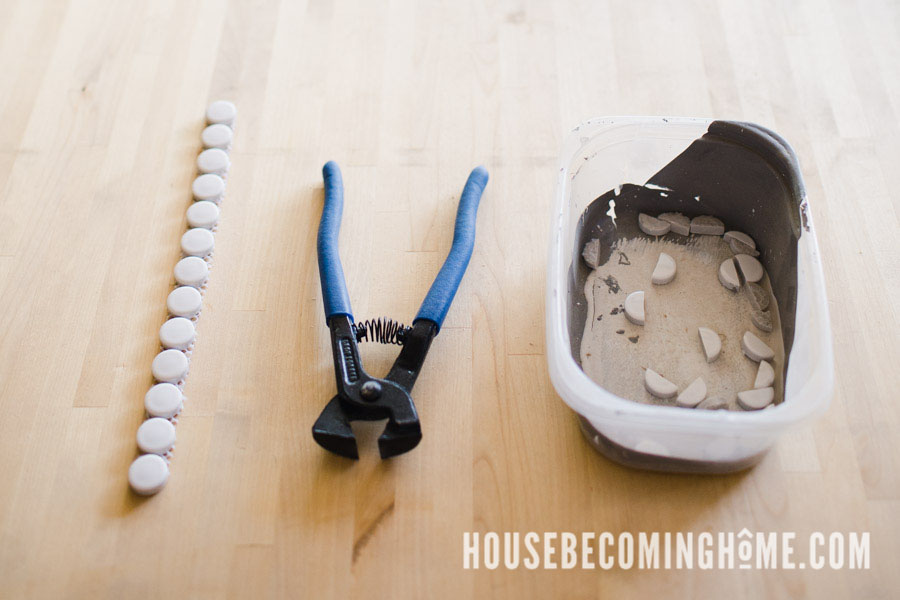
After cutting, both halves of the penny tile will fly out and sometimes far across the room (safety glasses are a good idea!). I found it was best to stick the tile nippers into a container (jaws facing down) as I cut, so that the halves of tile bounced off the walls and then into the container, preventing the five-minute treasure hunt for lost pieces. No need to get fancy here–I used an old tupperware container which worked great.
Another option is to leave the penny tile attached to the mesh backing that it comes on, which will prevent it from flying away when it is cut.
How to Cut Penny Tile : Video
Best Tile Nippers
I use the QEP 8-inch tile nippers in all of my penny-tile cutting. They’ve worked great and I highly recommend them. With carbide-tipped jaws they have stayed sharp and show no signs of wearing out. It’s not an exciting purchase, but they definitely get the job done well!
More Bathroom Renovation Resources
After you master penny-tile cutting (which takes less than 5 minutes!), be sure to check out more bathroom renovating tips and resources:
- Four Tips Before You Install Penny Tile
- DIY Bathroom Vanity & Shaker Style Doors
- How to Make a Modern Bathroom Light Fixture
- DIY Cherry Wood Soap Dish for a Modern Bathroom

