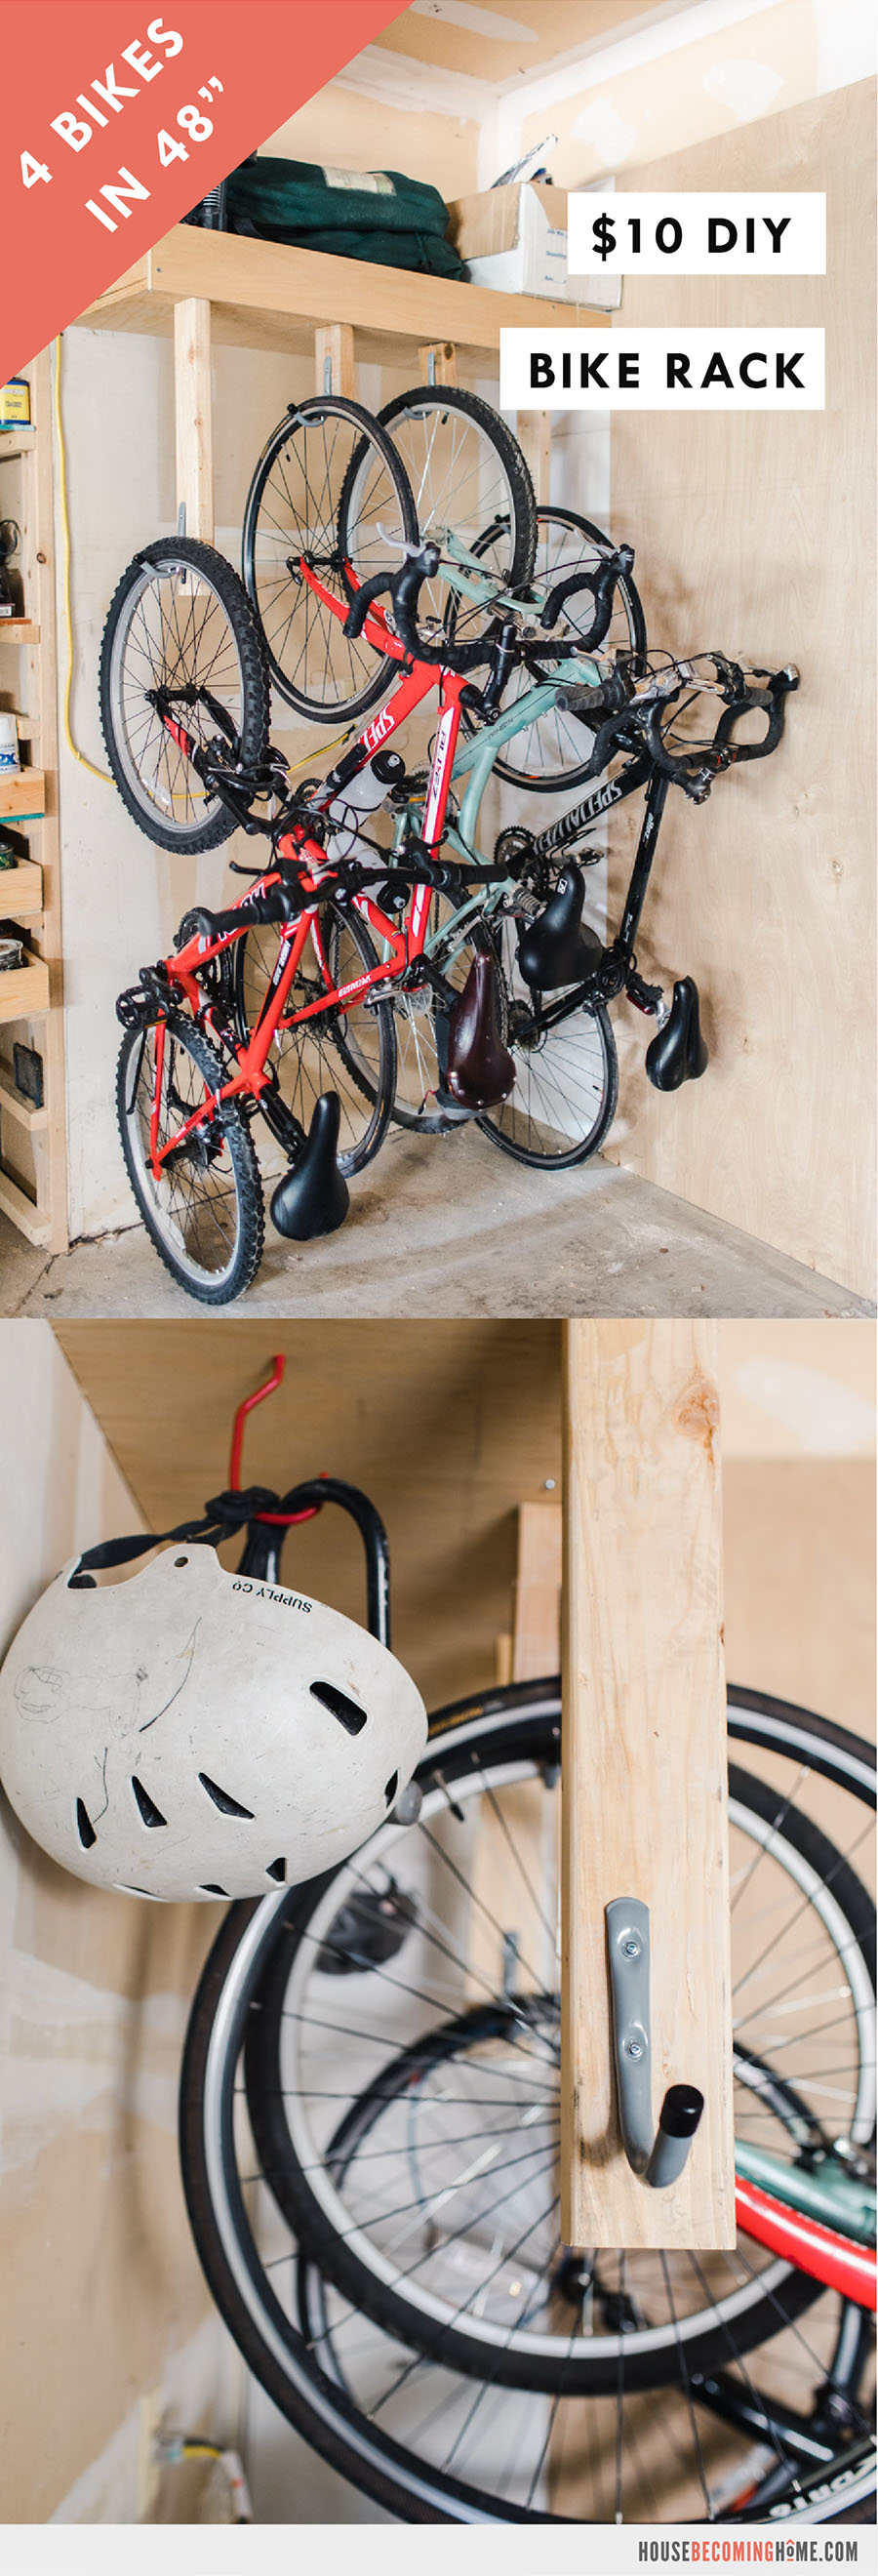
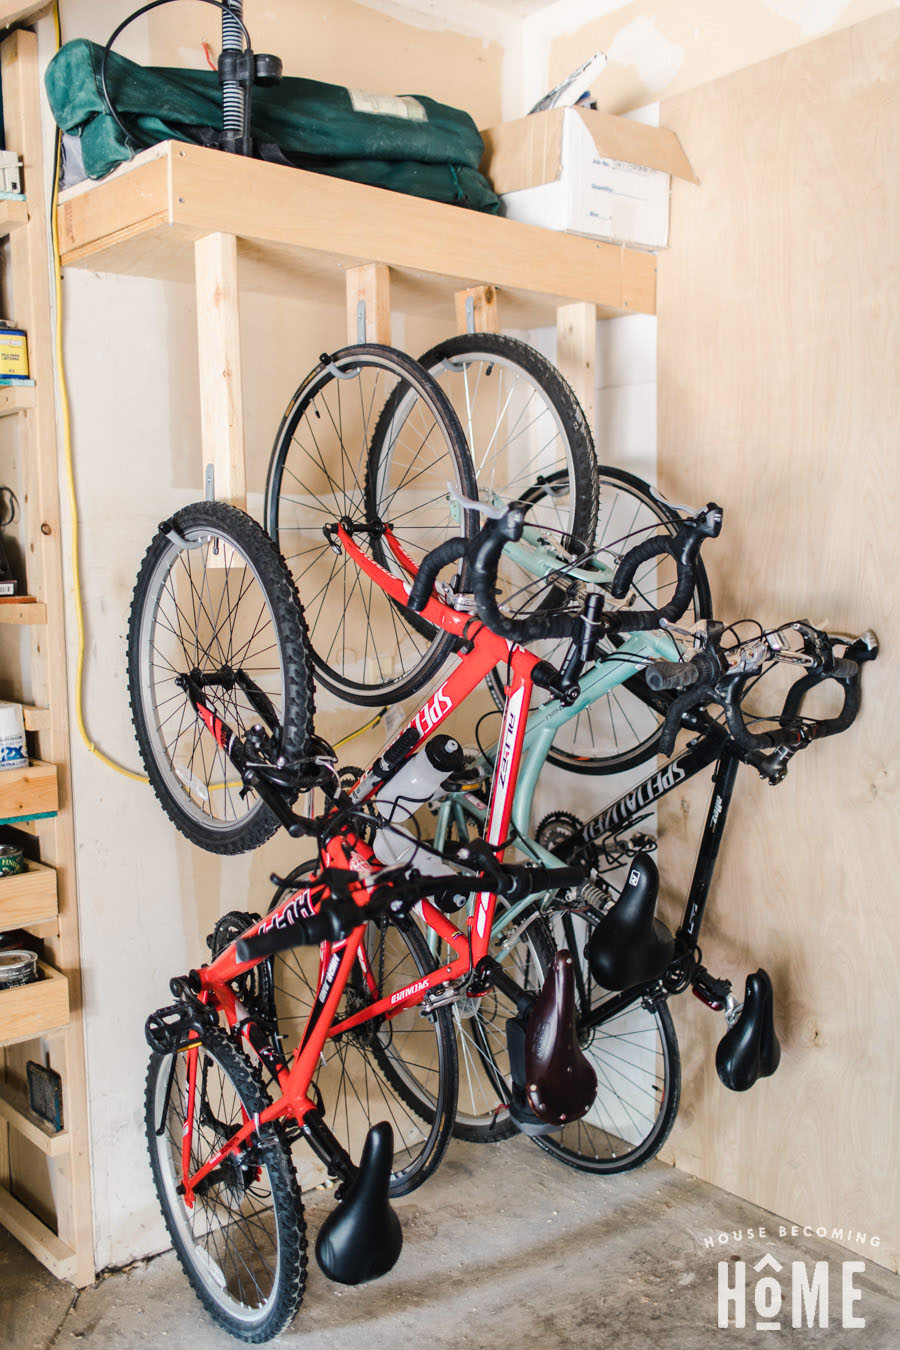
Over the last few months I’ve spent A LOT of time re-thinking the way we use the space in the garage. I’m nearing the end of an amazing workbench build, but that post is for another day. Today I’m showing you what I did with the other corner of the garage . . . THE BIKES! This DIY bike rack is easy to make, super affordable, and very much space-saving–storing four bikes in 48″. If you’ve got a few-too-many bikes but not much room for them, read on! I’ve got a solution that costs only a few dollars and a couple hours of your time.
We’ve got six people in this house, and each of us have a bike. Our youngest two are barely out of training wheels; those two bikes don’t take up much space. But the other four of us? Our bikes are ALWAYS in the way.
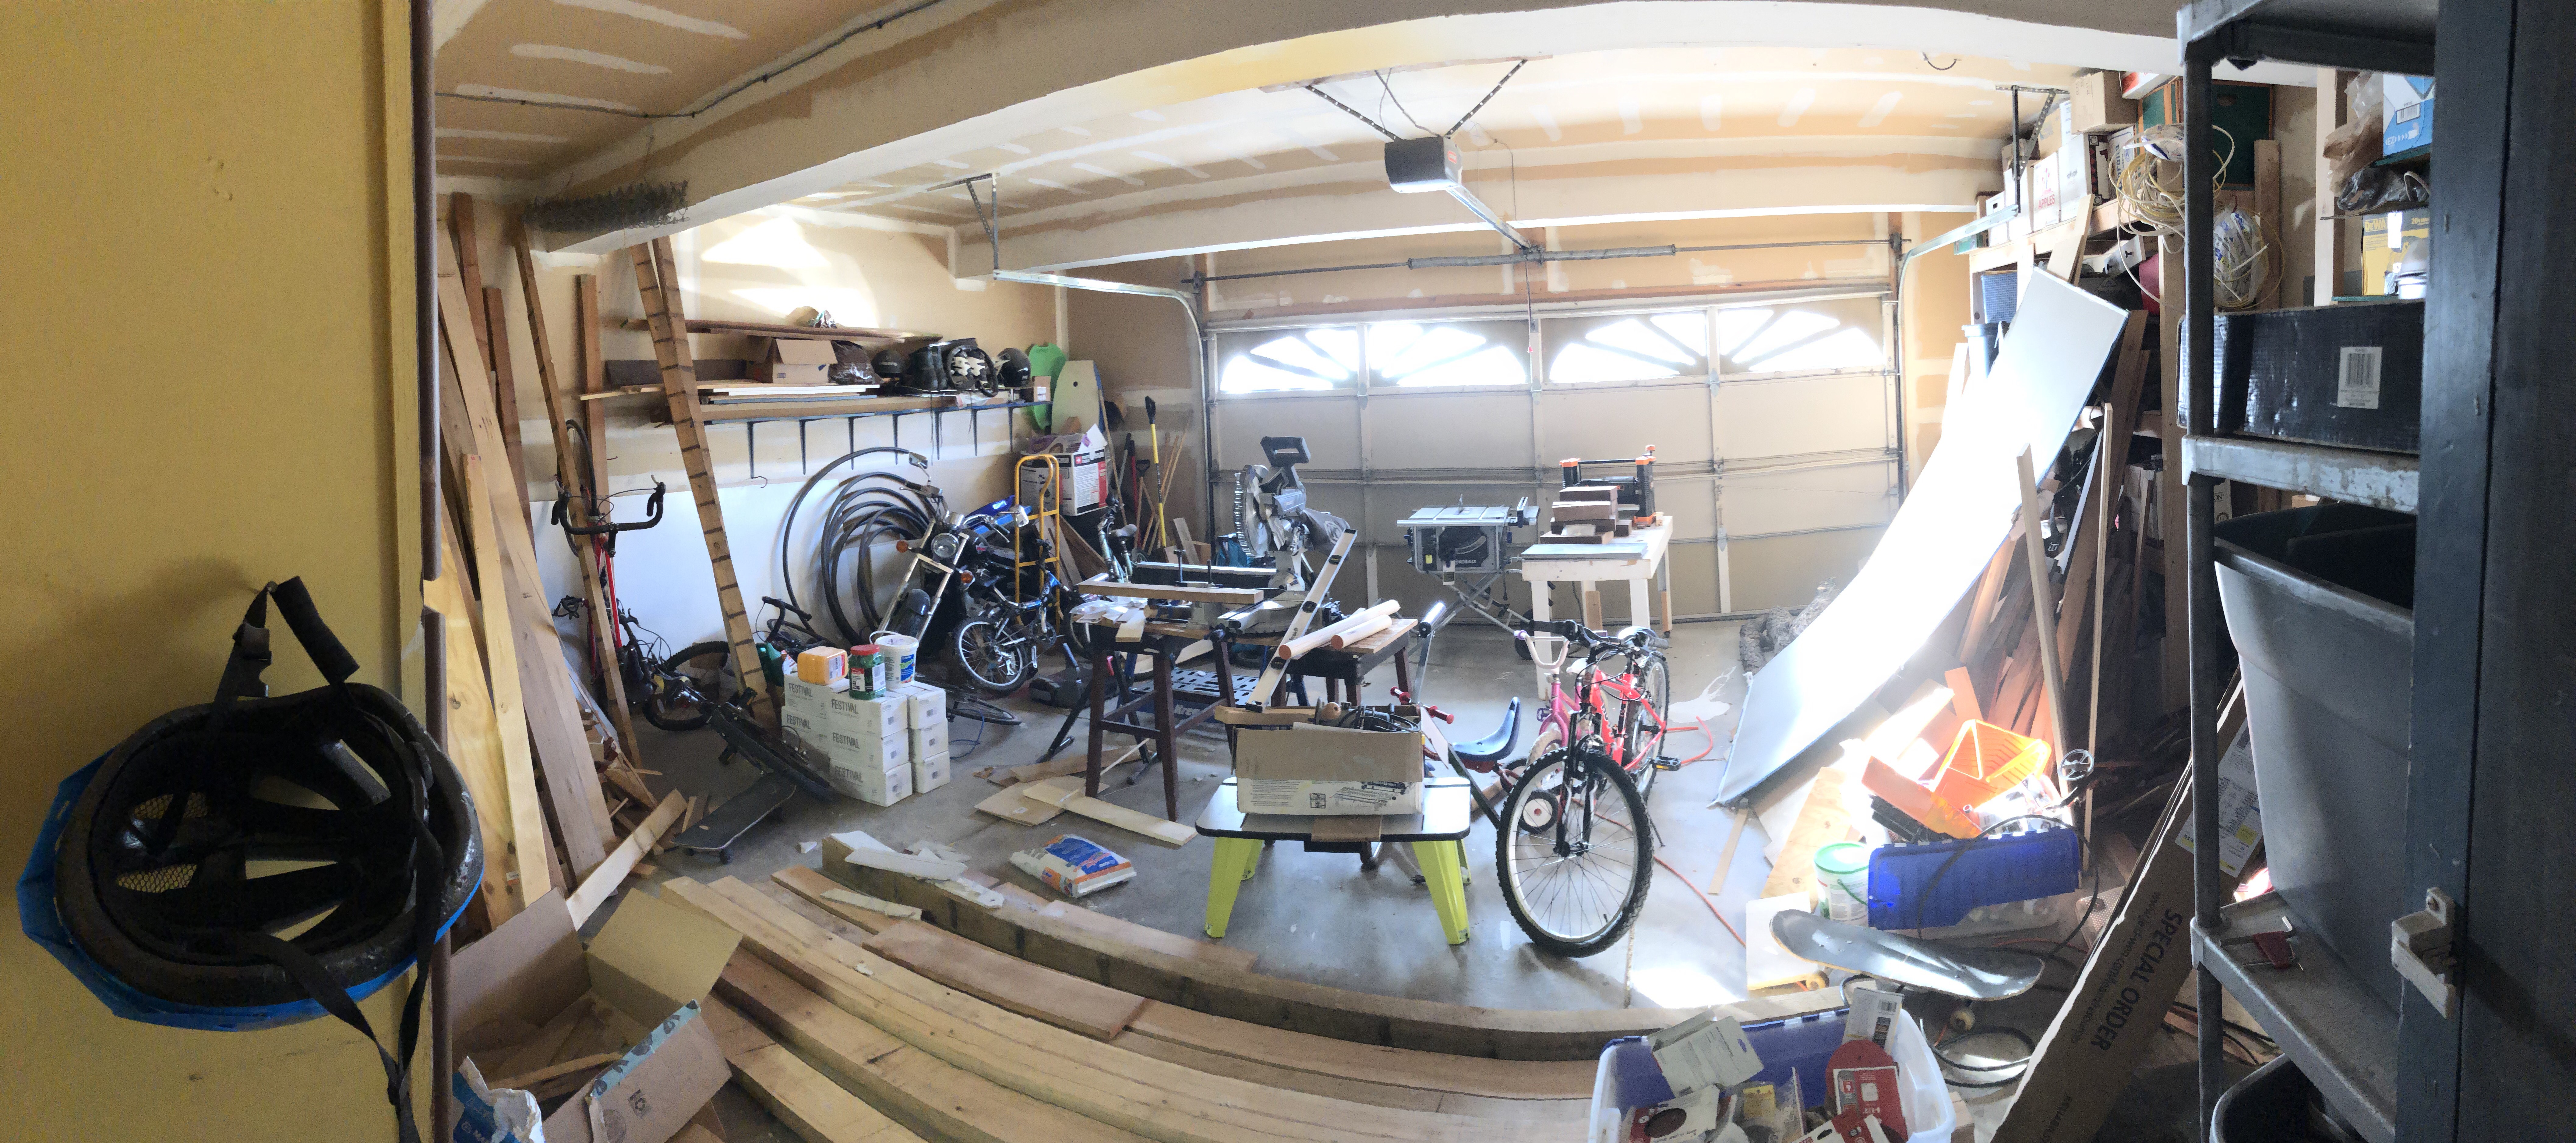
We’ve tried various solutions–those heavy-duty utility bike hooks that you can pick up for several dollars at the home improvement store. Nice idea, but it just does’t work by itself. We were constantly dealing with falling bikes, bikes intertwined and bikes hard to get to. Here’s a scary panorama of our garage before I started reorganzing it this summer. There are six bikes scattered throughout the garage in this shot, can you find them? . . . no? . . . neither could we sometimes. Ha.
When I sketched out an idea of how I wanted our garage to be organized, I needed quite a bit of space for my tools. What we were left with was a 48″ corner of the garage that needed to store four young adult/adult bikes. And by “store,” I don’t mean throw them all onto a pile that is frustrating to sort through when you need your bike. I really wanted that space to efficiently store the bikes–not to be a nightmare to navigate.
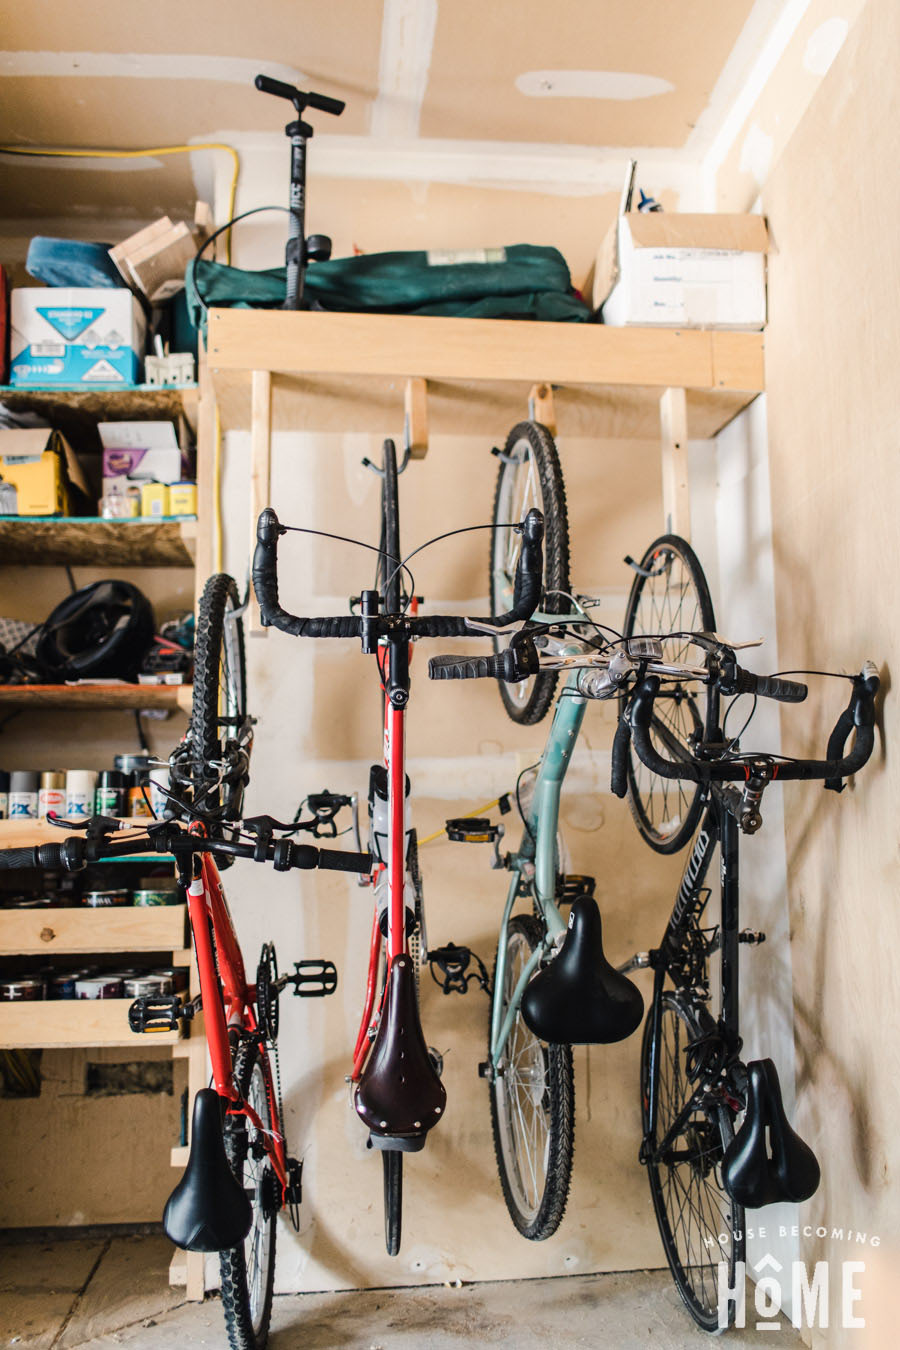
How I (comfortably) fit Four bikes in 48″ of space
After browsing tons of bike storage ideas on pinterest, I combined a few ideas into what I thought will work best for us:
Why this DIY Bike Rack is Awesome
- Stores 4 large bikes in 48″ of space
- Fairly easy to use. Very little frustration involved taking a bike down or putting a bike up, even when all the other slots are full.
- SUPER cheap. I built this DIY Bike Rack with wood 100% from my scrap pile. The only cost was screws and hooks. Total project bill, less than $10. And it decreased the size of my scrap pile. WIN!
- It stores the bikes vertically, which frees up more floor space
- The bike rack itself is more storage (!!) – it’s basically a floating shelf that happens to wrangle four large bikes. There’s room above the bike rack to hold less-used items, like our bike pump, camping chairs, etc. etc. I will never say no to more storage.
- There’s plenty of room on the bike rack to add more hooks for bike helmets, bike locks, etc.
How to Build an Easy and Cheap Bike Rack
* This post contains affiliate links for your convenience. Read my full disclosure policy here. *
Materials
- 2×4 scraps (one 48″ long + four or five 16″ long)
- Plywood Scraps
- Wall Mount Hook (I used these ones)
- Lag Bolts (about 4)
- Screws
Tools
- Saw
- Pocket Hole Jig
- Drill or impact driver (this one is my favorite!)
- Stud Finder
Step One
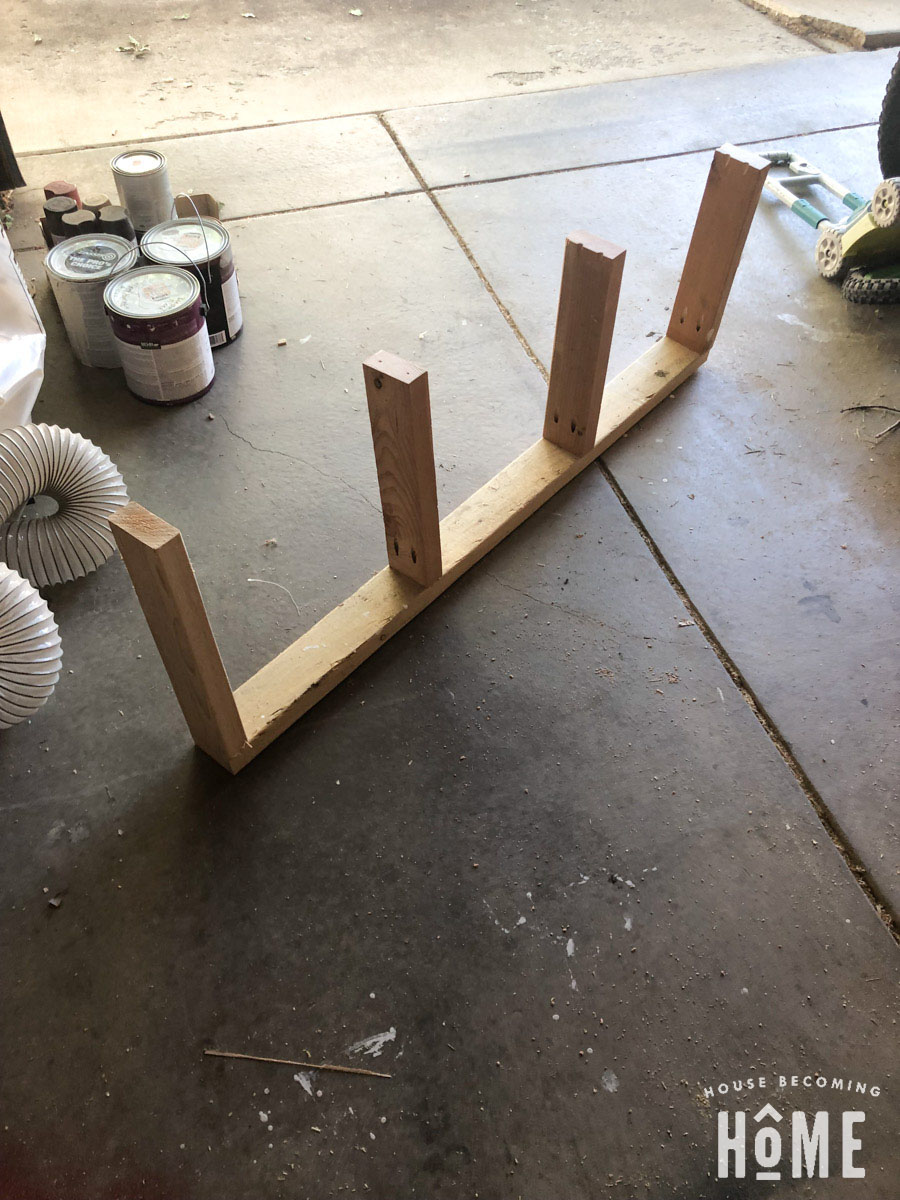
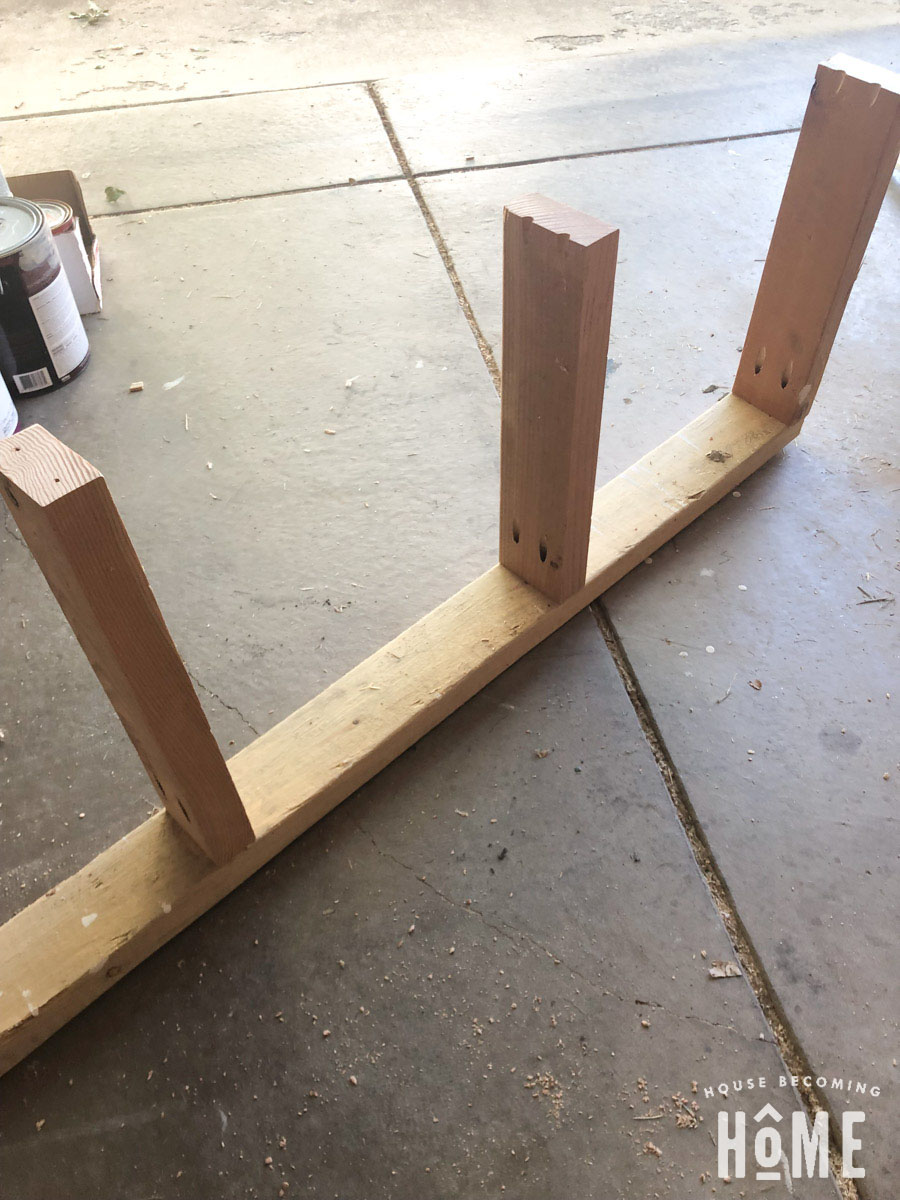
Begin building the “floating shelf” from your 2×4 scraps. I joined the smaller 2×4 pieces to the 48″ piece with pocket holes and screws.
Step Two
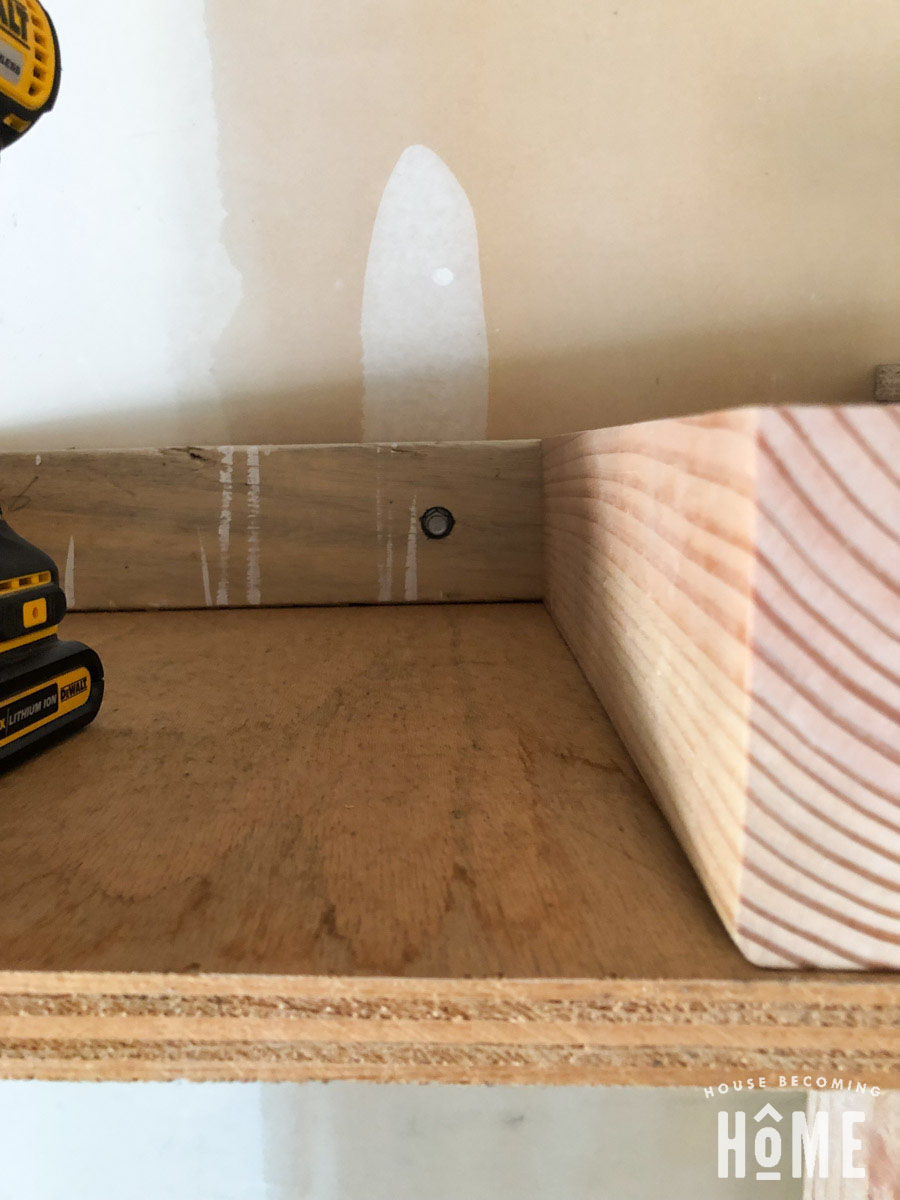
Fix the beginnings of the floating shelf to the garage wall with four 5/16″ x 4″ lag bolts. Use a stud finder to ensure you’re attaching the shelf to studs.
Step Three
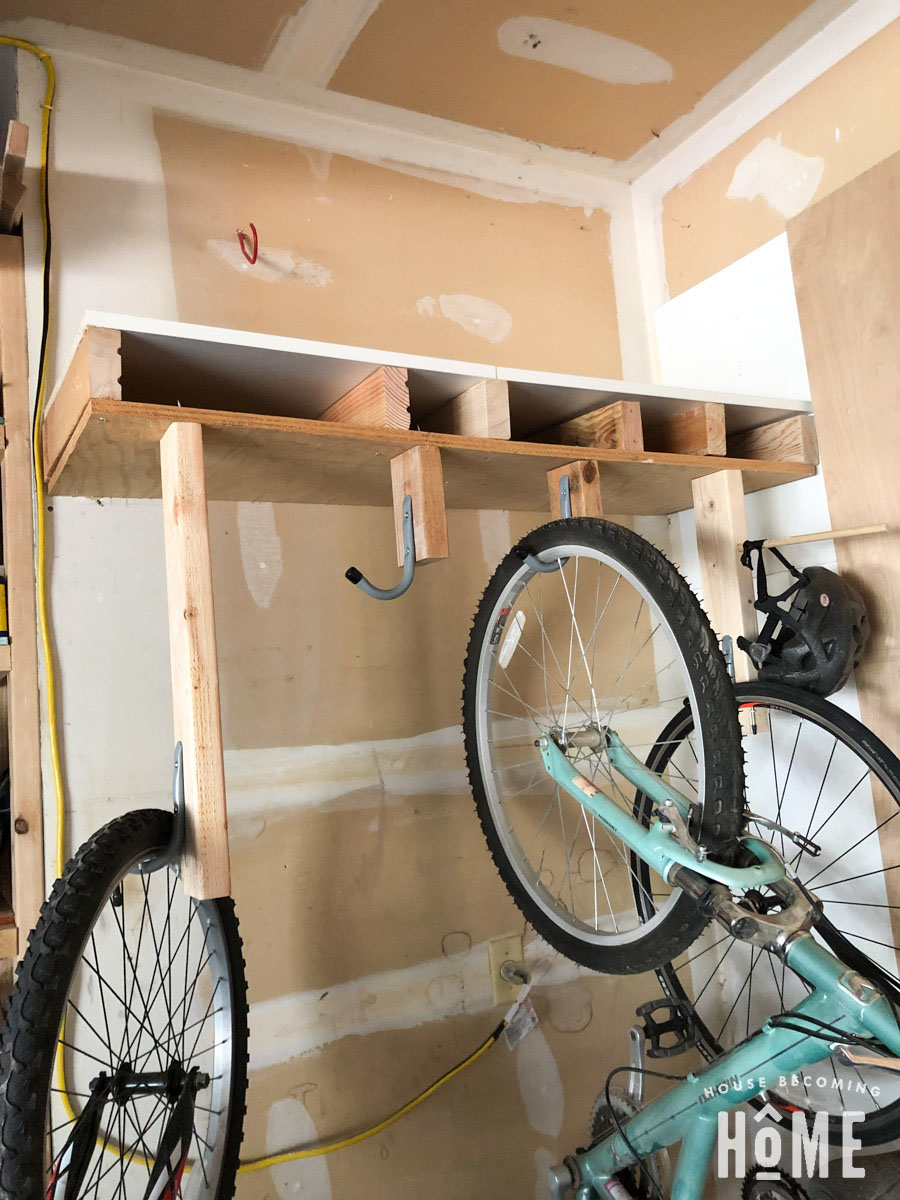
With screws, attach a scrap of 3/4″ plywood to the bottom of the 2×4 frame. (photo above was taken after this step, you can see the plywood is already attached).
Step Four
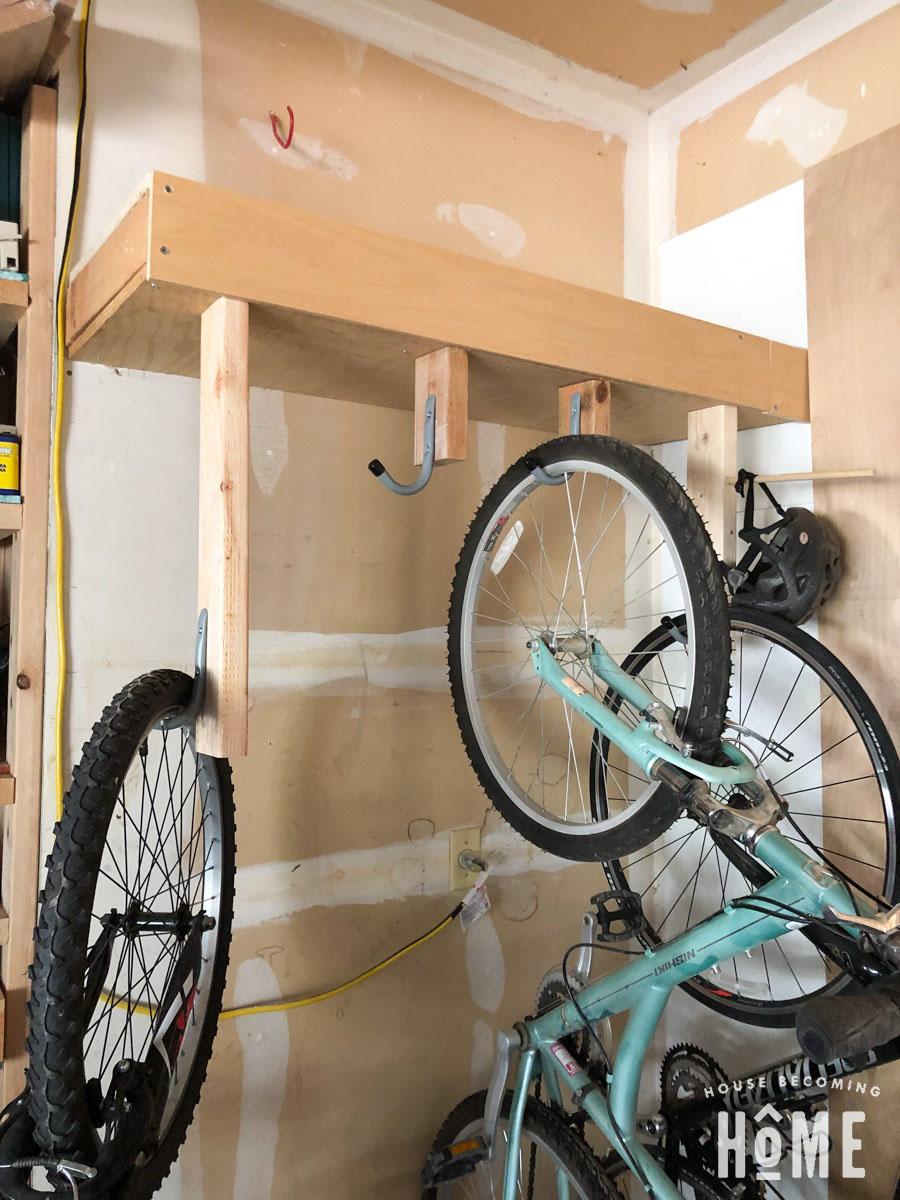
Begin adding bike hanging hooks to the bottom of the floating shelf. I simply screwed 4″ wall hooks to scraps of 2x4s, then attached those to the bottom of the shelf.
In order to get four bikes into such a tight space, you’ll need to vary the lengths of your 2×4 bike “hooks,” so that the handle bars don’t run into each other and get tangled up.
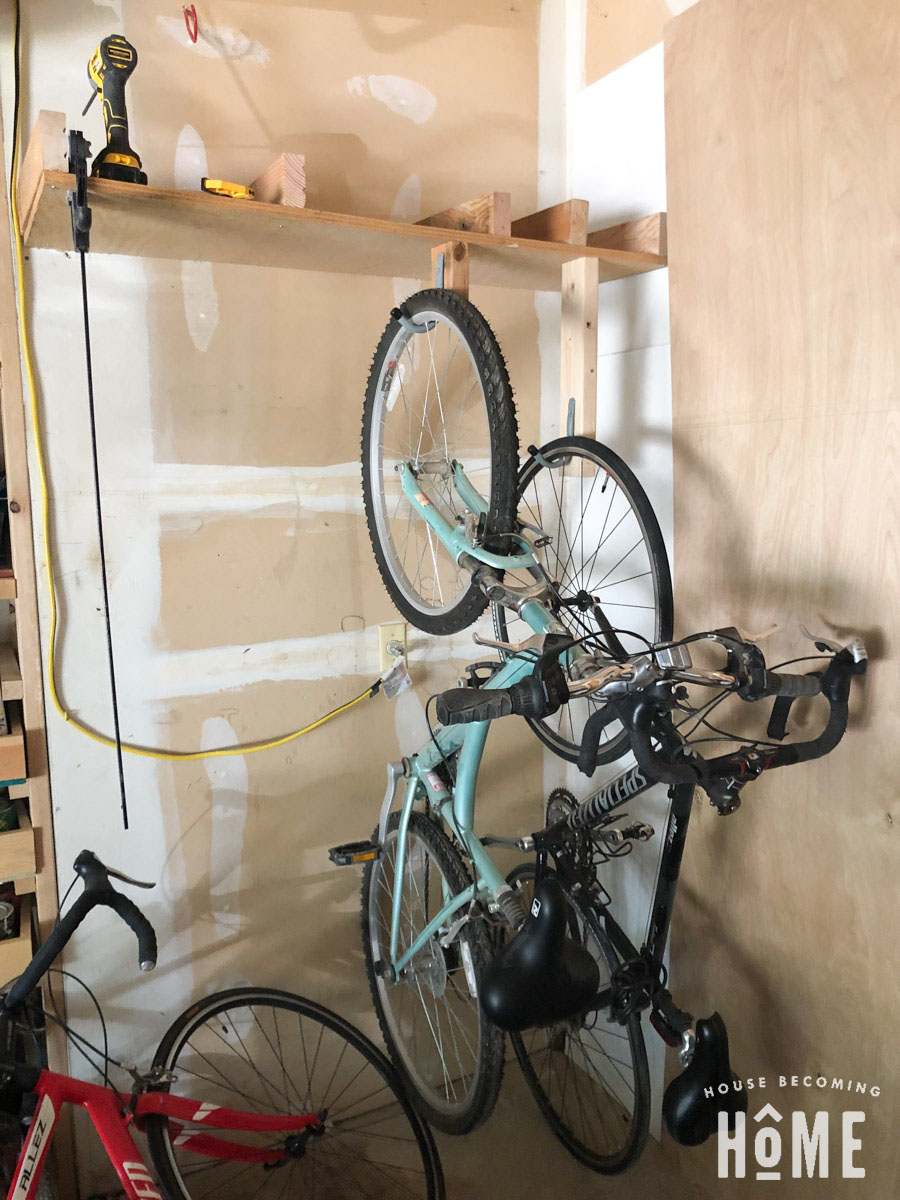
I wasn’t super mathematical about my placement of the 2×4’s. I screwed one in and hung a bike on the hook. Then I’d hold up the next bike, seeing how high or low it needed to be mounted to not bump into the other bike. That determined the length and spacing of the next 2×4 “hook.”
To attach the vertical 2×4 pieces, I used a combination of pocket holes + screws, as well as a screw straight into the 2×4 from above, as you can see in the photo below:
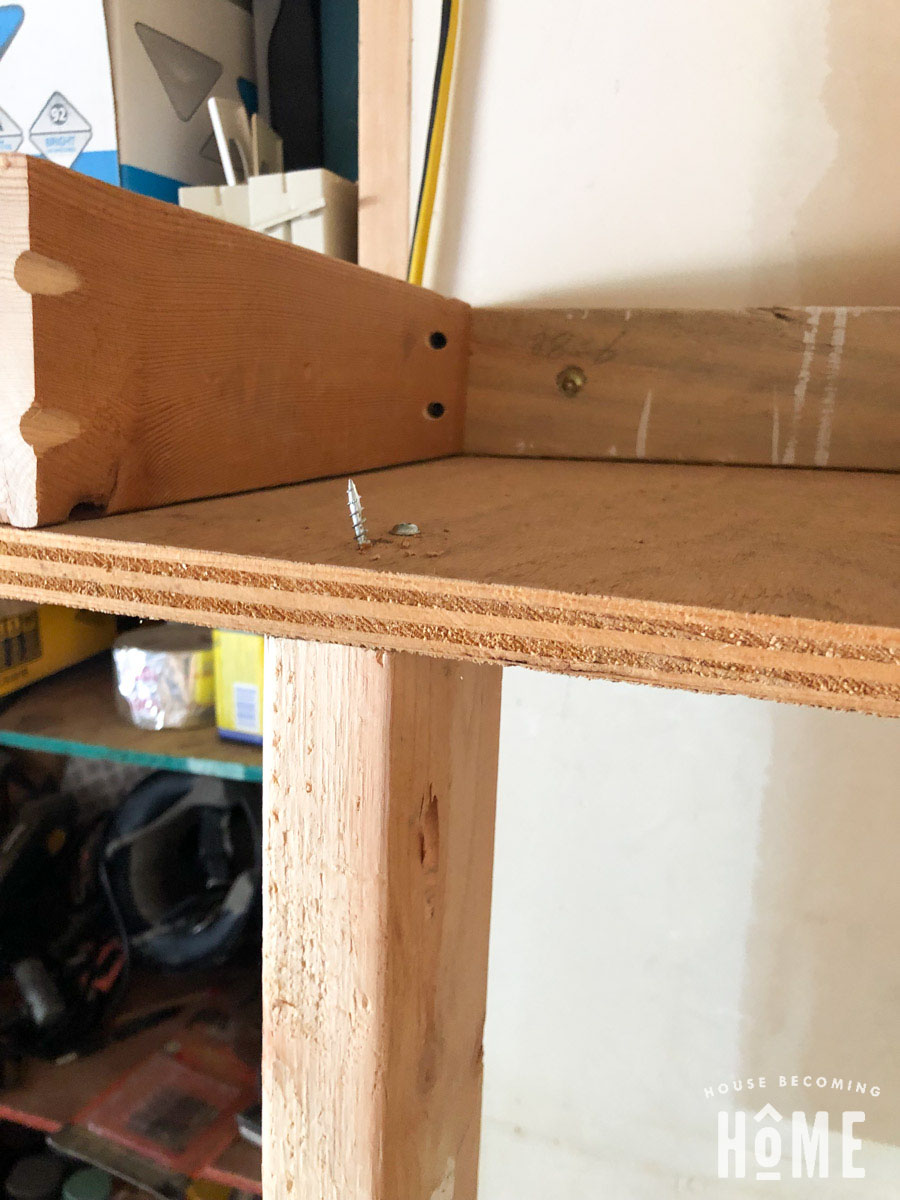
TIP: I was in a hurry to get this done. In retrospect, I should have added another layer of plywood to the front of the shelf where the pocket hole screw comes up, to give it more “bite” and strength. After a week of use, one of the four bike hanging “hooks” wobbled a bit, and I had to reinforce it with an L bracket on the side. I think this could have been avoided if I would have added more plywood.
Step Five
Finish the floating shelf by adding a top (I used scraps of melamine, screwed straight from the top into the 2×4 frame). Then, screw in a front piece (or, if you don’t mind the ugly, leave it open and use the space in between the 2x4s as more storage!).
Step six
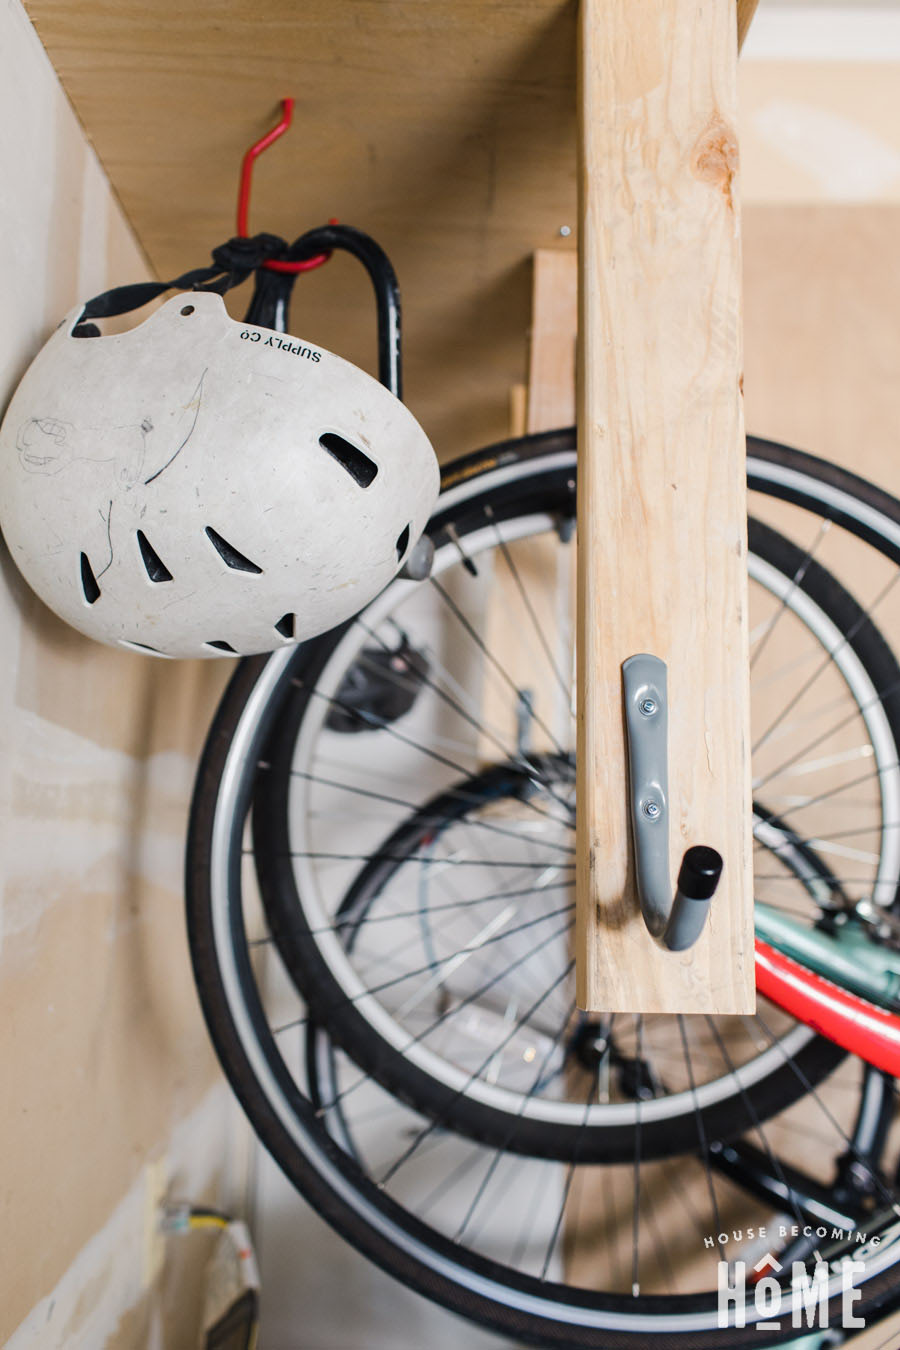
If you’ve got helmets and locks you’d like to store, grab the previously-worthless bike hooks you recently gave up on. Pre-drill some holes, then screw them into the back of the floating shelf, spaced in between the bicycles.
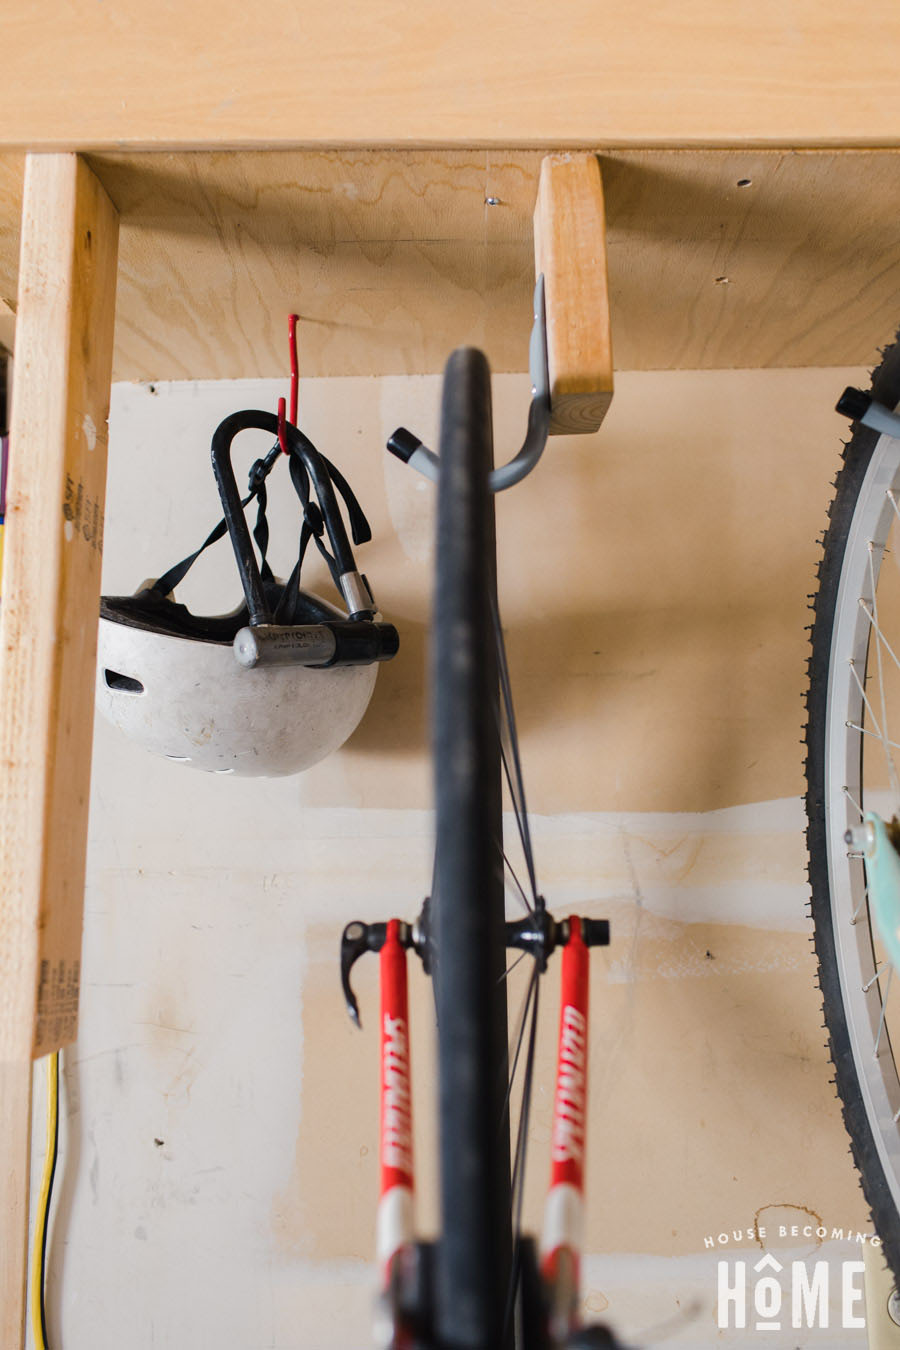
Easy, Affordable Bike Rack Complete!
I love projects that I can start and finish in less than a day. Especially ones that help organize a space as much as this bike rack does.
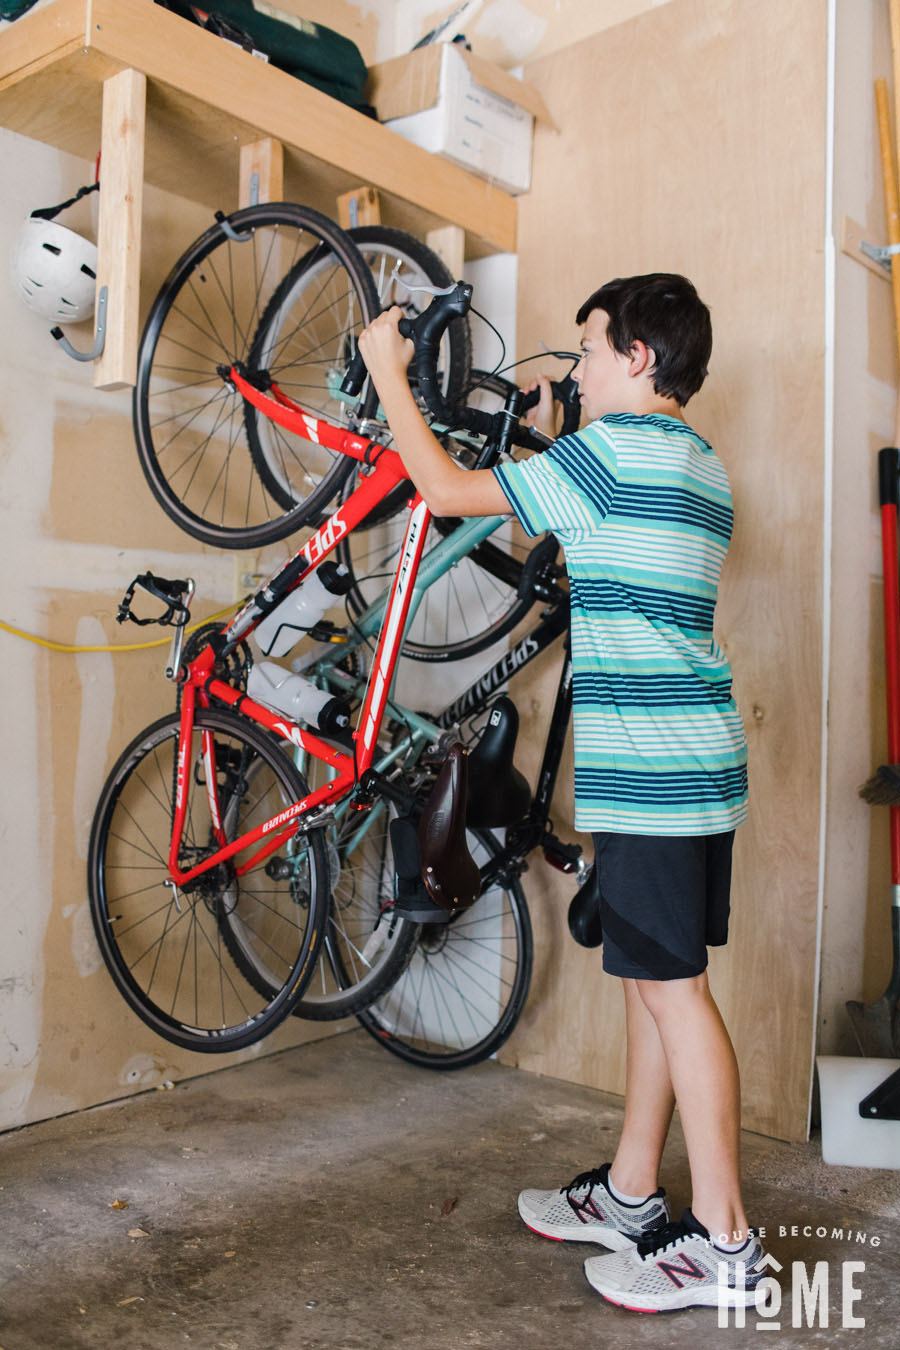
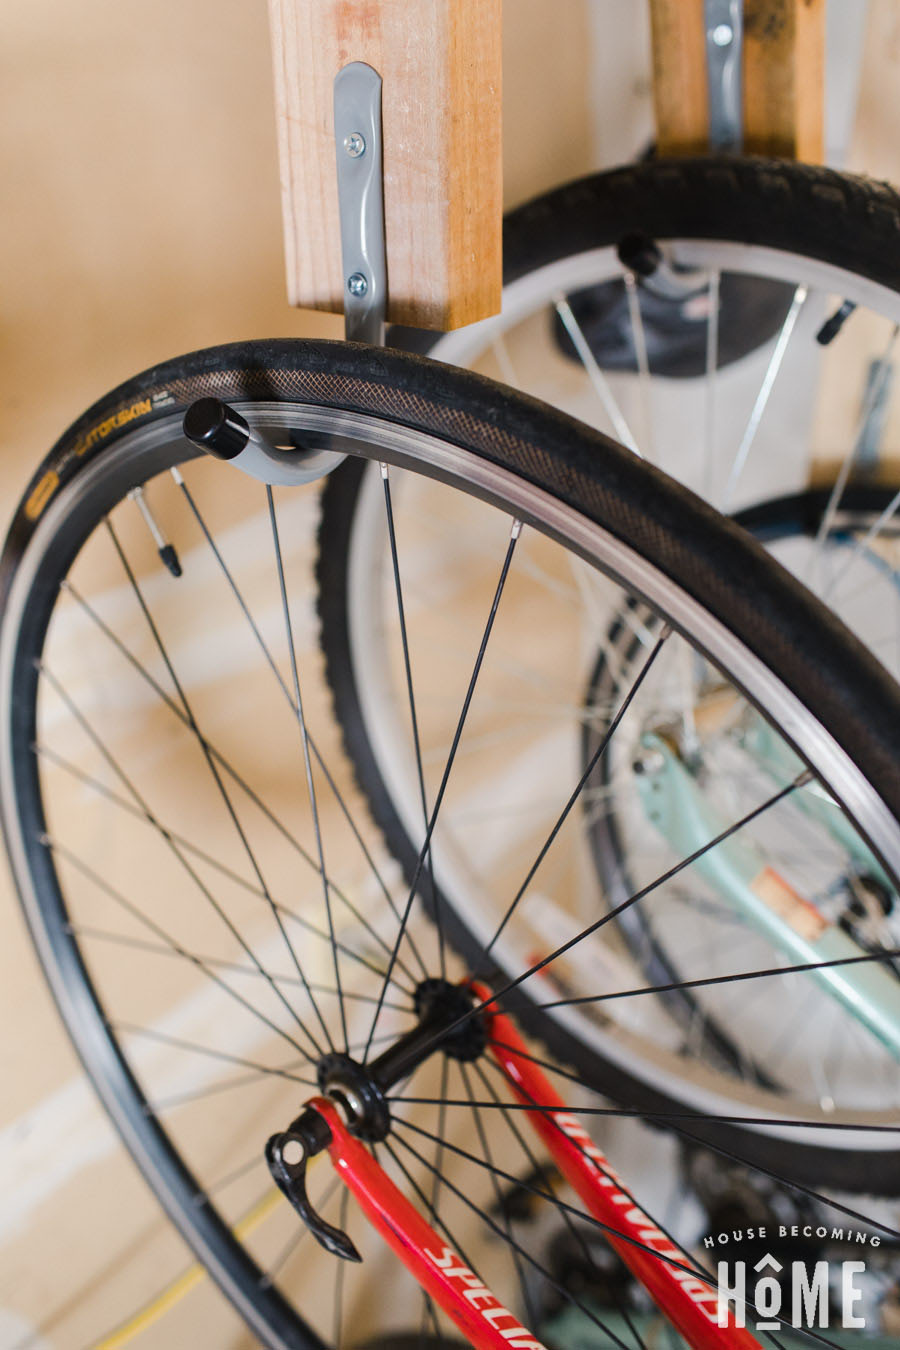
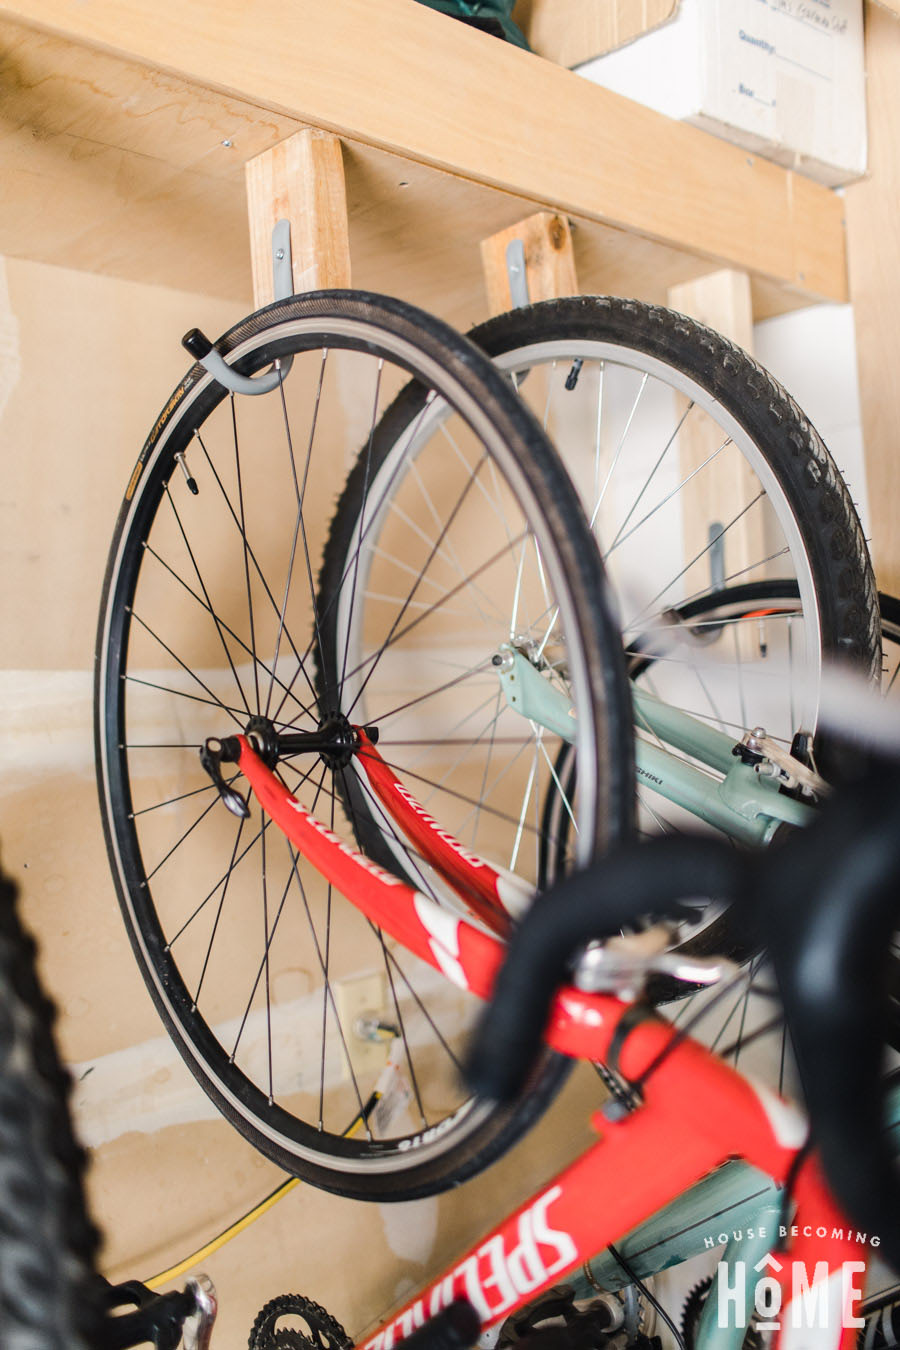
* A few TIPS : Making the DIY Bike Rack *
- We have two road bikes, and two “normal” bikes. Because road bikes have narrower handlebars, I alternated them: road bike – normal bike – road bike -normal bike.
- I put my son’s road bike next to the wall. Again, because it has narrower handlebars, it meant I could start the bike hanging hooks a few inches closer to the wall then if I would have started with a “normal” bike.
- Put your kids’ bikes in the “easier” spots (lower hooks, on the edges). While all of the spots are fairly easy to get bikes into and out of, the spots on the edges are especially easy. And because they are low, they barely even have to lift their bike off the ground to get it on the hook. I figured this bike rack will be most successful if my kids enjoy using it.
- My bike hooks are about 12″ apart. If you’ve got more than 48″ of space, by all means, ADD a few more inches of space in between each bike.
- As I mentioned earlier – while three of the 2×4 bike hooks are doing just fine, one of them was starting to look like it was pulling away from the floating shelf. I reinforced it with an L bracket, but another idea would be to add more plywood to the areas where you’ll be adding the 2×4 “bike hooks,” so they have more to screw into.
