The Ikea Odensvik sink/counter is a win-win for modern bathroom renovations on a budget. At less than $150 for a sink that doubles as a modern white countertop, it saved us some serious cash over paying for a sink + granite or quartz countertops. And the $avings isn’t even the best perk. The designers were GENIUS when they planned out the plumbing. Unlike a typical sink whose long drain ruins the chance of having any sort of useable storage space, the odensvik sink has a drain pipe that barely extends below the actual sink. You can ACTUALLY have a bathroom vanity with useable drawers using the Ikea Odensvik sink. (!)
I’m not in any way affiliated with Ikea and they are not paying me to say any of this…I’m just a fan. 🙂
However. I’m NOT a fan of their bathroom vanity cabinets that go with the Odensvik sink. Particle board furniture + my children do not get along (A.K.A. broken in less than a year). And with such a small bathroom, I really wanted something that could hold a bit more of our kids “stuff.”
Build Your Own Bathroom Vanity Cabinet that fits the Ikea Odensvik Sink
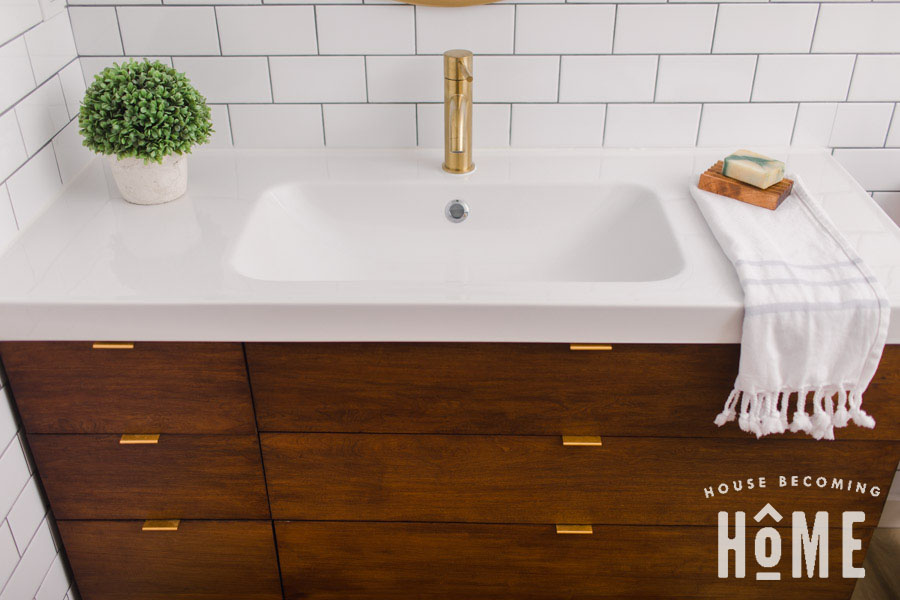
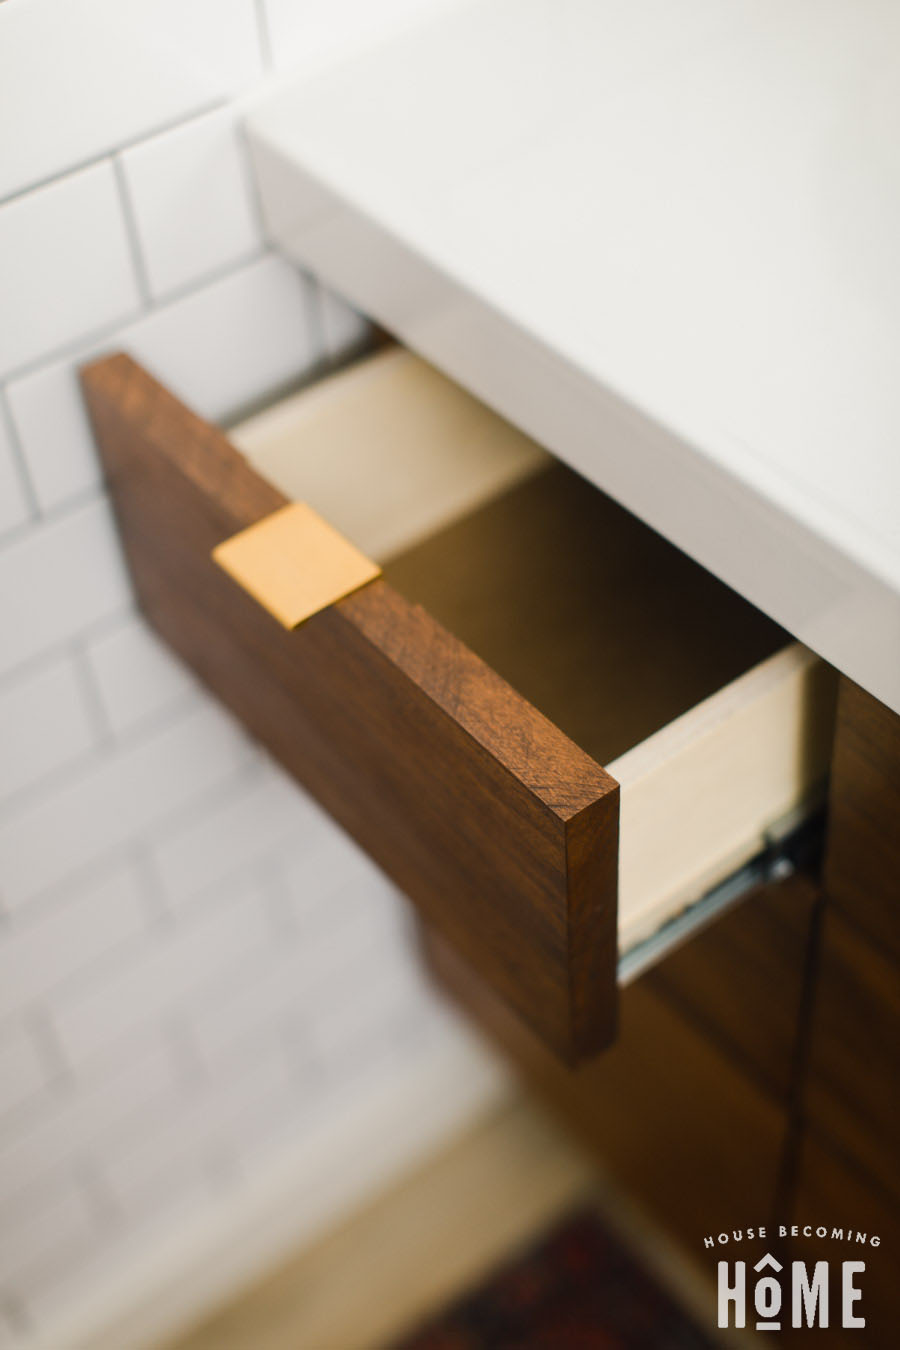
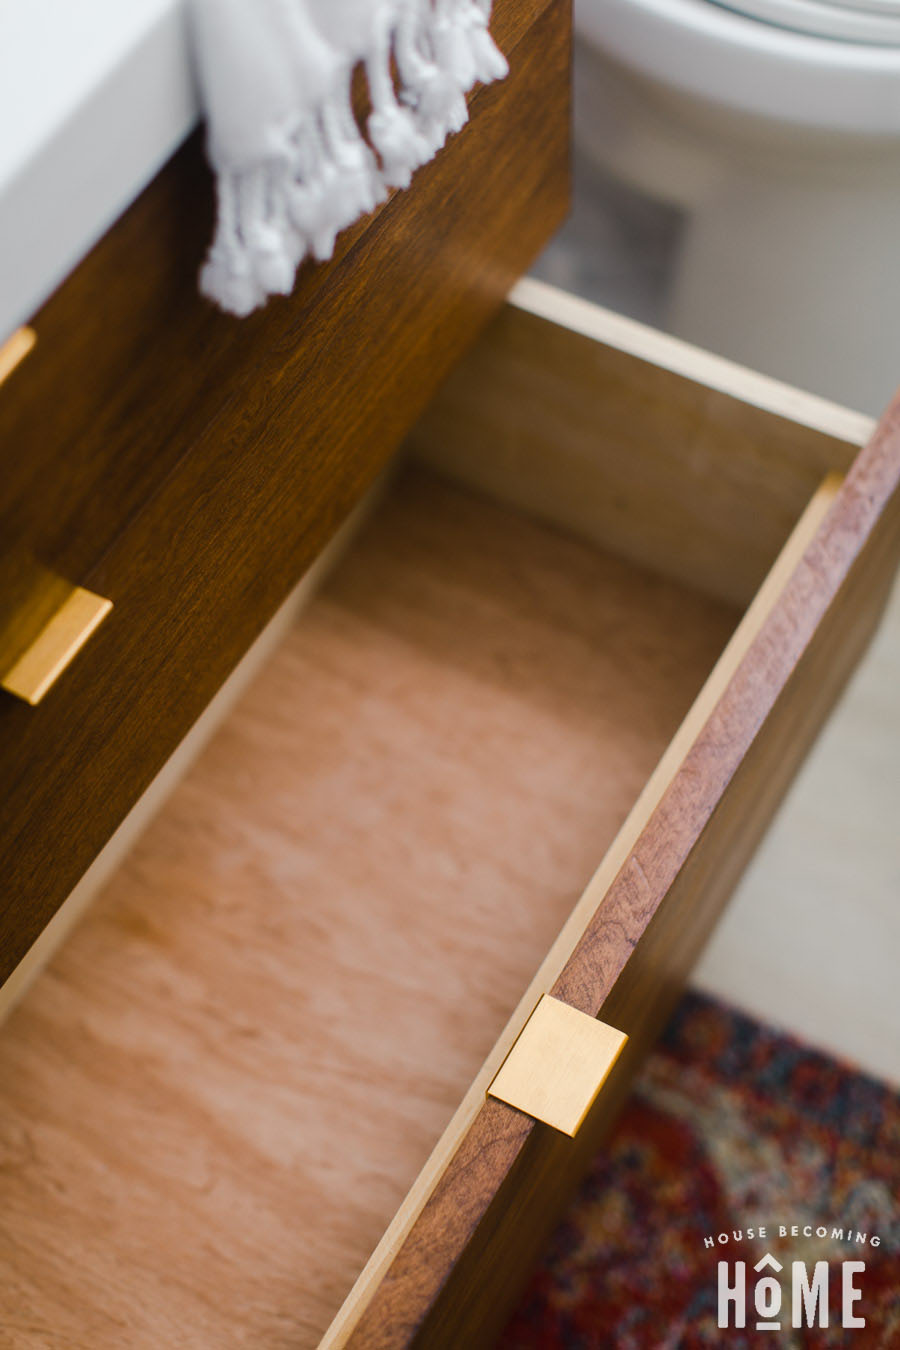
I decided to build my own vanity cabinet for our kid’s bathroom renovation. I designed the floating vanity to be a perfect fit with the affordable and modern Ikea Odensvik sink, and it packs some serious storage with six USEABLE drawers. ?
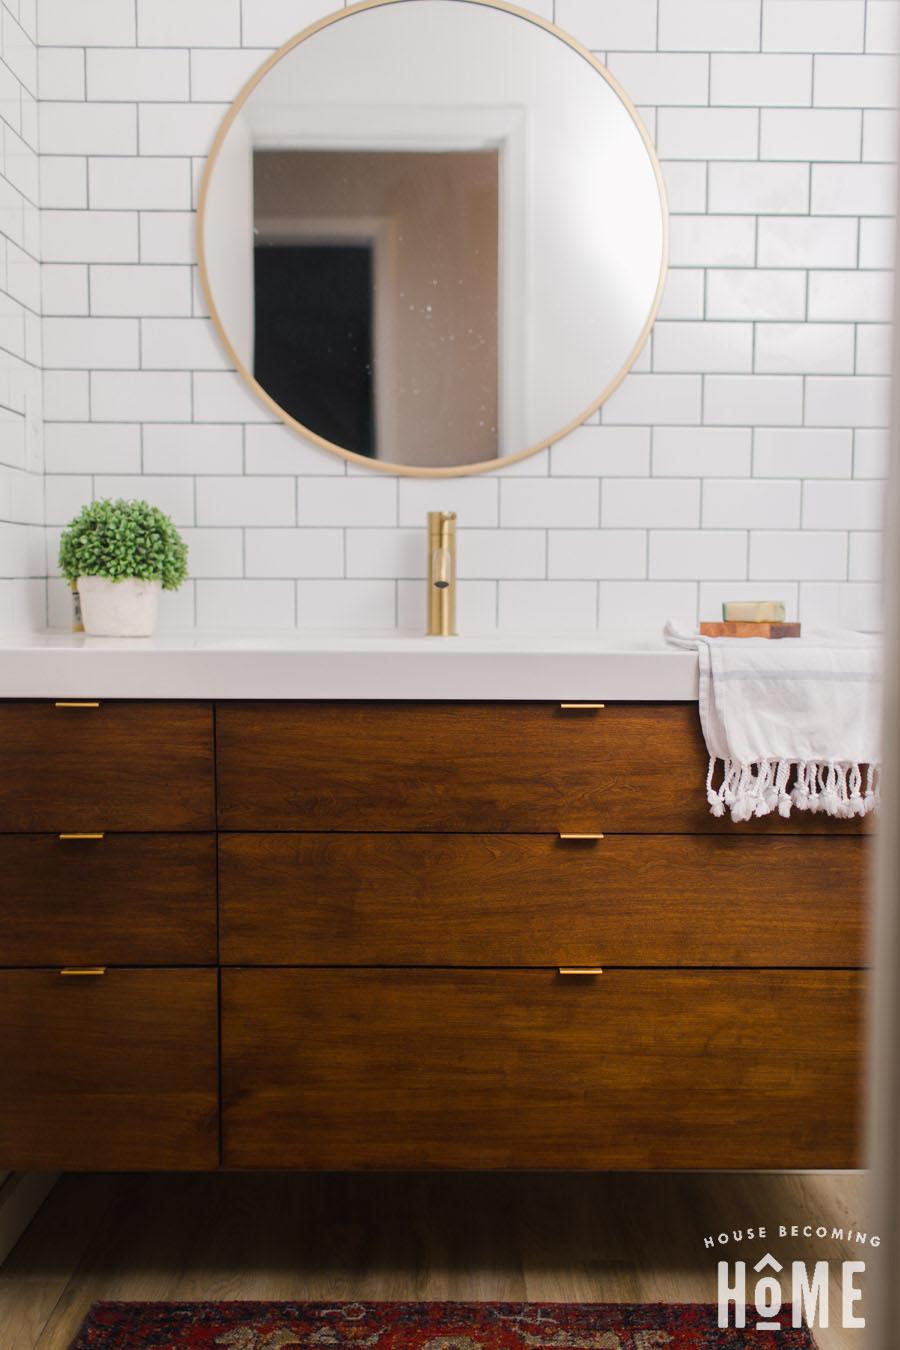
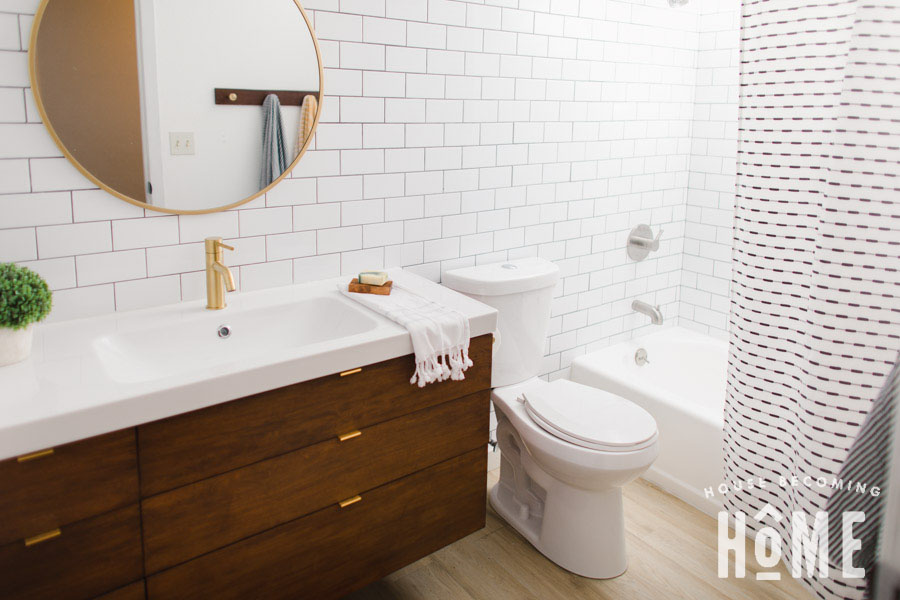
How to Build A Bathroom Vanity for the Ikea Odensvik Sink
This was my very first “furniture” build from hardwood. Up until this vanity cabinet, I’d made everything out of cheap plywood, pine or poplar (I guess poplar is a hardwood too, but . . . poplar). But I found a few nice pieces of cherry at a local consignment shop and decided I MIGHT be ready to try it out without totally screwing it up.
House Becoming Home is a participant in the Amazon Services LLC Associates Program, an affiliate advertising program designed to provide a means for sites to earn advertising fees by advertising and linking to Amazon.com. Some links in this post may be affiliate links. Read my full disclosure policy here.
Materials
- Wood
- 3 Pairs 16″ Drawer Slides (best to buy these in value packs of five or ten and save the extras for another project)
- 3 Pairs 10″ Drawer Slides
- Drawer Pulls
- 1-1/4″ Screws
- Wood Glue
- Stain (optional) I used General Finishes Gel Stain Candlelite followed by General Finishes Gel Stain Brown Mahogany
Tools
- Table Saw or Circular Saw
- Miter Saw
- Pocket Hole Jig
- Drill or Impact Driver
- Woodworking Clamps (at least a few 36″ pipe clamps or parallel clamps to glue up panels)
- Jointer or Jointer Jig for your table saw (I actually glued up my cherry into panels without using a jointer, but squared the edges with my table saw)
- Sander + Sandpaper
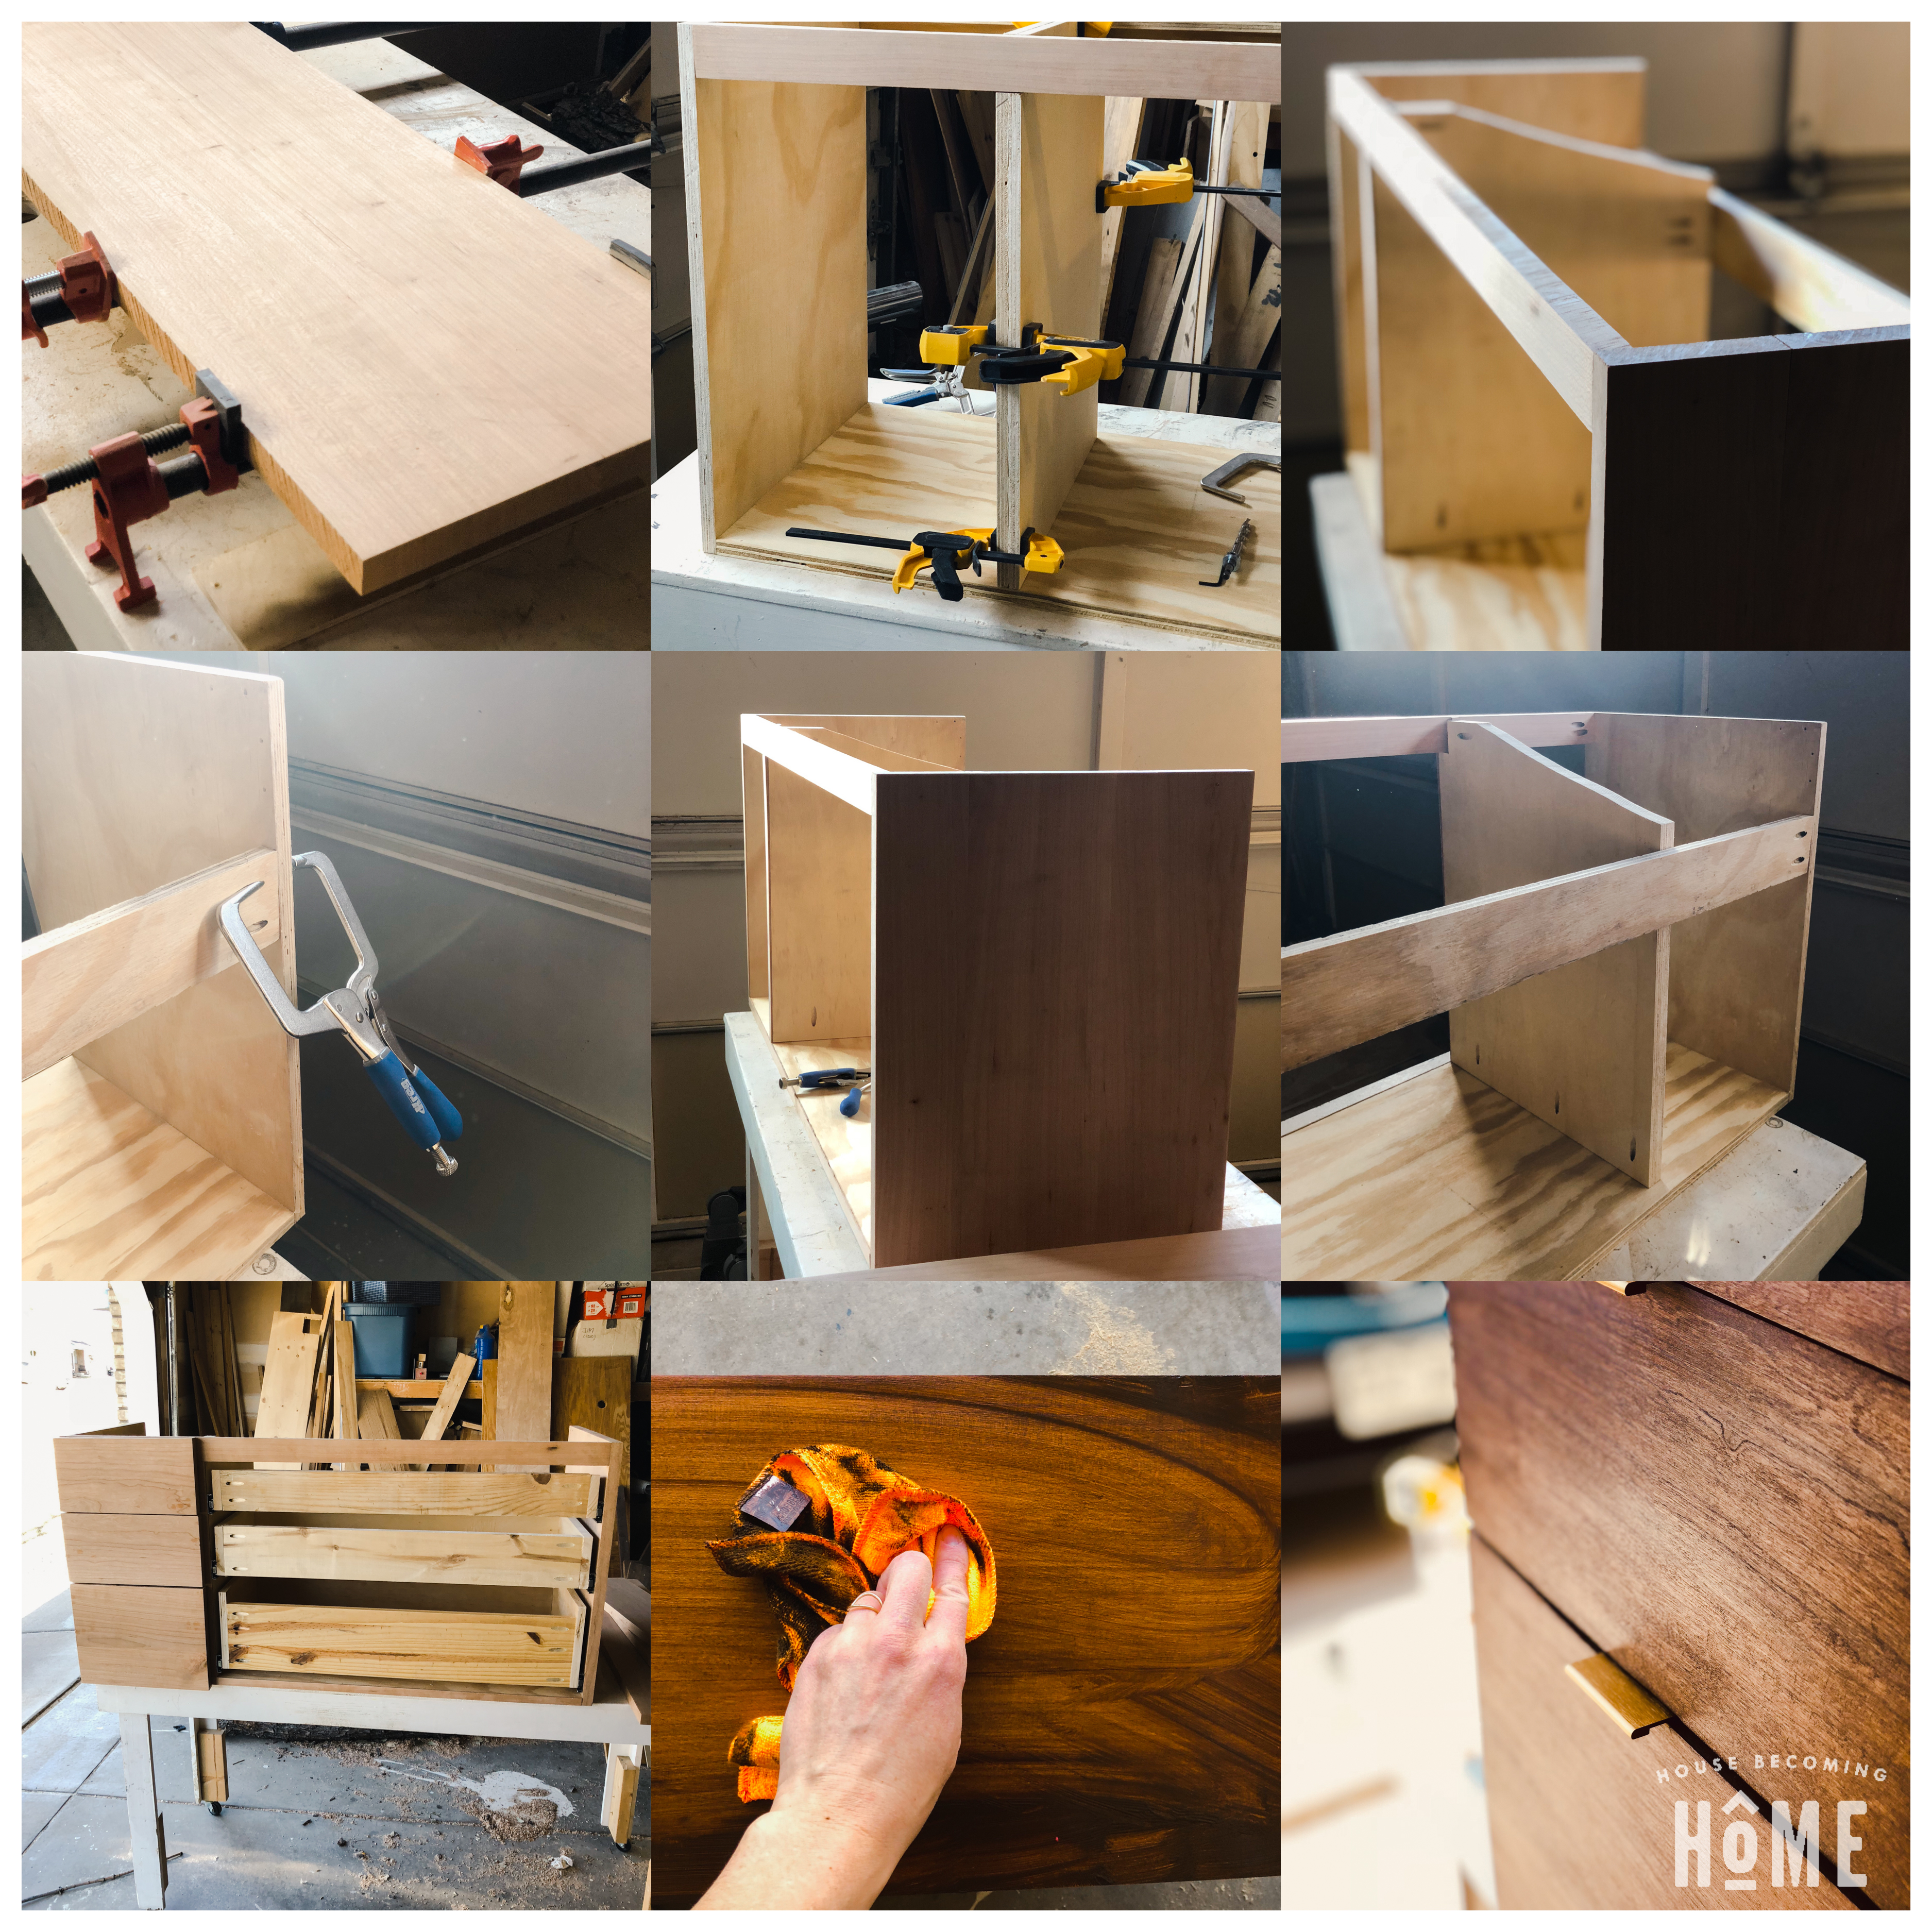
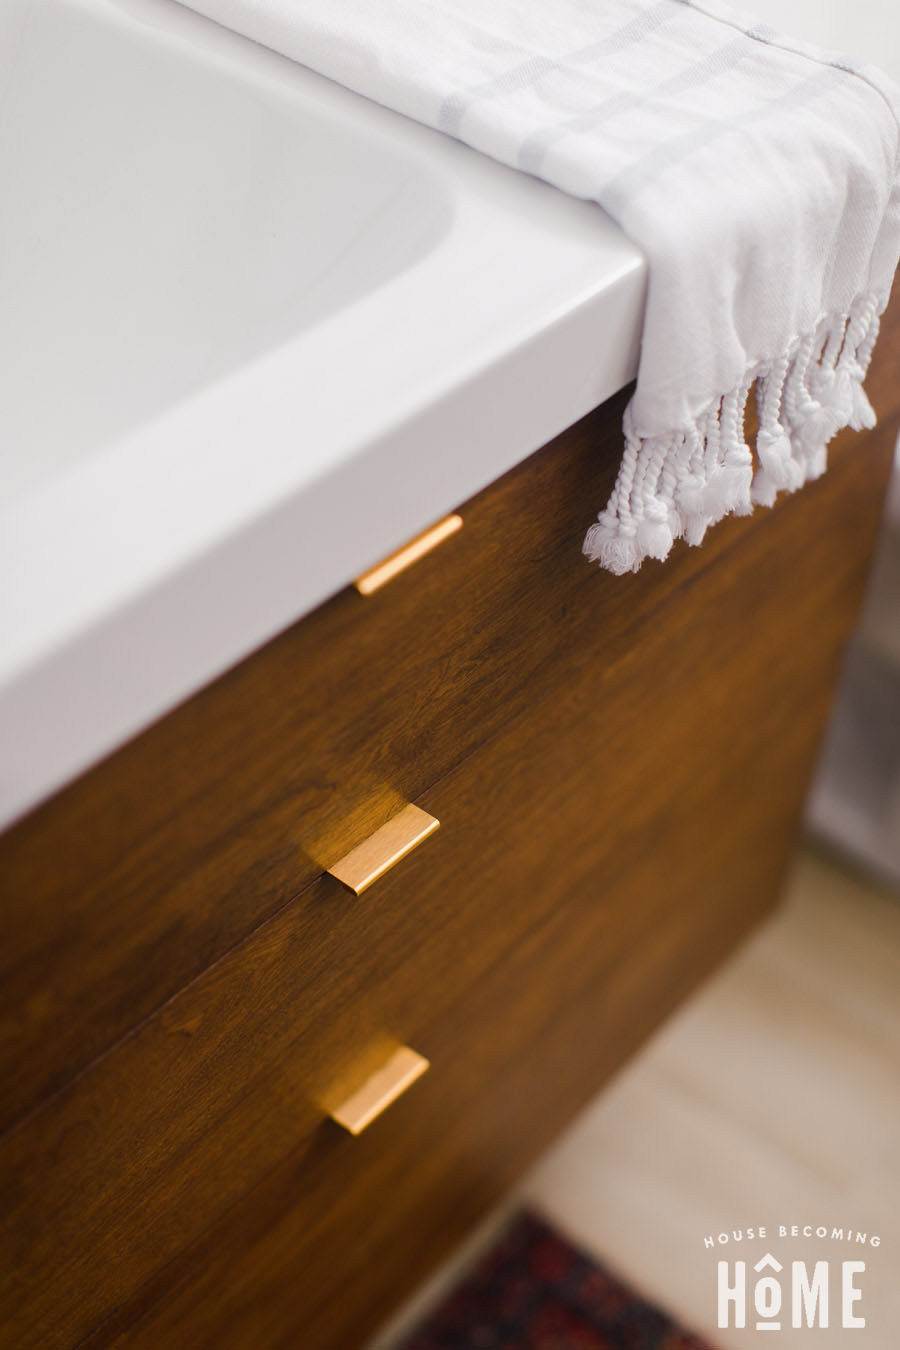
The photos above show the process of building the vanity (gluing up cherry boards to form panels for the sides and tall drawer faces, building the shell of the vanity cabinet, then the drawers, adding stain and a protective finish, and DONE!).
Bathroom Vanity Plans
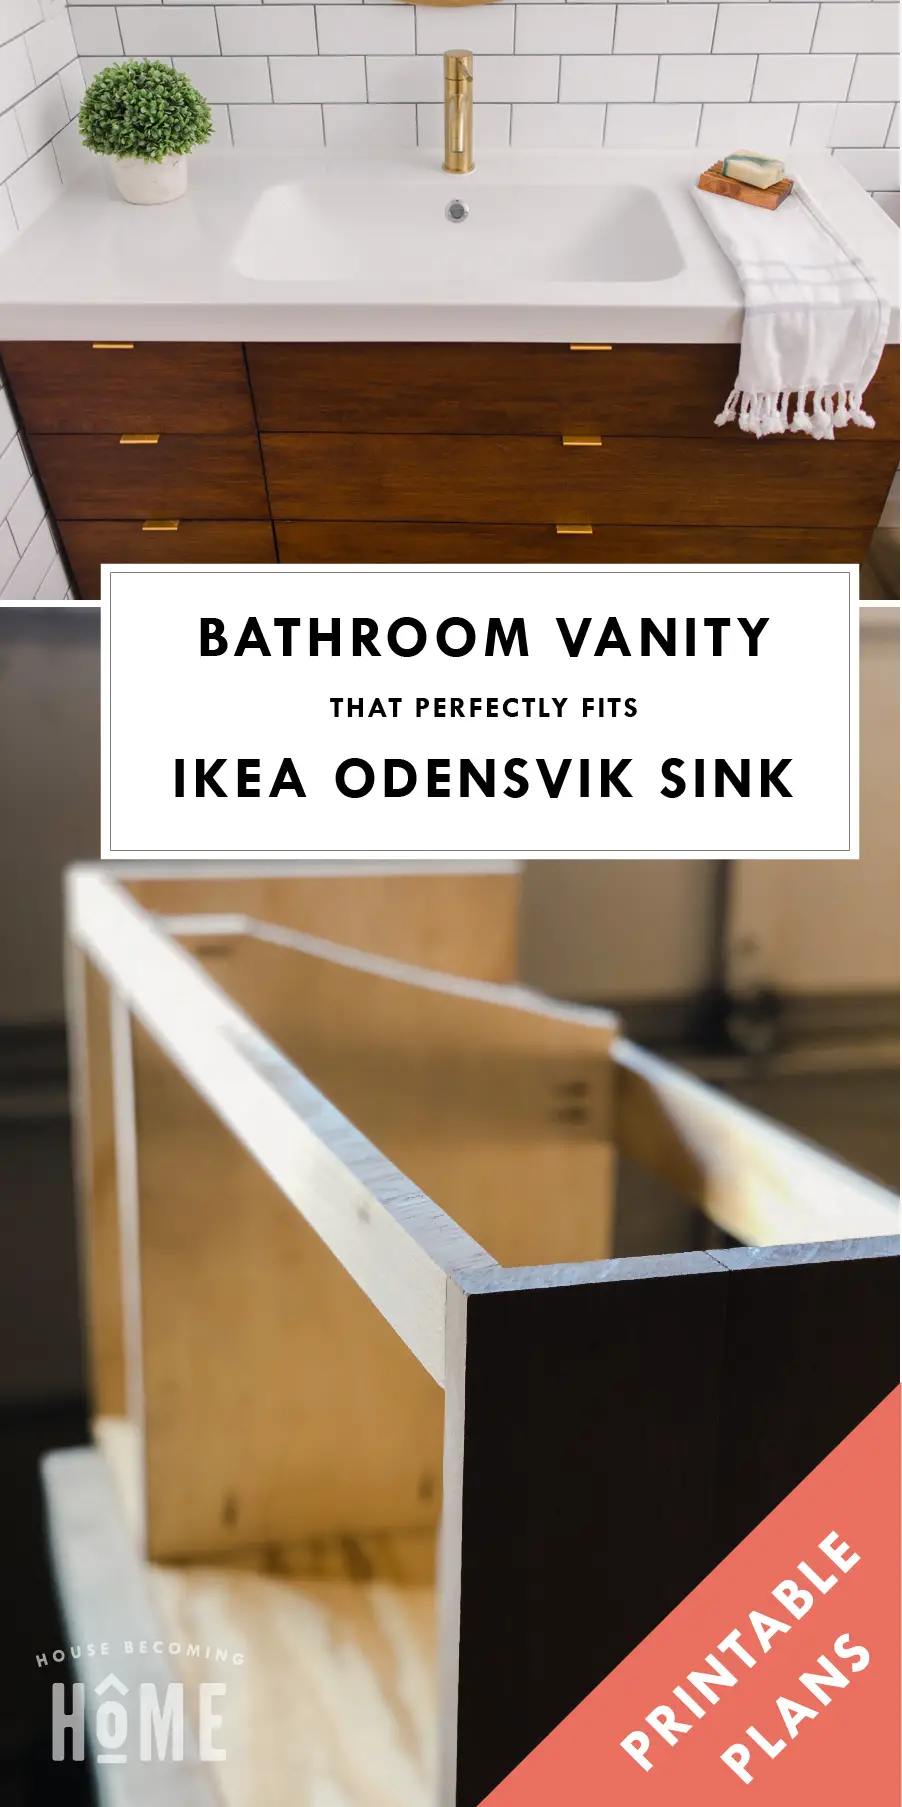
I’ve got a cut list, diagrams with dimensions, and the step-by-step instructions so you can build your own floating bathroom vanity. It fits the Ikea Odensvik sink perfectly, so you end up with six functional drawers and plenty of storage space.
Get the Printable Plans Here

HI. Love this vanity? I need it to be 48 Inches or close to it. ( I will be adding my own top). Can I add another set of small drawers on the other side? How long would it be then? Would that be hard to do? Thanks for any advice.
Hi Angel. Yes, you can add more drawers to one of the sides, as long as you’re not planning on using the IKEA sink/counter. You’ll have to increase the width of the vanity box though, so you’d have to recalculate and adjust some of those dimensions…
What color of stain did you use?
Hi Celest! I used two different General Finishes Gel stains. I just added links to the specific colors in the “materials” list in the post. Let me know if you have any other questions!
The sink countertop overlaps a smidge on the IKEA vanity. I notice that your vanity butts up against a wall on the left side which is what ours will do as well. Wondering if you have a gap between the wall and the actual vanity due to the overlap or did you cut the sink top down some to abut the entire vanity to the wall and avoid a gap?
Hi Jean, yes! There is a slight gap between the actual vanity and the wall on the left. If it were completed butted up against the wall, the drawers would scrape against the tile when opened, so there is about a 1/2″ (maybe 3/4″) gap between the vanity and the wall. And you’re right, the countertop does overlap, so the actual countertop is completely against the wall.
I can’t remember specific numbers, but the price will vary greatly depending on what type of wood you use. I used cherry lumber that I picked up at a local consignment shop. I’m guessing it was about $150 for the vanity + the cost of the ikea sink.
How much did this project cost?