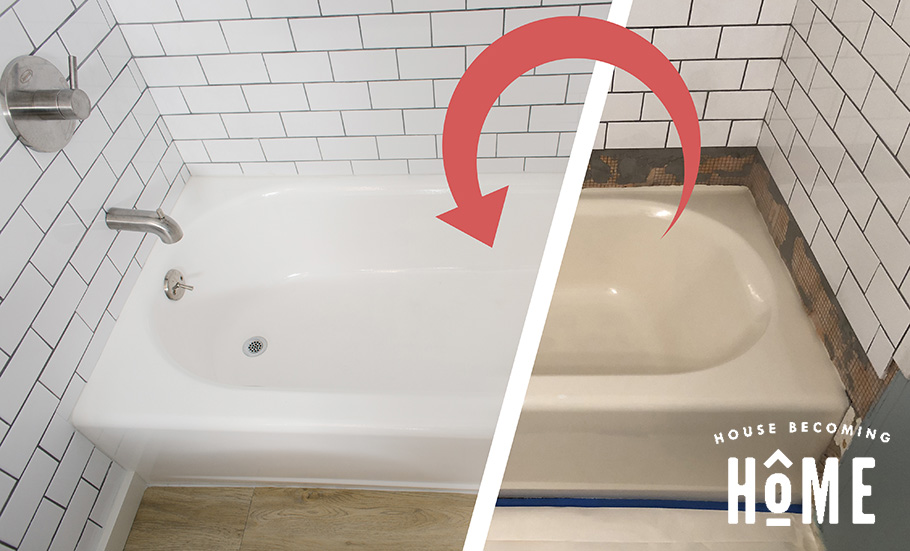
Why did you paint your bathtub?
Almost exactly one year ago, as Jim and I tackled the kids’ bathroom renovation, I decided to paint the bathtub. I had considered replacing it with a new one, but ultimately chose to give Rustoleum Tub & Tile a try, for a couple of reasons:
- Painting instead of replacing keeps it out of the landfill.
- The replacement tubs I looked at weren’t that great. They felt/looked cheap and flimsy, whereas this tub is enameled cast iron. It’s actually a decent quality tub, I just didn’t like the beige color.
- Painting a tub seemed to be an easy and affordable DIY project (and it was!), so why not give it a try . . . ?
* This post contains affiliate links for your convenience. Read my full disclosure policy here. *
Painted Bathtub : How is it Holding Up?
I get a lot of questions about how my painted bathtub is holding up, and if you’re wondering the same thing, this post is for you.
First, I should mention that this is the bathtub in our kids’ bathroom. It is used regularly by four kids, ranging in ages from 4 to 14. The younger two take baths in it, the older two use it for showers. In other words, it gets plenty of use!
Painted Bathtub : One Year Later Signs of Wear
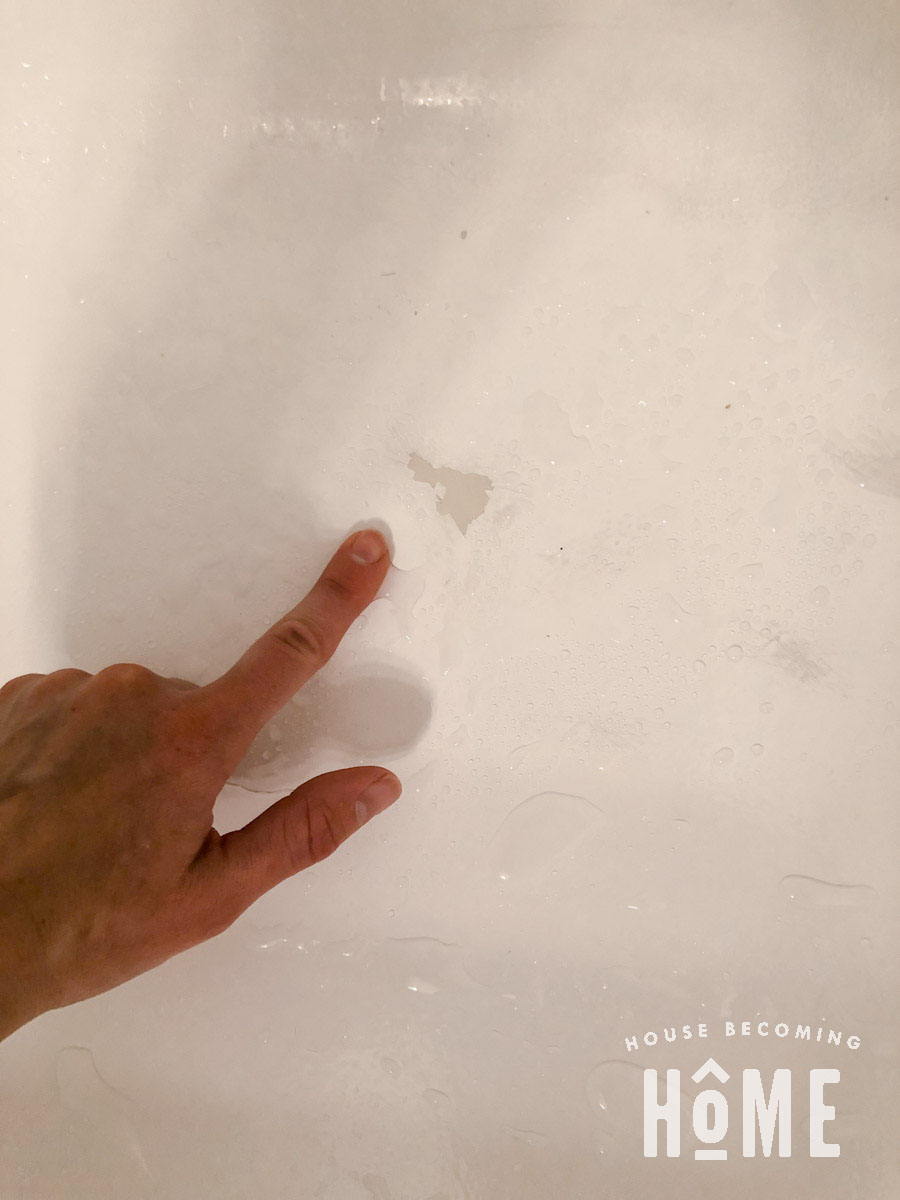
For the first little while, I didn’t see any signs of wear. But around nine months after painting the tub, I noticed two small spots where it seemed like the finish had worn off.
The first was on the “floor” of the tub:
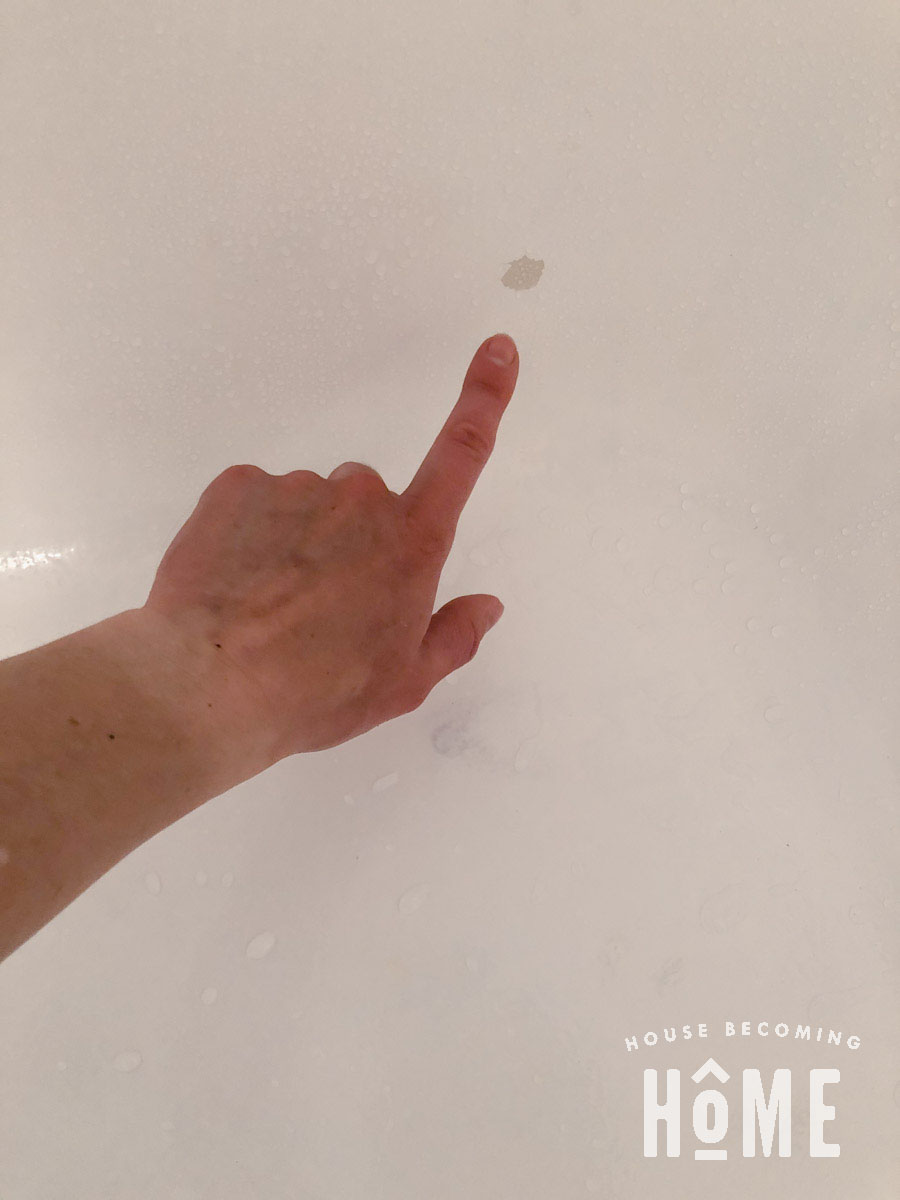
The other was a dime-sized spot near the bathtub’s curve:
Fixing Problem Areas of a Painted Bathtub
We lived with it for about three months, and then I decided to repaint.
Clean It!
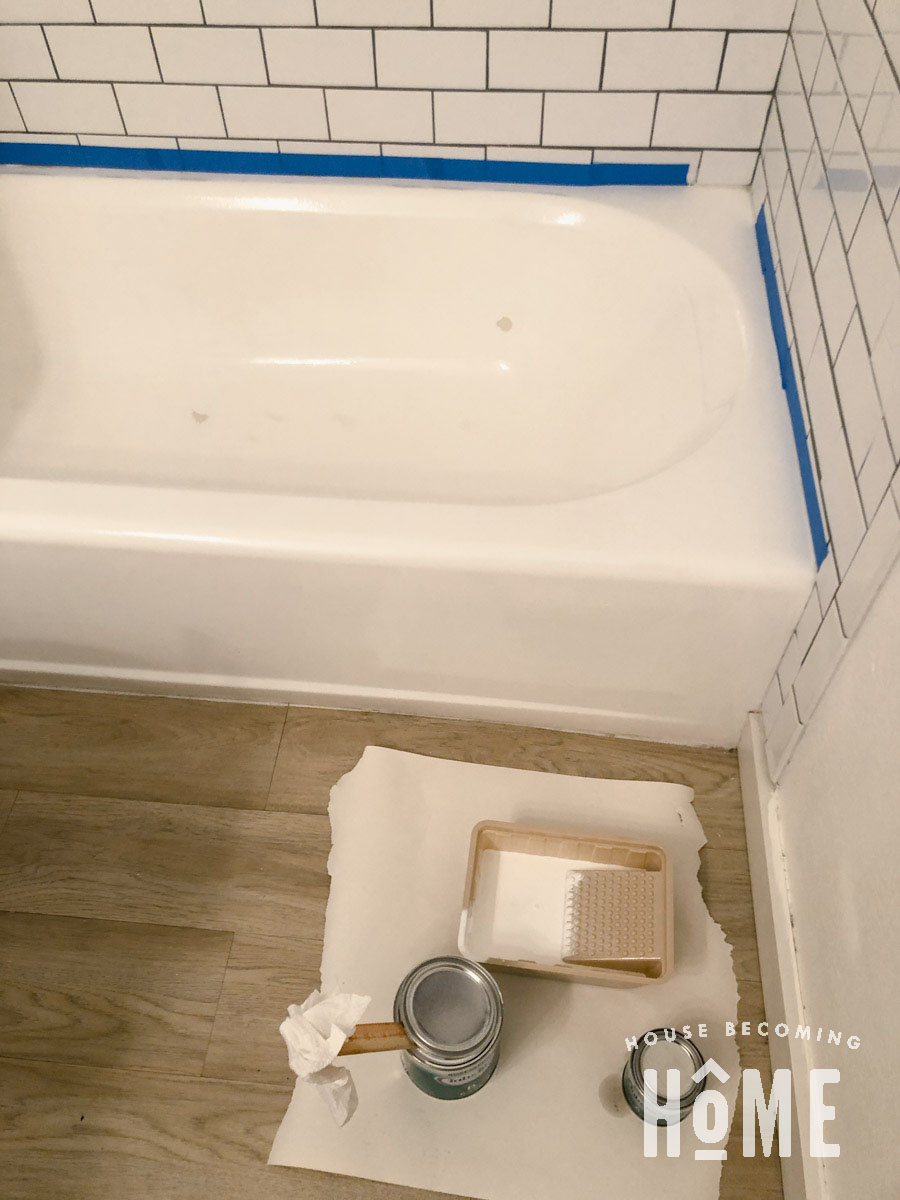
Similar to when I originally painted the bathtub, I cleaned and cleaned and cleaned the tub to prepare it for paint. I started removing all of the caulk, but ended up leaving most of it, as I wasn’t planning on painting all the way to the edges anyway. Next, I gave the tub a light sanding with 120 grit sandpaper. I made sure to sand down the edges of the two worn spots (which is why they actually grew in size a bit). I ran my finger across them to make sure the transition was smooth. Then I rinsed the tub and wiped it down one more time.
Mix It!
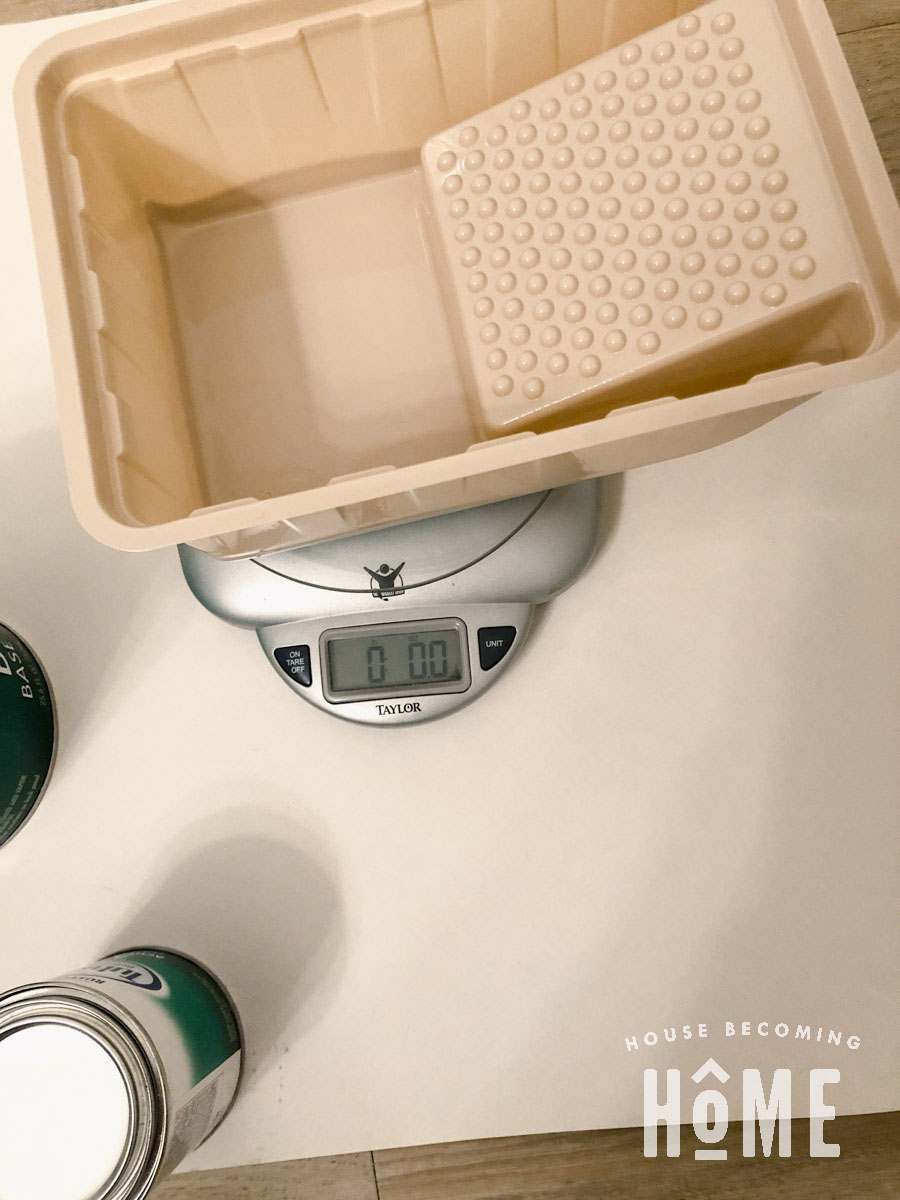
The original plan was to only repaint the few areas that needed it. I knew I wouldn’t need all of the paint, so I *tried* to only mix half of it. I placed my paint tray on a small kitchen scale so that I could accurately maintain the 4:1 base to activator ratio. I measured out the activator, then RIGHT as I began adding the base, my scale shut off. Ugh! I tried my best to add what I thought was the right amount of base, but it seemed too runny. So I decided to just mix ALL of the activator and ALL of the base, as that would for sure be the correct ratio.
Paint It!
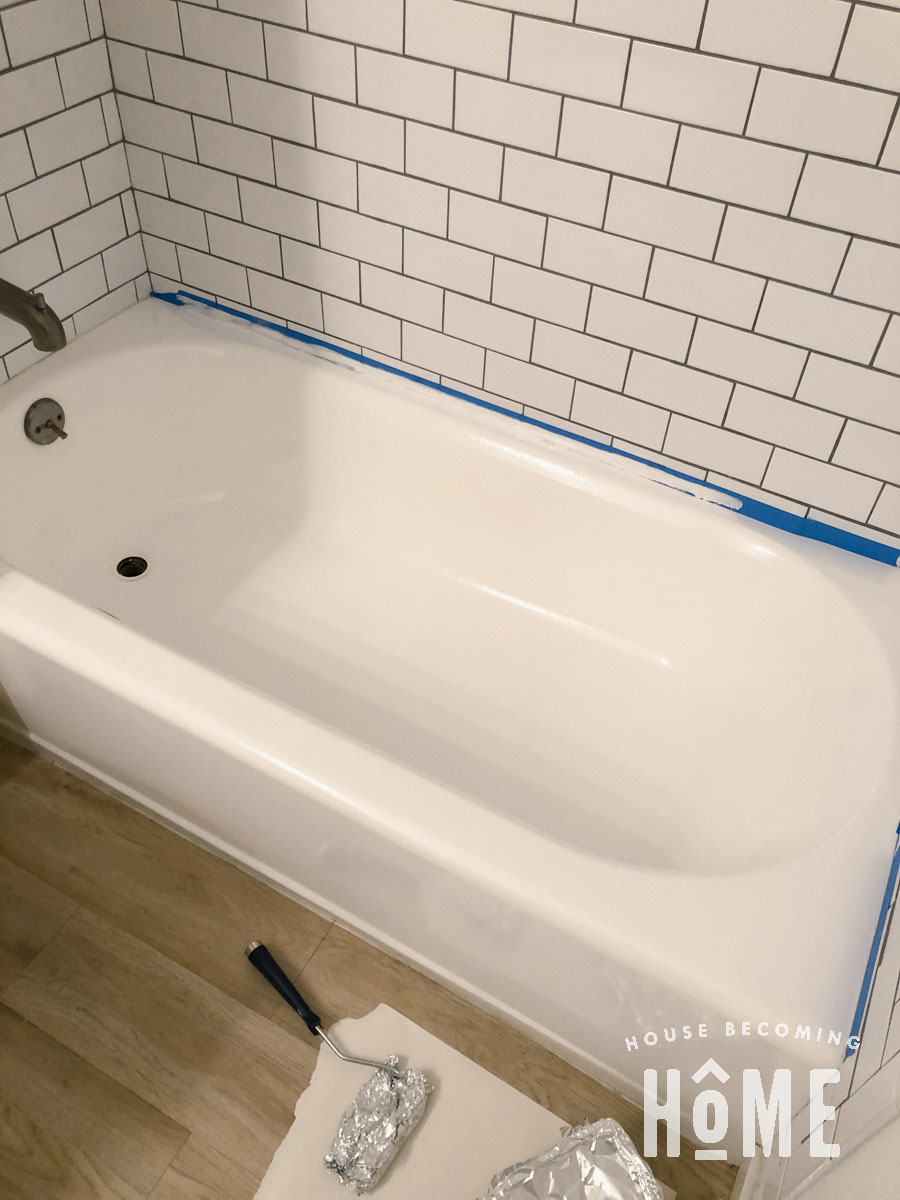
I repainted as much of the tub as I could, since I had the full tub and tile kit mixed up. I ended up having to apply three coats to the worn area on the floor of the tub and four coats to the worn spot on the curve. (I waited an hour between coats, and kept the roller wrapped in aluminum foil as I waited). The image below shows the tub after the final coat.
One Year Later Thoughts : Would You Paint Your Bathtub Again?
Yes. But also no. It depends. 🙂
I was really hoping the finish would last a bit longer than it did. Nine months before seeing wear was not as great as I was hoping for.
If I am recommending this to someone else, these are the questions I would ask them:
1. Who is going to be using the tub, and how much use is it going to see?
Is it a light-use tub? You’re probably good to go.
Is it frequent used by rowdy kids and their crazy bath toys? Maybe not. I think the fact that it was used multiple times a day by kids (who are not known for being gentle) didn’t help its relatively short lifespan.
2. Do you have time/willpower (possibly once every year) to make touch ups?
If you’ve got the time and willpower to make touch ups (what seems like will probably be) once a year, go for it. Honestly though, I’m not excited at the thought of doing this again next May. Painting is one of my least favorite home improvement tasks.
3. Are you looking for a permanent fix, or something affordable to bridge the gap until you can spend more money?
Perhaps you have your eye on an amazing freestanding bathtub. Perhaps that tub is $2600, and you need a year or two to save the funds to be able to afford it. In the meantime, you’d at least like your old tub to be white and not pink/blue/beige/avacado. Painting a tub is SUCH a great option if this is you.
If you’re looking for a permanent fix, this probably isn’t it, UNLESS:
it’s a tub that only sees light use, OR you’re ok with yearly touch-ups for a frequently used tub.
I’ll keep you updated on how it holds up for year two.

Thank you. This was helpful. I am in the same boat. 4 non gentle of all age kids. Thought about this, but wondered if it was worth it. Ultimately, hardware and pipes needed updated and decided to update all. This guided my decision, great job. Thank you.
How is the tub finish holding up 3+ years later?
I should do a blog post with more info, but it is doing GREAT!! I haven’t had to repaint since after the first time.
Thanks so much for the 1 year later update! Super helpful!
In fairness to yourself and Rustoleum I don’t think it was wear on the base and curve, more likely damage to the surface caused by your children’s toys breaking the surface and allowing water to get underneath and lift the enamel.
I acquired an art deco era toilet in the green of the day (not avocado!). unfortunately the tank was badly damaged so I will have to replace it. I don’t think I can wait to find a green tank so I am considering getting a white one and painting it green. can I use what you used and can I get the color matched?
/
Unfortunately I’m not sure about this! You may want to reach out to Rustoleum and see what they say!