This post is Sponsored by Rustoleum. All opinions are my own.
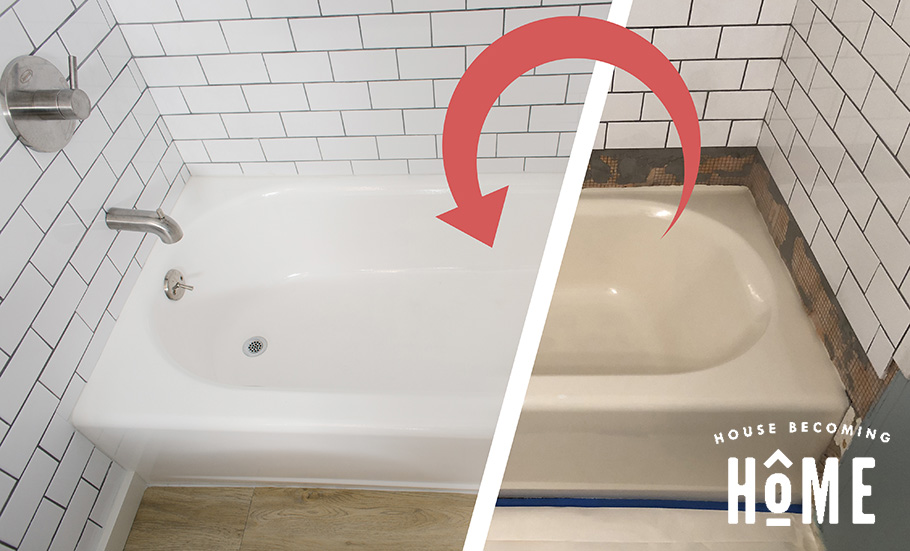
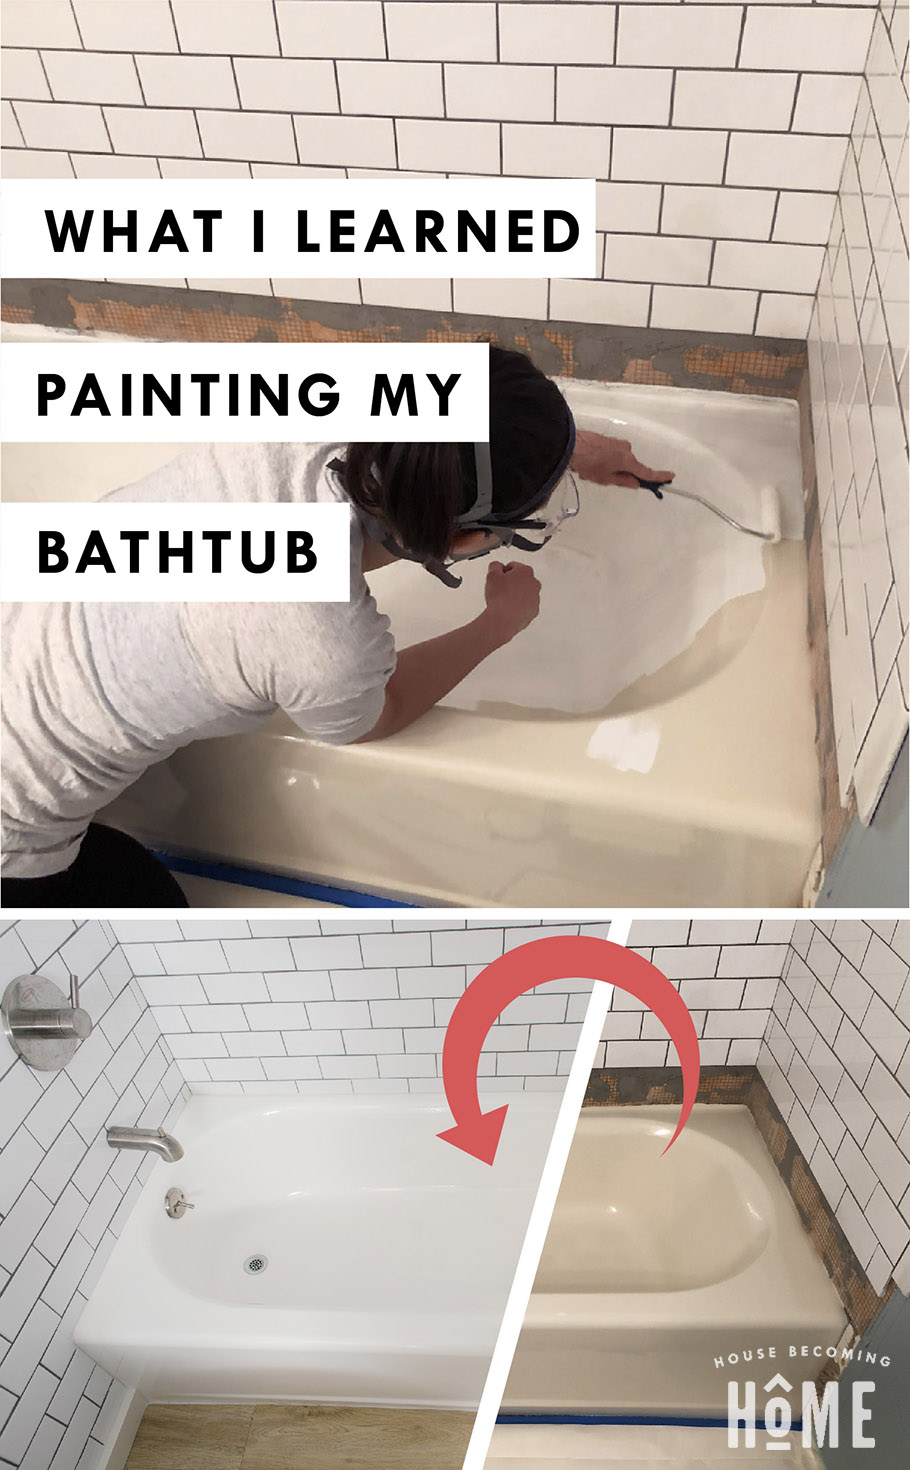
If you follow me on Instagram, you know we’ve been working on a DIY kids’ bathroom renovation. When I originally sketched out a design plan, the idea was that we would be replacing the outdated and chipped, beige-colored 1990’s bathtub with a new white tub. As we got further along in our renovation, I started to wonder if maybe we could keep the bathtub out of the landfill by refreshing it instead of replacing it . . . can you paint a bathtub??? Other than a few chips in the enamel, and a terrible beige color, there wasn’t anything actually wrong with the tub–and, in fact, is probably actually a better quality tub than what we’d be replacing it with.
I’d heard of the Rustoleum Tub and Tile Refinishing Kit (affiliate link) and started looking into it to see if it might work for us. We decided to give it a try. Here are some tips I picked up from our experience painting our bathtub. (Disclosure: Rustoleum sent me a Tub and Tile Refinishing kit to try, but all opinions expressed are my own).
How to Paint a Bathtub
How to Paint a Bathtub TIP # 1
Be thorough in your prep
As I do with everything DIY, I googled the heck out of it before I actually painted our bathtub. The general gist of what I read was this: do a good job prepping your bathtub for paint. Don’t rush through this step. The actual painting of the bathtub is pretty quick. Most of the time you’ll spend on this DIY project will be in the prep time. I’ll agree with that advice. Do a good job preparing your bathtub for paint (which basically means–get your bathtub clean clean CLEAN).
Here’s what I did to prep our bathtub for paint:
Repair chips
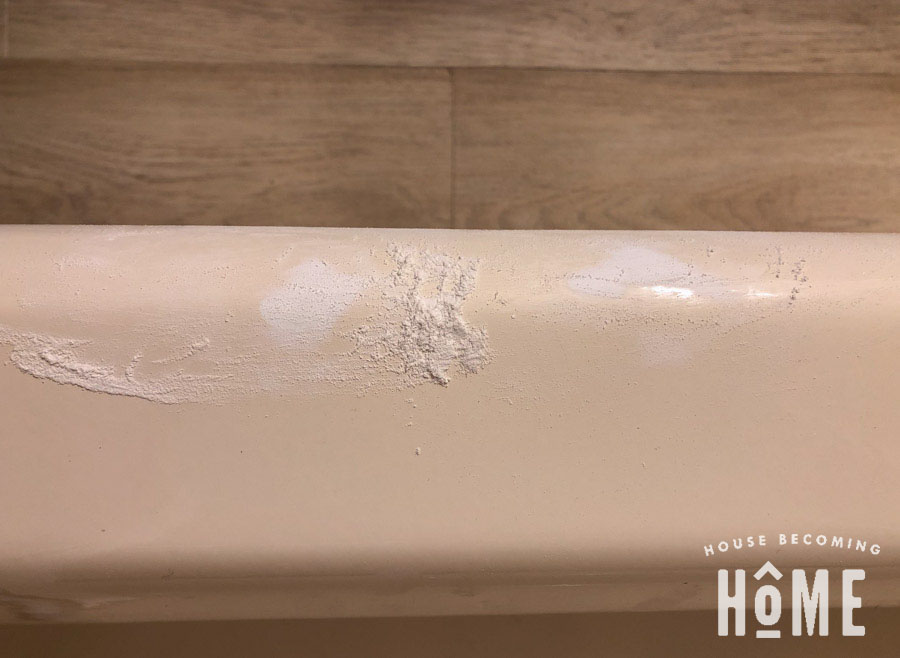
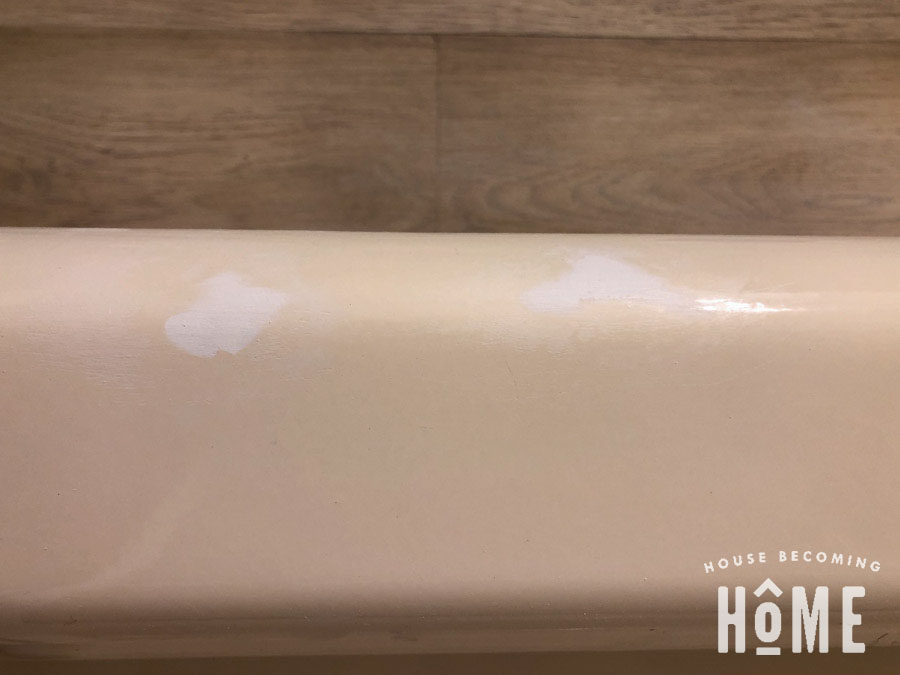
Our bathtub had a few chips, so I first filled them with J-B Weld WaterWeld Epoxy Putty (affiliate link):
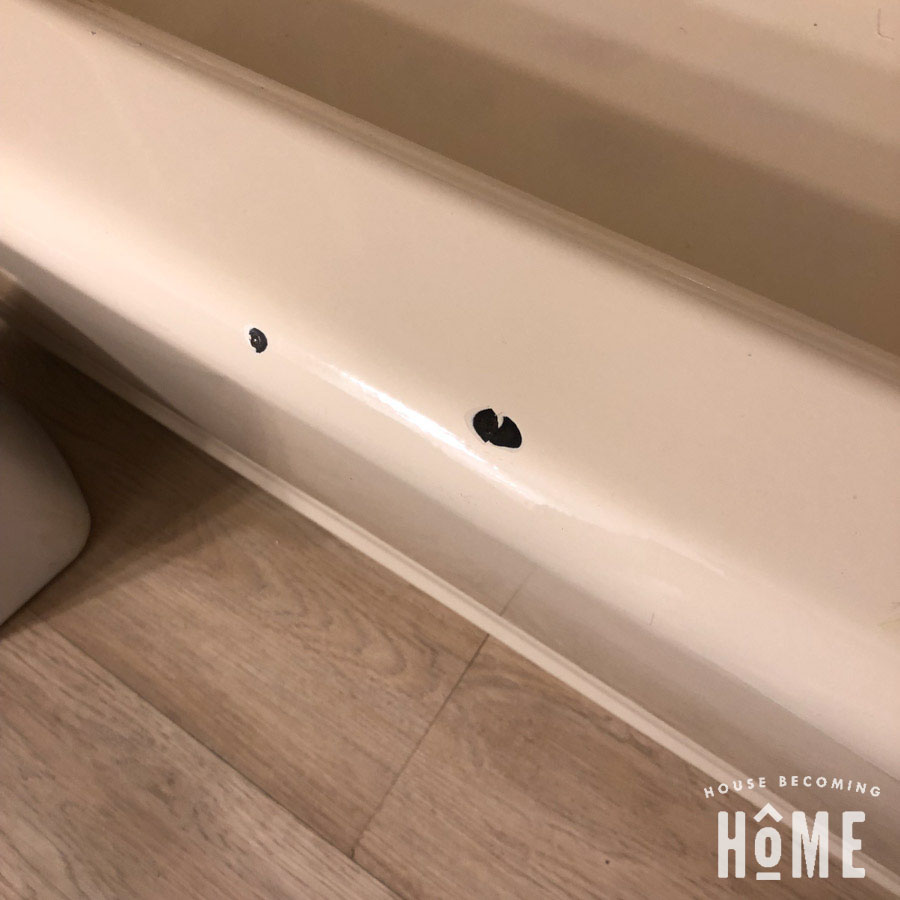
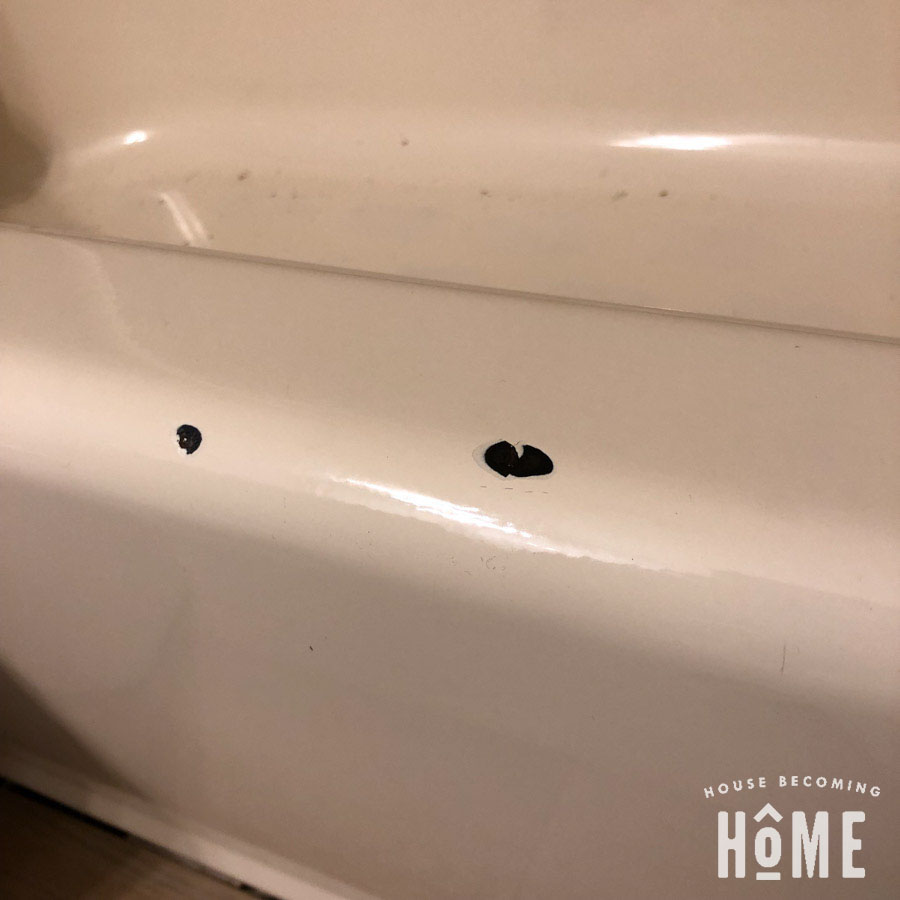
Spread the epoxy putty over the cracks:
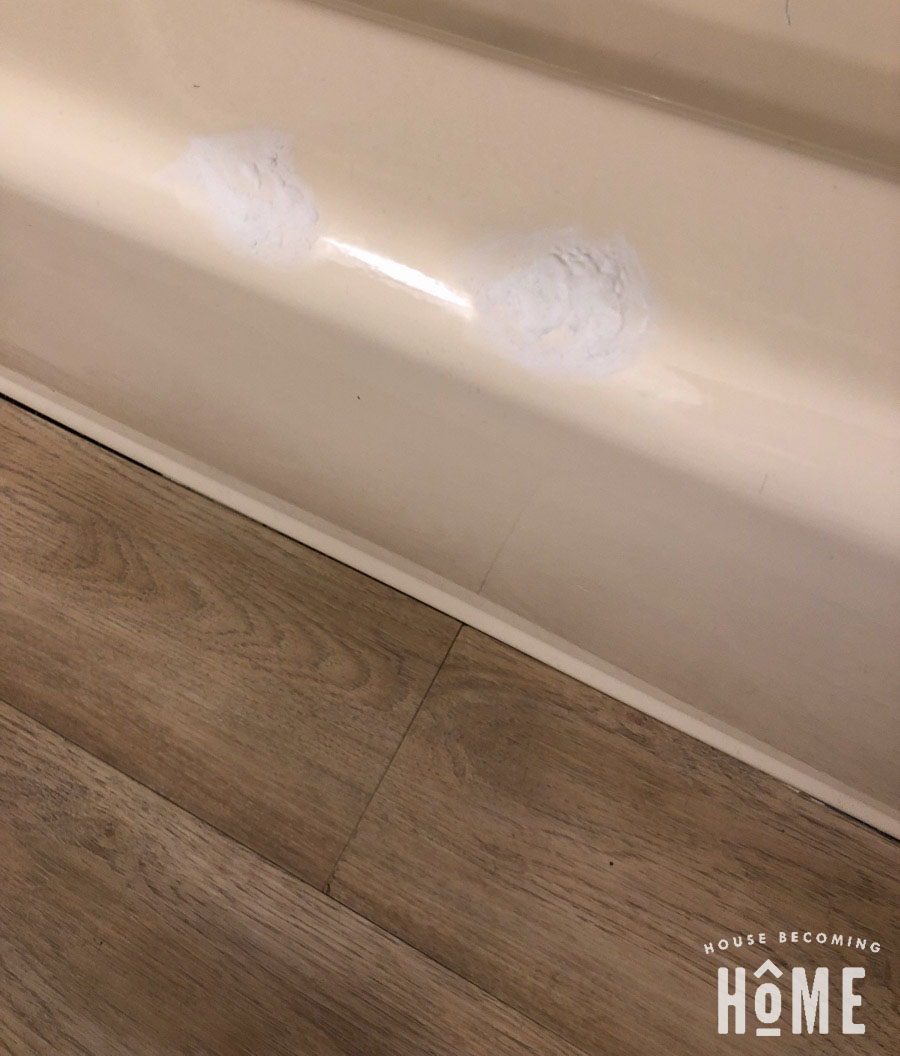
Let dry, then sand off the excess:
Clean Well
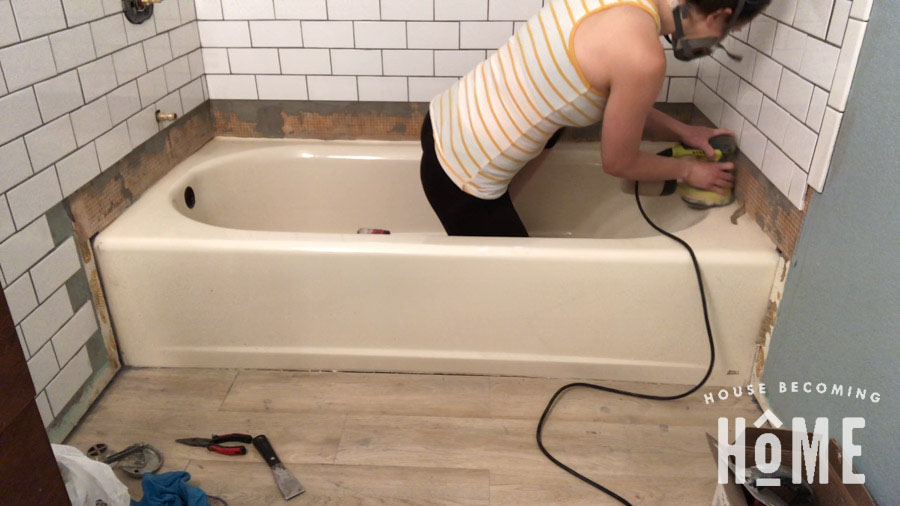
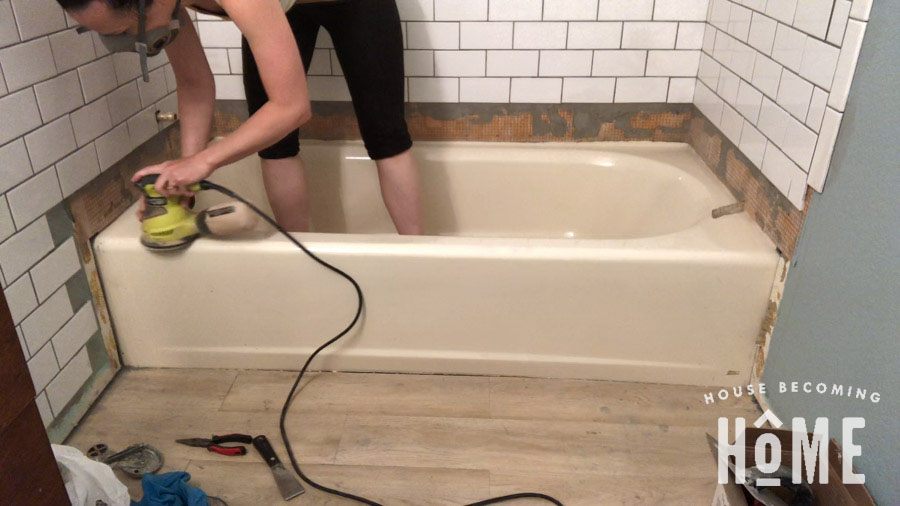
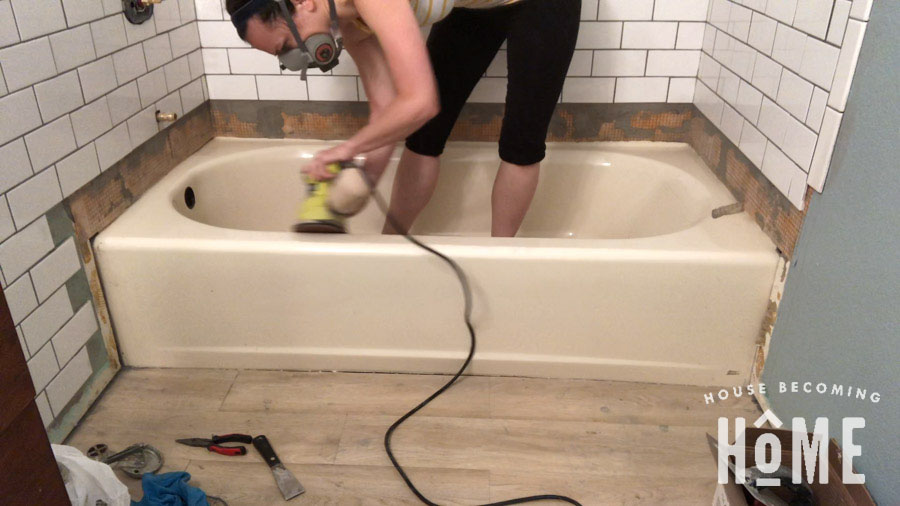
We did this in several steps. First, we did a standard bathtub cleaning, getting rid of any dirt, soap scum, etc. After that we peeled/scraped off any and all traces of caulk. Finally, I used a sander with 100 grit sandpaper and ran it across the entire bathtub. (In the directions, Rustoleum recommends sanding with 400 grit sandpaper, but I guess I’m a rebel and wanted to go with something a little more coarse.) After sanding, I wiped down the tub one last time, to make sure it was dust free.
How to Paint a Bathtub Tip #2:
Use A Good Quality Roller
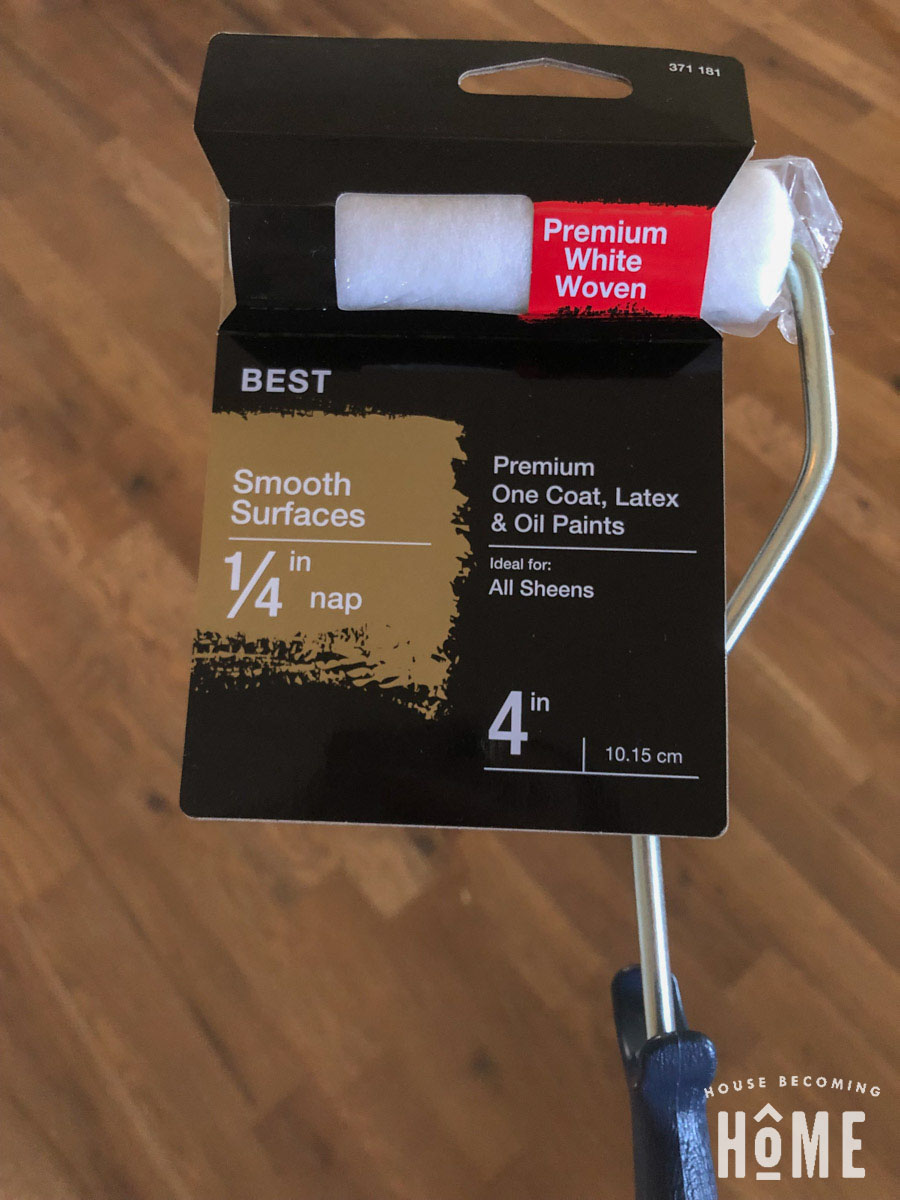
There seemed to be two opinions online regarding the best type of roller to use. Some suggested using a high quality foam roller, but others reported the foam rollers not holding up well to the chemicals in the paint. Rustoleum recommended using a high quality roller with short nap, so that’s what I went with.
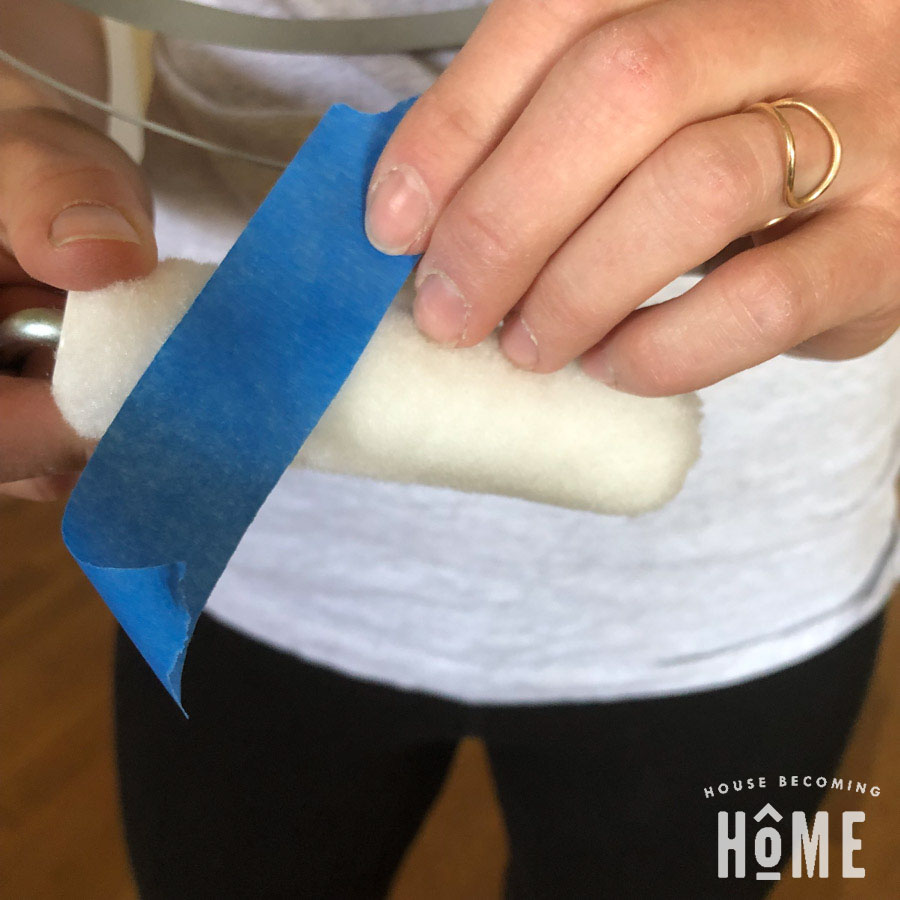
Use a piece of painter’s tape to pull off any loose bits of fibers from the roller.
How to Paint a Bathtub Tip #3:
Protect Yourself from the Fumes
**In case anyone is using the same respirator that I did, DON’T FORGET TO ADD THE TWO OUTER CARTRIDGES! Without them, the mask doesn’t provide adequate protection, which I didn’t realize at the time!**
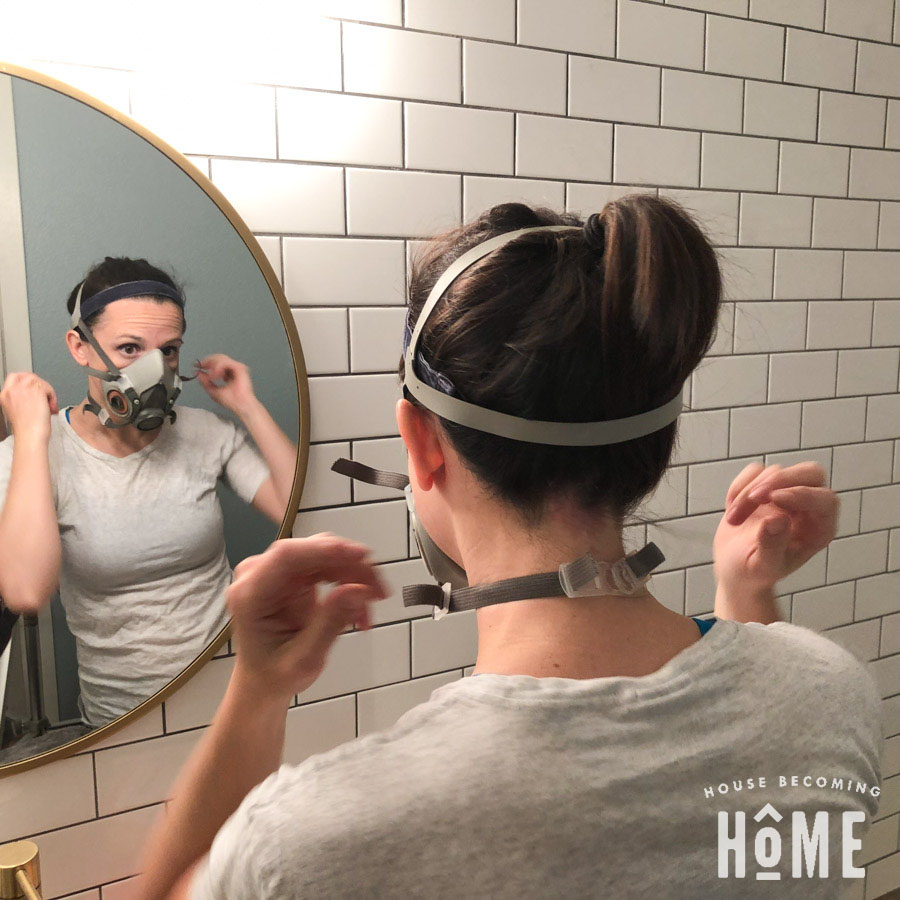
I read so much online about the fumes from the paint that, honestly, I was slightly nervous and took quite a few precautions.
- I waited until the weather was warm enough that all the windows in our house could be open.
- I sent my husband out with the kids while I painted so they wouldn’t be in the house.
- I put a fan at the edge of the bathroom to get the air circulating.
- I wore protective eye goggles and a respirator mask (though I forgot to add the two outer cartridges to the mask . . .doh! . . . so learn from my mistake and do it right!)
The fumes were strong, which was probably my least favorite part about the whole experience. But with the windows open and fans circulating the air, the smell didn’t linger too long (less than a day).
How to Paint a Bathtub Tip #4:
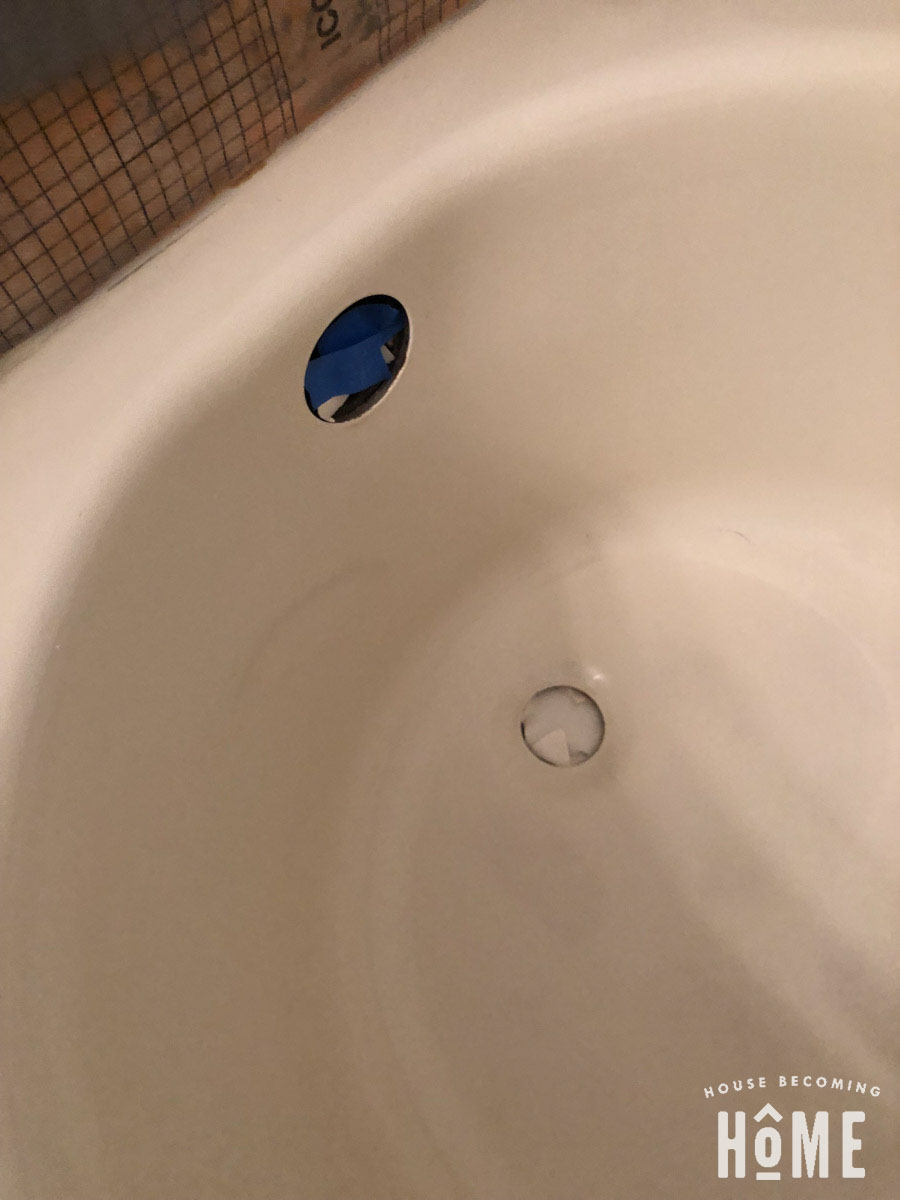
Cover the Drain
I was worried about getting paint clogged in the drain pipe, so I put paper/tape inside the drain. In the end it didn’t seem all that necessary, and you can probably do without this step. But it also doesn’t hurt. 🙂 (Just keep the paper or tape completely inside the drain so that you’re not missing any spots on the bathtub when you paint).
How to Paint a Bathtub Tip #5:
Stir Well and Mix Activator into Base
Rustoleum Tub and Tile comes with two cans, a part A activator, and a Part B Base. Open up both cans, grab a wooden paint stick and stir the activator well, then stir the base.
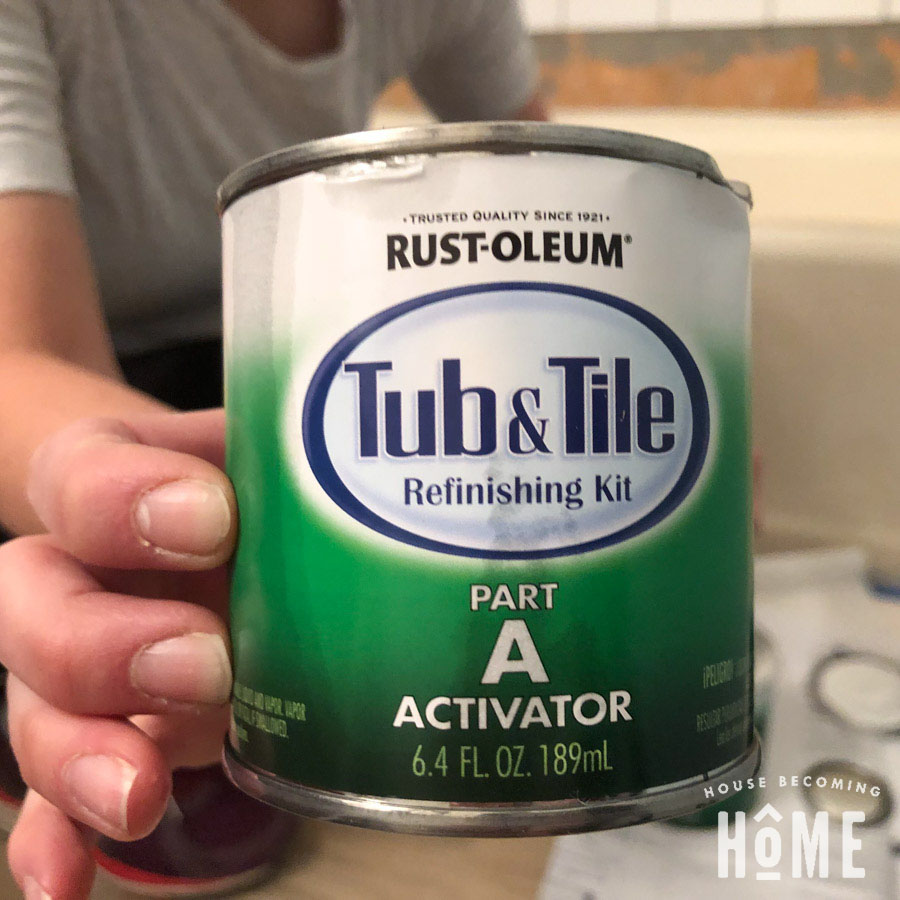
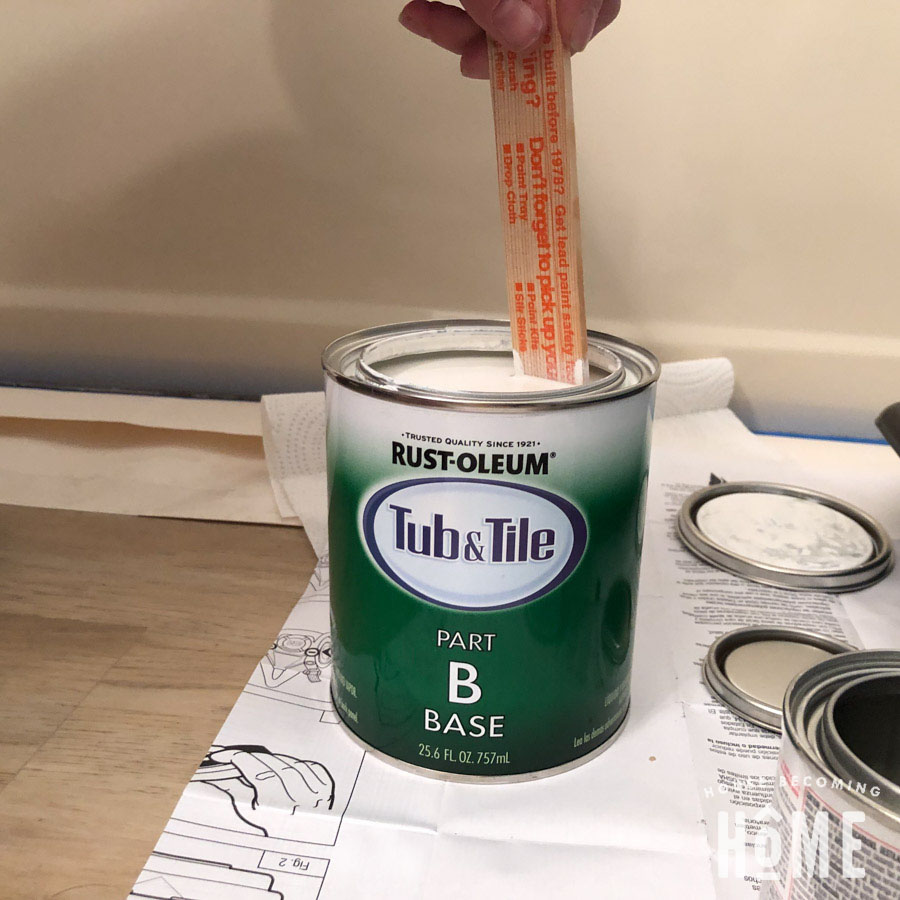
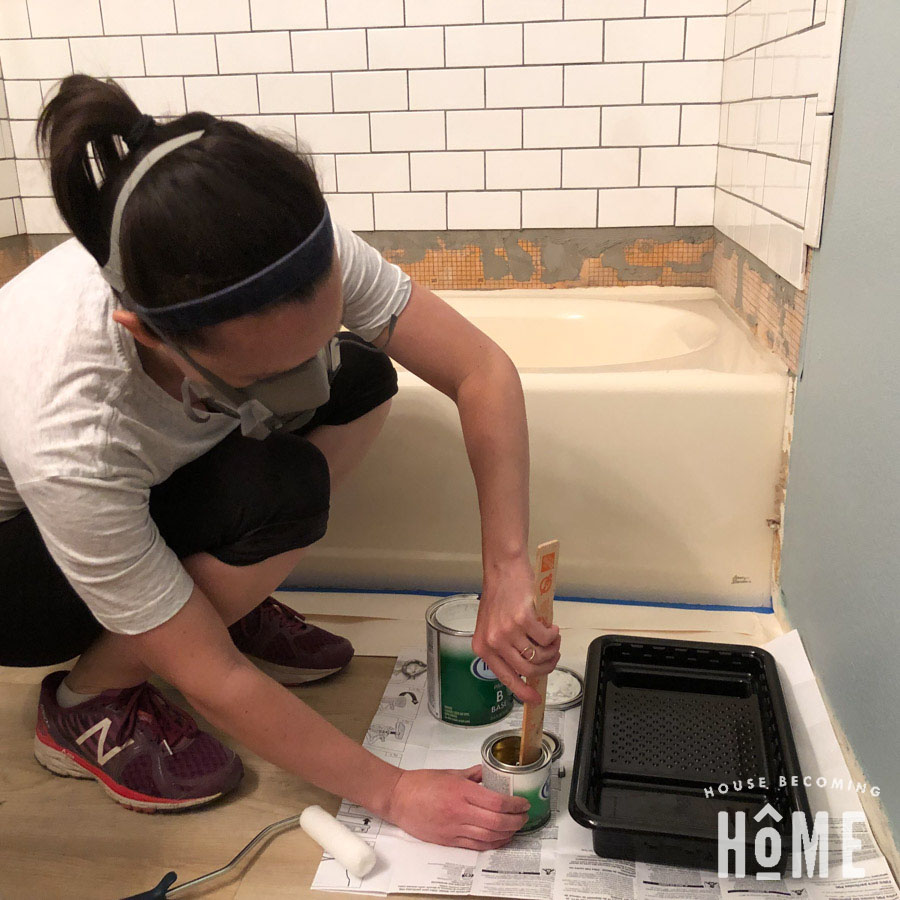
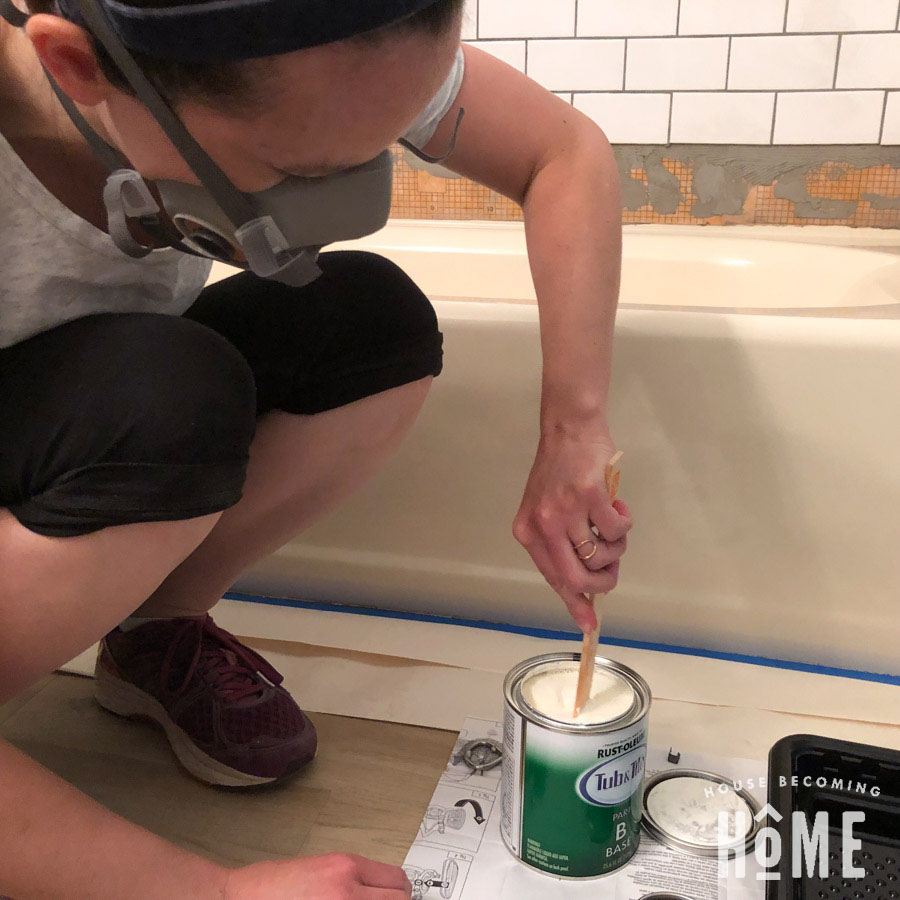
Pour the activator into the base can, and mix well!
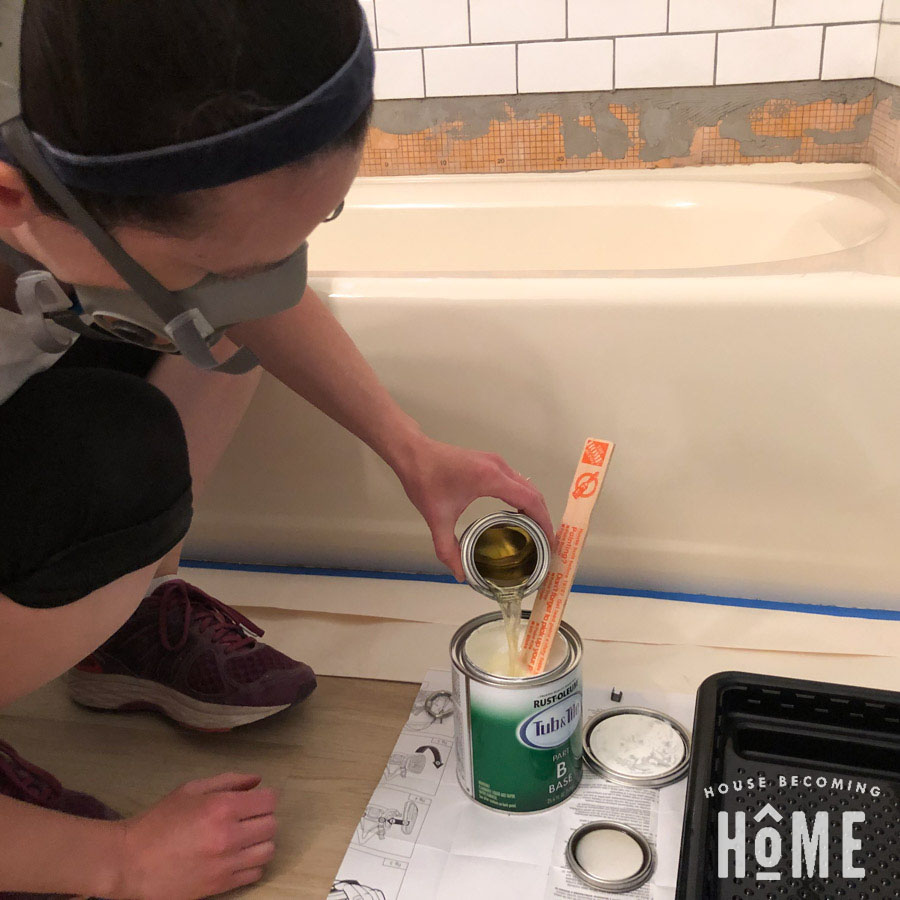
Pour the activator/base mixture into a paint tray (or just a paint tray liner, like I did)
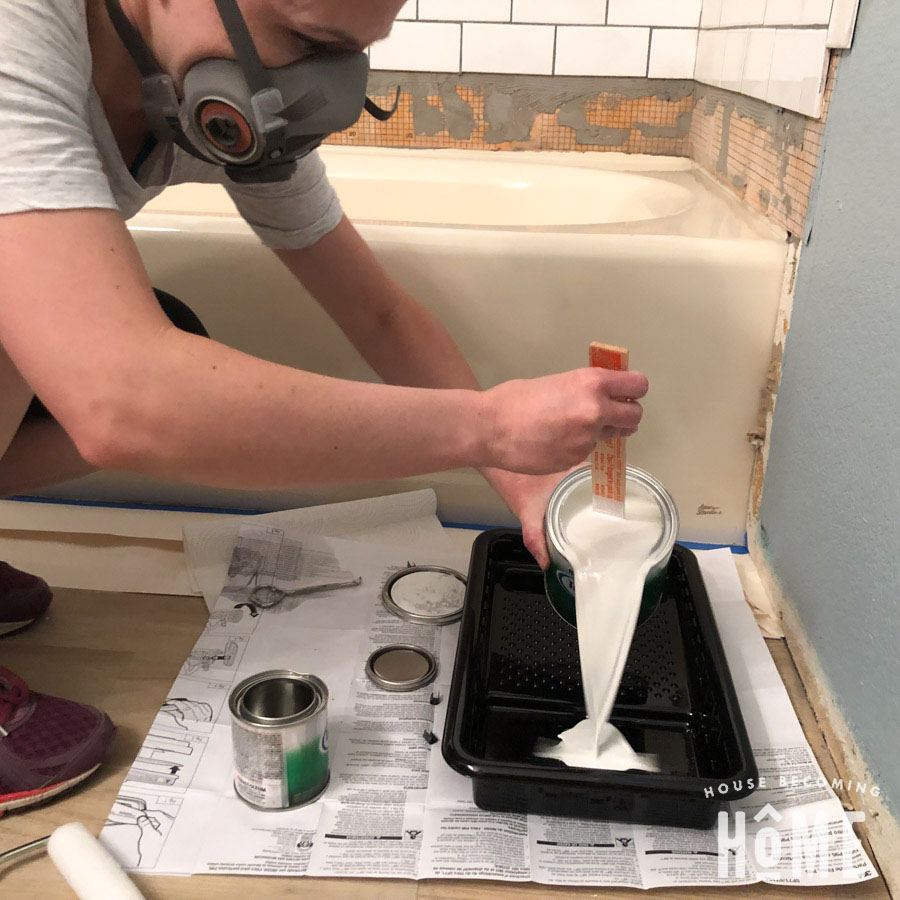
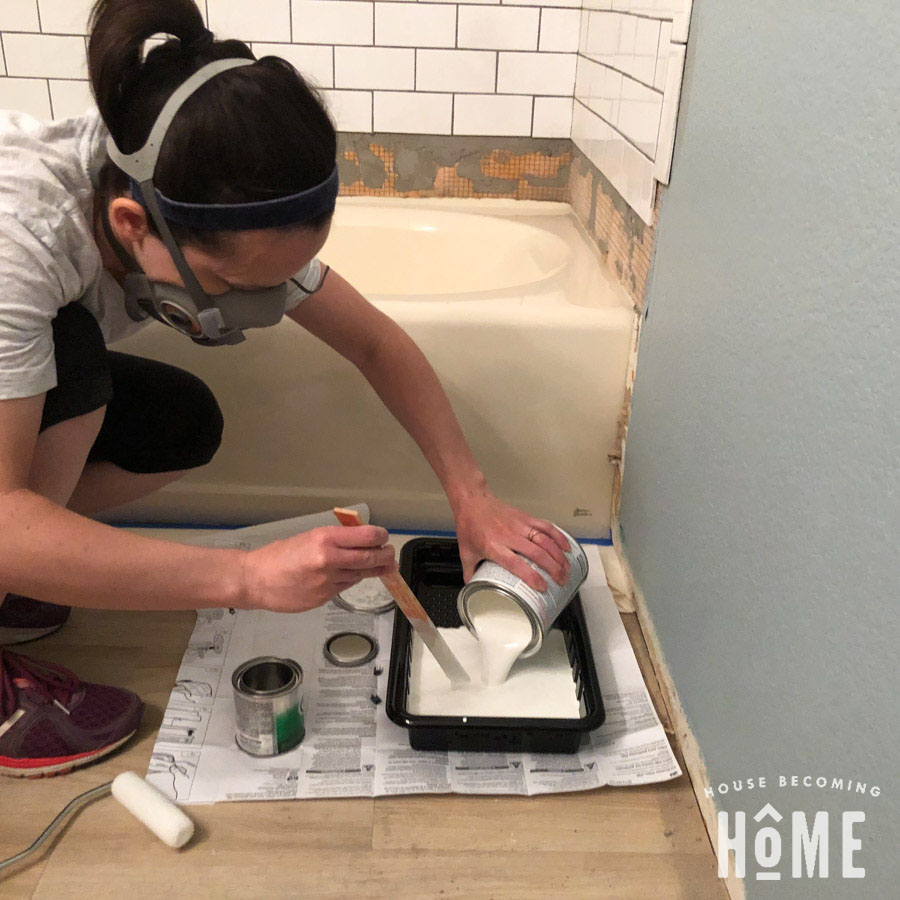
How to Paint a Bathtub Tip #6:
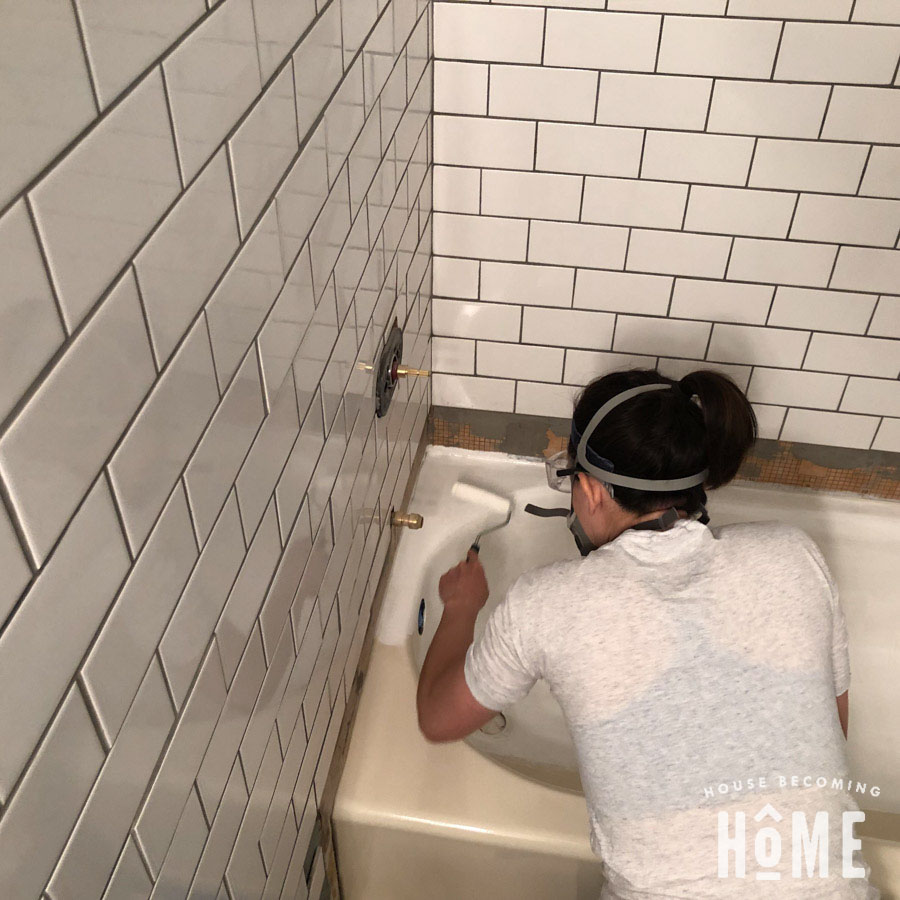
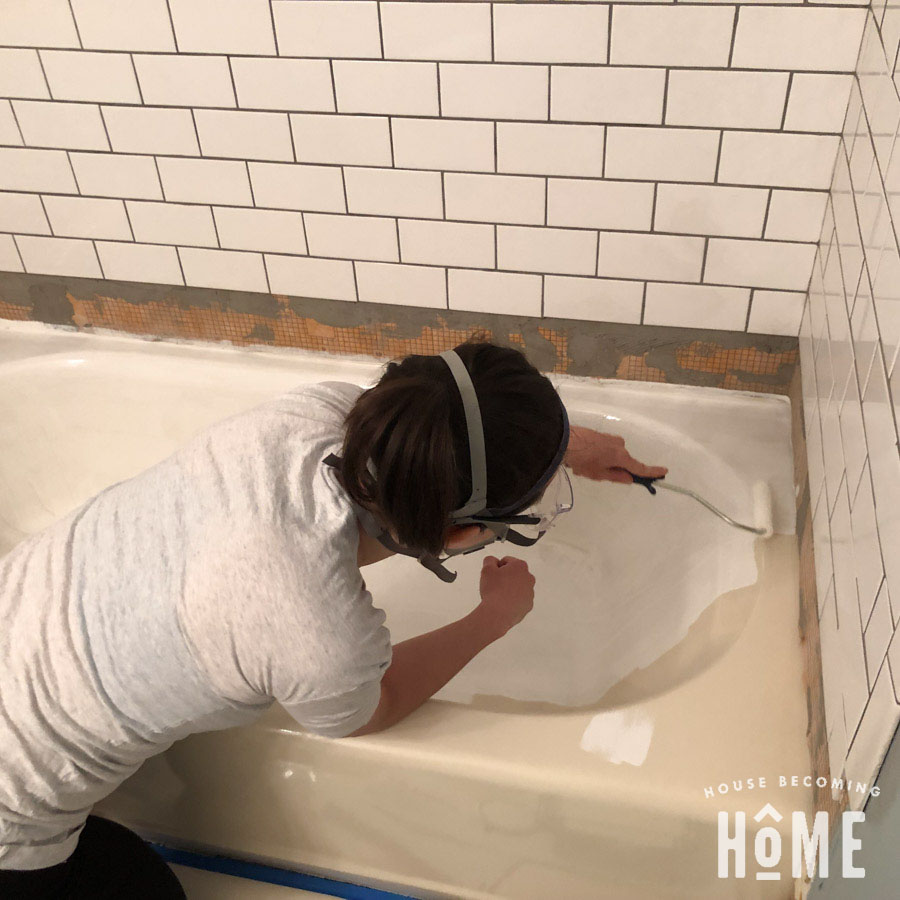
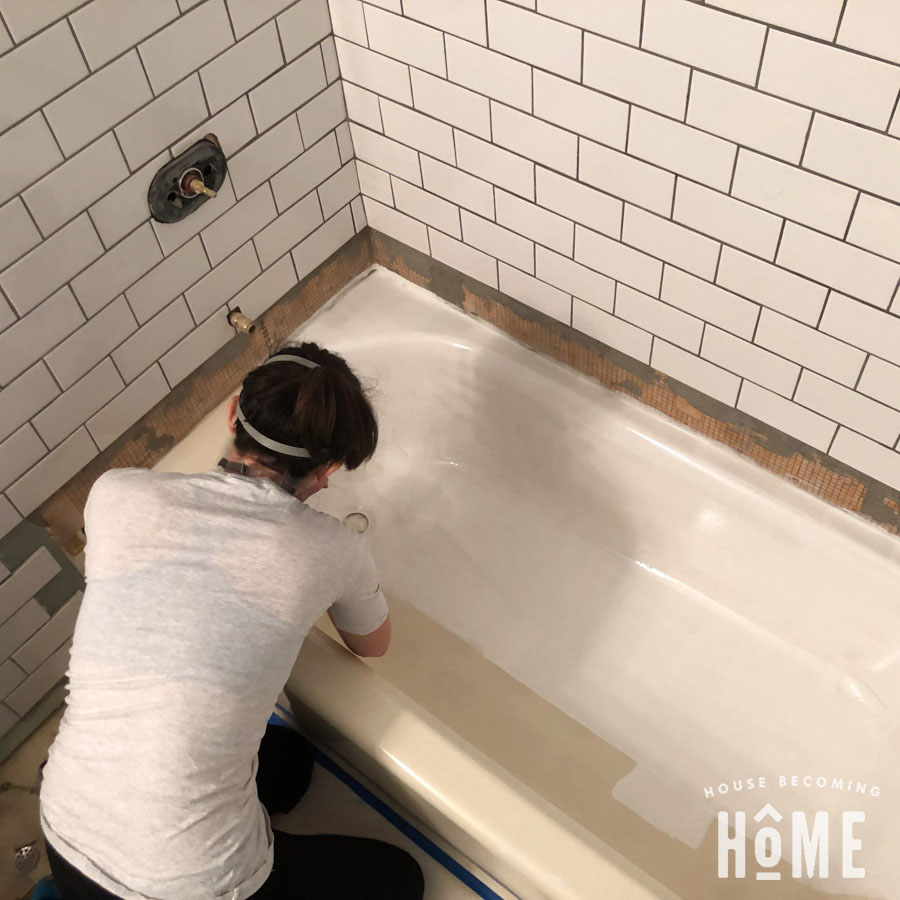
Begin Painting the Hard-to-Reach Areas
Start by painting the harder-to-reach areas, so you can lean on the tub without smearing paint.
How to Paint a Bathtub Tip #7:
Apply Multiple Coats
Wait one hour after the first coat is on, then apply another.
Here’s the bathtub after the first coat:
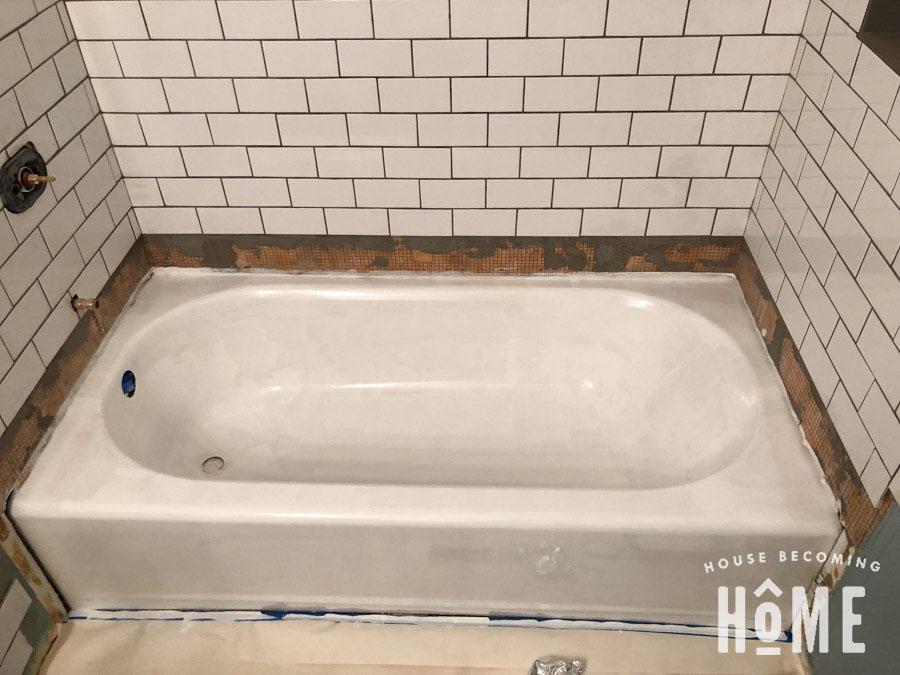
Here’s the bathtub after the second/final coat:
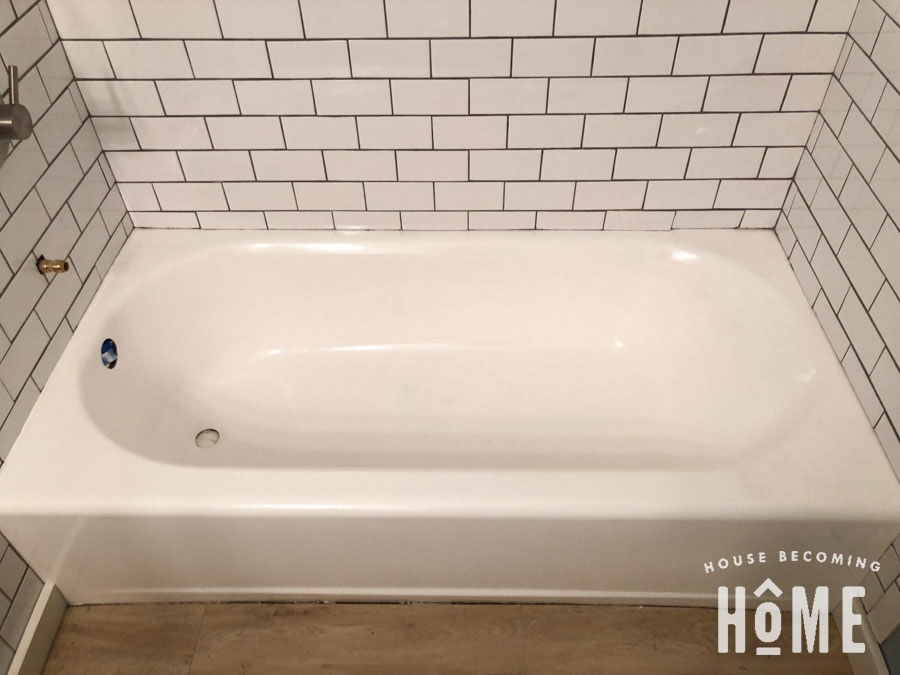
Our kids’ bathtub is pretty small. One Rustoleum Tub and Tile kit was more than enough to cover the bathtub in two coats. If your bathtub is on the larger side, you may want to have another tub and tile kit ready just in case, then return it if you don’t end up needing it (I hate running to the store mid-project!!).
Final Thoughts : Rustoleum Tub and Tile Refinishing Kit Review
We haven’t put it to the test yet, but from what I can tell, the finish seems REALLY durable. I’m so happy with the way it turned out. I think it looks great, and at about $25 for the kit + a few basic supplies (roller, mask, etc.), it’s a really affordable way to update an old bathtub.
I’ll keep you updated as time passes and let you know how it’s holding up.
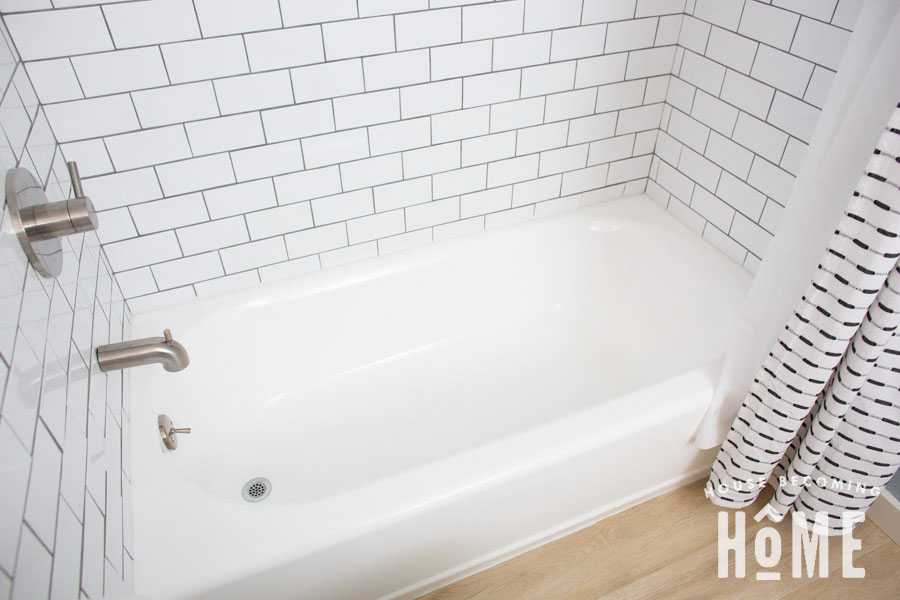
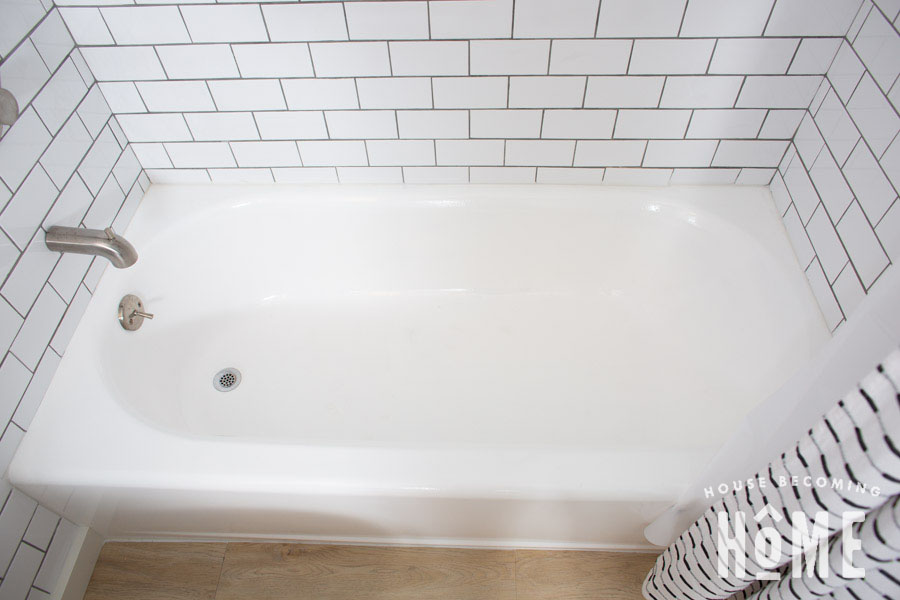
Is your bathtub outdated? Have you ever thought about painting your bathtub??? Let me know in the comments if you have any questions and I’ll try my best to answer them!
One Year Later Update
It’s been one year since I painted the bathtub! If you’re interested in seeing how it has held up and curious to hear my “would you do it again?” response, head to the post:
Painted Bathtub One Year Later Update

How do you reach over and get the difficult places for the second coat? Did you have any problems with the walls of the tub with the paint running down and creating drips?
When you do the second coat the first one is dry. So there’s no issue with reaching into the difficult places.
The coats are fairly light, so I didn’t experience any problems with the paint running down the walls of the tub.
I’ve wanted to do this but not having many windows not sure how that wd work. I do have a fan in the bath room and 1 windows in my bedroom. The other concern is how long does it have to sit before using it again as we only have the one bathroom and I didn’t notice that in your article. Thank you for your answer!!
I don’t have any windows in my bathroom either. Just wait for a warm day when you can open up doors and other windows in your house to get the air circulating. The box says to let the paint dry for 3 days before getting the tub wet. Perhaps plan to paint it right before leaving on a vacation…? Good luck!
I did the same to my tub and wall tile. Did it every turn a yellow tone?
No, mine hasn’t yellow-ed at all!
This is great. I feel much better about and capable of tackling my blue tub! I do want to replace it but since it seems everything is more expensive right now, I am waiting. I have read a lot of reviews but I am assuming a lot of the people that say it didn’t work at all did not prep properly.
Yes, I think prep is extremely important!
How well does this work on bath tub tile walls and ceilings?
I’m not sure, as it’s something I’ve never tried. But I know others have done it with success!
Is the bottom of the tub slippery? Do you know if there is something you could put down first to give the bottom a little grit to avoid falls?
The tub doesn’t seem any more slippery than it was before painting it. I don’t use the tub, but my kids haven’t ever slipped or anything like that in the 1.5 years it’s been painted.
How long will I wait between 2nd and 3rd coat?Thanks Angie. I am planning bathtub painting in X’mas time.
Hi Eric-
I believe you’re supposed to wait at least an hour between each coat. Good luck with the project!
My tub has horrible hard water stains. Lime away doesn’t touch them. The only product that makes its tolerable is The Works toilet bowl cleaner. Do you think I can still redo my tub with the hard water stains there?
That’s a good question, but unfortunately I’m not entirely sure! I think the main purpose of the deep clean is to remove all residues (dirt, grime, soap scum, caulk, etc.) that might interfere with the way the paint adheres to the tub. I’m thinking if it is a stain in the tub’s material, and not a residue on top of it, that painting it might work. But that’s just a guess! Rustoleum might be able to give you a more definitive answer.
I’ve been refinishing my bathroom for the past few weeks, and I’m going to be finishing up today with painting the tub. I want to stress something, because I used to be the person who would do what I’m about to warn people about. DO NOT TRY TO DO THIS WITHOUT A RESPIRATOR. Mine cost twice what the paint kit cost, but I will be able to use it for other projects in the future, so yay! But I’ve had the paint kit sitting here for about a week, and I can smell it THROUGH the box from across the room. Don’t be cheap and think you can hold your breath. You will likely do irreparable harm breathing this stuff in.
Thanks Evie, that’s good advice–it’s definitely NOT something to be done without proper protection! (and as pointed out below, I did not! My mask should have had additional cartridges attached on the outside…doh!) Good luck on your bathtub, I’d love to see how it turns out!
Hey Angie,
The half face respirator that you’re wearing requires two filters to be attached on each side. You’re wearing it with no filters!!! So you had no protection!! That looks like a 3M 6200. Google it and search were you can get the filters for it. (Probably really hard right now because of Covid)
Hope this helps :).
Thanks Bryron, you’re right about my mask. It does have filters inside the mask, but that alone was not good enough protection without the cartridges that were supposed to be on the outside of the mask, which I didn’t realize until later. I’ll add a note inside my post in case anyone has the same mask, so they don’t make the same mistake I did.
Do you think it would work on a old cast iron sink with enamel?
I bet it would Edna!
I am also wanting to paint the plastic bathtub surround. Would this paint work for that as well?
Hi Marie! You might want to reach out to Rustoleum and see what they say.
What did you do with the paint between coats?
That’s a great question Randi! In between coats I wrapped aluminum foil over my roller, completely covering it. I also put aluminum foil over the paint in the tray.
What brand roller did you use?
Hi Tammy! I got the roller at Home Depot, I believe it is just their generic brand. In the painting section they have good, better, and best options for rollers–I purchased the “best.” (see photo in post)
Hi there! We are about to tackle this project. How is yours holding up?
It’s looking good, with just a few small areas of wear. I’ll be doing a one year later update post very soon!
Hi there! I’m redoing my pink tub now and the instructions say to use 400 grit sandpaper but it’s not doing anything to the surface of the tub. I saw you used 100 grit sandpaper. How coarse does the tub surface need to be to allow the paint to adhere?
Since Rustoleum recommends 400 grit, I’m guessing that must be good enough. I primarily chose 100 grit because that was what I had on hand. Good luck!
How did you paint the tub bottom curves in the corners?
I just used the roller horizontally across the curves, instead of vertically…worked well!
Sturdivant- I would think so, but I’m not sure. I’d reach out to Rustoleum as they could give you a definitive answer!
How do you clean this? I just bought a house and the couple that sold it triednthe same thing and sinuses comet and a scrub brush and the refinidherncame right off…. now I have to look into redoing my tub.
I clean mine with lysol multi surface cleaner
How do you clean it? Do you have to avoid any certain. Cleaners?
I use Lysol multi-surface cleaner. I remember reading in the instructions that there were certain abrasive cleaners they recommended staying away from
Can you use this on an old cultured marble counter top as well?
Very possibly yes…but I’m not sure. I’d probably reach out to Rustoleum to find out for sure.
How long do you wait until you use the tub?
I believe the instructions said to wait 72 hours before exposing the tub to water…
how has it held up.
It has held up wonderfully! It’s been less than a year, but it still looks like it did the day I finished painting it.
Could this work on a bathroom sink where the bowl and counter are all 1 piece?