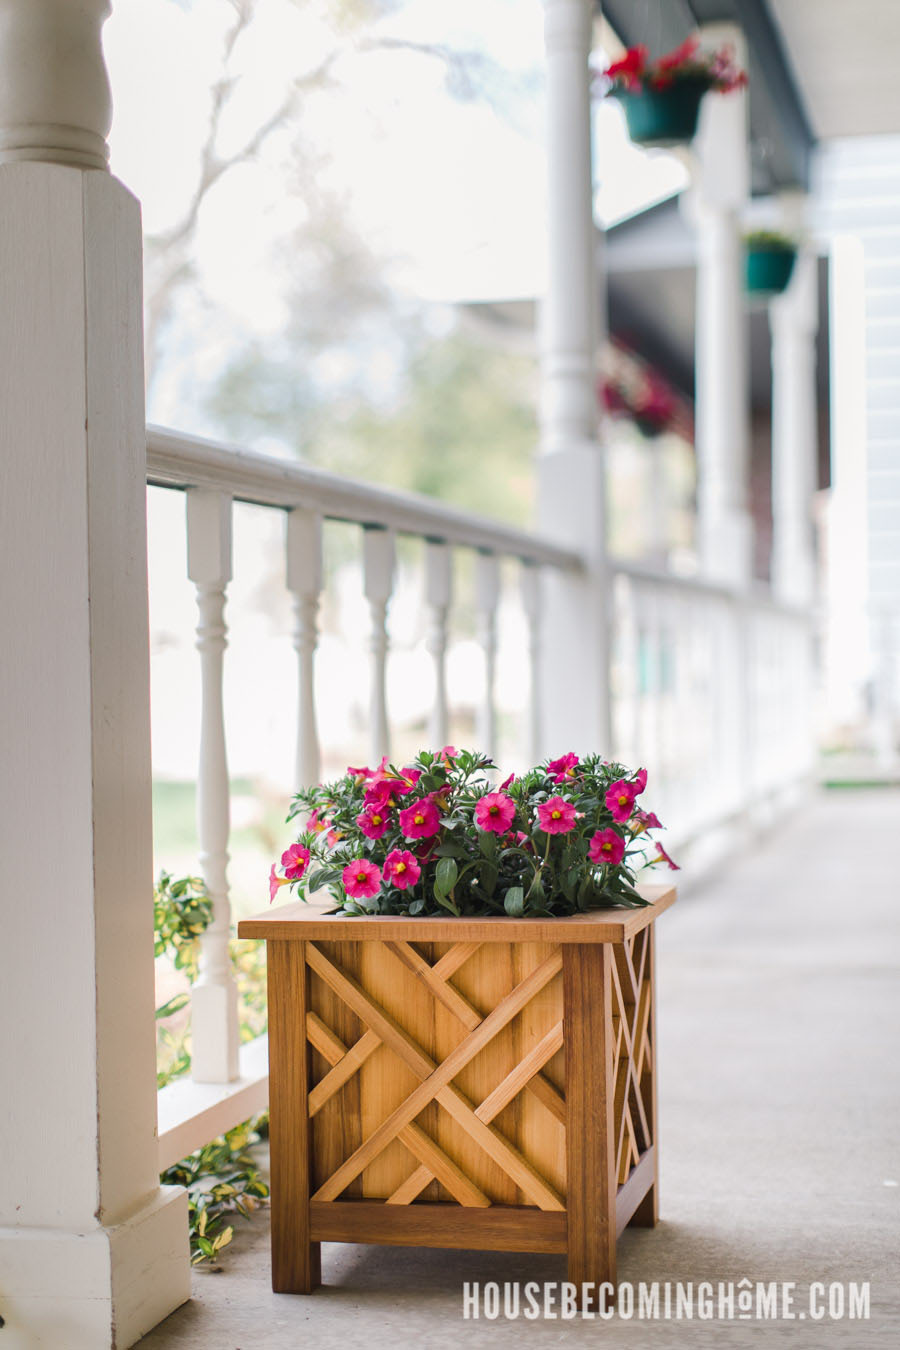
Last year I built my mom a large chippendale planter. It holds a 12″ pot of flowers and looks great on my parents’ front porch. This year I wanted to make another version of the planter in a slightly smaller size; one that would look good with a 10″ pot of flowers.
How to Build a Chippendale Planter
* This post contains affiliate links for your convenience. Read my full disclosure policy here. *
Materials
Lumber
- (2) 2 x 4 x 8ft. cedar lumber
- (4) 1 x 4 x 8 ft. cedar tongue and groove boards
Other
- 1-1/4” Kreg Coarse Pocket Hole Screws (the blue, exterior ones)
- Wood Glue (choose something designed for exterior use, like Titebond III)
- 16 or 18 gauge 2” nails
- Wood Filler
- Finishing products of your choice. I used General Finishes Outdoor Oil
Tools
- Miter Saw
- Table saw or Band Saw
- Drill/Impact Driver
- Pocket Hole Jig
- Wood Clamps
- Nail Gun
- Sander + sandpaper
- Tools for finishing (paintbrush/ stain rag, etc.)
This post provides a complete tutorial. If you’re interested in the cut list, exact dimensions and diagrams, visit:
Regular Size Chippendale Planter Printable Plans
Make Planter Panels
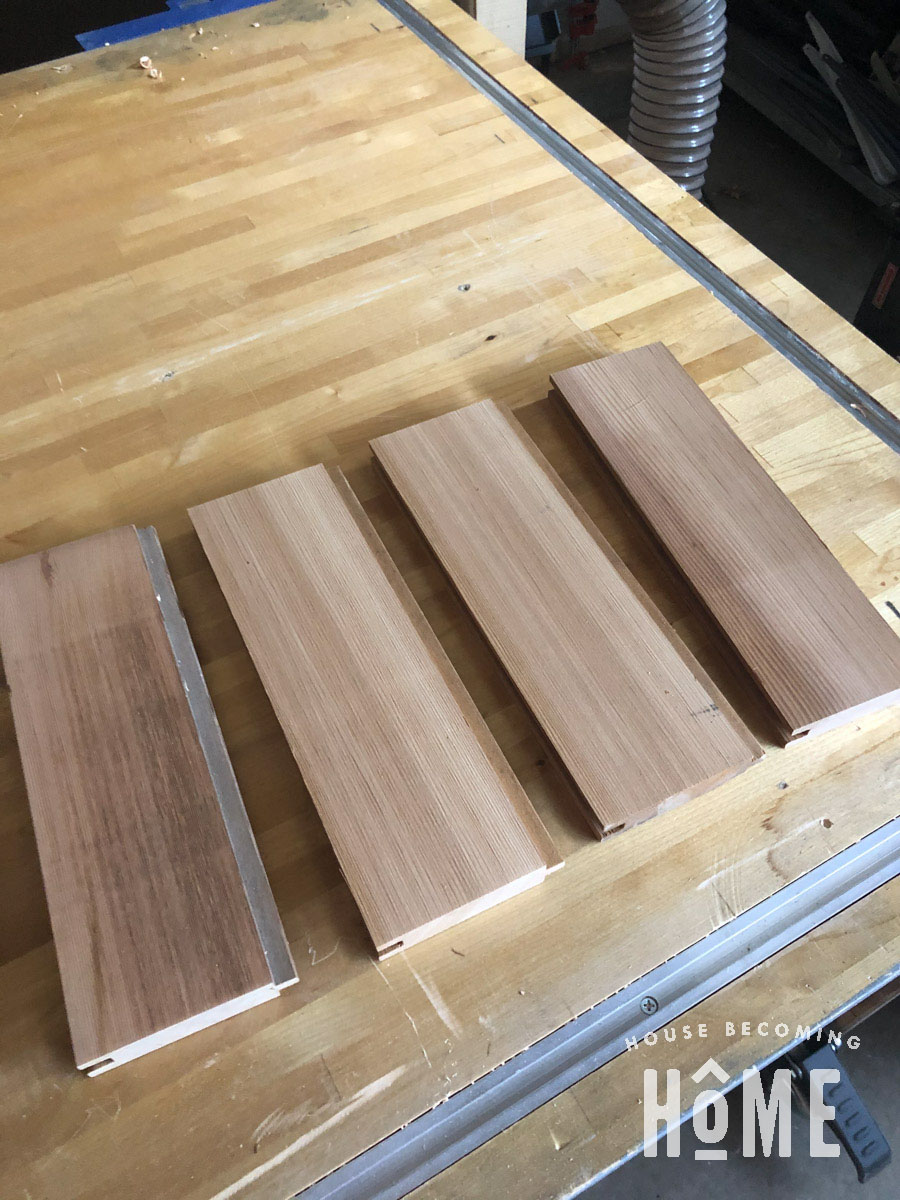
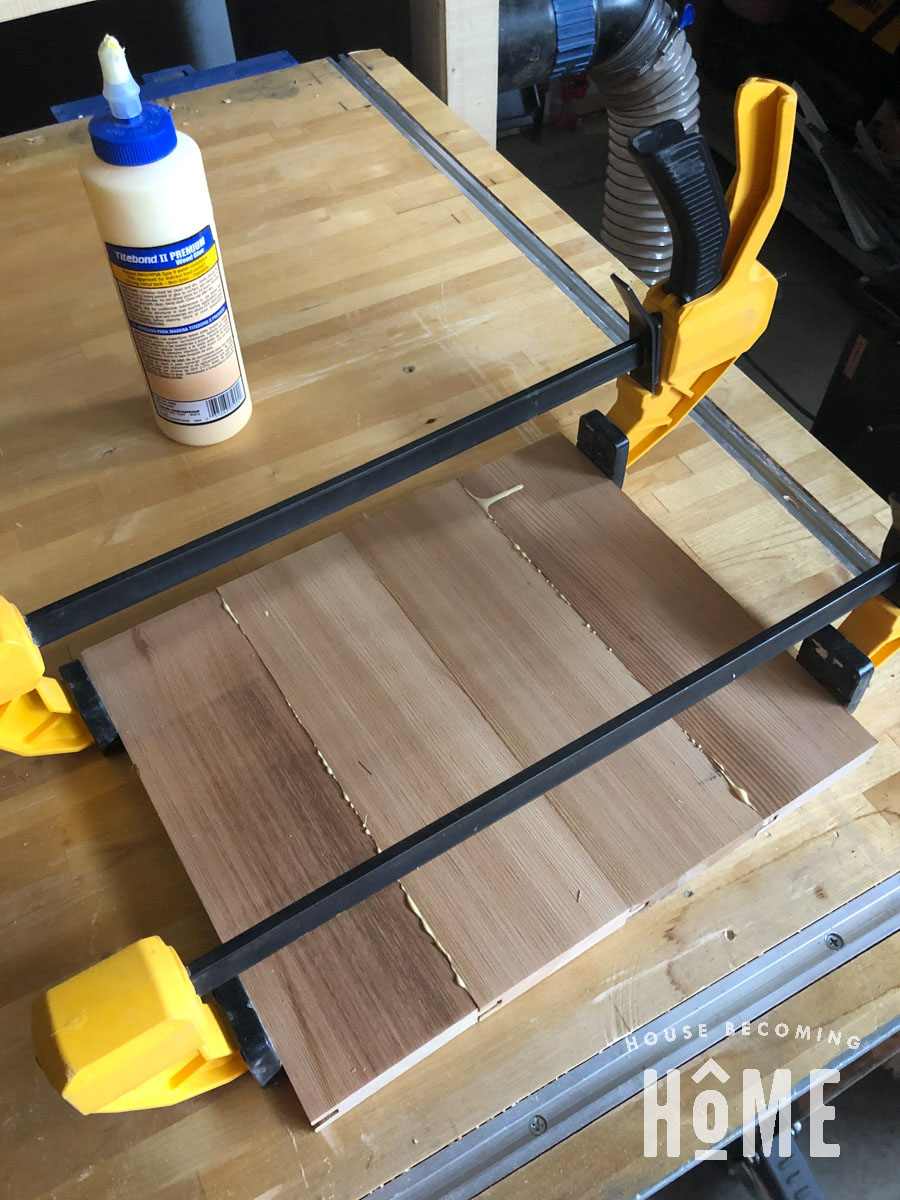
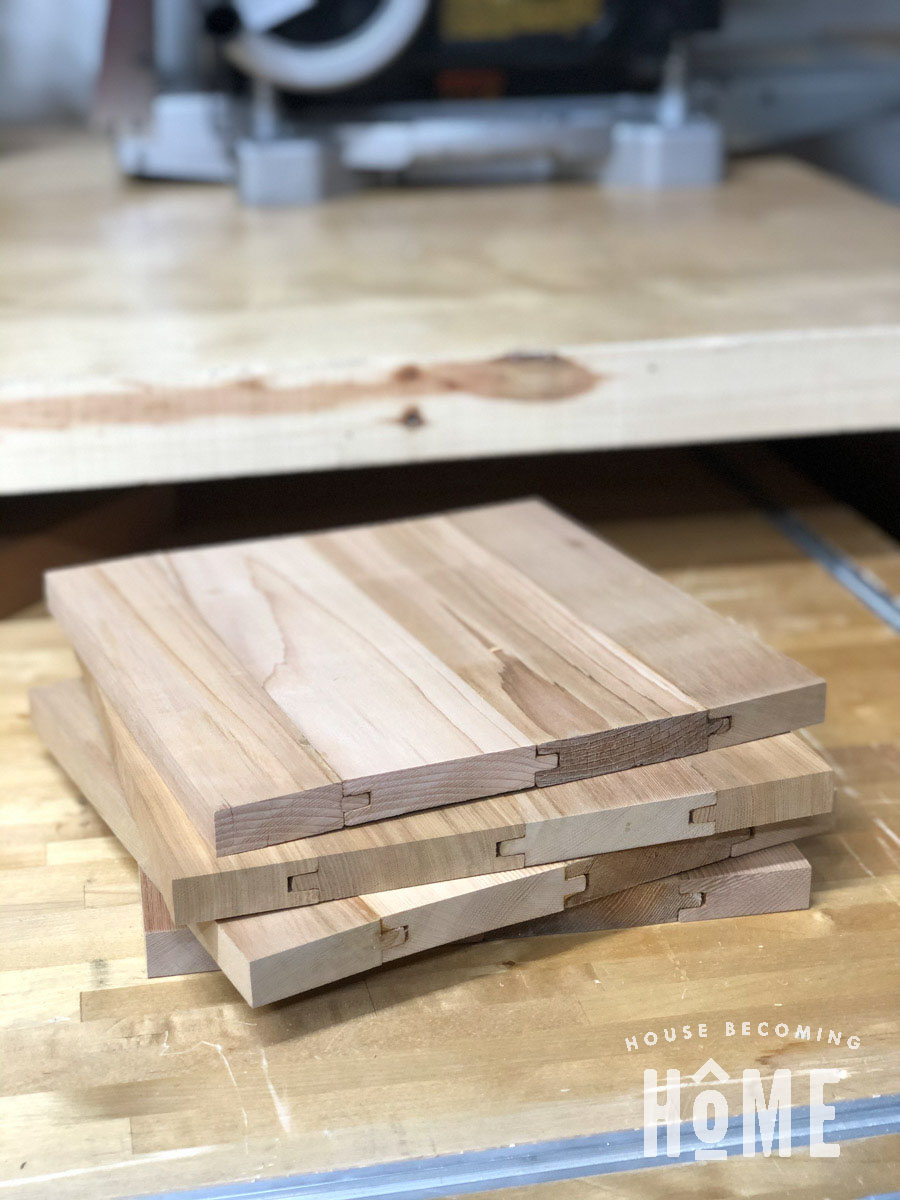
Begin by constructing the planter panels from 3/4″ tongue and groove cedar.
Prepare Lumber
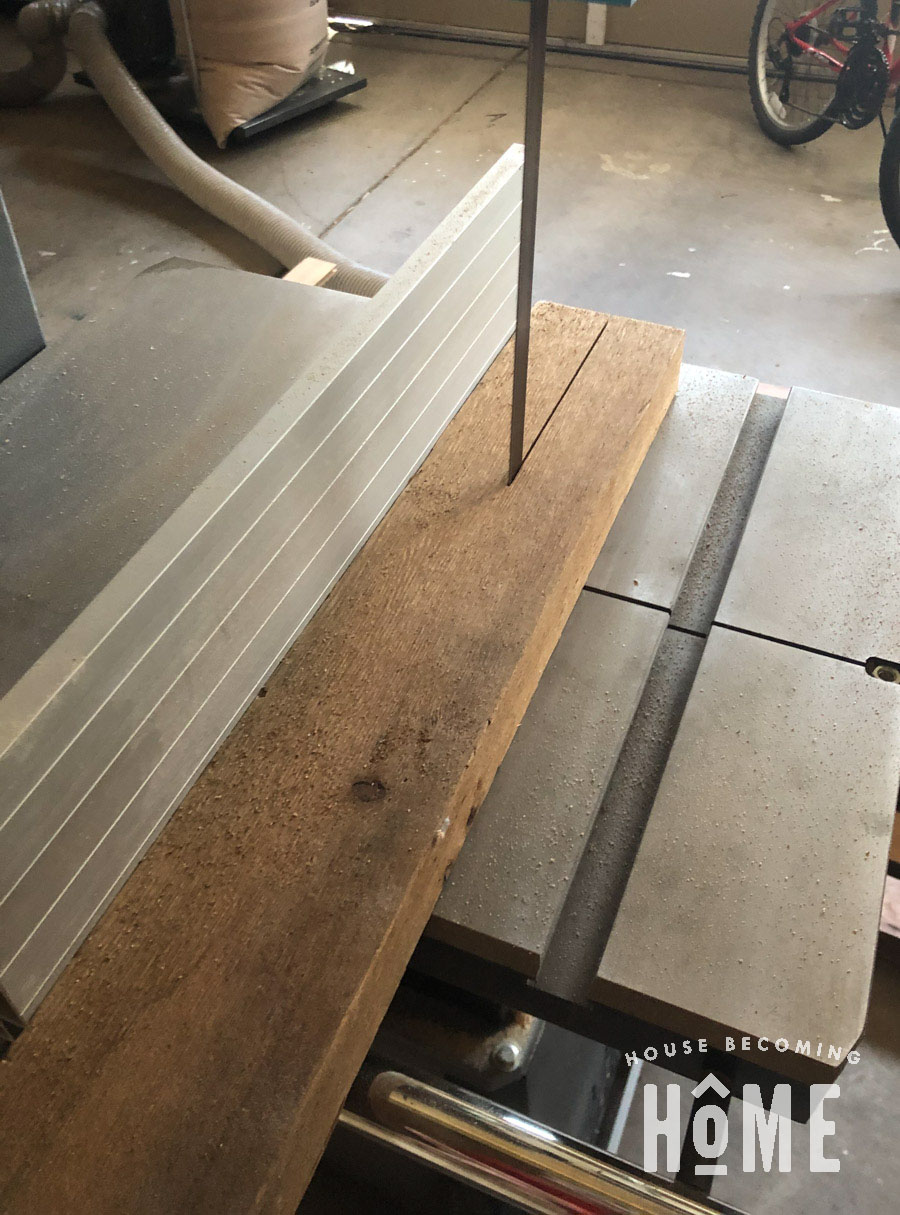
The legs and panel bottoms are 1.5″ x 1.5,” but I made them from a cedar 2×4. Prepare the legs and panel bottoms by ripping a cedar 2×4 in half using a table saw or bandsaw:
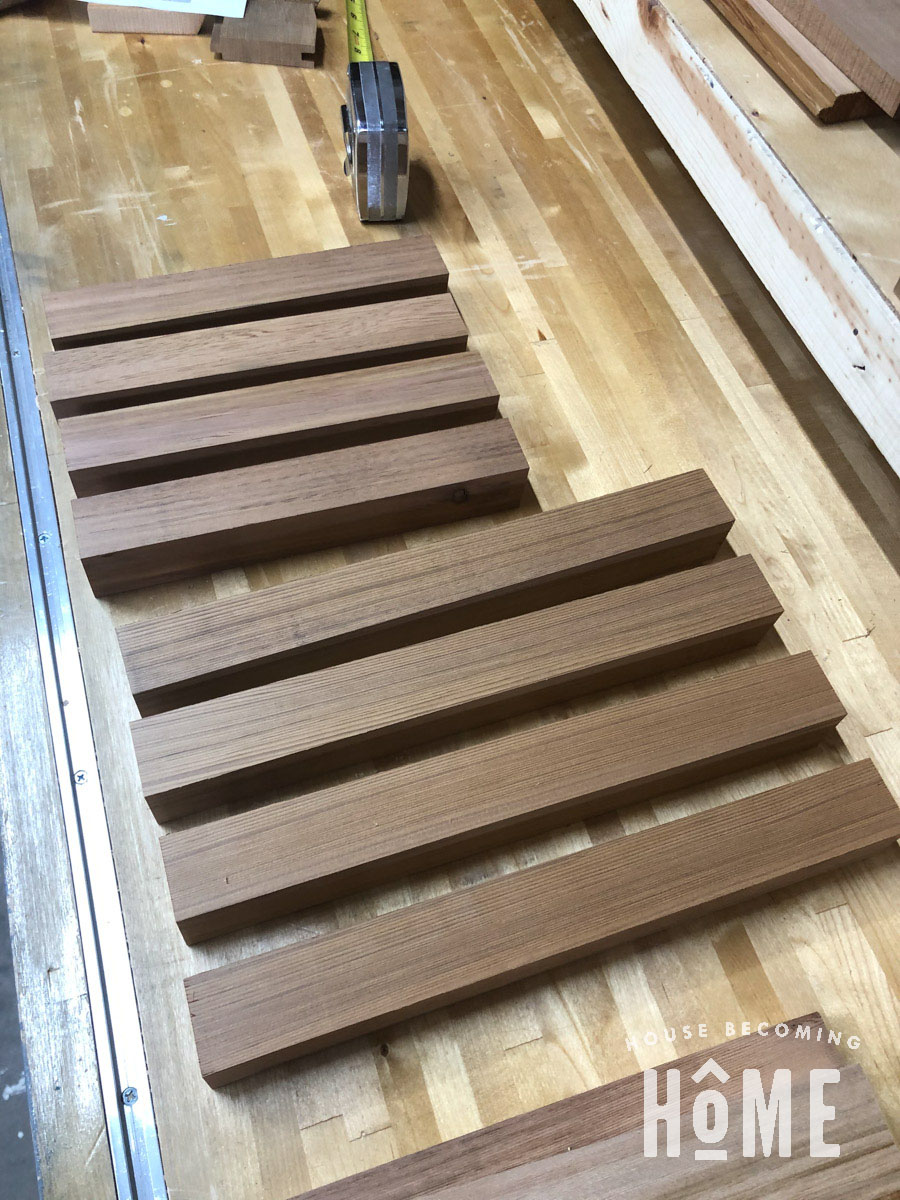
Isn’t it amazing how different the cedar looks after trimming it to size and giving a good sanding?
Attach Planter Panel Bottoms and Planter Legs
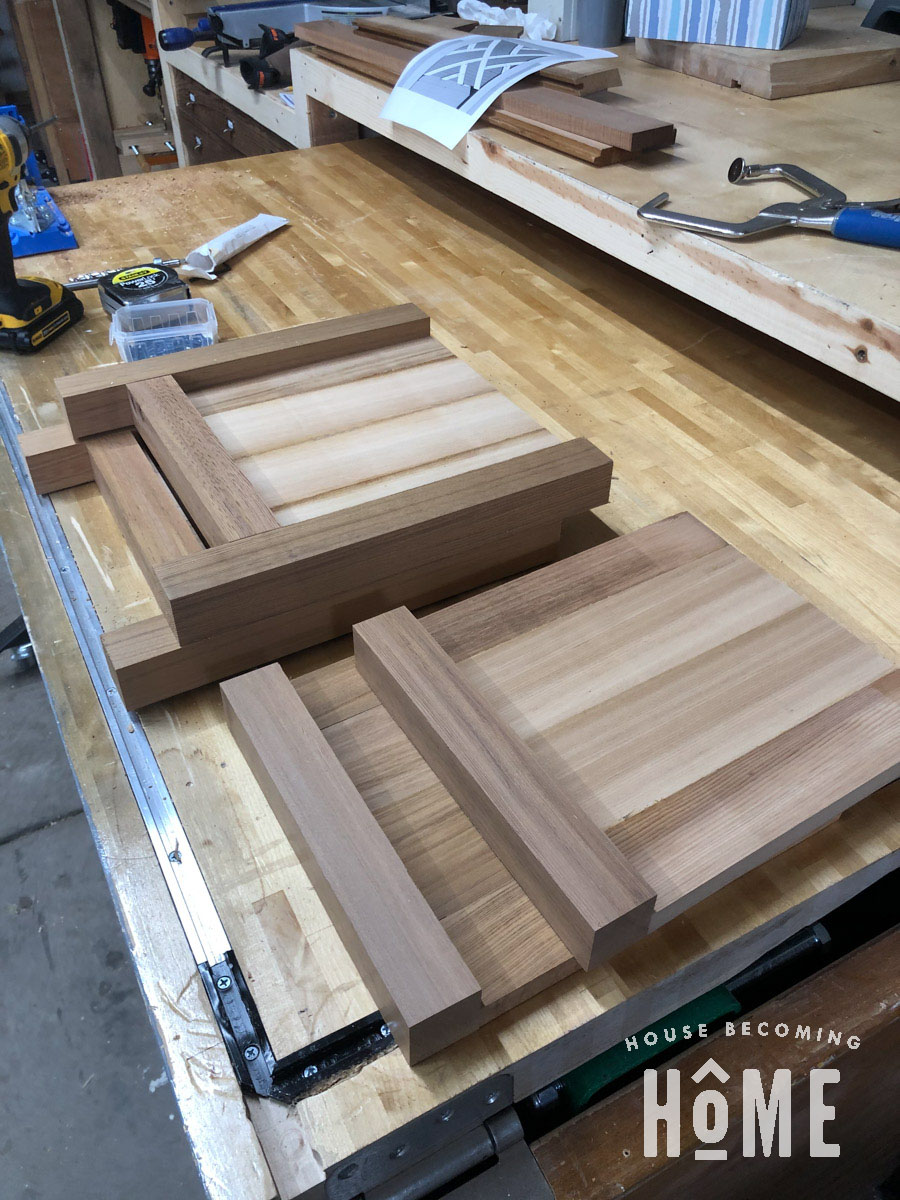
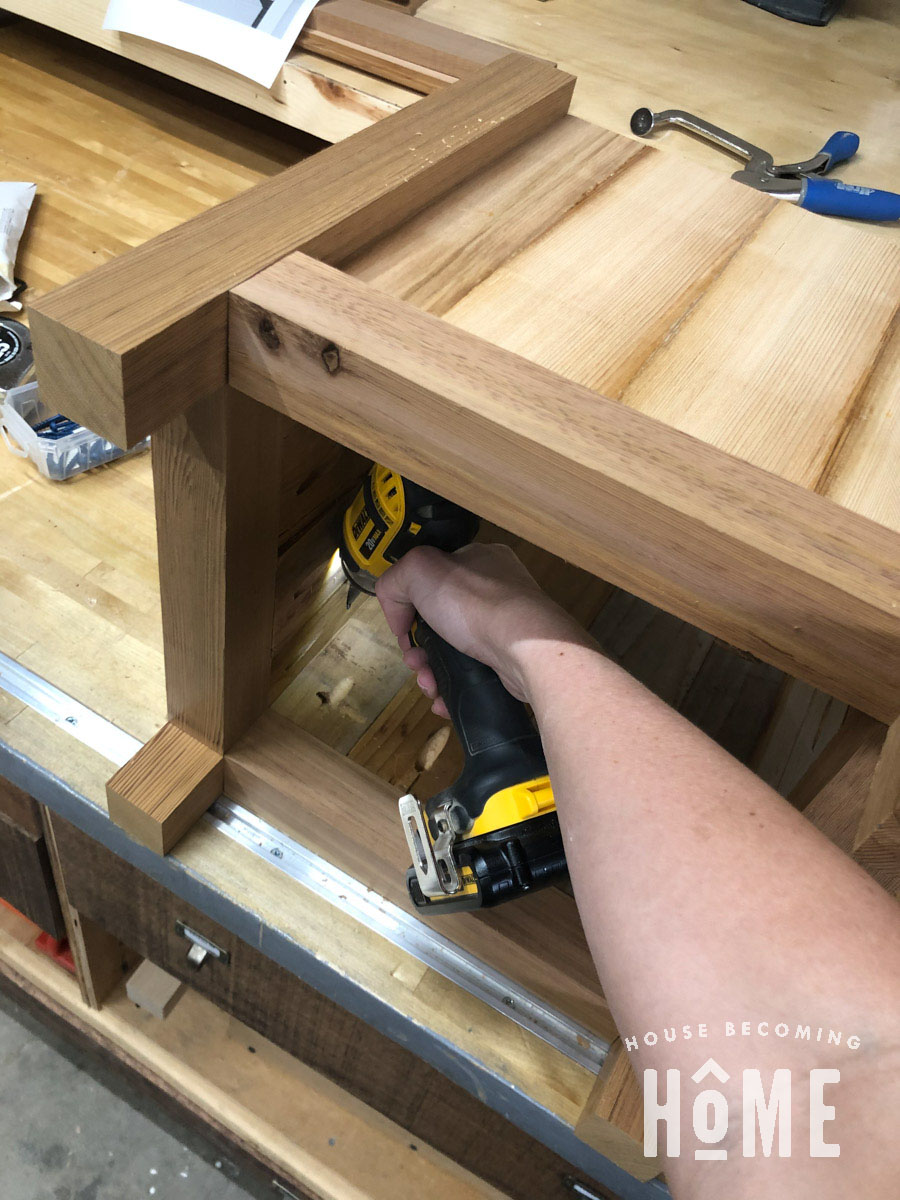
Make pocket holes on the back face of all the panels (on the bottom, left, and right sides). Using 1-1/4″ exterior pocket hole screws, attach a bottom piece to each panel. Then add legs to two of planter panels.
Construct Planter Box
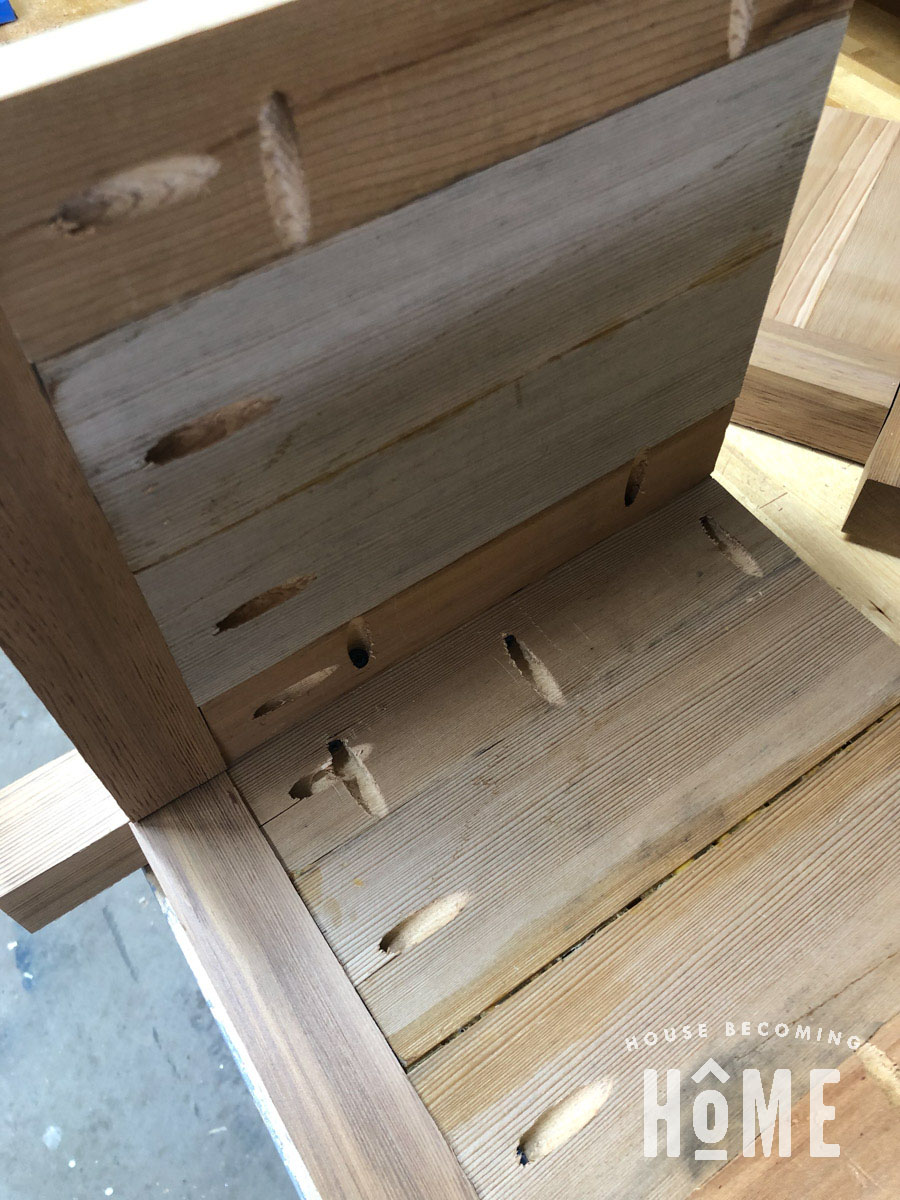
Finish constructing the planter box by attaching the remaining two panels.
Add Decorative Panel Pieces
Next, attach decorative panel pieces. If you’re interested in making your own chippendale planter, I’ve got printable pdf plans with a complete cut list and precise measurements.
I found it easiest to attach the decorative pieces starting with the largest, working through to the smallest:
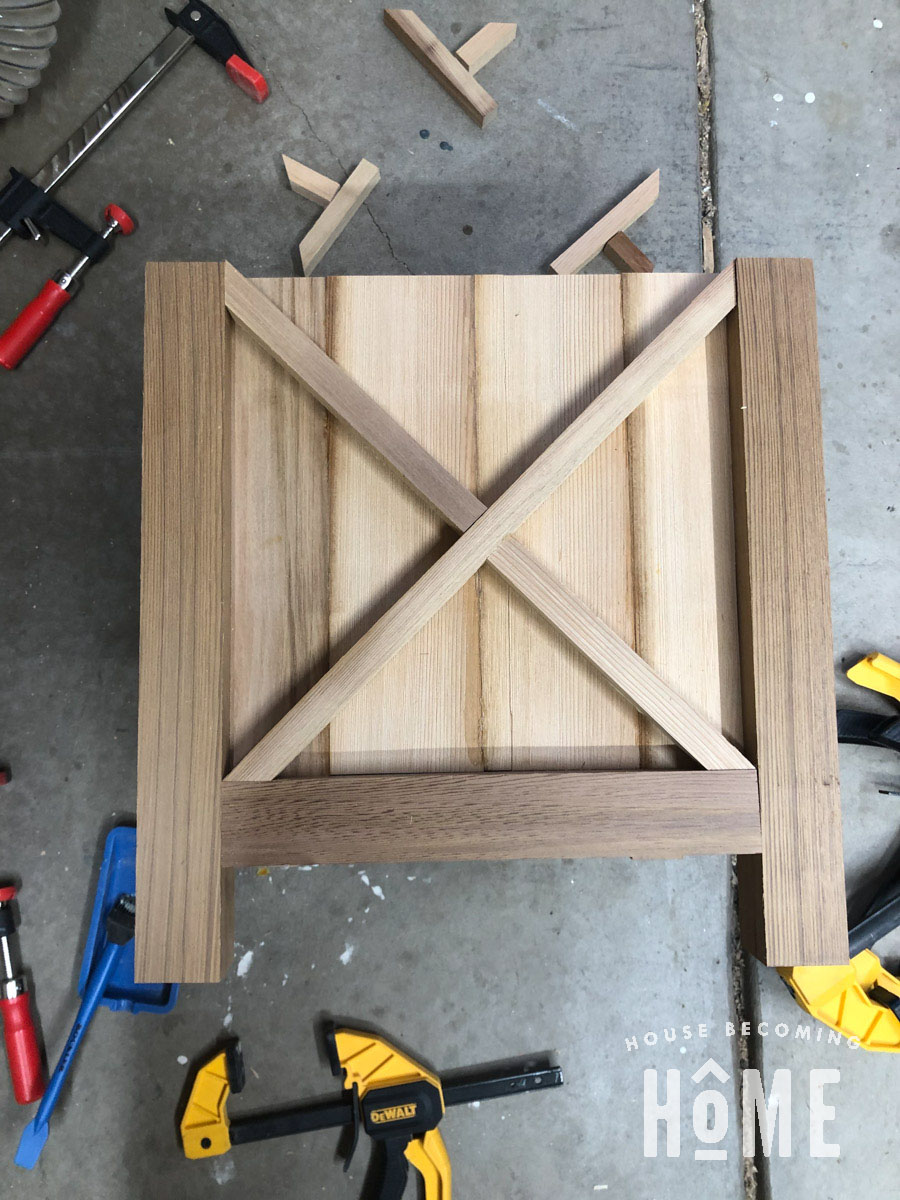
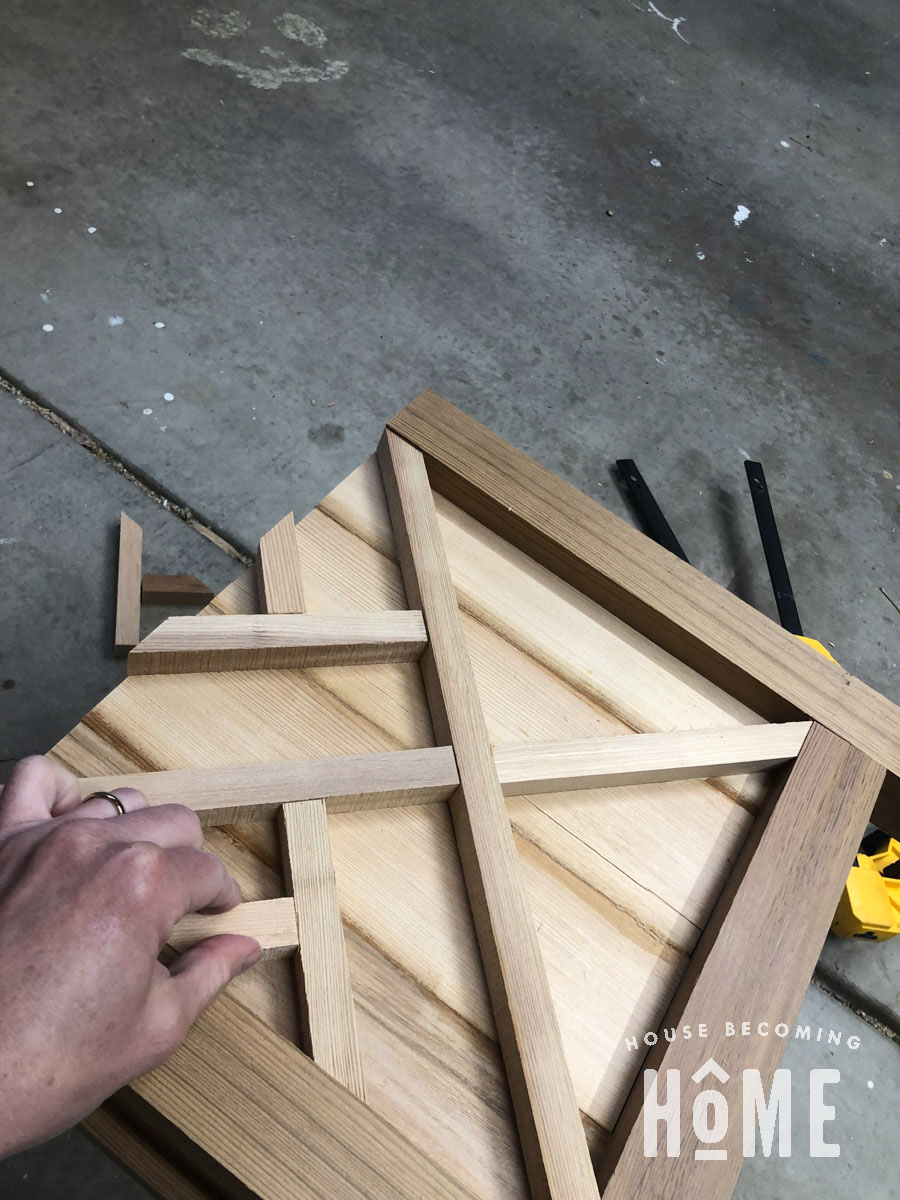
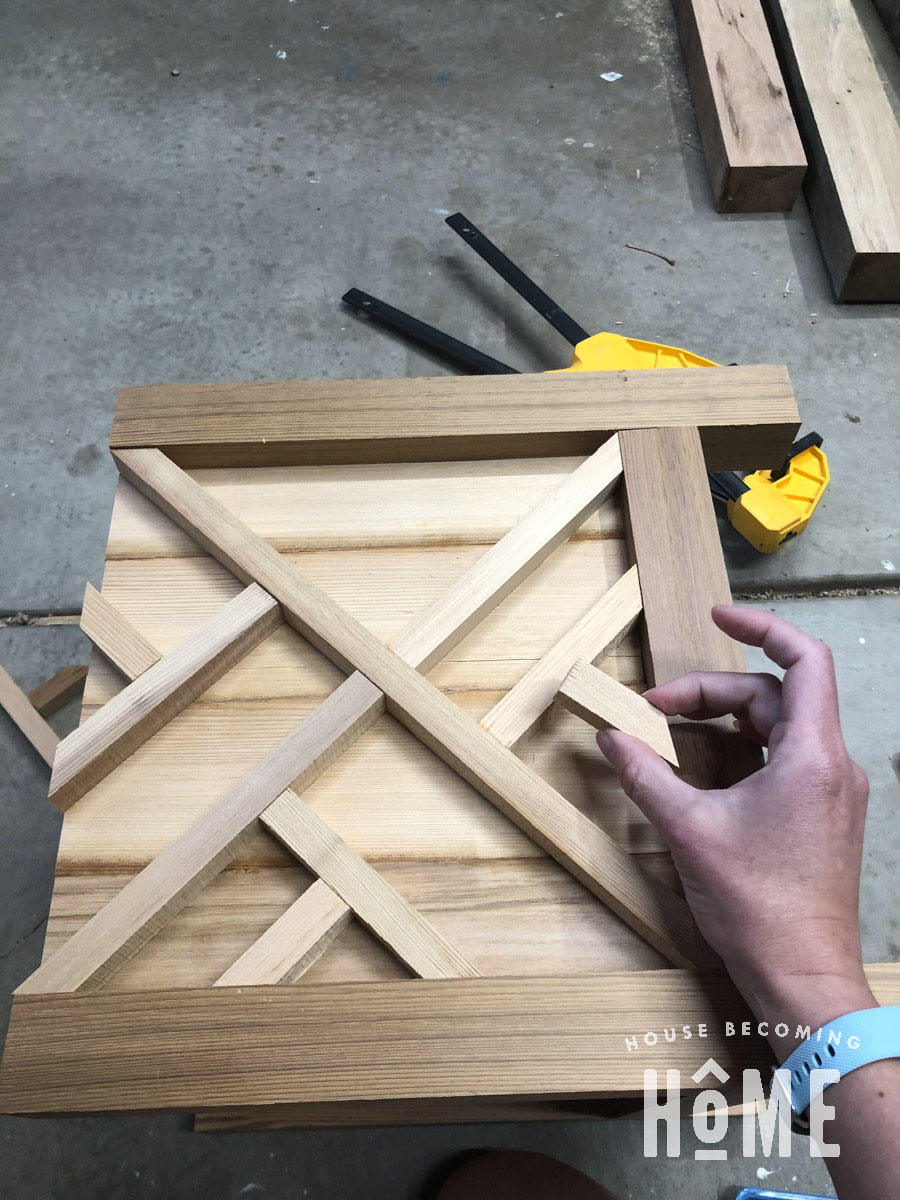
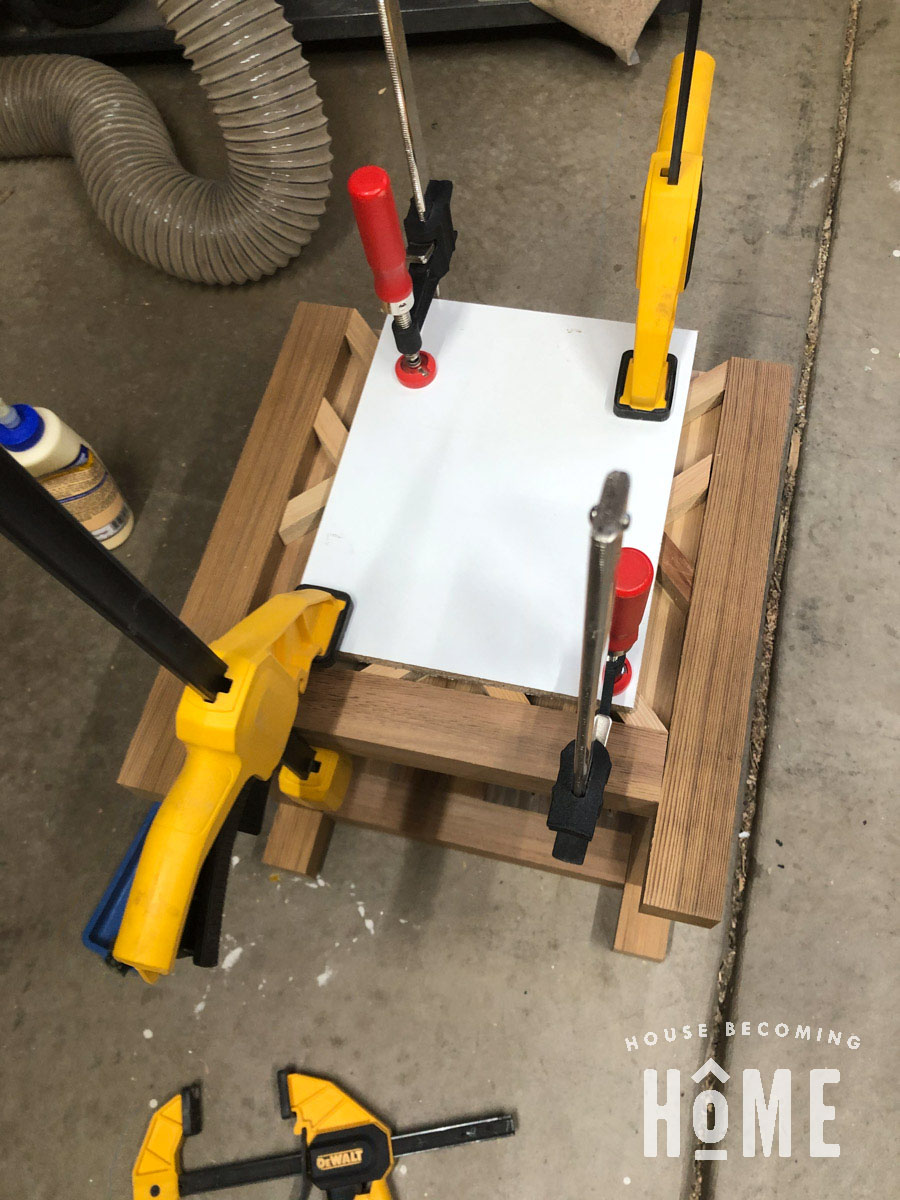
After making sure it looks good with a dry fit, add wood glue to the back of each piece and secure to the panel. Clamp a scrap piece of wood to the top to provide pressure across the entire panel:
Install Top Trim
Cut trim pieces then secure with nails to the top.
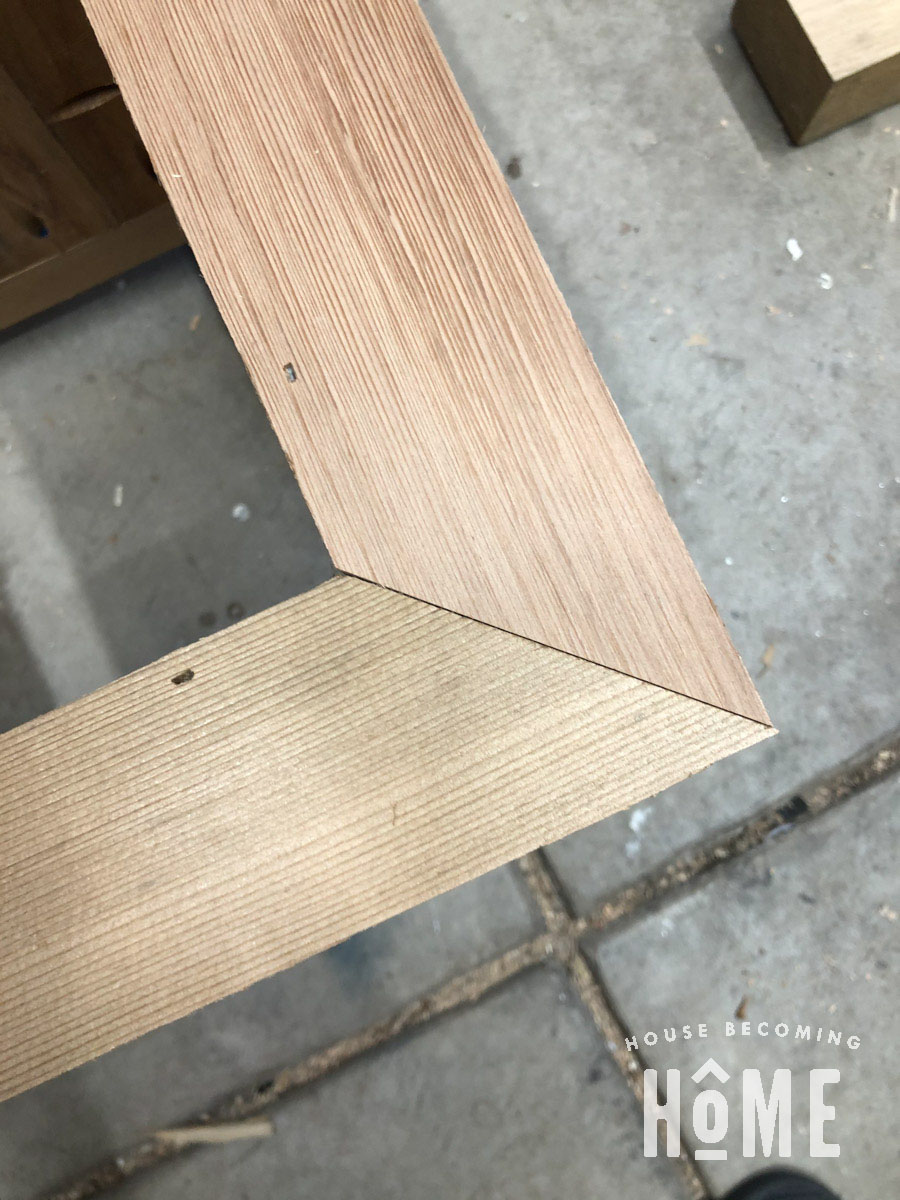
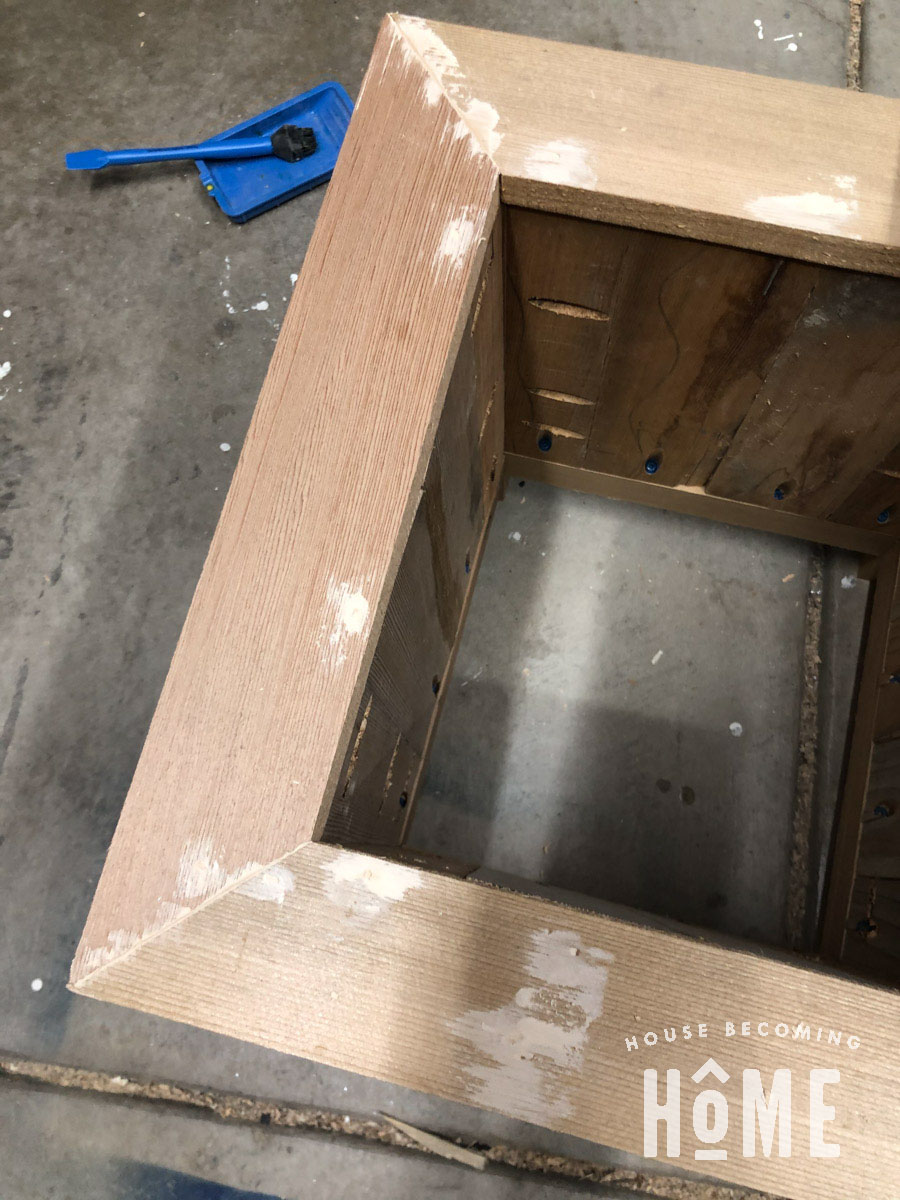
Fill the nail holes (and any gaps in the mitered trim) with wood filler. Once dry, sand.
Add Interior Plant Supports
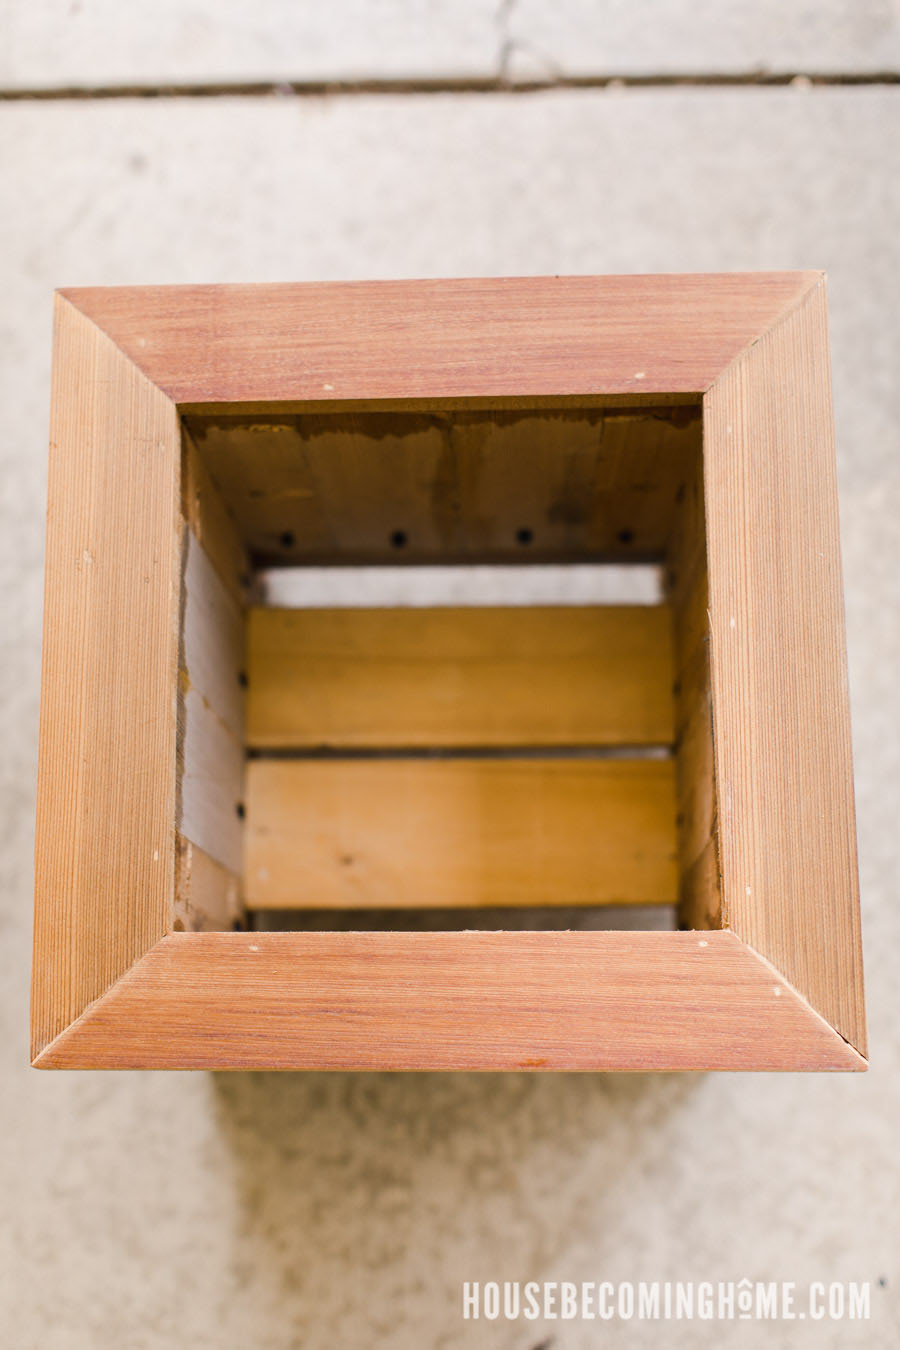
Using pocket holes and screws, attach two pieces of 3/4″ cedar inside the planter. These supports will hold your flower pot, so the placement of these will vary depending on its height.
Apply Exterior Finish and Fill with a Pot of Flowers
I applied General Finishes outdoor oil to protect the planter.
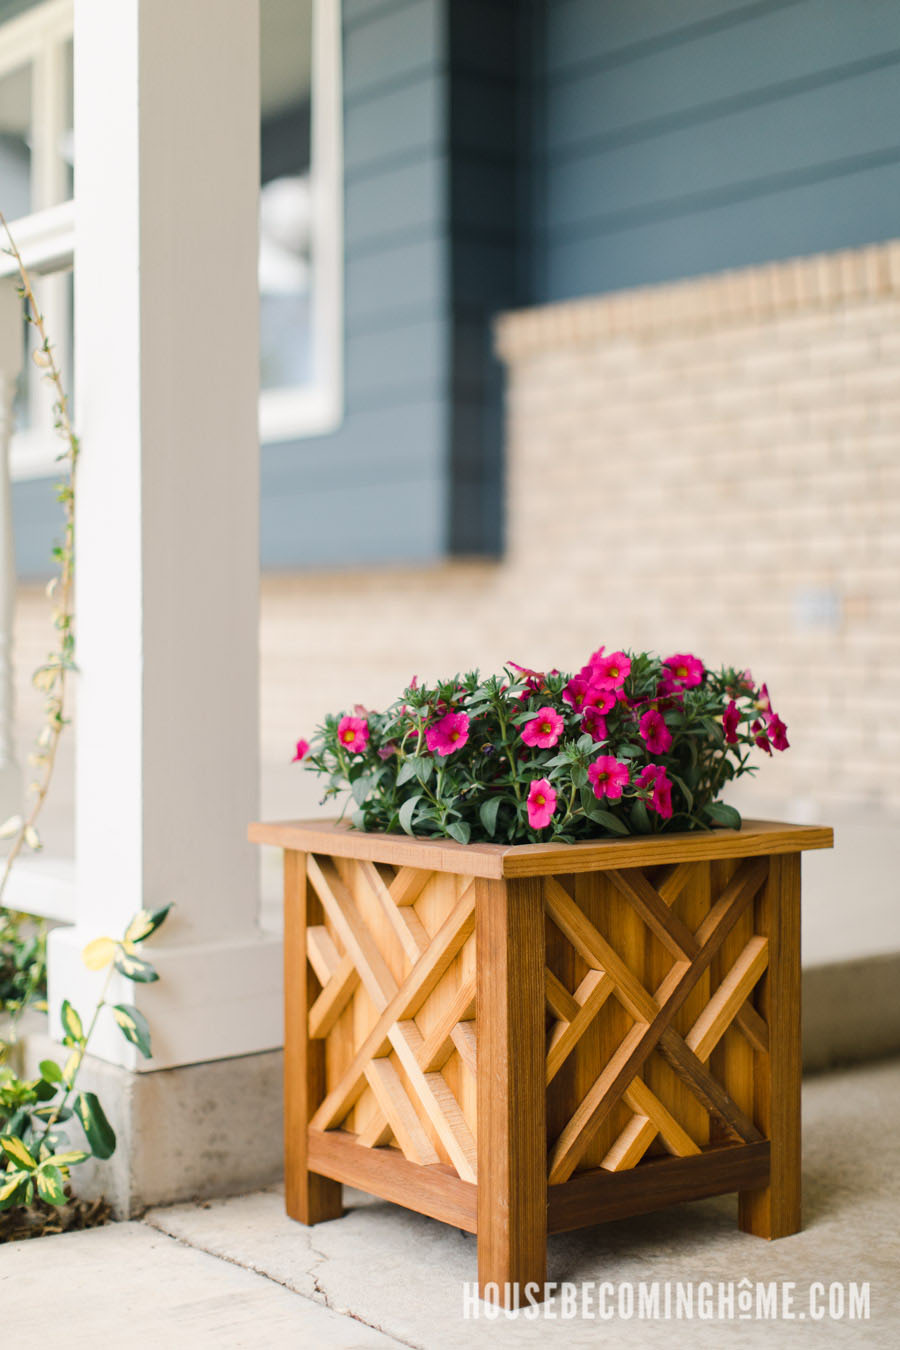
**To make one for your own front porch, get the printable pdf plans.**
Chippendale Planter Comparison
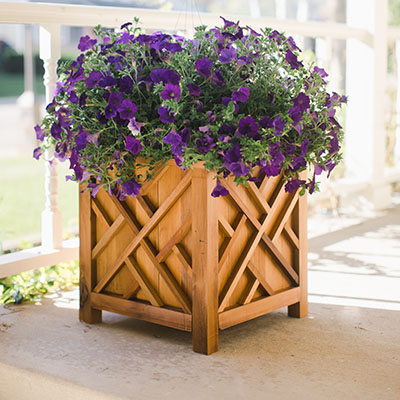
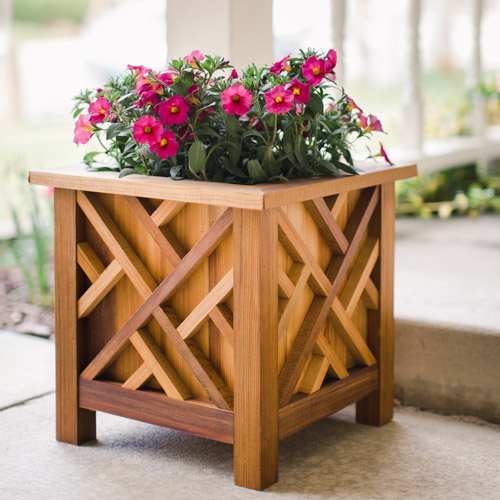
Here’s a side-by-side comparison of the two chippendale planters I made. You can see the one on the left that I made last year (with purple flowers) holds a larger flower pot. The decorative panel pieces are the same width in each, yet they appear slightly thinner in the planter on the left because of its larger overall size. You can find the pdf plans at the links below:
Large Chippendale Planter Plans
