Have you ever participated in the Builder’s Challenge? I learned about it last year and was excited to join in on the fun. If you’re not familiar with it–the Builder’s Challenge creates and sends building plans to anyone who signs up. The deadline is three weeks after the plans are sent, when all participants post a final image of their project on Instagram.
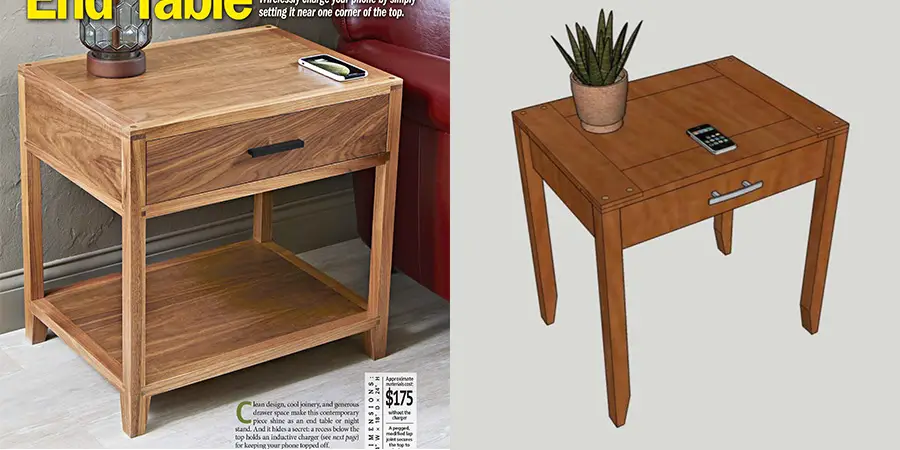
For Season 7 of The Builder’s Challenge, the plans were for a charging station. They provided novice plans, as well as more advanced plans for the intermediate and advanced builders. Here they are (intermediate/advanced version on the left, novice version on the right)–an end table with built-in wireless charging:
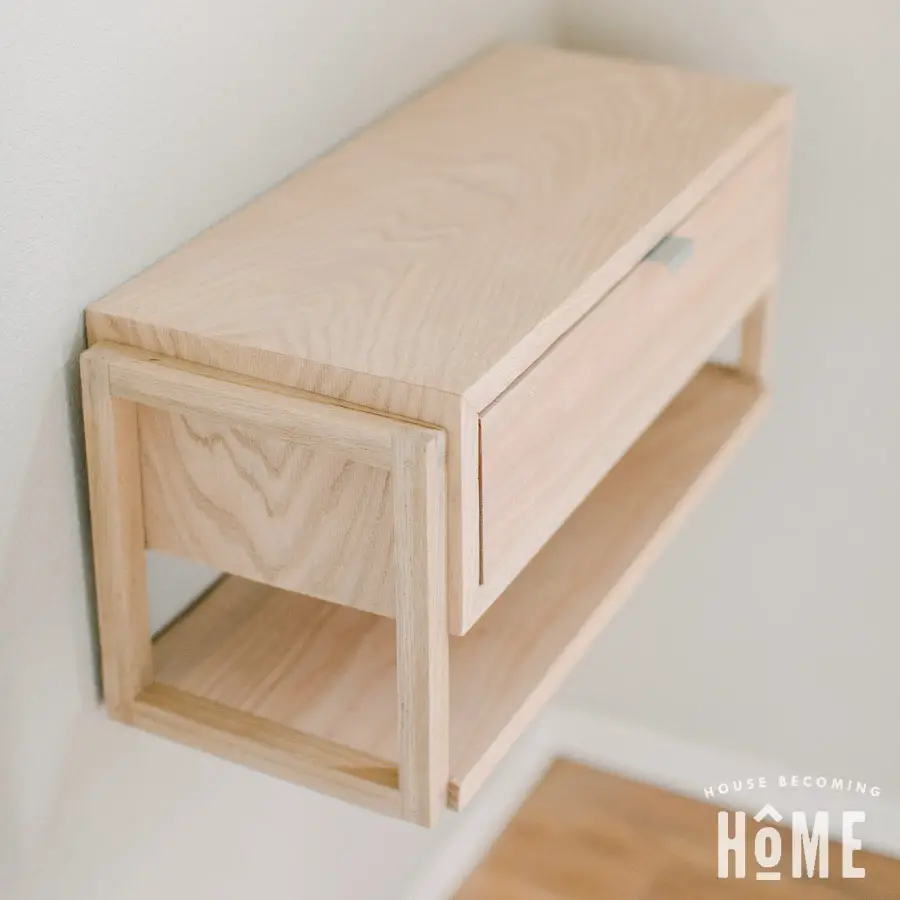
I loved the idea of hidden wireless charging, but envisioned that being most useful next to my bed . . . which has drawers. And a nightstand with legs doesn’t work next to bed drawers. So I sketched out something of my own, taking inspiration from the original plans. Here’s the modern floating nightstand I came up with:
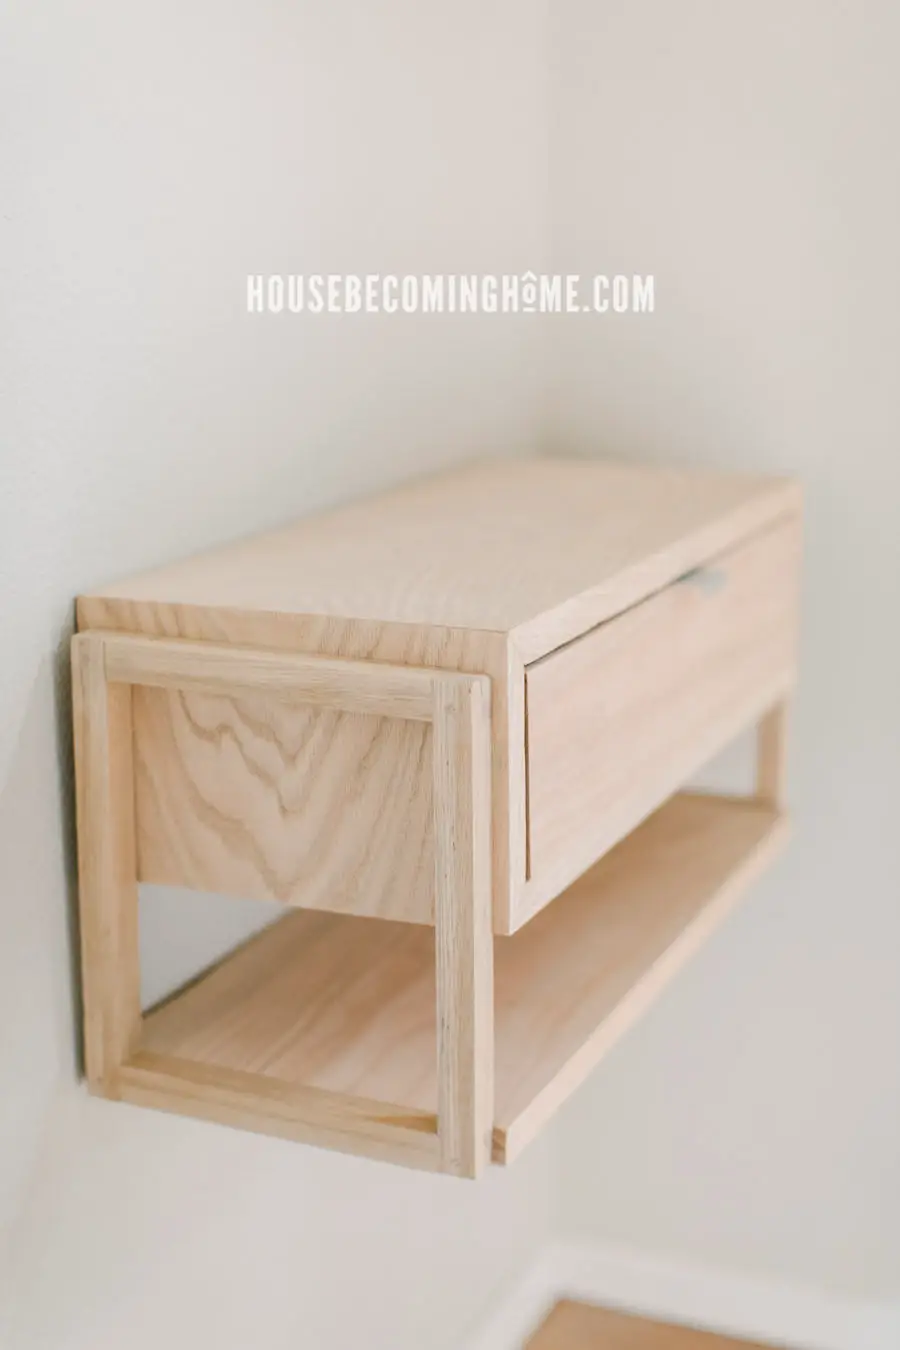
I was intrigued by the half-lap and dowel joinery of the original plans, and worked them into the design of my nightstand. The main difference, of course, is that mine doesn’t have legs (well . . . legs that touch the floor), but it is a floating nightstand secured to the wall with a french cleat.
How to Build a Modern Floating Nightstand
* This post contains affiliate links for your convenience. Read my full disclosure policy here. *
Cut Lumber For the Floating Nightstand Body
I started by making cuts for the main body of the nightstand. I wanted the grain of the wood to continuously wrap from the top to the sides, so I needed to give the oak 45 degree beveled edges.
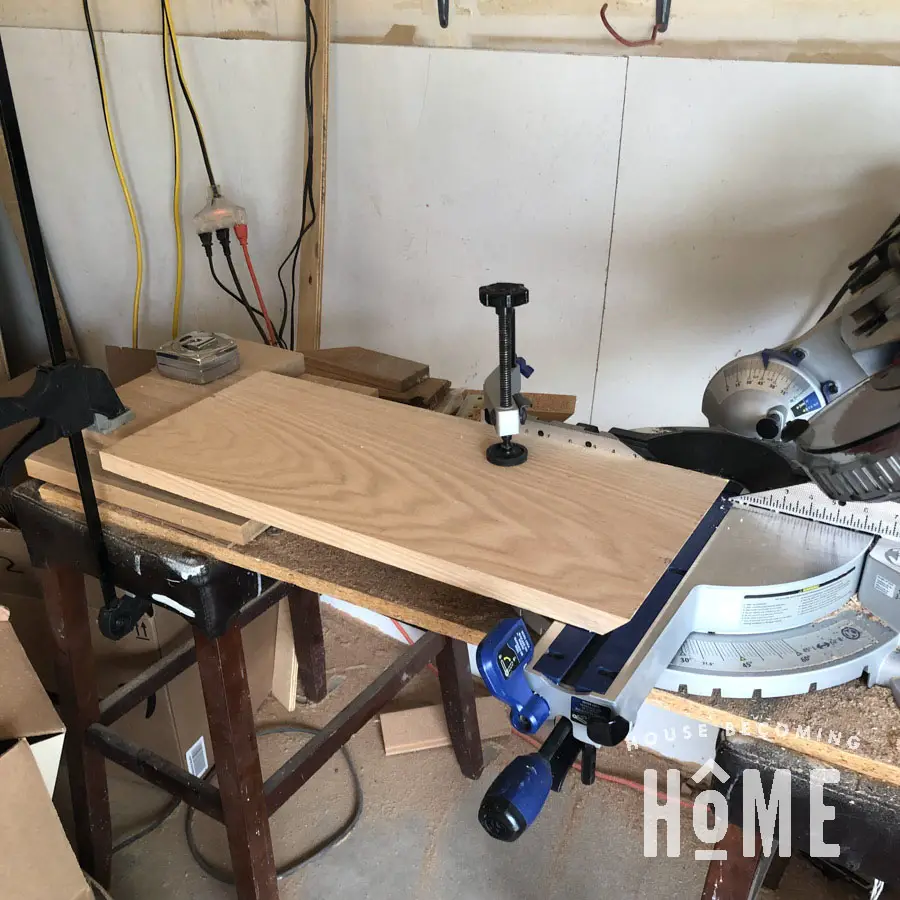
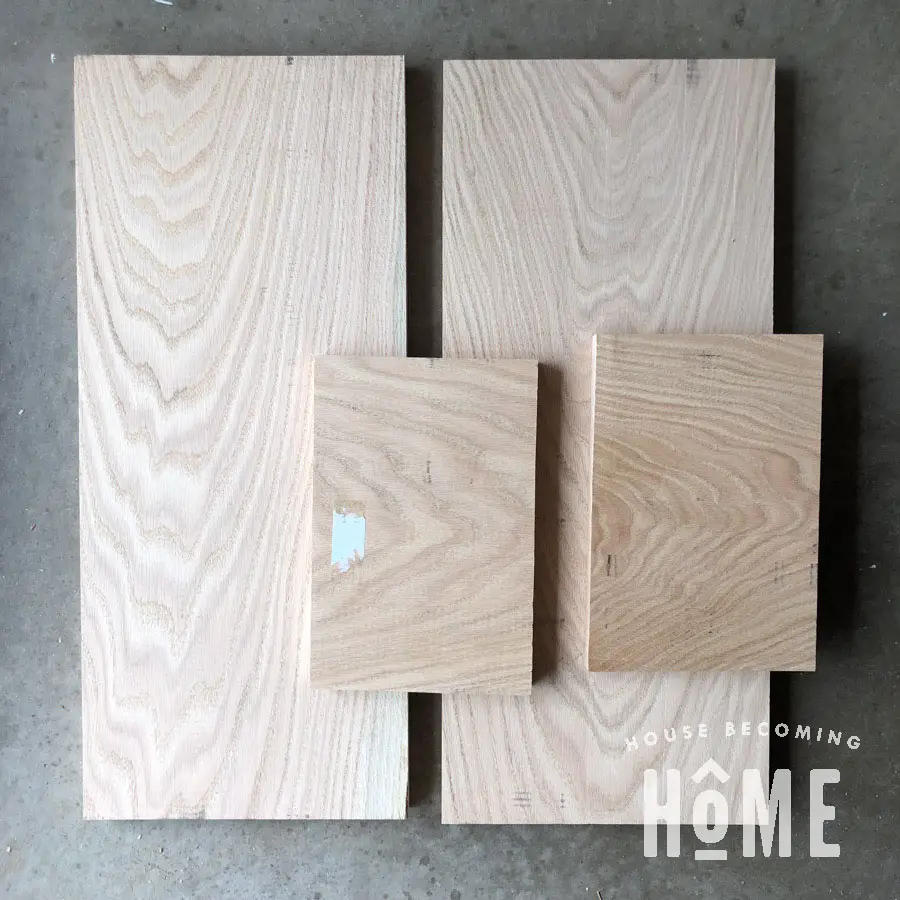
I used a makeshift stop block to ensure that my top and bottom pieces, as well as the two sides, were identical in size. (it’s probably not too hard to tell that this terrible work area is pre-garage workshop makeover . . . ?)
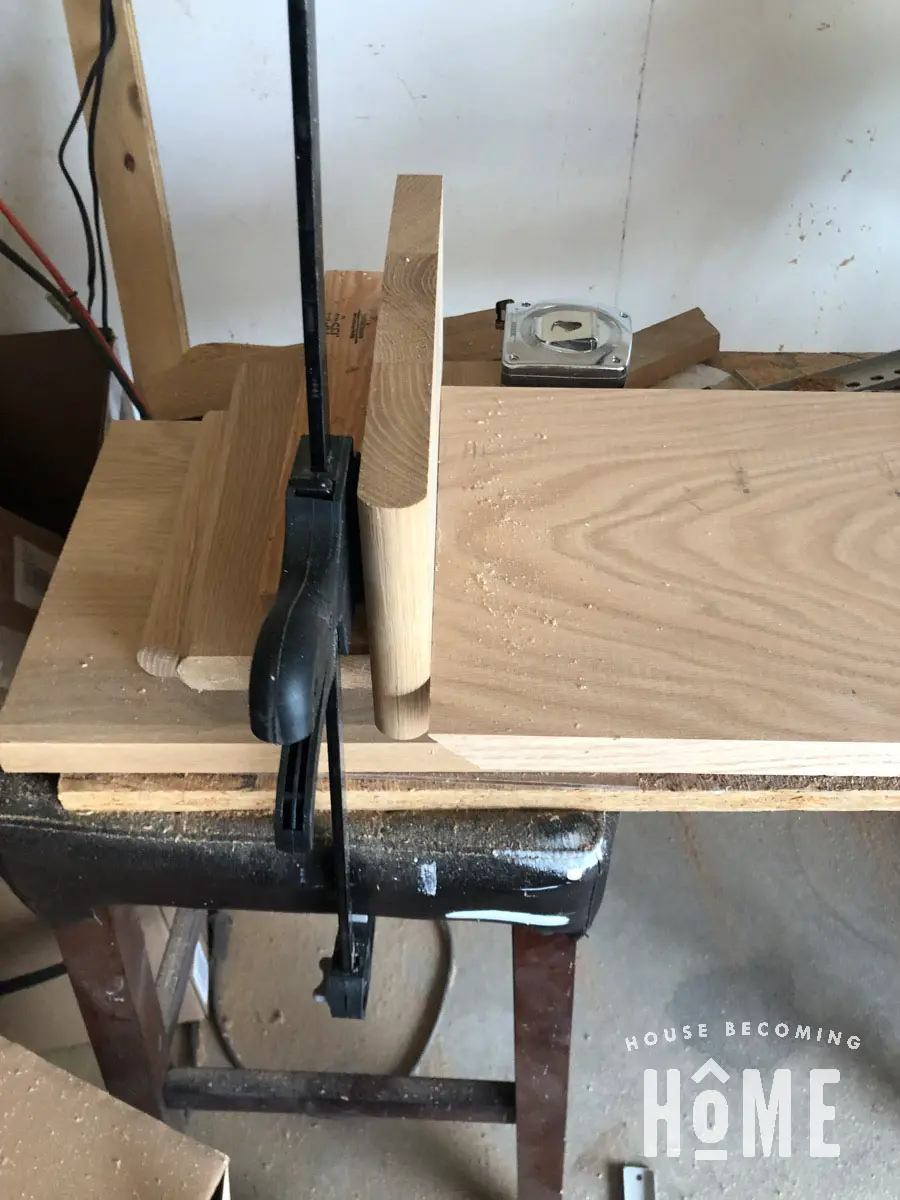
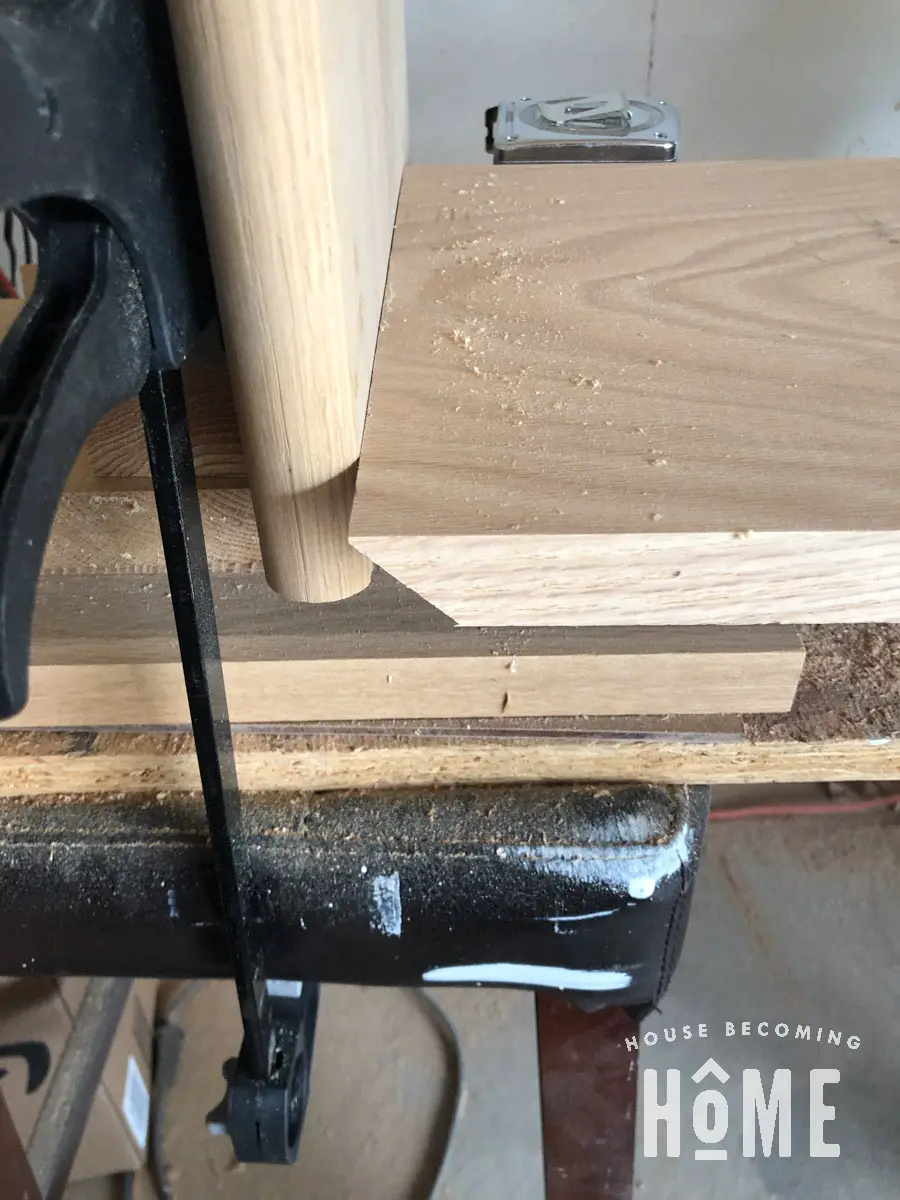
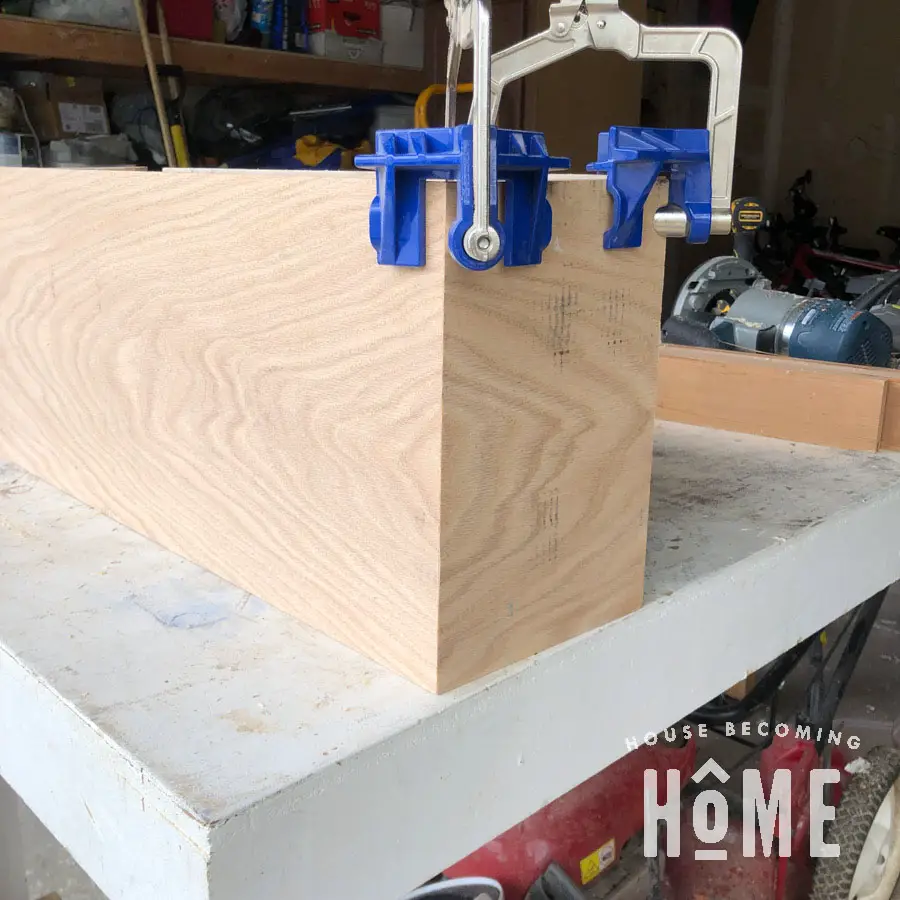
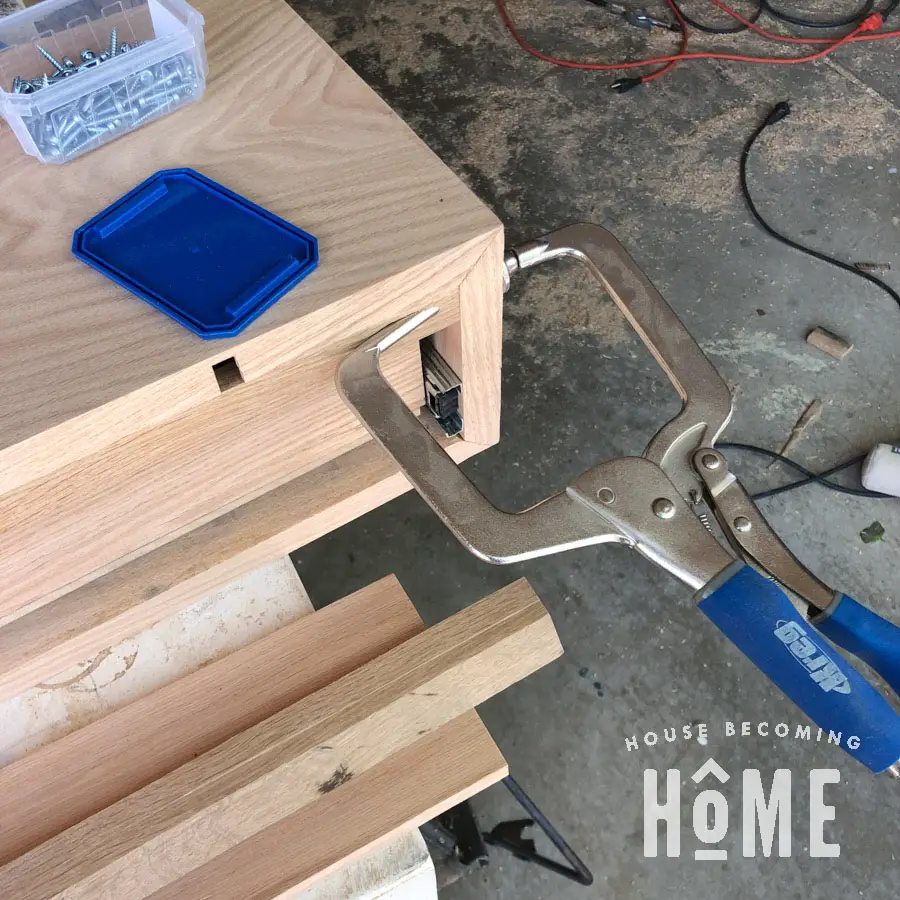
I dry fit the pieces together using my Kreg Corner Clamps to make sure everything lined up. But it’s not time to glue the modern floating nightstand together just yet . . . (Isn’t that continuous grain PRETTY?! )
Make a Recess for the Wireless Charger
The wireless charger will sit inside the nightstand, but it needs to be as close to the surface as possible, in order to charge a device.
I used my router with a straight bit to carve out as much wood as I could.
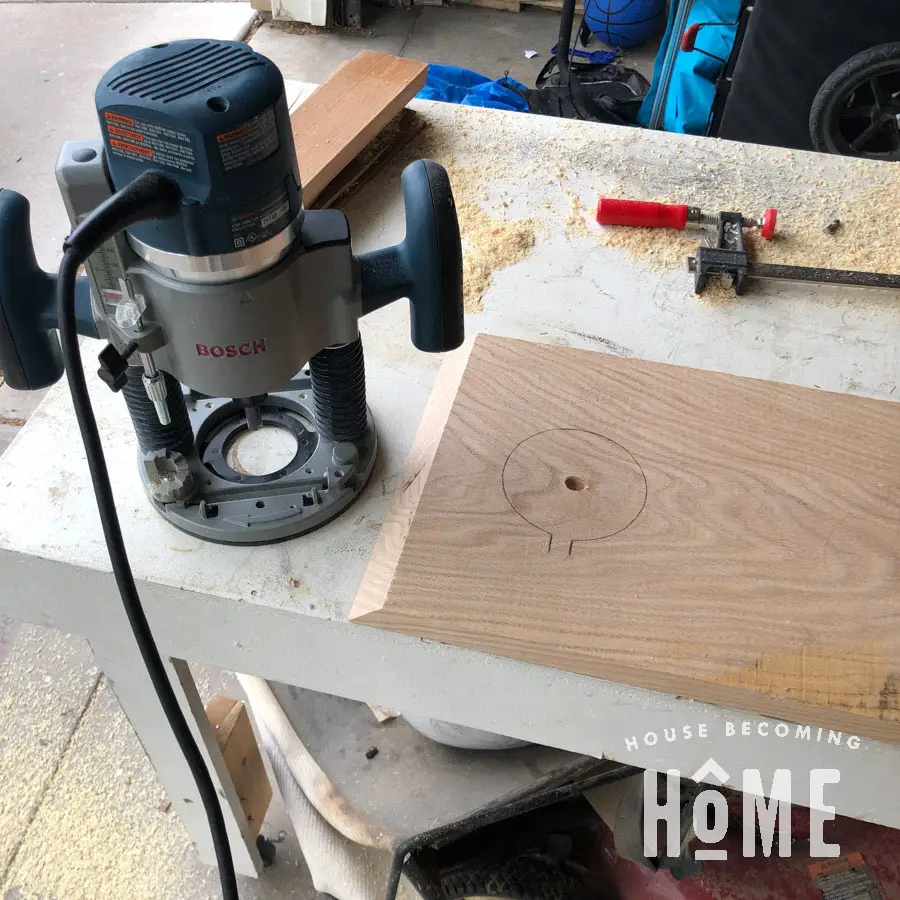
Start by tracing your wireless charger onto the bottom face of what will be the top of the nightstand. I traced slightly larger than the actual charger, but not much.
Drill a hole into the wood (about 1/4″deep) as a place to start your router.
Work your way around the circle in a clockwise direction until you’ve carved out the entire circle. Add an “exit” line for the cord of the wireless charger.
**Don’t start with your router bit at the full depth. Make several passes, increasing the depth each time.**
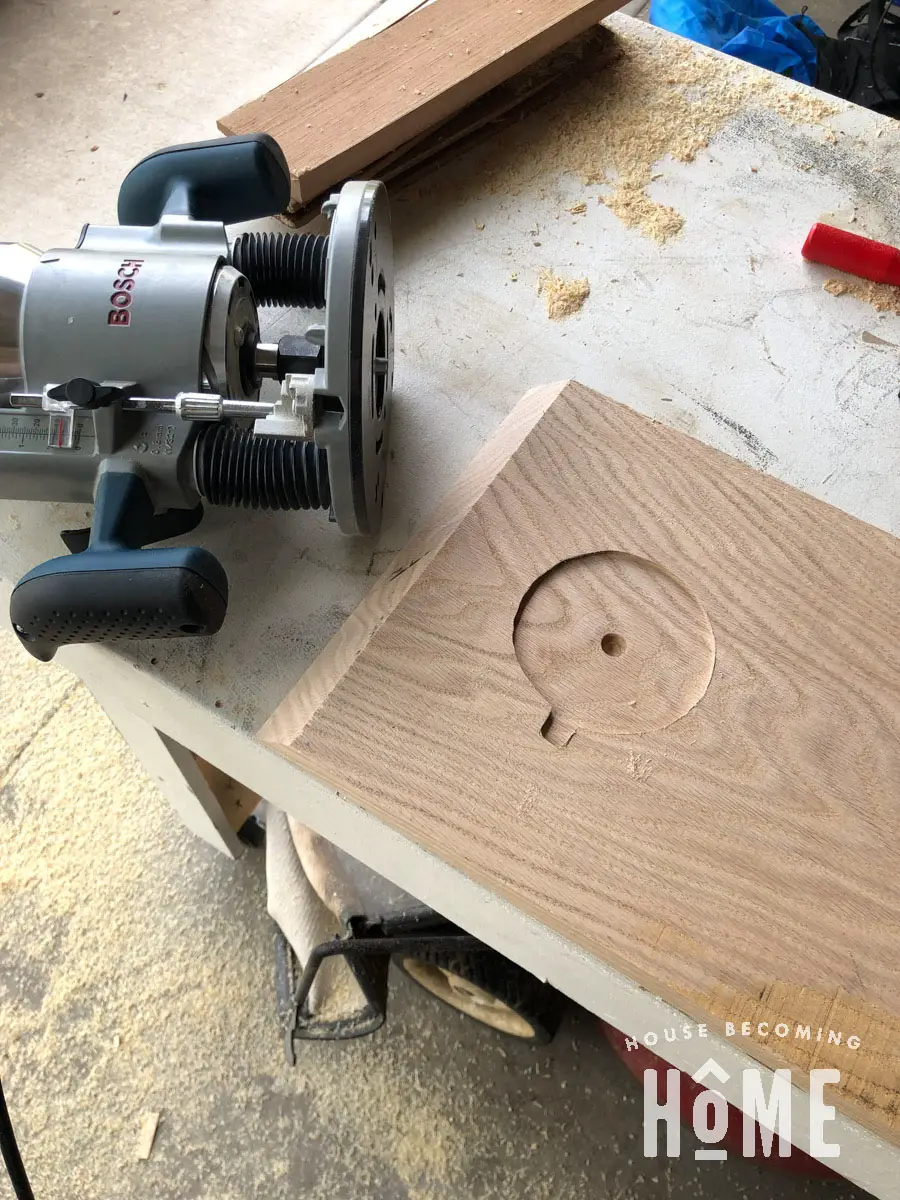
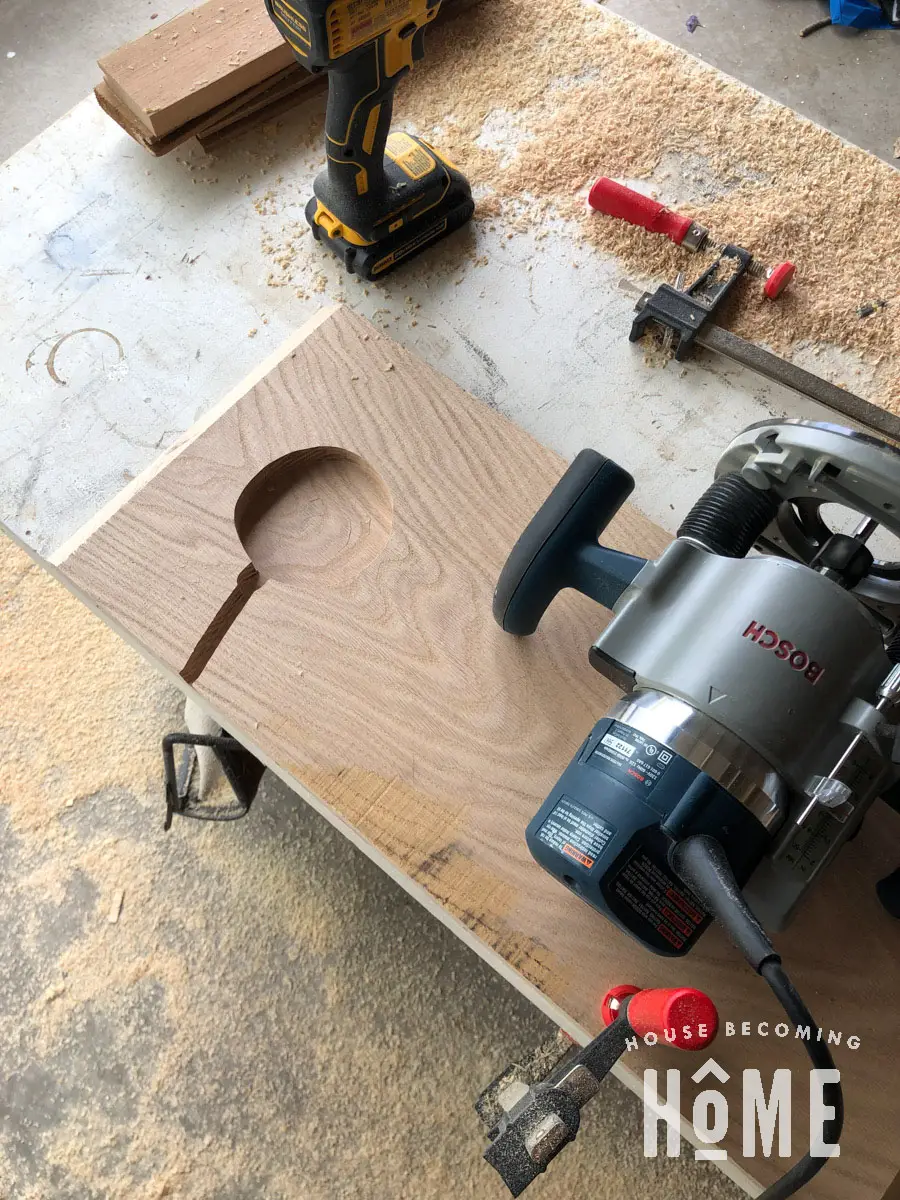
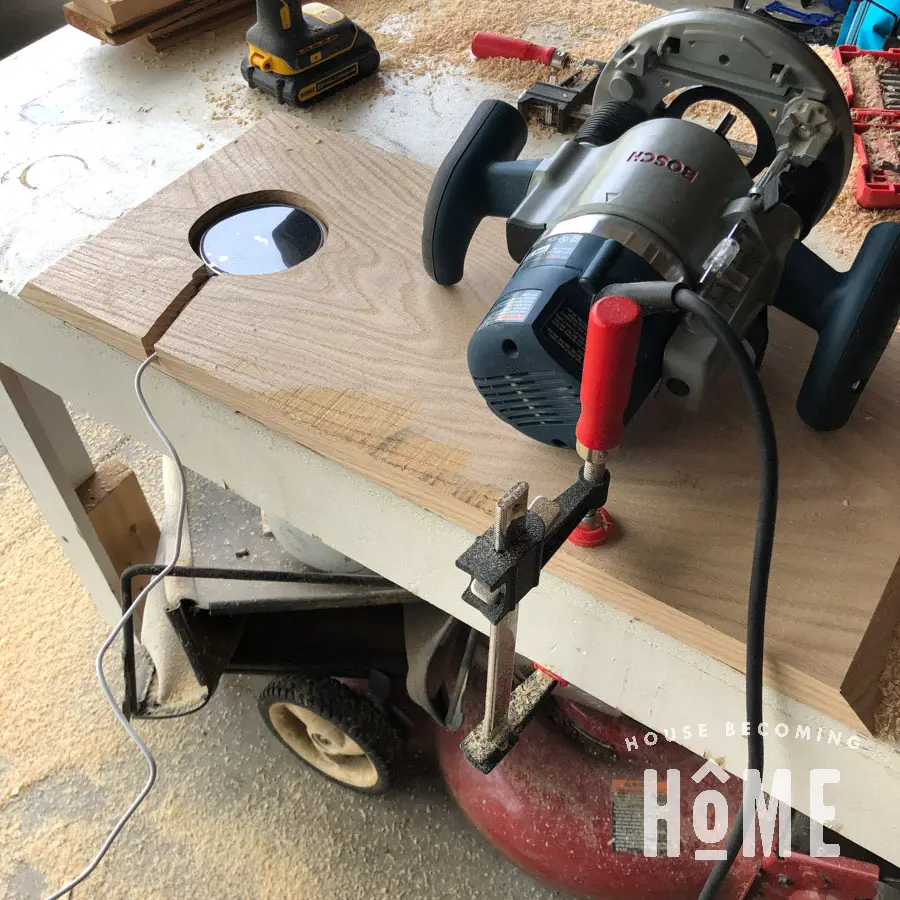
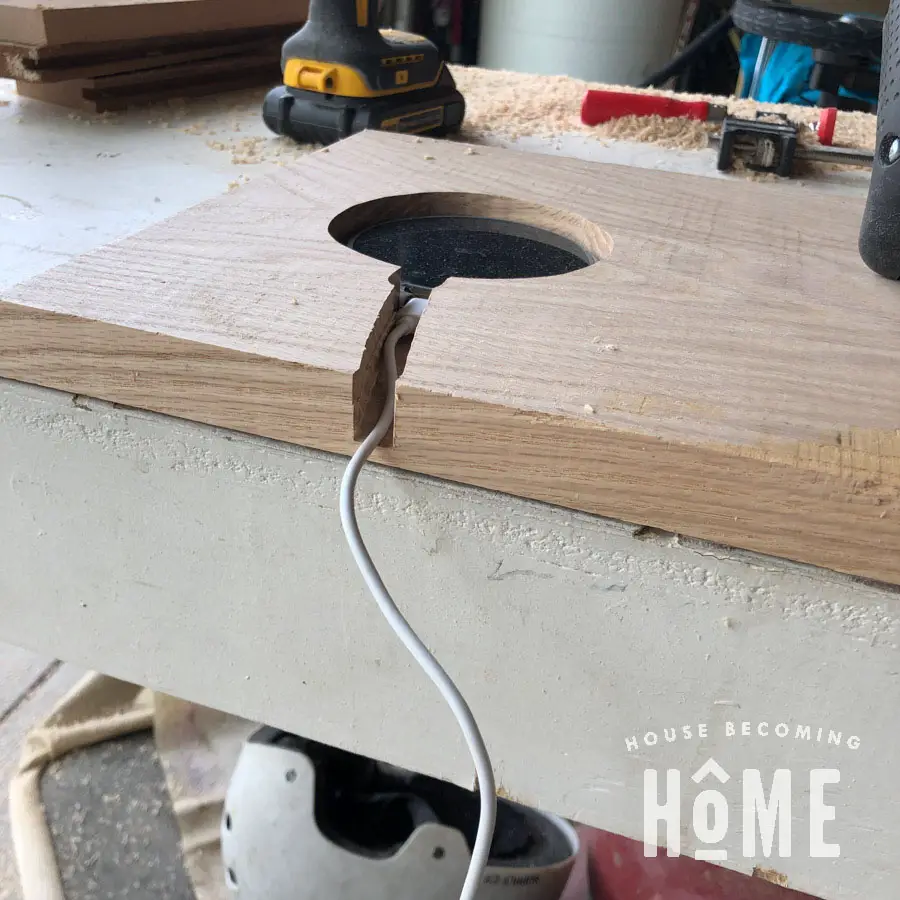
After finishing a complete pass with my router, I would place the charger inside the wood. If the wood was still too thick, my phone wouldn’t charge when placed on the other side. Once I got the recess down to about 1/4,” my phone charged.
**After the nightstand is put together, you’ll keep the charger securely in-place with double-sided carpet tape**
Build the Modern Floating Nightstand Body + How to Fix Bad Bevel Cuts
At this point I was able to join the four sides of the nightstand together. I used wood glue, as well as a few nails + nail gun to join the pieces.
Despite my best efforts, the alignment of the nightstand body was still not perfect at all four sides. Perhaps my miter saw was not precisely at 45 degrees . . . I’m not really sure.
What do you do when mitered edges don’t perfectly fit?
You can see (in the photo below) that the edges aren’t perfectly matched up.
If you run into this problem, fill the gaps with sawdust and wood glue!
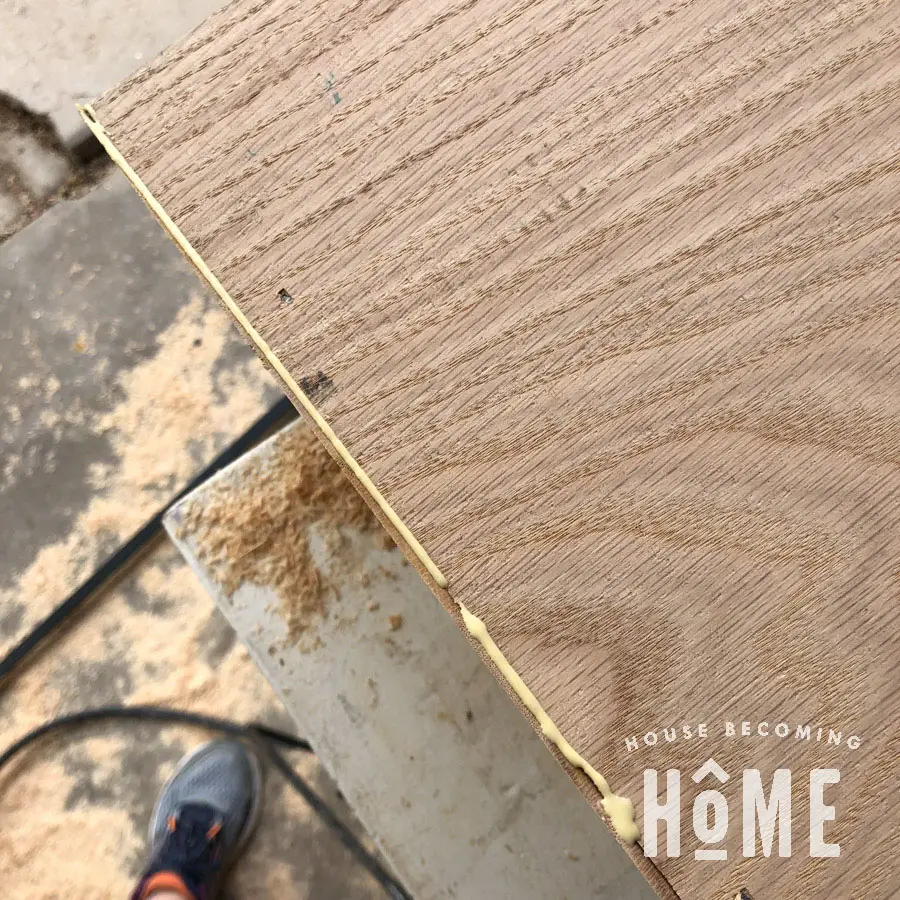
Luckily there was no shortage of oak sawdust after using the router to make the recess for the wireless charger:
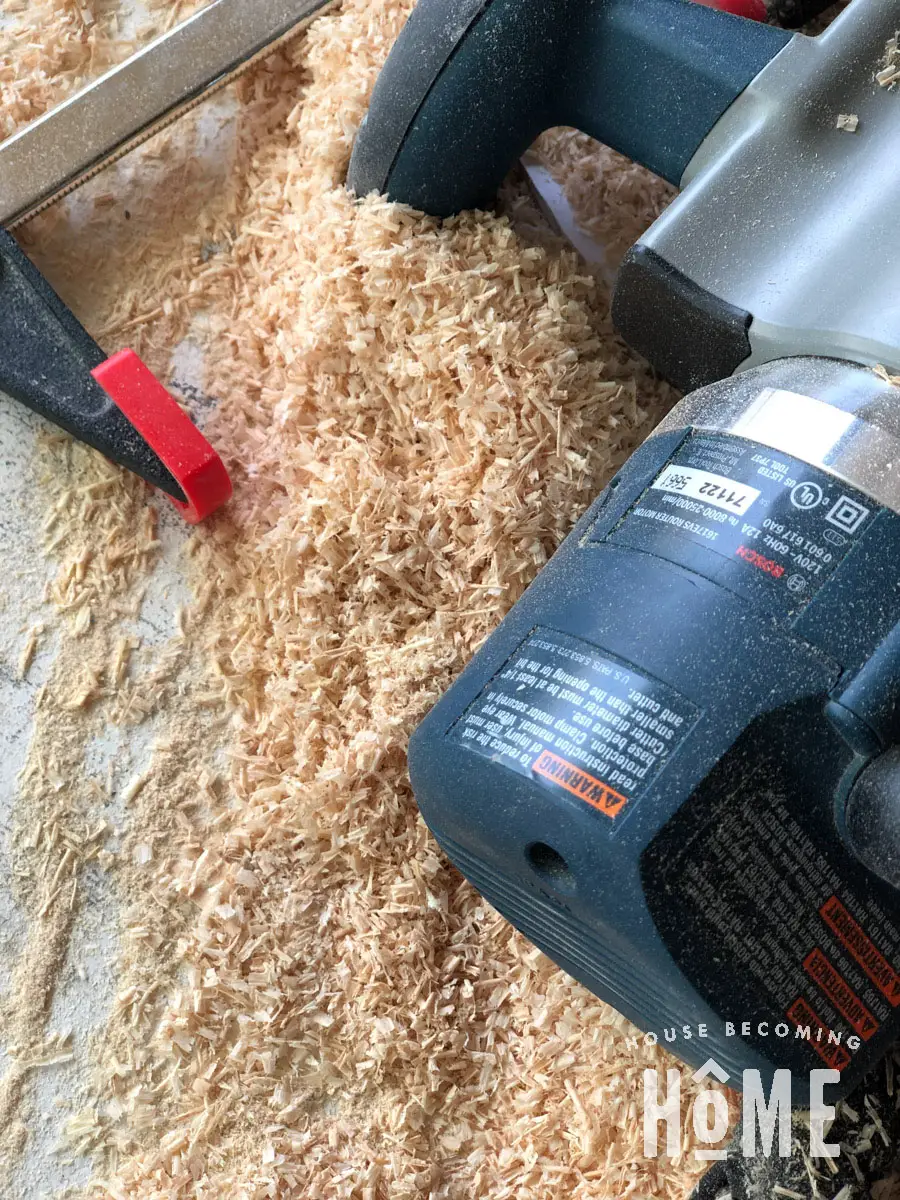
All I did was:
- Spread a line of wood glue into the gap.
- Use my finger to push as much sawdust as possible into the gap.
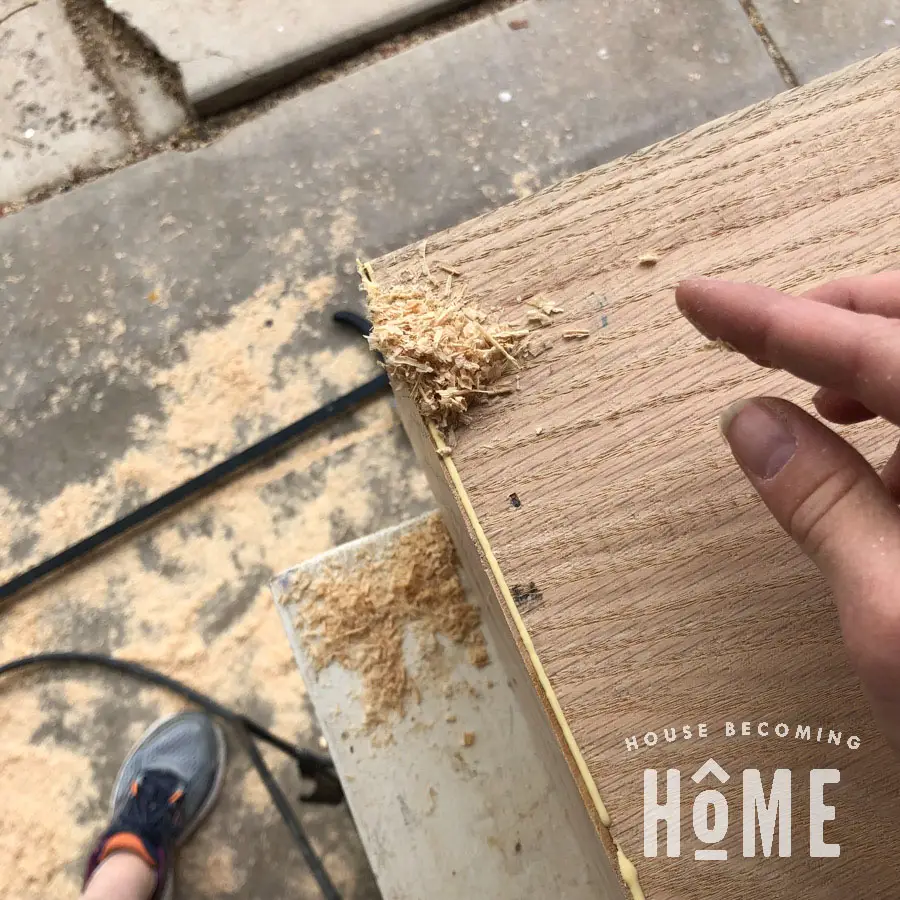
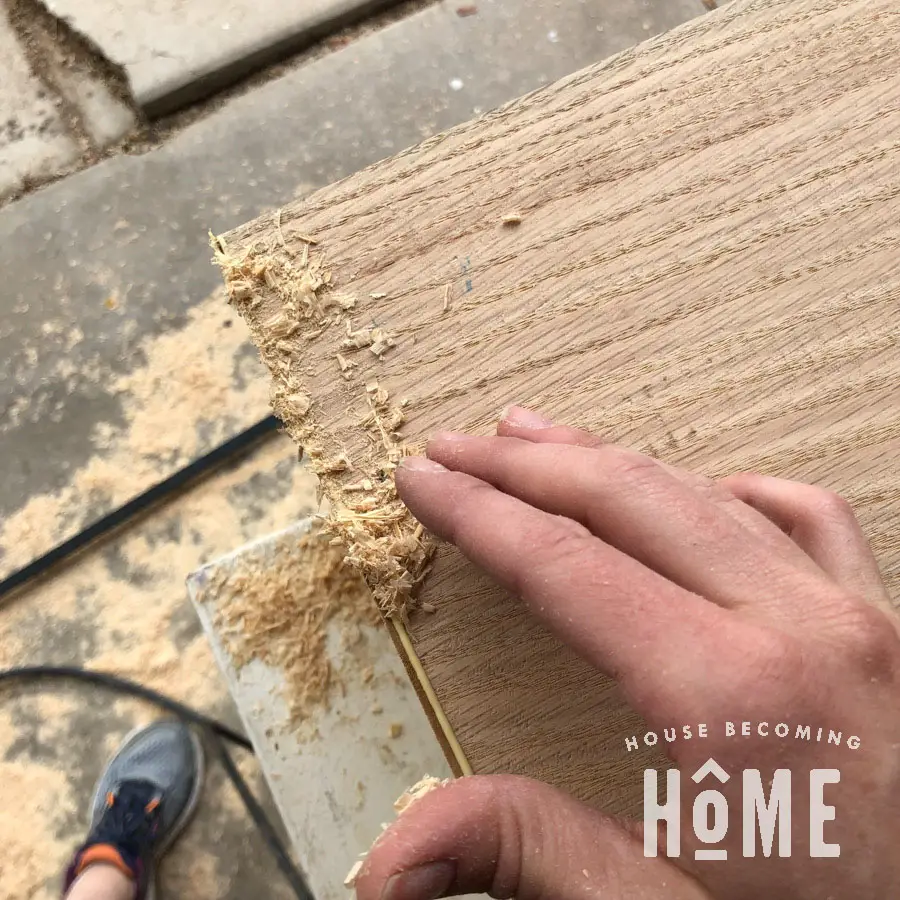
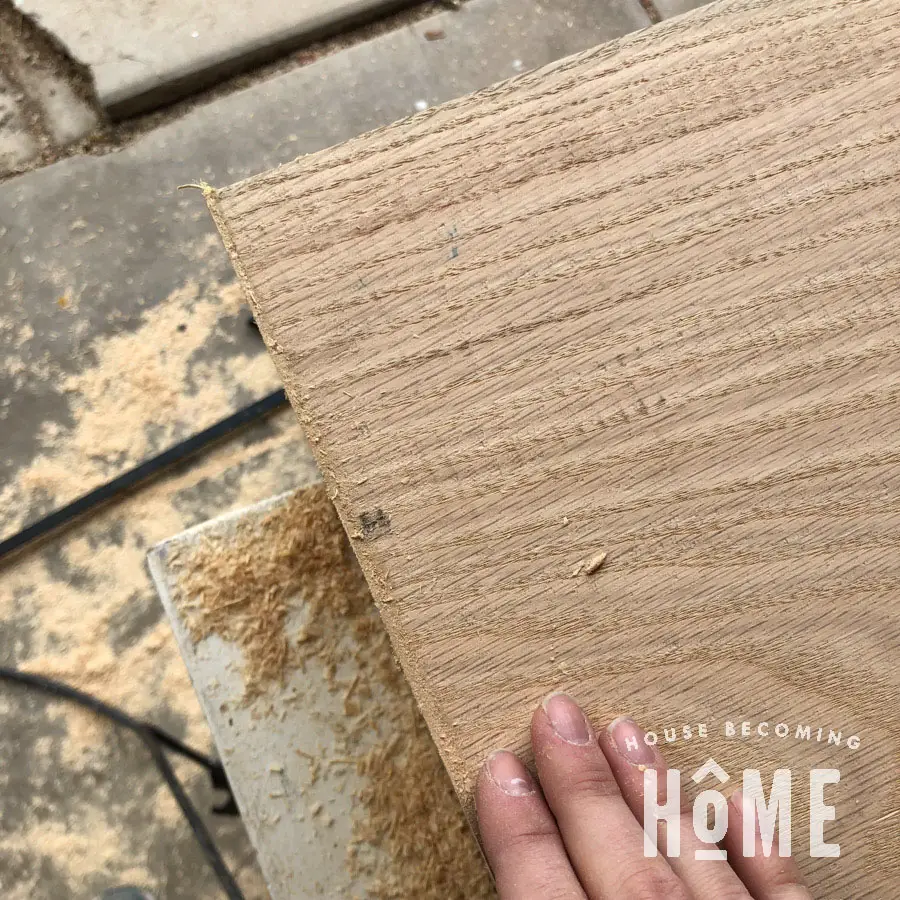
And that’s it! The unsightly gap is hardly visible.
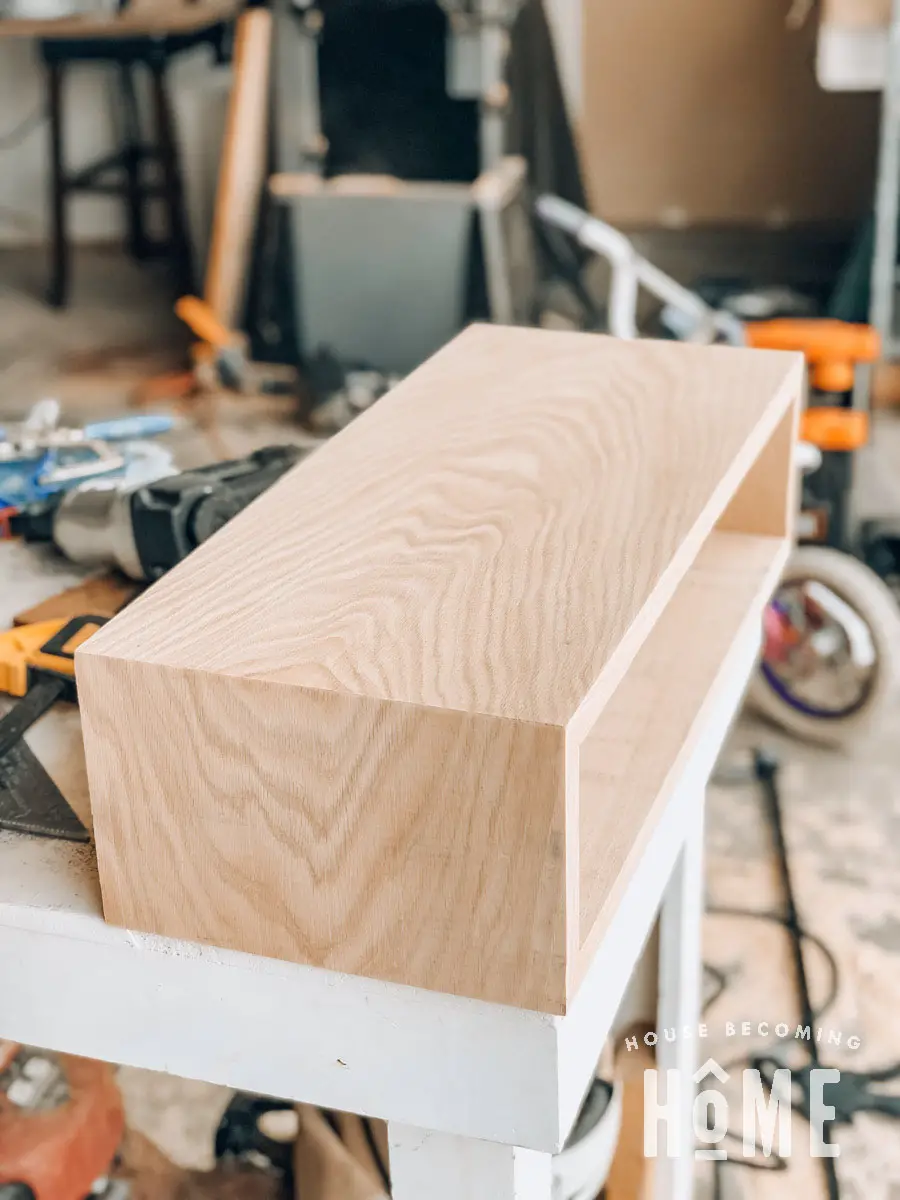
Build the Drawer Box
Be sure to check Craigslist for free hardwood pallets! I built my nightstand drawer from this (after removing the nails and planing the pieces, of course):
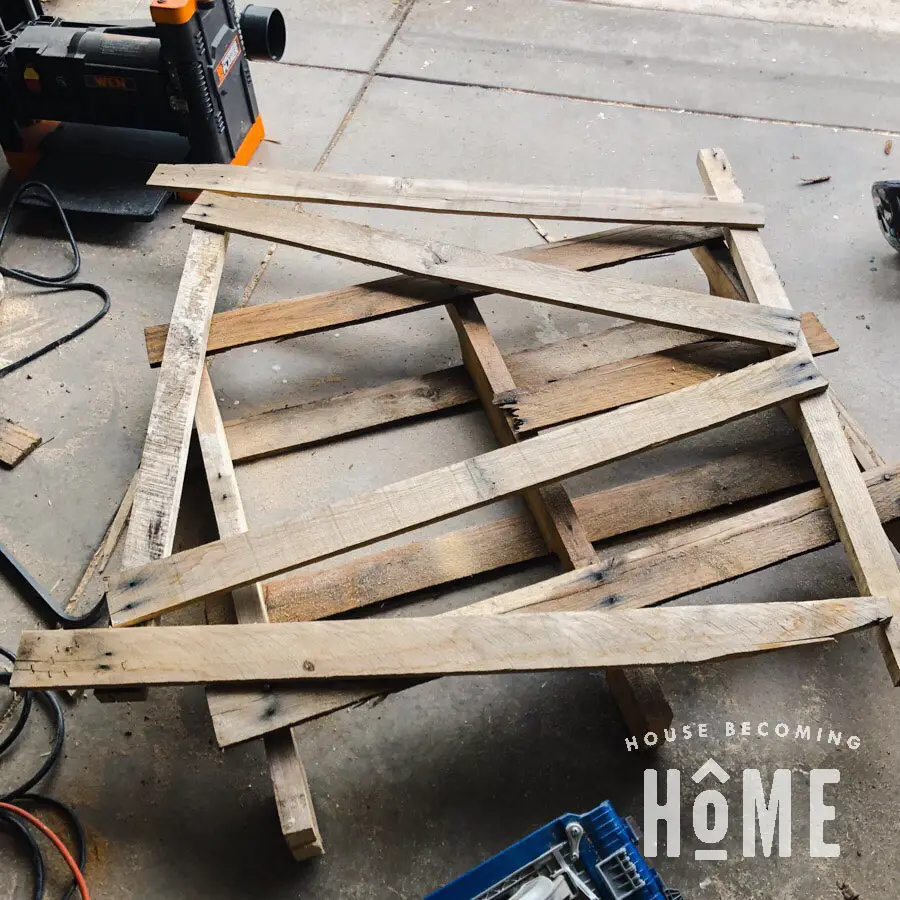
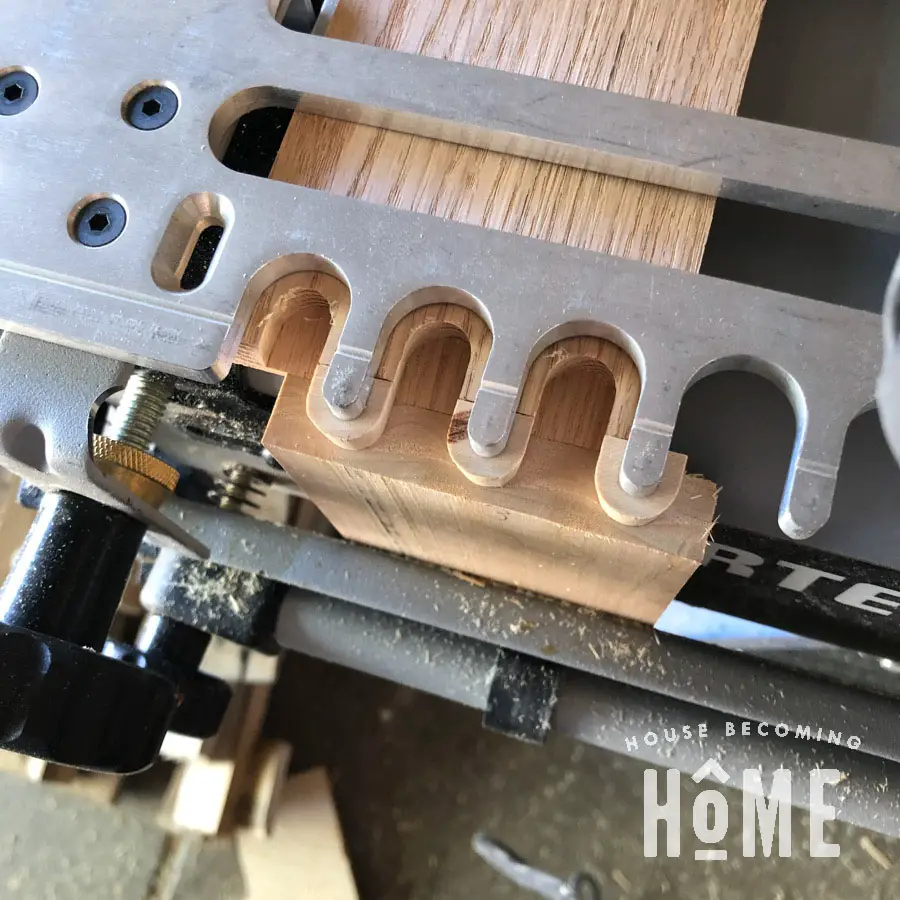
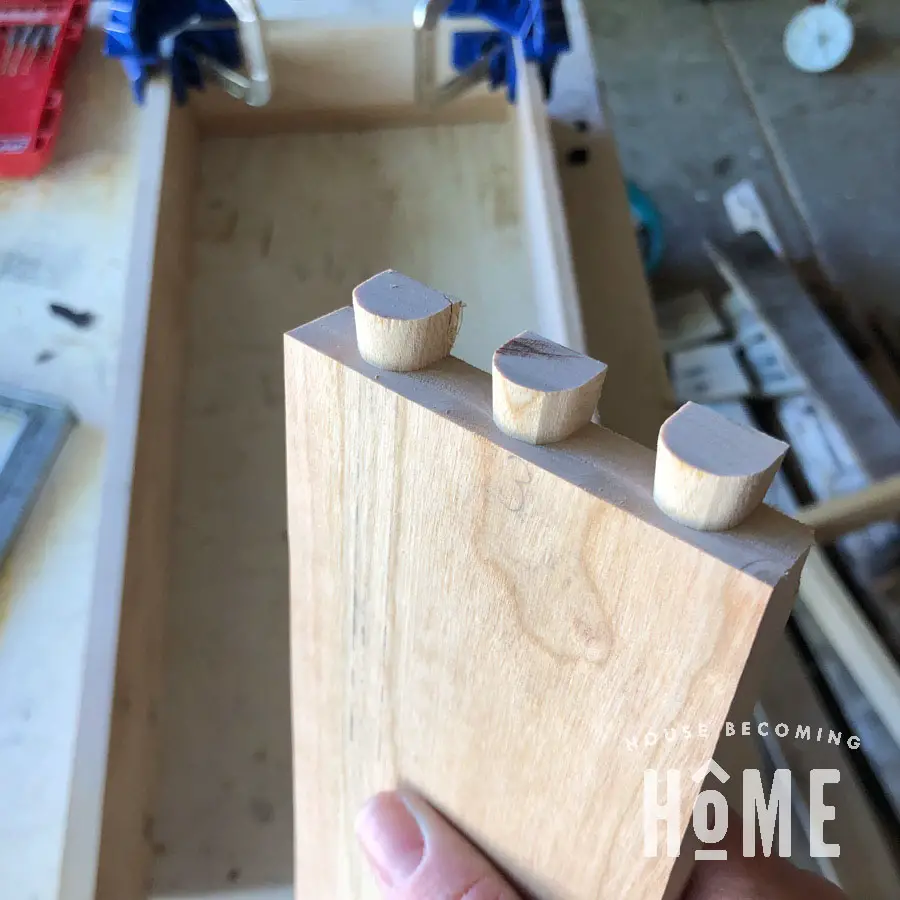
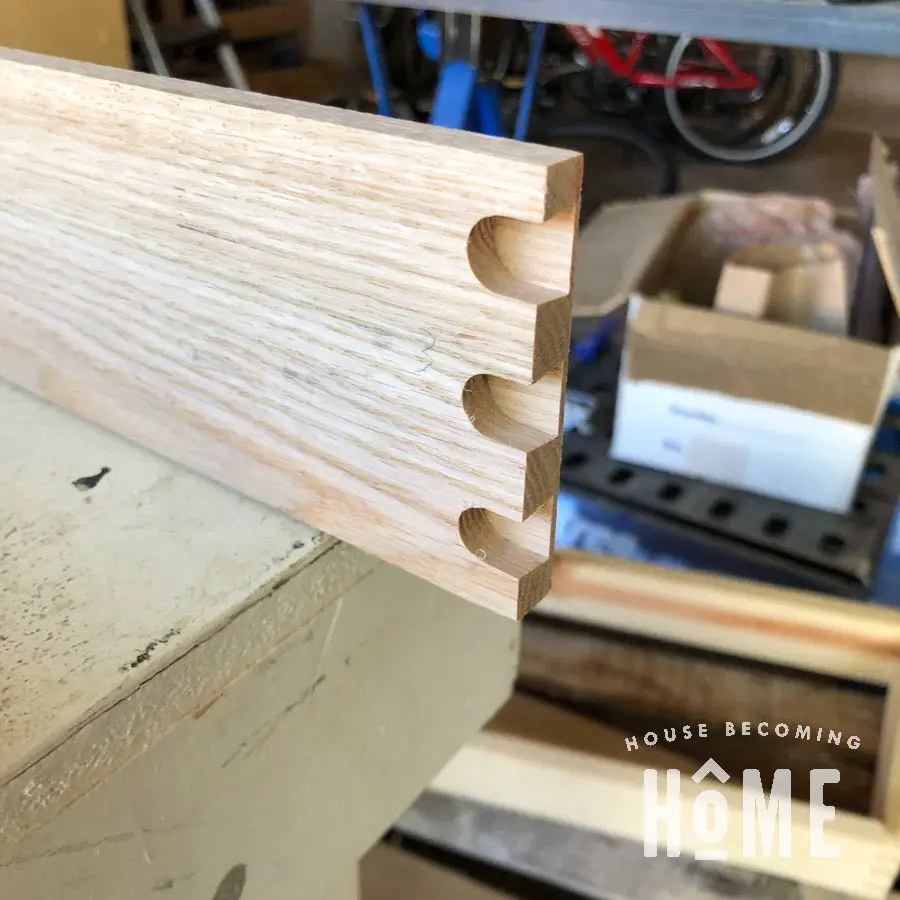
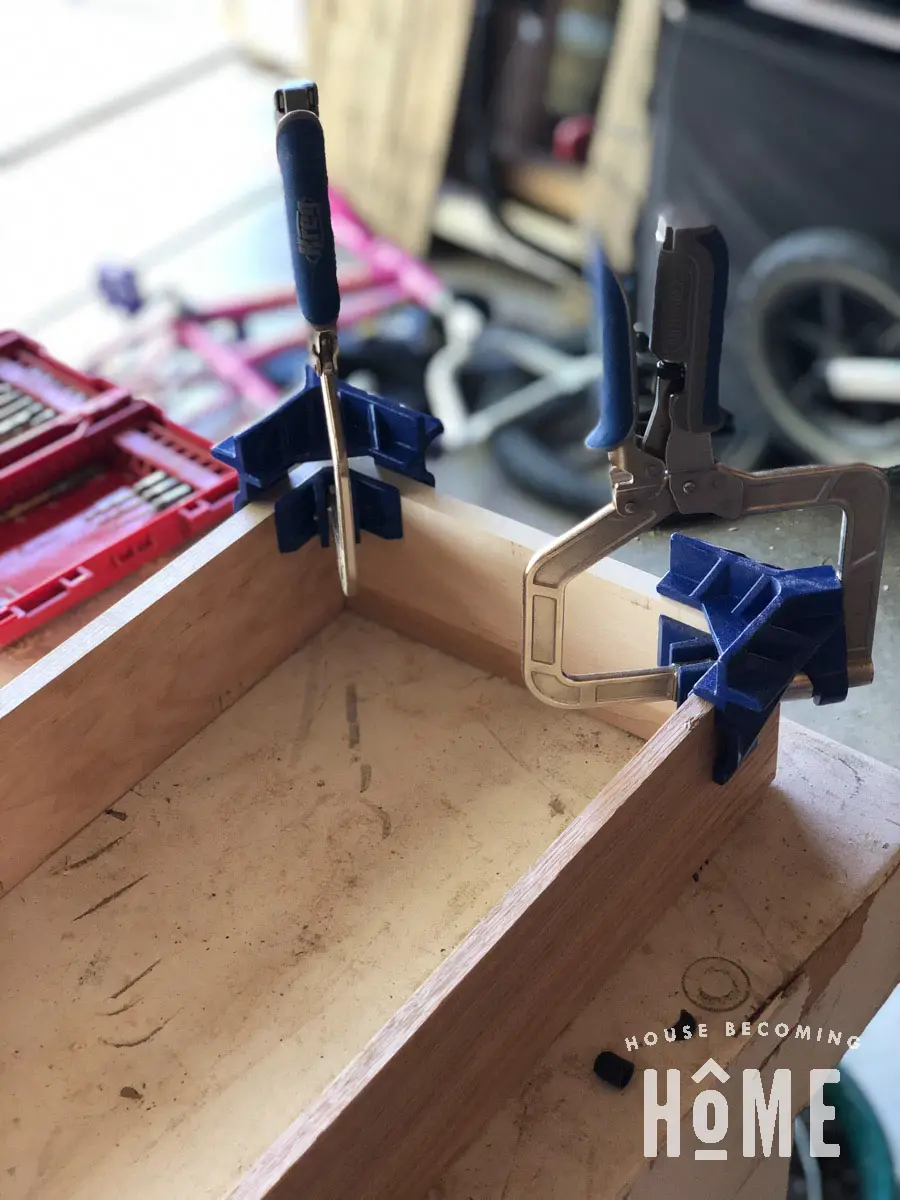
I used my Porter Cable dovetail jig to make half-blind dovetails for the drawer.
Attach Drawer Slides and Install in Nightstand
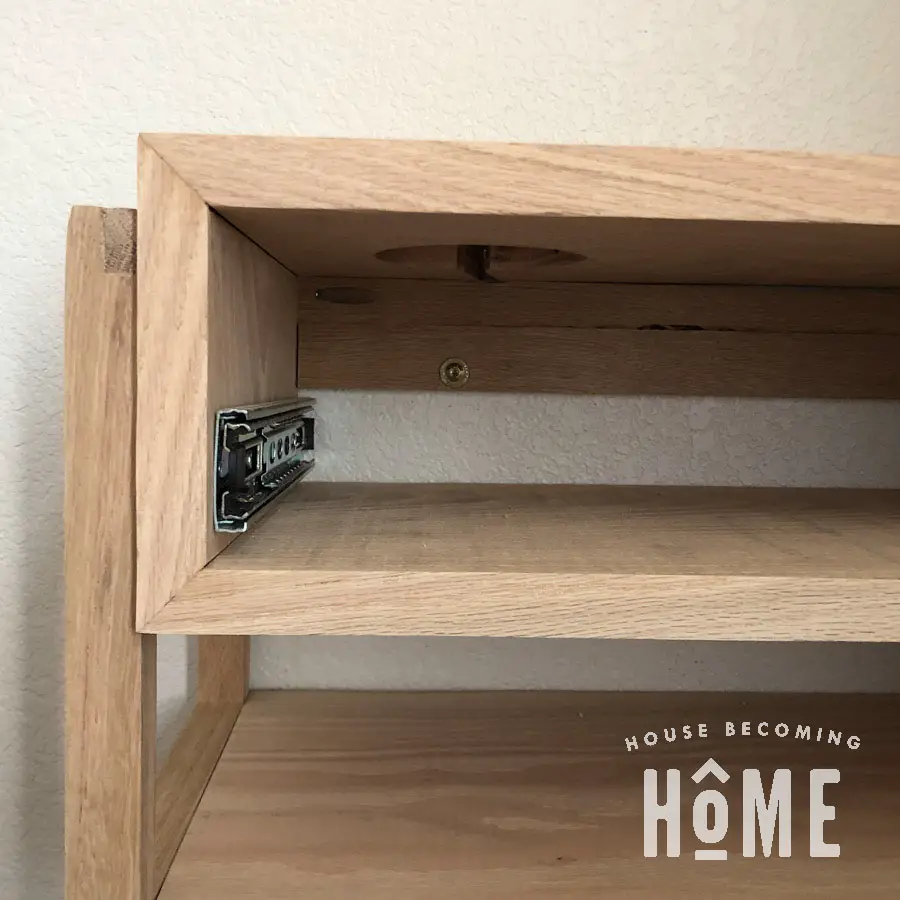
After finishing the drawer box, I added 10″ drawer slides to the drawer box and the nightstand.
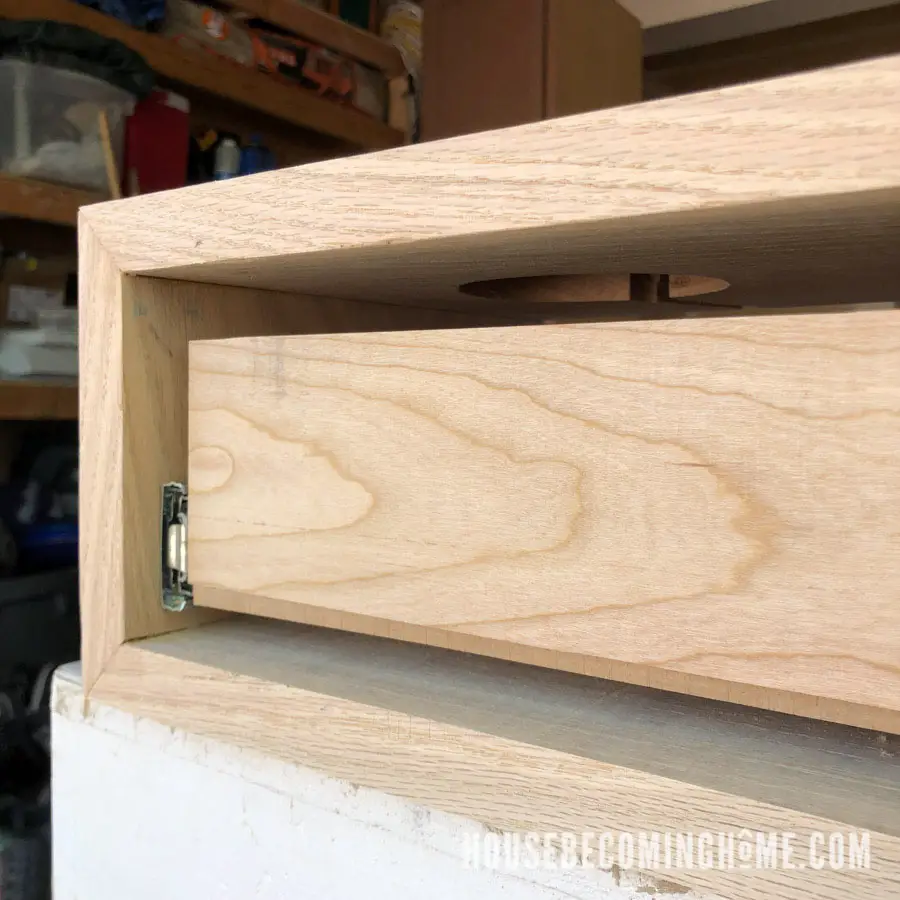
Attach the Drawer Face
**Tips & Must-Have Items for Attaching Drawer Face**
CORRECT SPACING
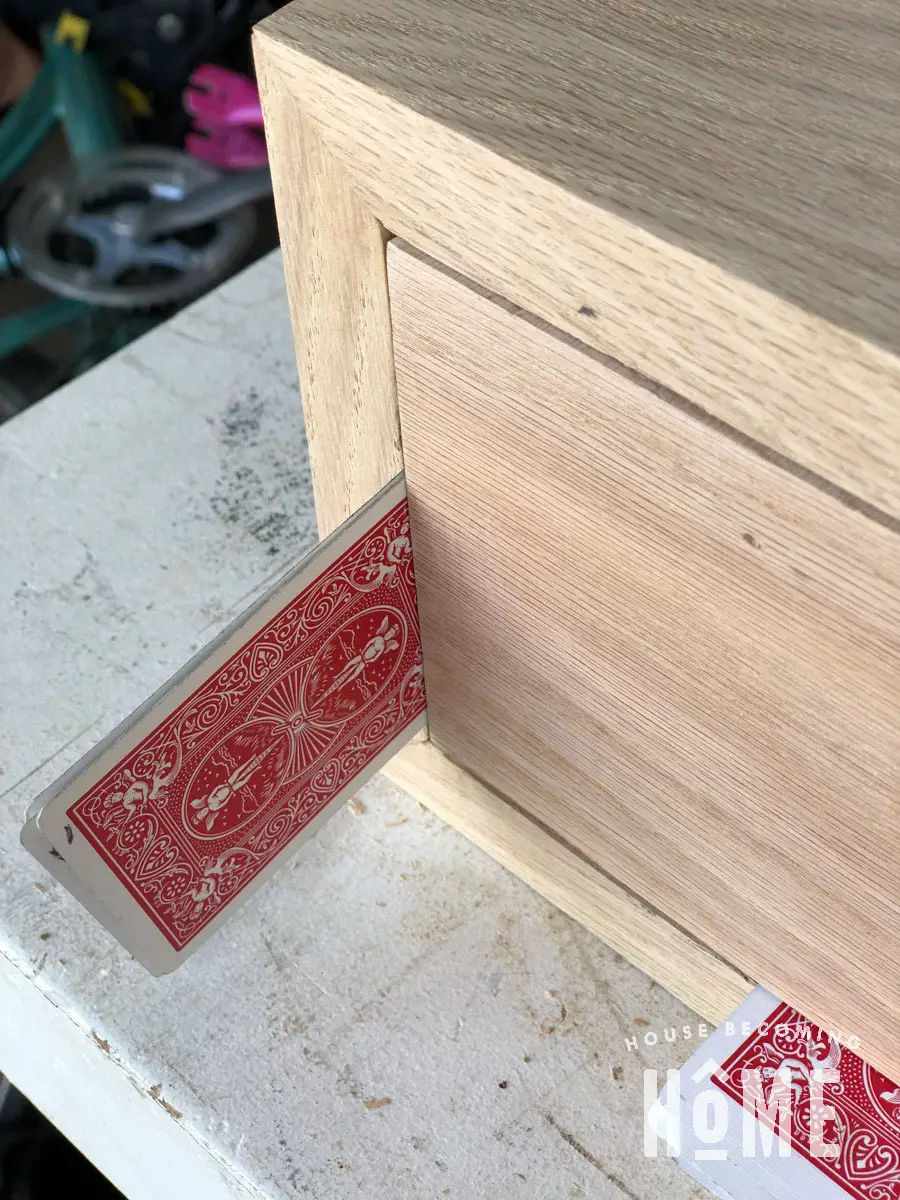
You’ve likely seen this tip. Use a small stack of playing cards, placed on the bottom and sides of the drawer opening to get your drawer face perfectly spaced in the opening.
The problem I always run into, is after getting that spacing right. It’s still a struggle to get the drawer face screwed onto the drawer box. As you open the drawer (which you have to do, to screw the face onto the drawer from the inside), if it slips even 1/16,” the alignment is off.
MAINTAINING THE SPACING WHILE YOU’RE FIXING THE DRAWER FACE TO THE DRAWER
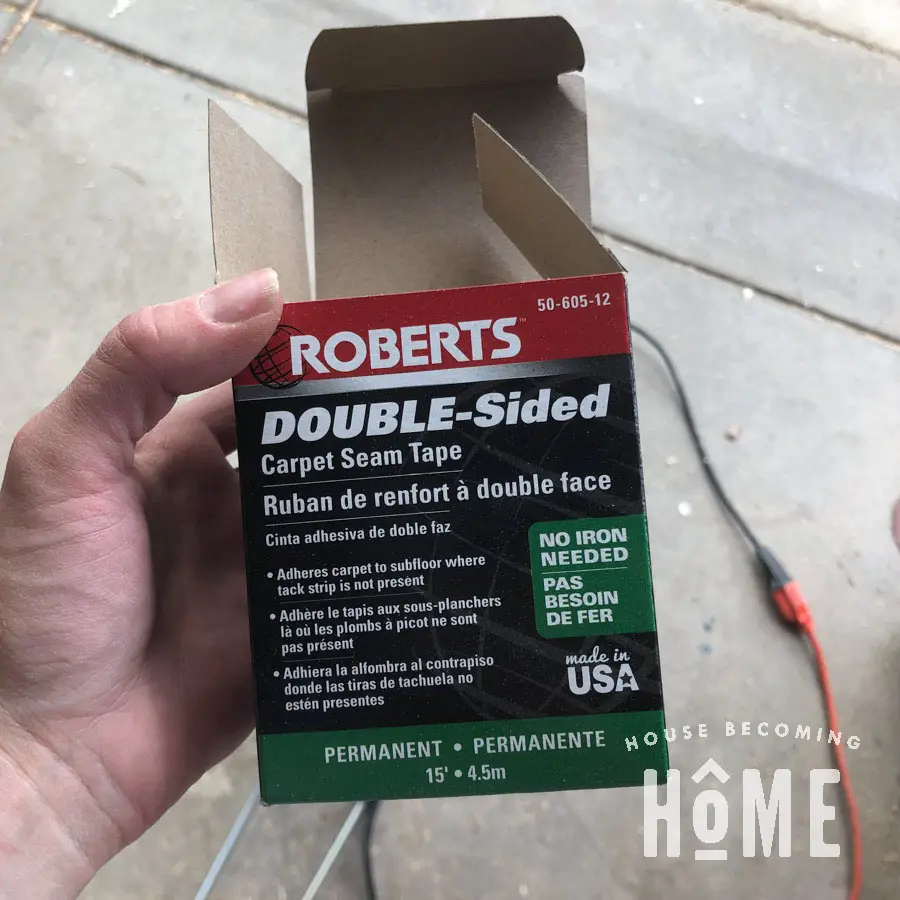
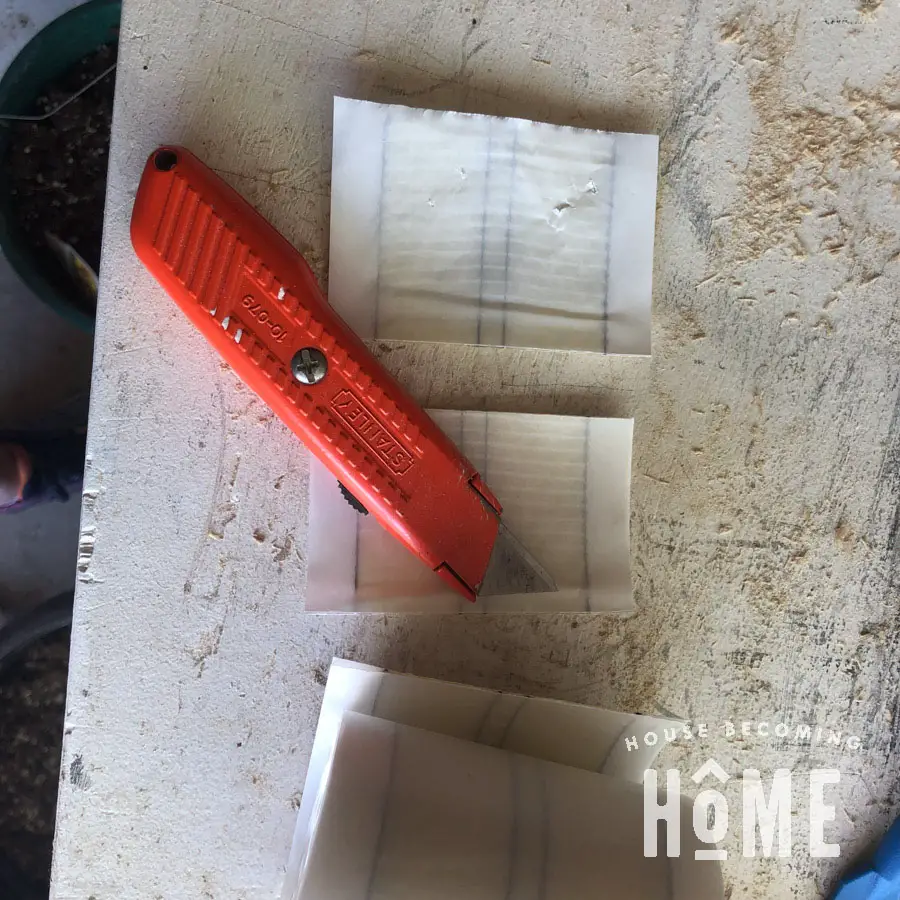
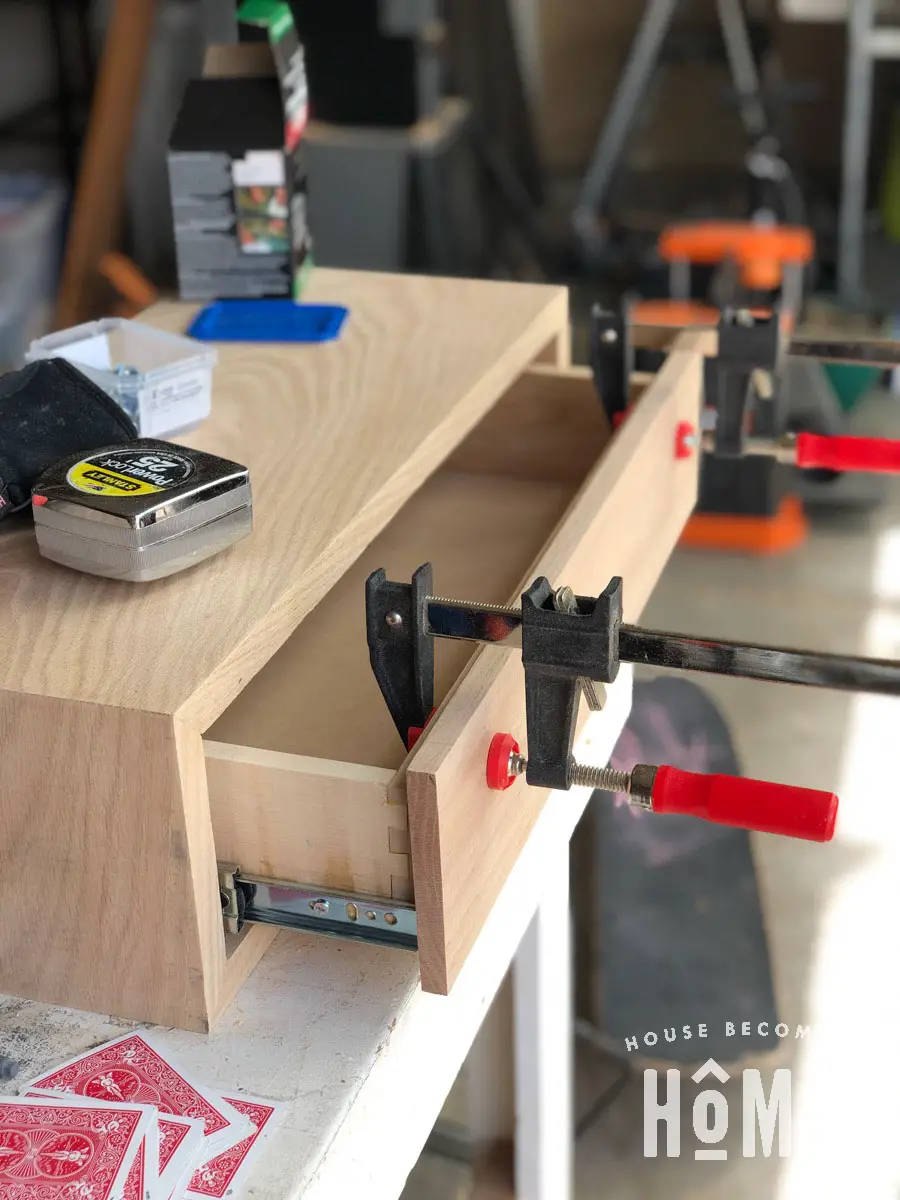
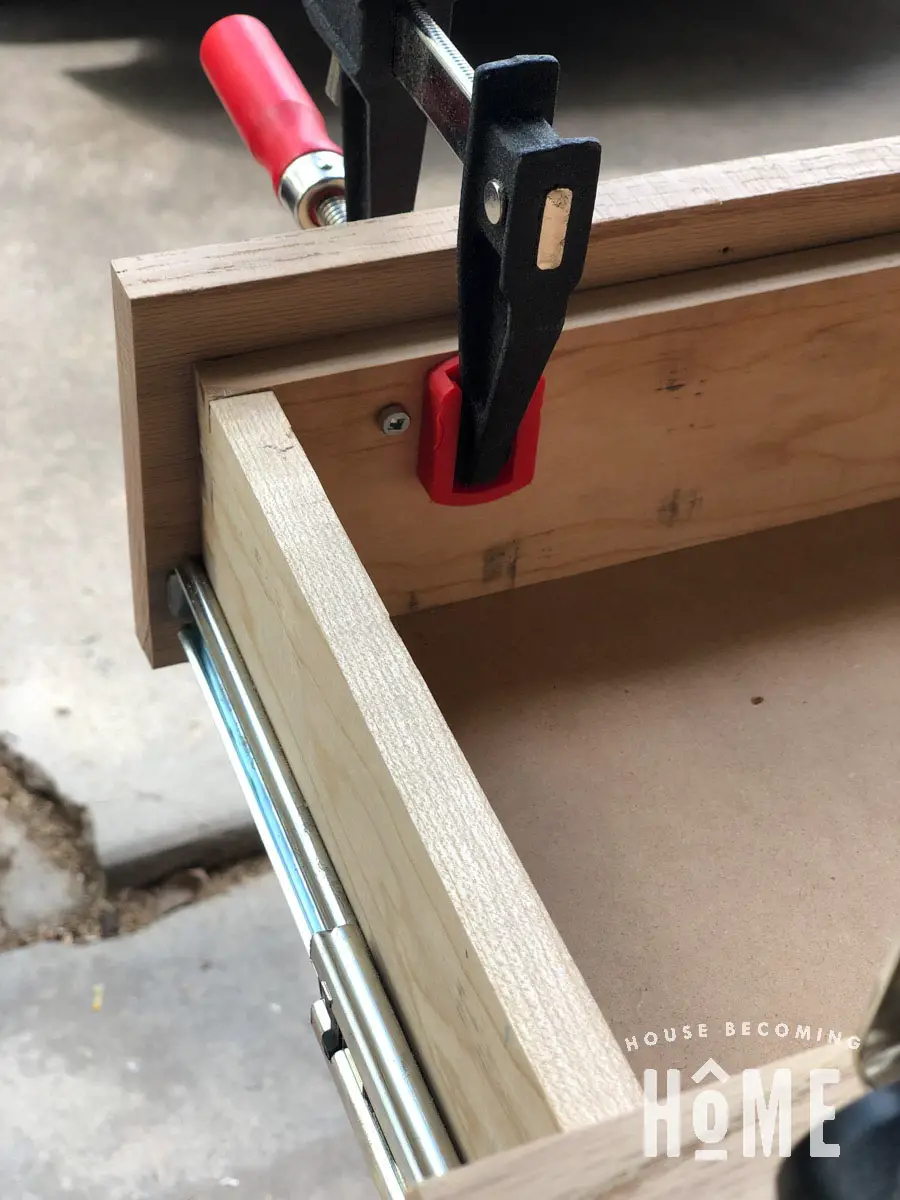
I used two pieces of double-sided carpet tape to hold the drawer face temporarily in place. I was able to then gently pull the drawer out, clamp the drawer face to the drawer, and then secure it to the drawer box with screws.
It worked so well! And now I have a zillion more feet of carpet tape to help me with drawer building for the next year. 🙂
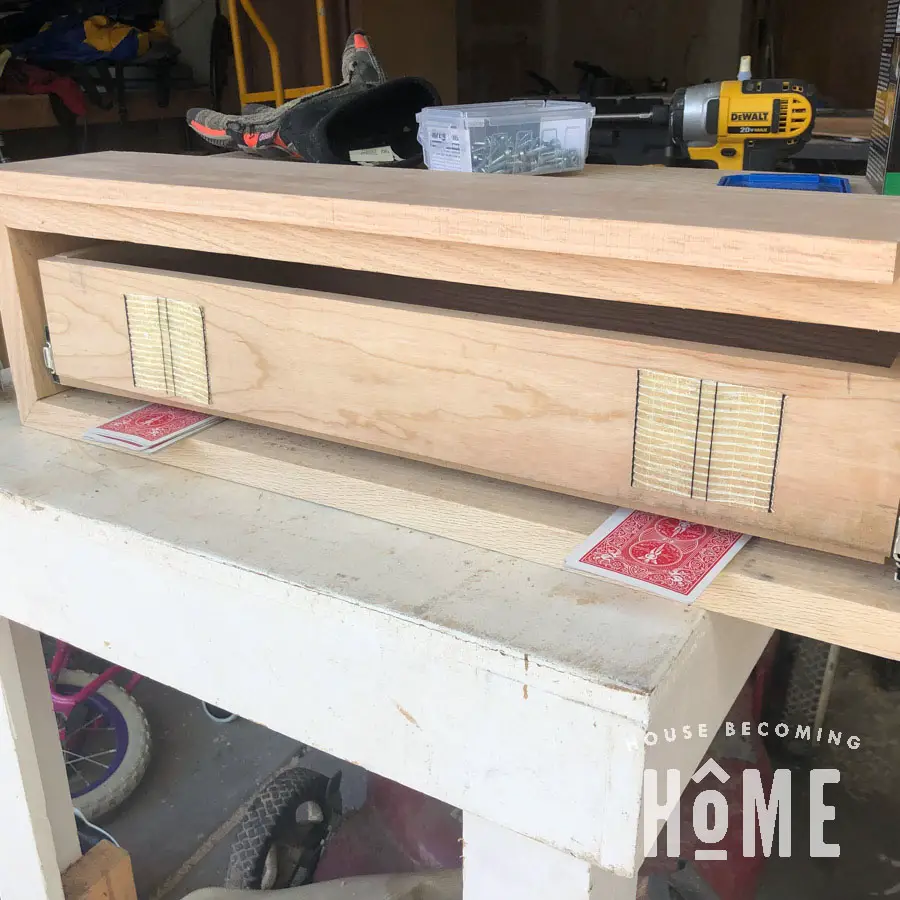
My Bessey F style clamps are the best!
Build the “Legs”
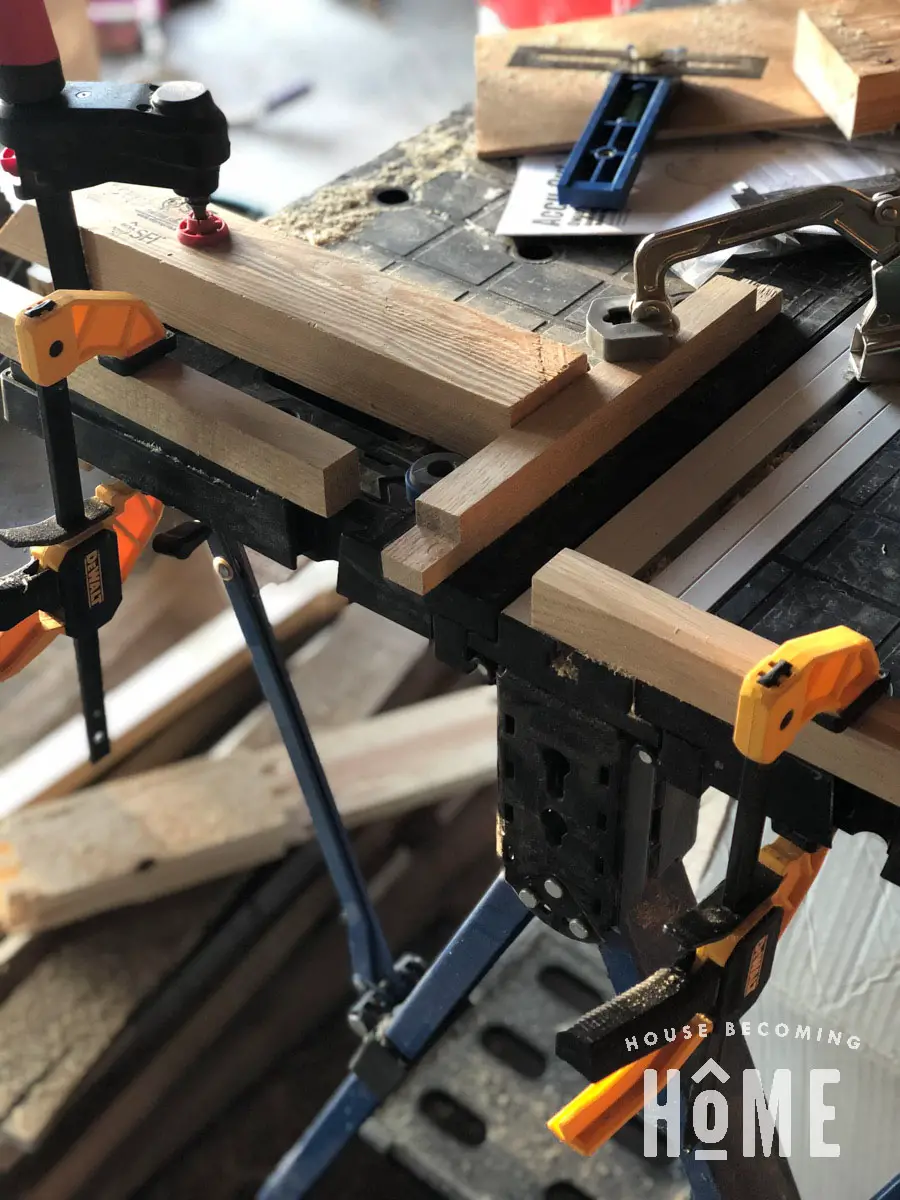
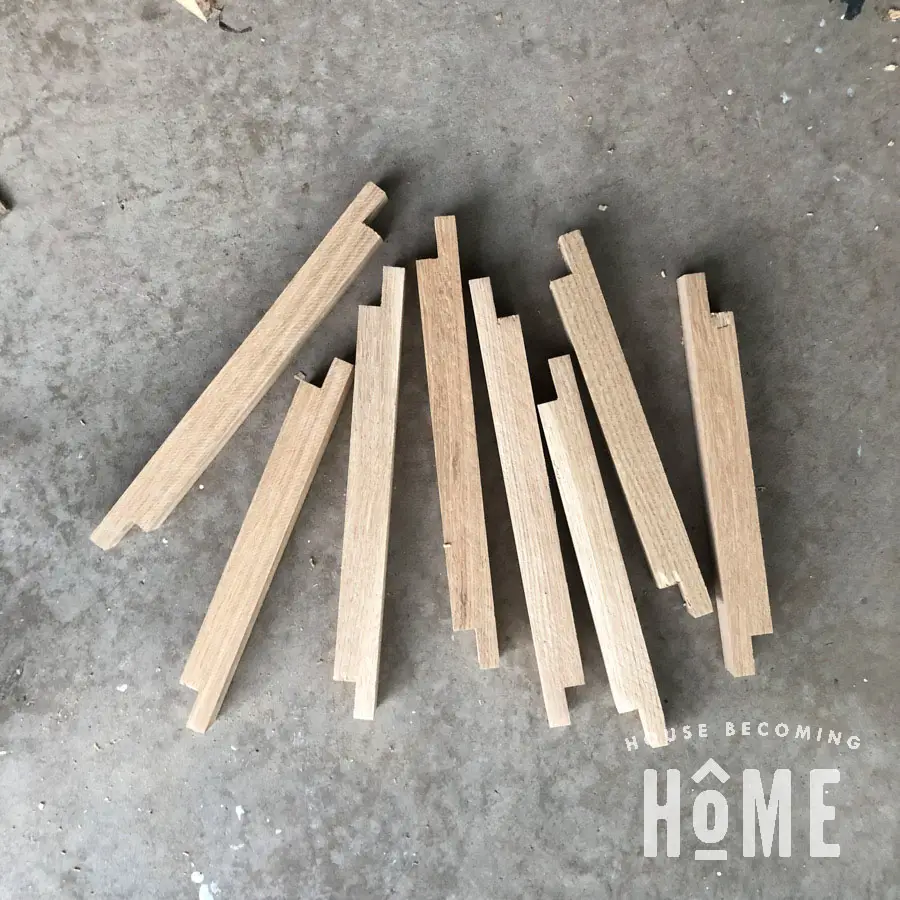
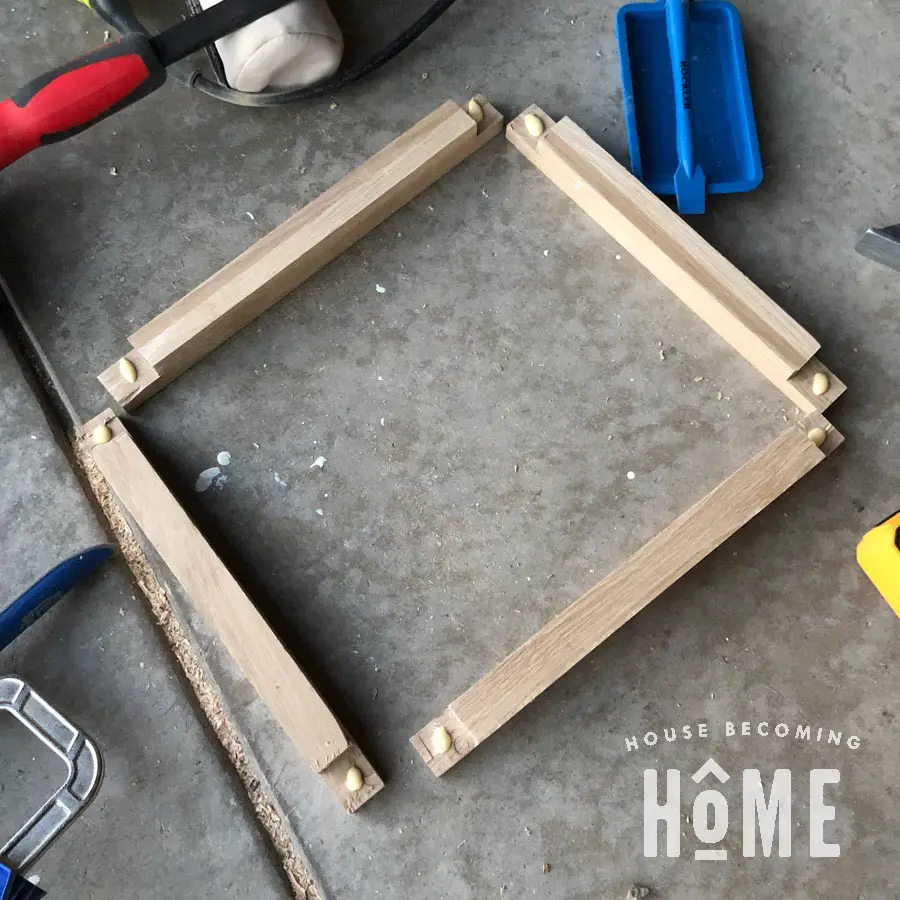
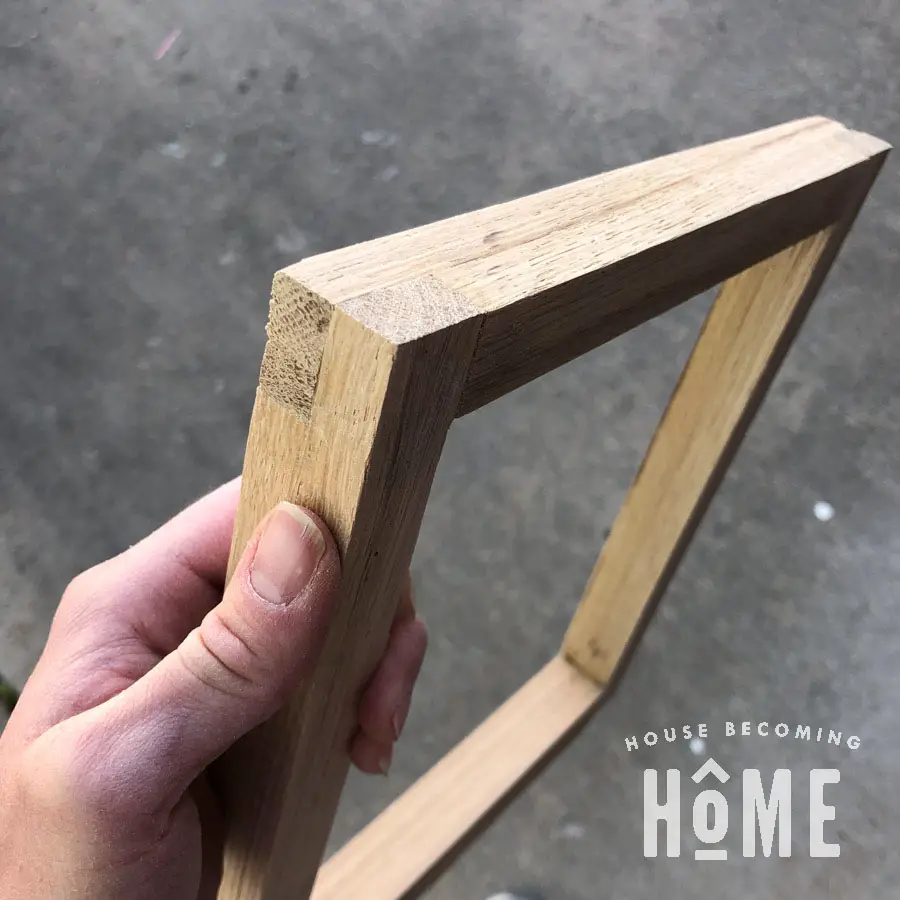
This might have been the most challenging step of the project, because I’d never tried doing half lap joints. I decided to use my router, and getting a set up was the most time consuming part of the whole process.
One by one, I clamped each piece down with a Kreg Bench Clamp on my Kreg mobile workbench. I had to clamp two pieces of lumber (the same height as the piece I was cutting) to the front of the bench. This kept my router from wobbling. The larger piece of wood you see in the photo was a stop for my router, to prevent it from going further than it needed to.
Attach the Legs to the Body
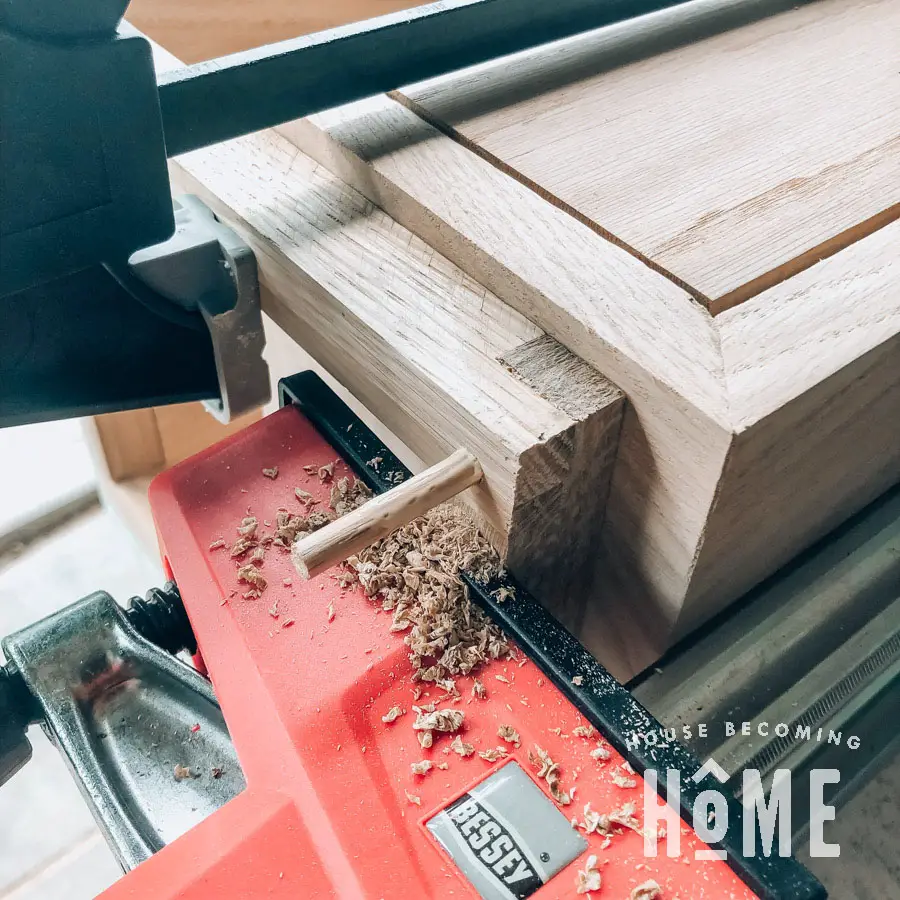
Building the “legs” was the most challenging, but attaching them to the nightstand body was quite possibly the most fun. I first attached the bottom shelf to the bottom of both legs, using wood glue and 1/4″ oak dowels.
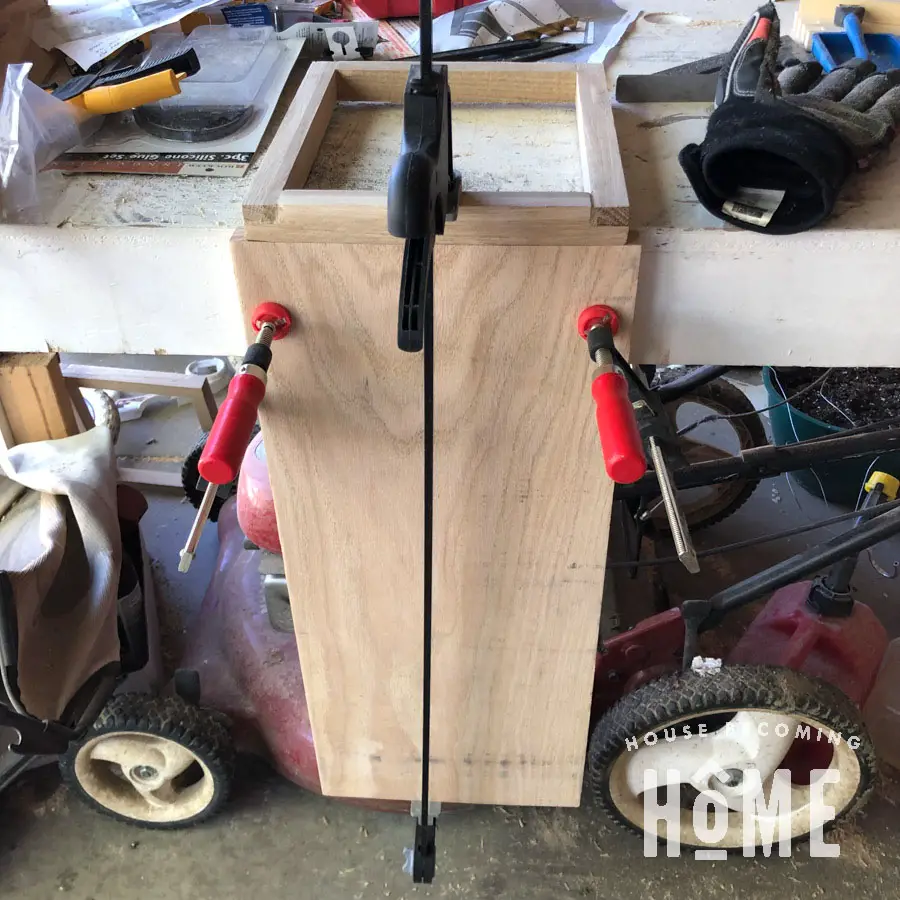
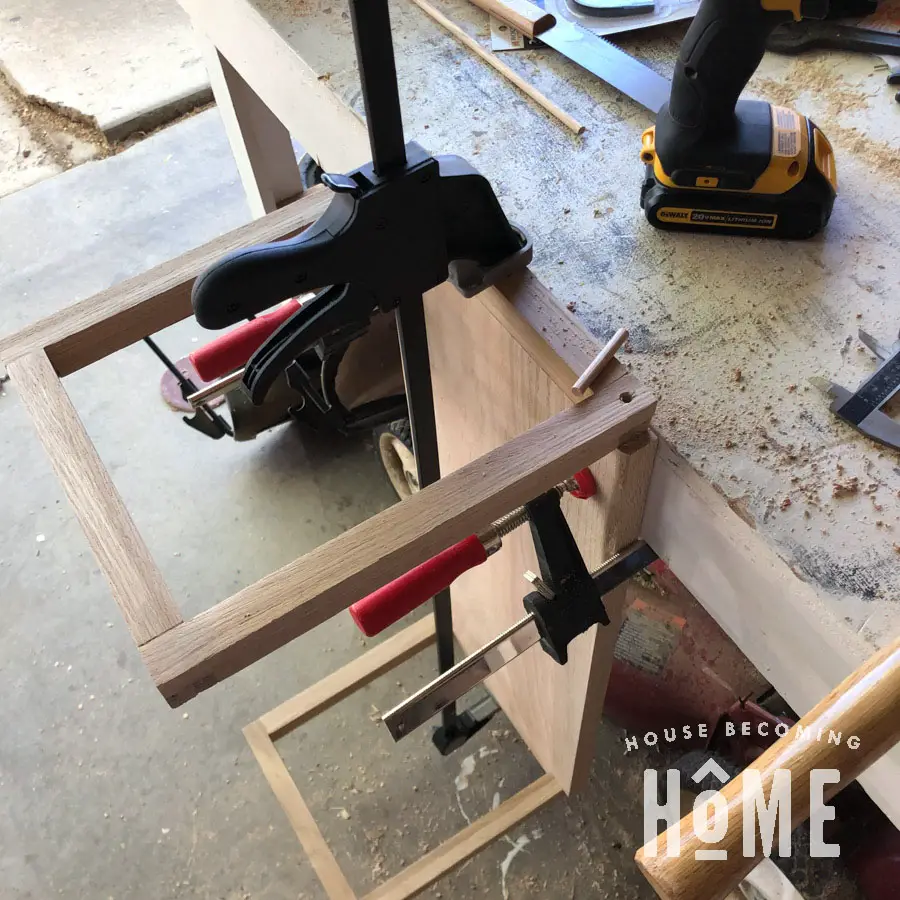
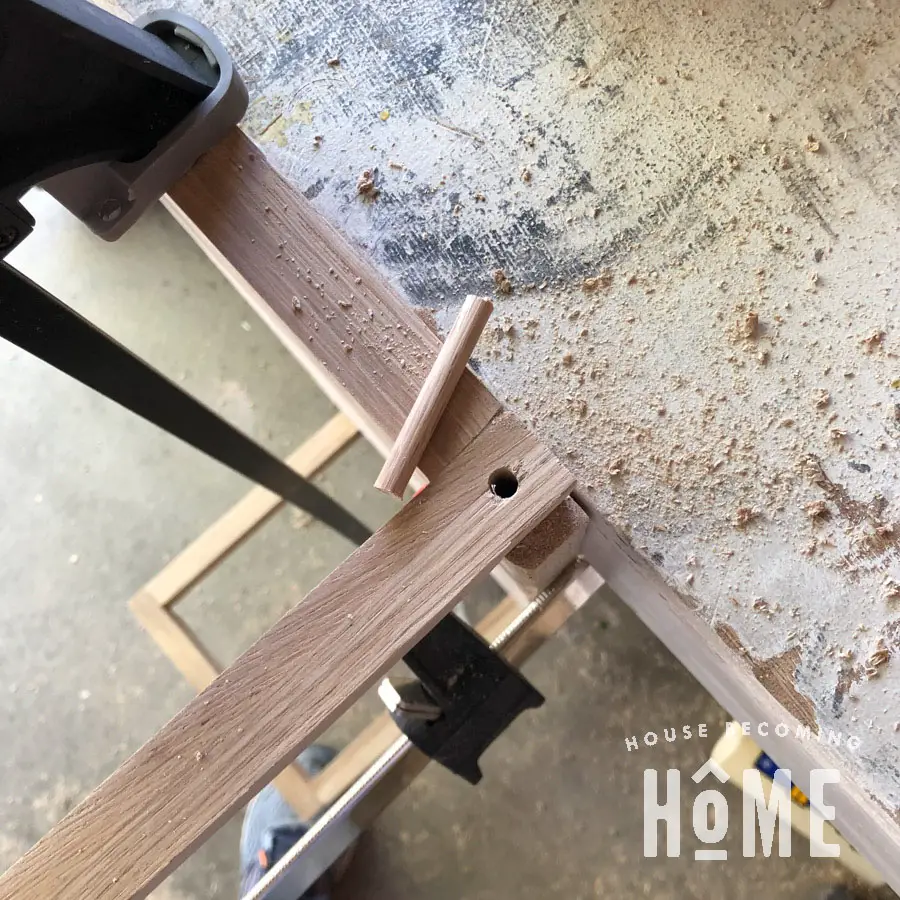
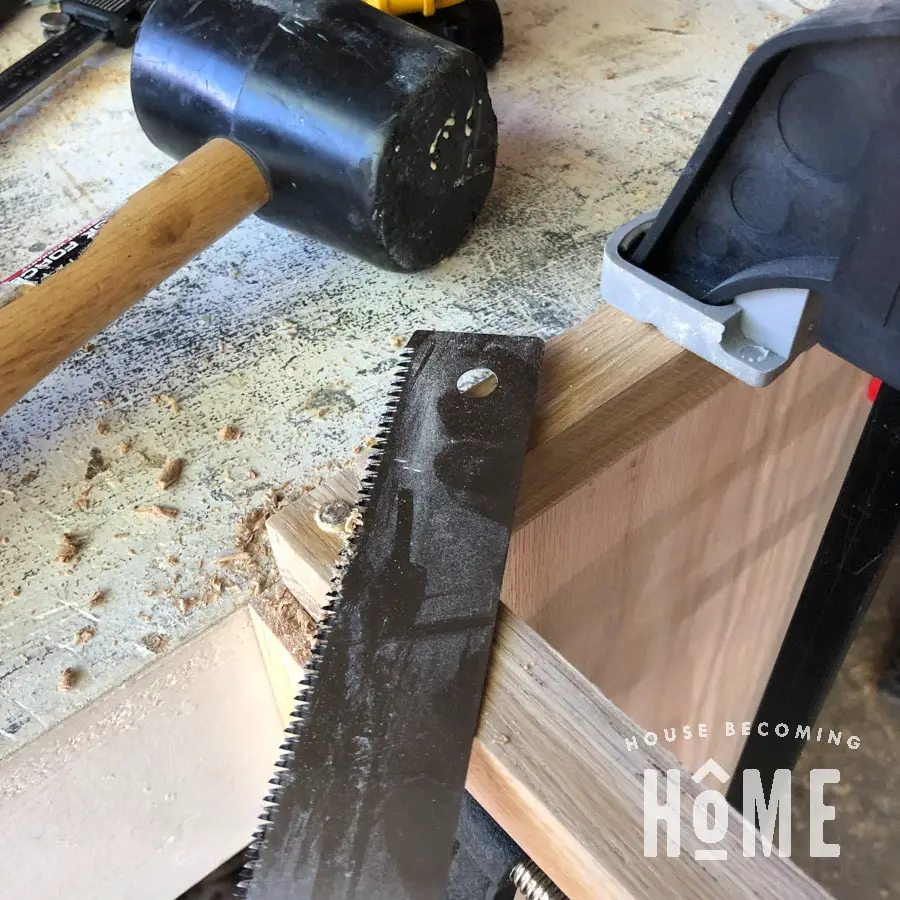
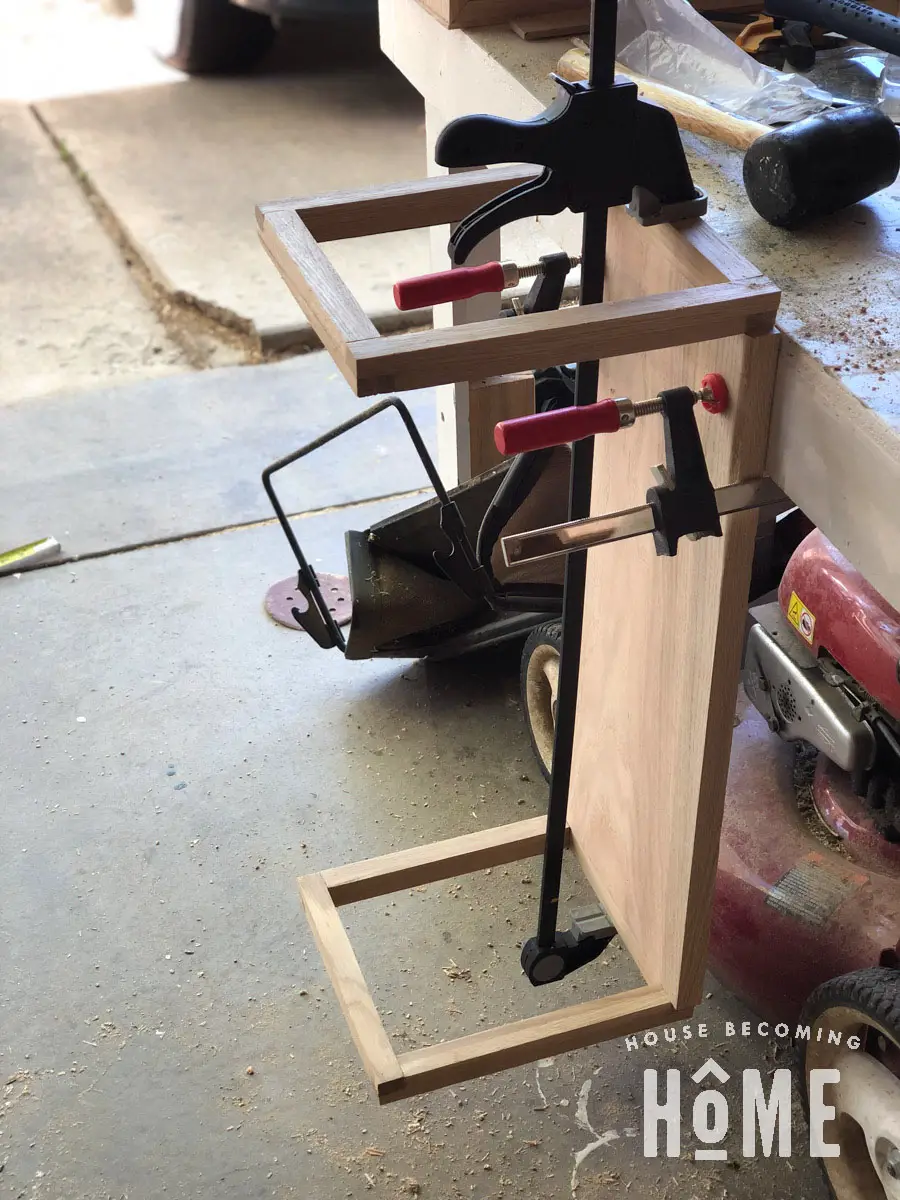
Then I attached the legs + shelf piece to the nightstand body. To do this I first laid the nightstand body onto my workbench . . .
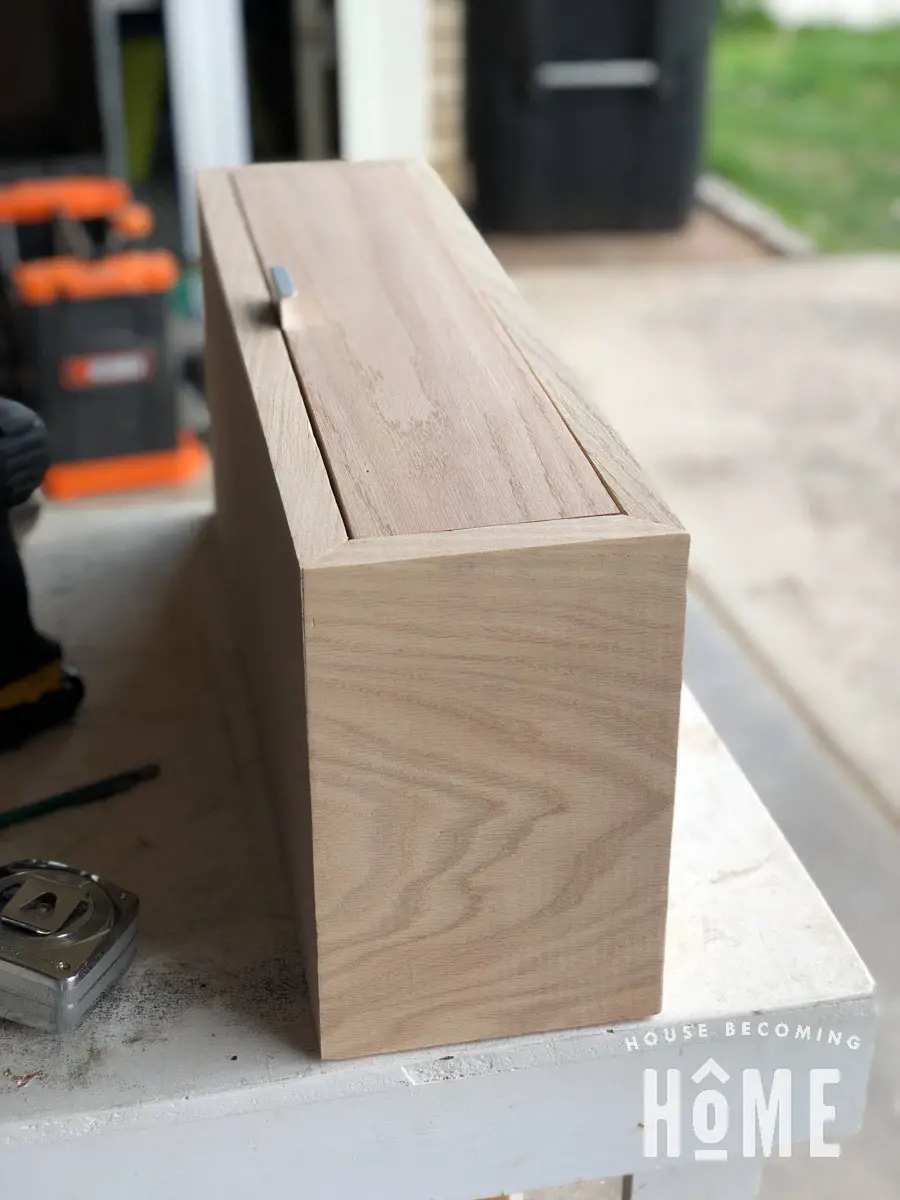
. . . then clamped the leg/shelf piece in place:

I used my calipers to make sure I drilled far enough for the dowel that would join the pieces.

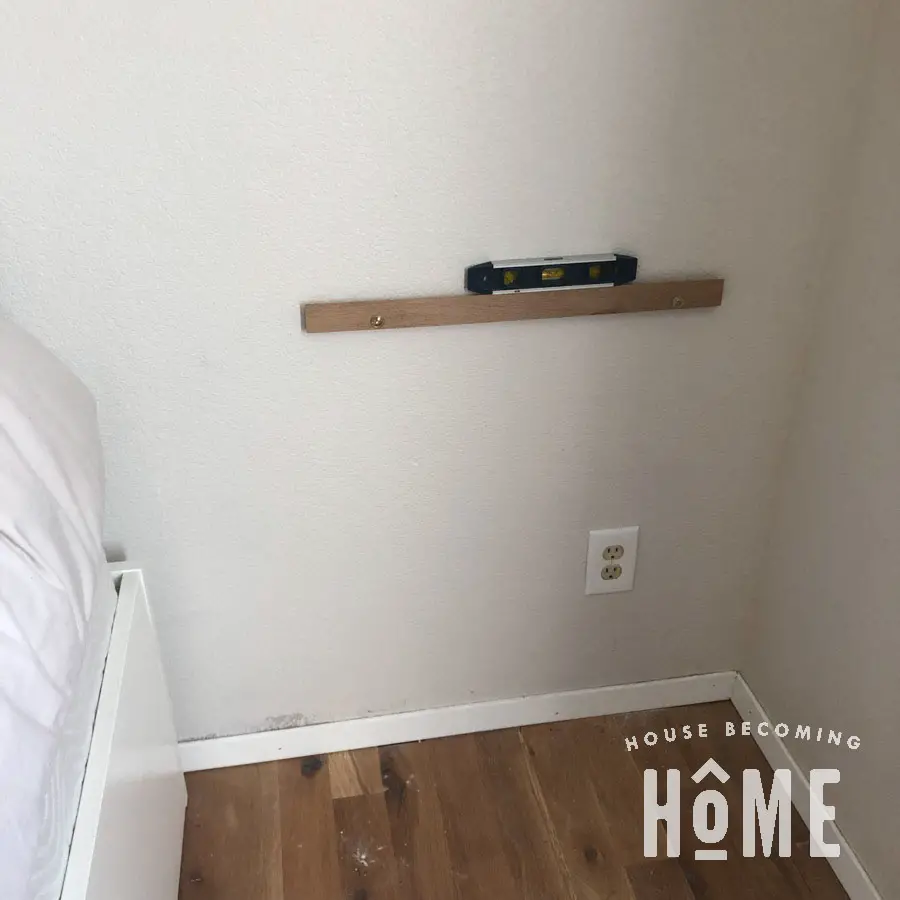
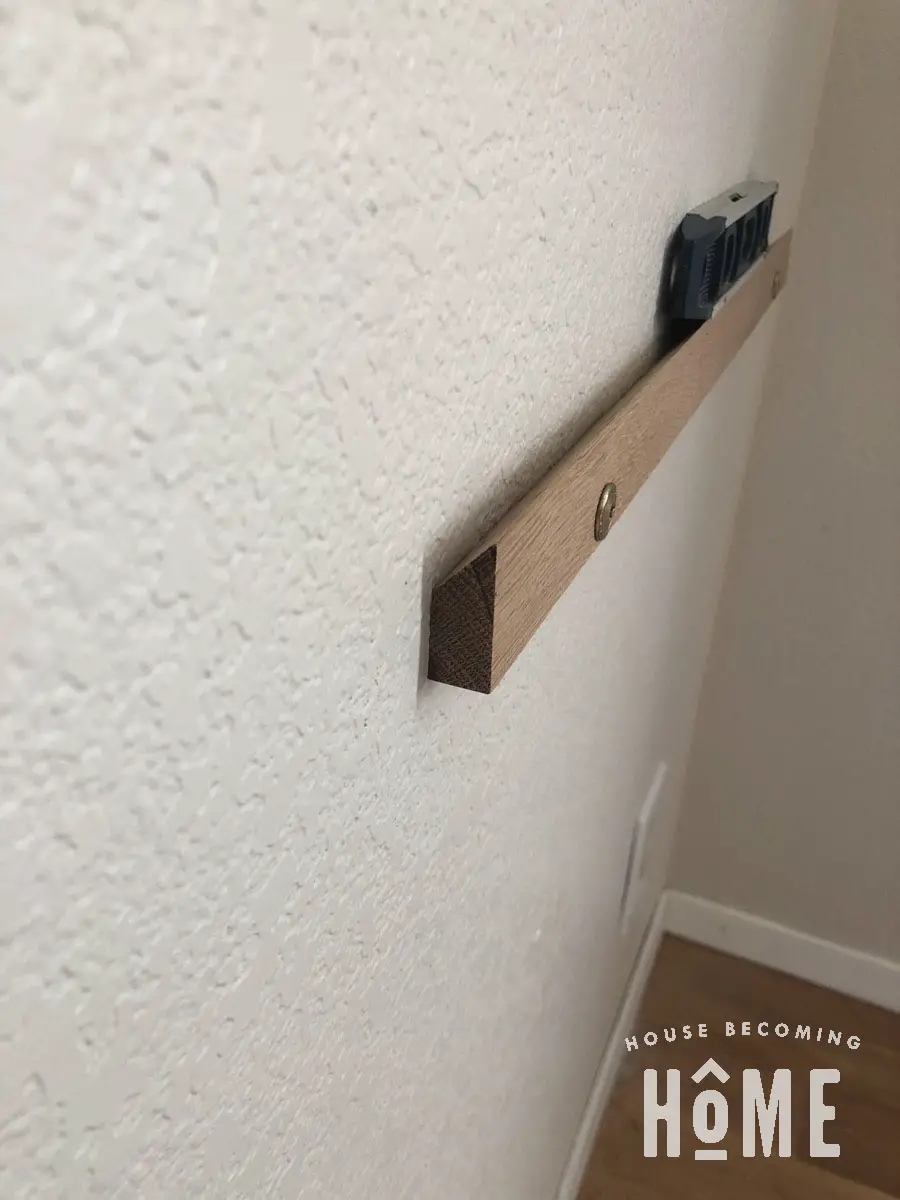
Make and Attach A French Cleat
When we ripped out all of our carpet and installed white oak flooring, we ended up with a few extra pieces. I’ve held onto them, and I love using these leftovers to make french cleats. Oak is so strong!
A Wood Finish that Looks Completely Natural
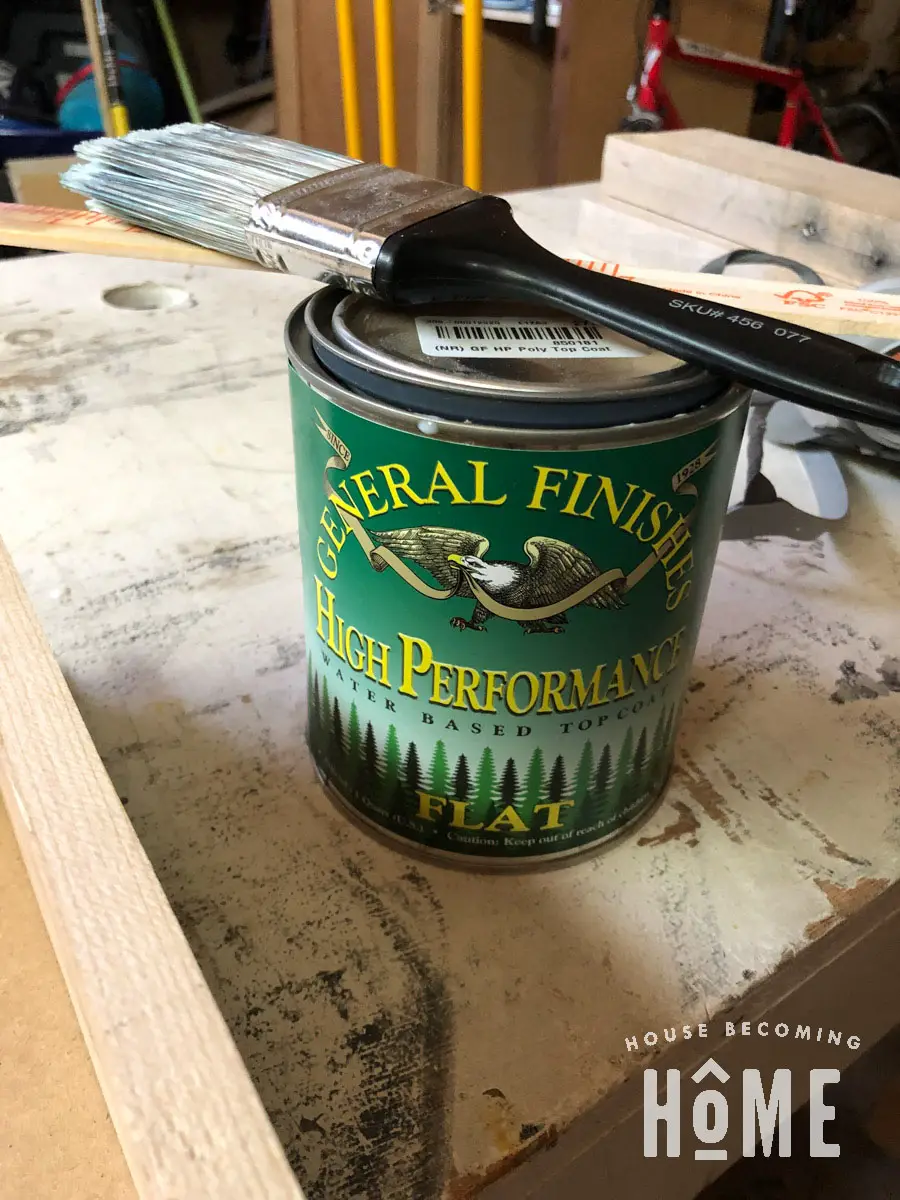
I love the look of natural wood, and I’m often disappointed after protecting my projects with a finish, whether its polyurethane, wax, or some kind of oil. They always seem to make the wood a shade or two darker.
I LOVE General Finishes Water Based Flat Topcoat. I’ll admit I was a little nervous after applying it. The wood got darker. But as it dried the darkness faded, and it returned to its original, natural color. And there is no sheen or shine. It looks like natural wood, but it is protected. I love it!
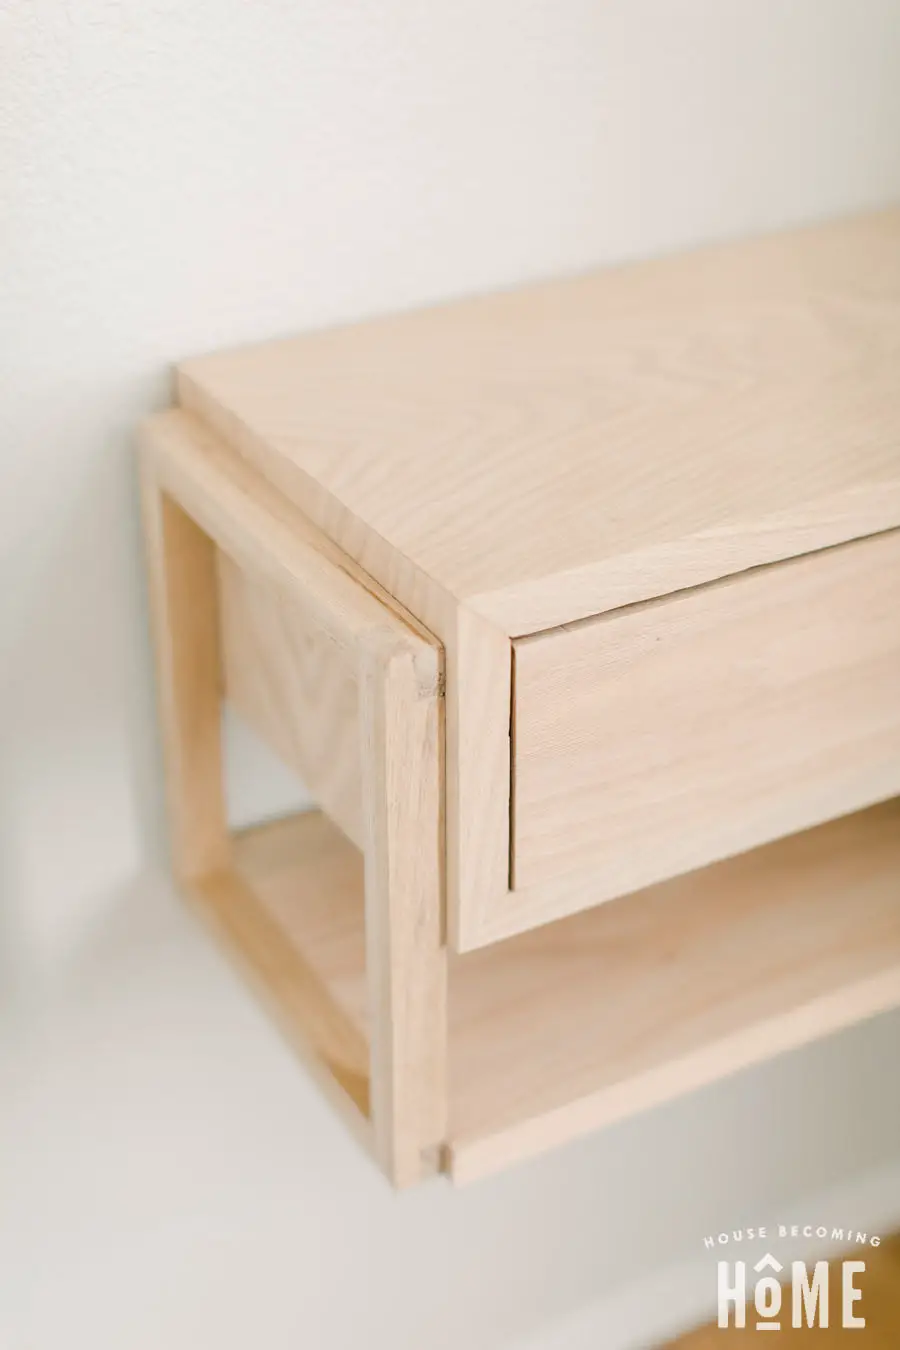
Modern Floating Nightstand Complete

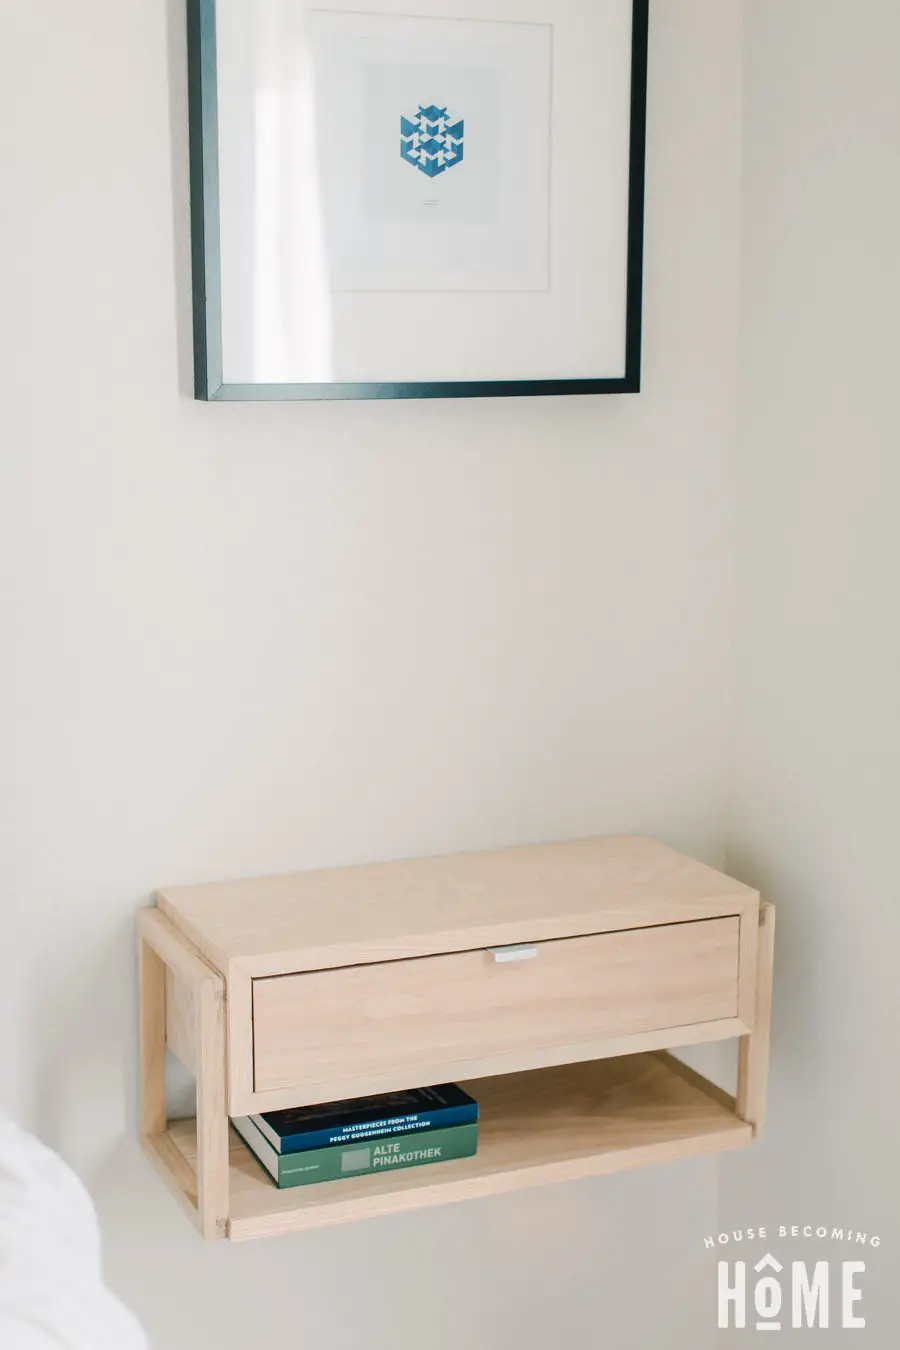
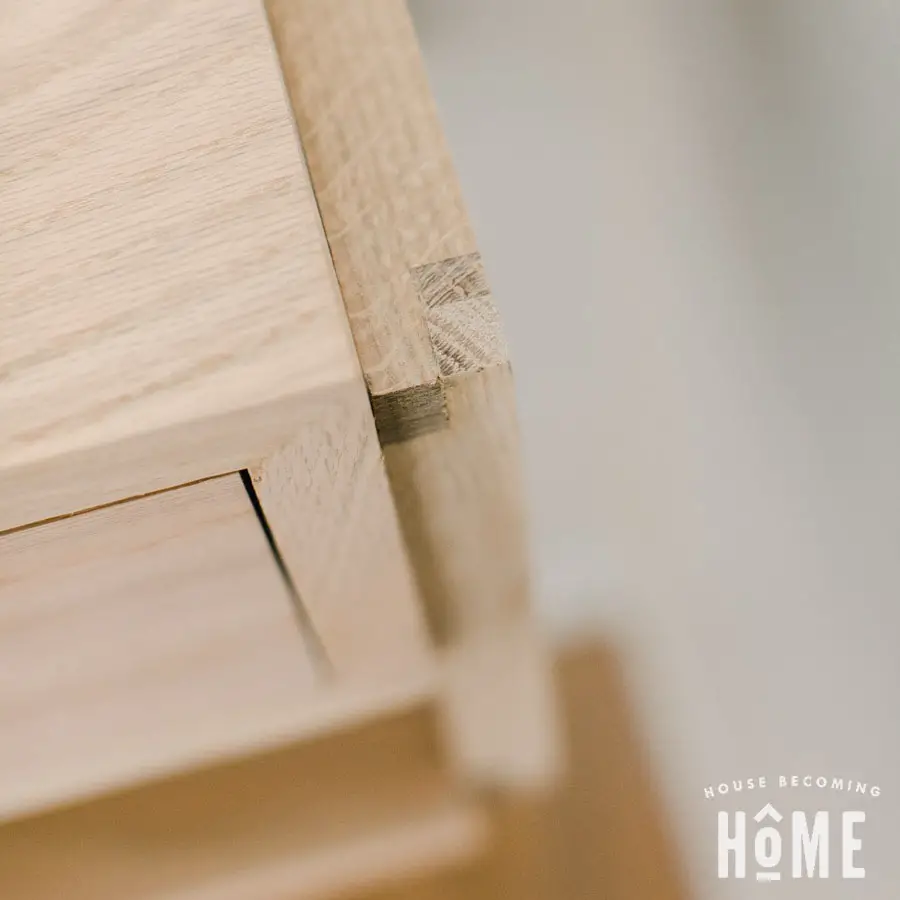
Look at those half lap joints. Not terrible for my first shot . . .

Where’s are the materials list and cutting lists?