
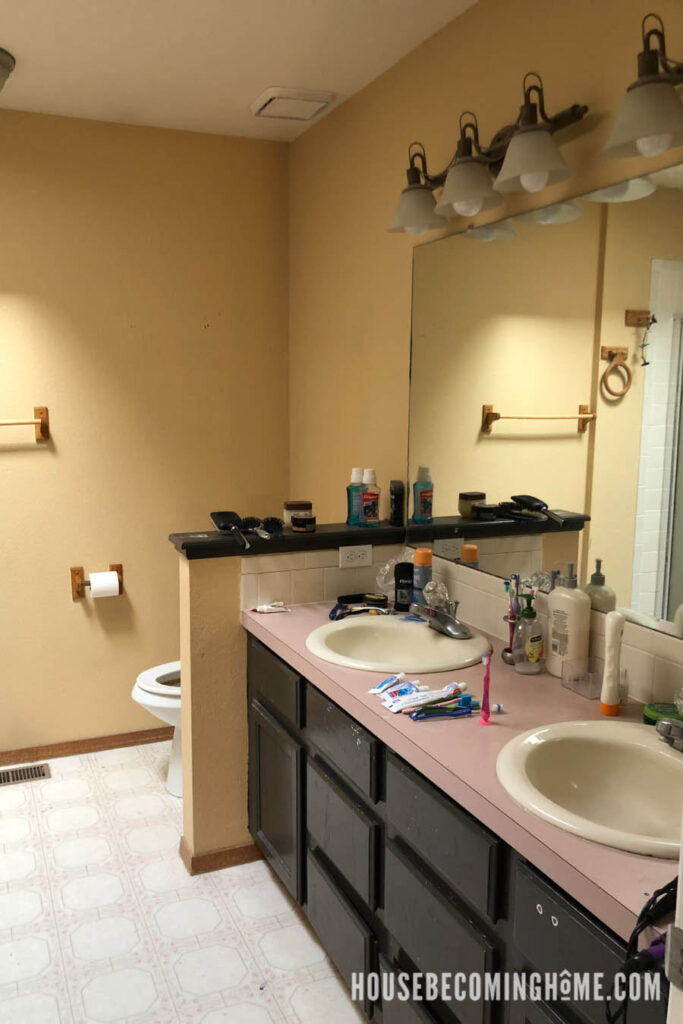
When we moved into our house seven years ago the bathroom vanity was falling apart, and . . . kind of gross. So gross I didn’t even want to use it. So we didn’t. For seven years. I built a shelf on the wall above the tub and put most of the bathroom “stuff” on the shelf. Everything else that we regularly use (toothpaste and toothbrushes, hair dryer, deodorant, makeup, etc., etc.) just sat on top of the countertop. The lovely, chipped, mauve countertop. 🙂

I’d been holding off on renovating the master bathroom because it was the last major room in our house that needed updating. I was a little sad at the thought of not having any more rooms to tear apart and fix. But I decided in November that it was finally time.
PHASE ONE
Instead of tackling the whole bathroom all at once I decided to break the renovation into two phases. Phase two will involve re-tiling the tub and shower; I’ll start that sometime in 2022. Phase one, however, is complete and that’s what I’m sharing today. I intentionally hid the “phase two” side of the bathroom. As of now it’s still sporting the 90’s cream and mauve square tiles. 🙂
Master Bathroom Before & After
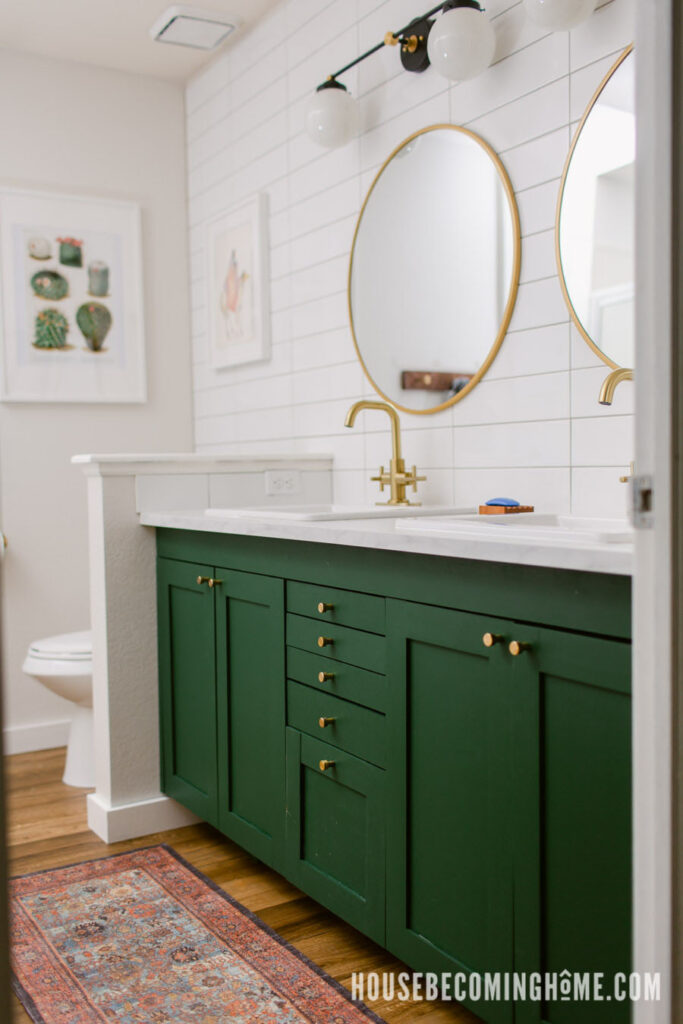
Here’s a “phase one” view of the master bathroom before and after:
Master Bathroom Renovation : The Process
While I was in the middle of this bathroom renovation a friend said something to me about how she would have “no idea” how to even start a bathroom renovation. I know it can seem overwhelming if you’ve never done it before, so I thought I would outline my steps below. As I often say, I’m pretty sure if I can do it, anyone can! Here’s a very basic overview of the process:
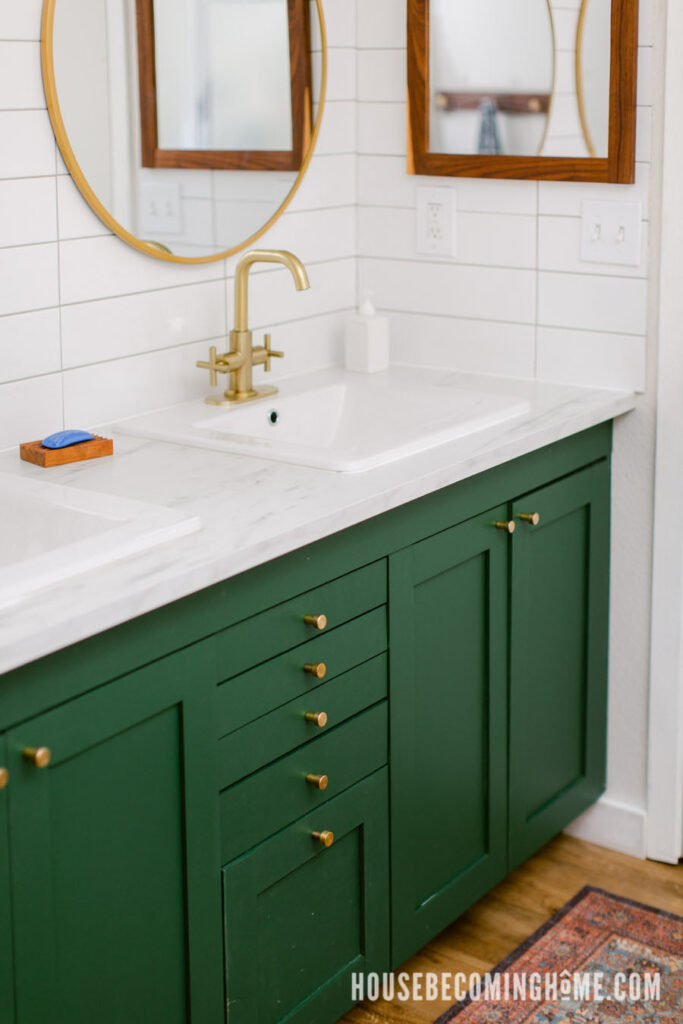
Bathroom Vanity
I designed a new vanity, then got to work building the shell of it. I did this so that as soon as the new backsplash was up and the old vanity was out, the new vanity (shell) could immediately be put into place. The less time we have to live without bathroom sinks and running water, the better. 🙂
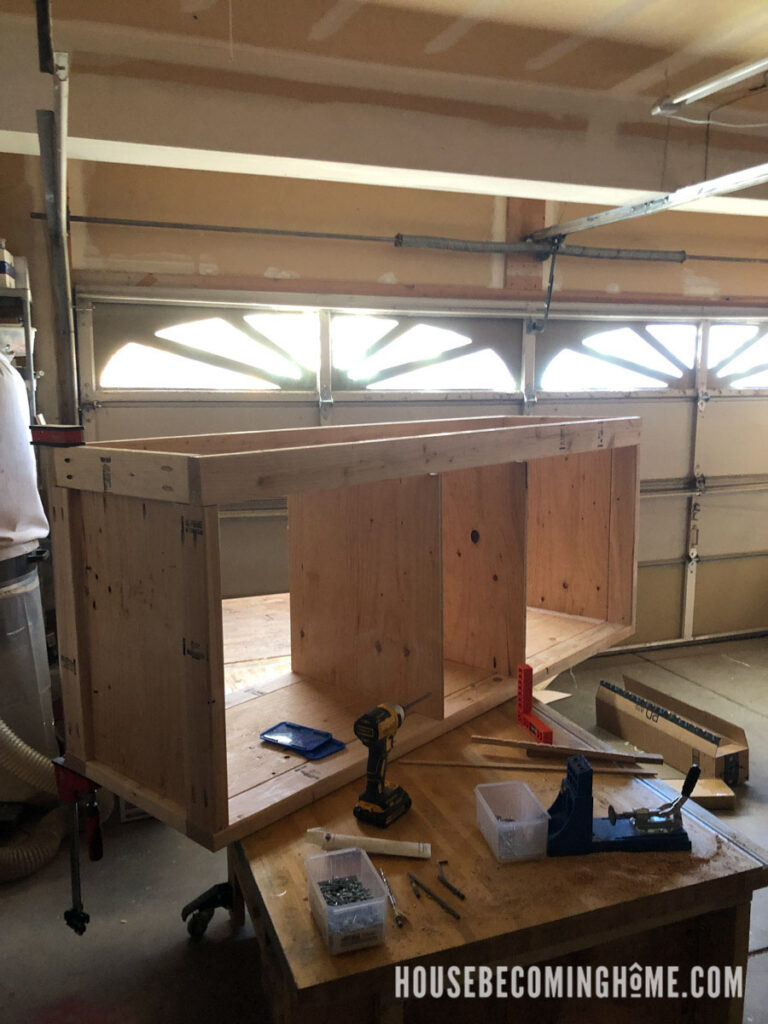
There are advantages to building your own bathroom vanity (customize it to your storage needs, affordability, etc.), but of course you don’t need to make your own if you’re not yet confident in your building skills. There are plenty of pre-built vanities available in most standard sizes.
Tile
After some very basic demo (removing the old backsplash and the two light fixtures), I tiled the wall behind the vanity, then grouted. I left the bottom two rows un-tiled (just temporarily) so that I wouldn’t ruin them when it came time to remove the old countertop.

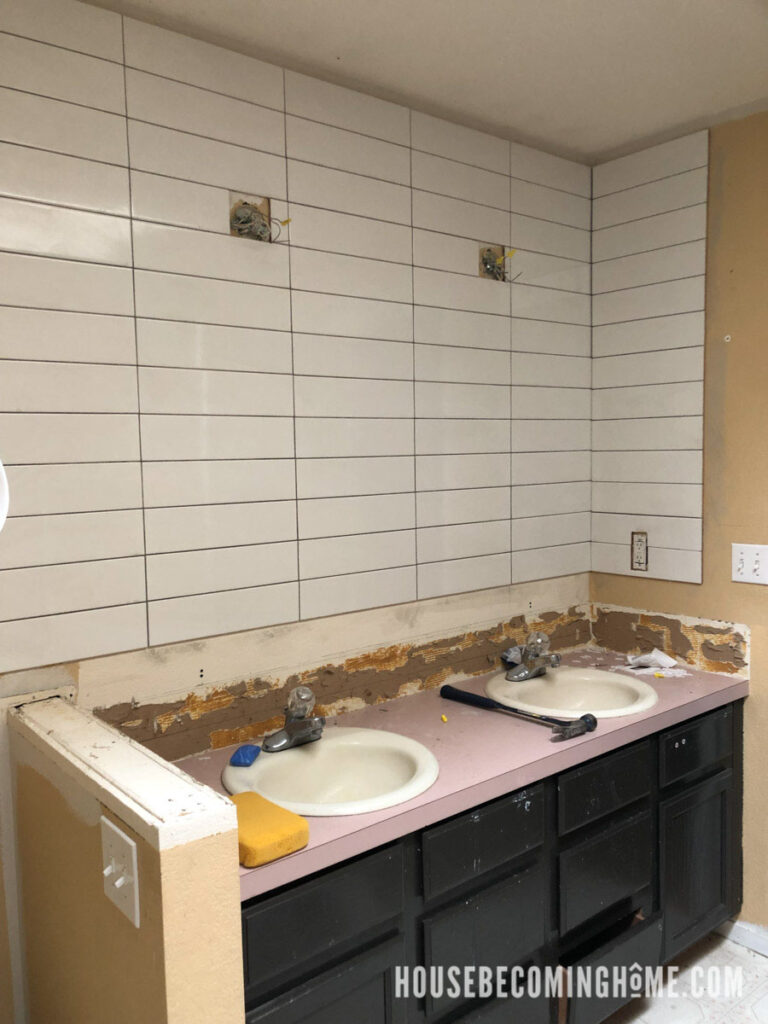
In order to tile all the way to the ceiling I spent a lot of time standing on the bathroom vanity. I chose to tile early in the renovation process because I didn’t like the thought of standing on the new vanity countertop or spilling tile cement and grout all over it.
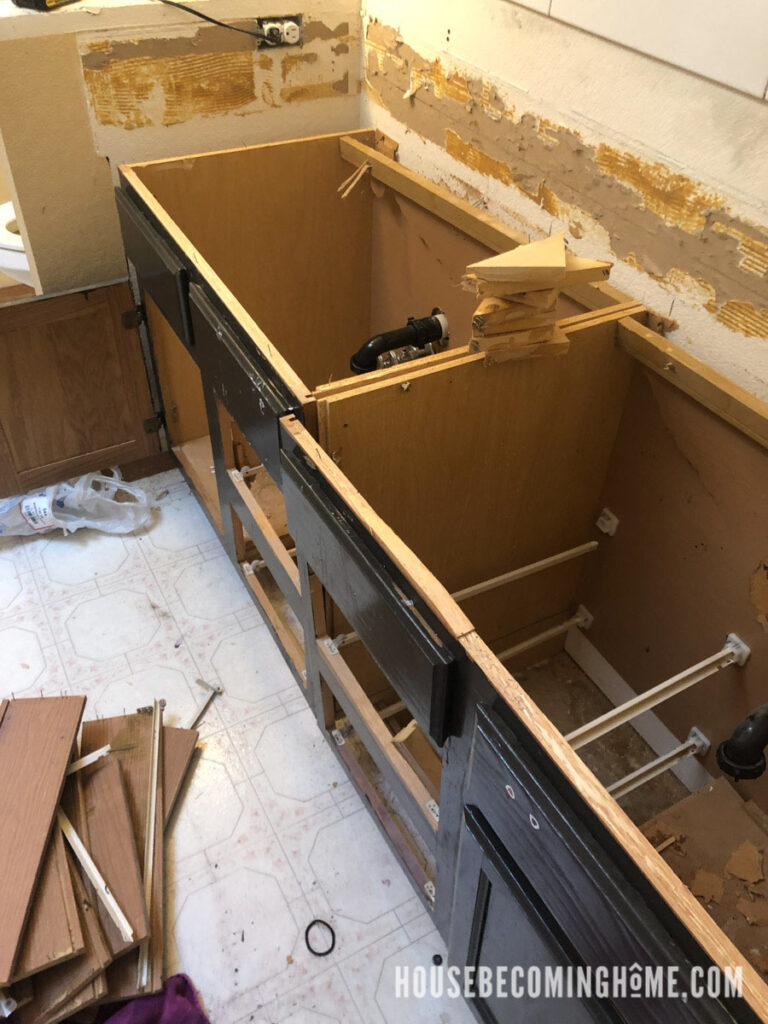
Bathroom Demo
At this point I removed the old sinks and ripped out the vanity. Goodbye particleboard. Goodbye 1993.
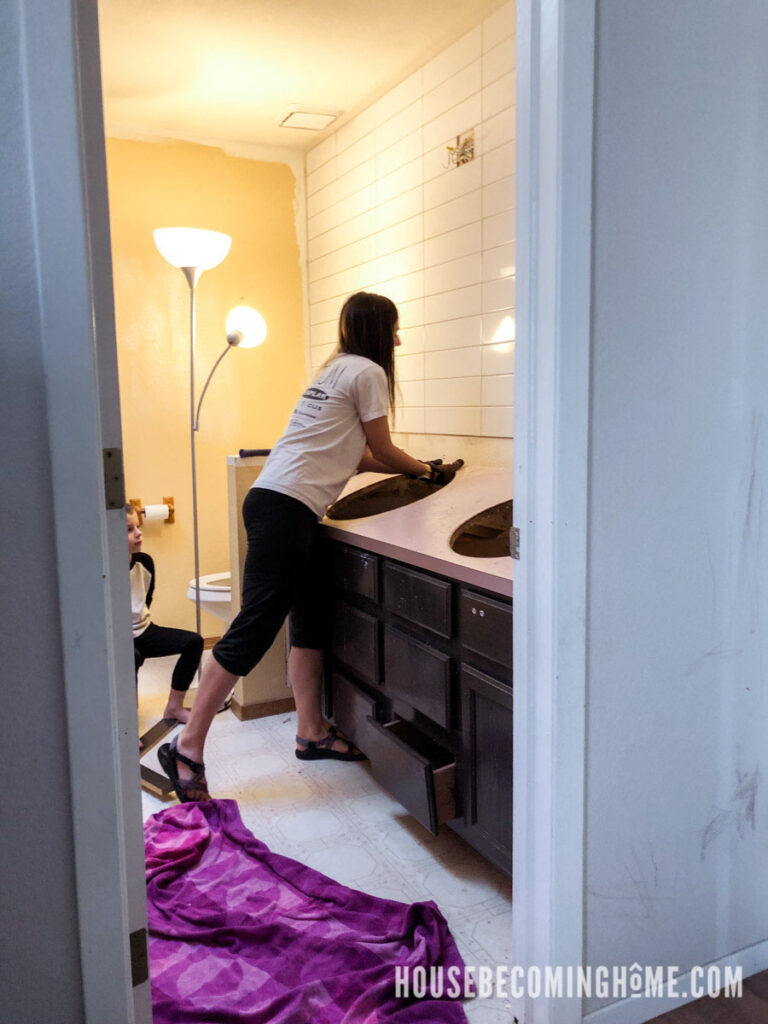
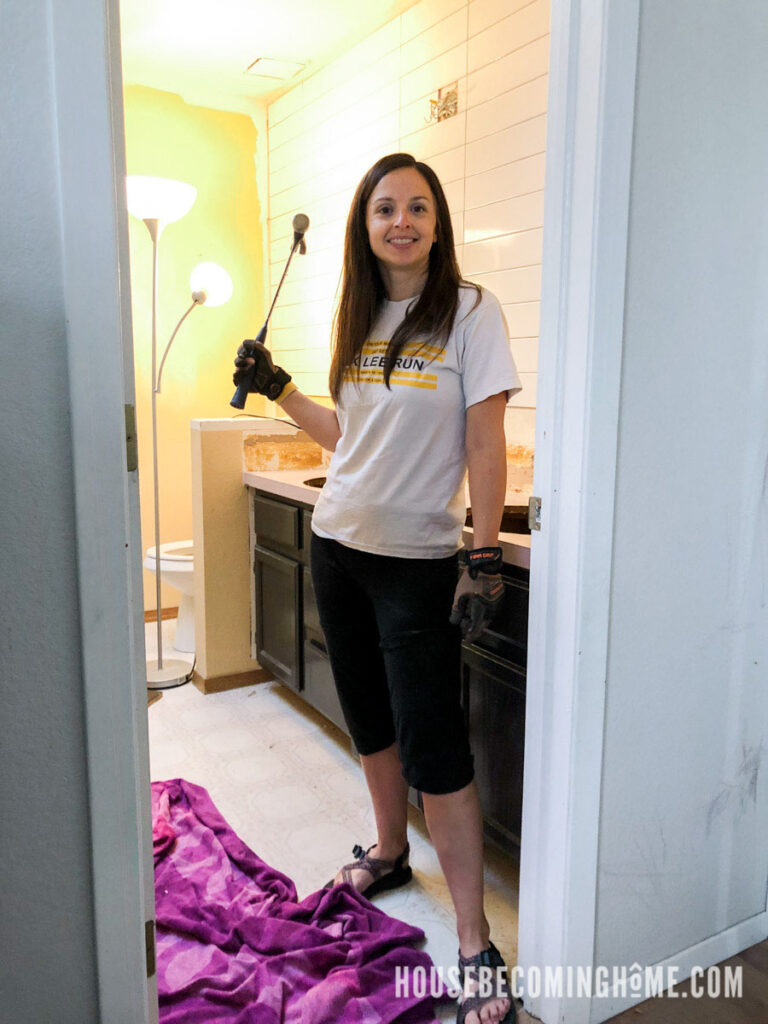
FYI – Don’t follow my bad example. Closed toe shoes are a much better choice than Chacos on demo day. 😉
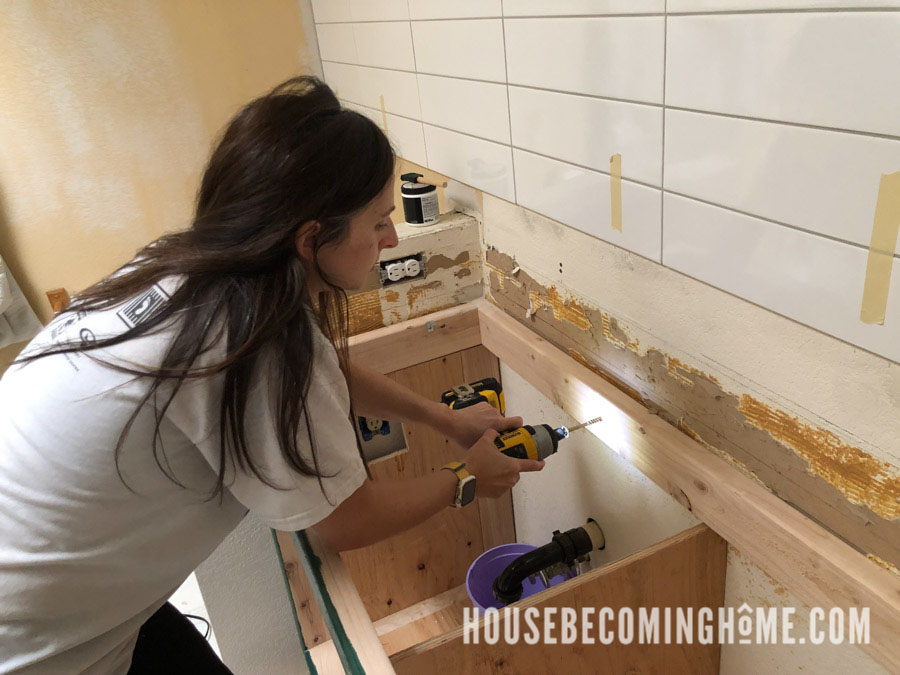
Install Vanity
At this point I was able to bring up the already-finished vanity shell. I used heavy-duty 1/4″ construction screws to fix it securely to the wall through the studs.
After the vanity was in I started building its drawers and doors and worked on this throughout the rest of the renovation. The functionality of this vanity is my favorite part of the whole bathroom. Be sure to check out the three hidden features of my bathroom vanity.
Countertop
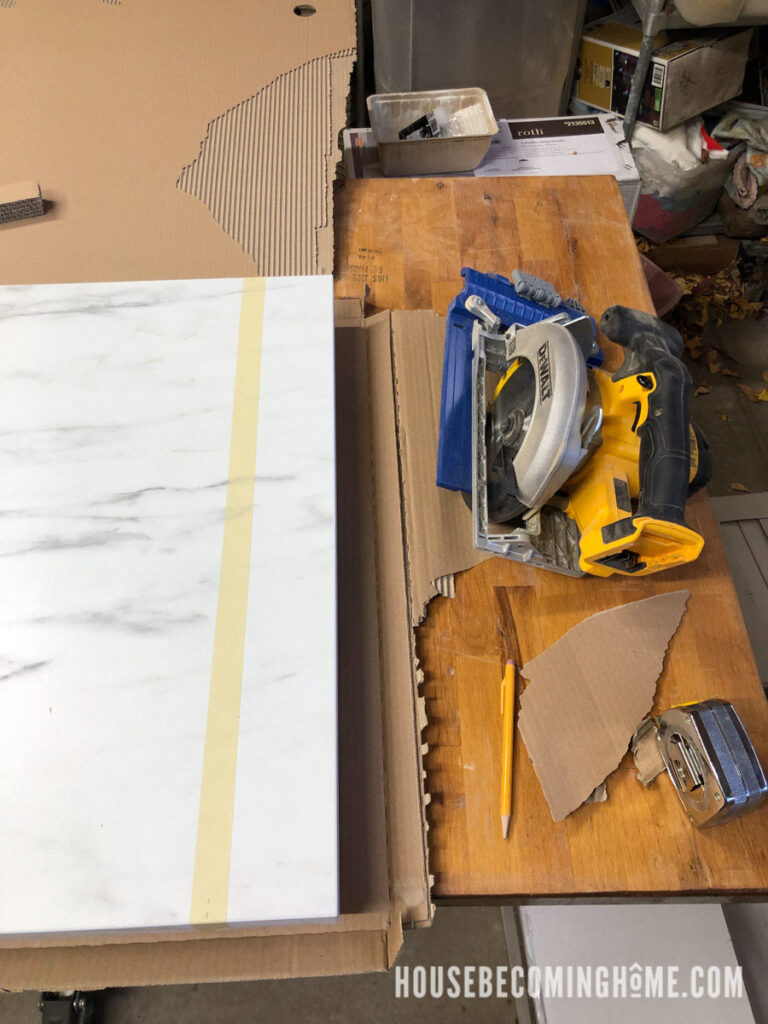
I went back and forth on what kind of countertop to get. For now I went with this marble laminate countertop. It was about 12 times more affordable than quartz or marble, and in my opinion, it looks almost as nice as the real deal. We will see how it holds up. I’ll keep you posted. 🙂
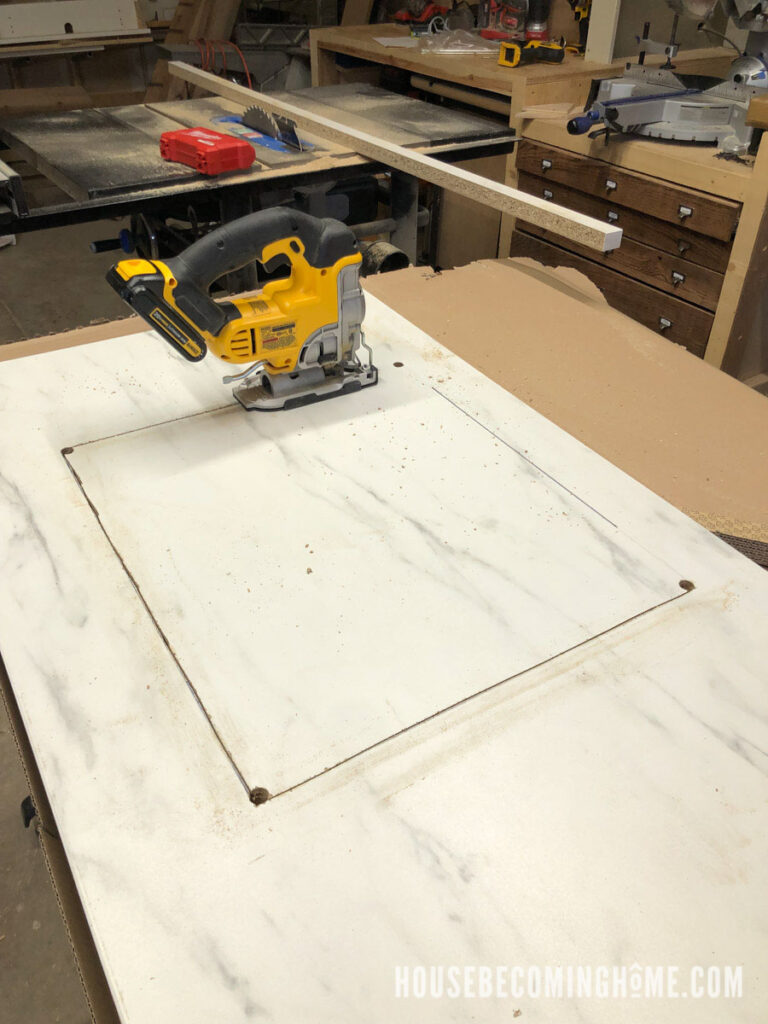
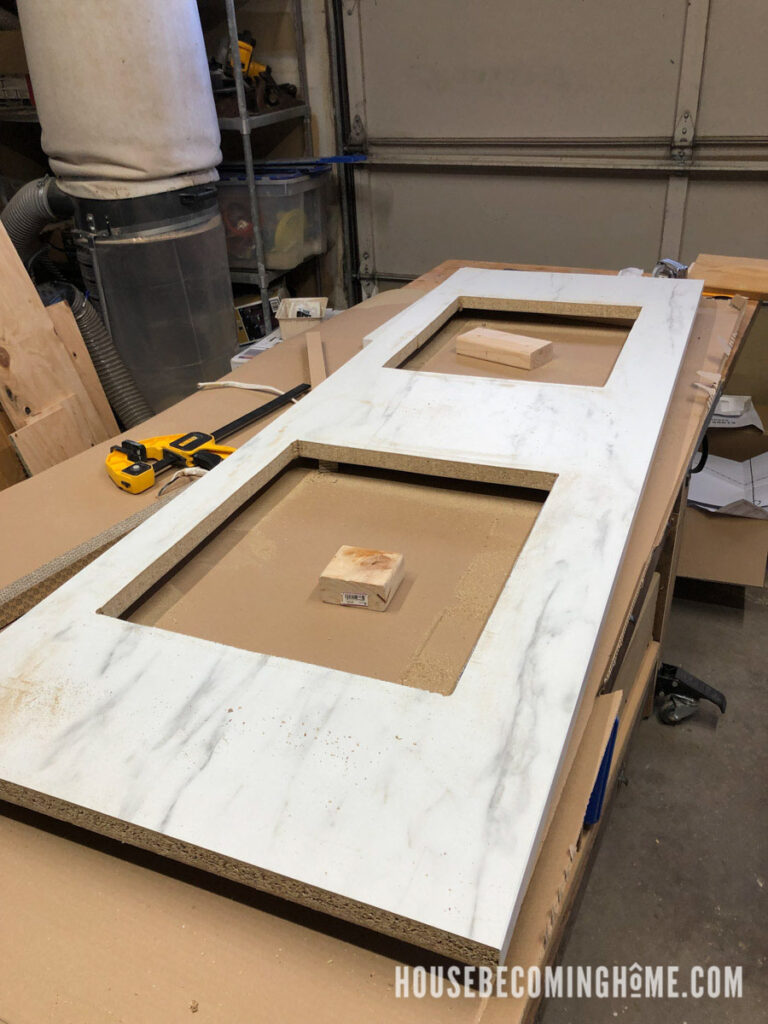
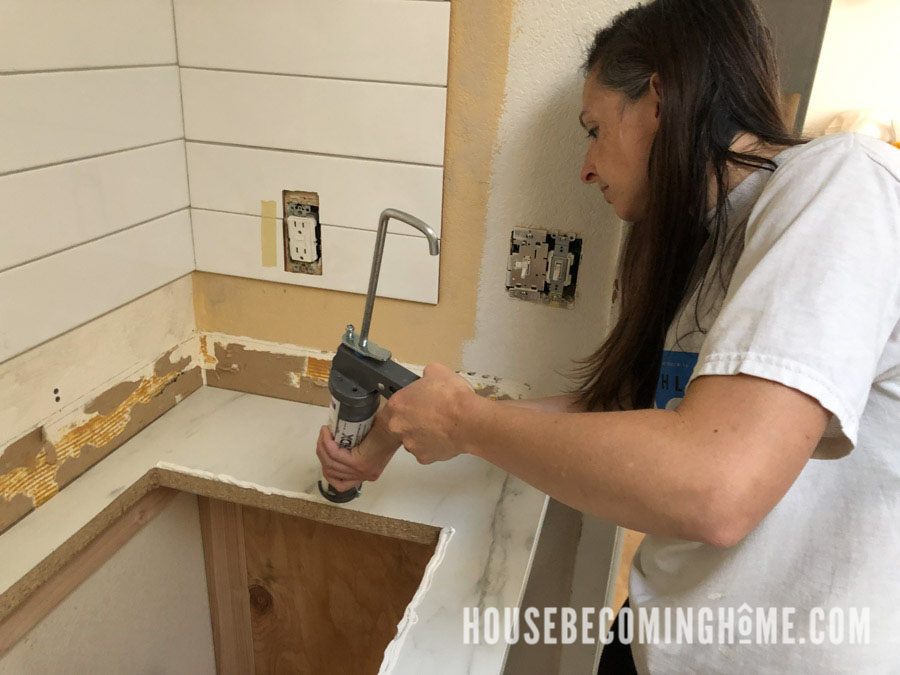
The major downside to the laminate countertop option is not being able to have an under-mount sink, which is easier to clean than the drop-ins I had to get instead. But I was able to cut the counter to size, make the sink cutouts, and install it all by myself, which is a DIY win. 🙂
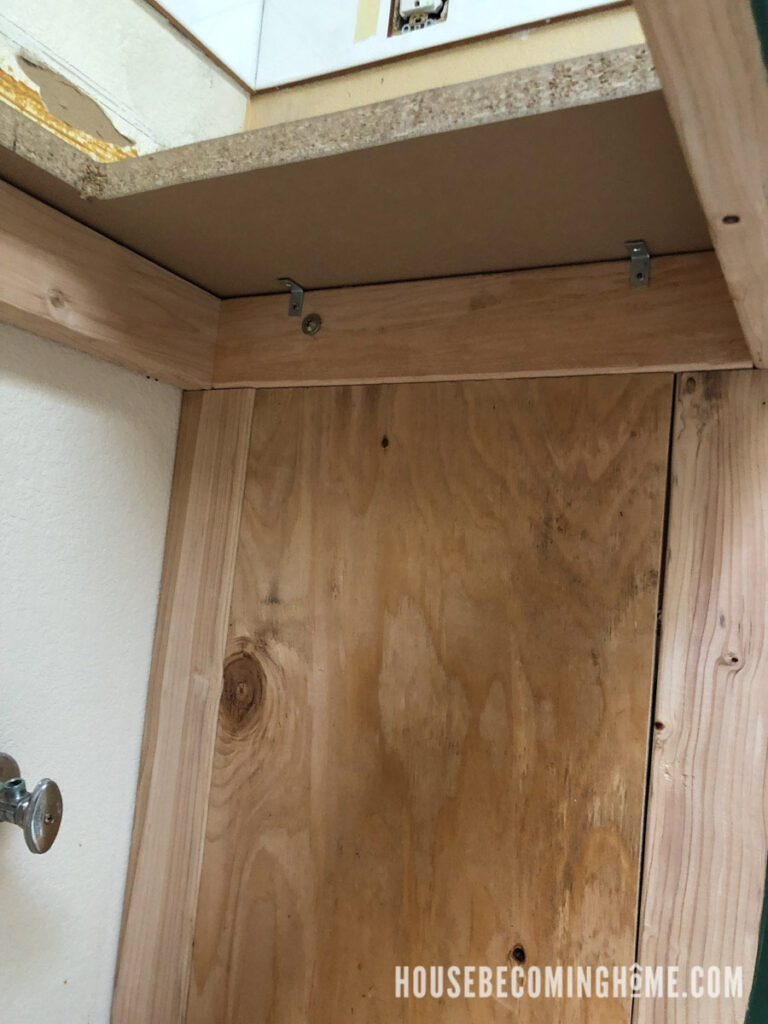
I fixed small L brackets at various spots inside the vanity to screw the countertop in place.
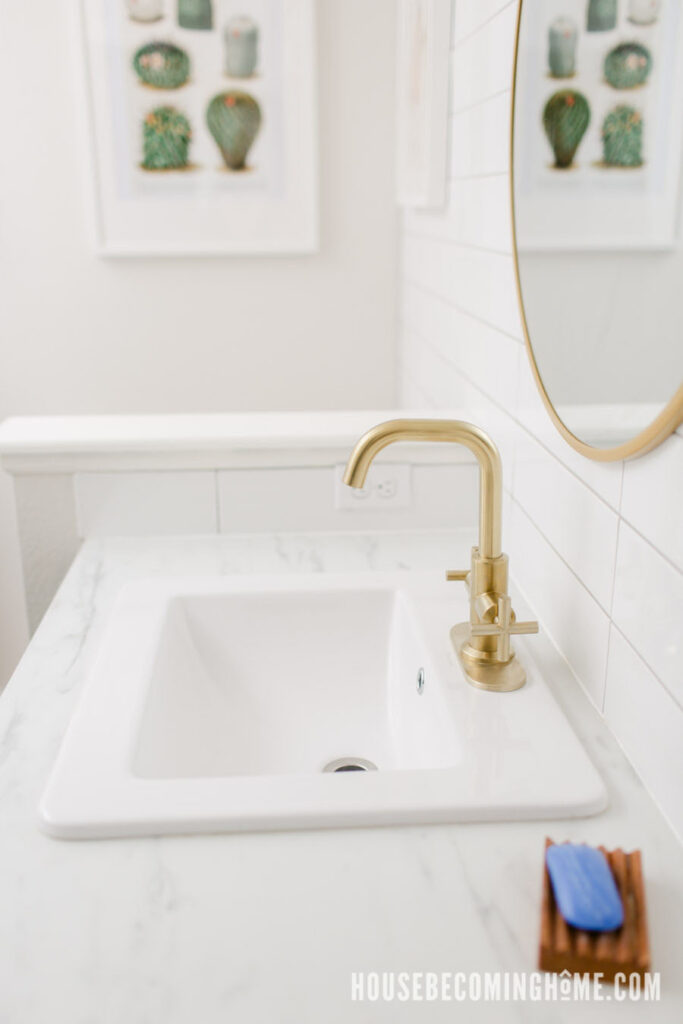
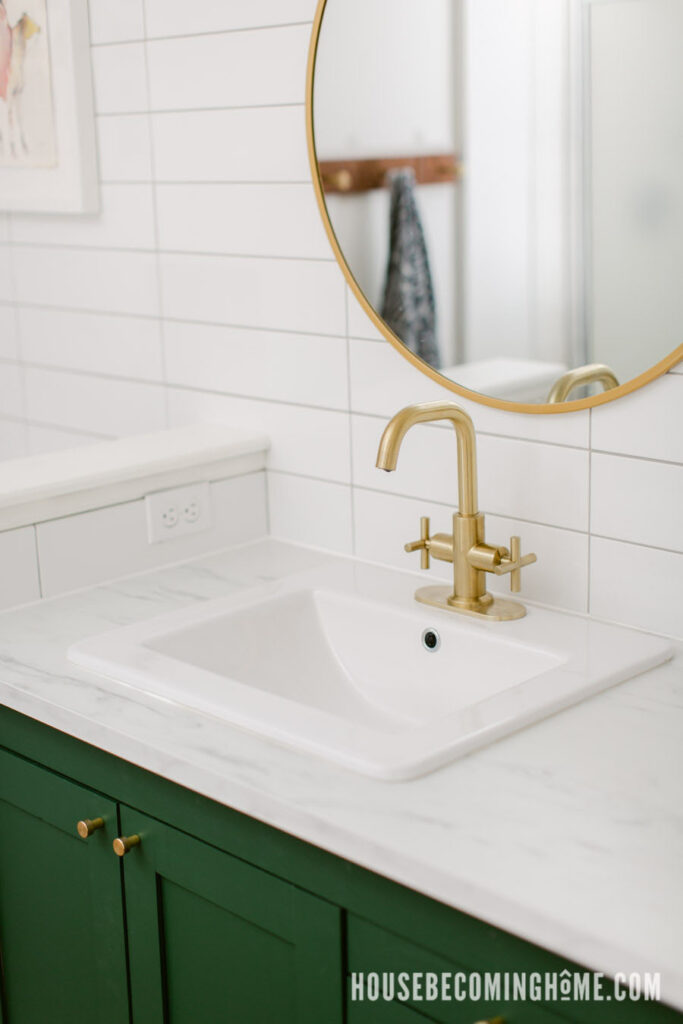
Sinks and Faucets
After the counter was on I added the new sinks and faucets. Hooray for running water in the bathroom.
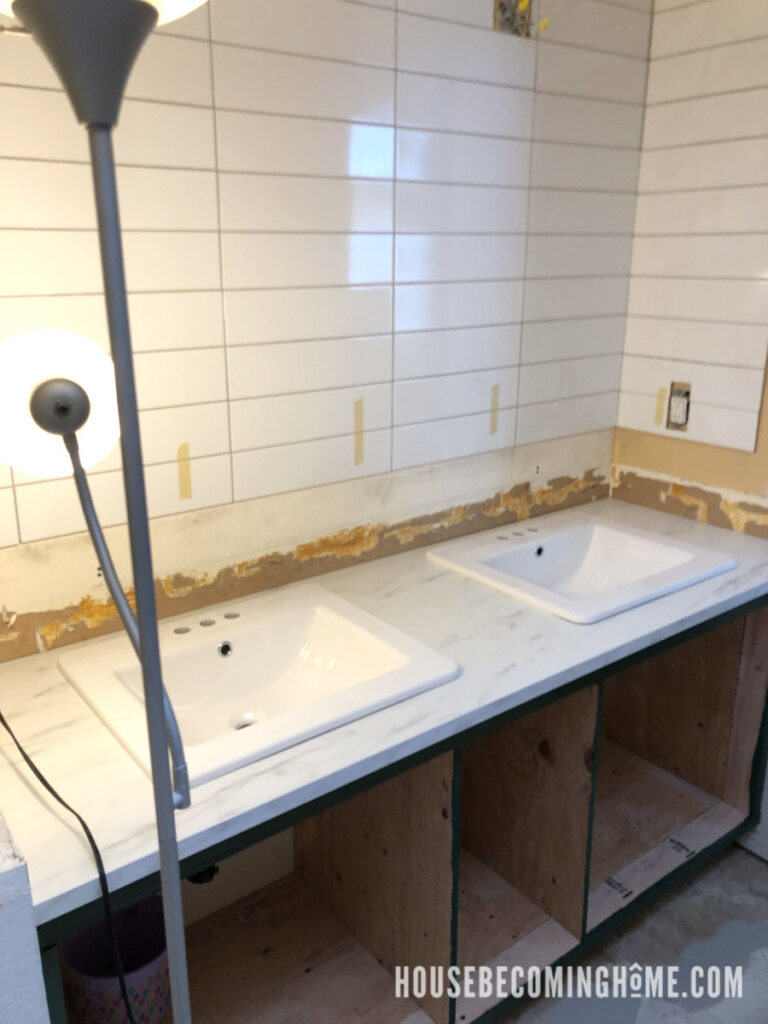
After the counter was on and the sinks were in I finished tiling the bottom two rows that I had left unfinished.
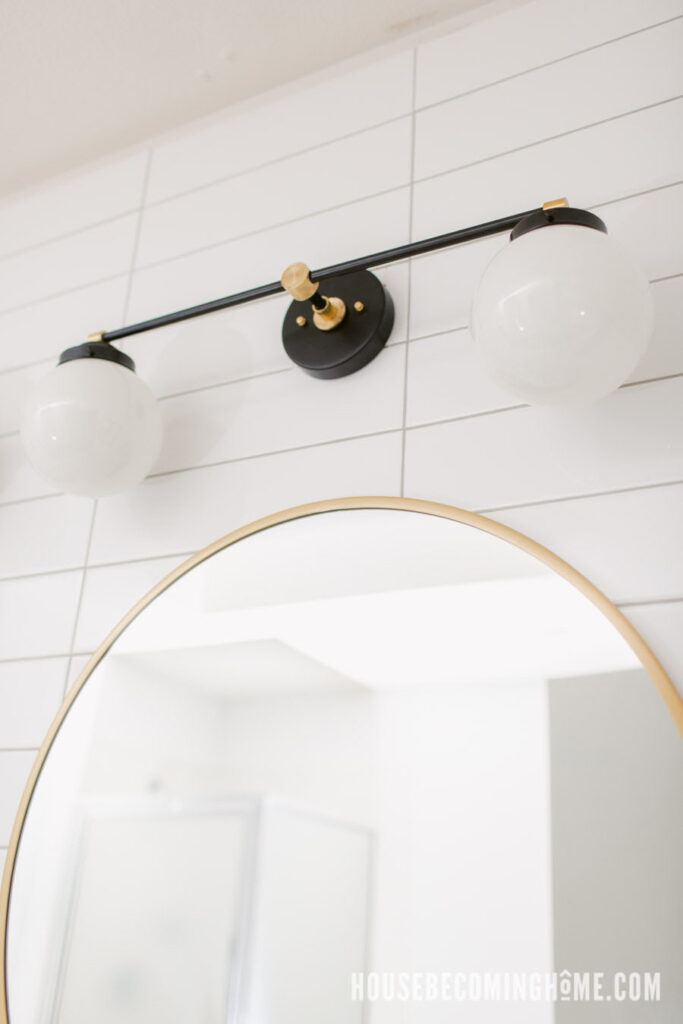
Lights
One of my favorite DIY projects is making my own light fixtures. I put two together, then Jim helped me wire them up.
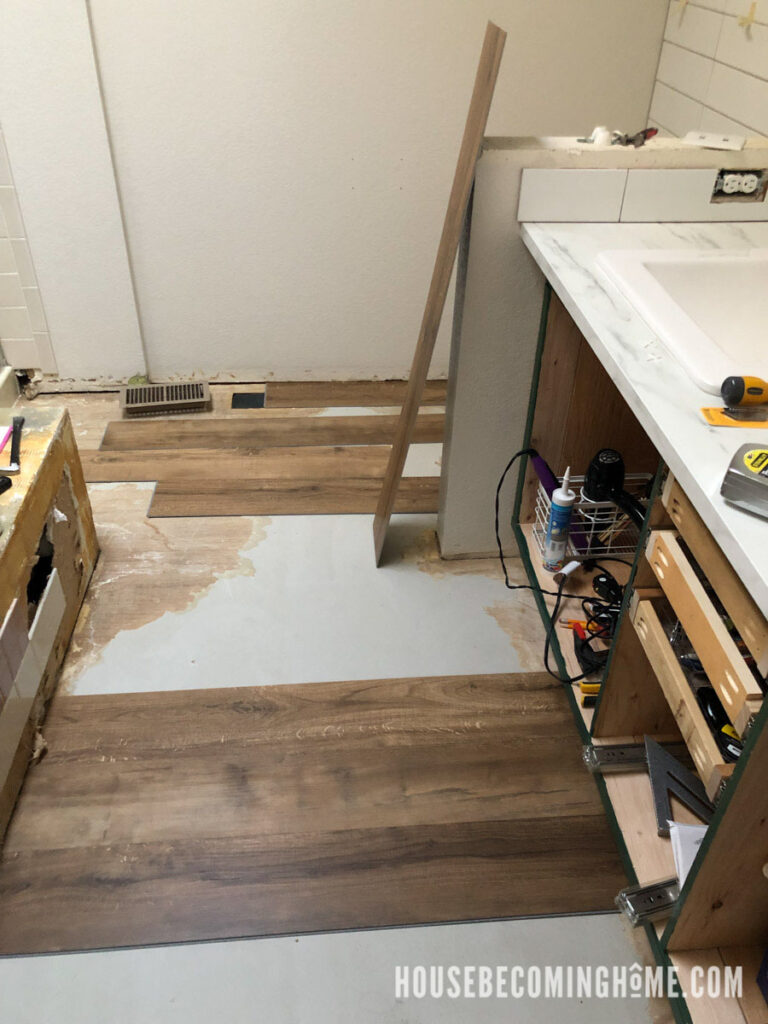
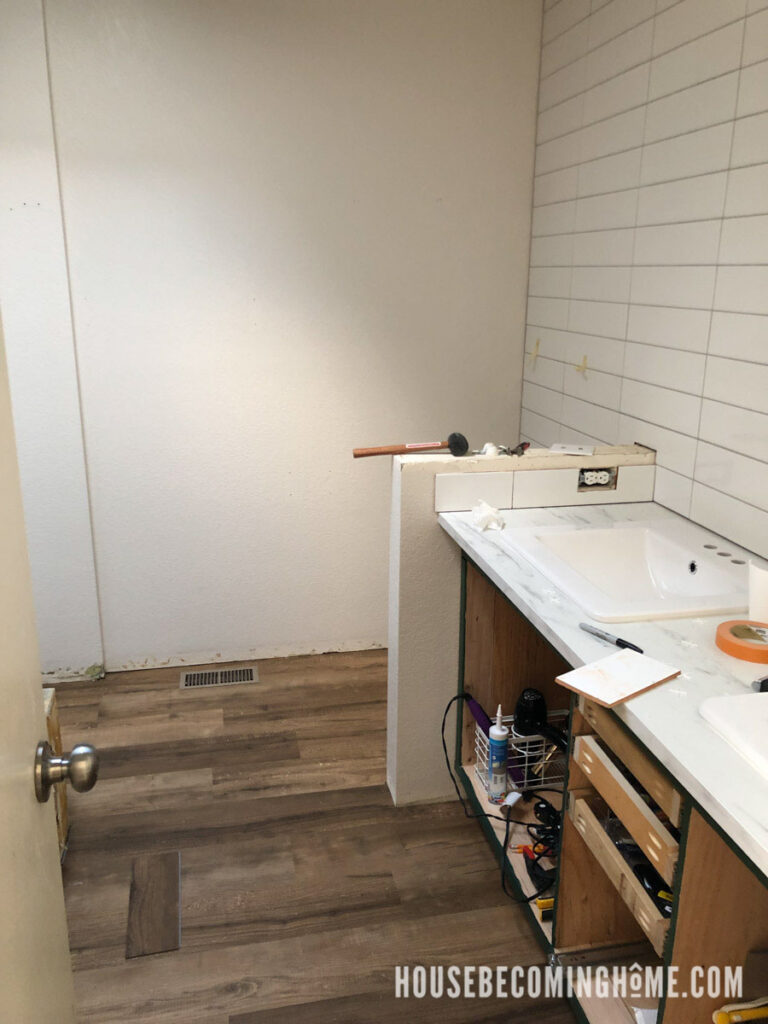
Flooring
I ripped out the old laminate flooring and replaced it with a waterproof “luxury” vinyl.
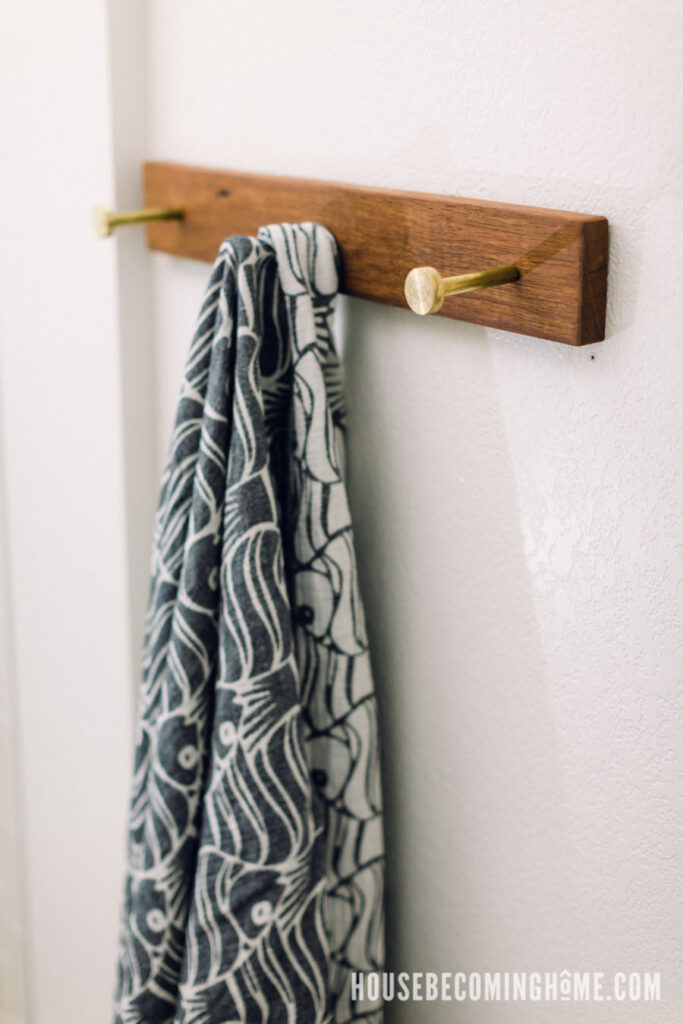
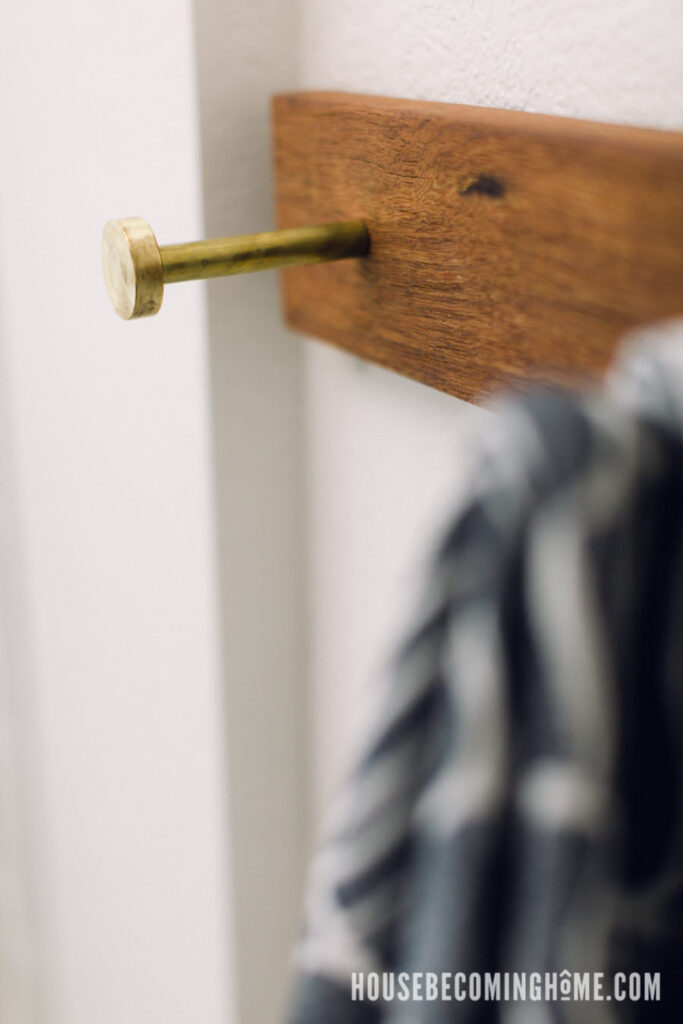
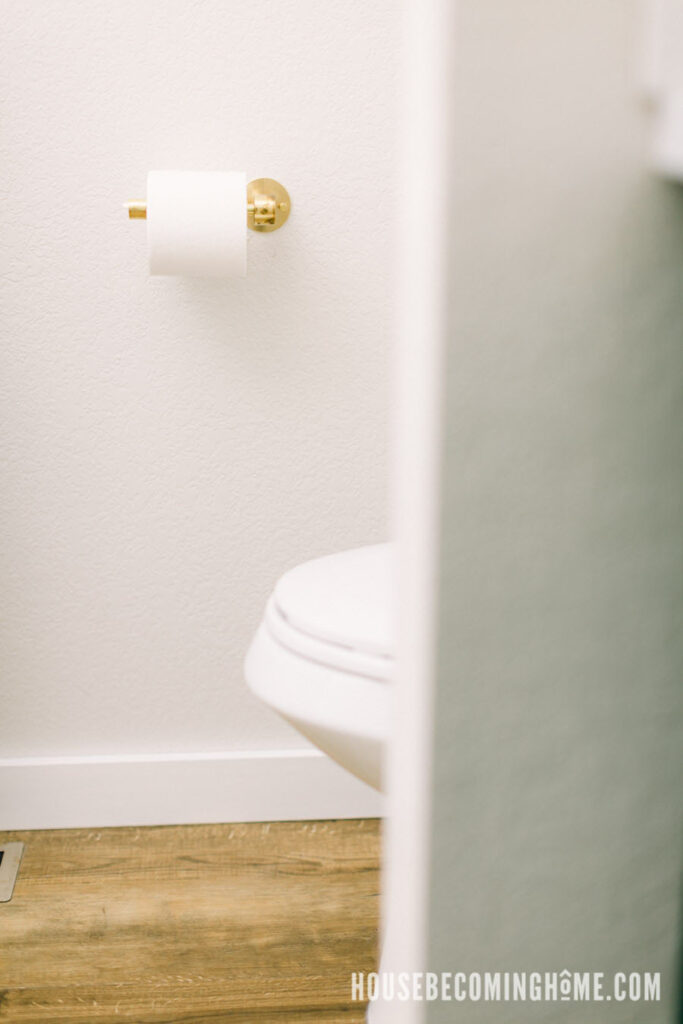
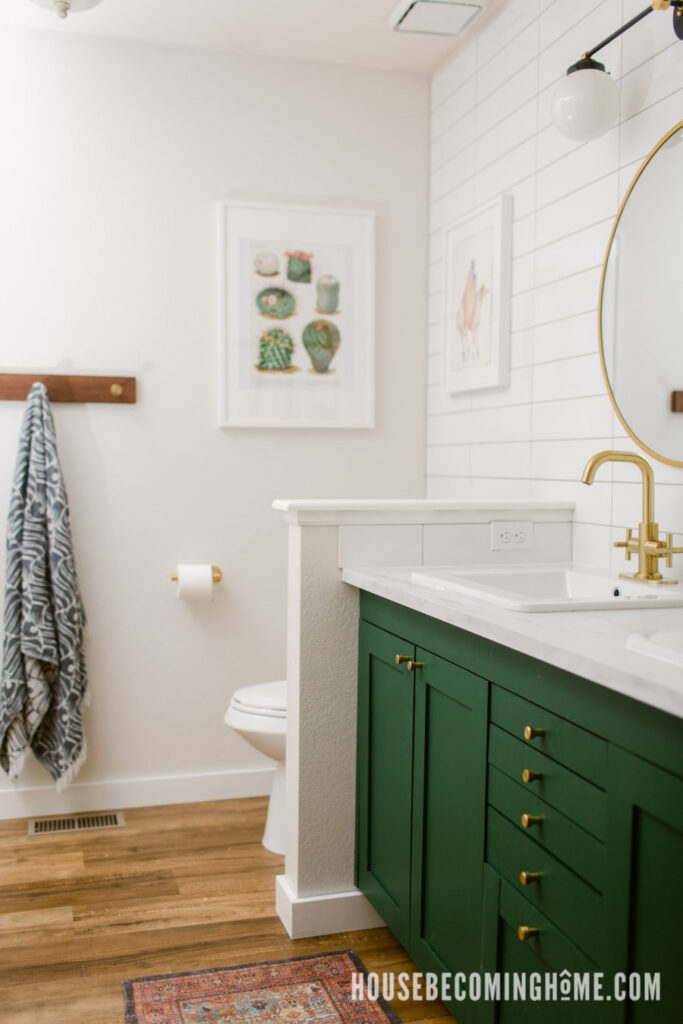
Final TouCHES
I hung mirrors, painted the walls, made a wood & brass towel rack, made a brass toilet paper holder, hung some art, installed trim, and finally, added brass knobs to the vanity. Phase one of the bathroom renovation . . . . complete!
Bathroom Sources:
House Becoming Home is a participant in the Amazon Services LLC Associates Program, an affiliate advertising program designed to provide a means for sites to earn advertising fees by advertising and linking to Amazon.com. Some links in this post may be affiliate links. Read my full disclosure policy here.
- Faucets : Brushed Gold 2-Handle 4 Inch Centerset Bathroom Faucet
- Sinks : Allen + Roth White Drop-In Rectangular Bathroom Sink with Overflow Drain
- Soap dish : House Becoming Home Cherry Wood Soap Dish
- Vanity Paint color : Behr – Vine Leaf
- Countertop : Ikea EKBACKEN Countertop, white marble effect/laminate
- Round Mirrors : Target 28″ Round Decorative Wall Mirror – Project 6