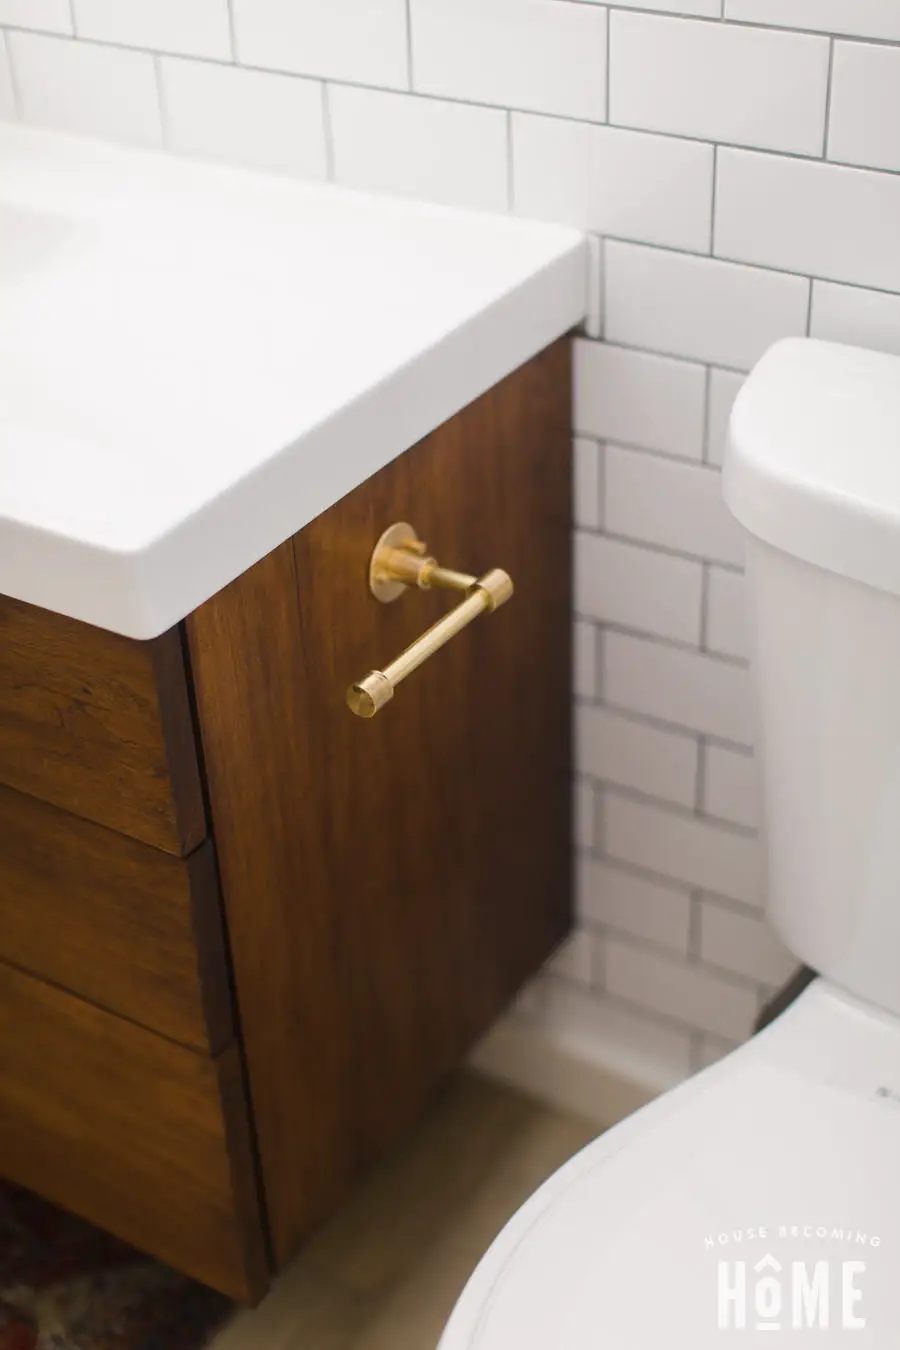
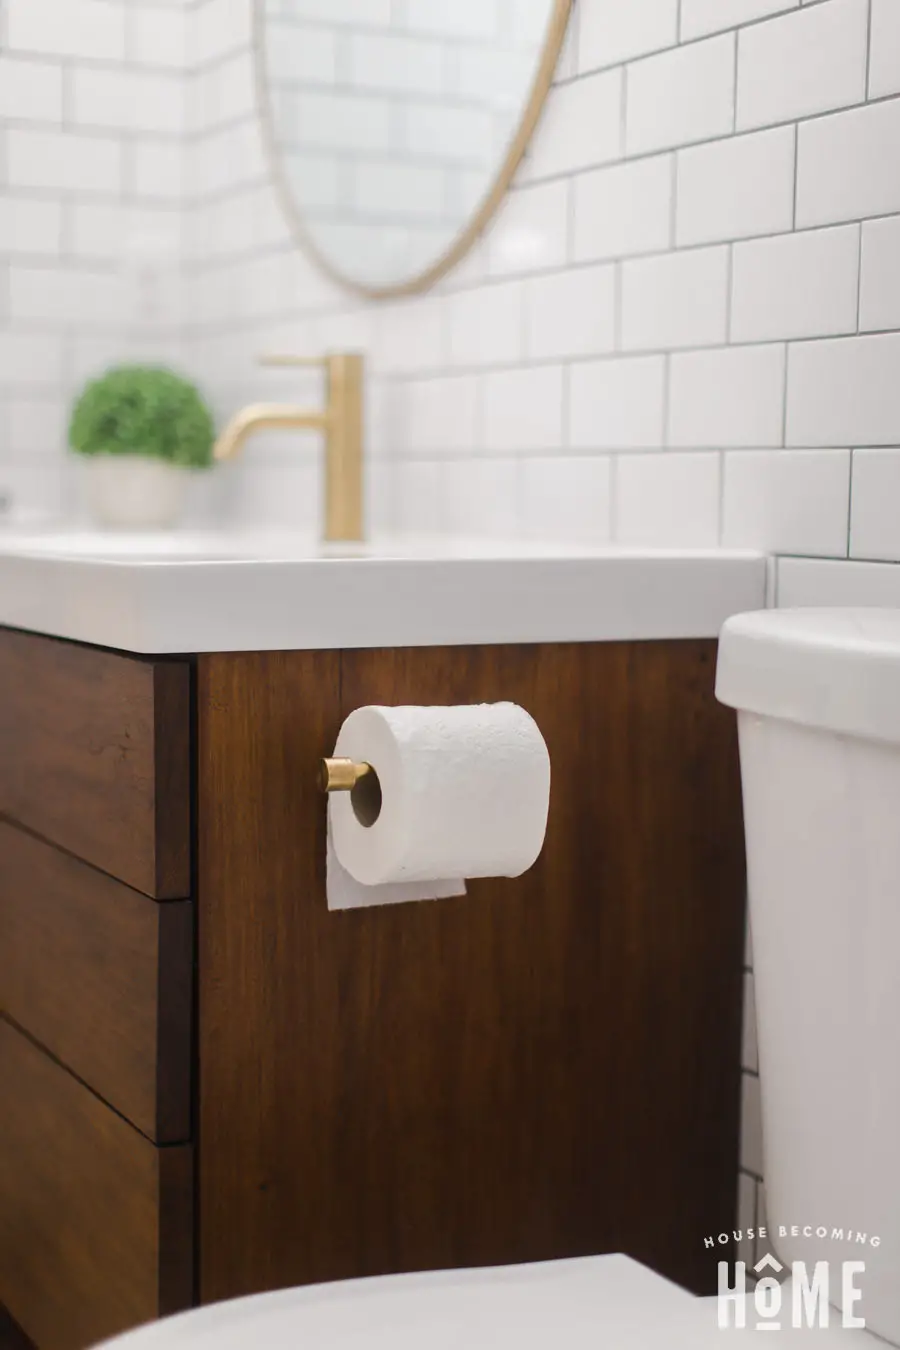
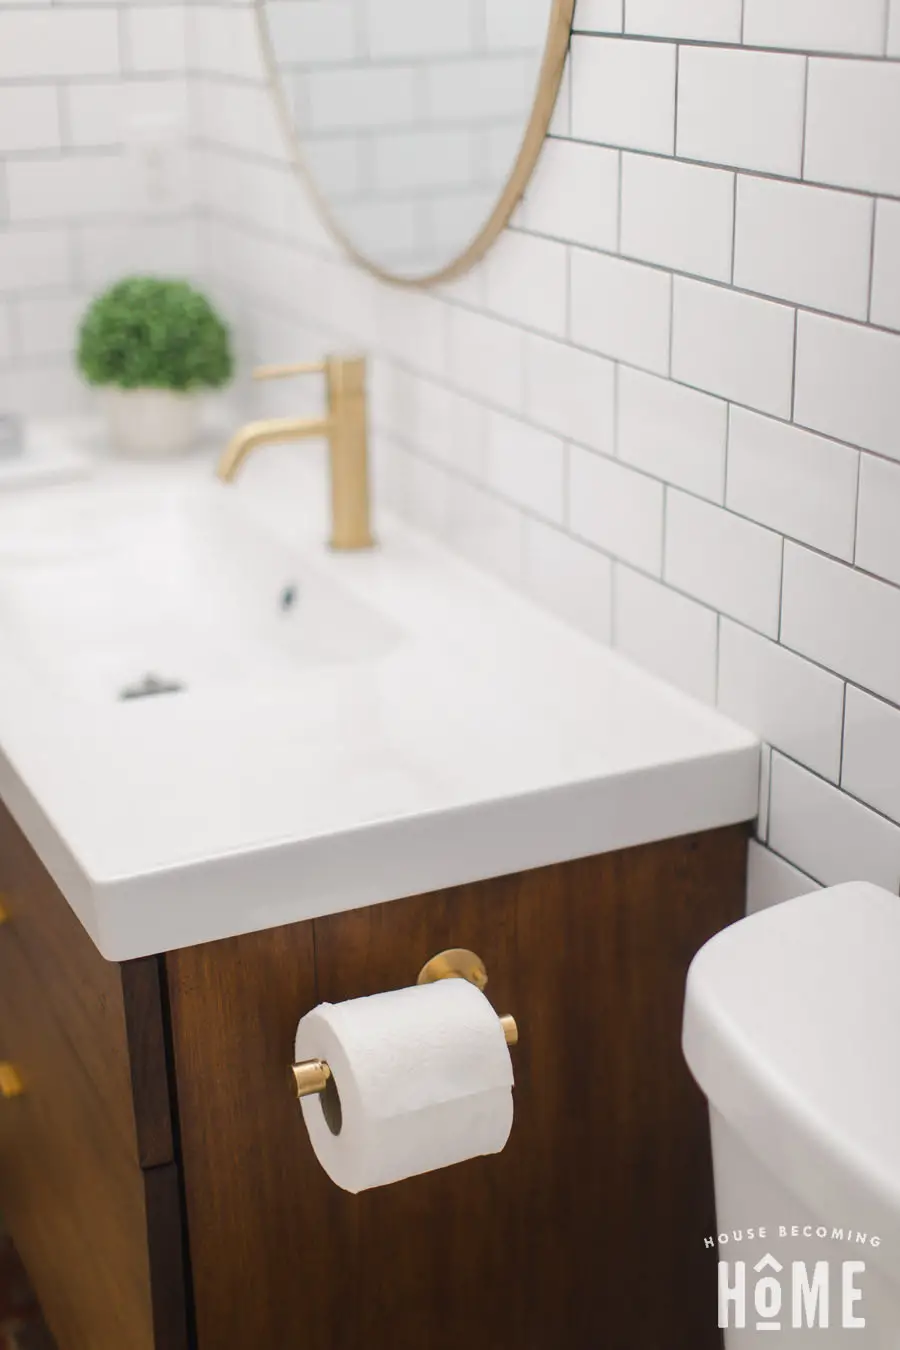
Our kids’ bathroom renovation is complete! Almost EVERYTHING in it was a DIY project, including the pretty DIY brass toilet paper holder. This little beauty is made from affordable brass lamp parts and is super simple to make with minimal tools needed. Best of all it’s a sturdy, solid brass toilet paper holder that doesn’t look at all like a DIY project and it saves some $$ vs. buying one (which is likely NOT even made from solid brass).
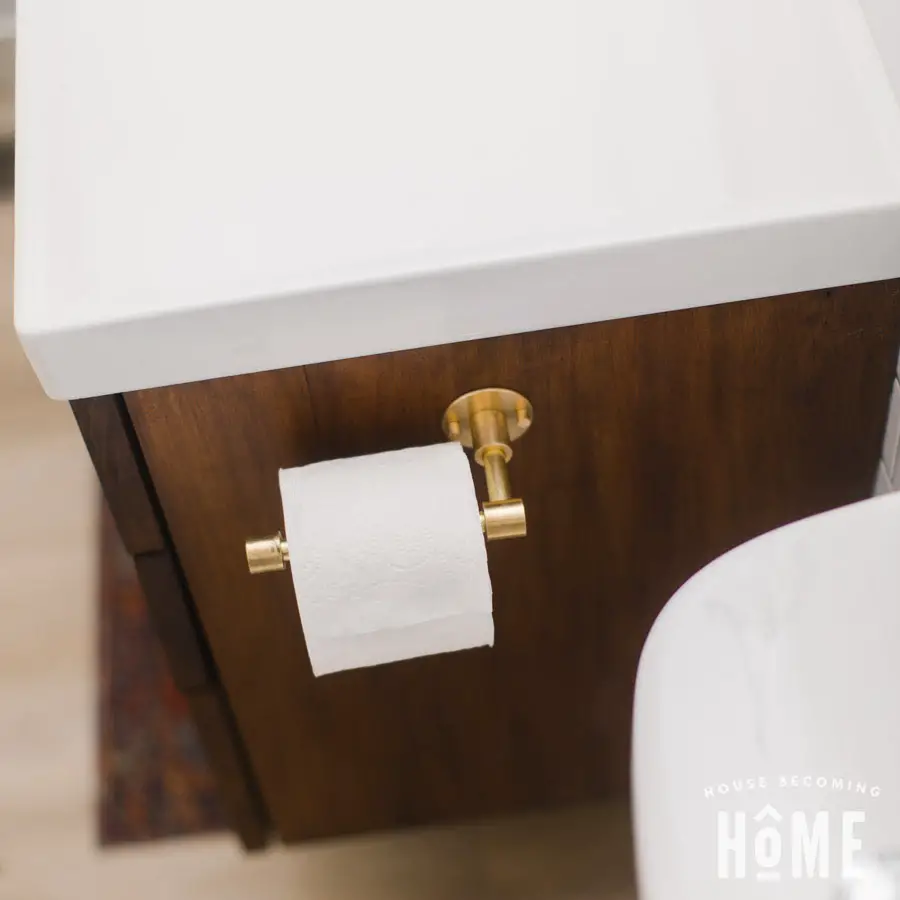
*This post is sponsored by my favorite place to buy the parts for this toilet paper holder, Grand Brass Lamp Parts*
How to Make a Brass Toilet Paper Holder
Supplies
- (1) 1/8IPS MALE THREADED UNFINISHED BRASS FLANGE
- (1) 2IN. X 1/8IPS SLIP TURNED BRASS CHECK RING
- (1) 7/8IN W X 1IN H – 1/8IPS. X 1/4IPS. FEMALE THREADED COUPLING
- (1) 2IN. UNFINISHED BRASS PIPE WITH 1/4IPS. THREAD
- (1) 1/4IPS FEMALE THREADED 90 DEGREE STRAIGHT ARMBACK – UNFINISHED BRASS
- (1) 5IN. UNFINISHED BRASS PIPE WITH 1/4IPS. THREAD
- (1) 7/8IN W X 3/4IN H – 1/4IPS. FEMALE THREADED BRASS FLAT TOP CYLINDER CAP
- Mounting Hardware
Tools
- Drill & 3/16″ Bit
- Wrench
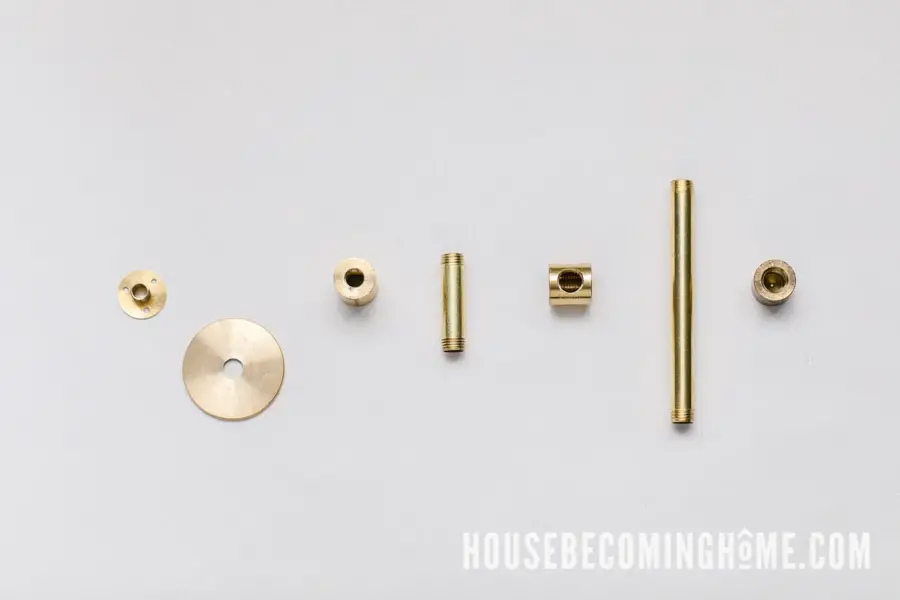
The image above shows everything you need to make the toilet paper holder. Work your way from left to right, attaching each piece to the next. It’s so simple there’s probably no need to even list out the steps, but here they are for anyone who might find it helpful:
Step One :
Slide the brass check ring over the brass flange.
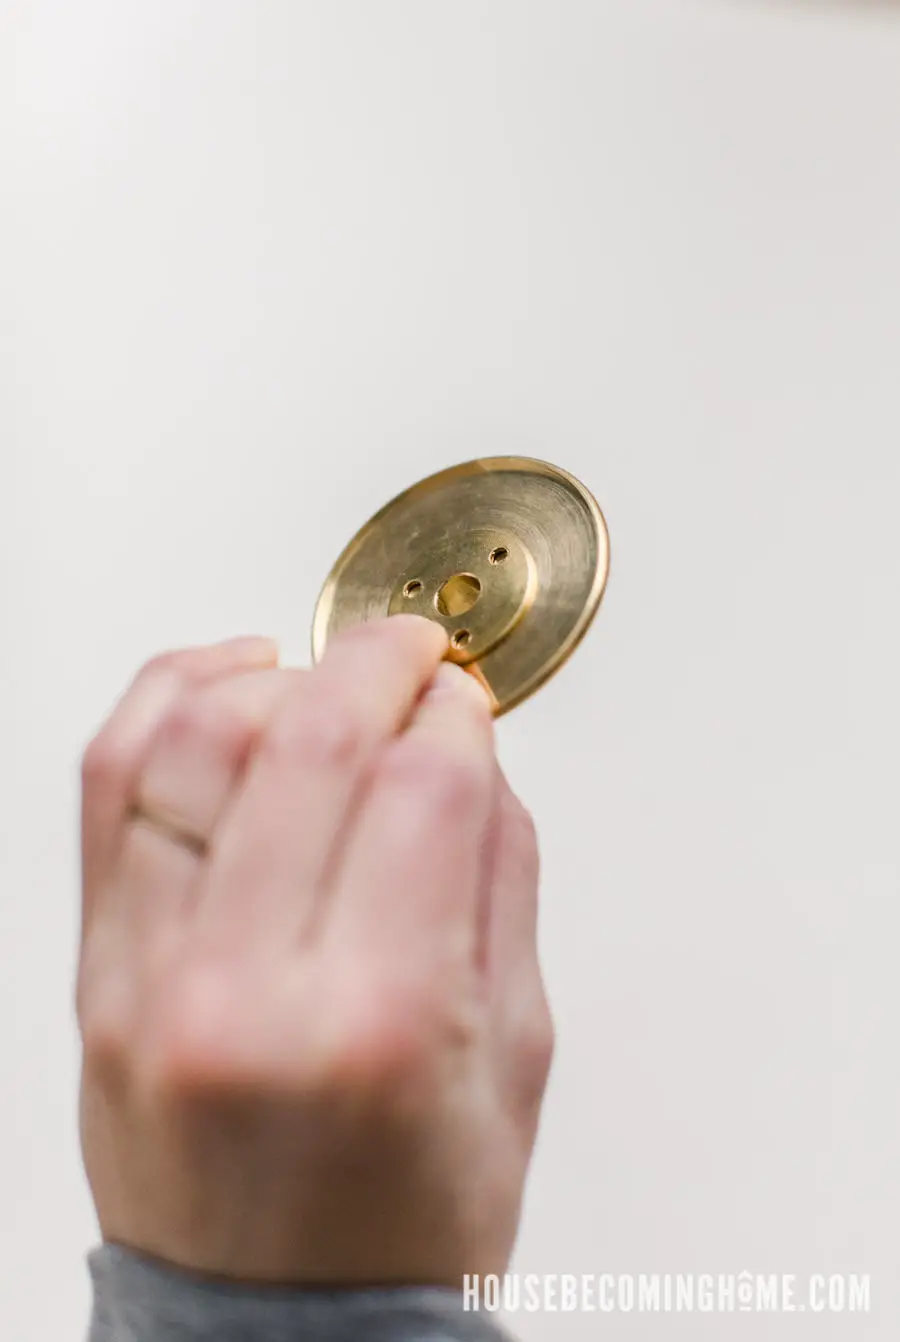
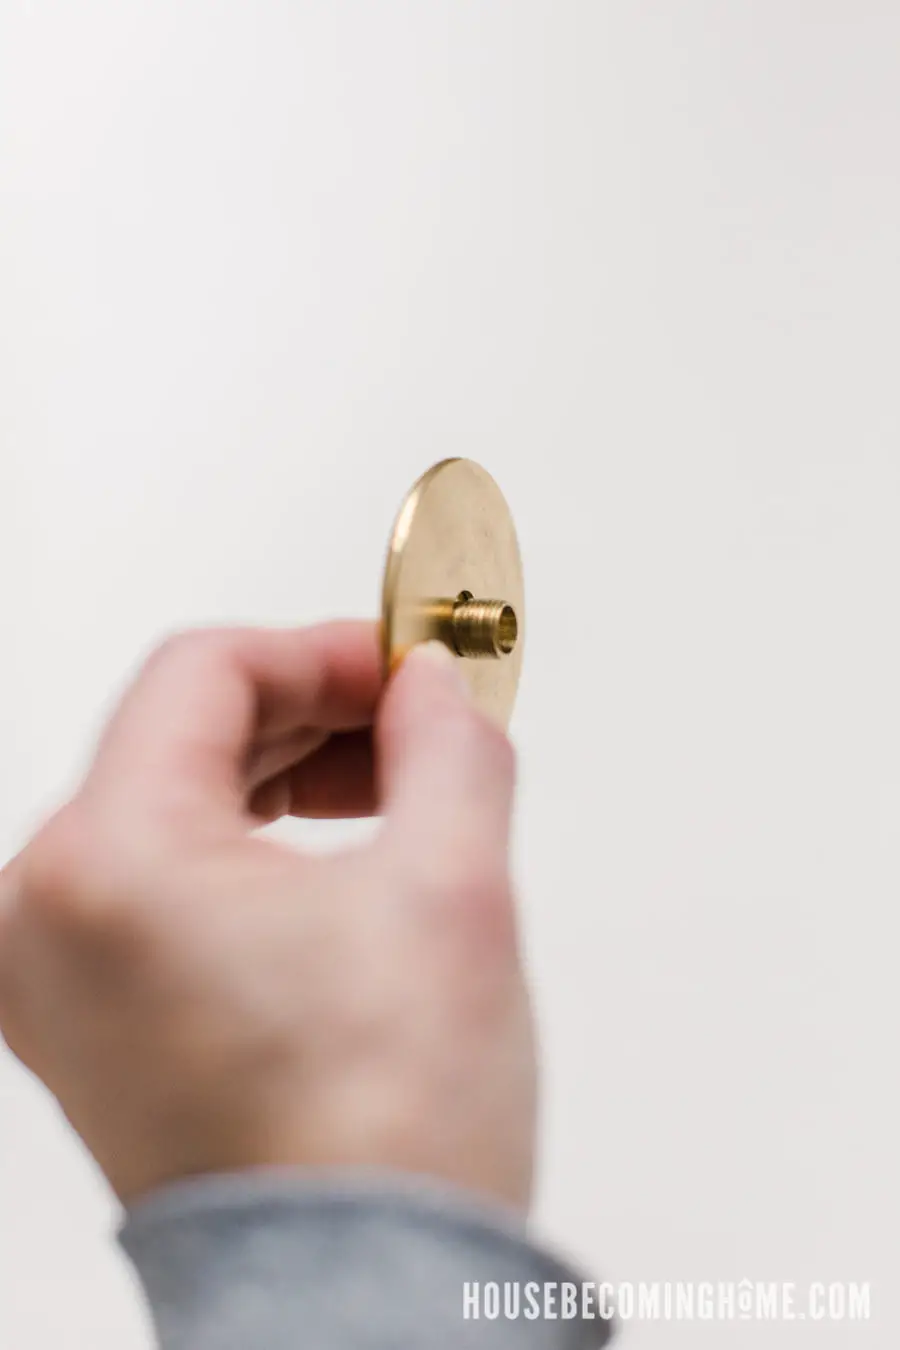
Step Two :
Tighten the coupling onto the threads of the brass flange.
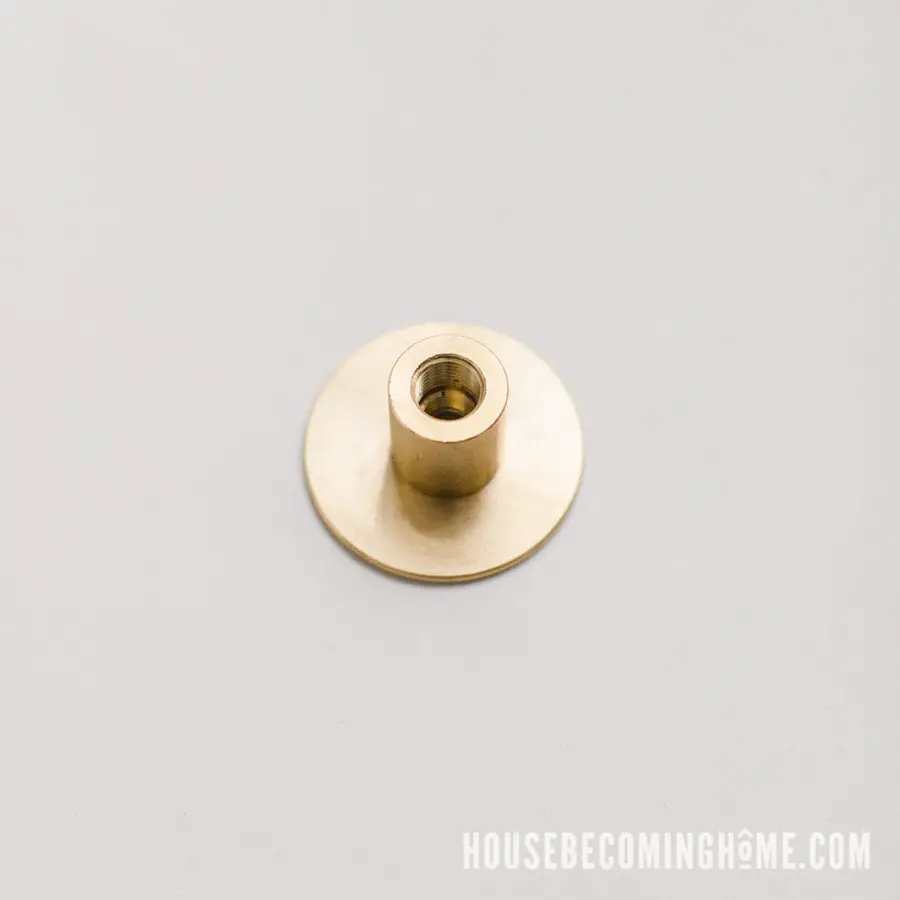
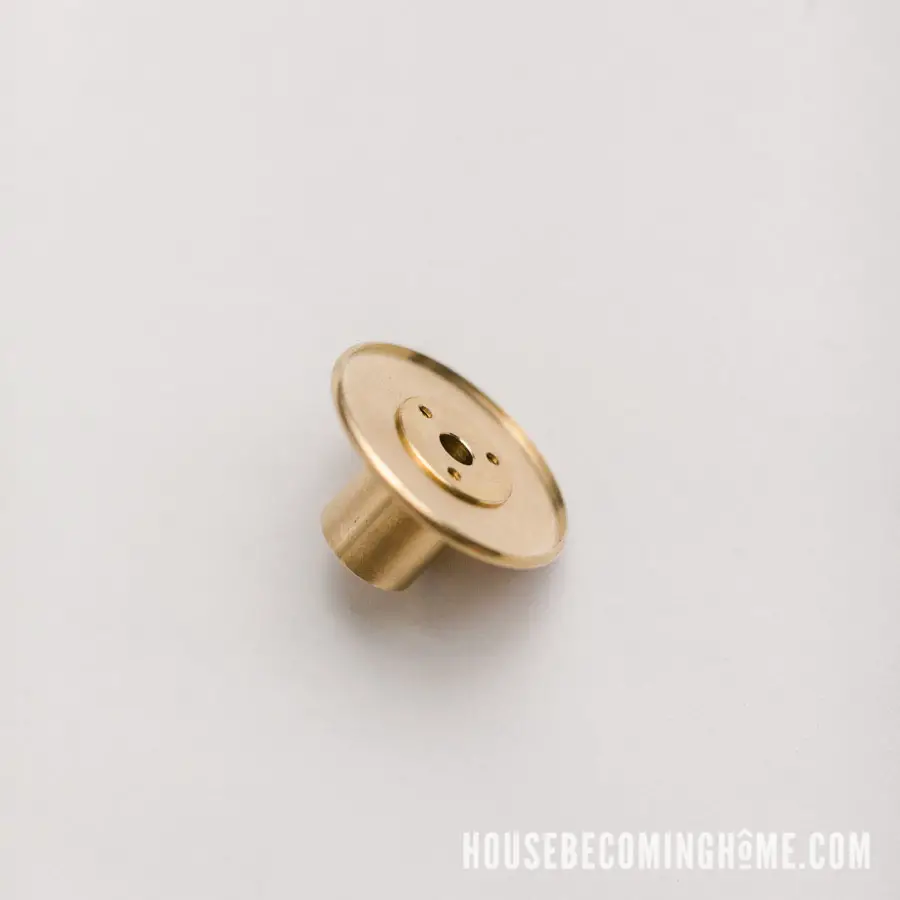
Step Three :
Tighten the 2″ brass pipe into the coupling.
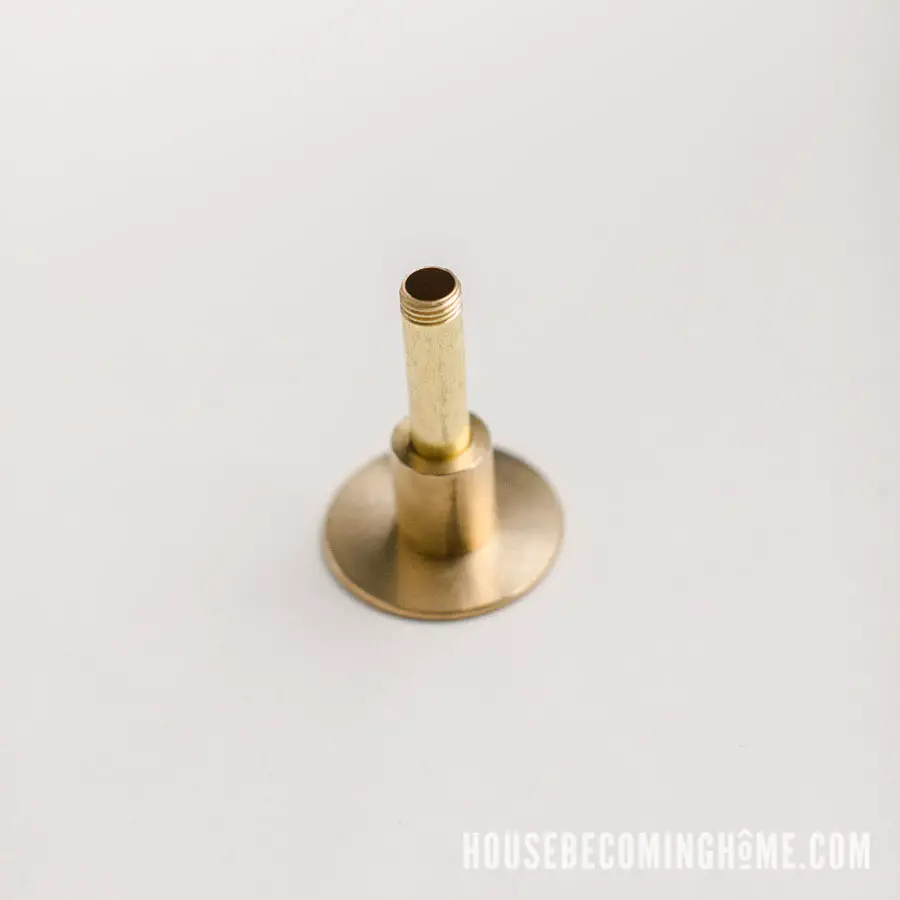
Step Four :
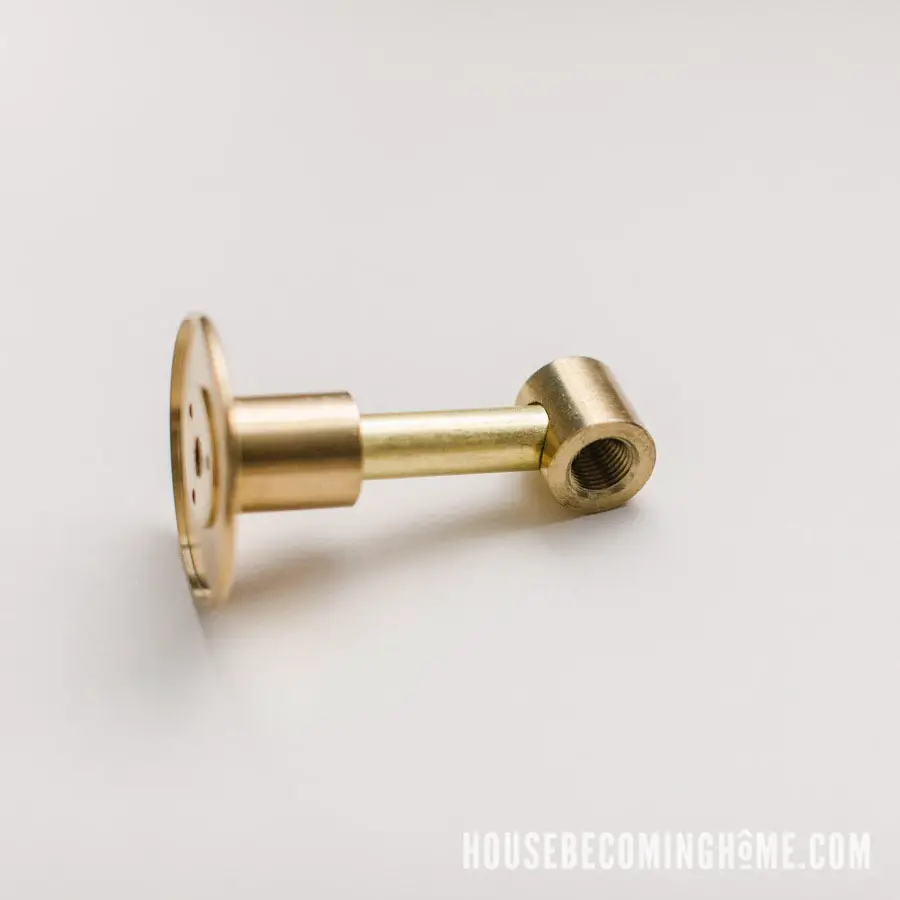
Tighten the 90 degree armback onto the 2″ brass pipe.
Step Five:
Screw the threads of the 5″ brass pipe into the open end of the armback.
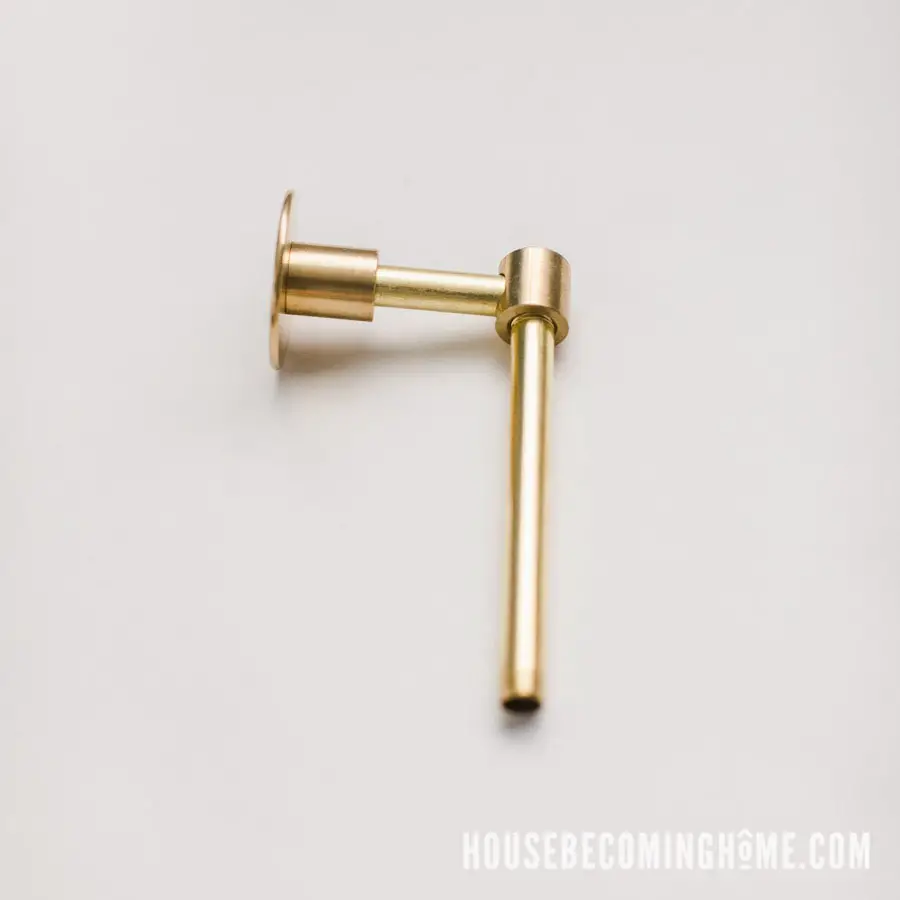
Step Six:
Attach the cylinder cap to the end of the 5″ pipe and twist until tight.
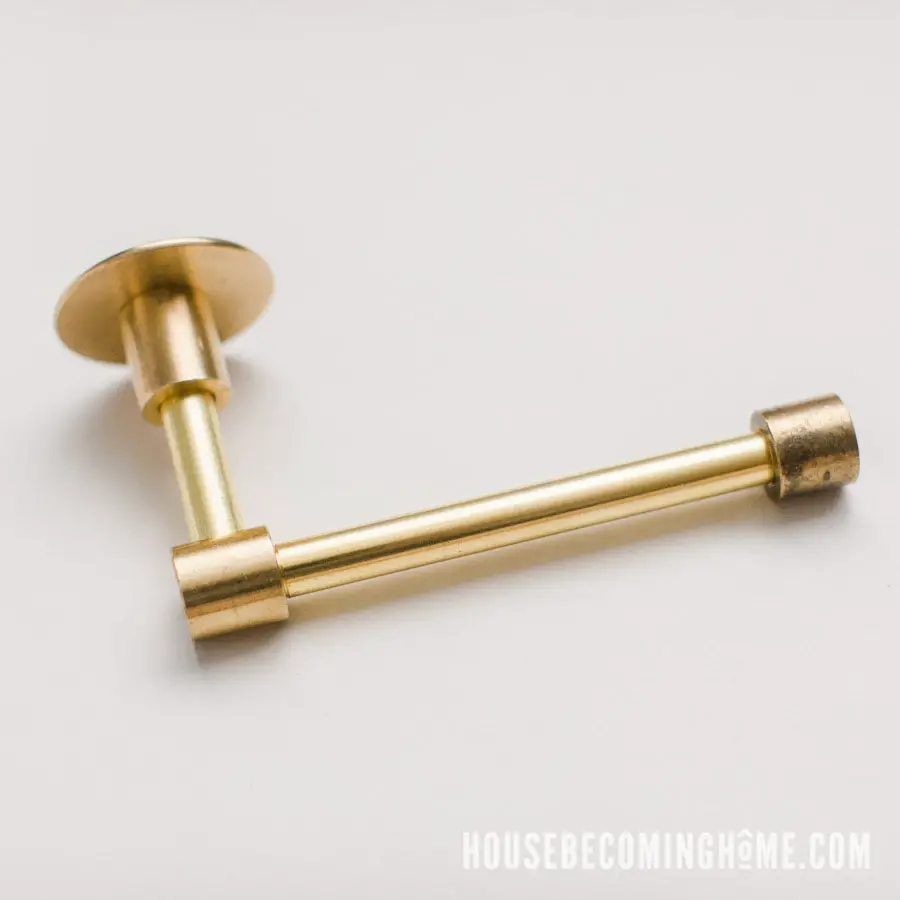
And that’s it. It’s seriously that easy. But now you’ve got to mount it, and there are several ways of doing it.
How to Mount DIY Brass TP Holder
Option One
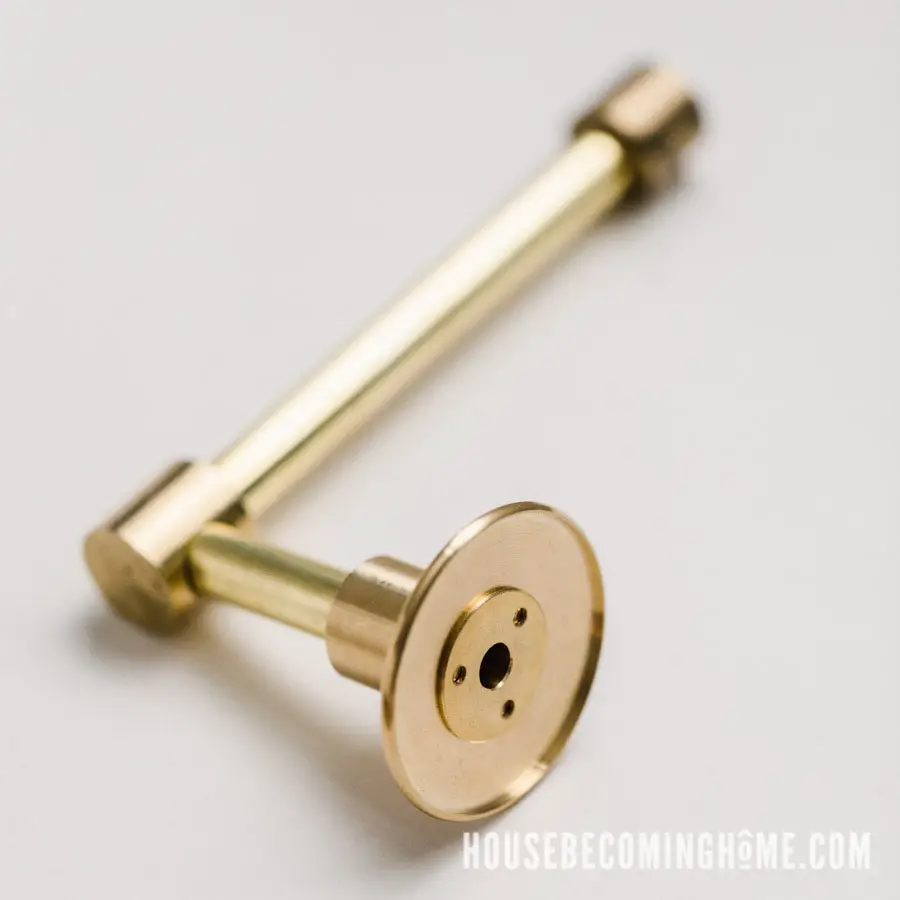
Remove the flange, check ring, and coupling from the toilet paper holder. Screw the brass flange to the wall at the desired position. There are three holes already in the flange where you can add your screws. You will likely need to use some sort of drywall mounting hardware since it’s unlikely you’ll be fixing it to a stud.
After the brass flange is firmly attached to the wall, add the brass check ring, then screw the coupling onto the threads of the flange. Attach the rest of the toilet paper holder to the coupling.
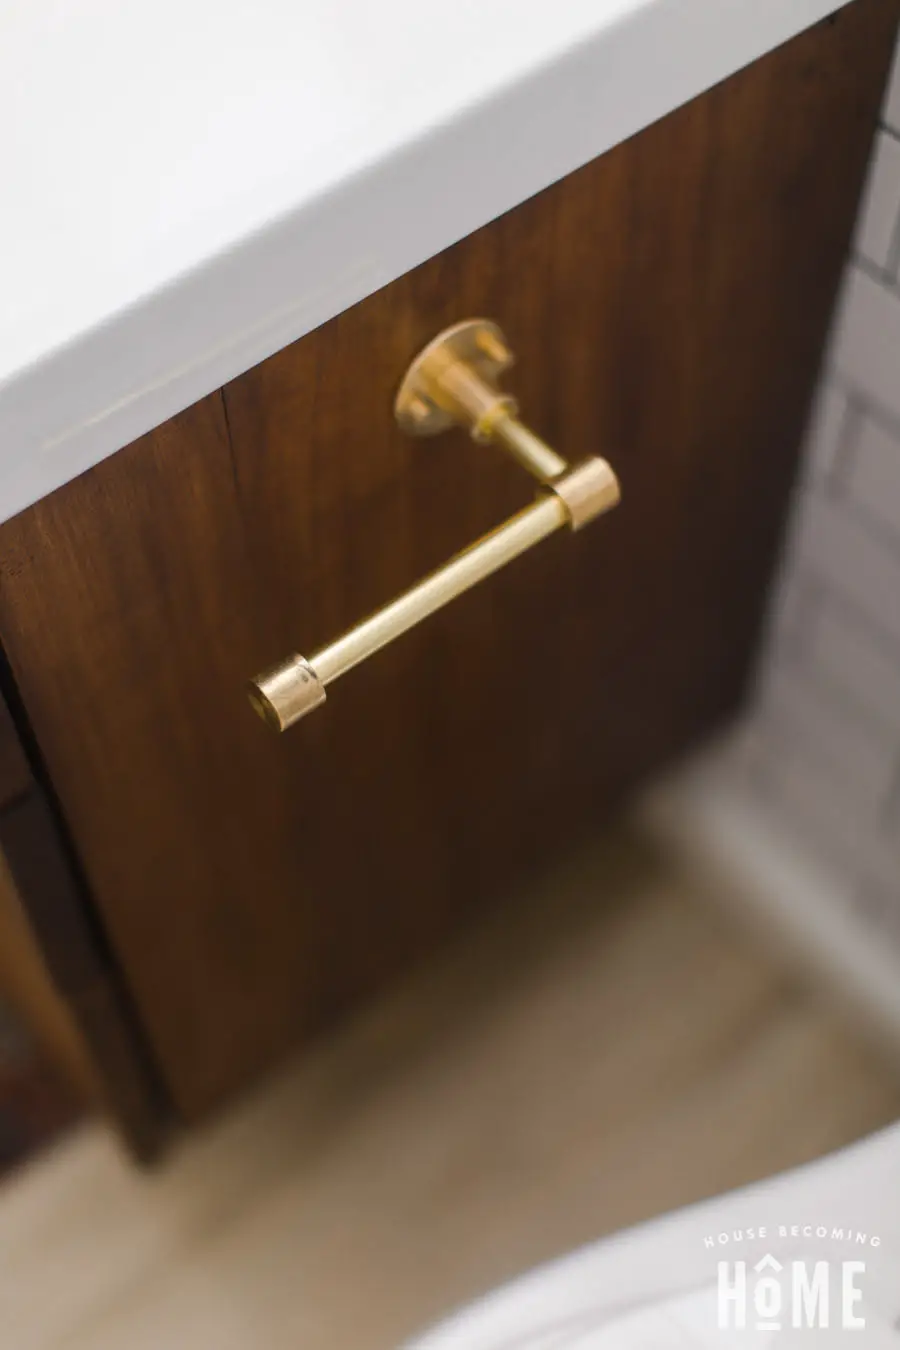
If anyone tries this, let me know how it goes. This was my original plan, but it turns out our bathroom is crazy small. The toilet paper holder would have been too cramped in between the toilet and the vanity cabinet, which dictated its placement ON the vanity . . .
Option Two
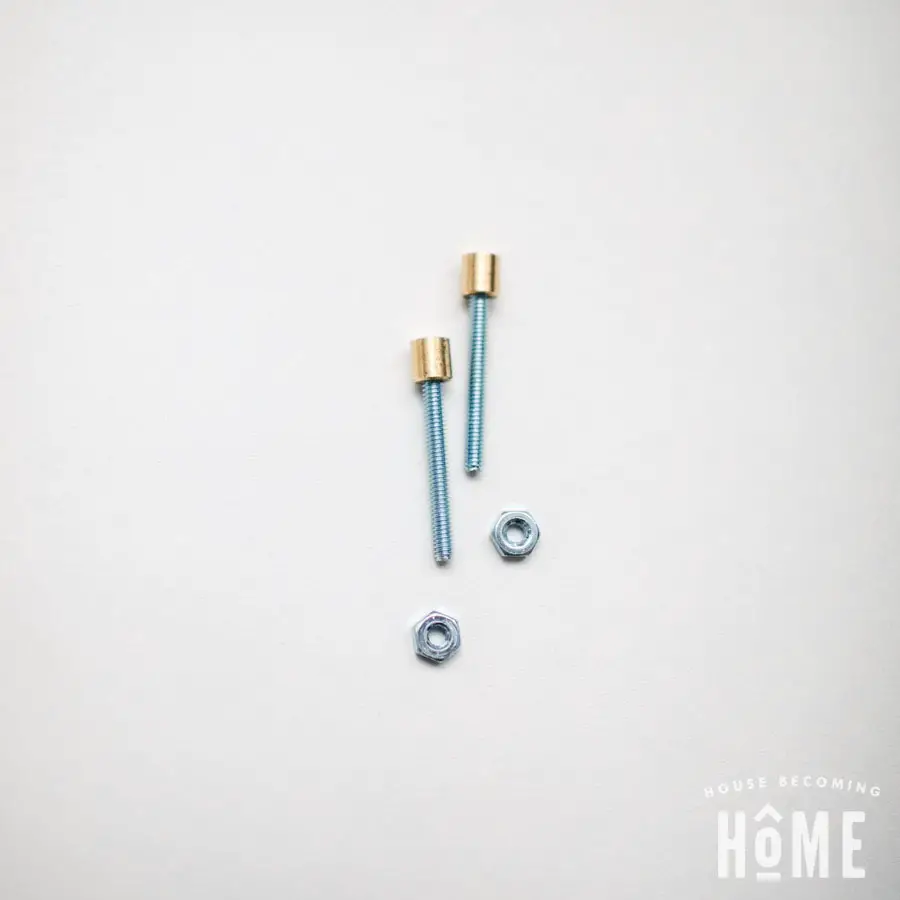
Supplies Needed
- (2) 8/32 FEMALE THREADED 5/16IN TALL CYLINDER CAP FINIAL – UNFINISHED BRASS
- (2) 1-1/2IN LONG X 8/32 THREADED UNFINISHED STEEL STUD
- (2) 8/32 THREAD ZINC PLATED STEEL HEX HEAD NUT
(This is also where you’ll need your drill and wrench)
Using a 3/16″ drill bit, make two holes in the brass check ring:
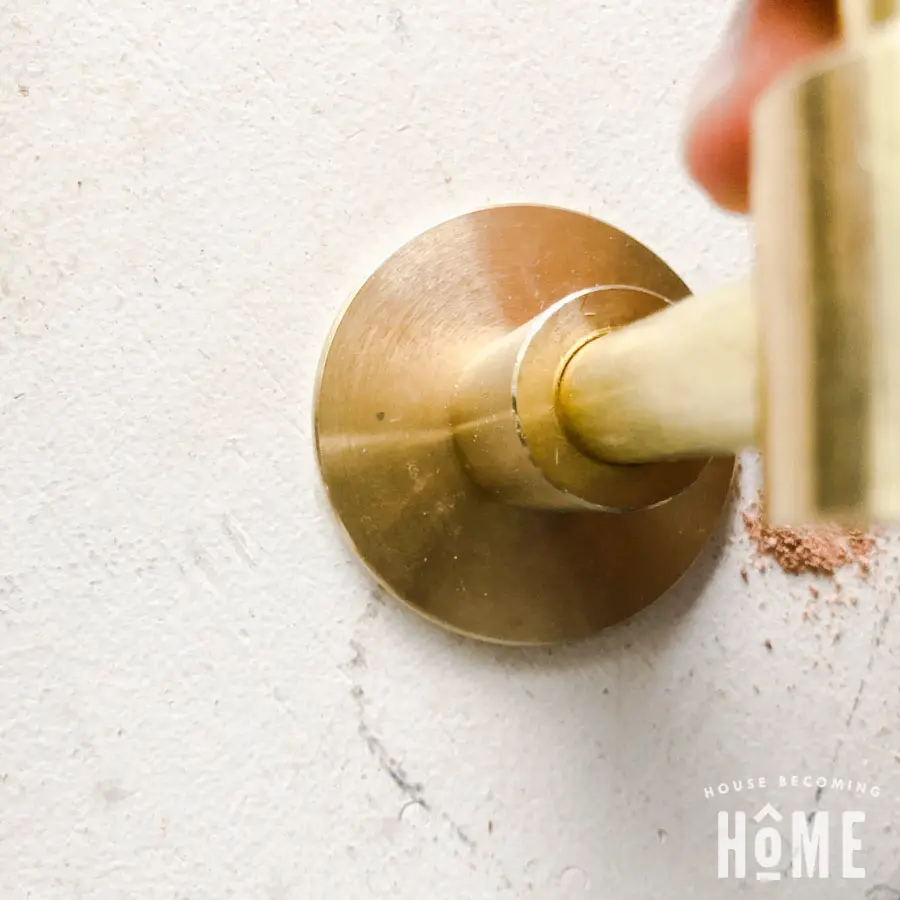
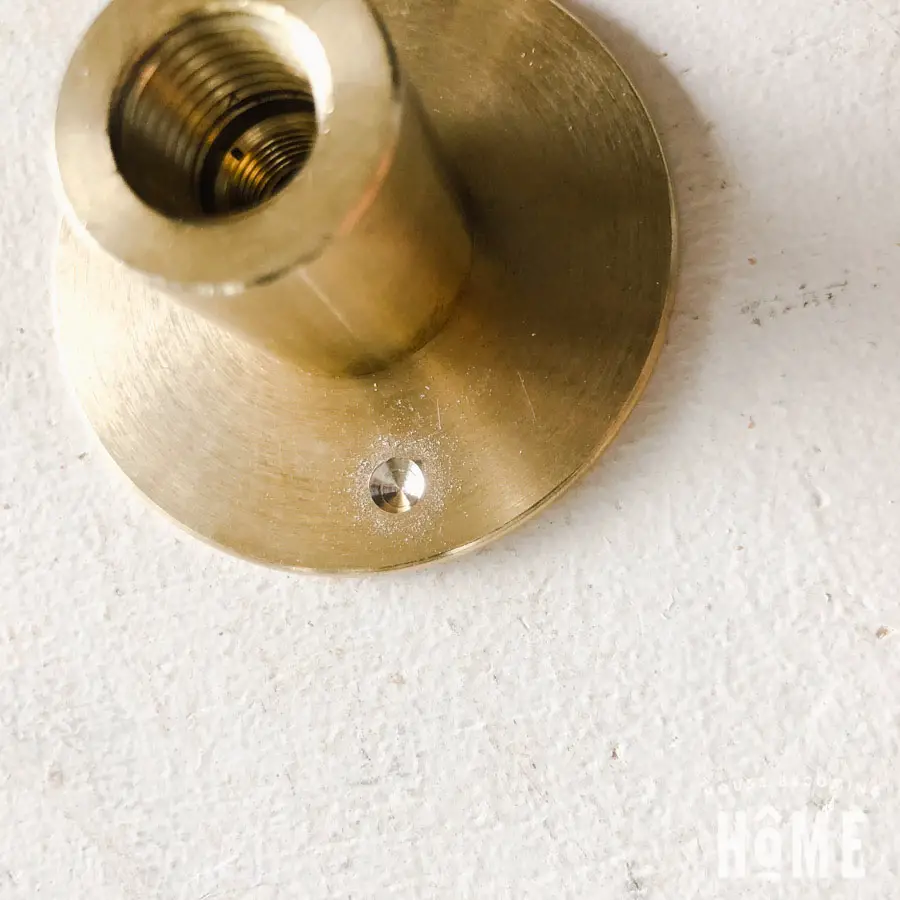
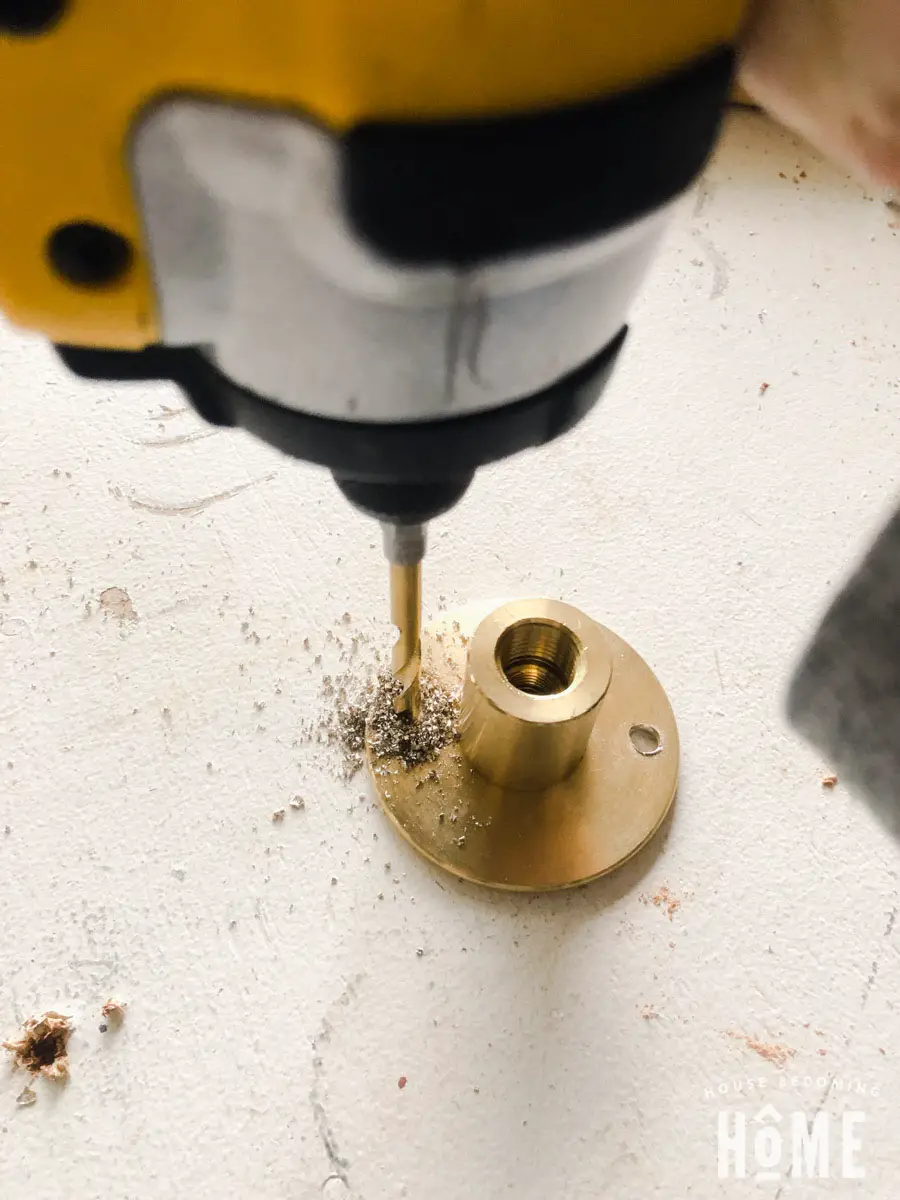
Decide on the placement of your toilet paper holder, hold in place and mark the spot of one of the holes (make sure a drawer slide isn’t on the other side). Using a 3/16″ drill bit, make a hole all the way through the cabinet.
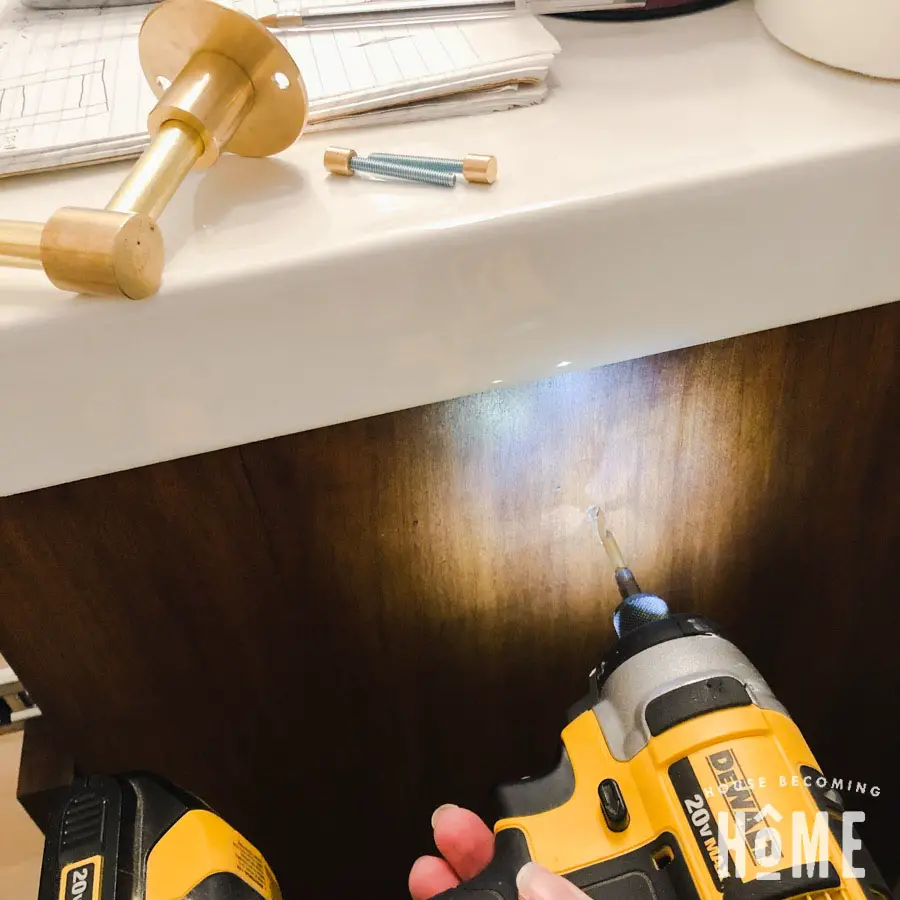
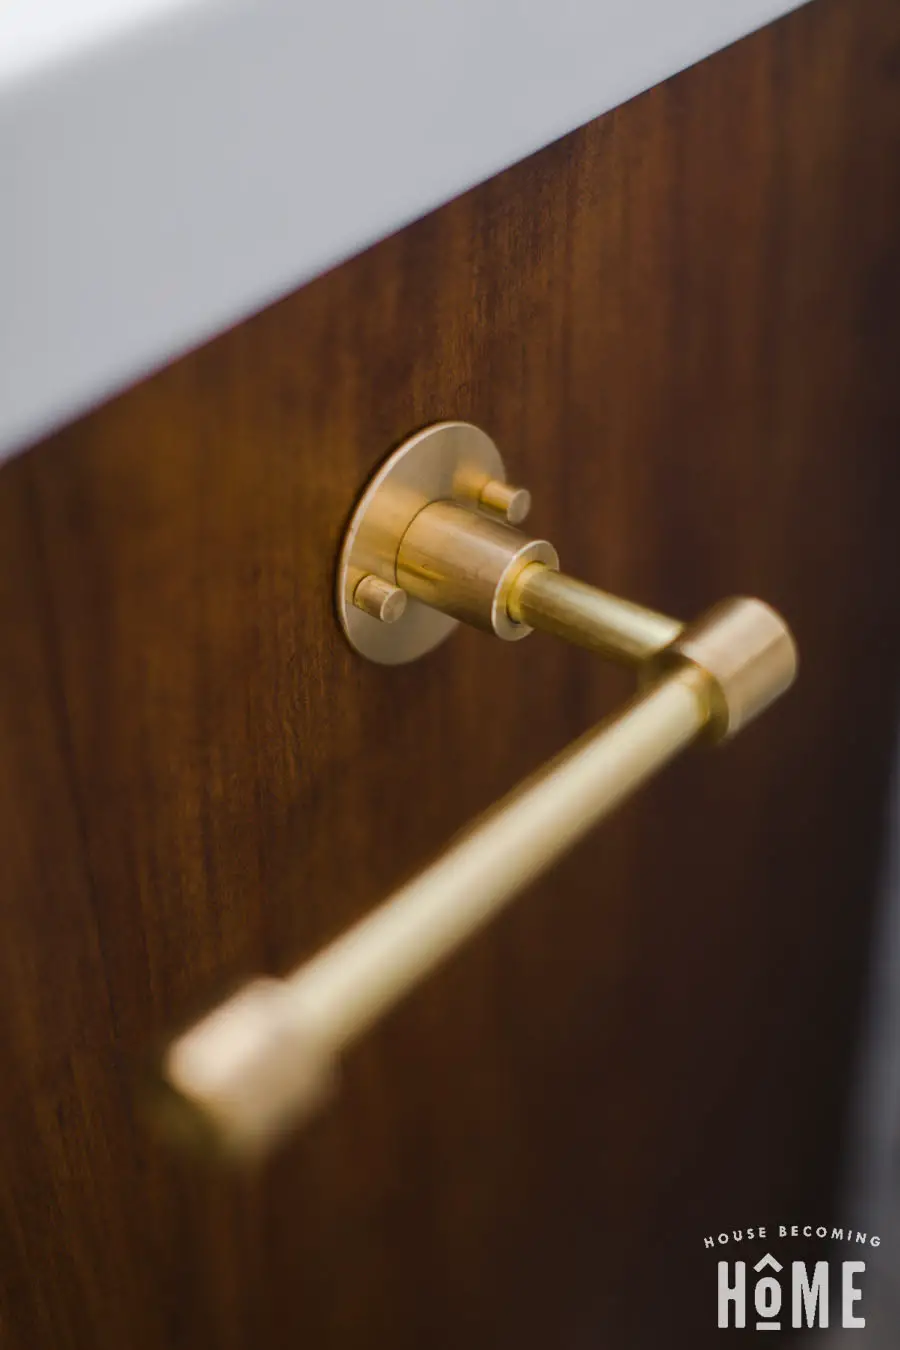
Insert a threaded rod with a cap on one side through the check ring and cabinet, then secure inside the cabinet with a nut. (I removed part of the TP holder to make this easier.)
Hold the base of the toilet paper holder exactly where you want it, and mark the placement of the second hole. Drill with 3/16″ bit.
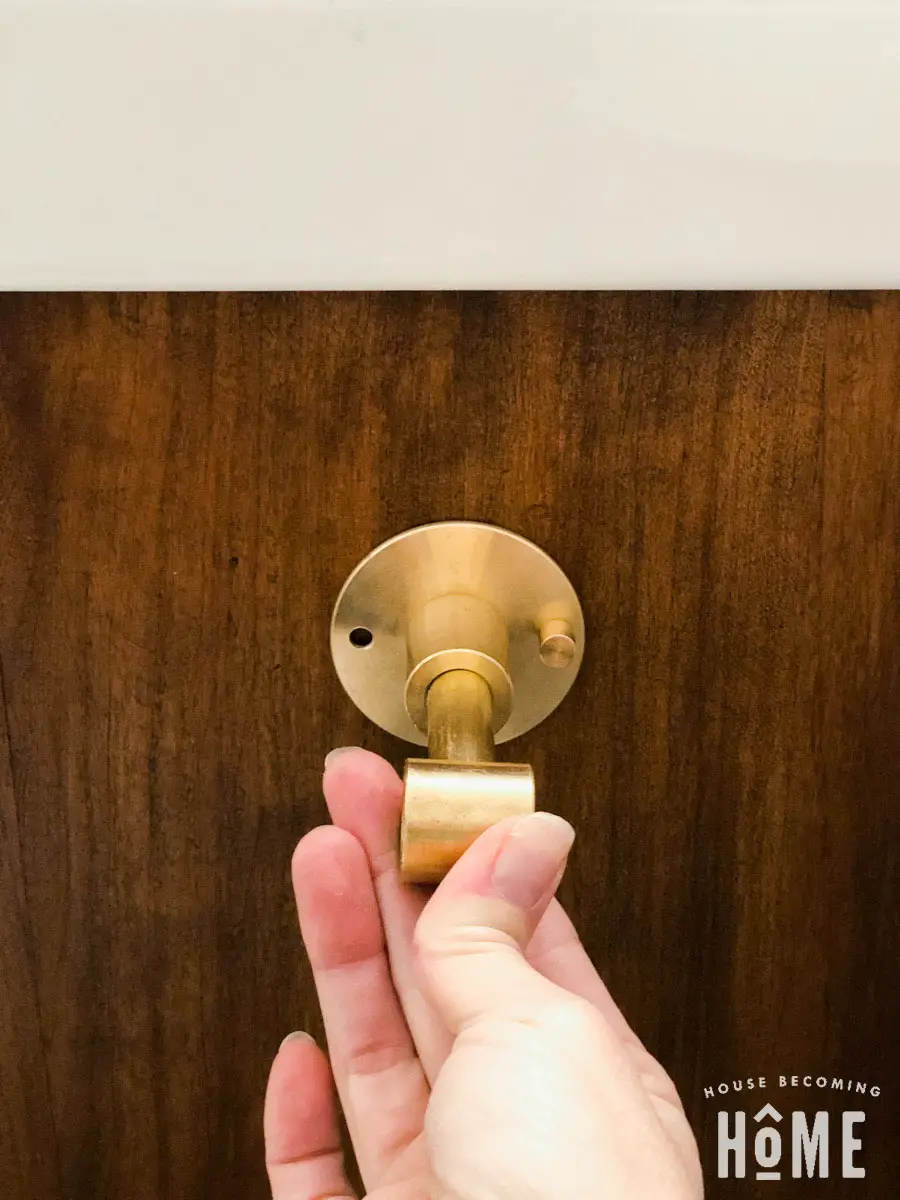
Attach the other threaded rod/cap and nut. Tighten with a wrench.
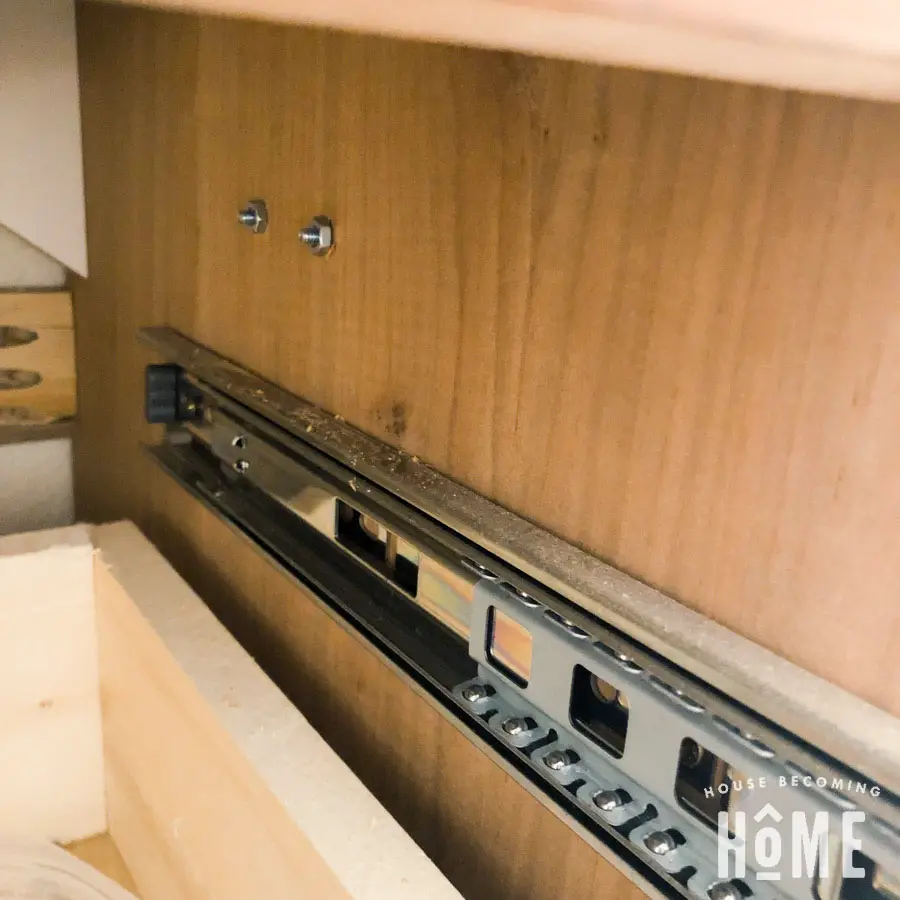
Here’s what it looks like from inside the vanity:
And here’s the DIY brass toilet paper holder from the outside. So pretty, don’t you think???
