Hello again, door-making DIYers! You determined measurements for your DIY door, built your DIY door, then made a door jamb, cut mortises for the hinges, and installed your new door. Today is the final post in this four-part series, DIY Door: Everything You Need to Know to Build, Hang, and Trim a Solid-Core, Shaker-Style Door. I’m going to show you how I cut the holes to add the door knob and strike plate, and how I finished the door with trim and stop molding.
House Becoming Home is a participant in the Amazon Services LLC Associates Program, an affiliate advertising program designed to provide a means for sites to earn advertising fees by advertising and linking to Amazon.com. Some links in this post may be affiliate links. Read my full disclosure policy here.
Materials
- Enough trim to add to the sides and top of your door
- 1×2 for stop molding
- Paintable Caulk
Tools & Hardware
- Door Knob
- Ryobi A99DLK4 Wood and Metal Door Lock Installation Kit
- Milescraft Mortising Template
- Power Drill or Impact Driver
- Measuring Tape
- Miter Saw
- Caulk gun
How to Cut a Door Knob Hole in your DIY Door
I bought the Ryobi A99DLK4 Wood and Metal Door Lock Installation Kit for Installing Deadbolts and Locksets, which made the the process super simple and pretty much foolproof. It includes all the hardware you need to make correctly-sized holes in your door.
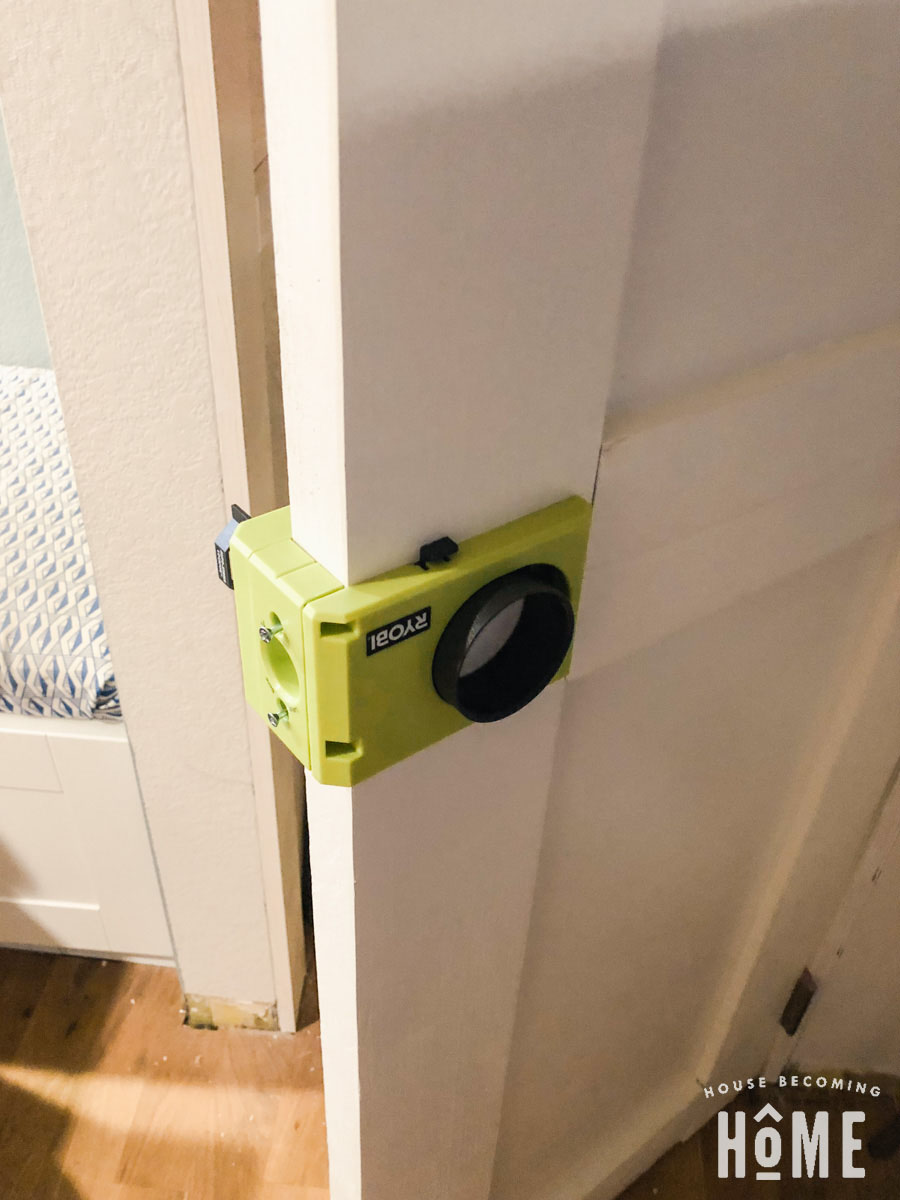
Simply attach the jig to your door with screws at the desired doorknob height. Good news–you won’t even have to fill in those screw holes–the latch bolt faceplate will be screwed into them later.
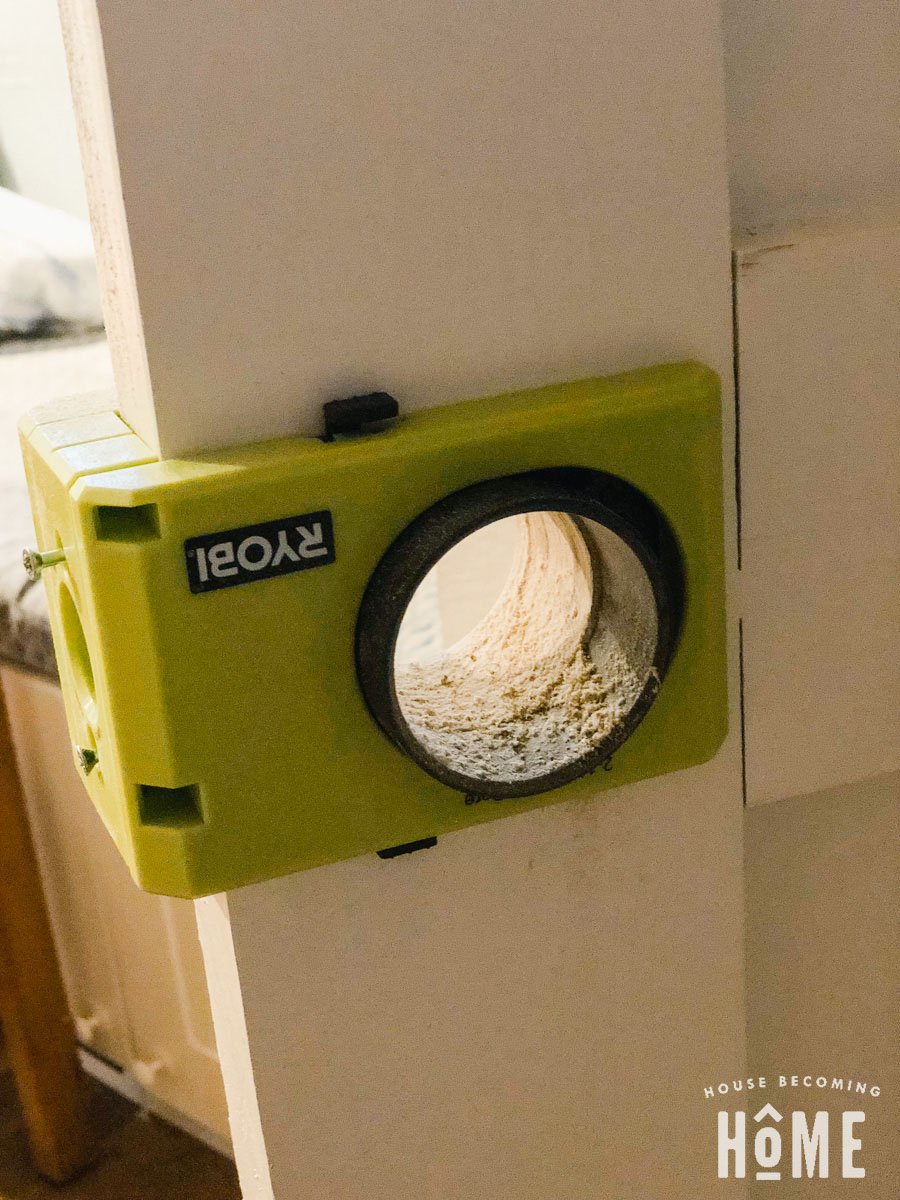
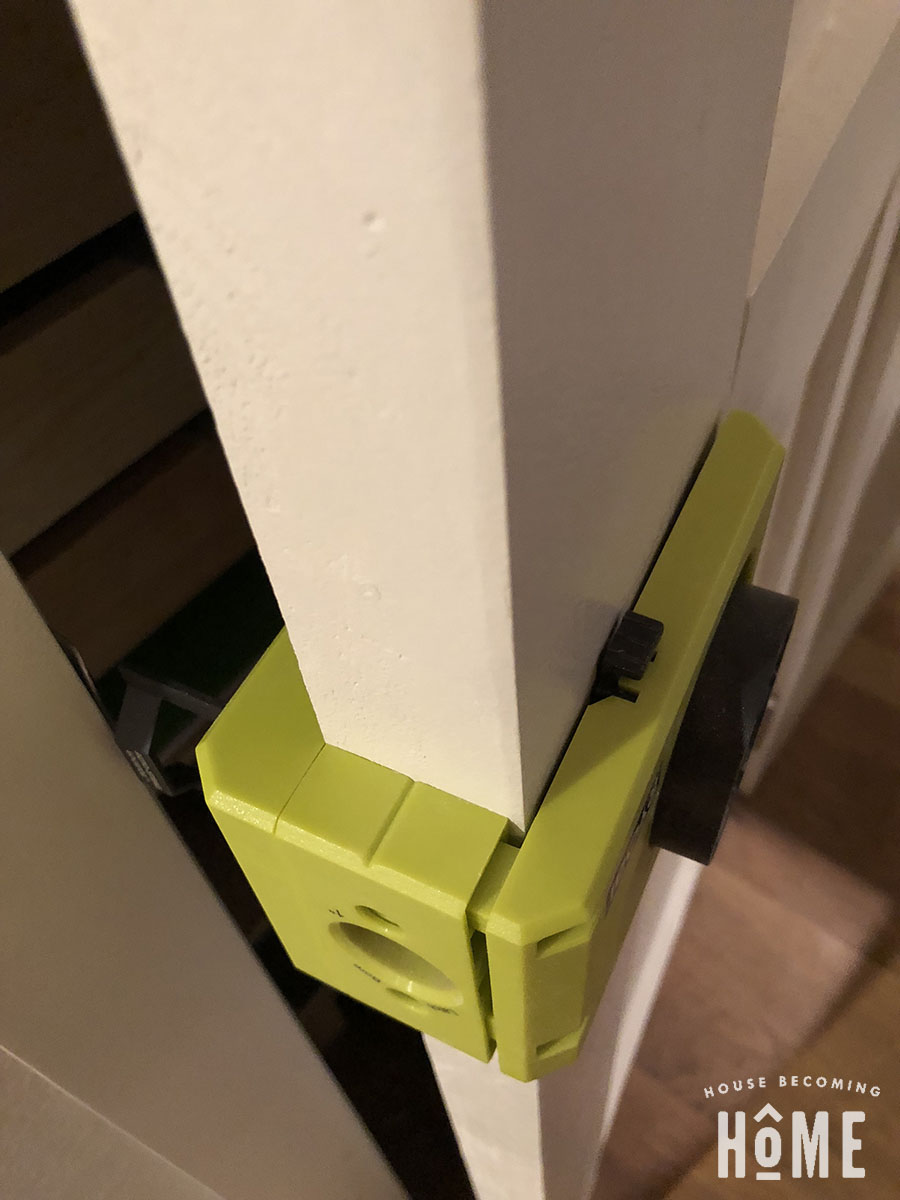
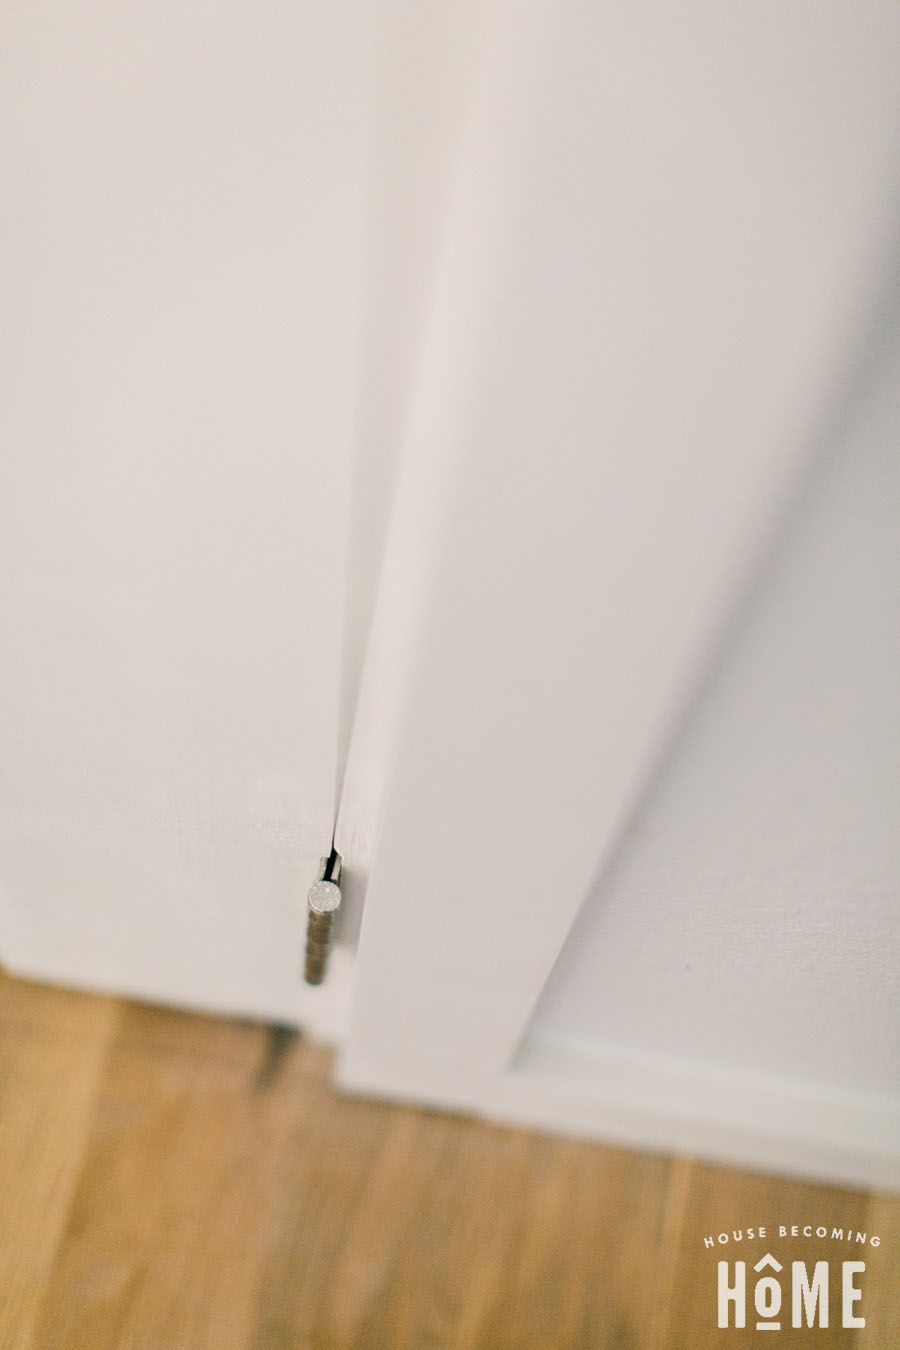
After the main doorknob hole has been made, drill the smaller hole in the door for the latch bolt. Again, the Ryobi jig makes this super easy as it’s already lined up.
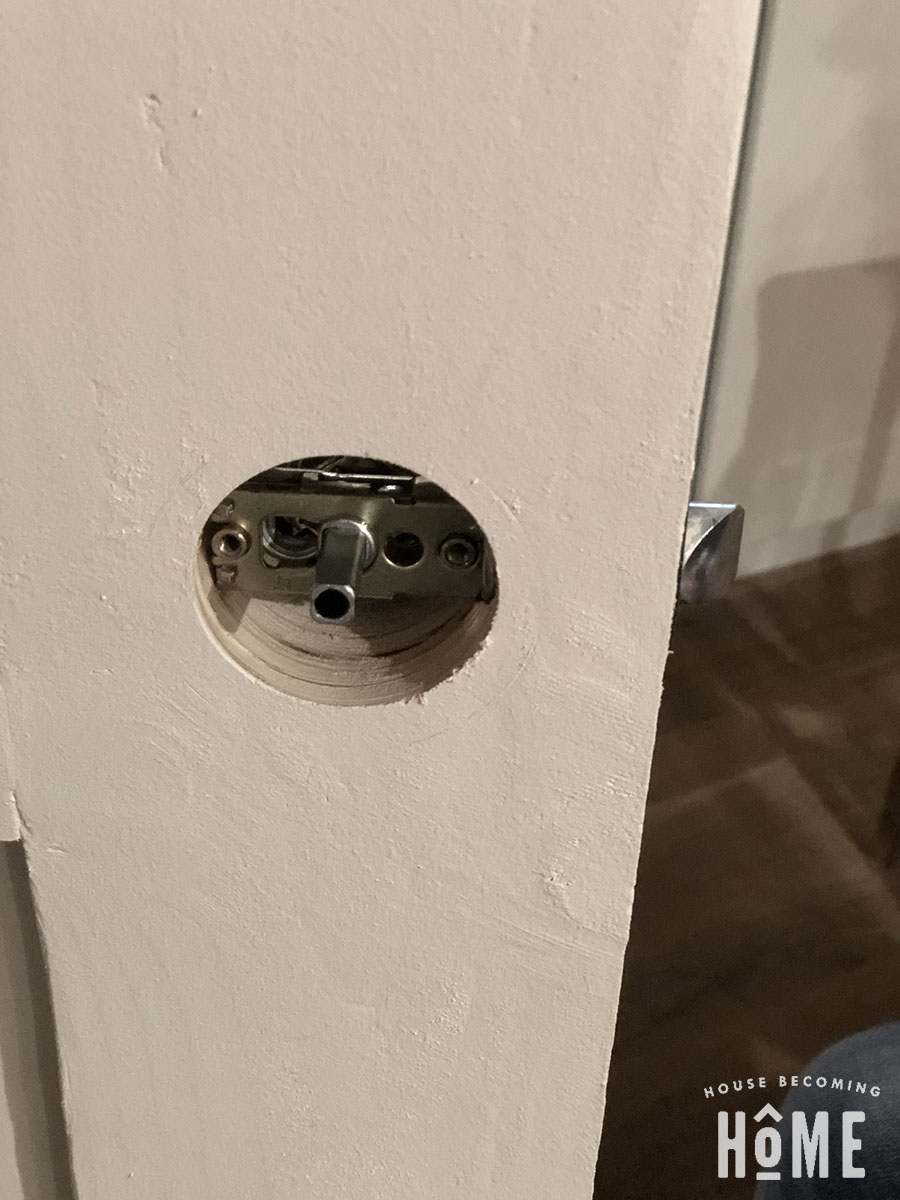
Next, I used my Milescraft mortising template and router to make a cut for the faceplate to sit flush against the door. The mortising template includes several different sizes, so pick the one that corresponds with the size of your faceplate.
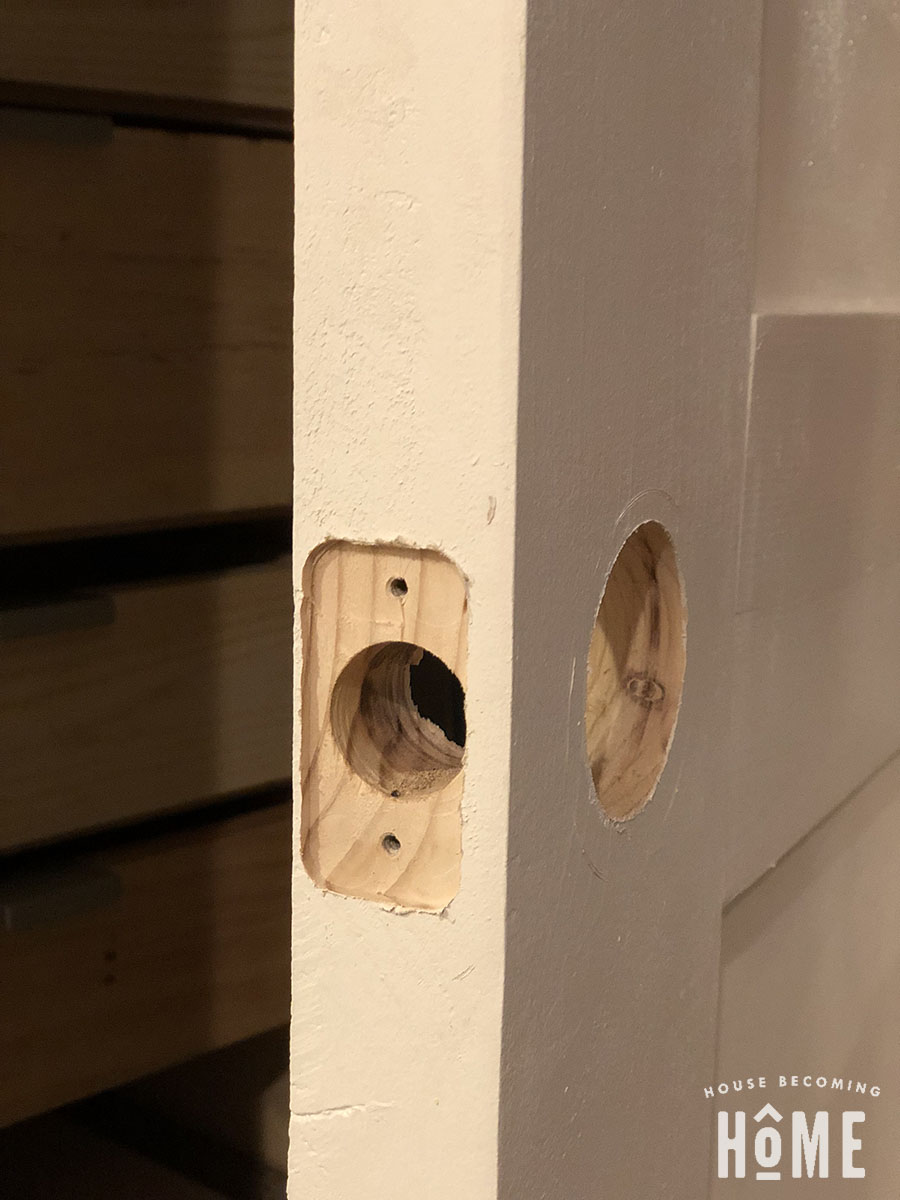

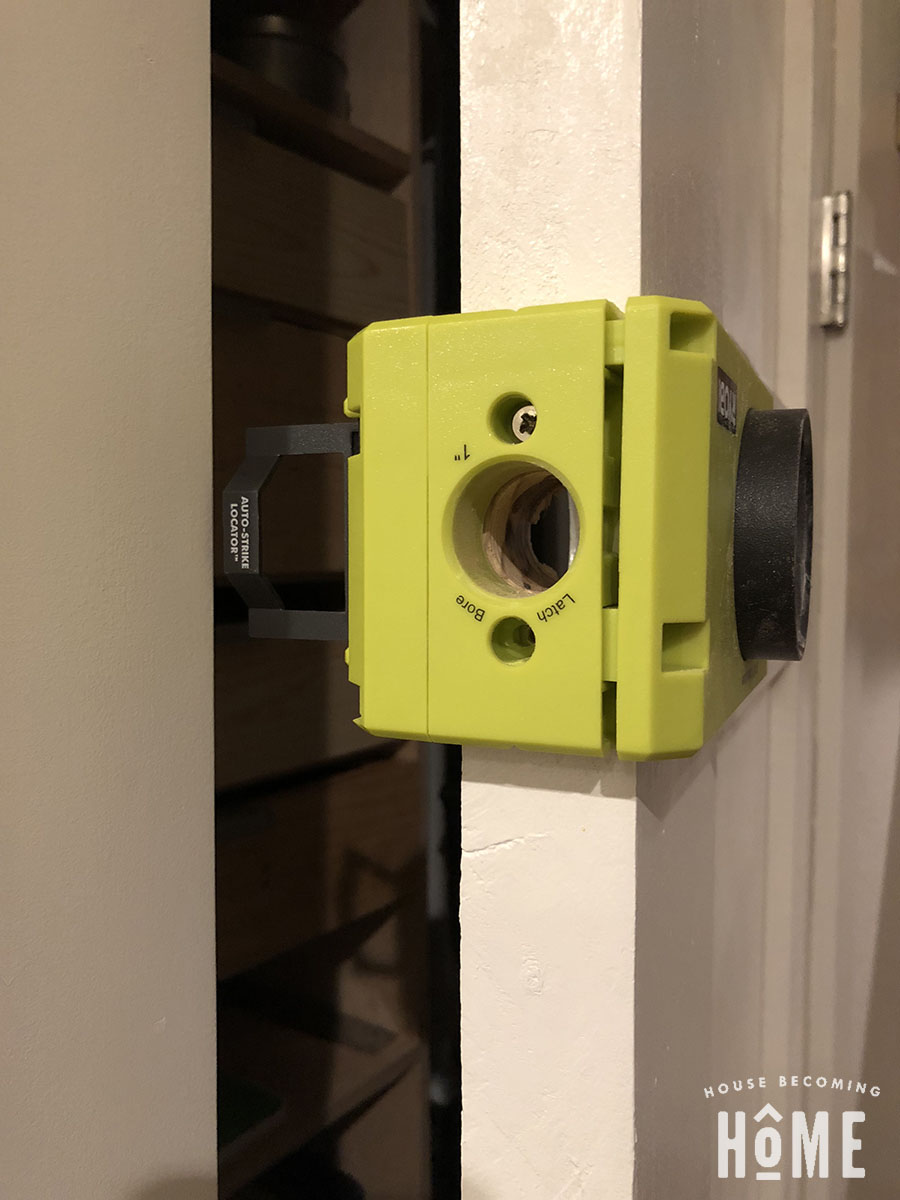
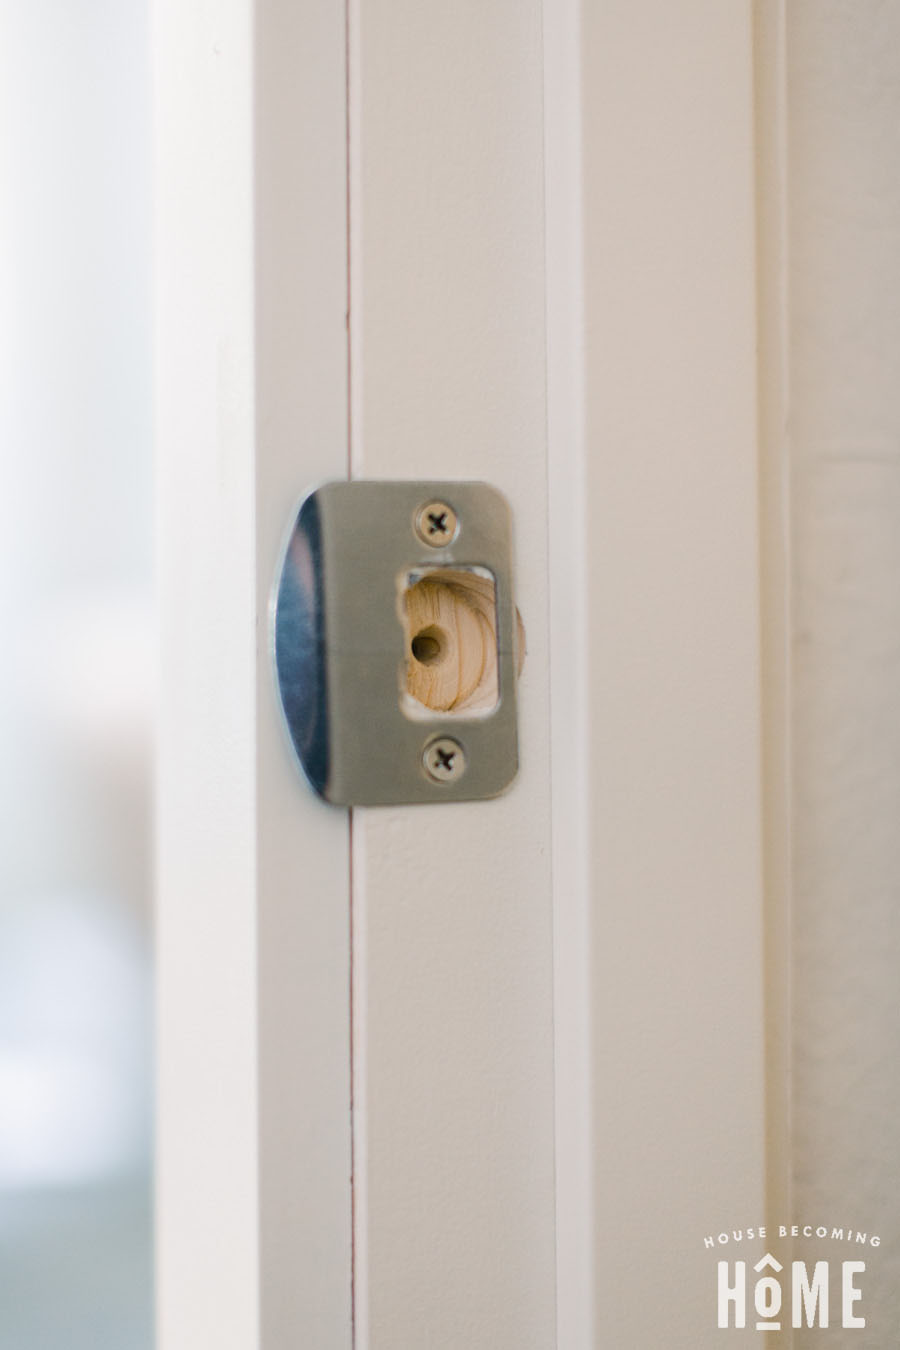
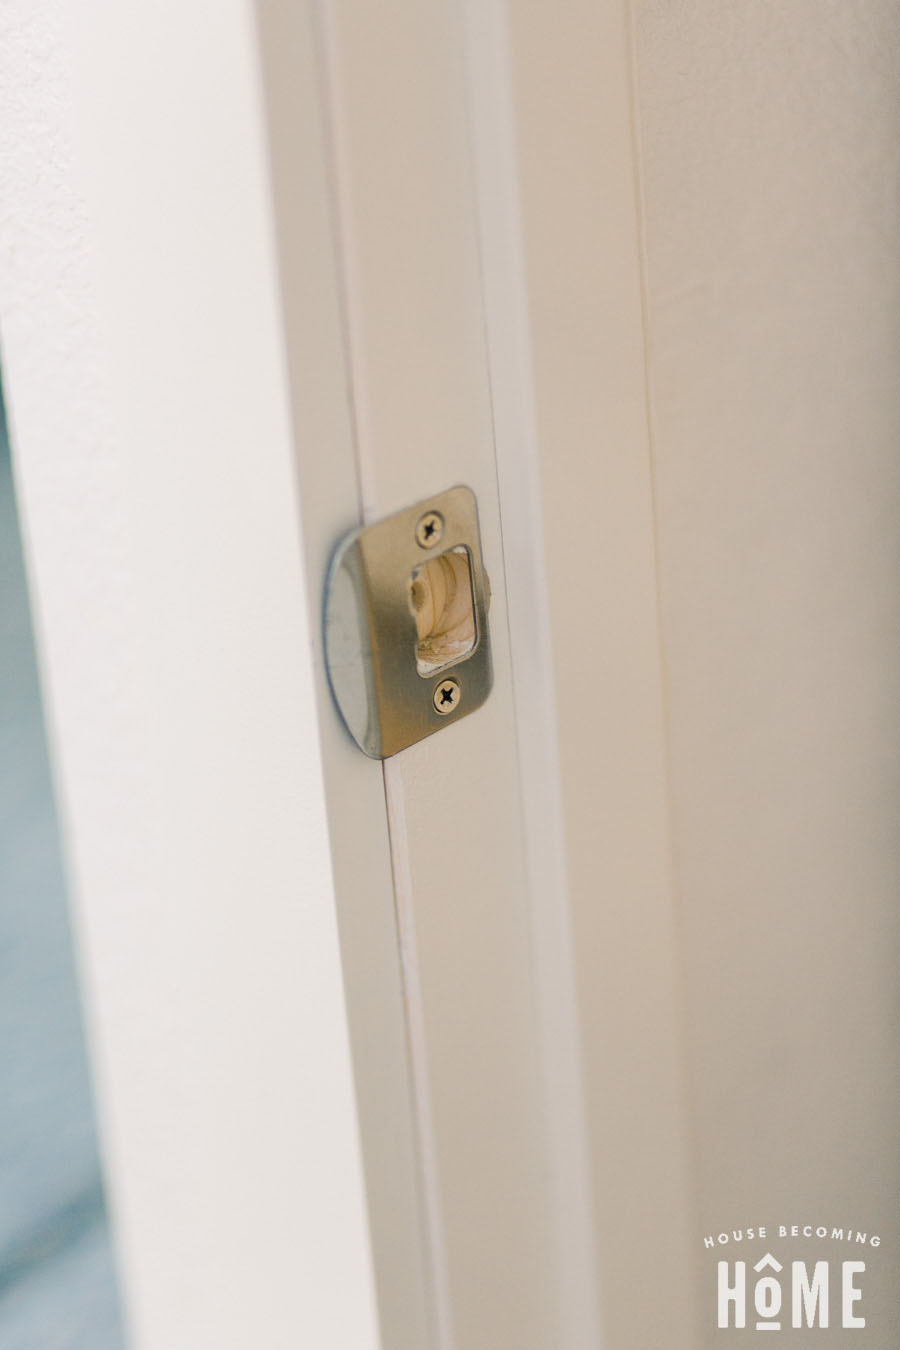
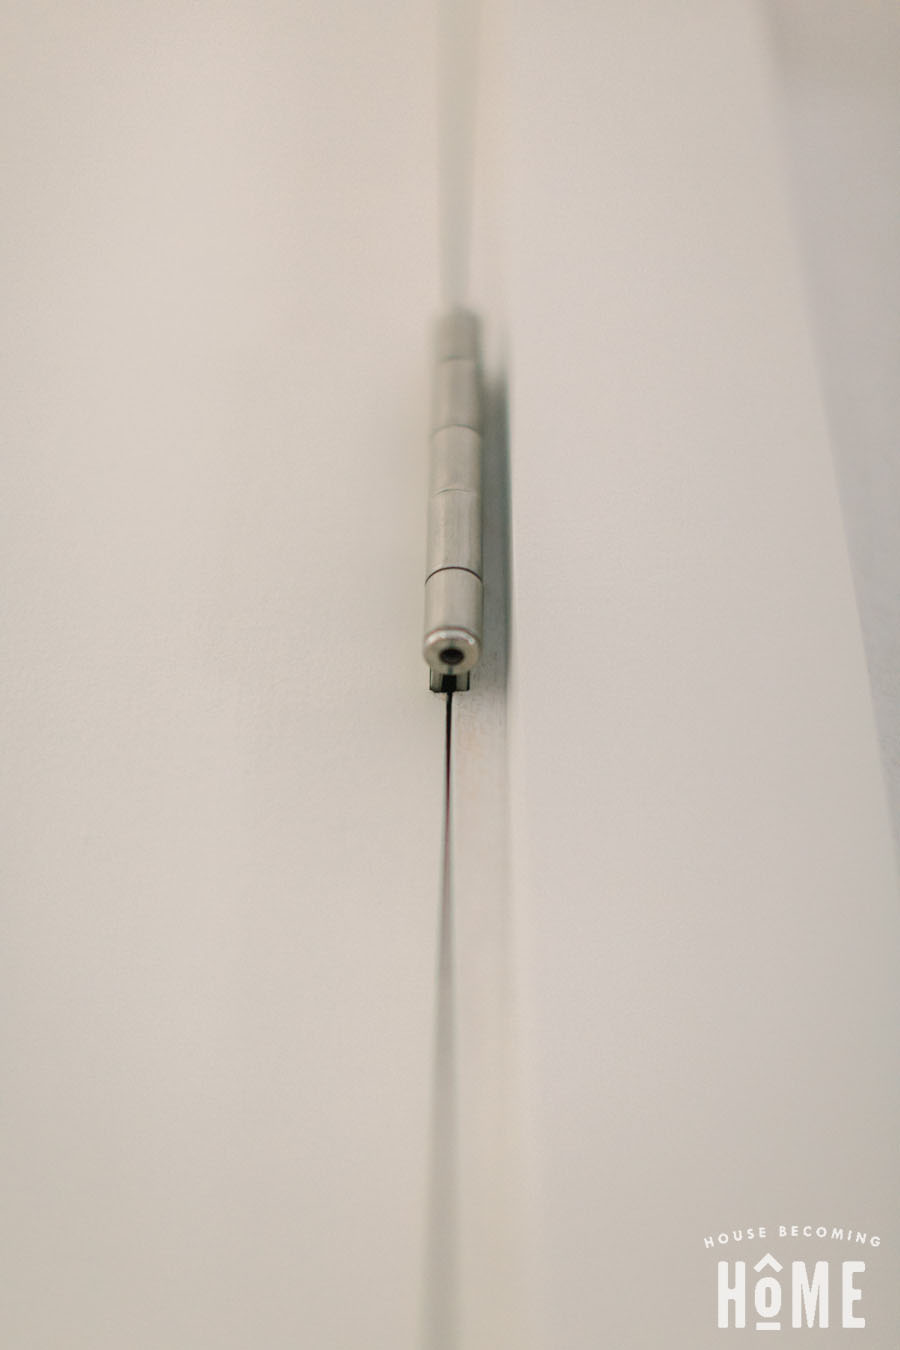
Now, make the hole in the door jamb for the strike plate. The Ryobi door lock installation kit has the correctly-sized drill spade for the job. FYI, these photos were taken after I had installed the trim and stop molding.
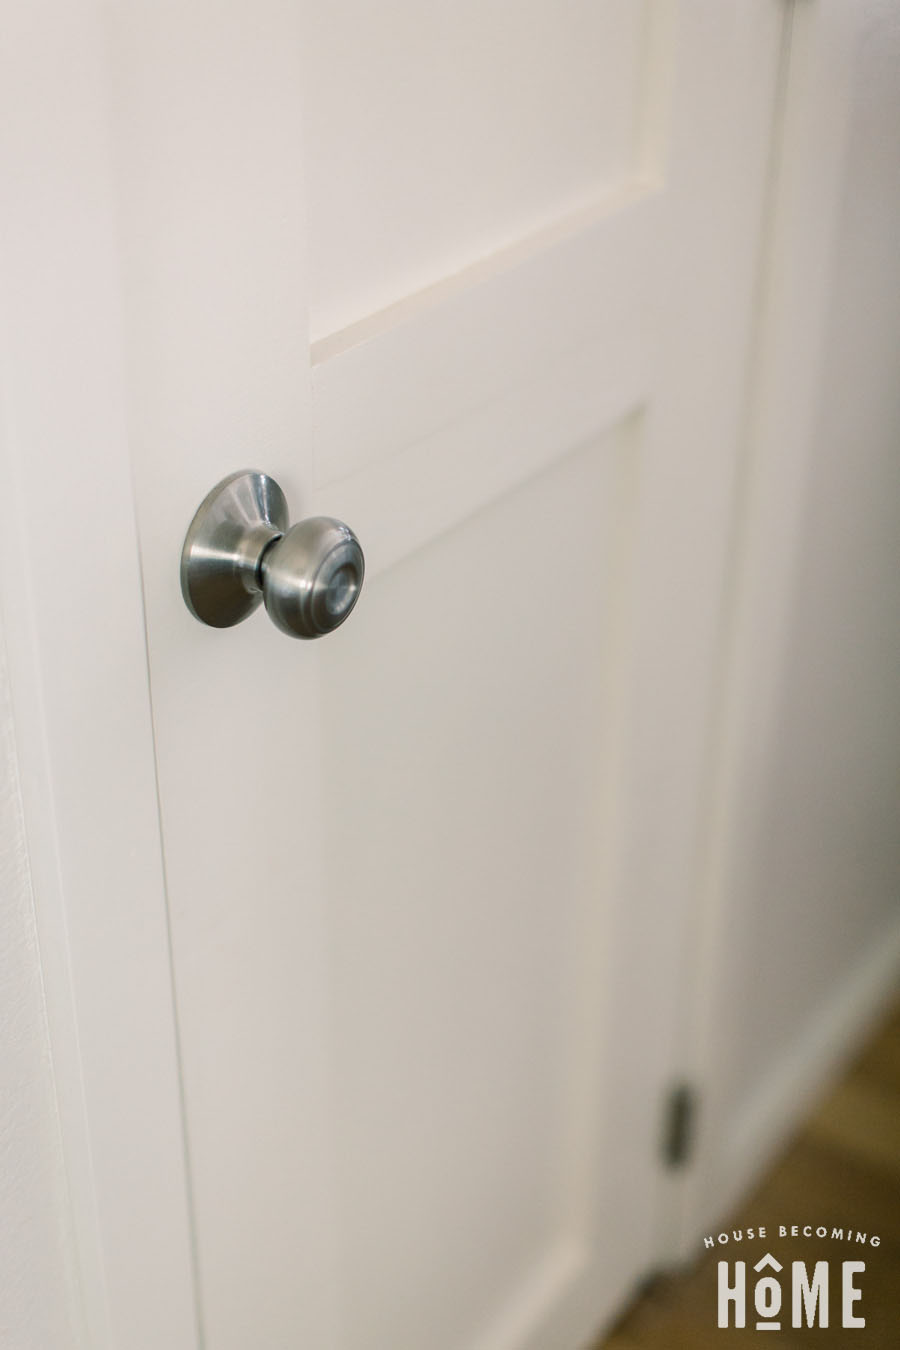
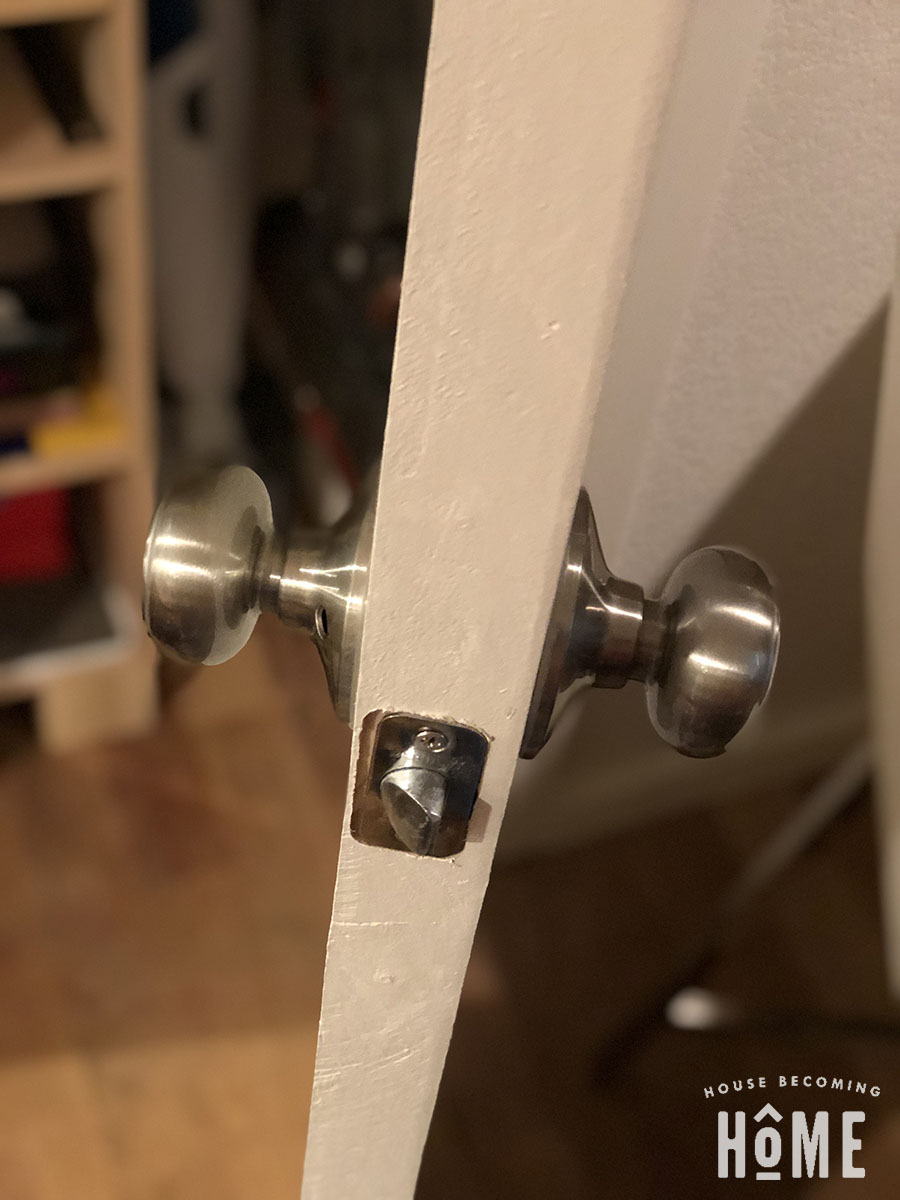
Attach your door knob.
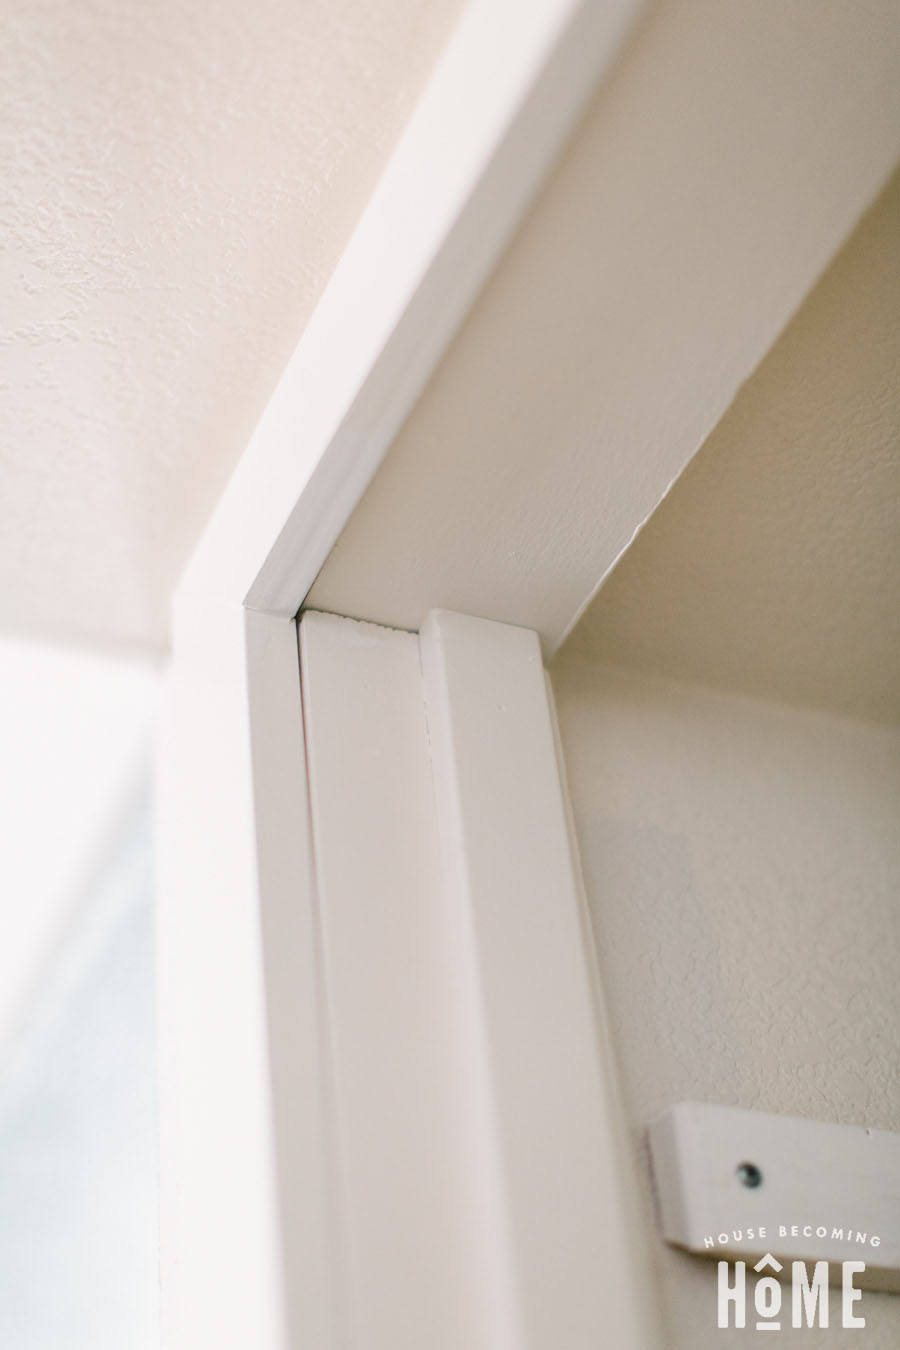
Adding Trim to your DIY door
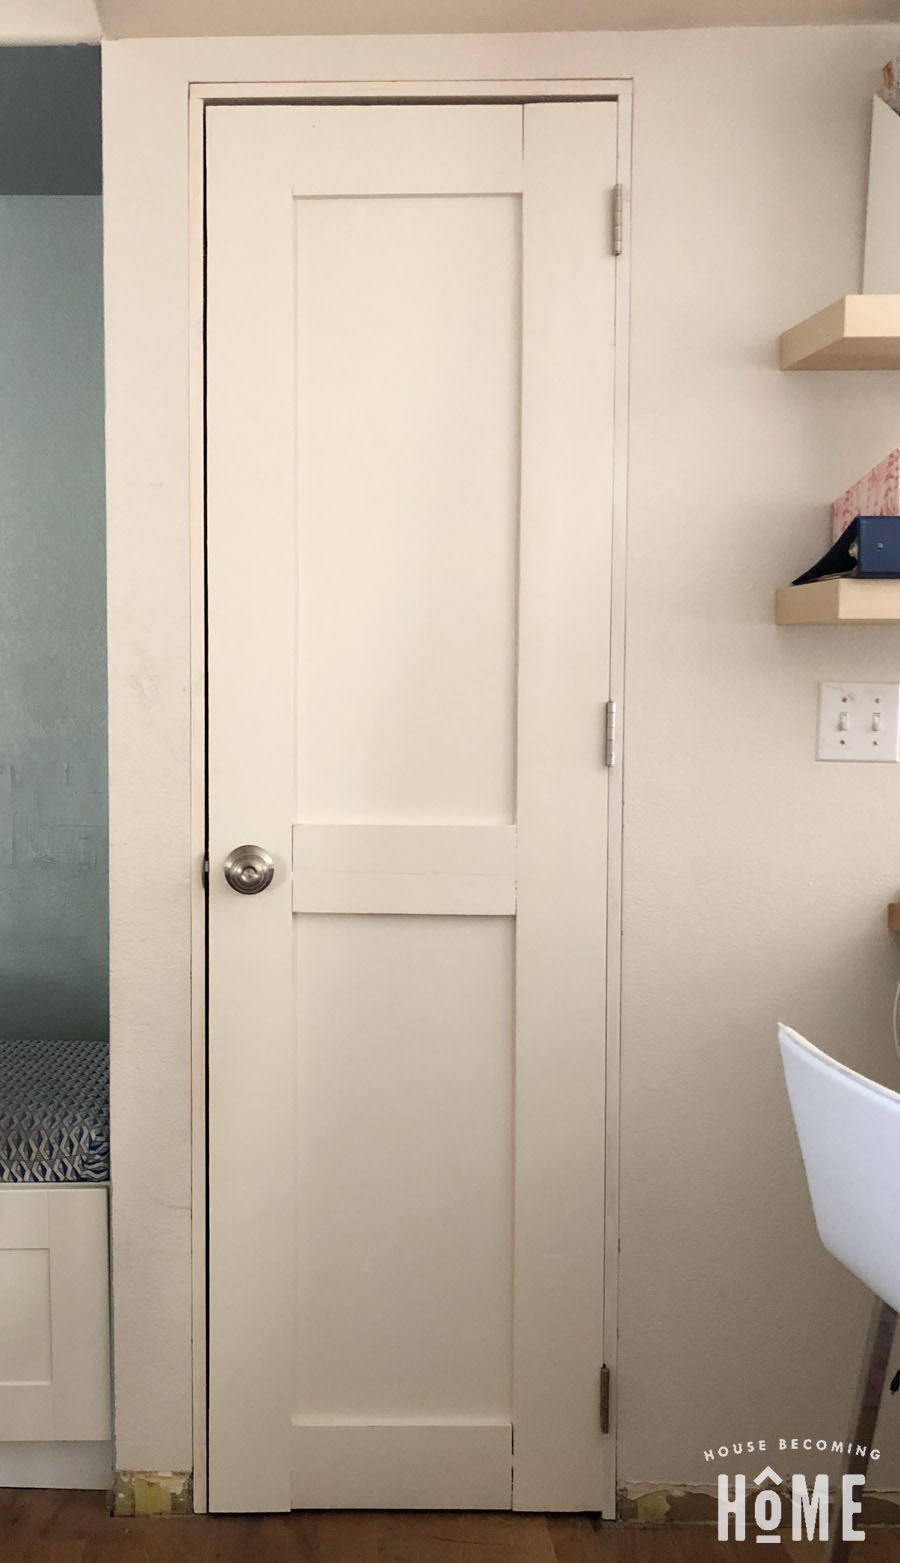
Your door and frame are nailed into place, it’s time to add some trim to hide the ugly!
When measuring for trim you want to be as exact as possible, so that all pieces match up without gaps.
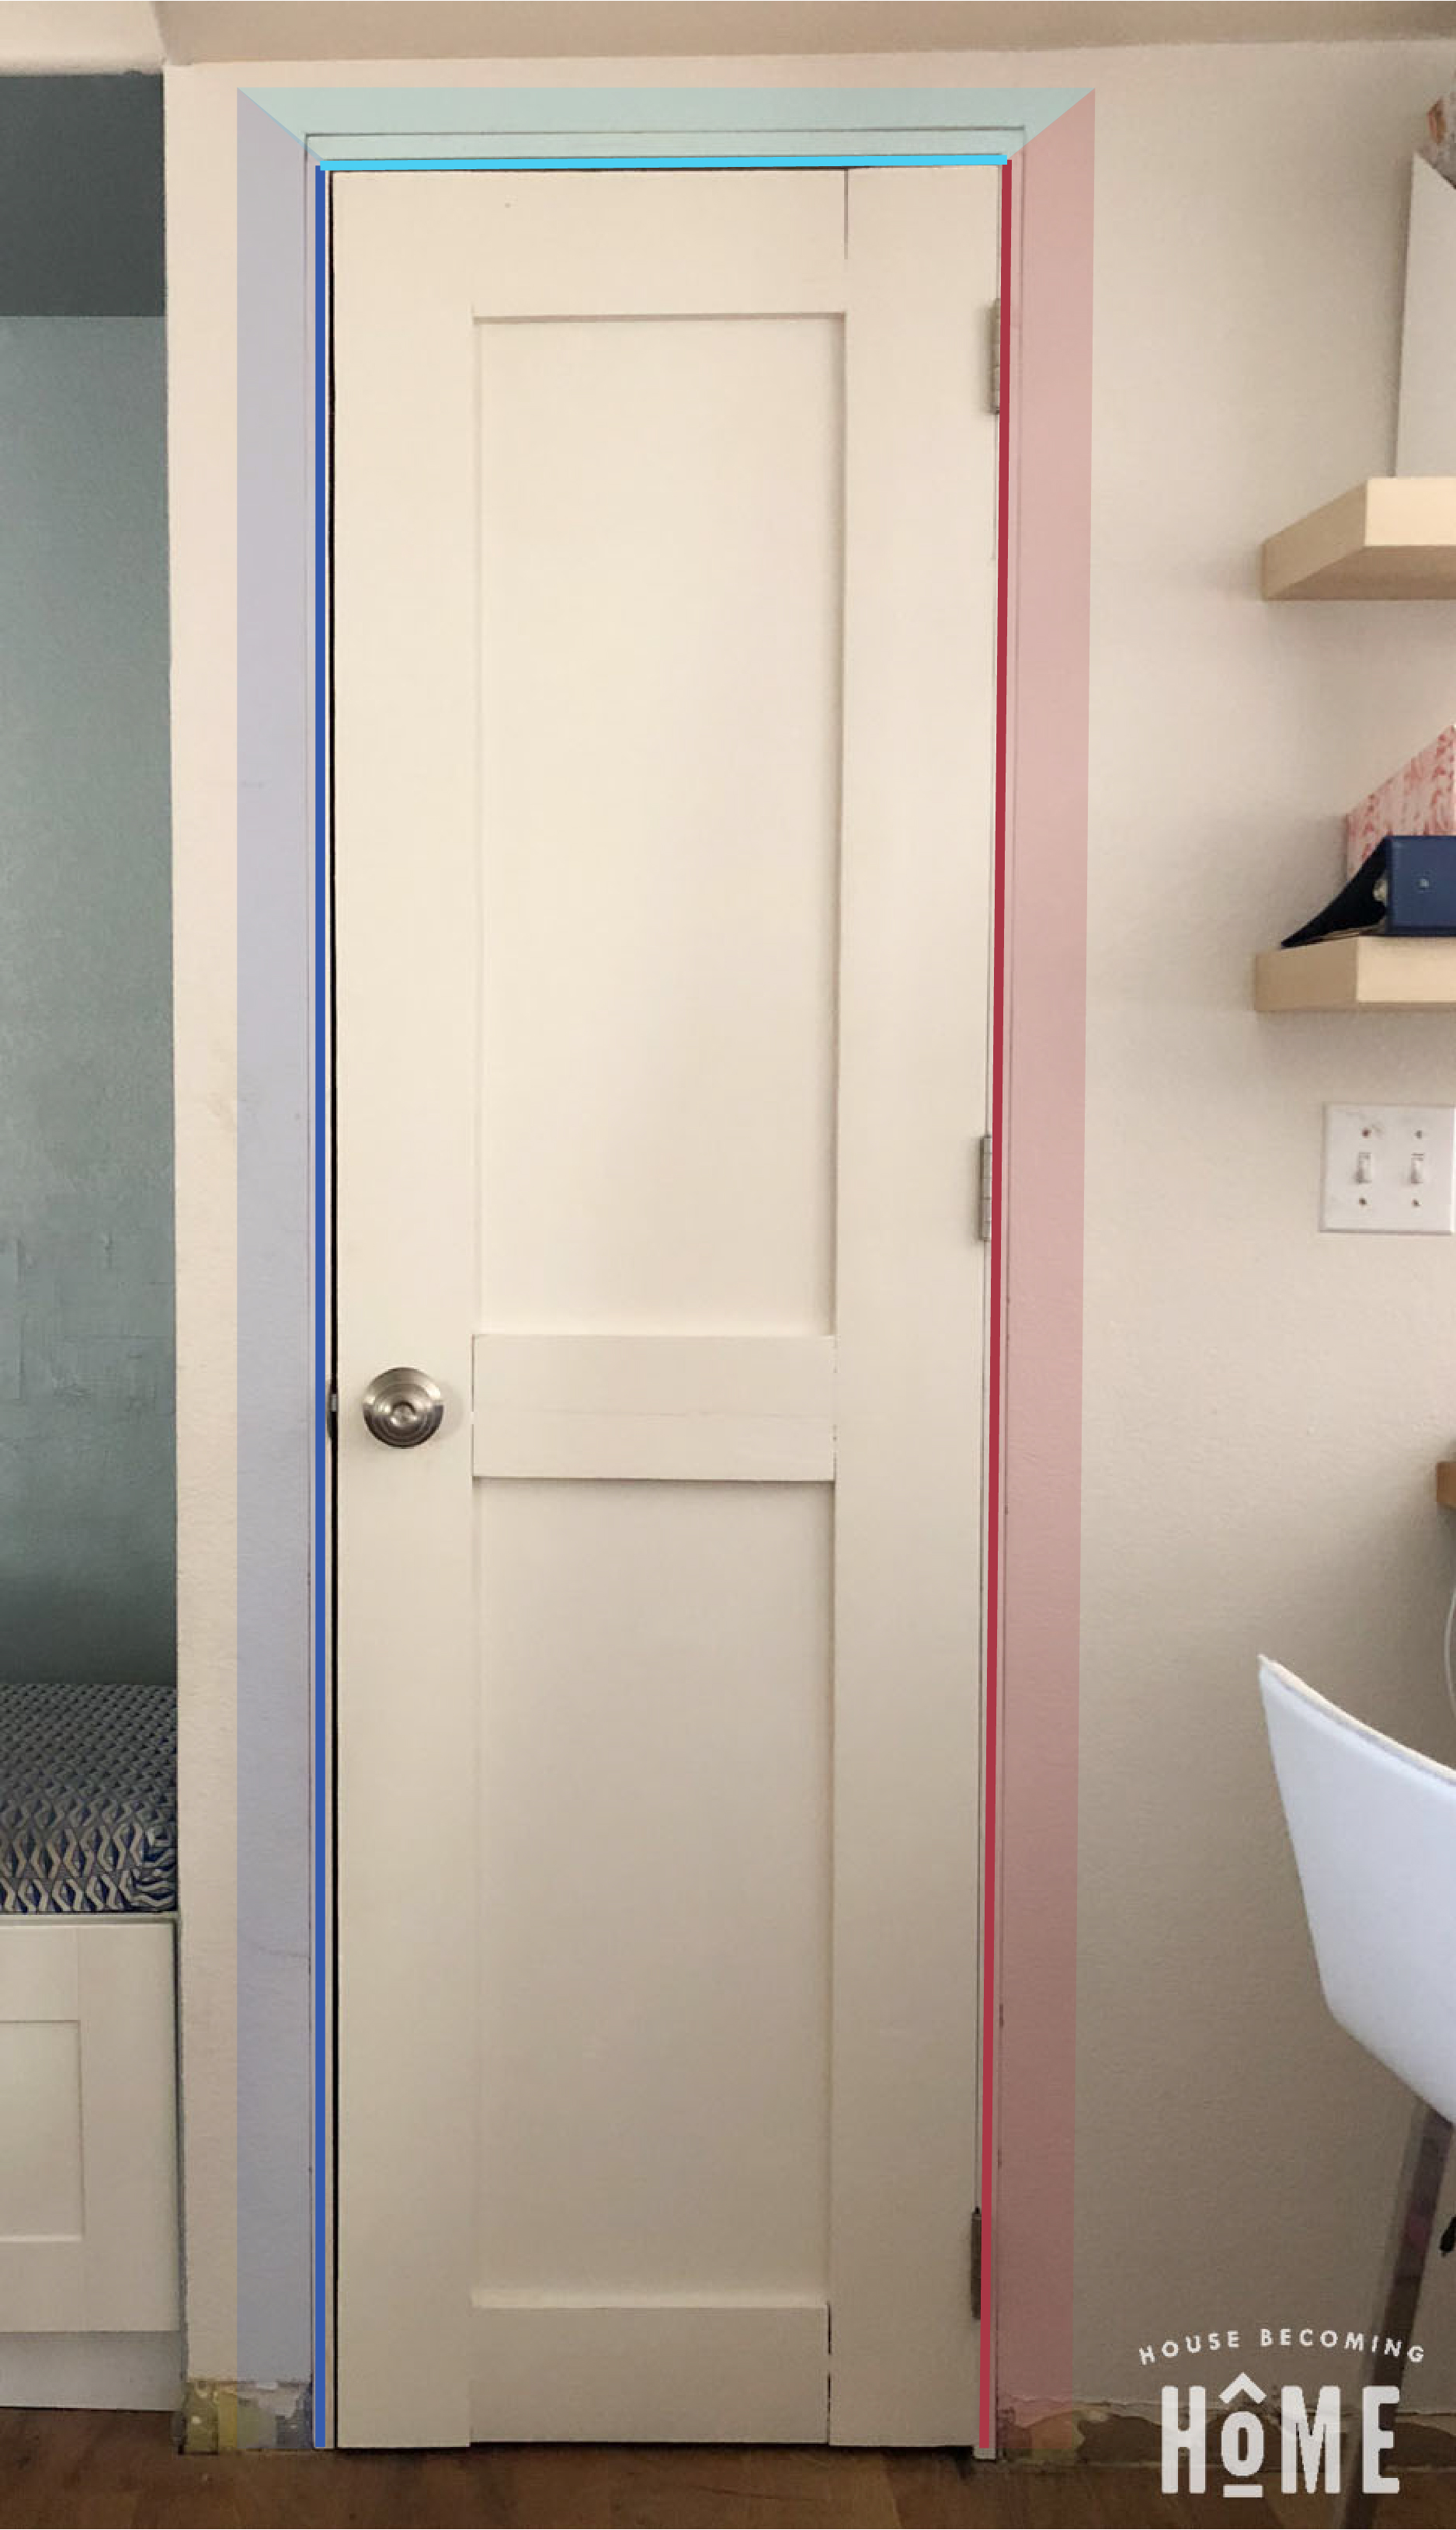
First, find the measurement for the length of the left and right trim pieces. Measured from the floor to the point where the 45 degree cut begins. I wasn’t sure if that would make sense written out, so I made a diagram. The bold lines show where I measured. Again, I started with my left and right sides (dark blue and red lines). Once those pieces of trim were nailed into place, I measured for the top piece of trim (turquoise line).
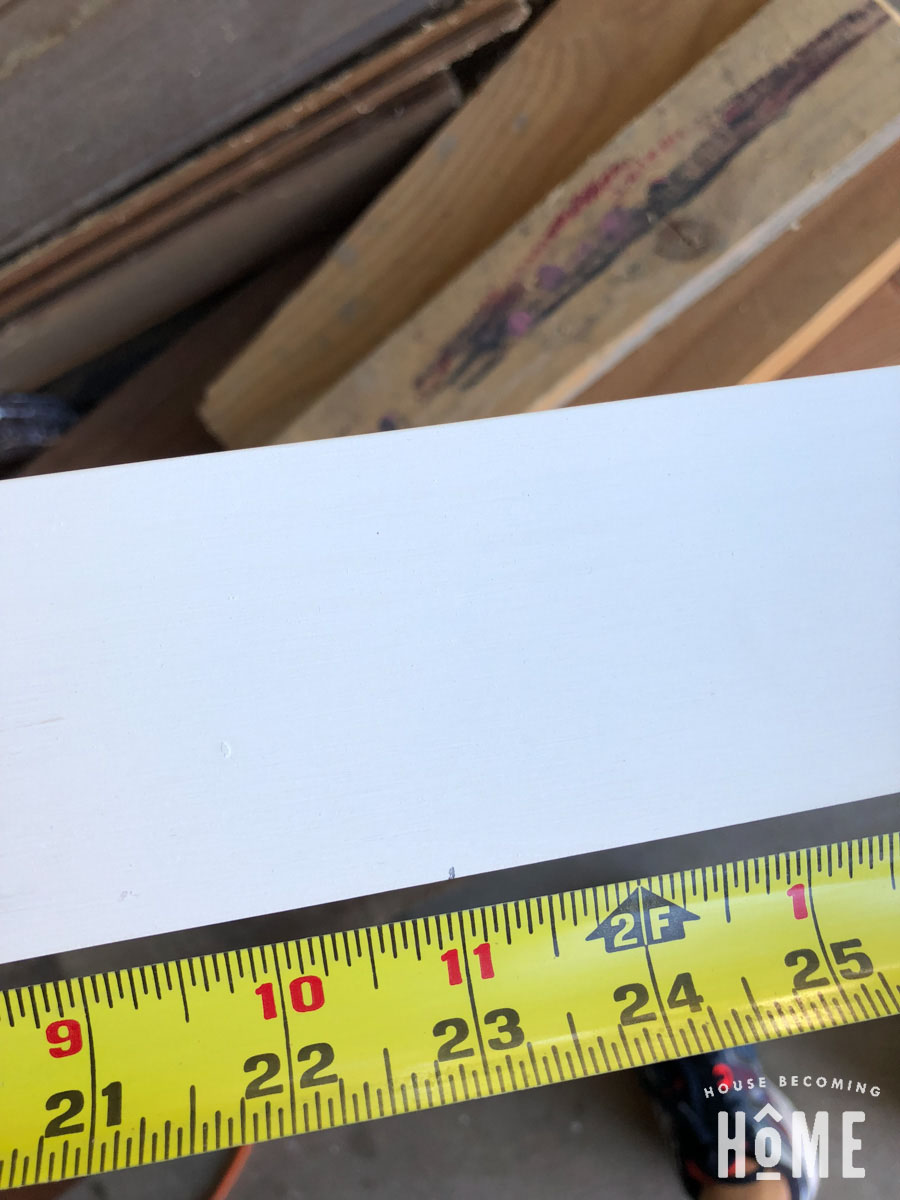
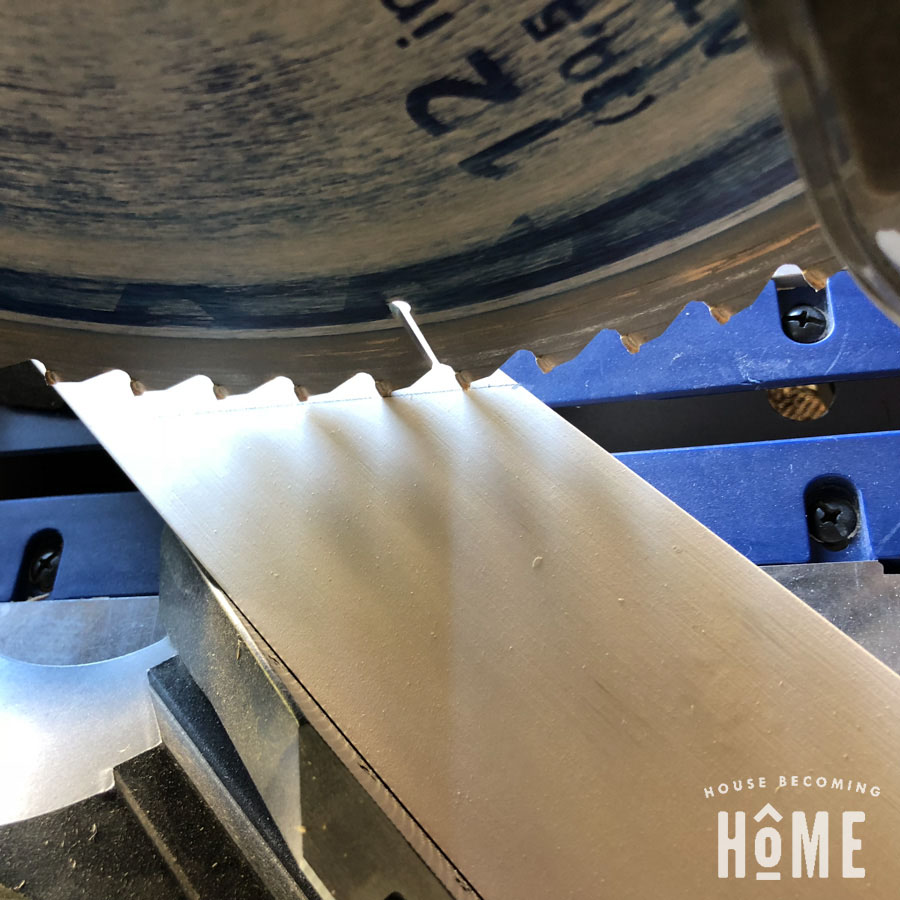
Here, I am marking the measurement on my trim. My trim was simple, but if yours is more fancy with an inside and an outside, remember to mark on the inside of the trim (side closer to the door). This is where the bottom of the 45 degree cut begins.
I found it helpful to line up a scrap (with a 45 degree cut) with my mark.
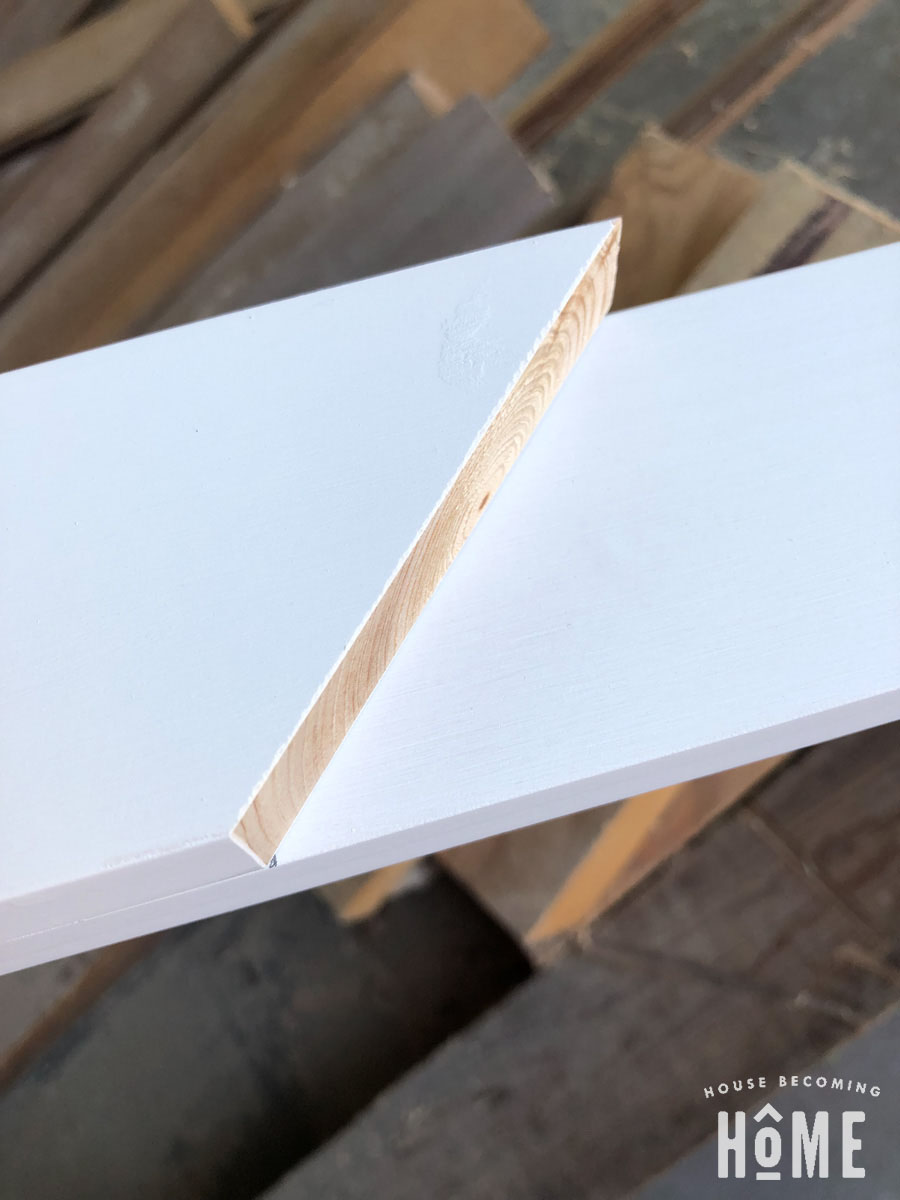
Then I could draw a line on my piece, as my reference for exactly where the cut would be (I like seeing this when I’m lining it up on my miter saw).

Next, bring it to the miter saw (set at 45 degrees) and cut it.
Once all pieces are nailed into place, hopefully they fit nice and tight. Close any small gaps where trim pieces meet with paintable caulk. I like to also caulk where the trim meets the wall, to hide any tiny gaps between the trim and wall.
Adding Stop Molding
Finally, it’s time to install another piece of trim inside the frame. The stop molding prevents the door from getting pushed in too far when someone is closing it. This step is pretty simple–just measure the height from the floor to the top of the inside of the door frame, cut a primed and painted 1×2 to size, and nail it into place.
And that’s it! You’ve built and installed your very own DIY door. It looks great, it’s WAY better than the flimsy hollow core door it replaced, you’ve saved some serious $$$, and you can feel proud that YOU MADE THIS!

Check out other posts from the DIY Door Series