Last month Jim and I made and installed built-ins for our master bedroom. The built-ins frame our bed so I wanted to add some lighting to the area above our heads for those evenings when we just want to curl up with a book. Of course I love a good DIY light fixture project, so I gathered all the supplies I needed and made two: one small light fixture for me, and one for Jim. I even added a switch to the lamp cord on each one so we can turn them on and off right from our bed.
House Becoming Home is a participant in the Amazon Services LLC Associates Program, an affiliate advertising program designed to provide a means for sites to earn advertising fees by advertising and linking to Amazon.com. Some links in this post may be affiliate links. Read my full disclosure policy here.
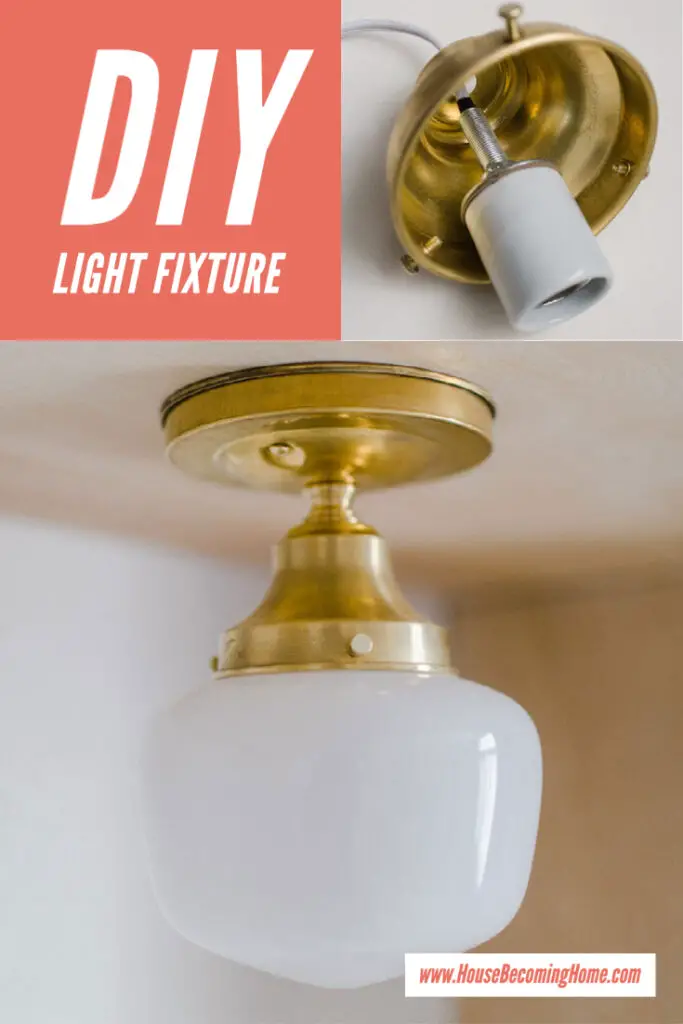
How to Make a Light
DIY light fixtures are easy to make. It took about ten minutes and cost less than $40 in materials to put together one of these small brass schoolhouse lights. The step-by-step instructions are below.
Disclosure: I am not an electrician, just a DIYer who loves making lights!
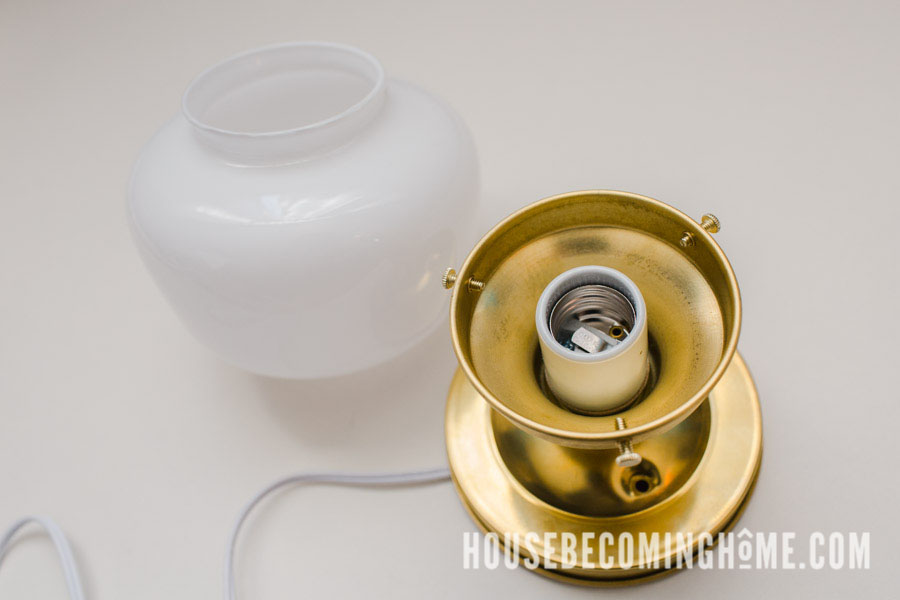
Parts of a Light Fixture
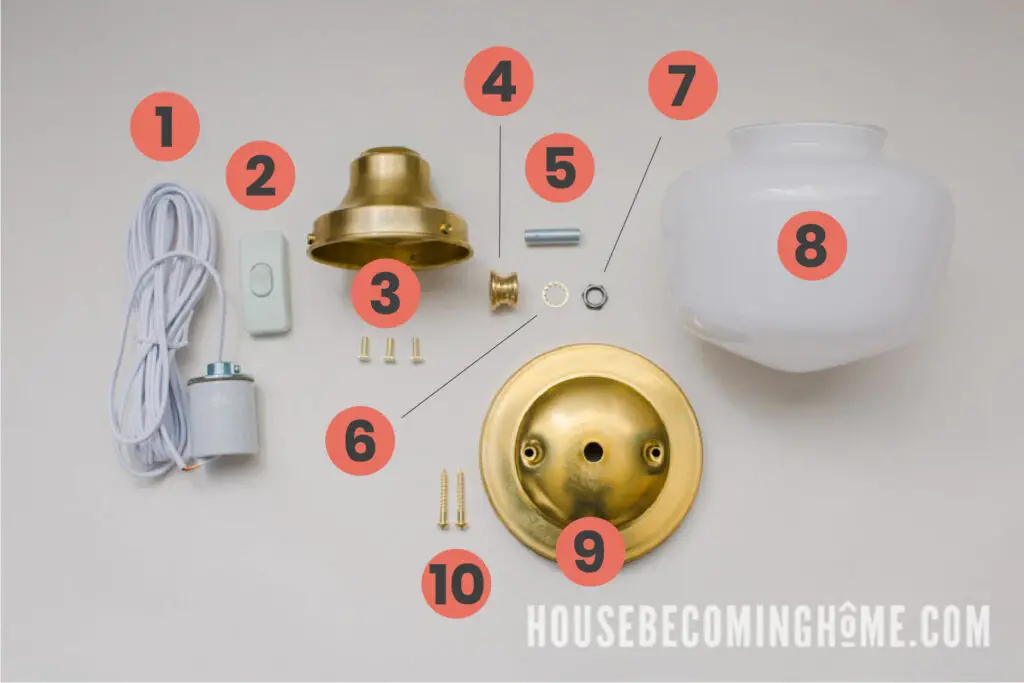
- E-26 PORCELAIN SOCKET WITH 1/8IPS. CAP AND 10FT. WHITE WIRE LEADS
- SINGLE POLE, ON/OFF ROCKER LINE SWITCH WITH CRIMP ON WIRE CONNECTION
- 3-1/4IN. UNFINISHED BRASS DEEP HOLDER
- 1/8IPS – 15/16IN X 5/8IN BRASS TURNED NECK – UNFINISHED BRASS
- 1-1/4IN. X 1/8IPS. THREADED ZINC PLATED STEEL HOLLOW NIPPLE
- 1/8IPS. BRASS PLATED SLIP STAR LOCK WASHER
- 1/8-27 IPS. UNFINISHED STEEL LIGHT DUTY HEX HEAD NUT
- 6IN. OPAL SCHOOL HOUSE GLASS WITH 3-1/4IN. NECK
- 2-3/4IN BAR HOLES – PLAIN SPUN CANOPY – UNFINISHED BRASS
- BRASS SCREWS (these were used to mount the fixture directly to the built-ins, so may not be necessary for you depending on your method of attachment)
- WHITE LEVITON POLARIZED LAMP PLUG WITH SCREW TERMINALS (not pictured)
- ELECTRICAL TAPE
Those are the supplies I used, but the great thing about building from scratch instead of a DIY lighting kit is that you have the flexibility of switching out the pieces you don’t like for something you do. Here are some alternatives to the supplies I used:
Light SHADES : OTHER OPTIONS
If you’re not into the schoolhouse style glass shade, you can switch that out with anything that has a 3.25″ neck:
- A glass globe would work well for a more modern look.
- This white glass cone shade might look really nice above a bed
- This 6″ globe is made from polycarbonate instead of glass
- If you’ll be making two lights, these white globes are a steal
- I love this green glass cone shade
Light Socket and Lamp Cord : Other Options
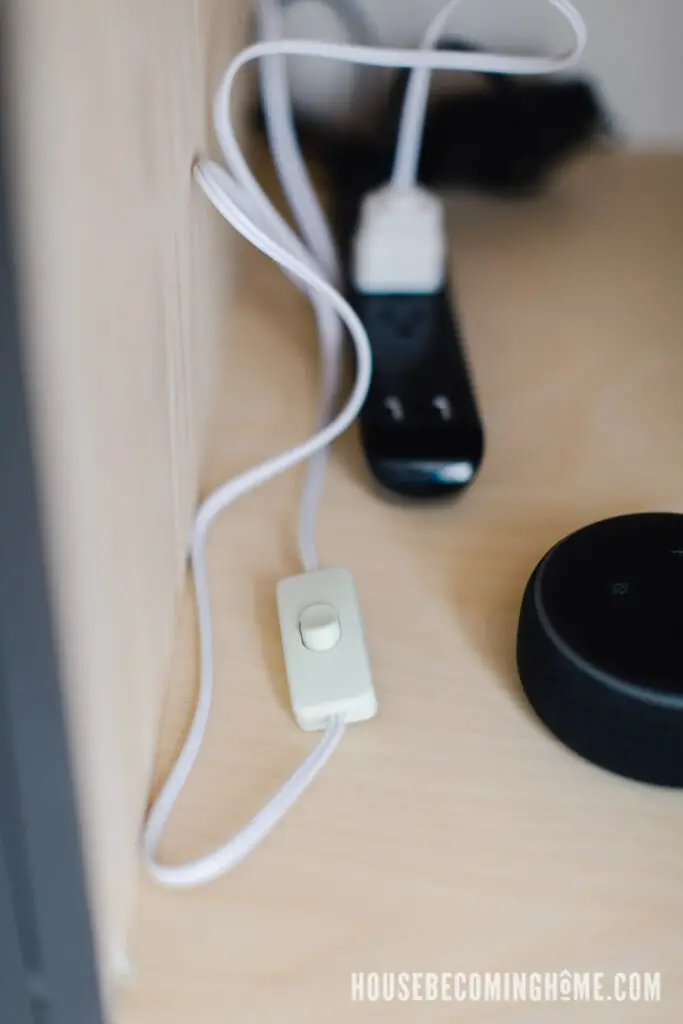
I used a prewired socket and added a plug to it at the very end, after mounting the light to the built-ins. I had to make it this way because I had to run the cord through the built ins and it wouldn’t have fit with a plug already attached (see photo below). If you’re not working under these limitations, you could buy a socket and lamp cord instead:
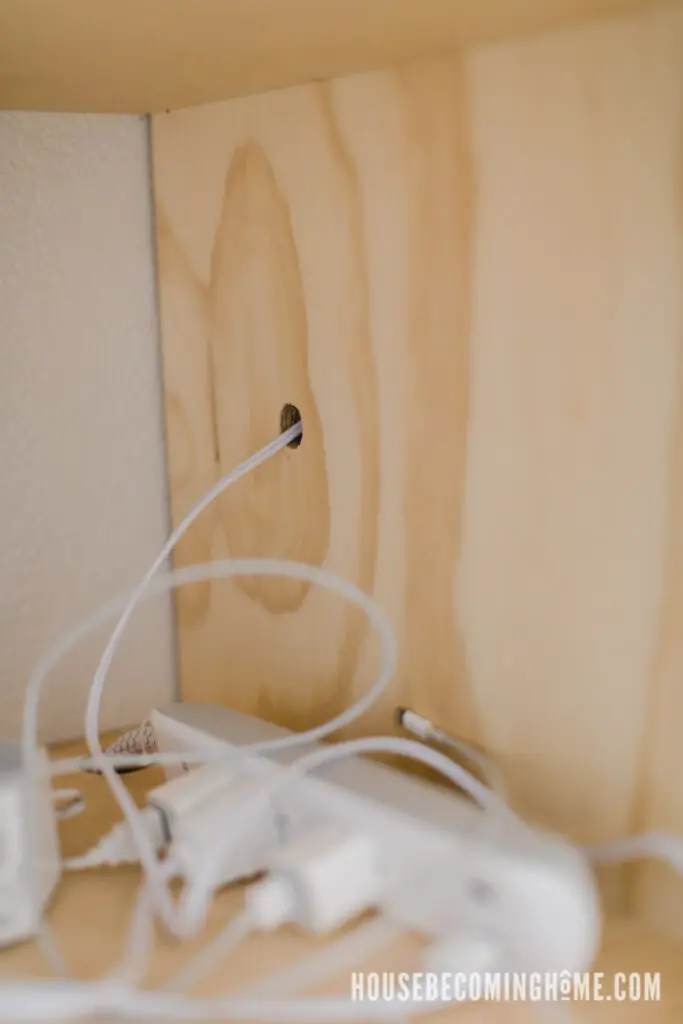
(Notice how the cord from the light comes out through the side of the built-ins? If the plug was attached before getting the cord through that hole, it wouldn’t fit!)
DIY Flush Mount Ceiling Light
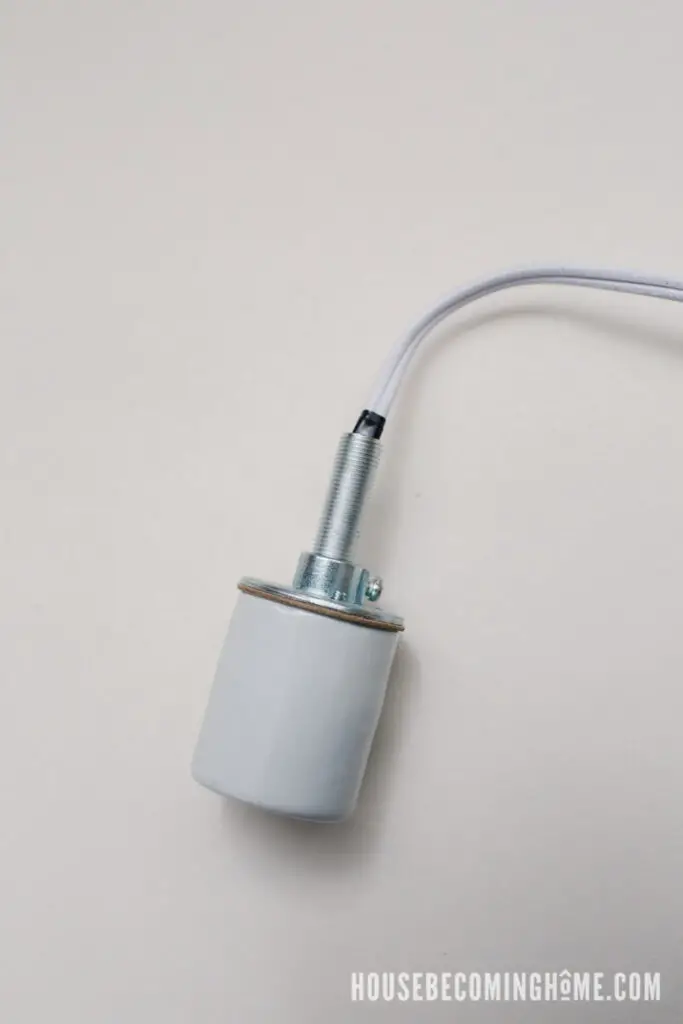
Step One : Begin by wrapping a small piece of electrical tape around the lamp cord of the pre-wired socket. The electrical tape keeps the zinc nipple from cutting into the lamp wire.
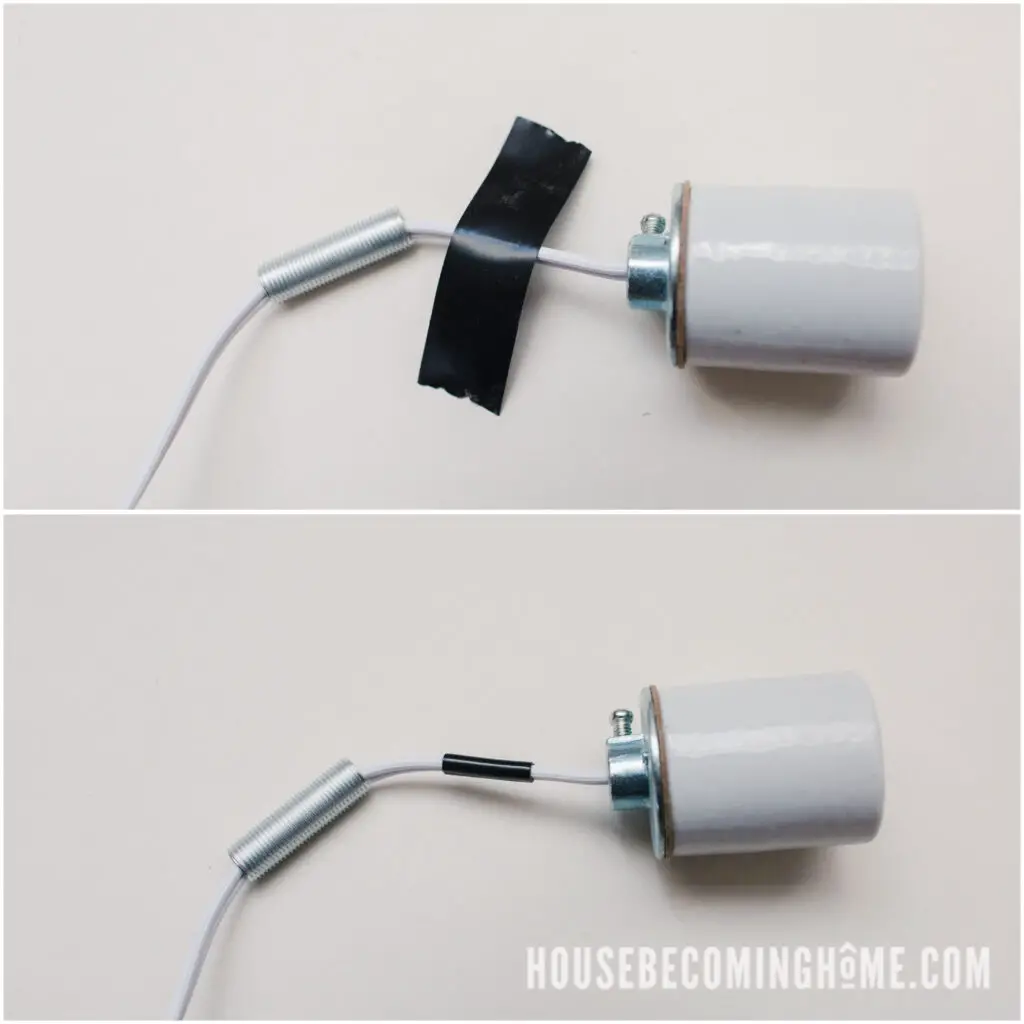
Next, screw the nipple into the socket. Tighten the screw at the top of the socket.
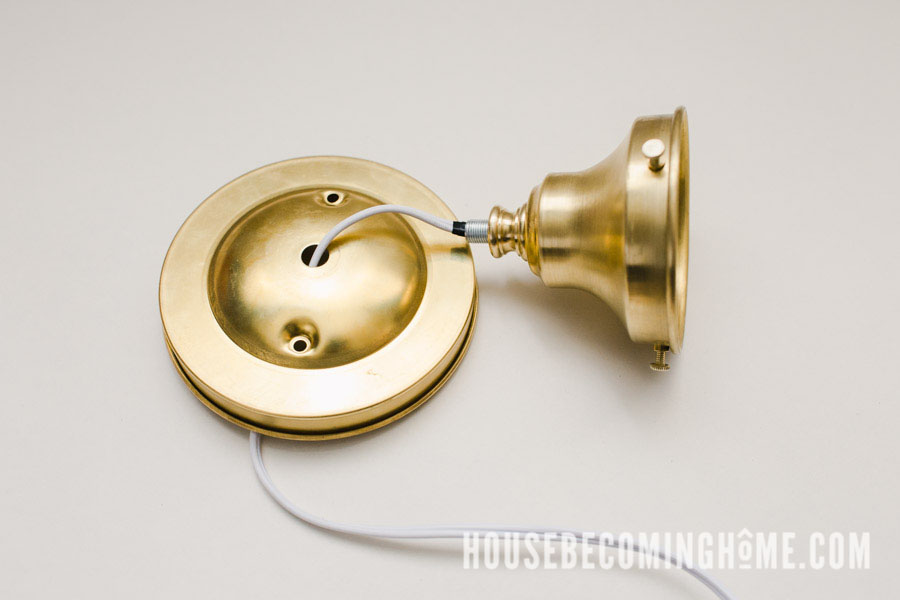
Step 2 : Add the 3-1/4″ brass holder by running the wire through the hole at the top.
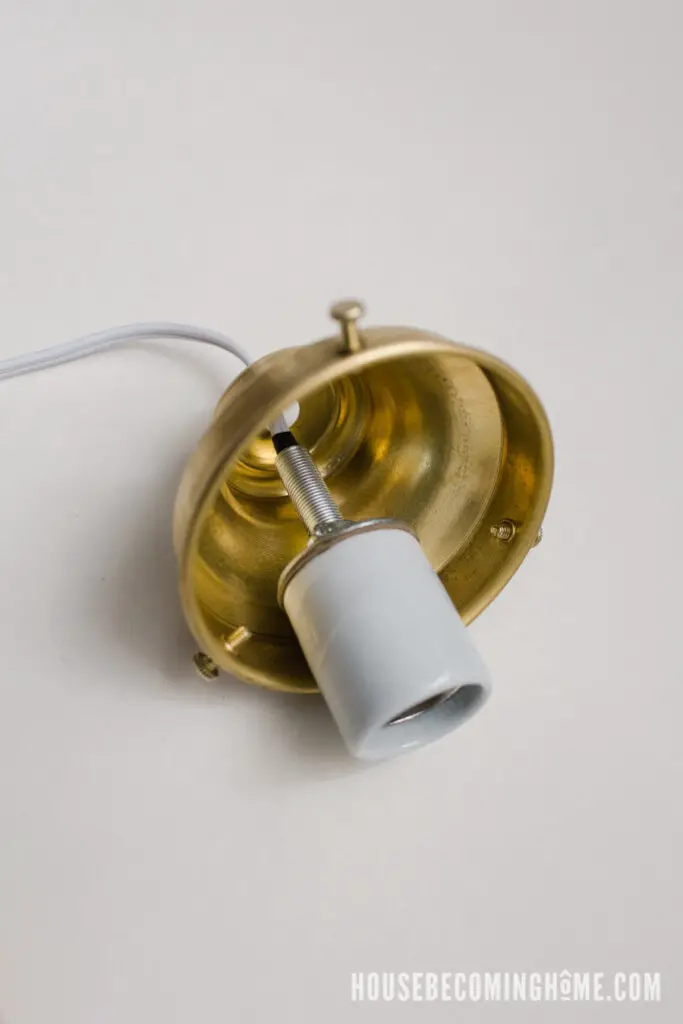
Step 3 : Tighten the brass neck onto the zinc nipple.
Your DIY light fixture should now look like this. The socket should be firmly in place against the brass holder. If it wobbles, tighten the brass neck.
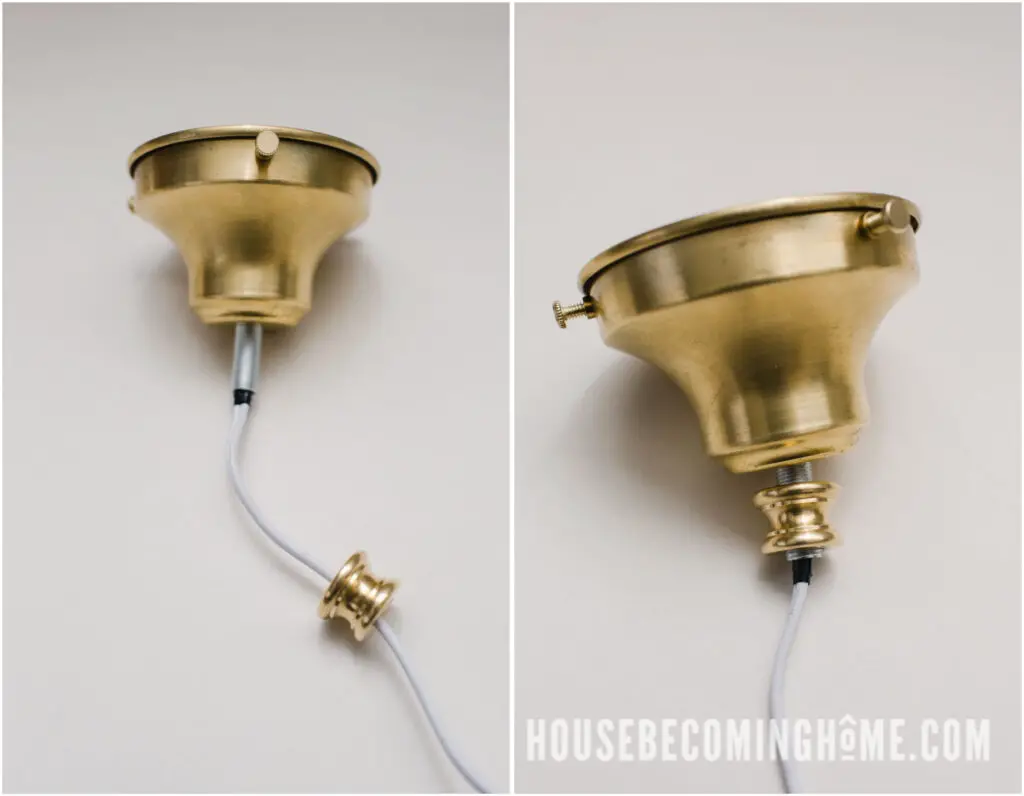
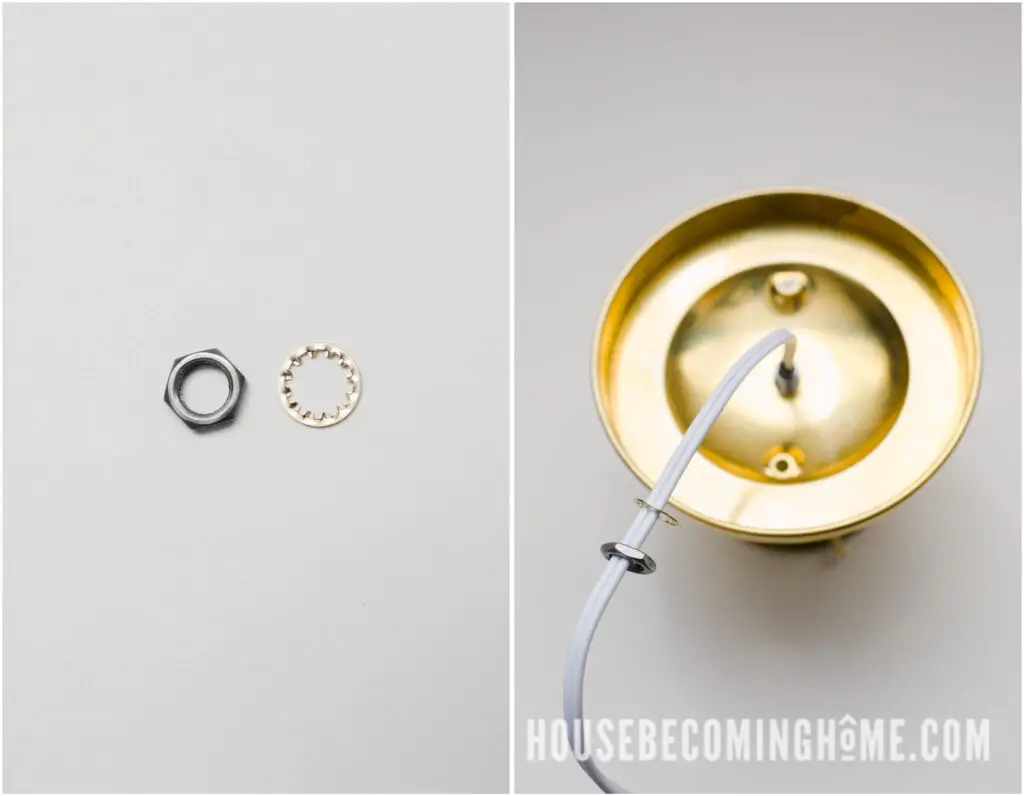
Step 4 : Add the brass canopy:
Step 5 : Tighten the canopy into place with a lock star washer and hex head nut.
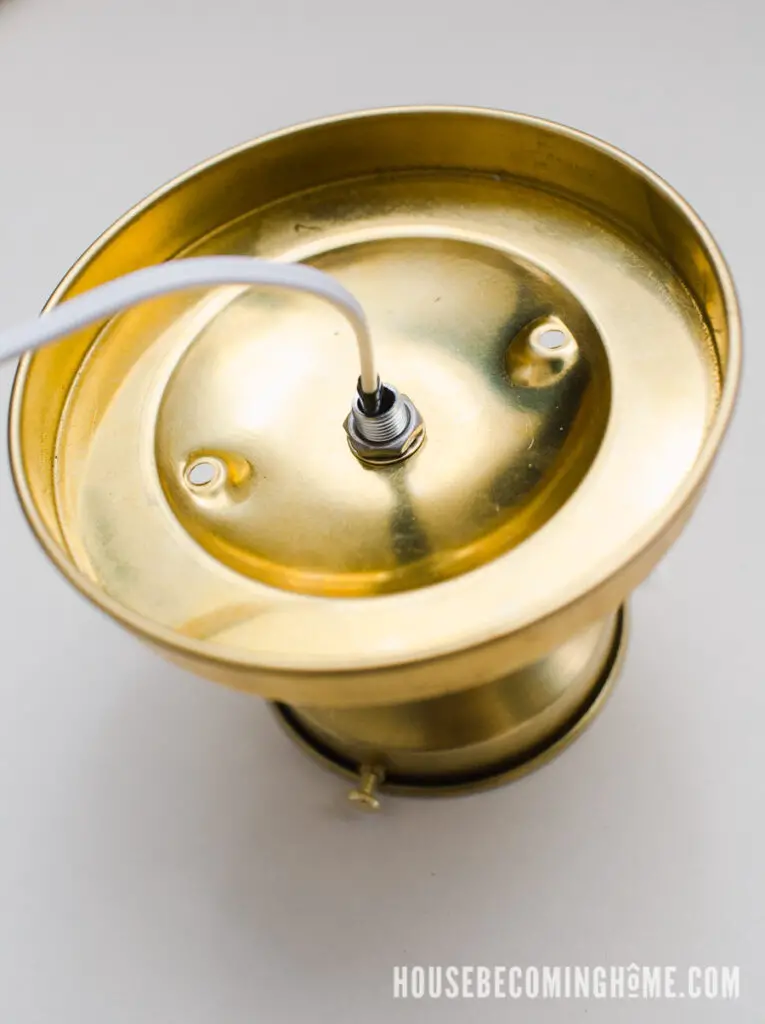
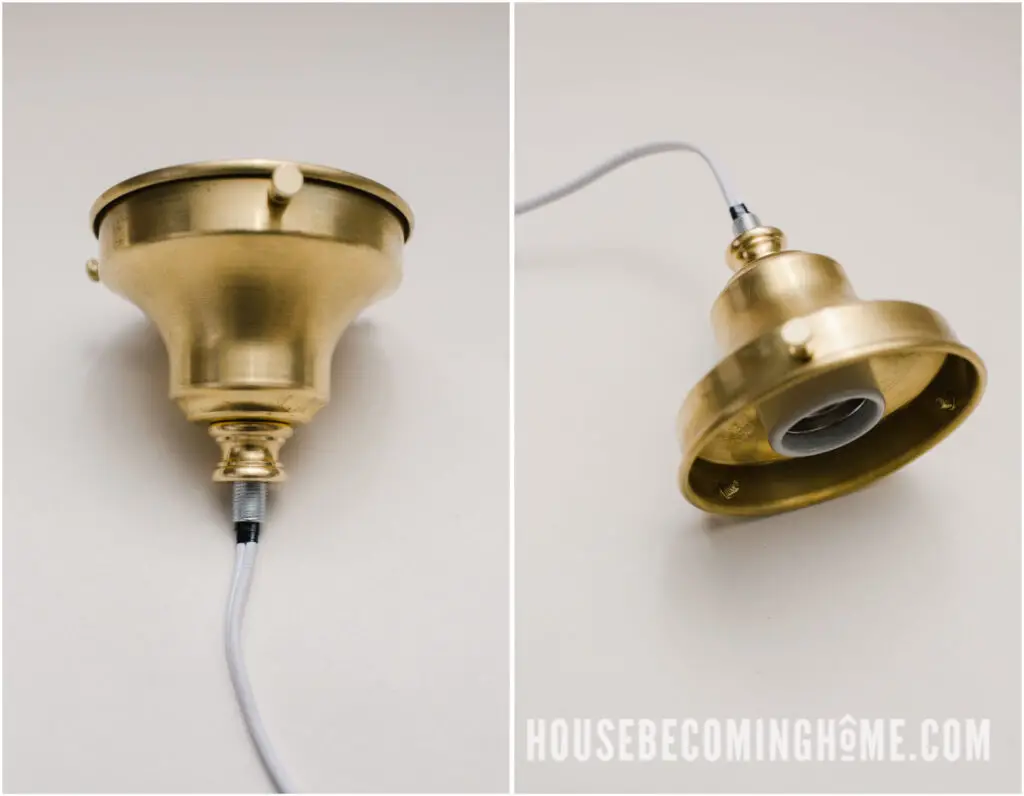
At this point your DIY light fixture is close to done. The only thing missing on this end is the glass shade, but that won’t be attached until a light bulb is added and the fixture is attached to the ceiling (in my case, the built-ins).
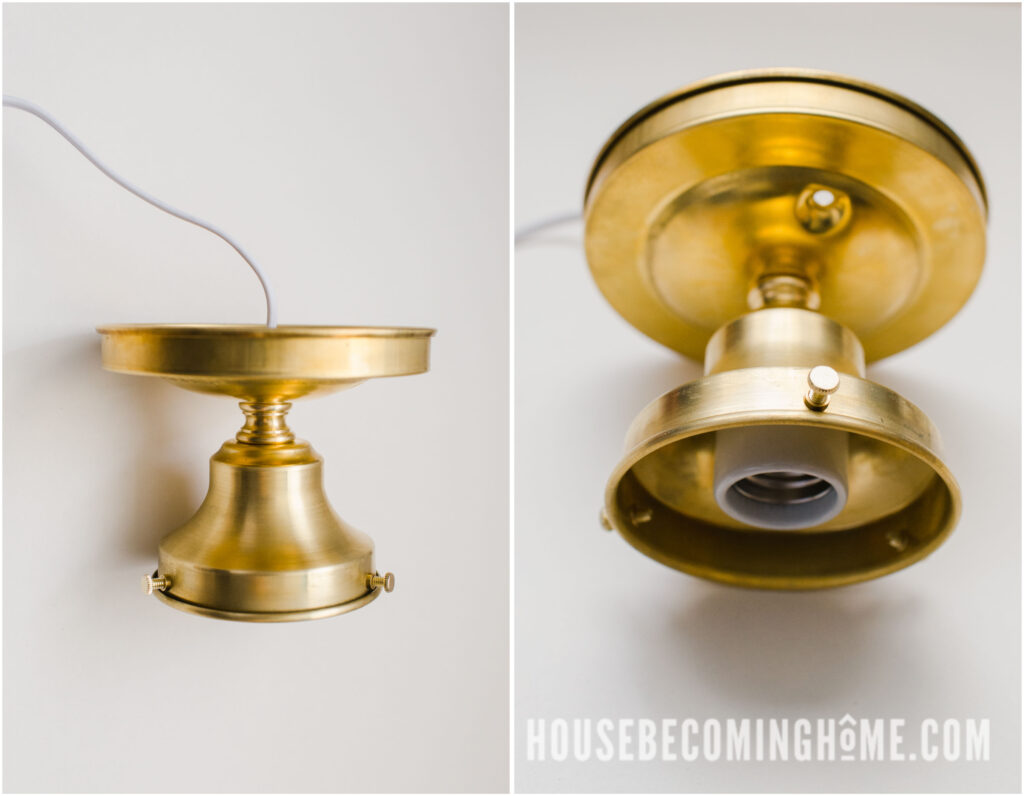
The three screws included with the brass holder will hold the glass schoolhouse shade in place.
Step 6 : Attach a plug to the end of the lamp cord. (I couldn’t do this step until I had mounted the light fixture to the built-ins and ran the plug-less cord through the sides.)
Strip about 1/2″ of the outer jacket (white, plastic covering) off the ends of the lamp cord to expose the copper wire. Use a wire stripping tool to make this task super easy.
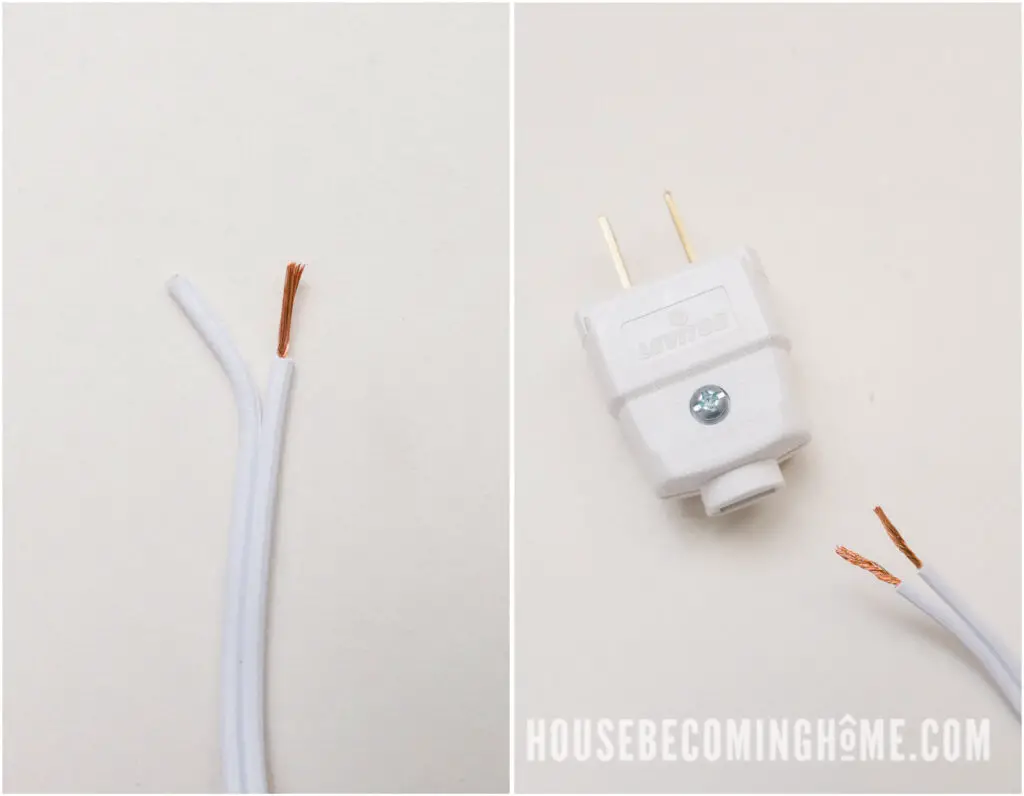
Open the plug, wrap the wires around the screws inside, then tighten so the wires don’t come loose. Close the plug and screw shut.

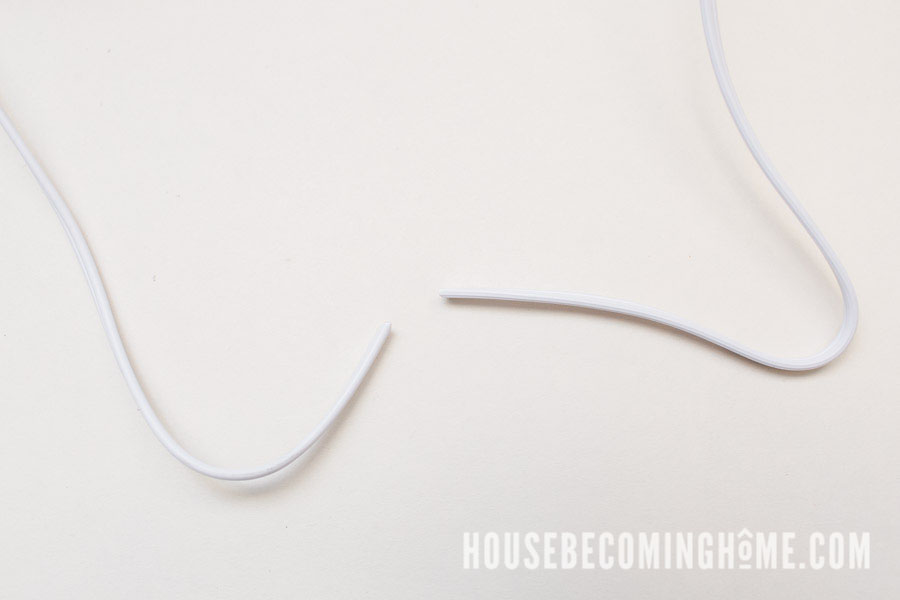
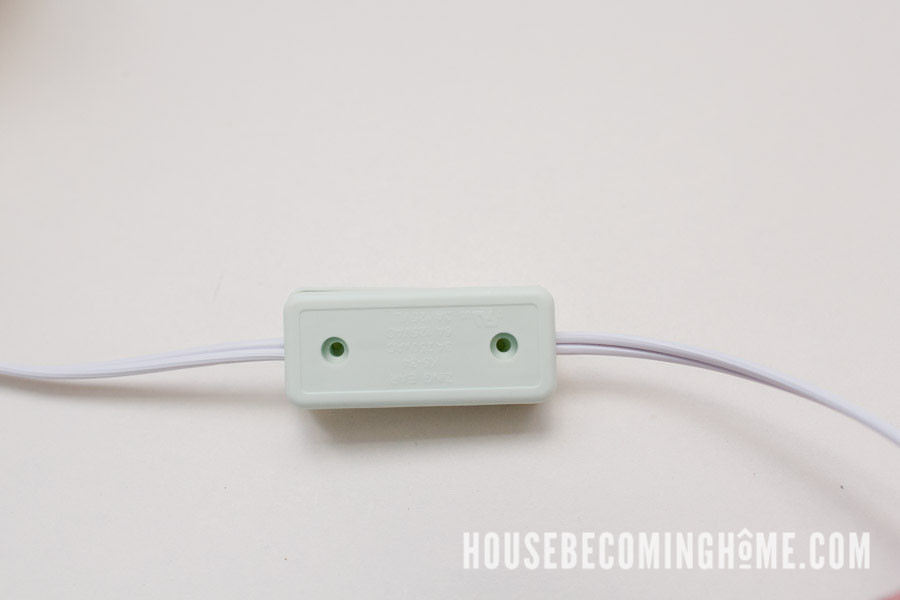
Step 7 : This step is optional, but highly recommended if you want to turn the light on and off with a switch instead of having to plug it in/unplug it.
Using wire cutters, cut the lamp cord at the spot where you want to add a switch.
Strip the outer casing of the wire on both ends of the lamp cord where you just cut it. Open the switch and attach the wires at the crimp-on connection areas.
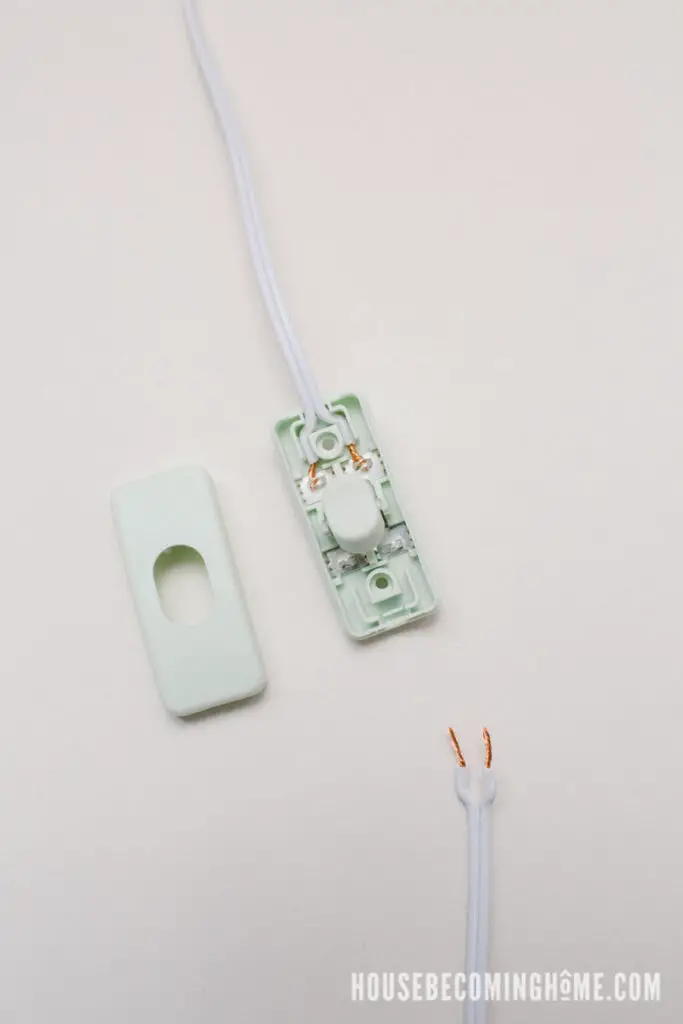
Once you’ve attached both ends to the switch, join both sides of the switch together again, then screw shut.
Finally, through the two holes in the canopy, I used brass screws to attach my light fixture directly to the wood of our built-ins.
DIY Lighting
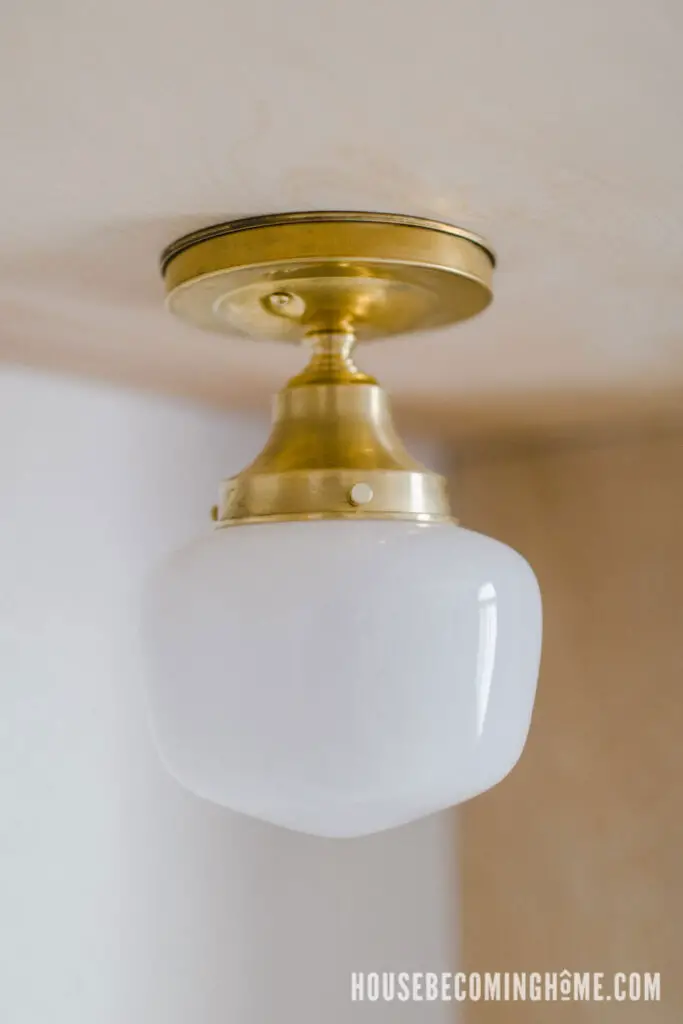
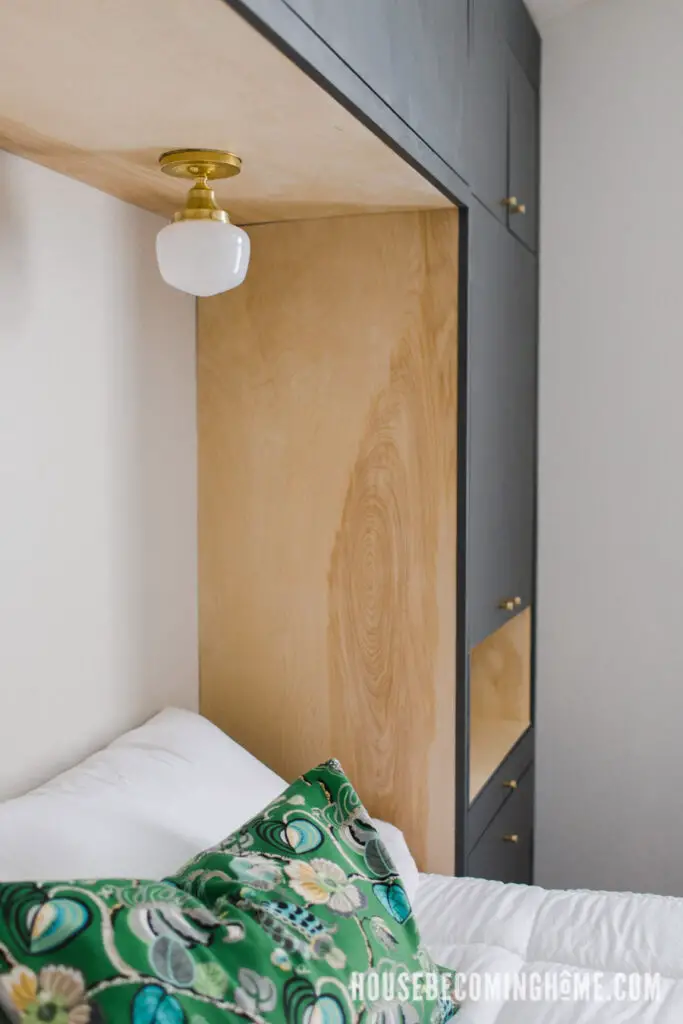
Here’s a view of the one of the finished small light fixtures in the “ceiling” of the built-ins. It’s been so nice to have a reading light and a handy on/off switch right next to the bed!
What do you think…would you consider making your own light fixture???
diy light fixtures
If you’re looking for more DIY lighting projects, you may be interested in these past projects: