House Becoming Home is a participant in the Amazon Services LLC Associates Program, an affiliate advertising program designed to provide a means for sites to earn advertising fees by advertising and linking to Amazon.com. Some links in this post may be affiliate links. Read my full disclosure policy here.
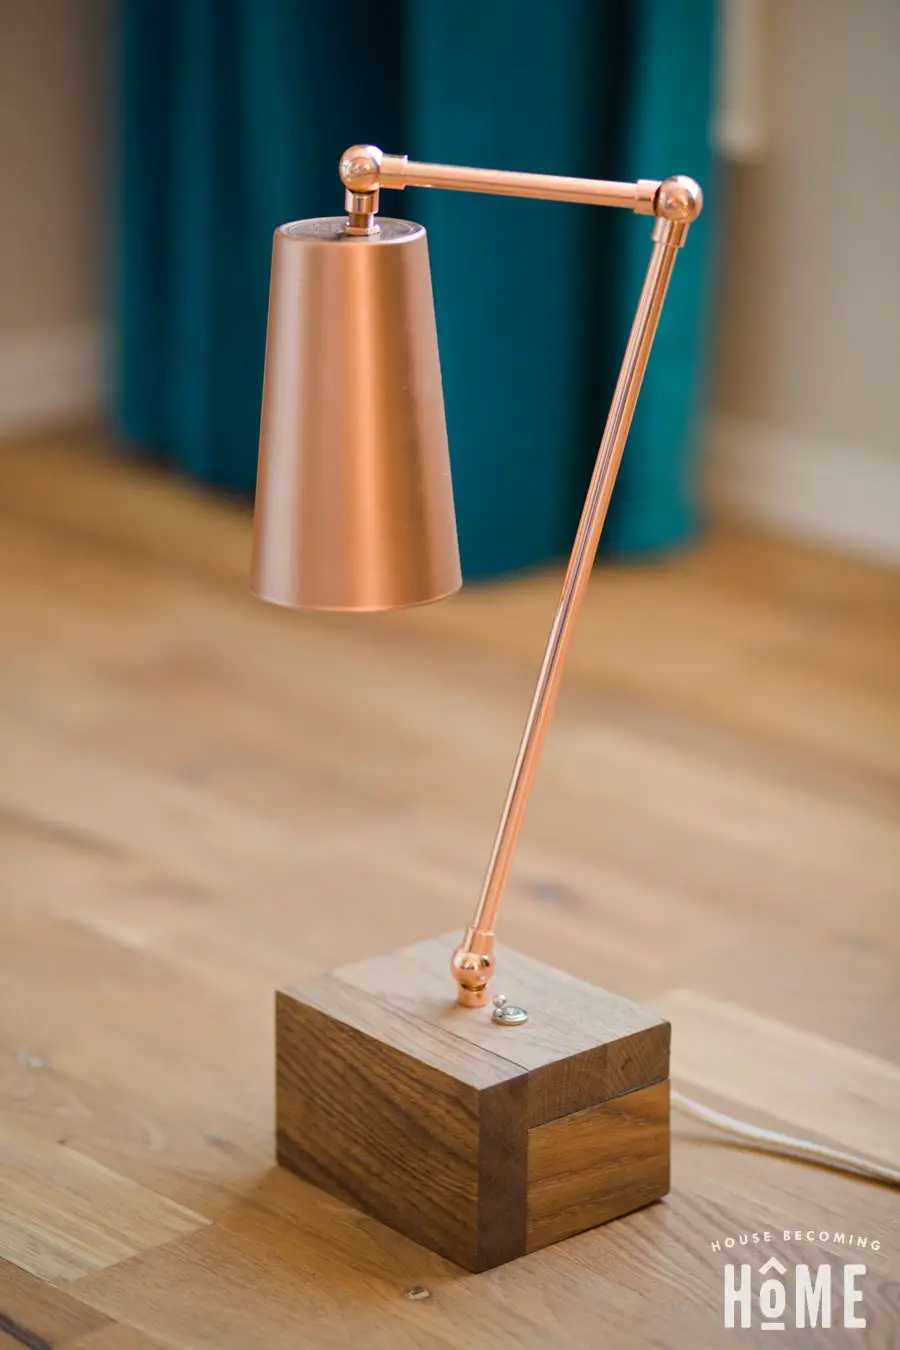
One of the elements I love most about a well-designed room is great lighting. Lately I’ve been obsessing over shiny copper light fixtures . . . but ouch . . . those price tags! $150? $275? 350? Sigh. At the beginning of the year I set off to see if I could make a stylish, modern light fixture without the high cost of the lighting I had been admiring. Today I’m sharing photos and instructions from my very first DIY light project.
But first:
** DISCLOSURE**
I am NOT an electrician. Until a few weeks ago I didn’t know how to wire a light. The info I provide here is for general guidance and inspiration only. If you don’t feel confident working with electricity, consult an electrician.
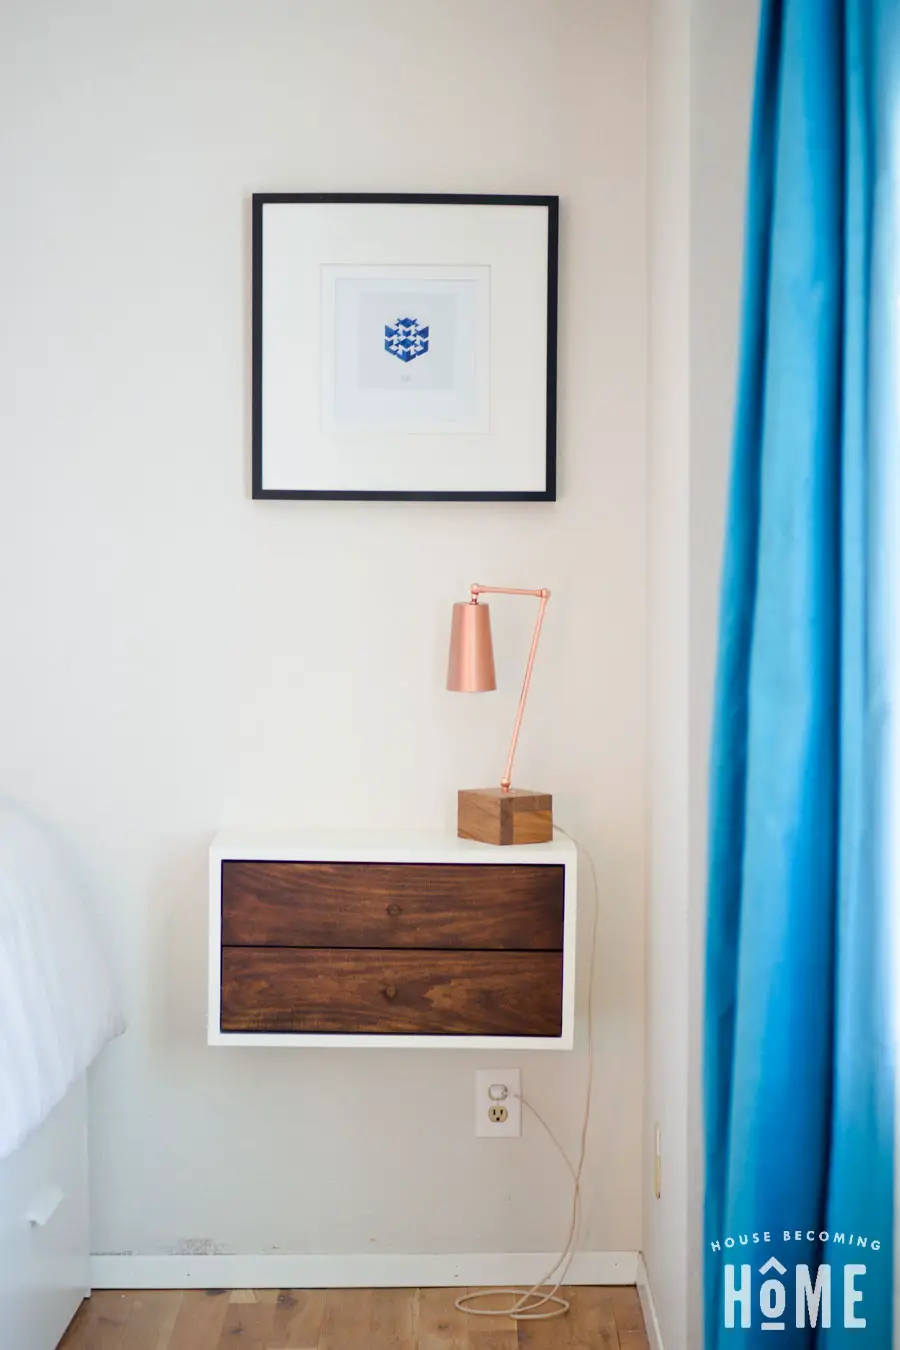
Materials:
- Something to act as a base–I used scraps of oak leftover from our stair makeover held together with pocket holes and screws
- Body–I used two pieces of copper pipe and three copper articulating elbows (both bought from Color Cord Company)
- 6-7 feet of 18-gauge lamp wire (sold by the foot at your local hardware store or online)
- Glass cup for light shade
- Toggle Switch – I bought this one
- Light Socket – I bought this one
- Lamp nipples – I bought this pack (it has a few different sizes which was nice)
- Locknuts
- One M10-1 nut (the size that fits the threads of the lamp nipple) I had to go to my local hardware store to find this.
- Electric tape
- Screw-on wire connectors
- Plug end – I bought this one
Tools:
- Miter saw
- Pocket hole jig
- Wire cutter and stripper
- Drill and diamond-tipped drill bit
- Adjustable Wrench
*For reader convenience I’ve linked to the products and tools I used. Some of these are affiliate links.
DIY Light Instructions
1. Assemble the base of the light
I made mine out of a scrap of white oak leftover from our stair project. Whatever you choose to use, be sure it is reasonably heavy so your light doesn’t tip over.
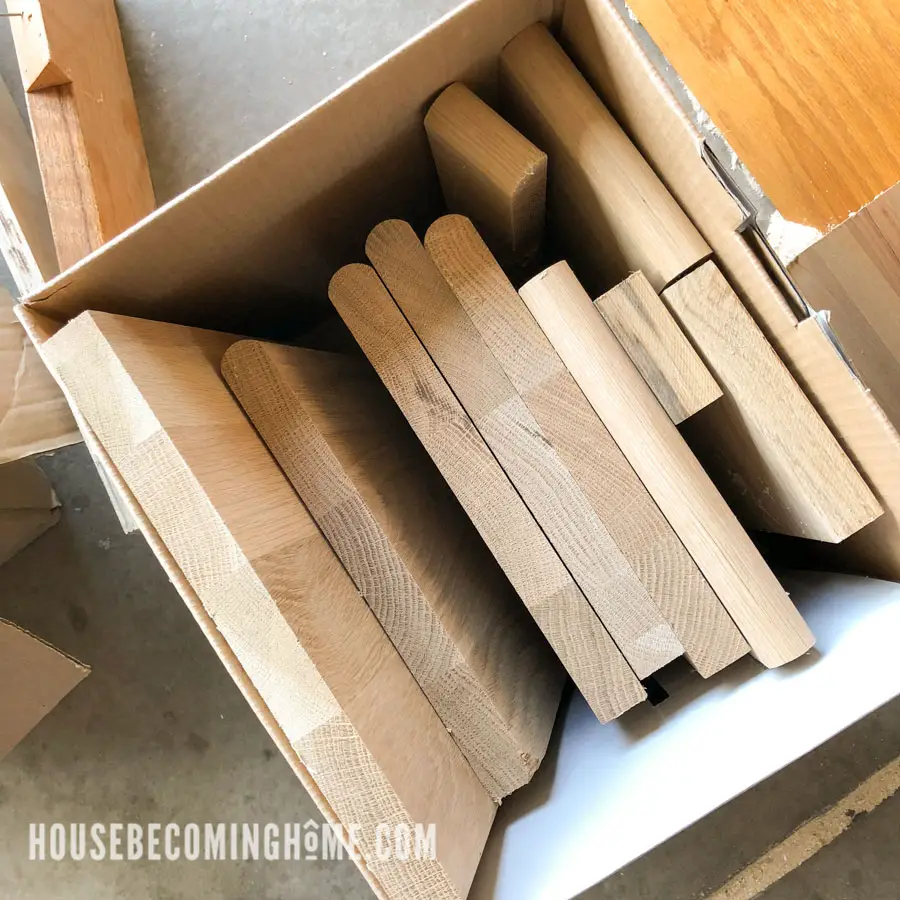
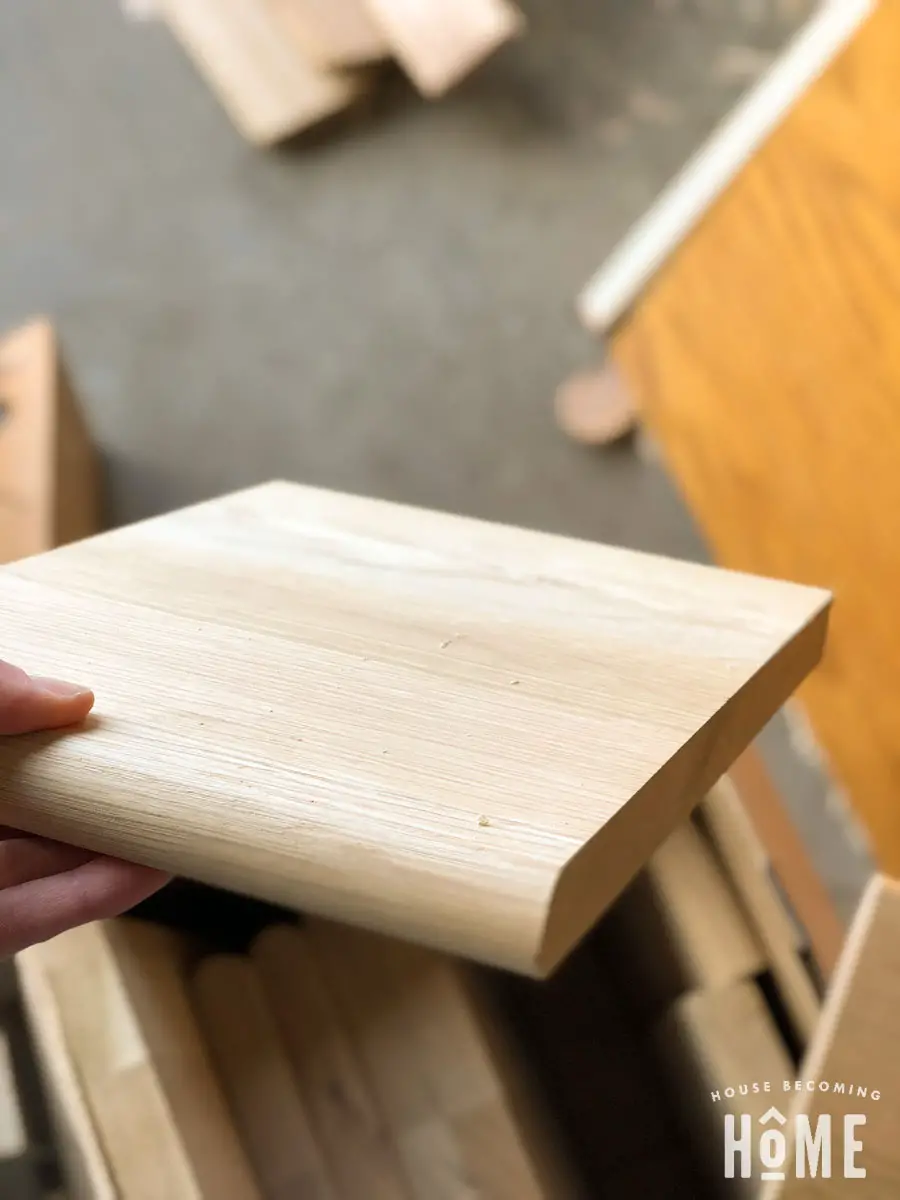
Looks like the perfect material for my DIY desk light!
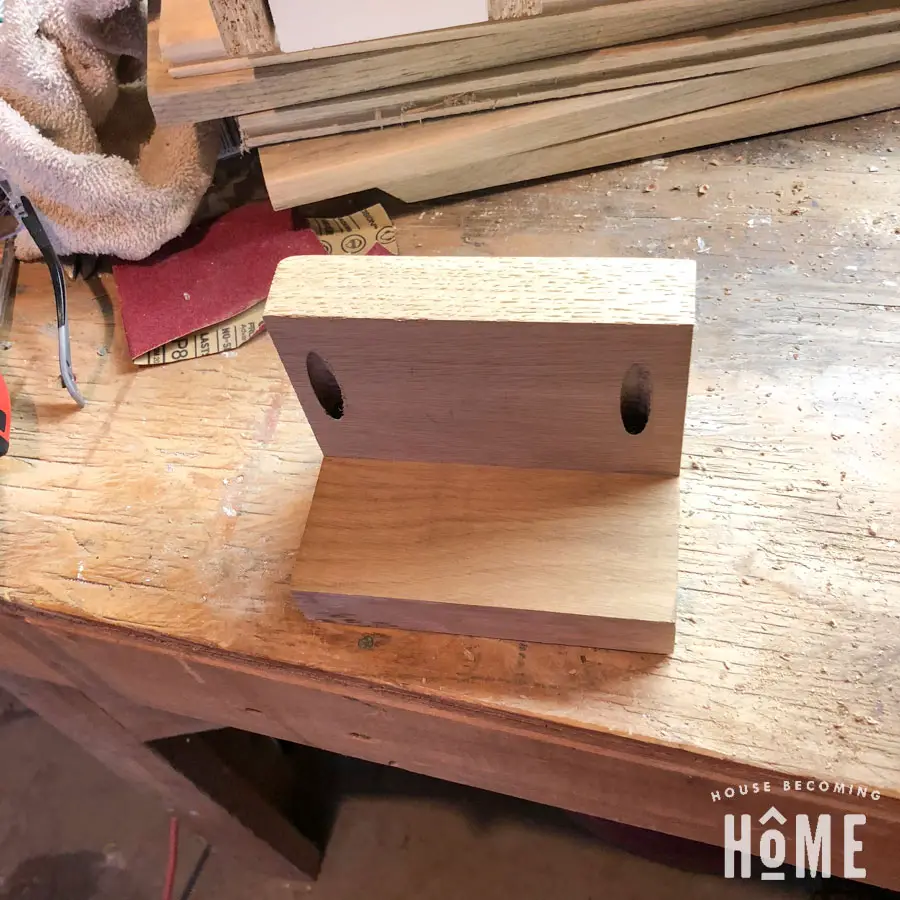
Use the miter saw to cut five pieces to the size of your choice and then make pocket holes to join them together.
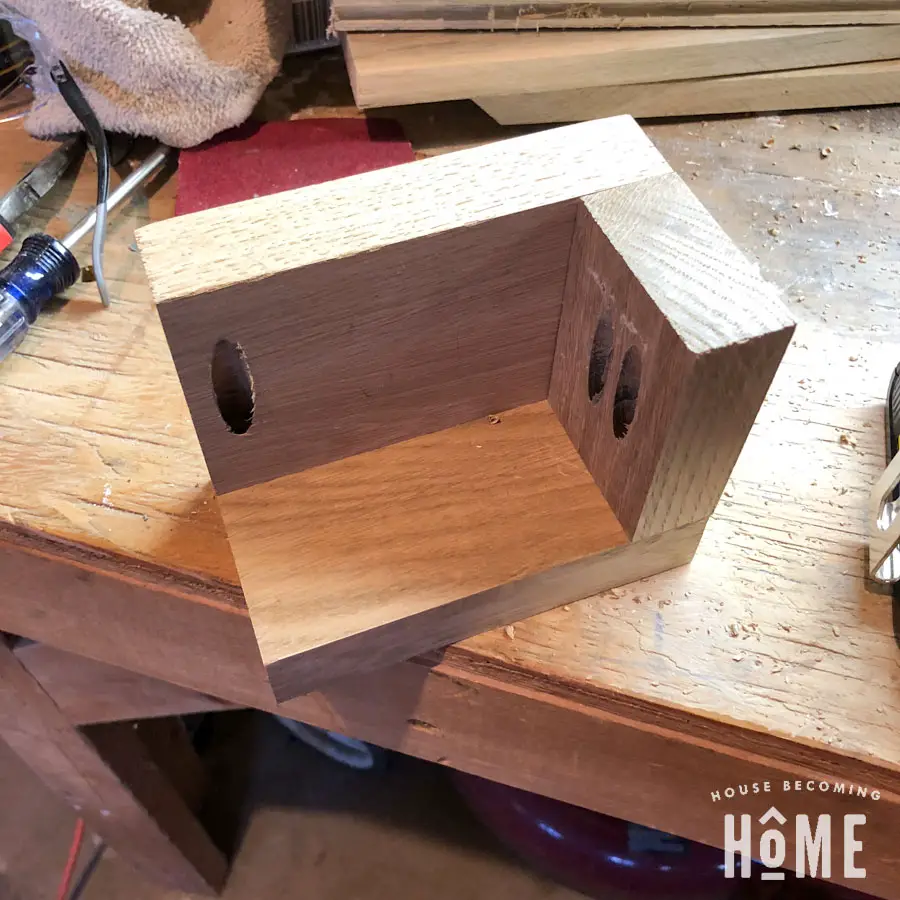
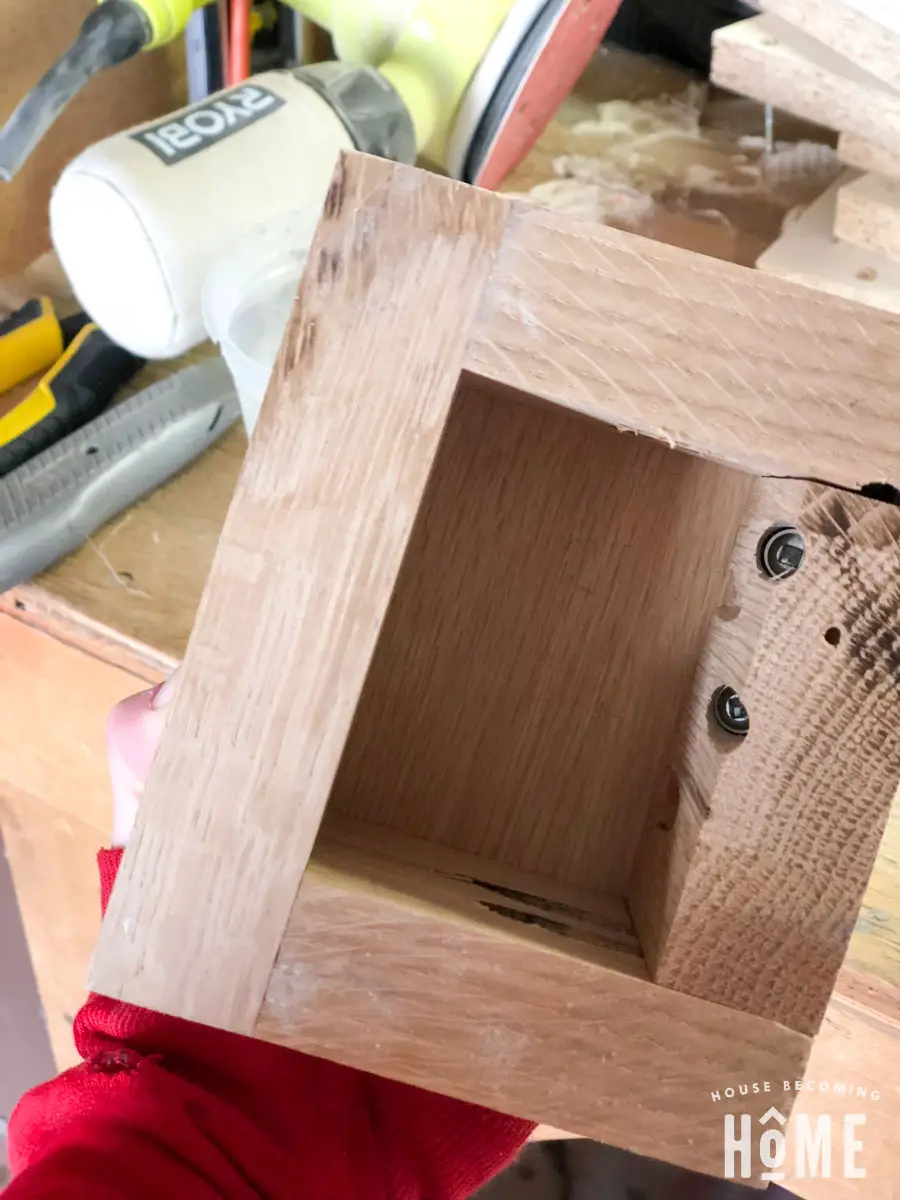
Here it is, all put together. This the view from the bottom–the hollow space will hold all of the wires.
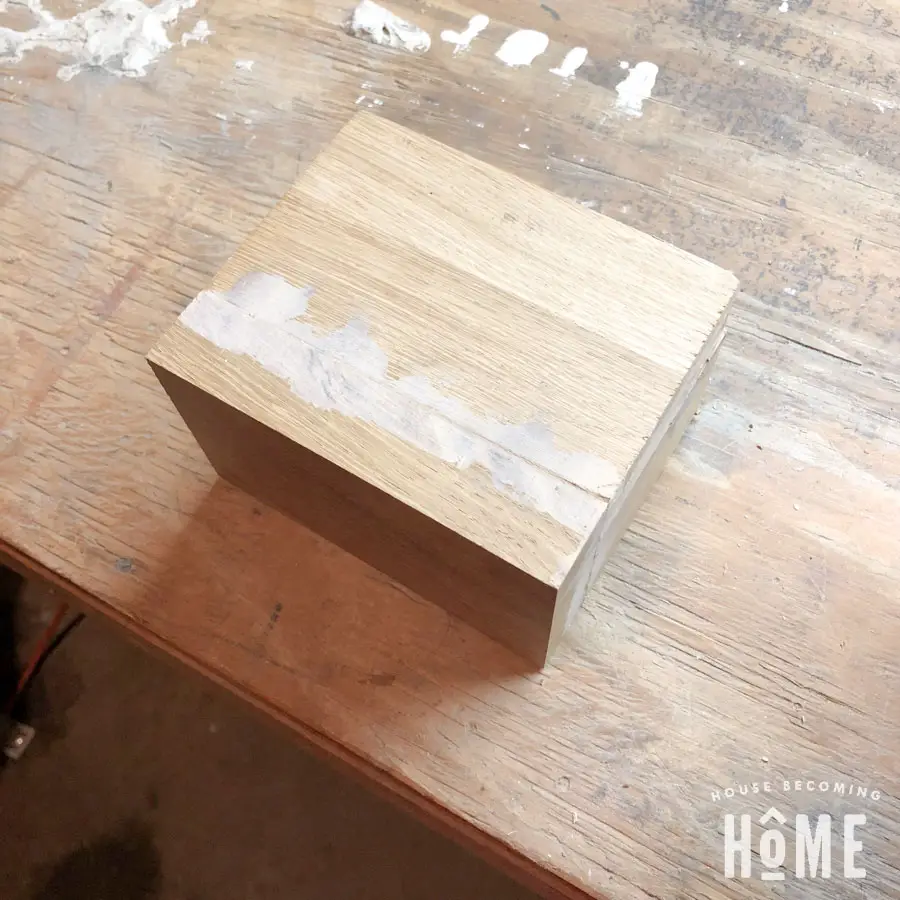
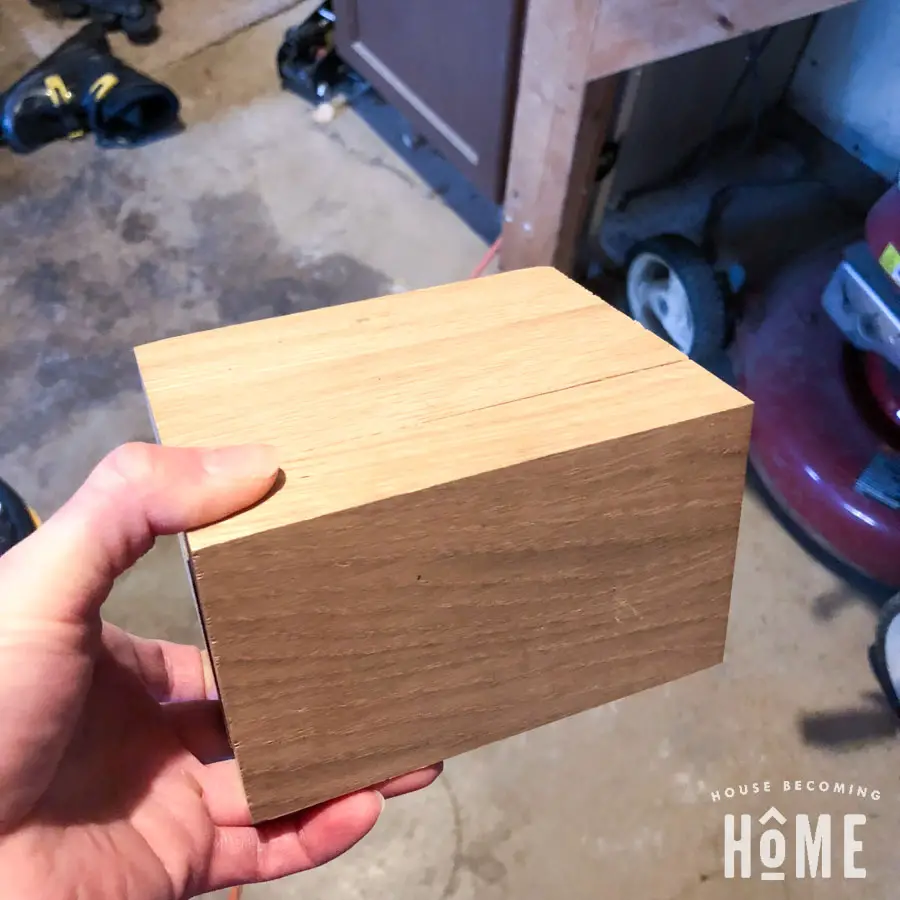
I filled the small gaps with wood filler and then sanded the entire oak “block.”
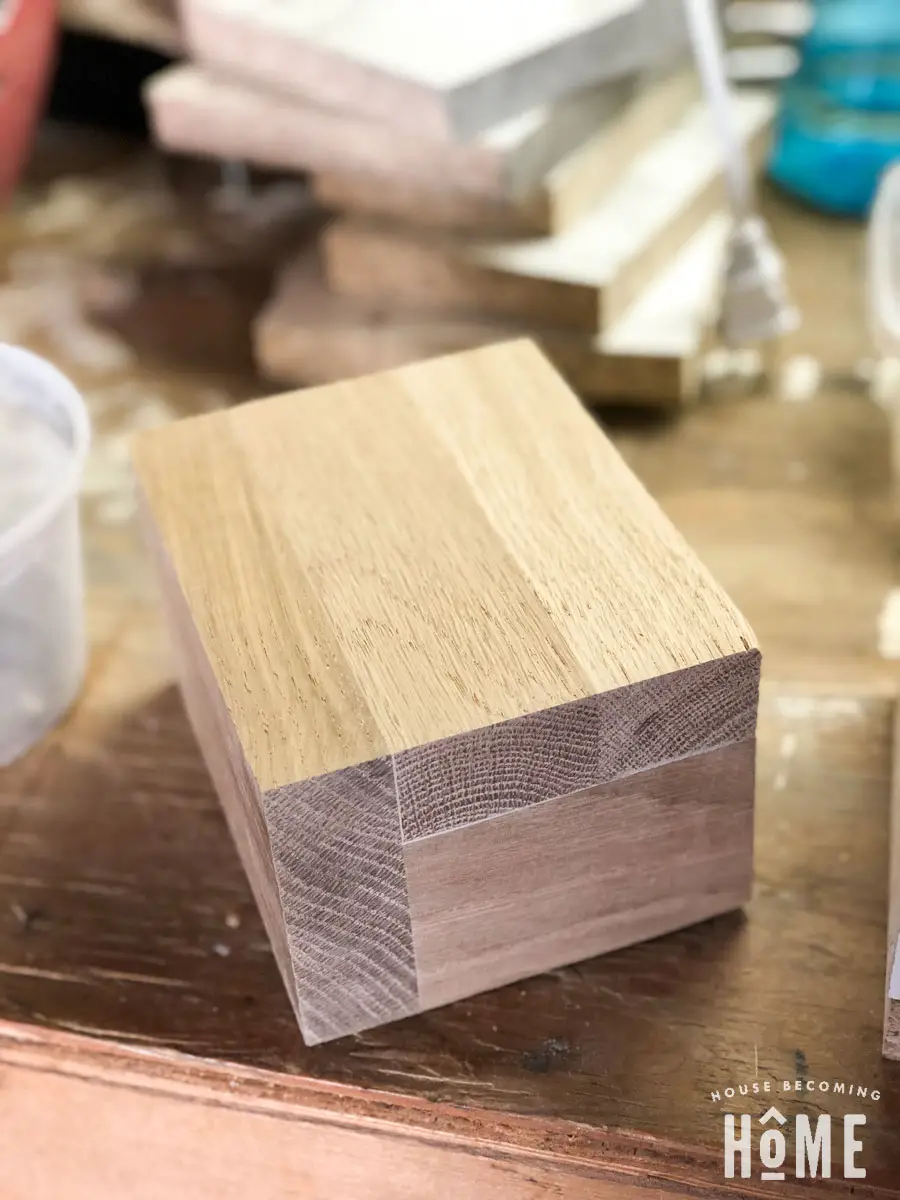
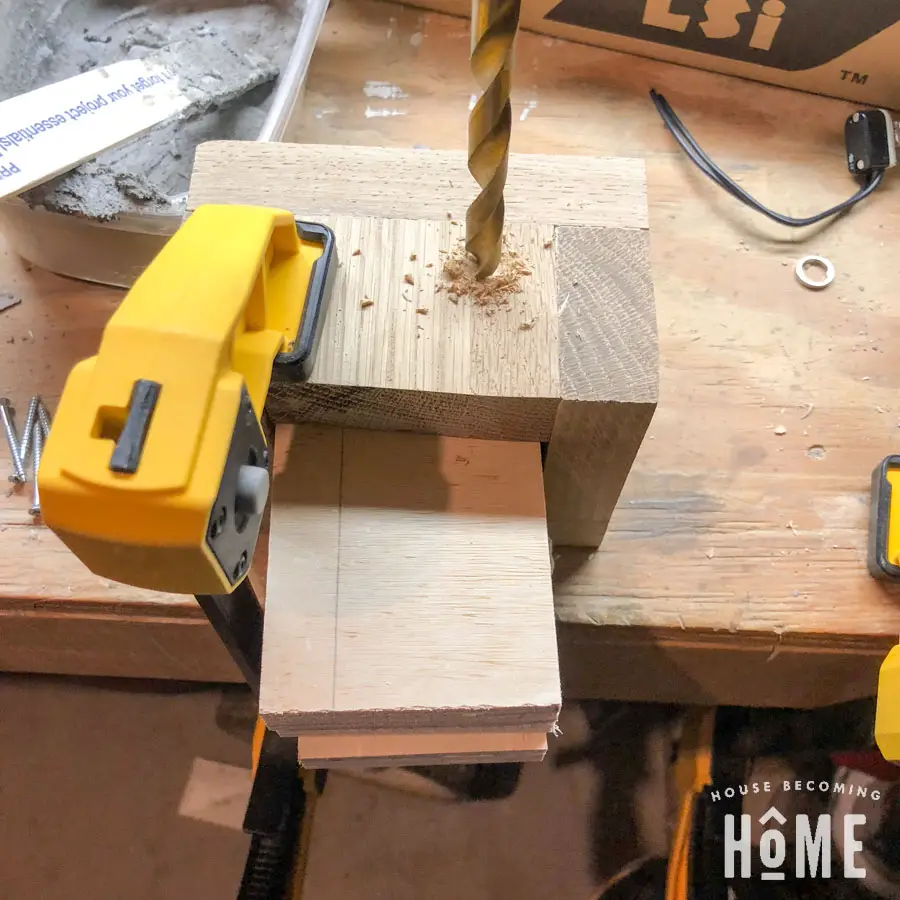
Drill a hole into the back side of the base for the light wire to exit. I filled the hollow area with scraps of wood for support as it was drilled.
Flip the block right side up and drill another hole for the copper pipe, and another if installing a toggle switch. (You will also need to carve out some space inside for the toggle switch to be. I have a photo further into this post that shows this.)
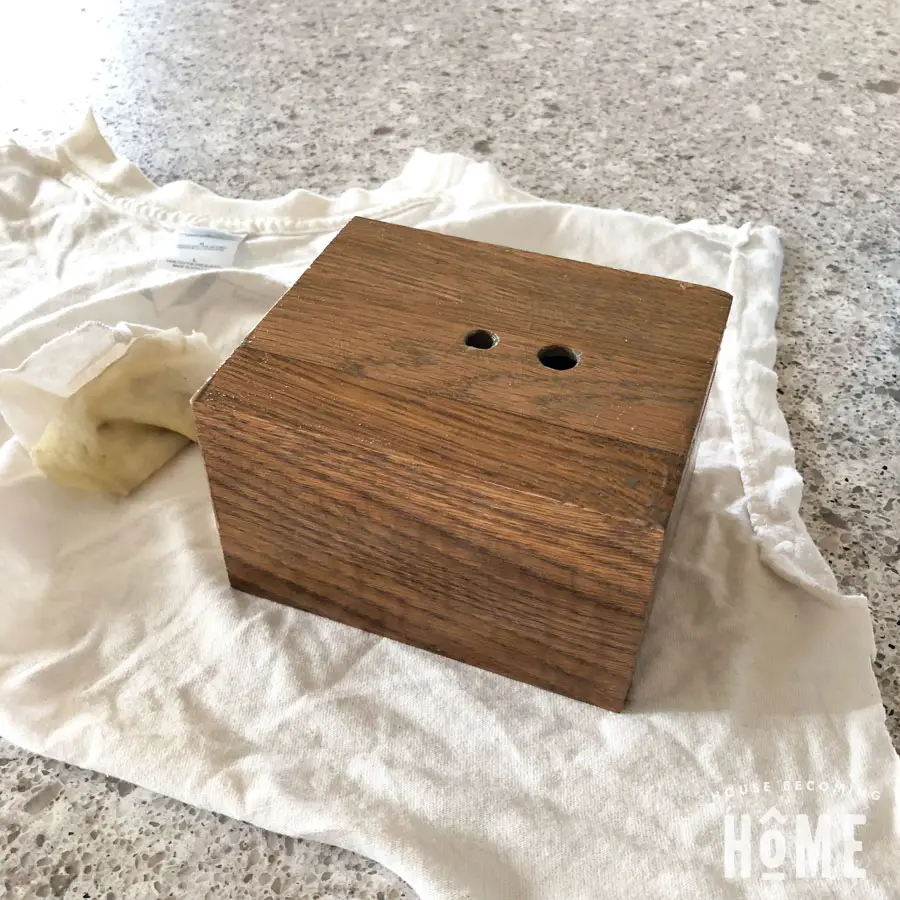
I stained my oak base and then sealed it with a protective coat of wax.
2. Make a Light Shade
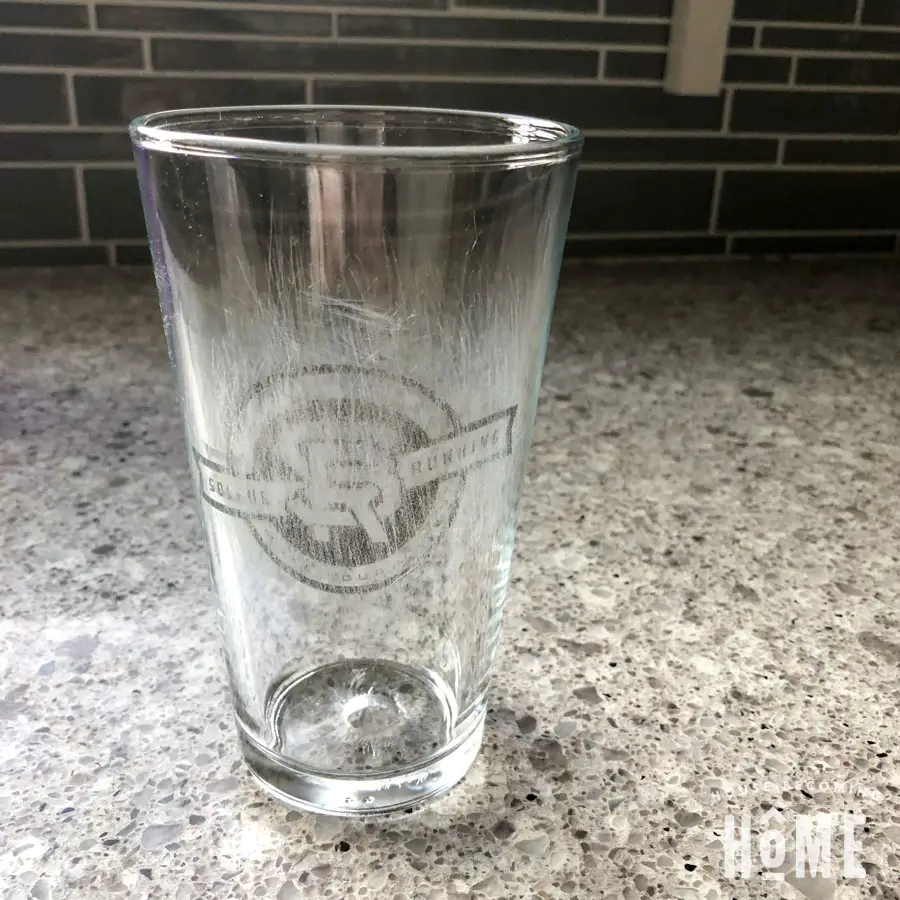
Find something that can act as a shade for your light. I browsed the glassware section of a few thrift stores and found lots of cups that had a clean, modern shape.

I tried a few “recipes” of mixtures to remove the logo from the cup but nothing seemed to work. I ended up using sandpaper to remove some, but not all of it.
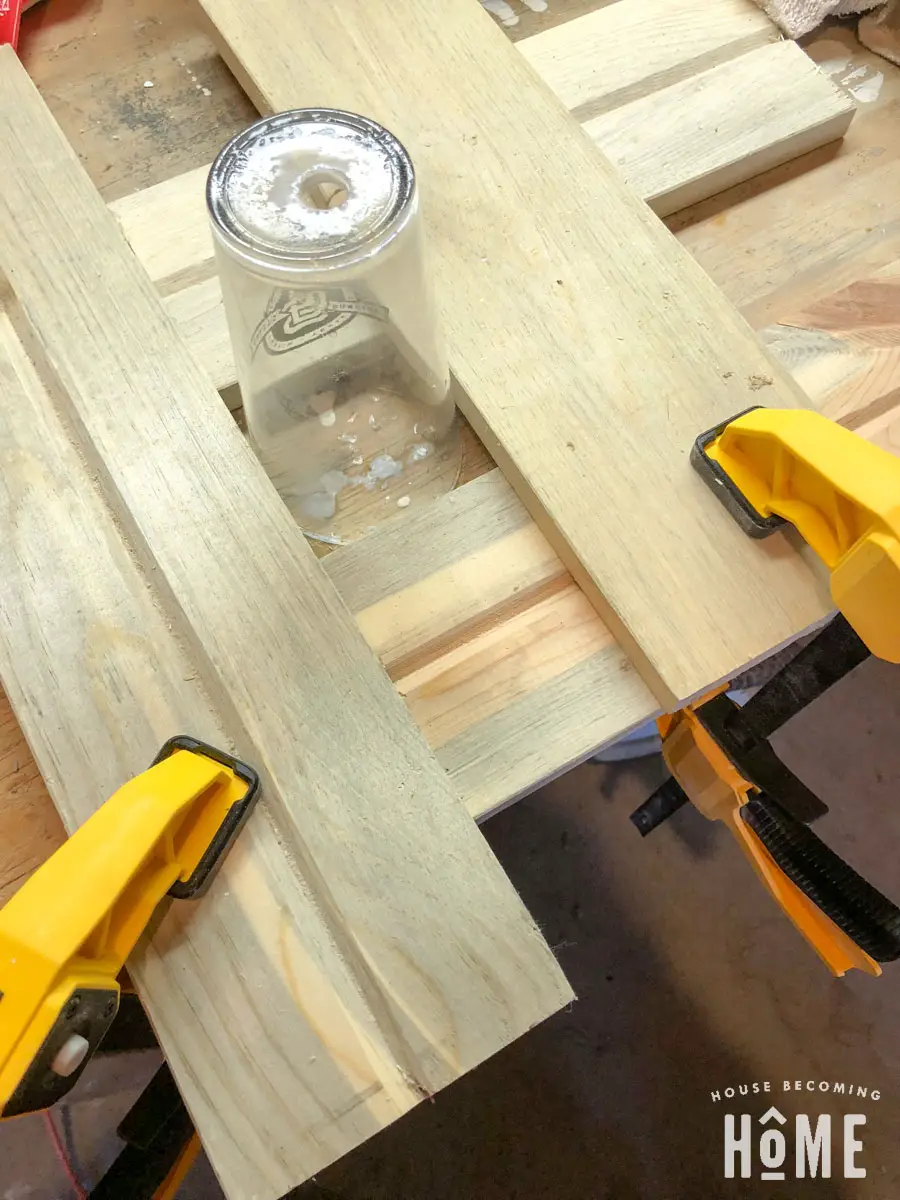
Using a diamond-tipped drill bit, drill a hole into the bottom of the cup.
I clamped a few pieces of scrap wood snuggly around my cup to keep it from spinning when I was drilling.
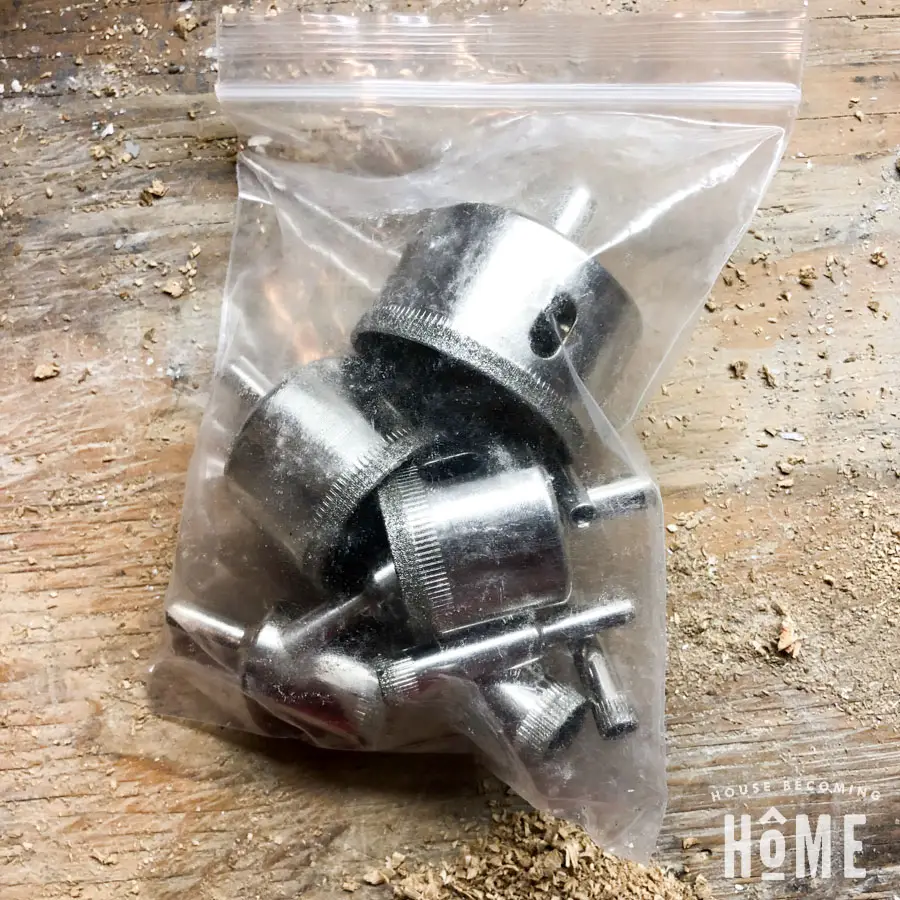
I found this pack of diamond tipped drill bits (<– affiliate link) online and I LOVE them! So far I’ve successfully cut holes into several glass cups/vases, as well as several pieces of marble.
**Glass drilling tips**
When drilling into glass use your drill at a slow speed.
Keep a spray bottle filled with cold water next to you. Stop often and spray the drill bit and glass to keep the bit from getting too hot.
This was my first project drilling into glass. I initially had trouble with my drill jumping around and making scratches all over. I eventually realized that the best way to get it started was to hold the drill firmly at an angle. Aim to get just the bottom curve of the drill bit “carved” into the glass. Once you have that shallow path carved align your drill straight up and down and it will stay in place.
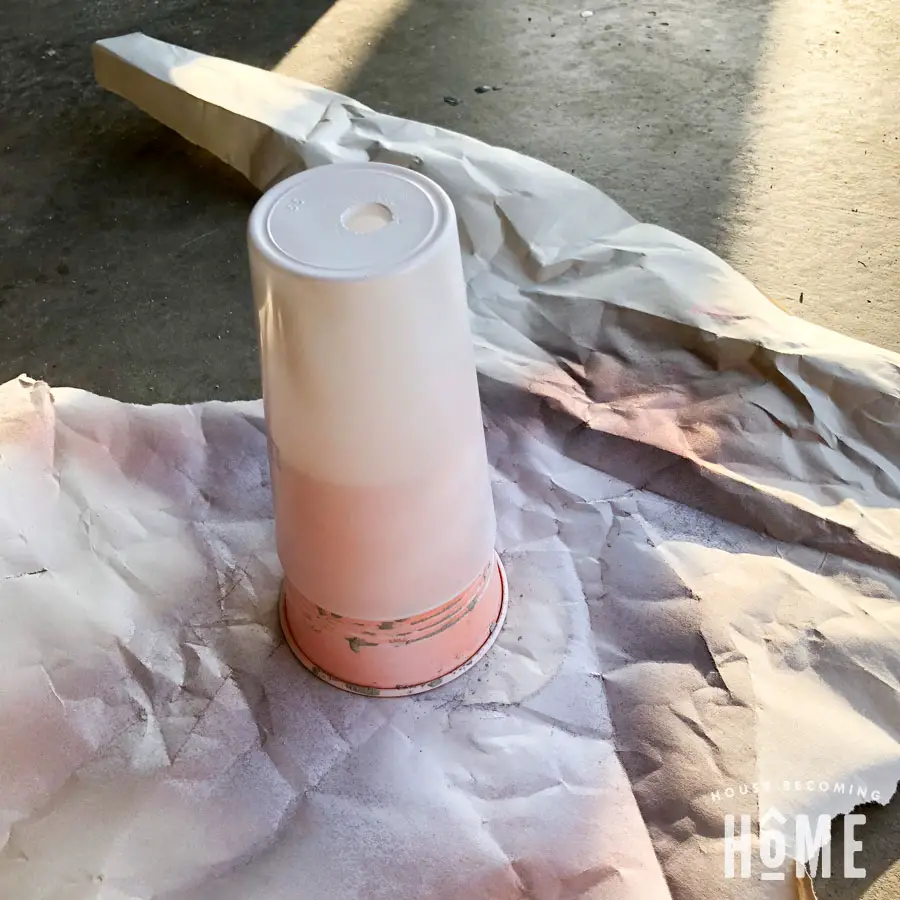
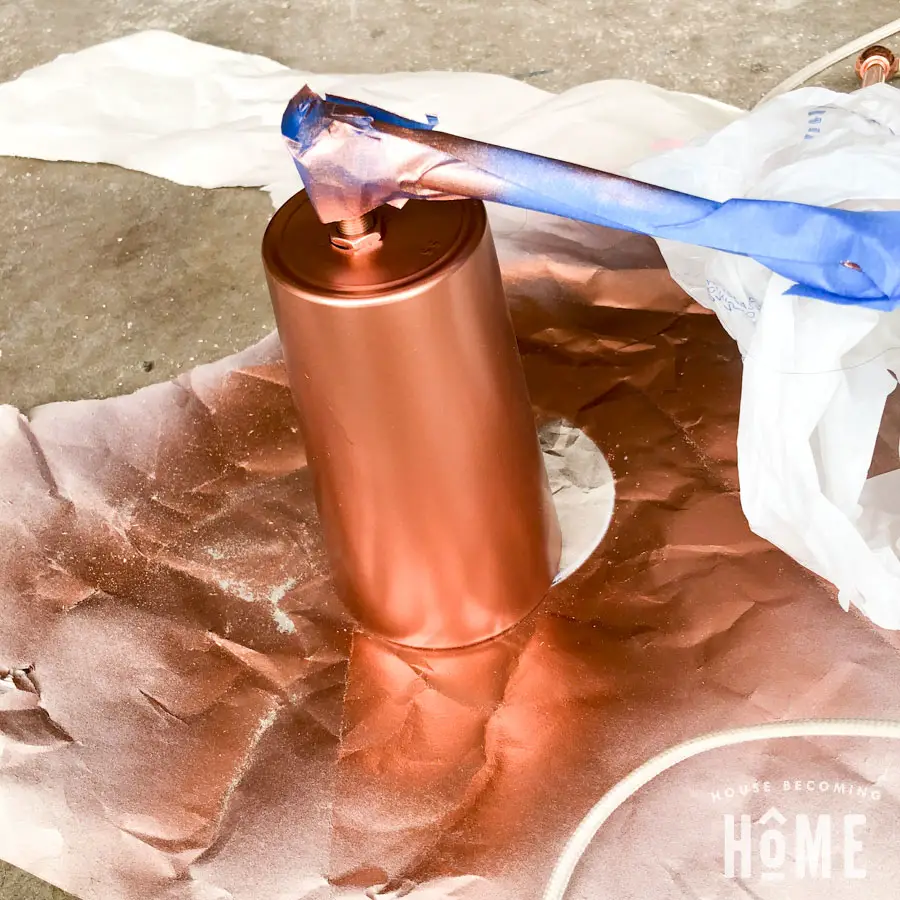
Give the cup several coats of primer (spray paint), and then several coats of copper spray paint.
3. Assemble the Body
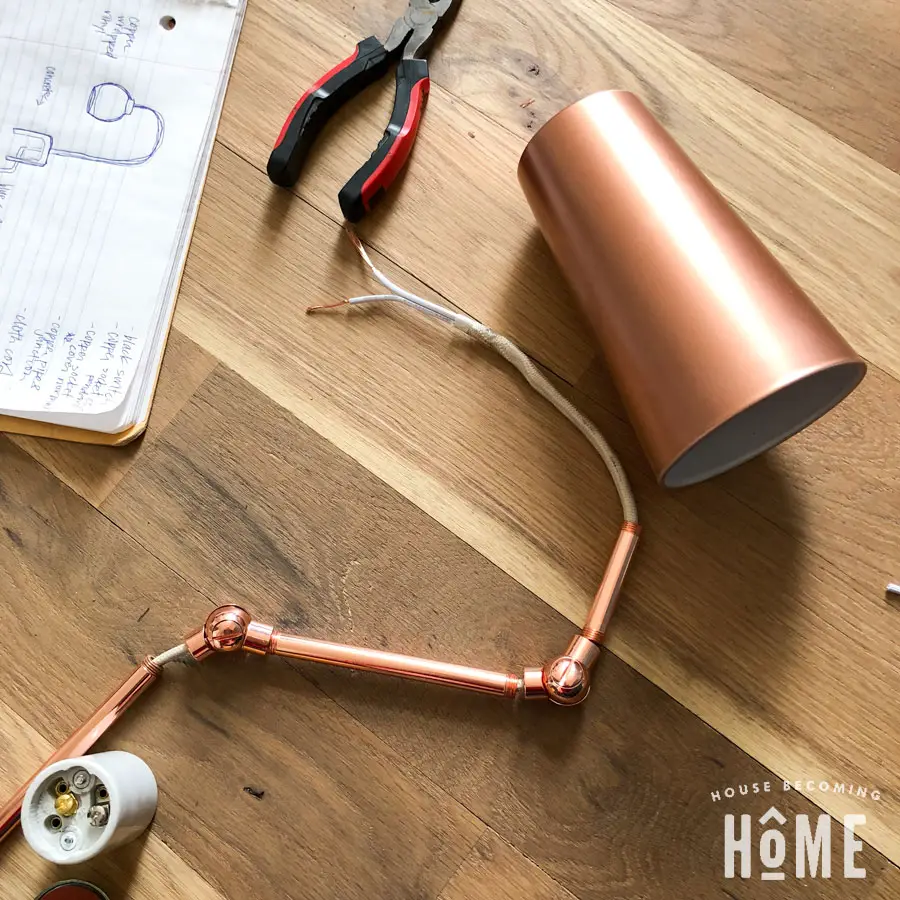
Pull out all the parts you need for the light body. In my case, I used two copper pipes (I decided against using the third, short one pictured), three articulating elbows, 7 feet of lamp wire, and a light socket (bottom left corner).
Insert about a foot of your lamp wire into the hole you drilled in your cup, and bring it all the way through to the outside of the cup so that you have enough space to wire the socket. Family Handyman has this perfectly illustrated image that I followed to wire my socket:
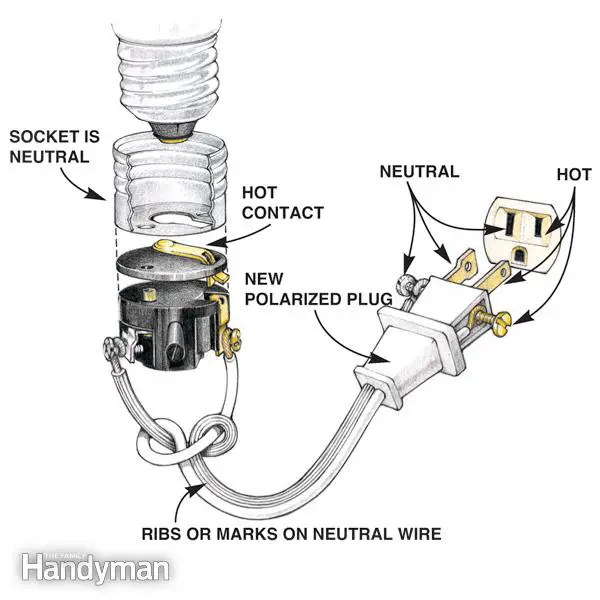 Image Courtesy of The Family Handyman, a Trusted Media Brands, Inc. publication. All rights reserved
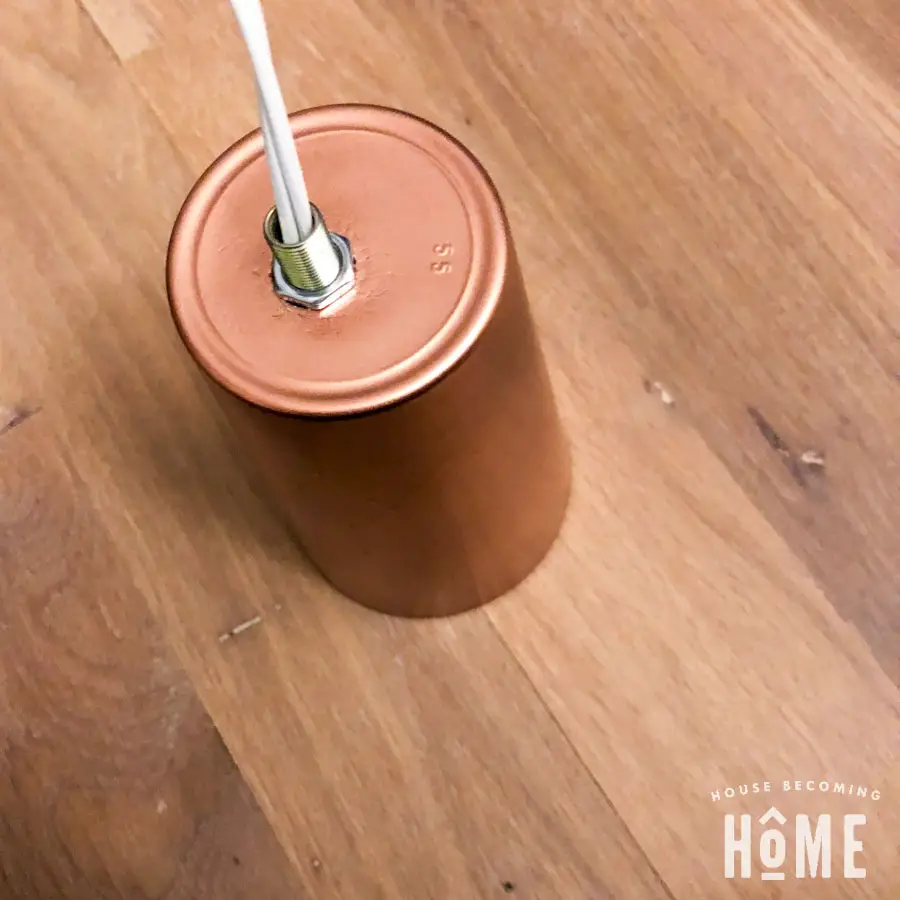
Thread a locknut onto a lamp nipple, and then slide the lamp nipple through the wire all the way to the cup. The lamp nipple screws into the top of the light socket, which is inside the cup. Tighten the locknut so that the socket stays firmly in place. (I spray painted the lamp nipple and nut copper after this step.)
Take apart the articulating elbow and slide both pieces onto the lamp wire:
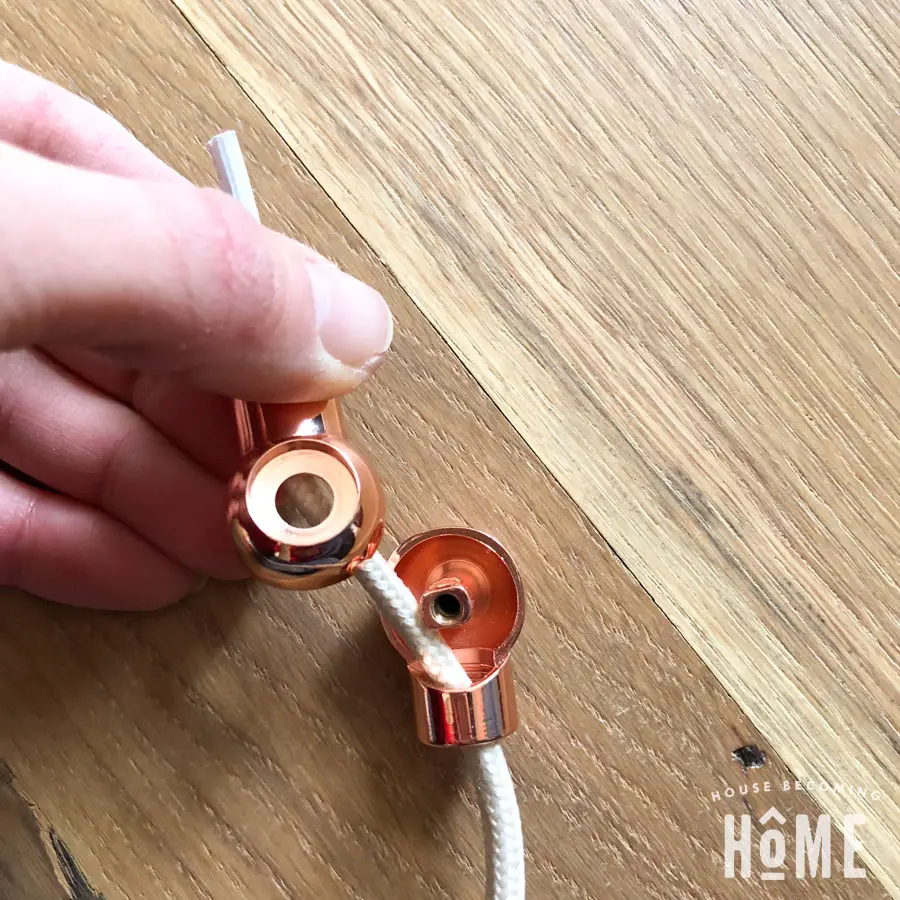
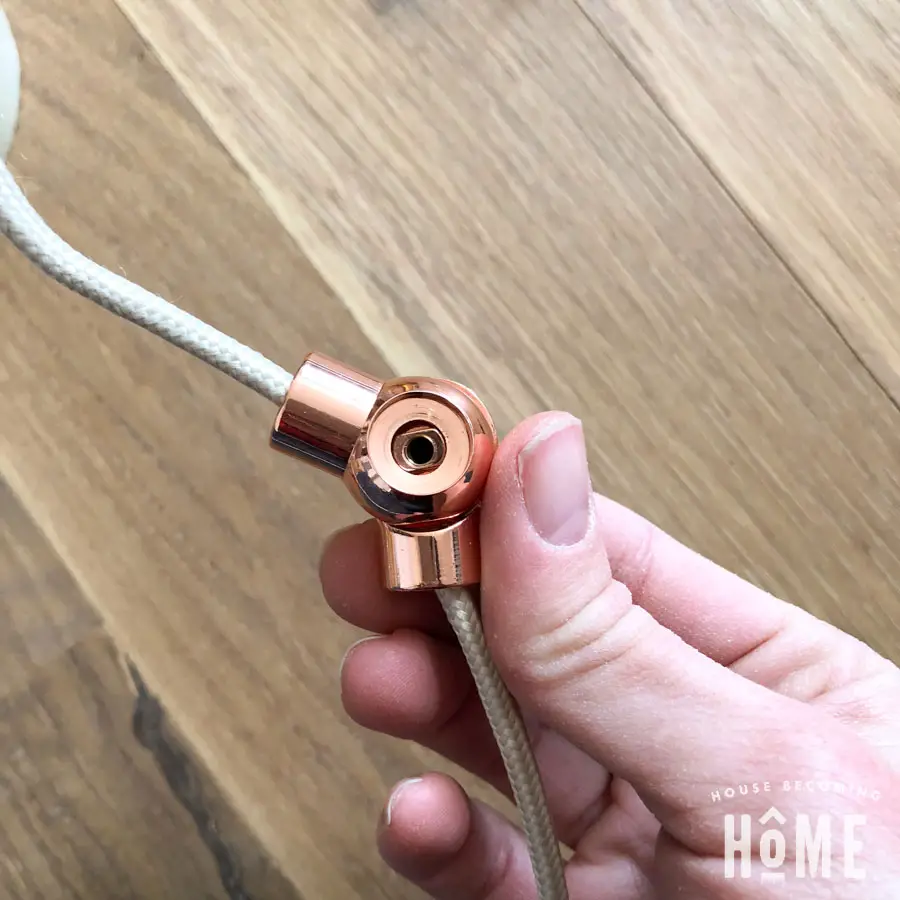
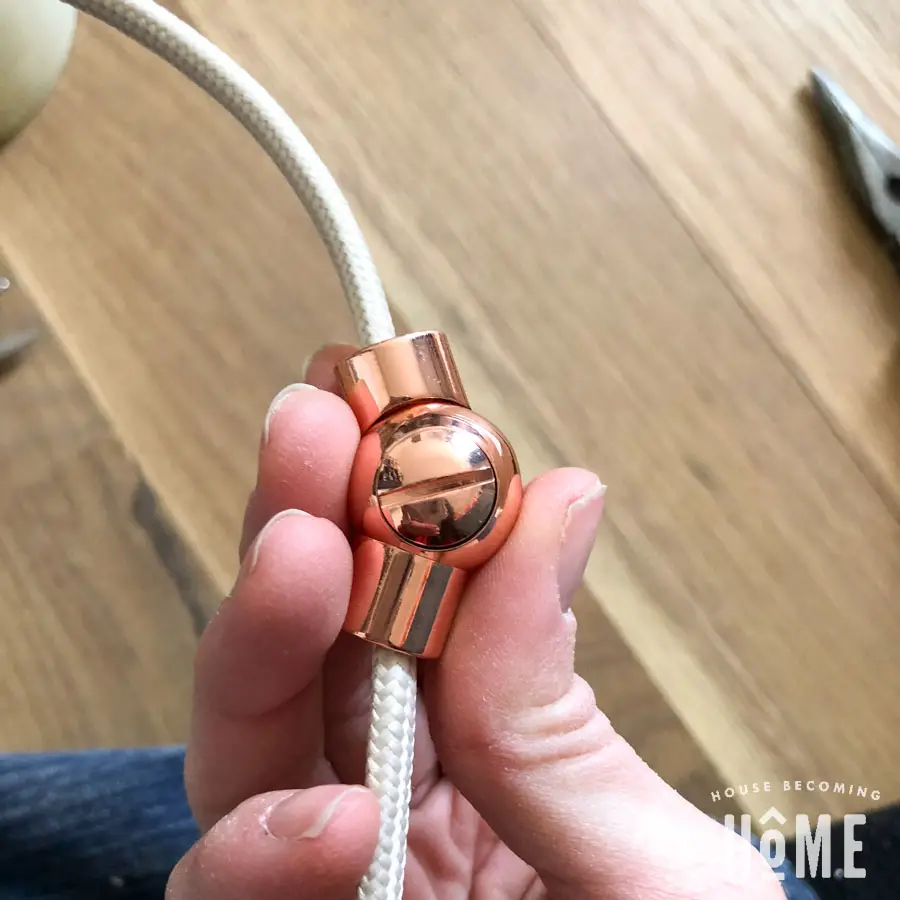
Bring the articulating elbow all the way through to the lamp nipple, then screw into the nipple. Next, bring a copper pipe through the wire and screw that into the other side of the articulating elbow. Repeat with another articulating elbow, copper pipe, and the last articulating elbow.
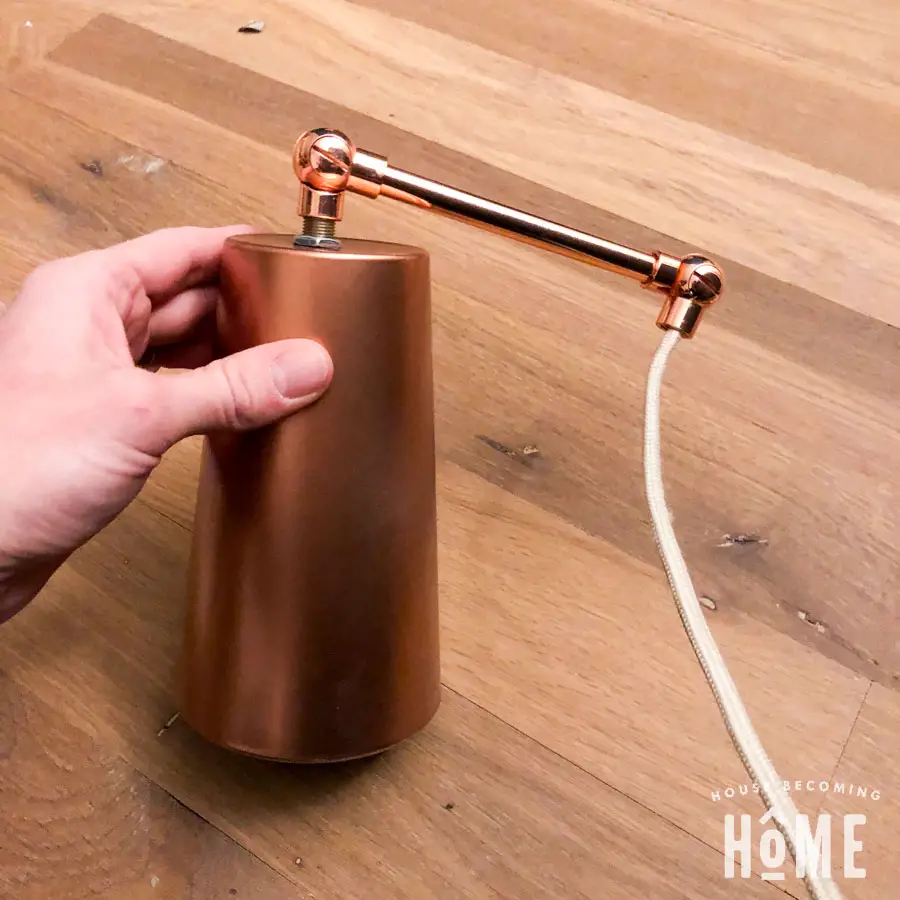
Add a 1″ lamp nipple into the hole you drilled in the lamp base. Thread the articulating elbow into the lamp nipple from the outside, and a M10-1 nut onto the lamp nipple from inside the wood base. Tighten the nut with a wrench.
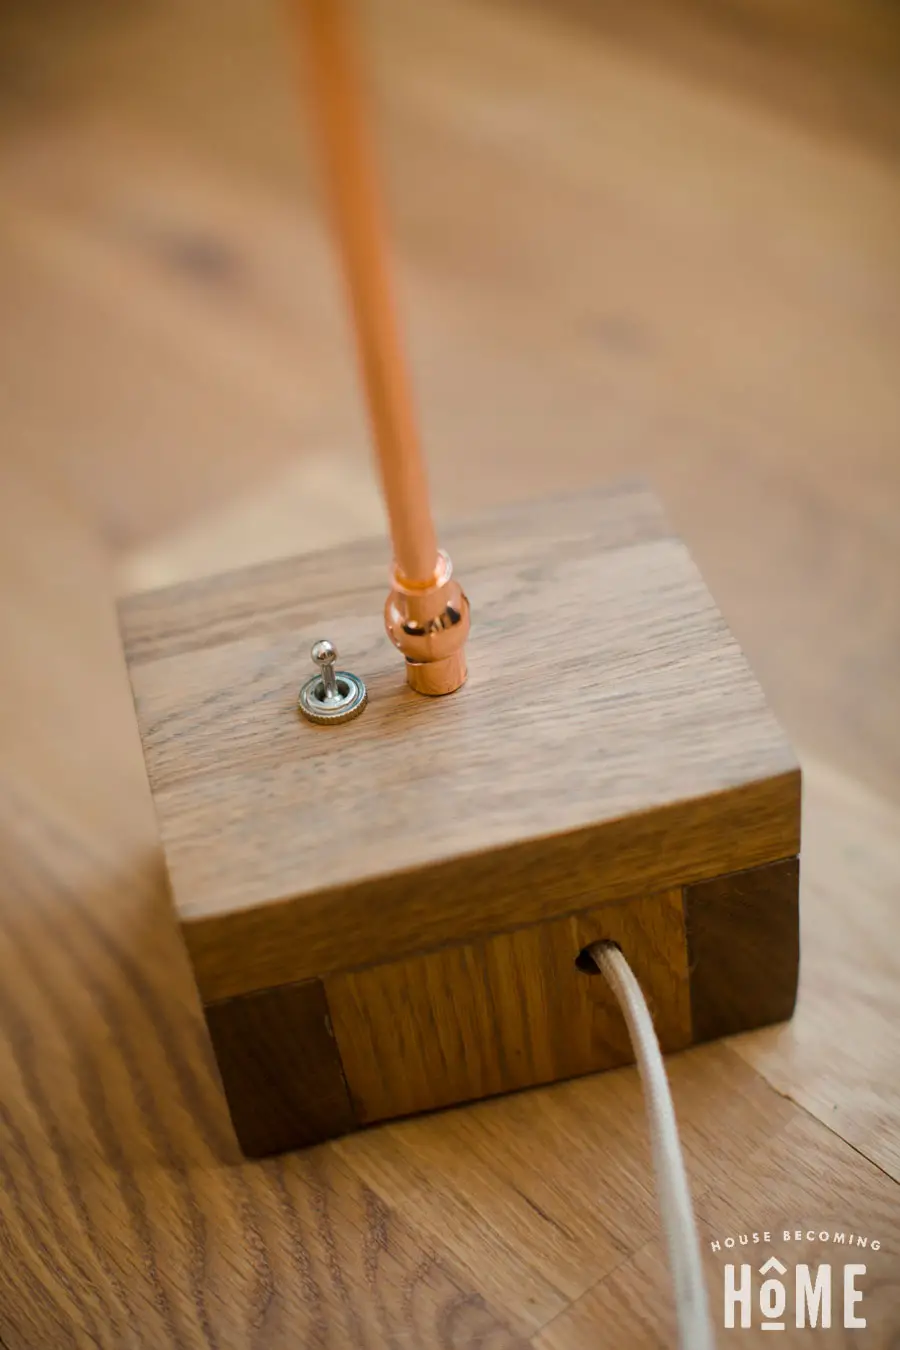
At this point you could bring the wire through the exit hole in the back, add a plug and be done, but then you’ll have to plug and unplug the light every time you want to turn it on or off (no thanks!). Let’s add a toggle switch!
4. Install a Toggle Switch
This photo was taken much earlier in the light-making process, but it gives a good view of the toggle switch from inside the base, as well as the space I had to carve out for it.
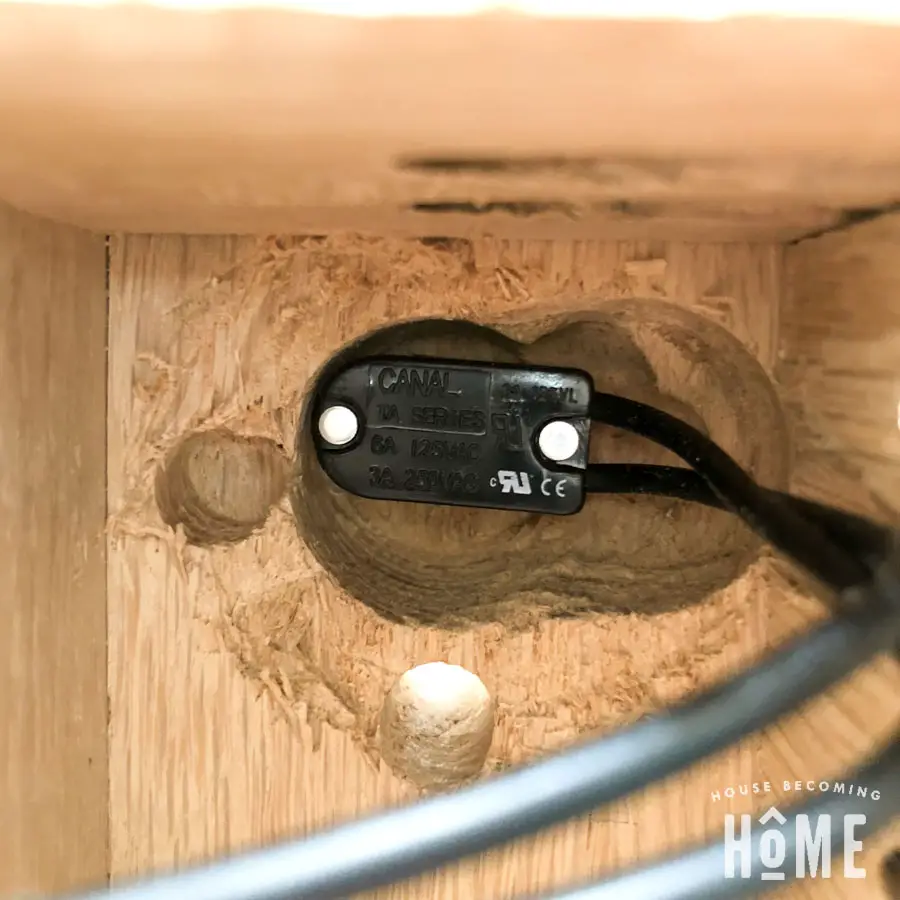
And here’s a view of both the light wire (white), and wires from the toggle switch (black). My light wire is cloth covered, so I had to cut that to expose the plastic sheathing underneath.
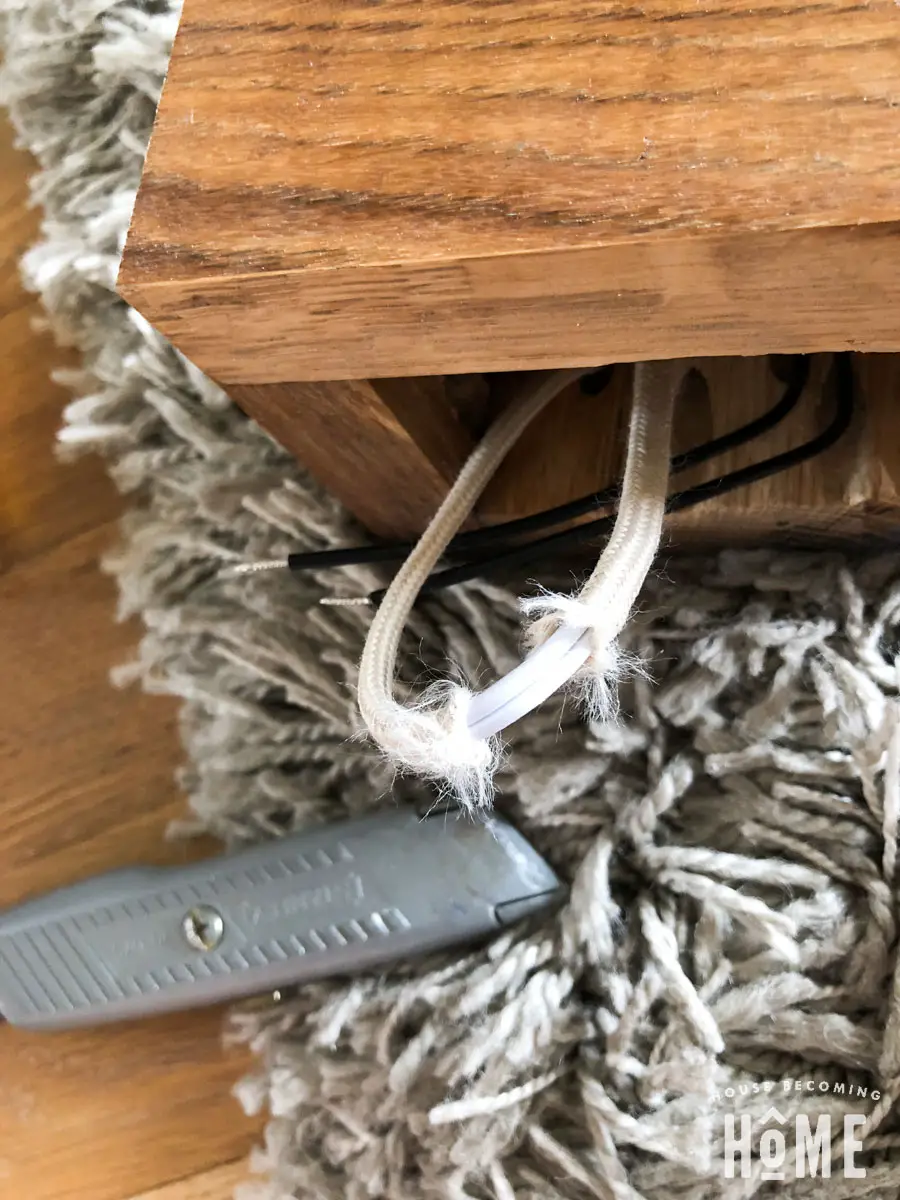
Carefully separate the two wires, and identify the hot wire (typically the one without ribs).
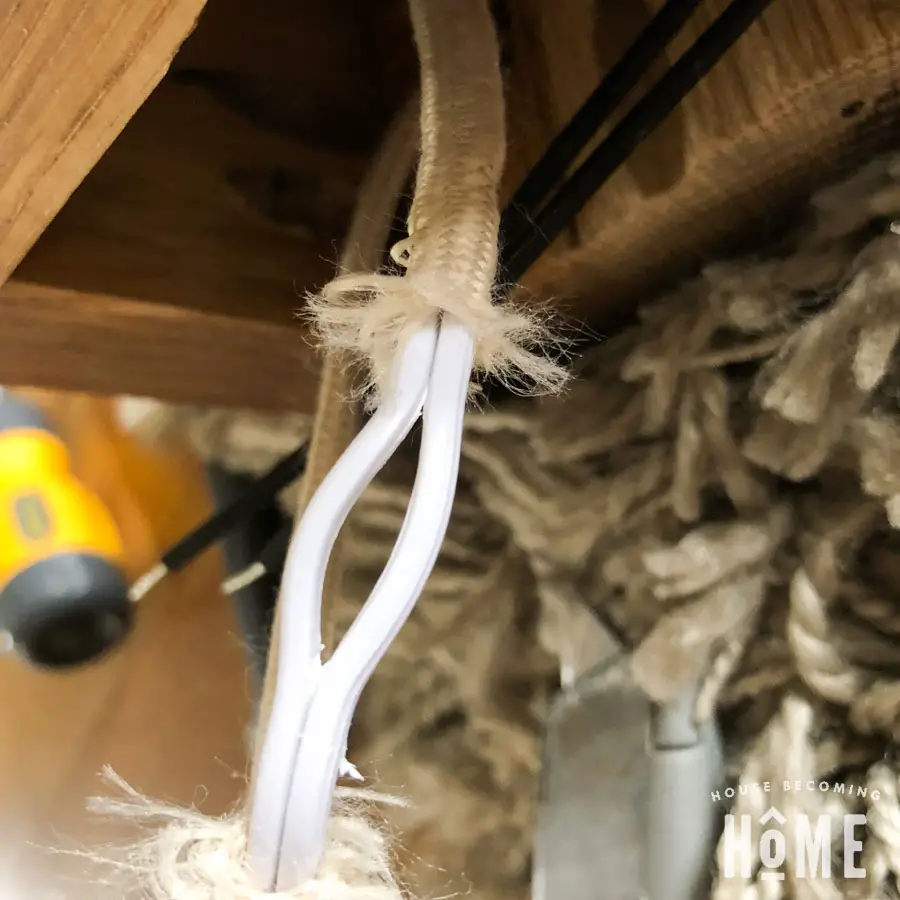
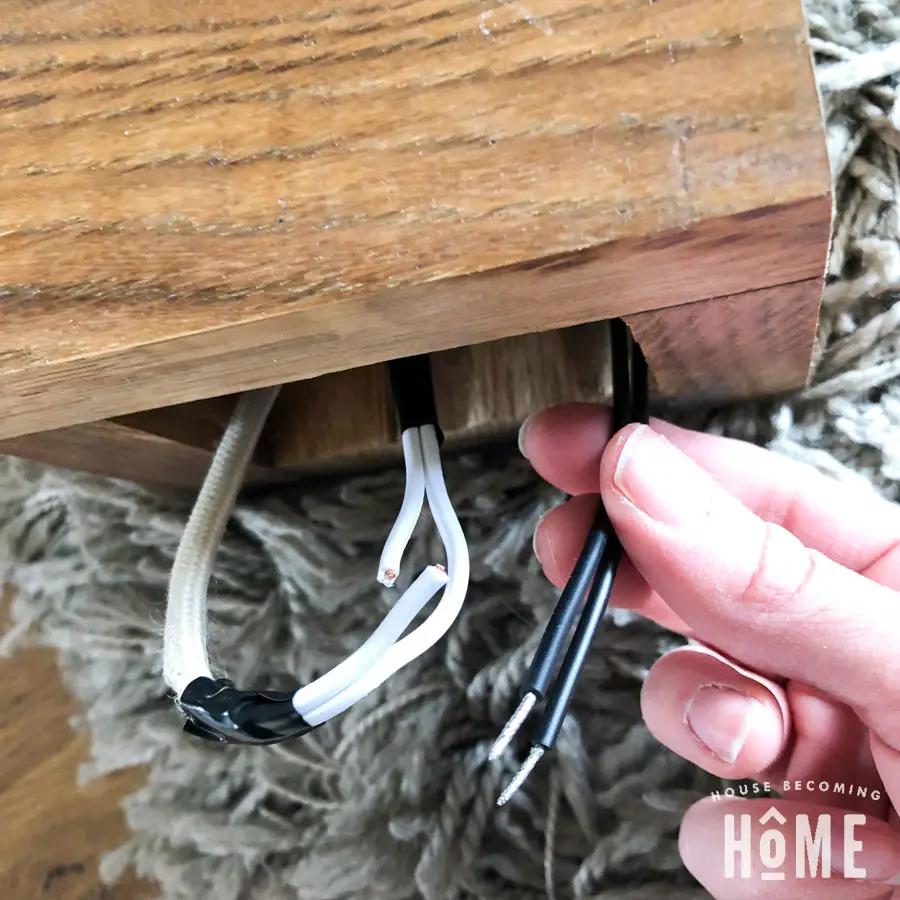
Cut the hot wire, and use electric tape to tape off the frayed cloth.
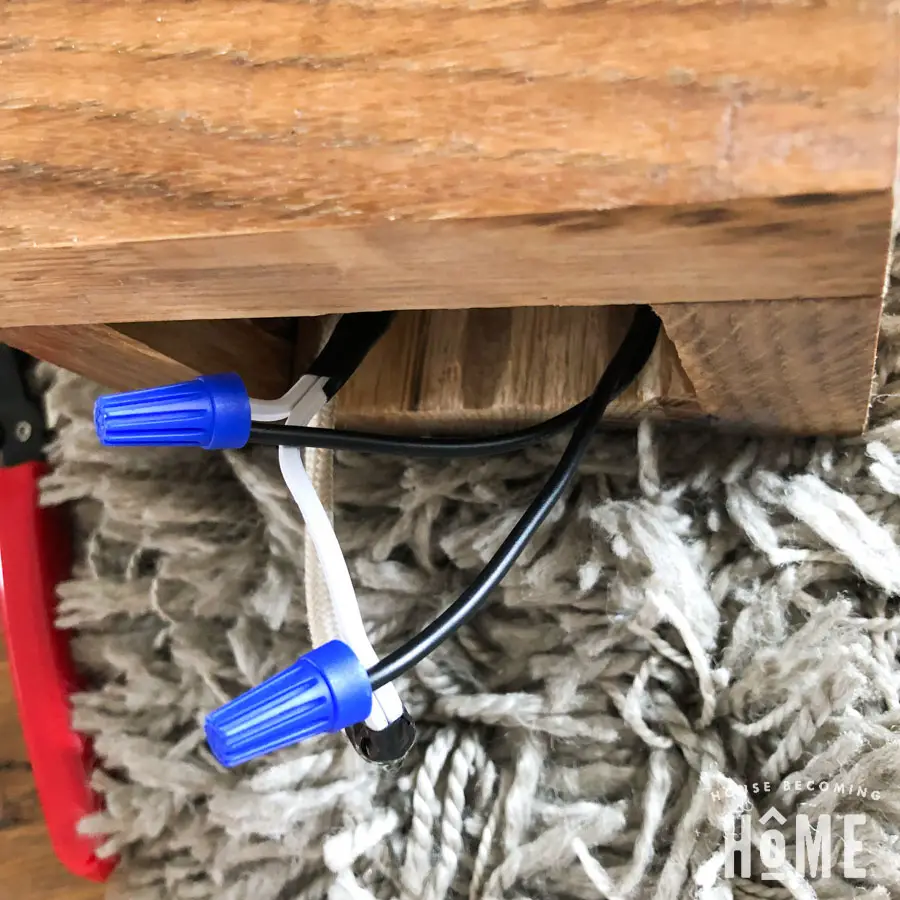
Use wire strippers to remove about 1/2″ of the plastic sheathing from the cut ends of the hot wire. Twist together with one of the exposed wires from toggle switch, then securely twist on the blue wire connector. Repeat with the other side of the hot wire and the other wire from the toggle switch.
Does that make sense? If not, hopefully this visual helps:
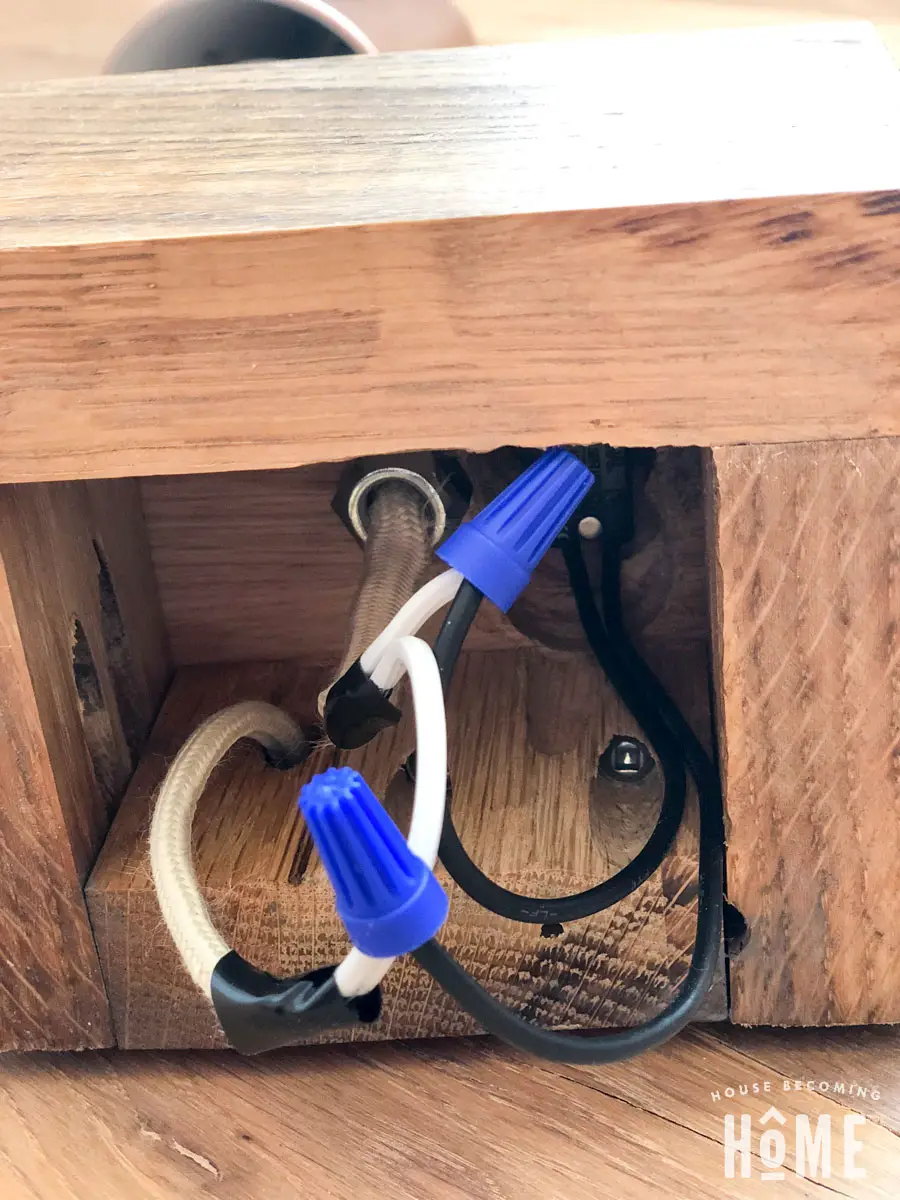
5. Add a Plug to the end of the Lamp Wire
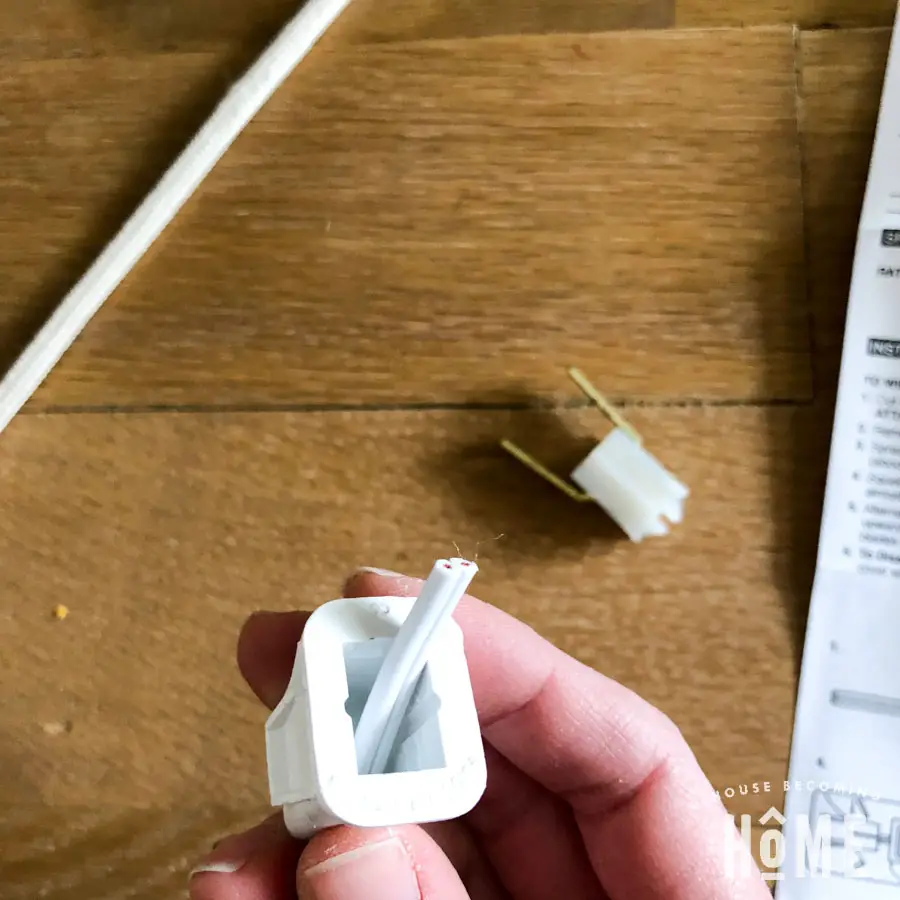
Almost done! I bought this super simple plug end. Be sure to follow the specific instructions for attaching your plug to your lamp wire as installation varies between plugs.
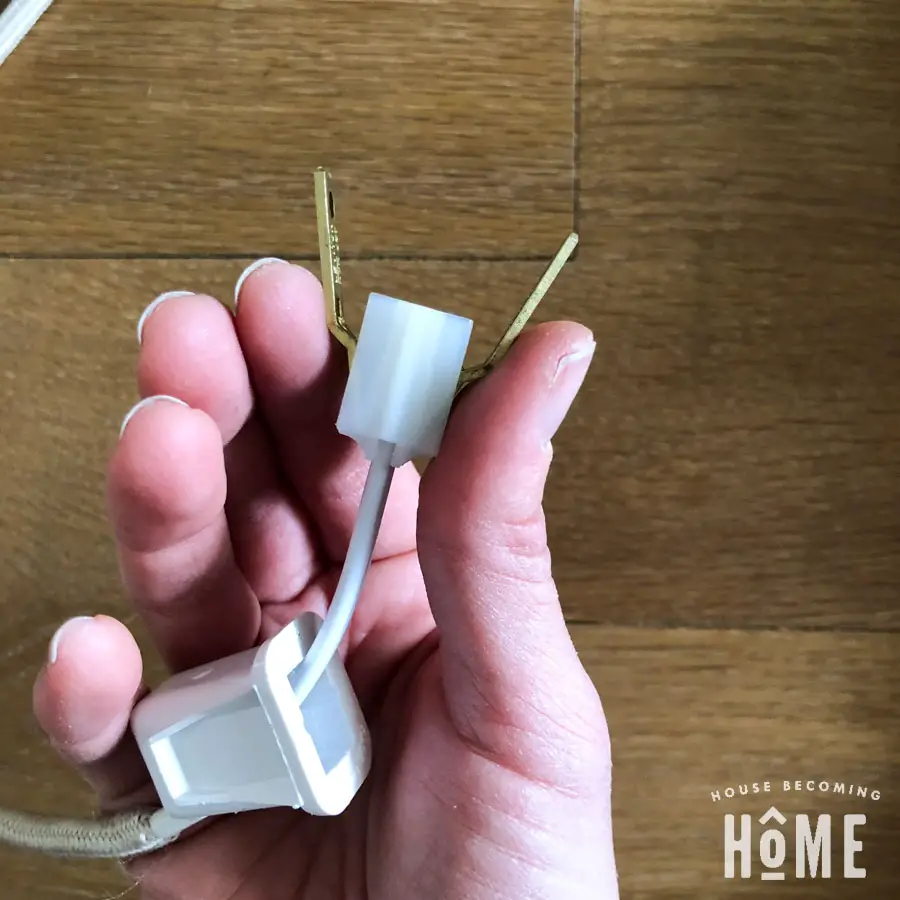
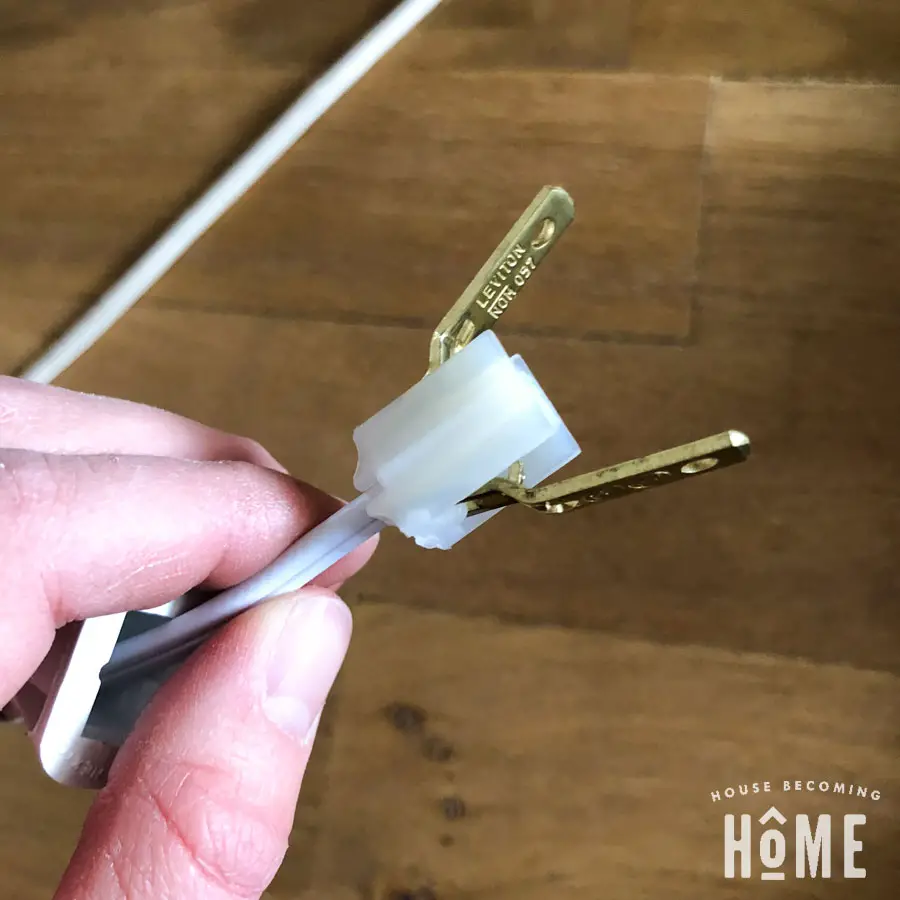
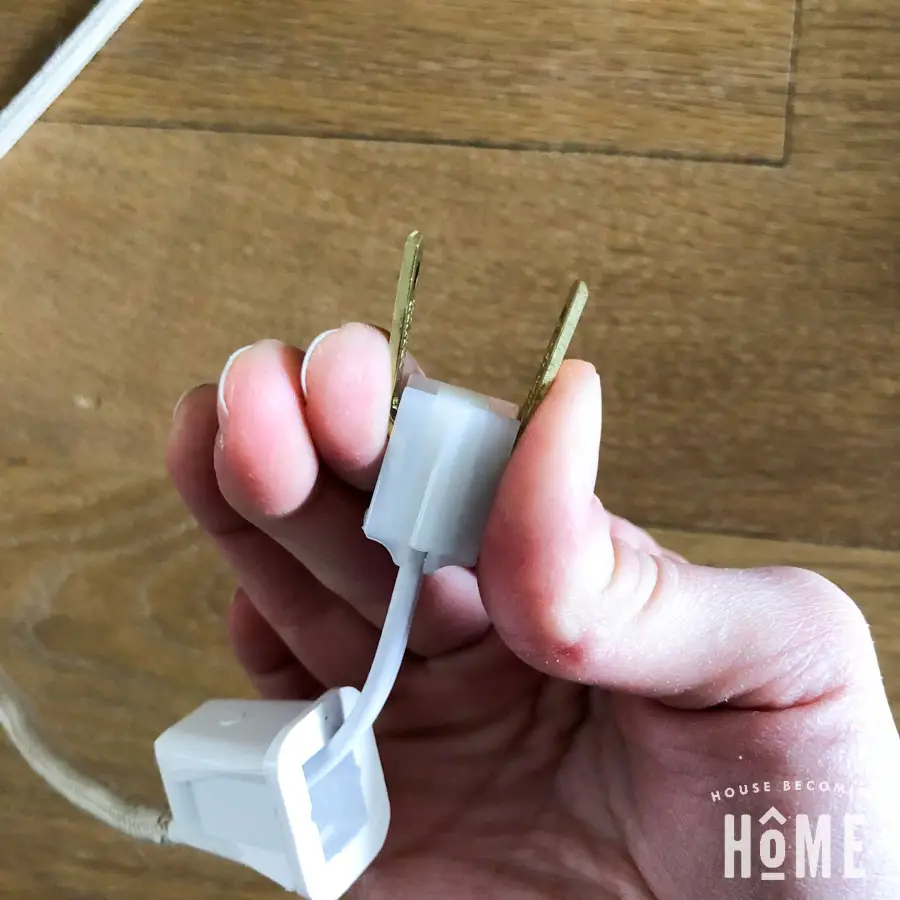
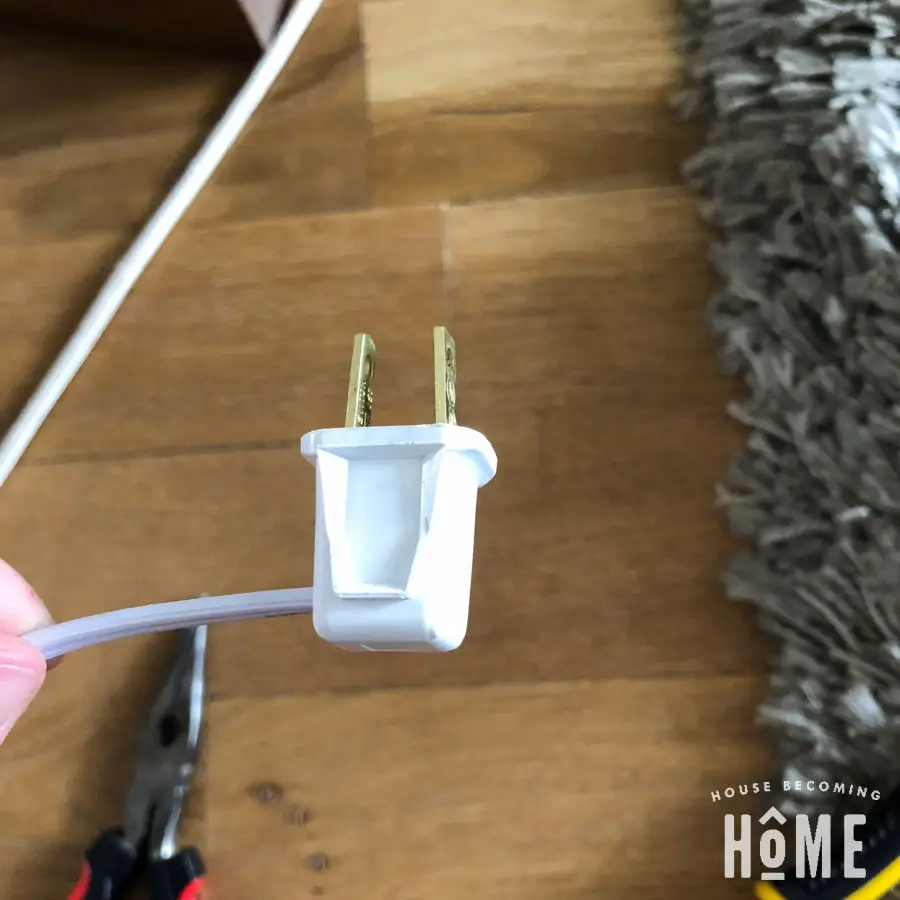
6. Plug in. Enjoy your stylishly and affordably lit space. 🙂
I’m not gonna lie. When it came time for this final step I made my kids take cover on the other side of the house and I stood back as far as I could with my back to the light. You know, in case it blew up and sent shards of glass flying all over the room. Good news. It didn’t. 🙂
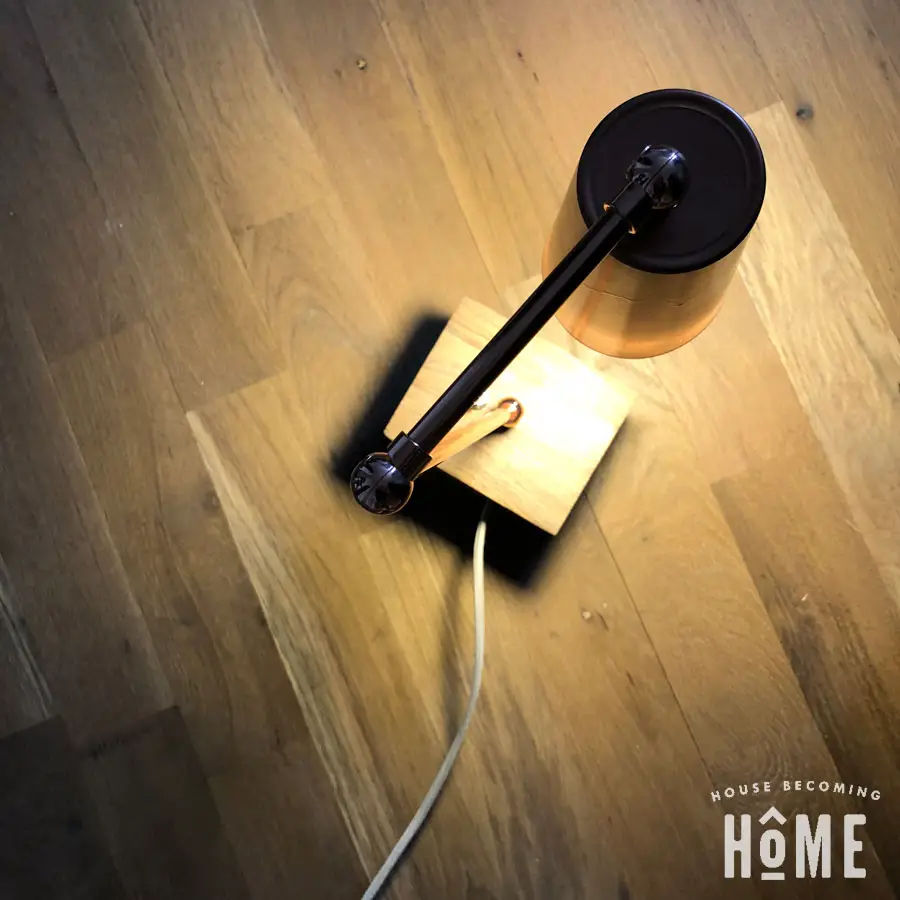

The toggle switch has such a satisfying “click.” Lucy likes to come into my room just to switch it on and off a few times, and I can’t say I haven’t done the same. 🙂
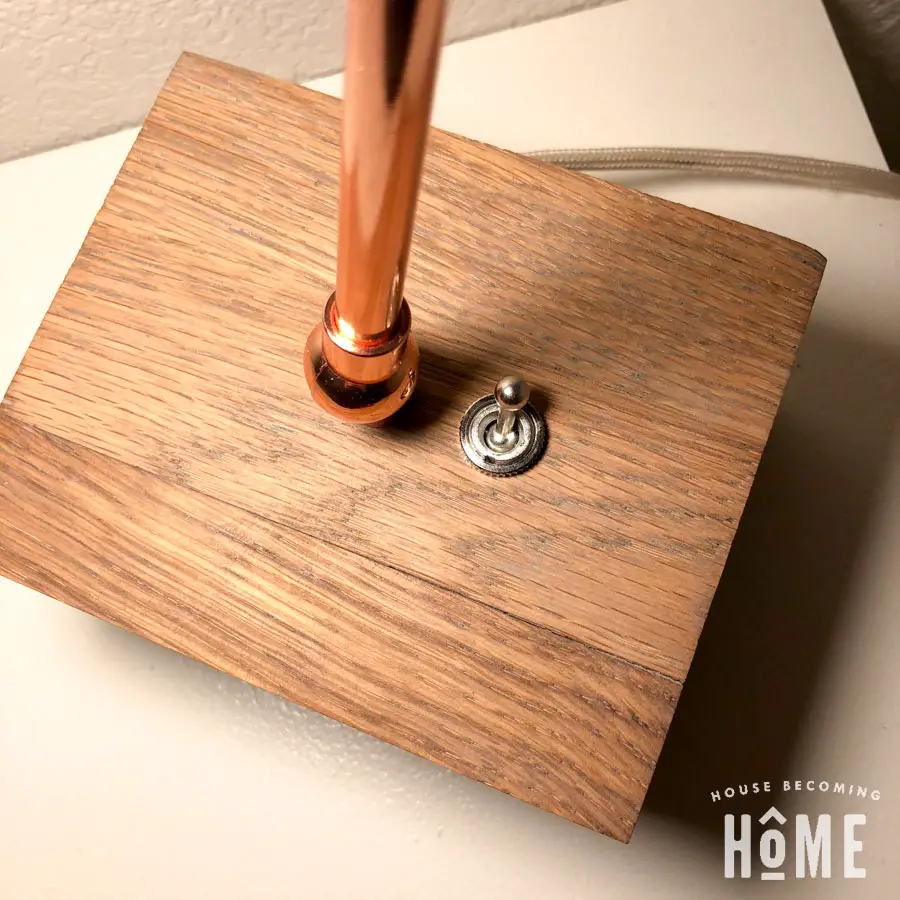
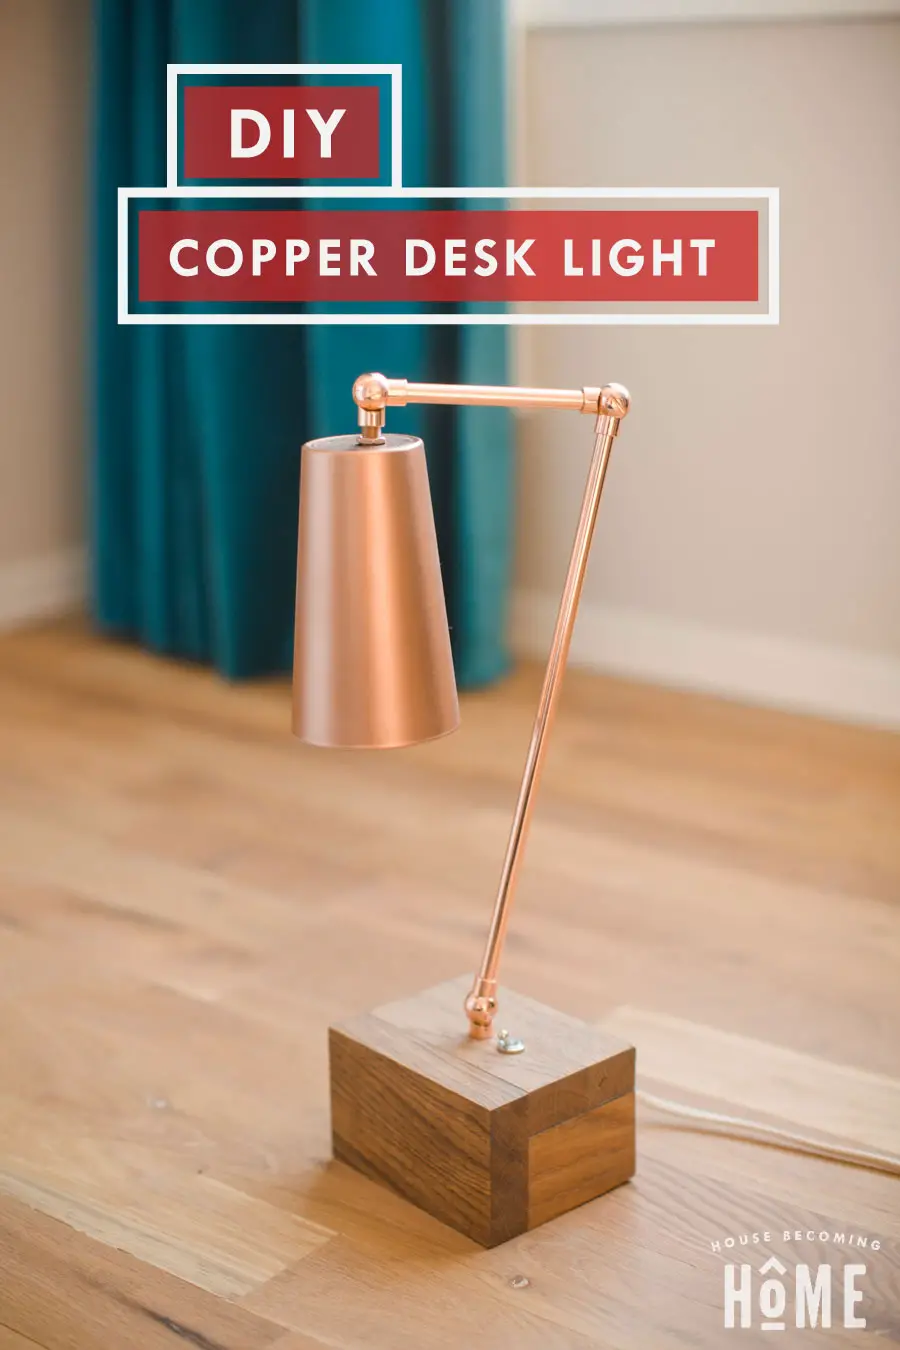
Over the last few weeks I’ve gone a little DIY-light-crazy. After realizing how simple and affordable it was to make a light I kept noticing interesting materials to use as a light base or body. Stay tuned for more . . .
And if you have any tips you’d like to share with this newbie light-DIYer, please leave me a comment!
