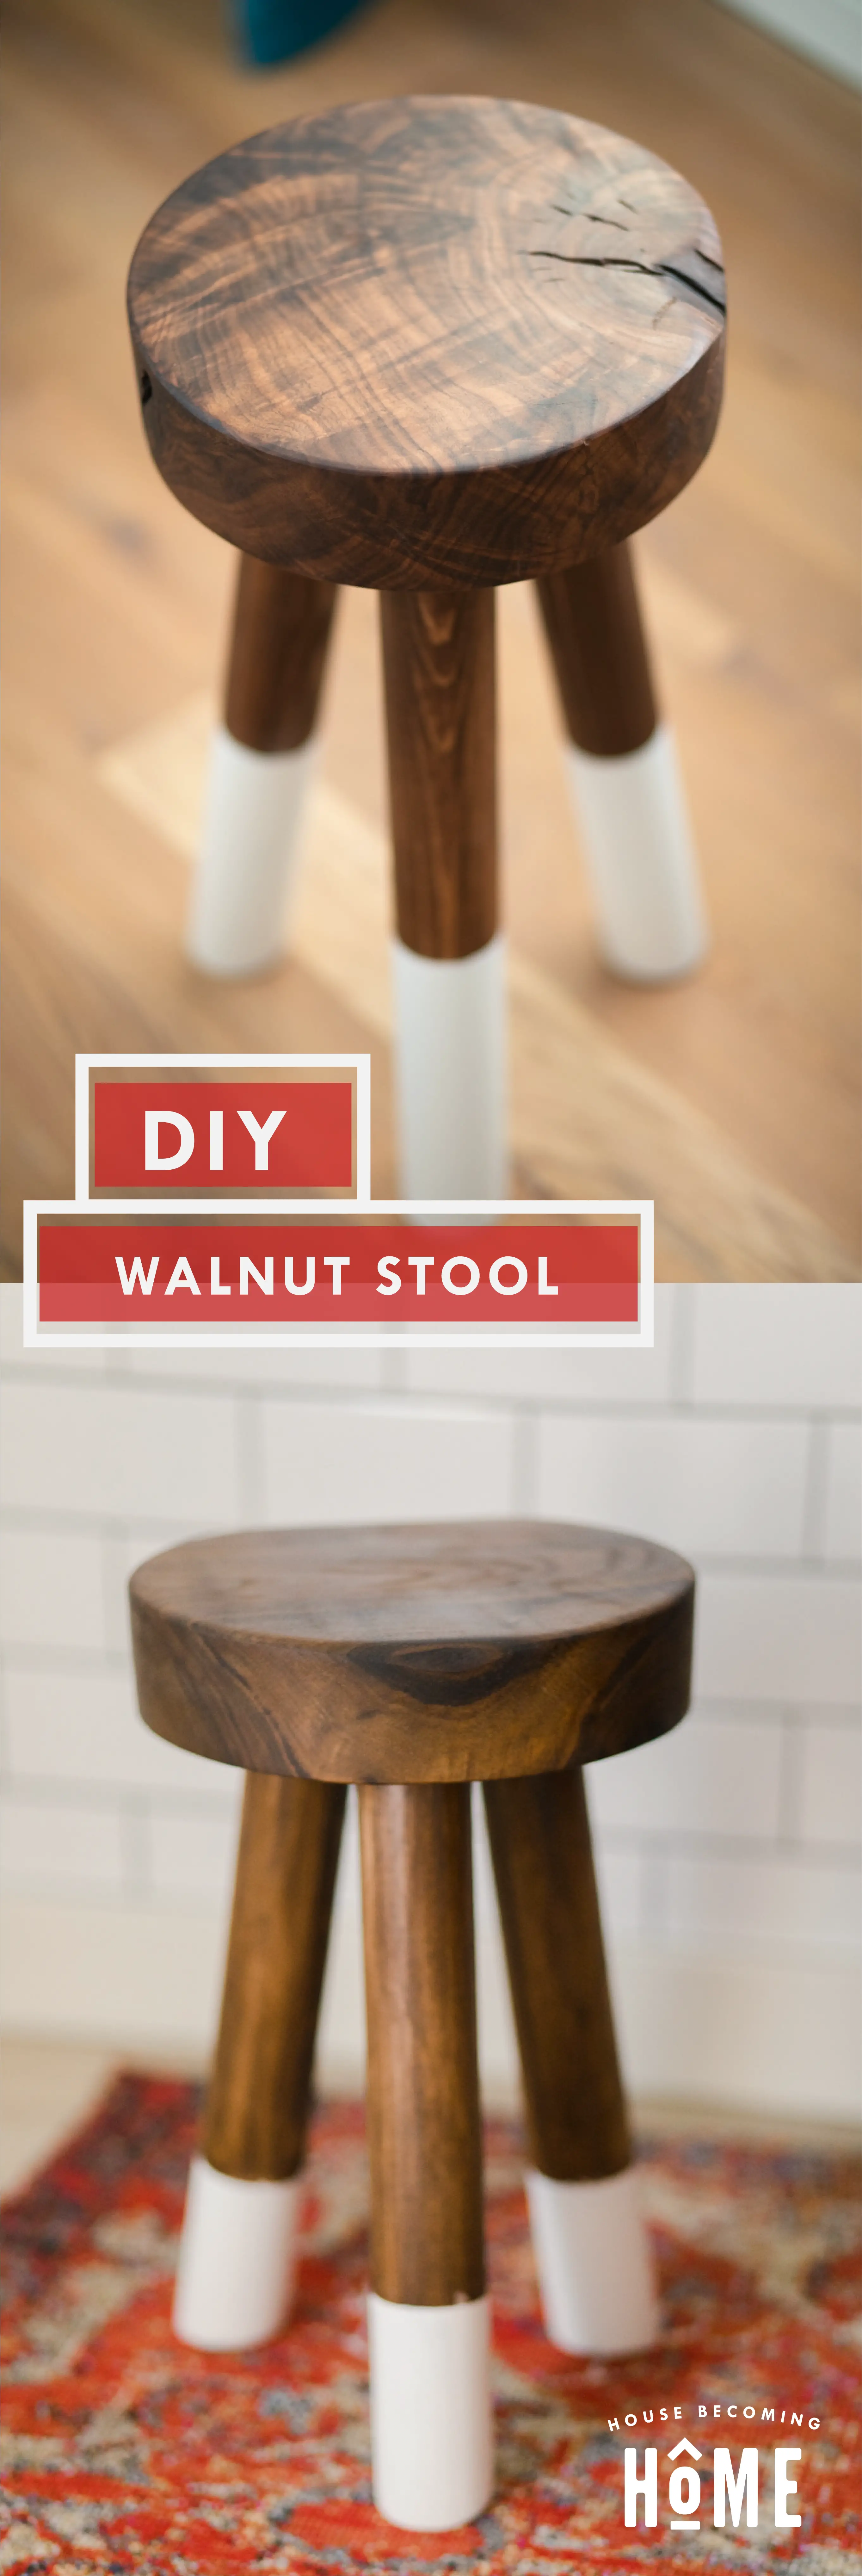
Helllllllo 2019! I’m excited for the long list of projects I’m hoping to finish this year, including some furniture-building collaborations with my talented friend Jen Woodhouse. Today I’m sharing our first collaboration of 2019–the DIY Dip-Dyed Walnut Stools, inspired by these three-legged beauties from Serena and Lily:

How to Make a Dip-Dyed Stool
*the materials listed below make two stools; one small and one large.
House Becoming Home is a participant in the Amazon Services LLC Associates Program, an affiliate advertising program designed to provide a means for sites to earn advertising fees by advertising and linking to Amazon.com. Some links in this post may be affiliate links. Read my full disclosure policy here.
Materials
- (2) 9.5″x9.5″ square block of wood, about 2″ thick.
- (3) 2″x48″ wooden dowels
- (2 packs) 11 Degree Angled Leg Mounting Plates (pack of four)
- Finishing products: I used Danish Oil natural, Behr Paint-Polar Bear, Gel Stain for the legs, and polyurethane
Tools
- Table saw (there are SO MANY ways to cut a circle, but the method I used required a table saw and a homemade jig). If you don’t have a table saw, other options are a router with a straight bit (see this post), a jig saw, or a bandsaw.
- Miter Saw
- Drill/impact driver with a variety of drill bits
- Paint brushes/rags, etc. for staining, painting, etc.
Step One – Stool Top
Cut the stool top into a circle with a diameter of 9.5.”
But first. Can we stop for a minute and admire these hunks of walnut I used for my Dip-Dyed Stool top:
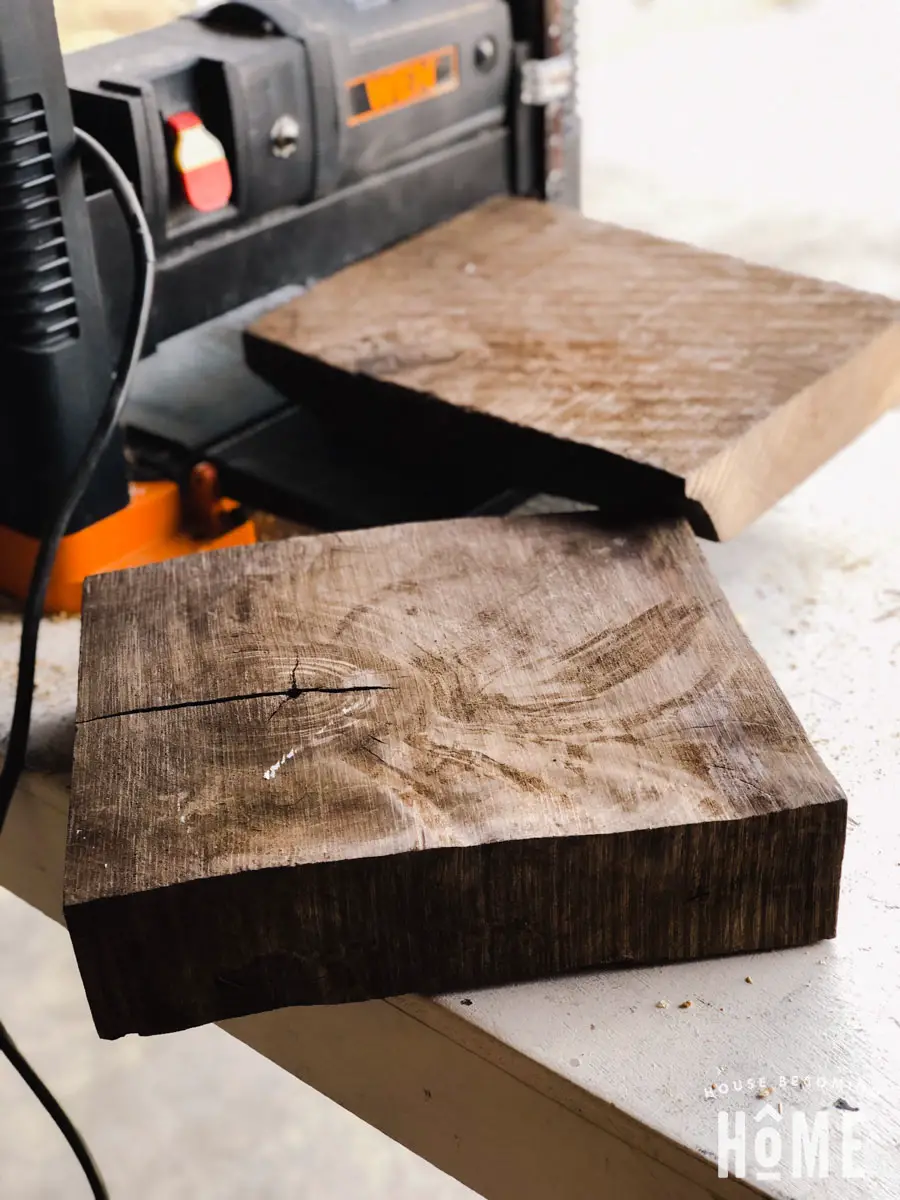
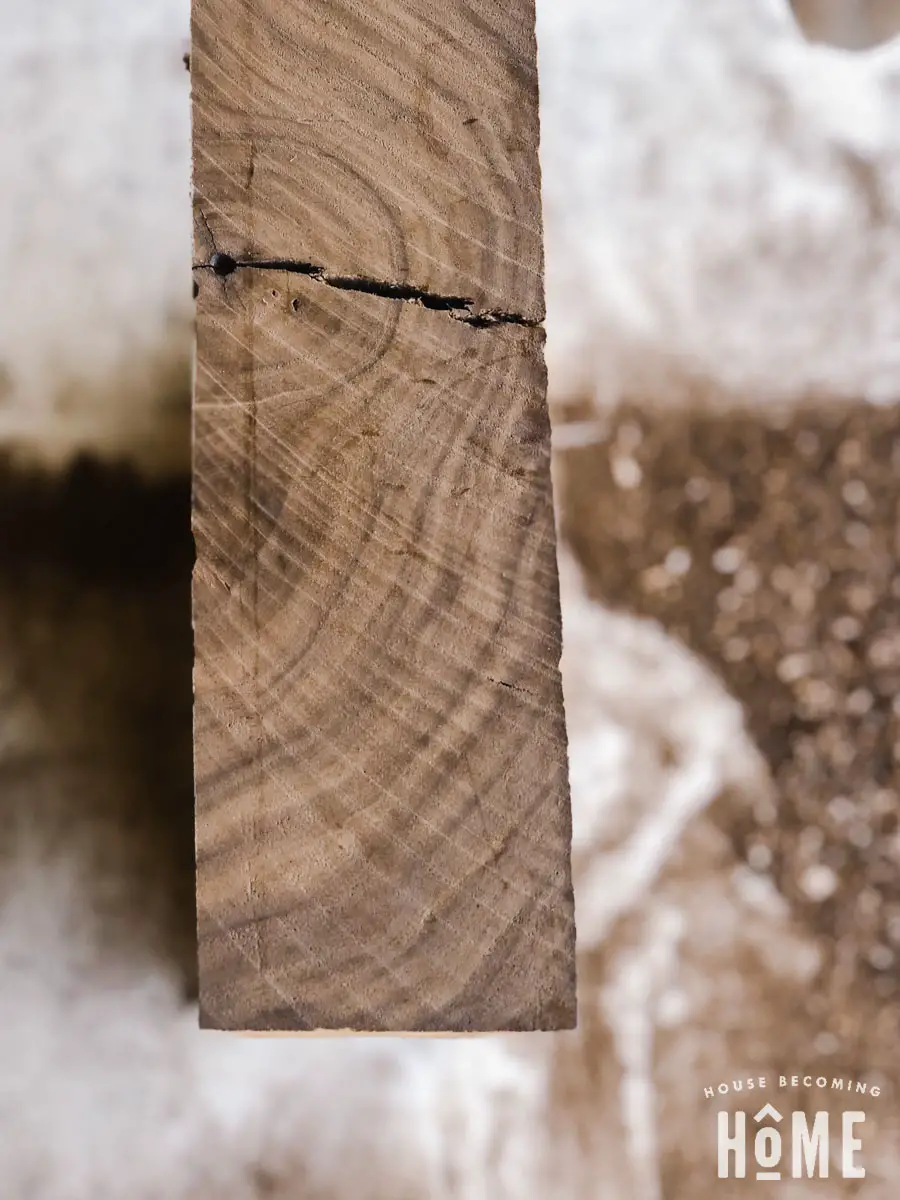
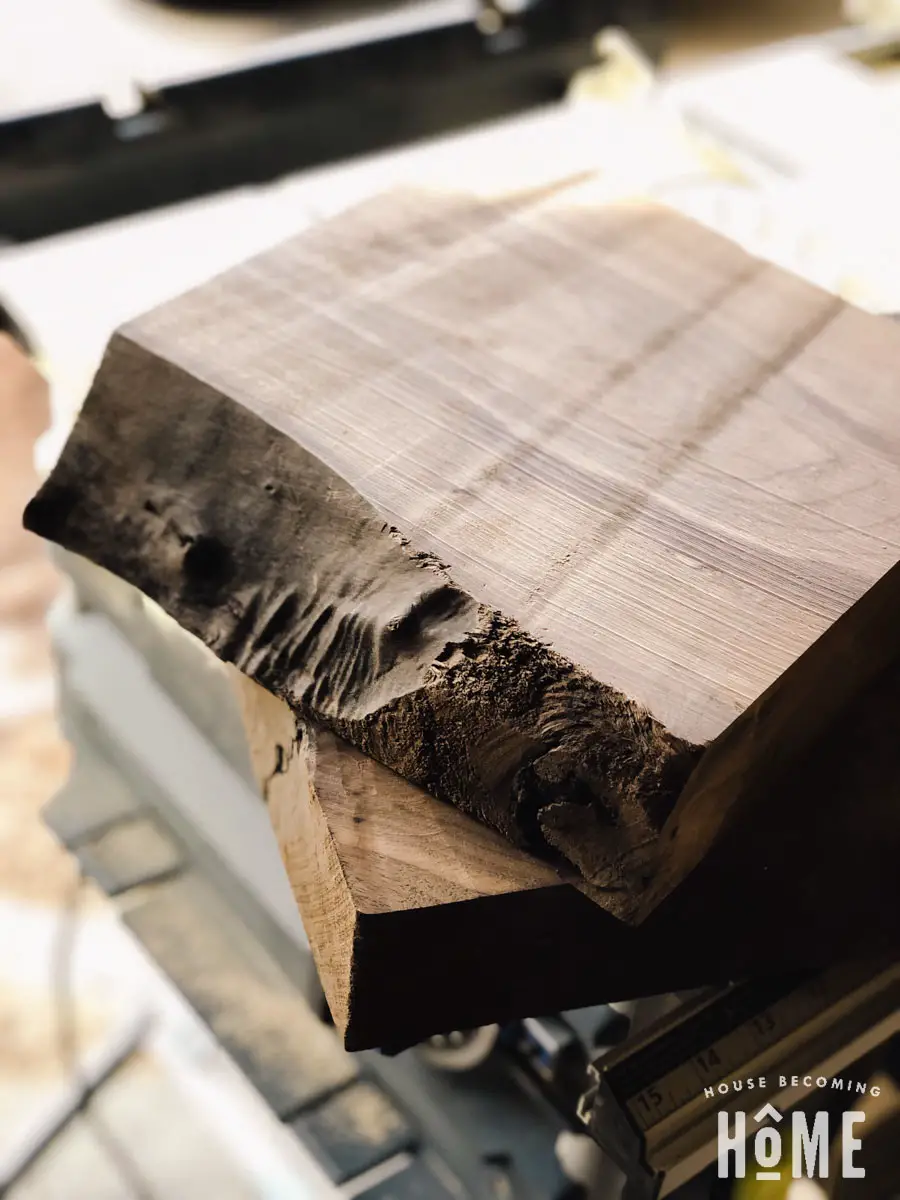
A local consignment shop has a whole stack of these hiding in a dark corner of the building. I love the unique look of each one with their knots and cracks.
Anyway. After planing the walnut so that the top and bottom were parallel, they were still a little too thick to cut with a jig saw, and my straight bit on my router wouldn’t be long enough. So I decided it was time to give circle cutting on the table saw a try. And it was fun. I put together a little video with instructions, in case you’re interested:
Using a Table Saw to Cut a Circle
STEP 2 – Stool Legs
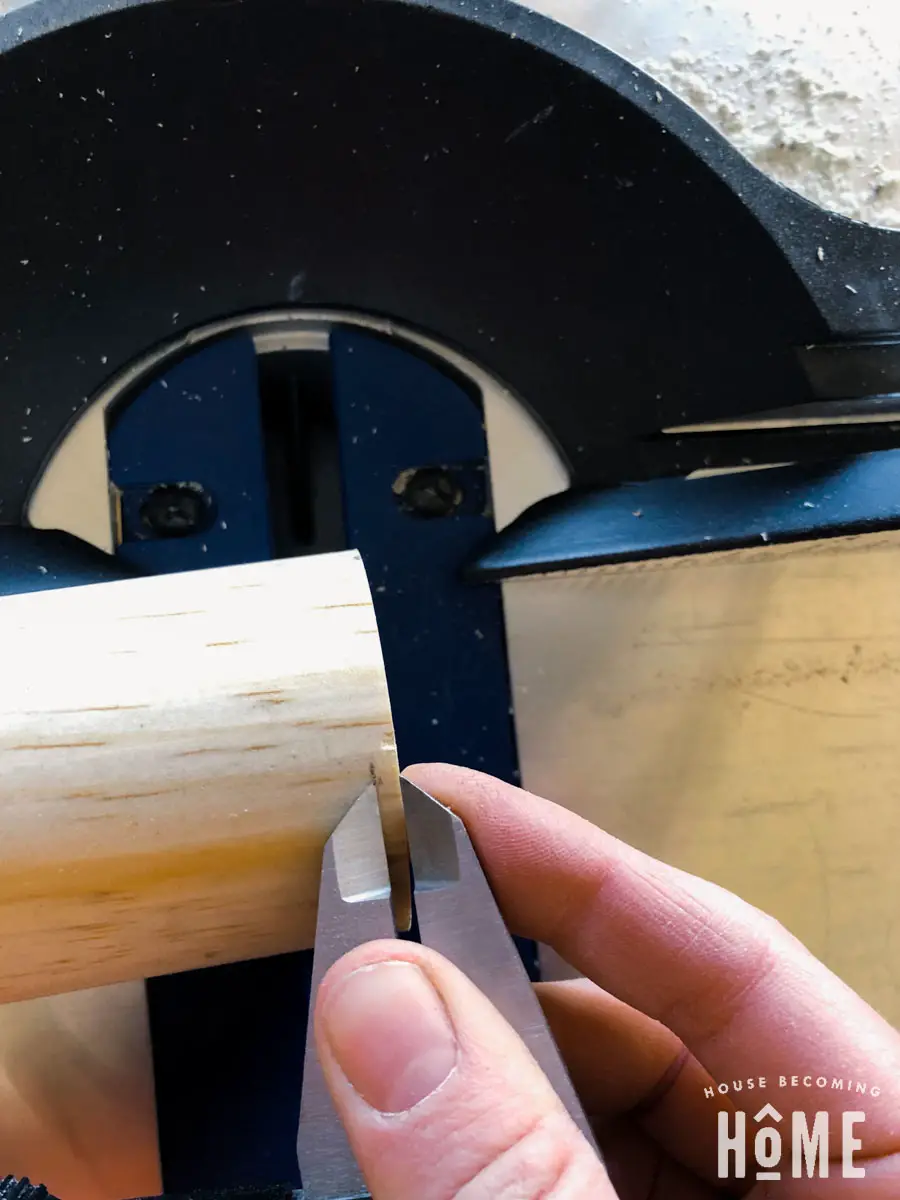
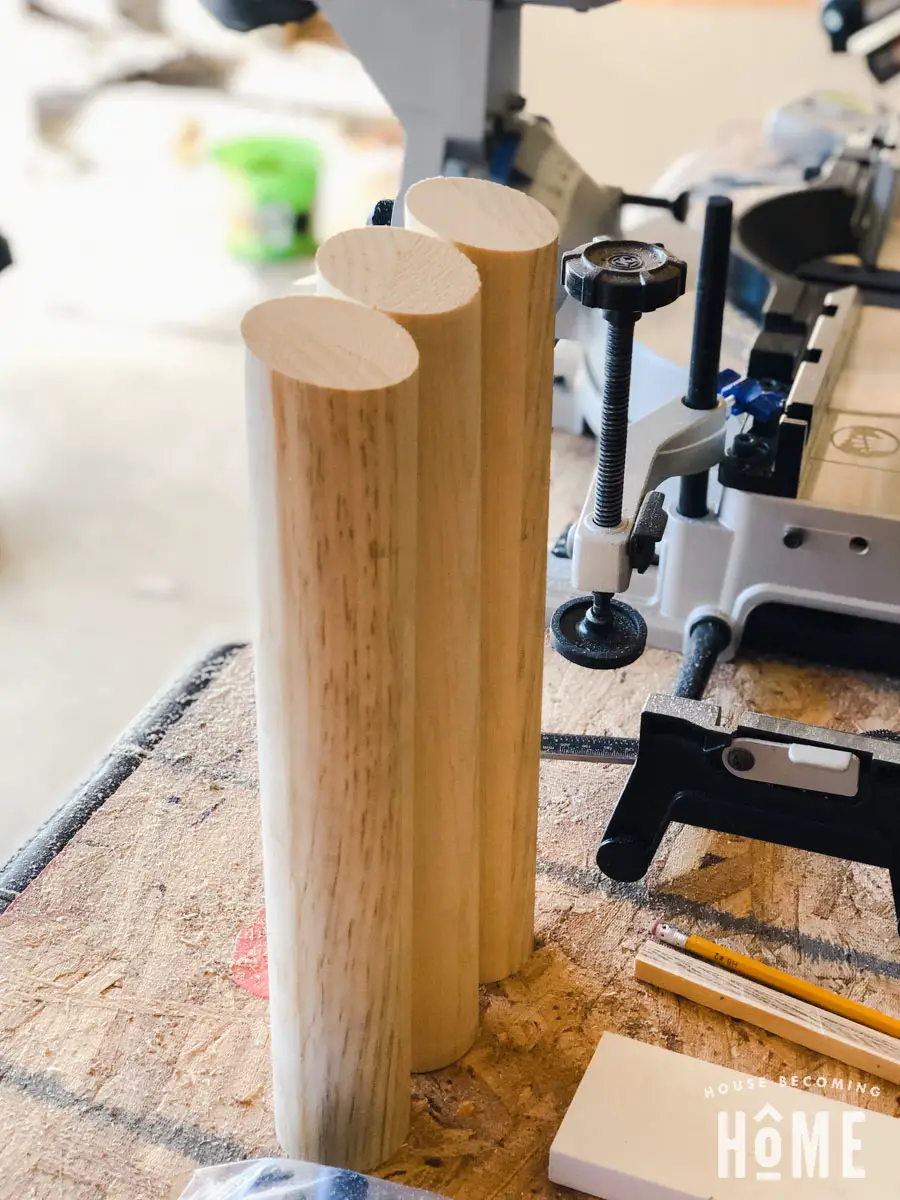
Cut the legs from the dowels (three at 13.25″ for the short stool, and three at 17″ for the tall stool). After cutting each leg to length, use your miter saw to cut an 11 degree angle at the bottom of each one. To ensure I cut the same amount off of each leg (keeping each leg the same height), I used my calipers to mark the exact spot where the miter cut would begin.
STEP 3 – Sand & Finish Stool Top and Stool Legs
Sand the stool top and stool legs. Work through the grits, starting with 80, ending with 220. Finish the stool top and stool legs to your preference. I love the soft, satin look of an oiled finish so I used natural danish oil on the walnut stool tops. To match the legs to the top I stained them with Minwax Gel Stain in Hickory.
Step 4 – Prepare Stool Top for Legs
Jen Woodhouse provided me with a diagram that makes easy work of dividing the circle into thirds for placement of the legs. You can check it out here.
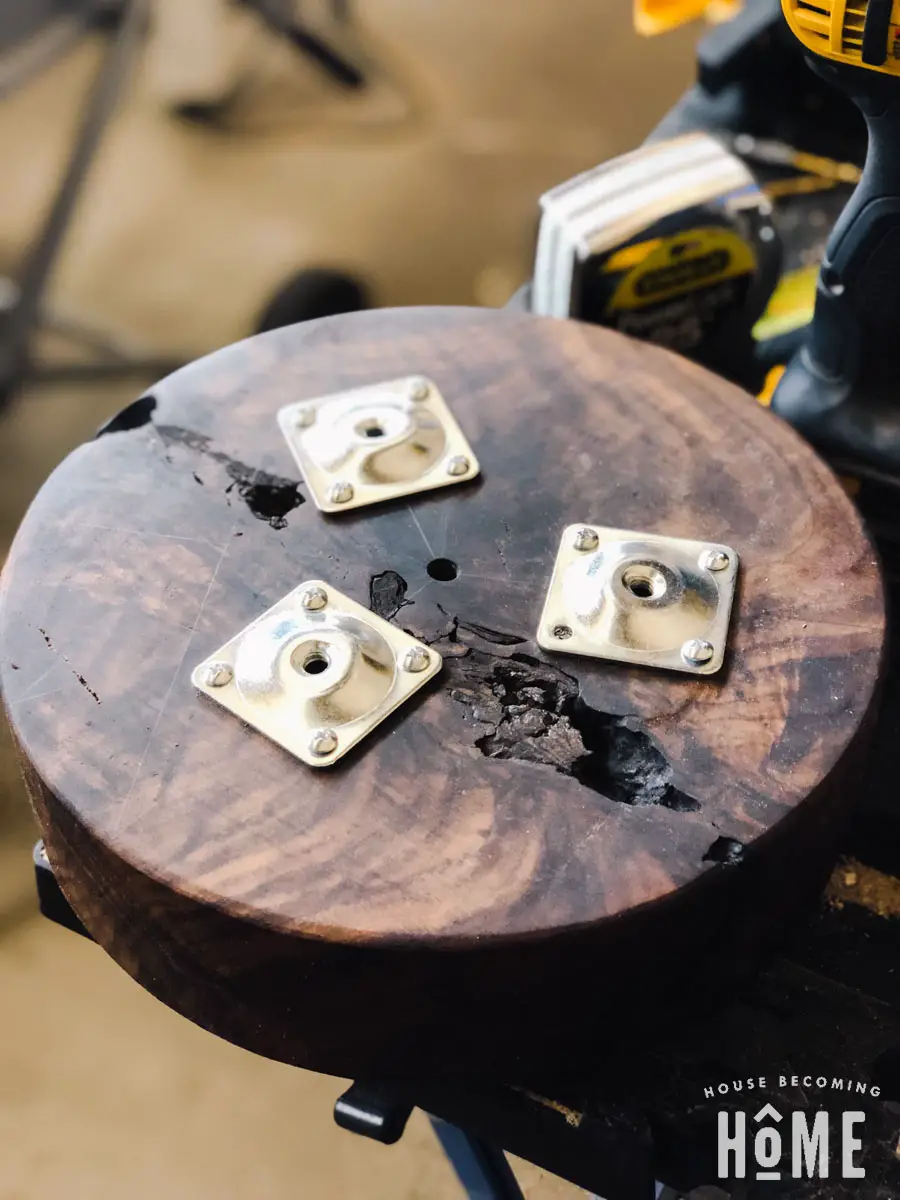
After marking in pencil three evenly-spaced radii (yes, that IS the plural of radius . . . I googled it) on the bottom of the stool top, arrange the angle mounting plates about 1.25″ from the diameter. You’ll want the “bump,” or taller side of the angle bracket closer to the center of the stool. Use your calipers or measuring tape to make sure the plates are perfectly centered along the radius line.
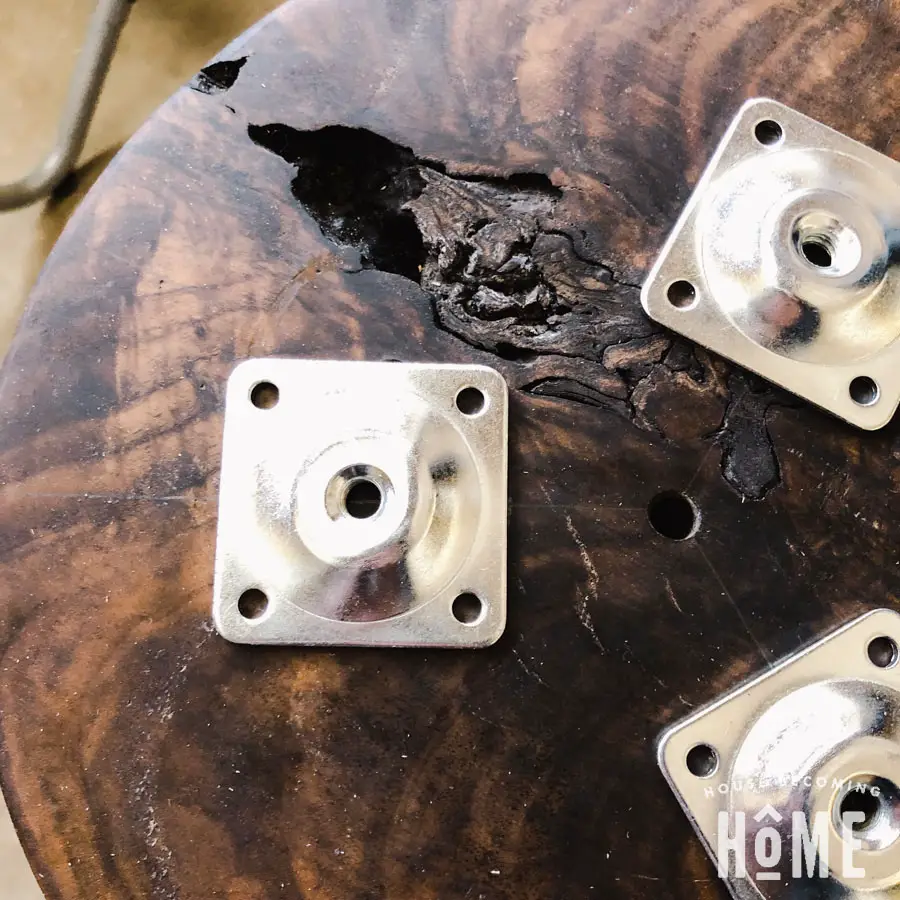
Pre-drill using a 1/8″ bit (smaller size if your stool top isn’t hardwood), then attach the plates to the walnut with screws included in the angled leg mounting kit.
STEP 5 – Prepare the Legs to be attached to the Stool Top
Mark the center of the top of each leg.
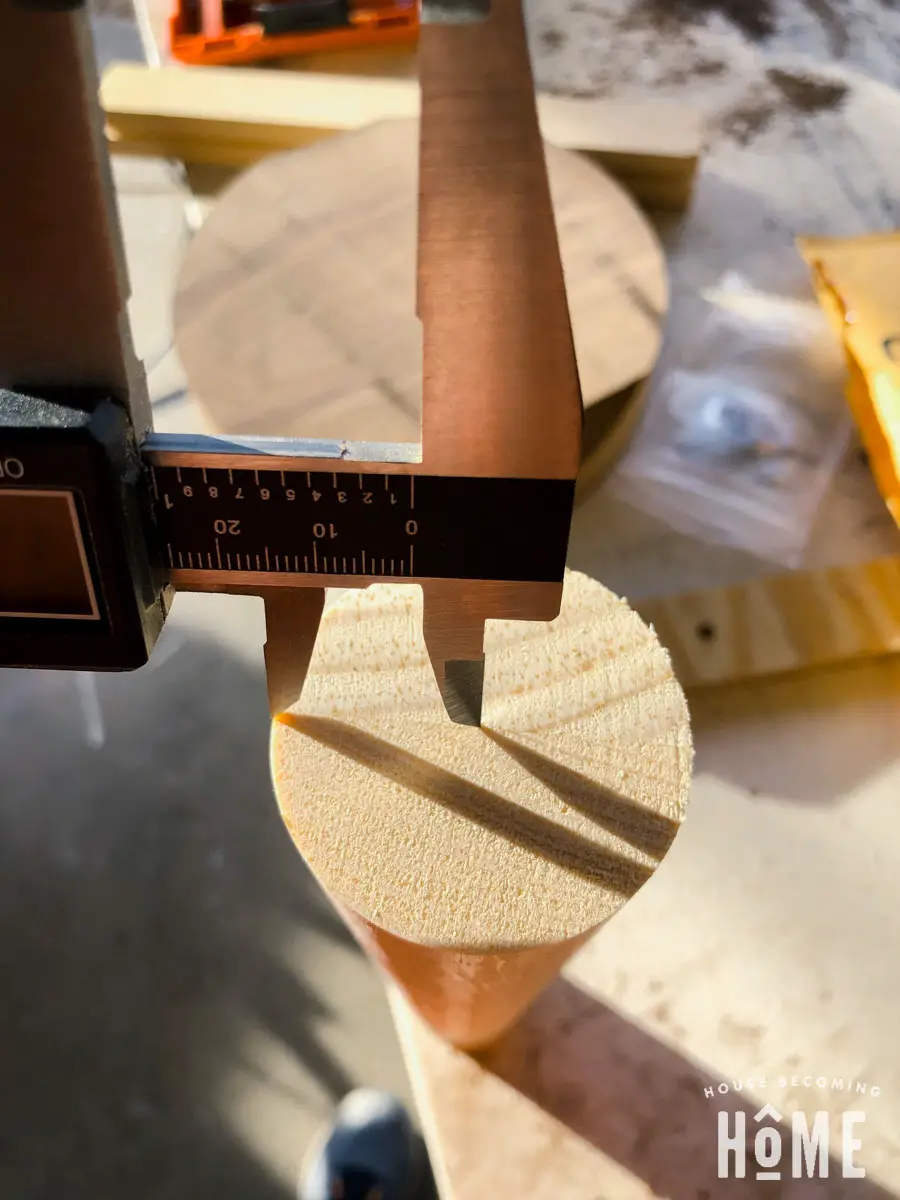
Drill a hole straight into the center of each dowel with a 3/8″ bit.
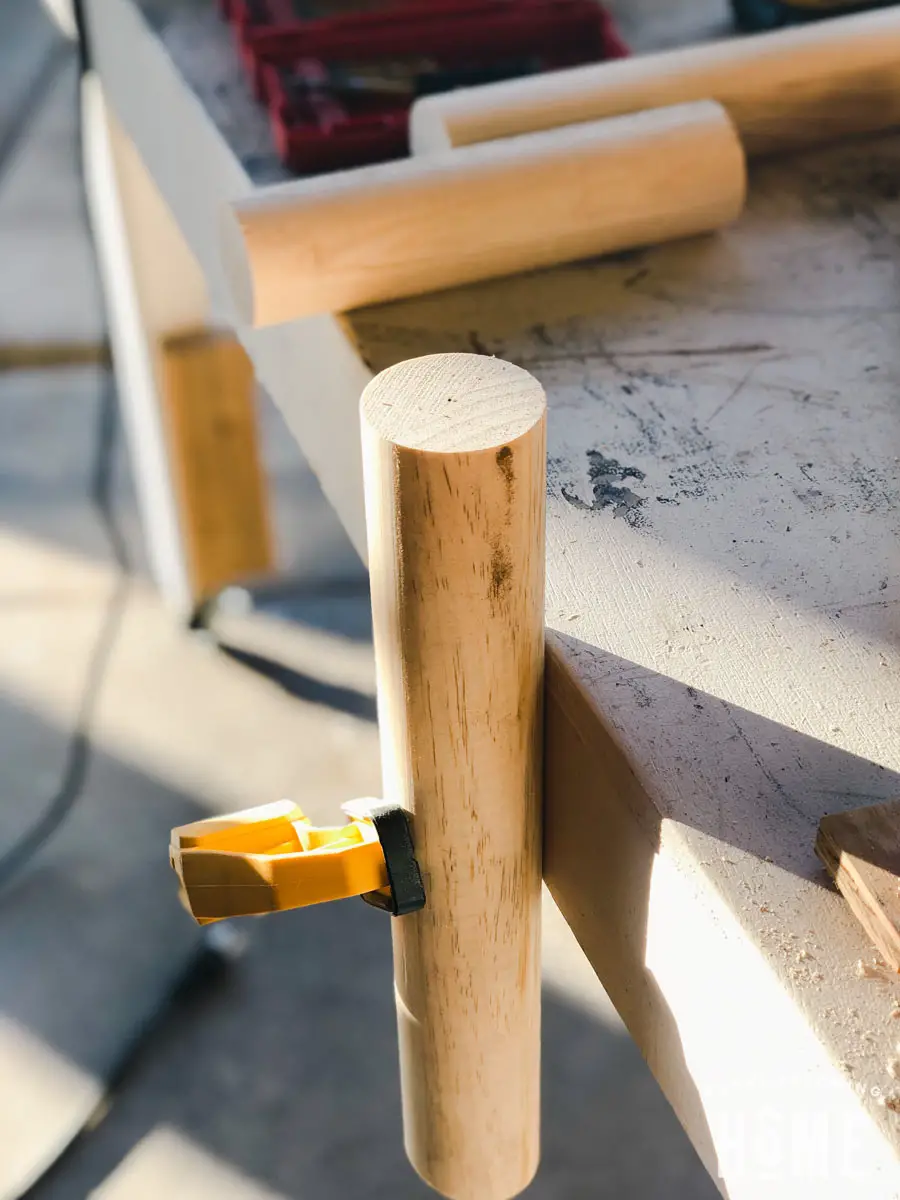
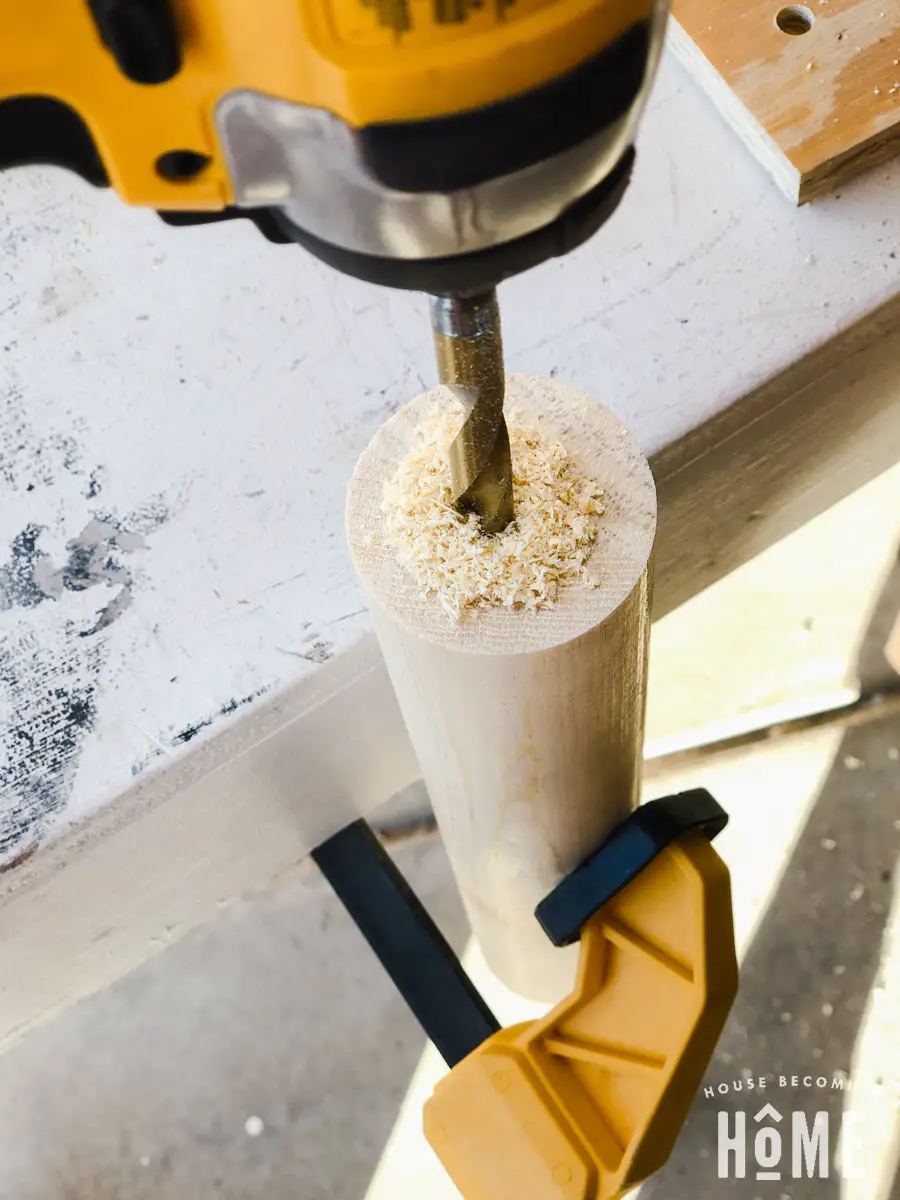
Drill several inches into the dowel so that the hanger bolt included in the mounting kit can be inserted without sticking out of the top.
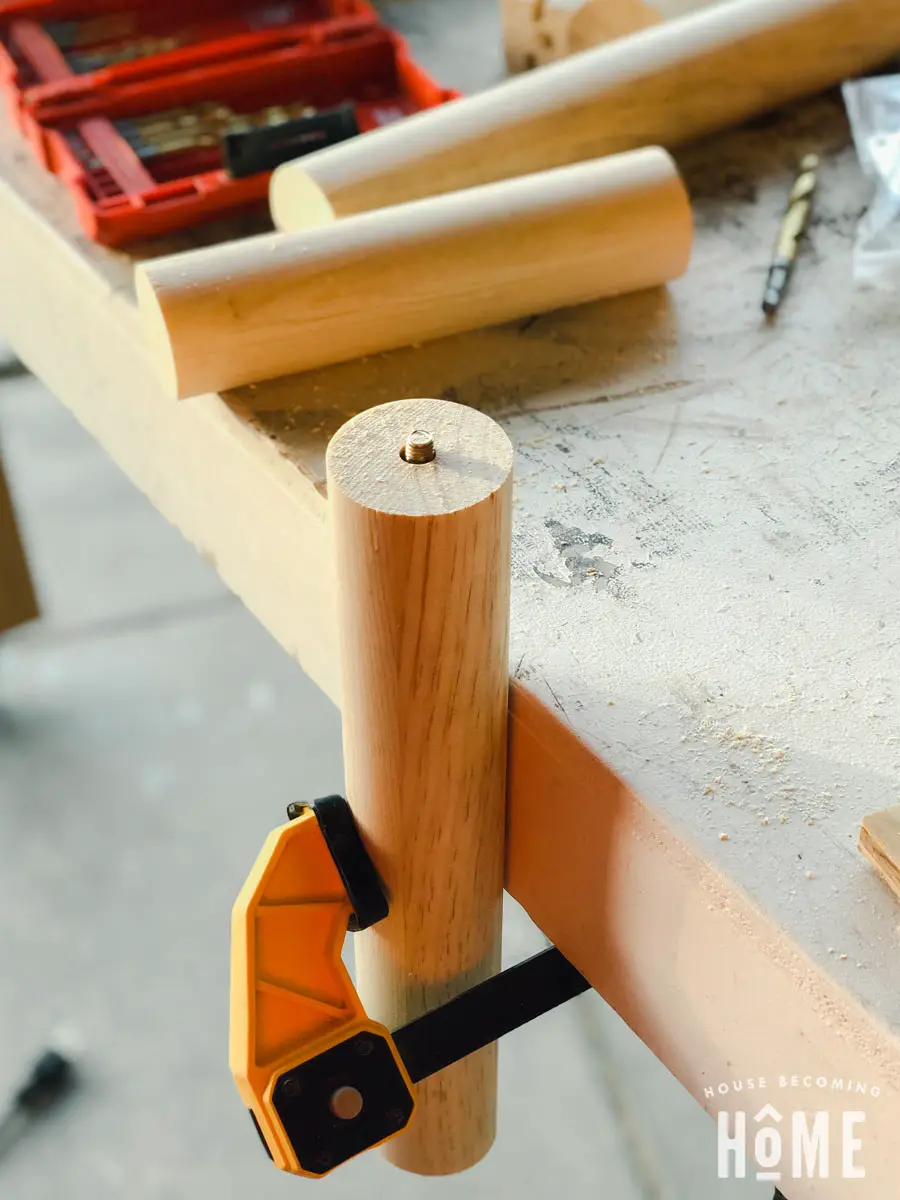
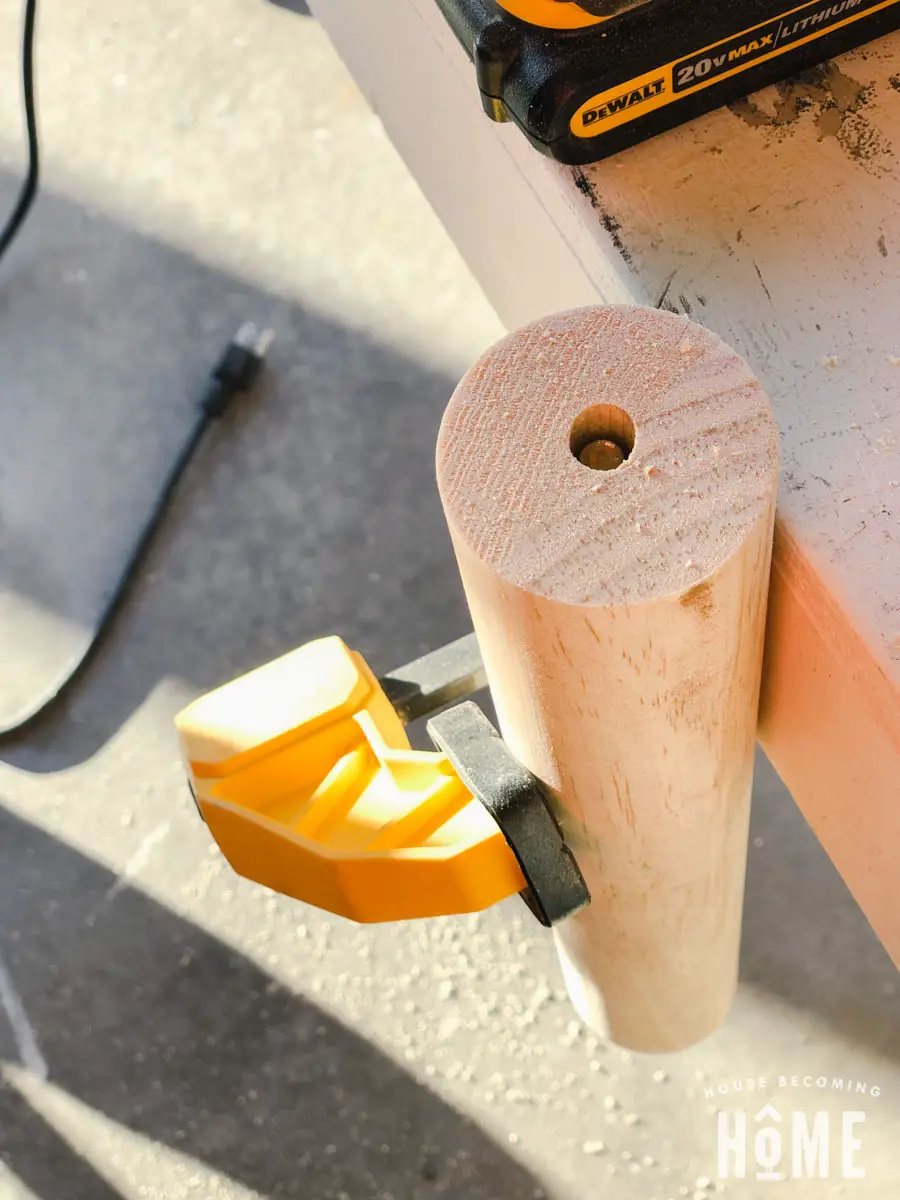
Remove the hanger bolt (if you placed it in the leg to check drilling depth).
Grab one of these female converters out of the leg mounting kit:
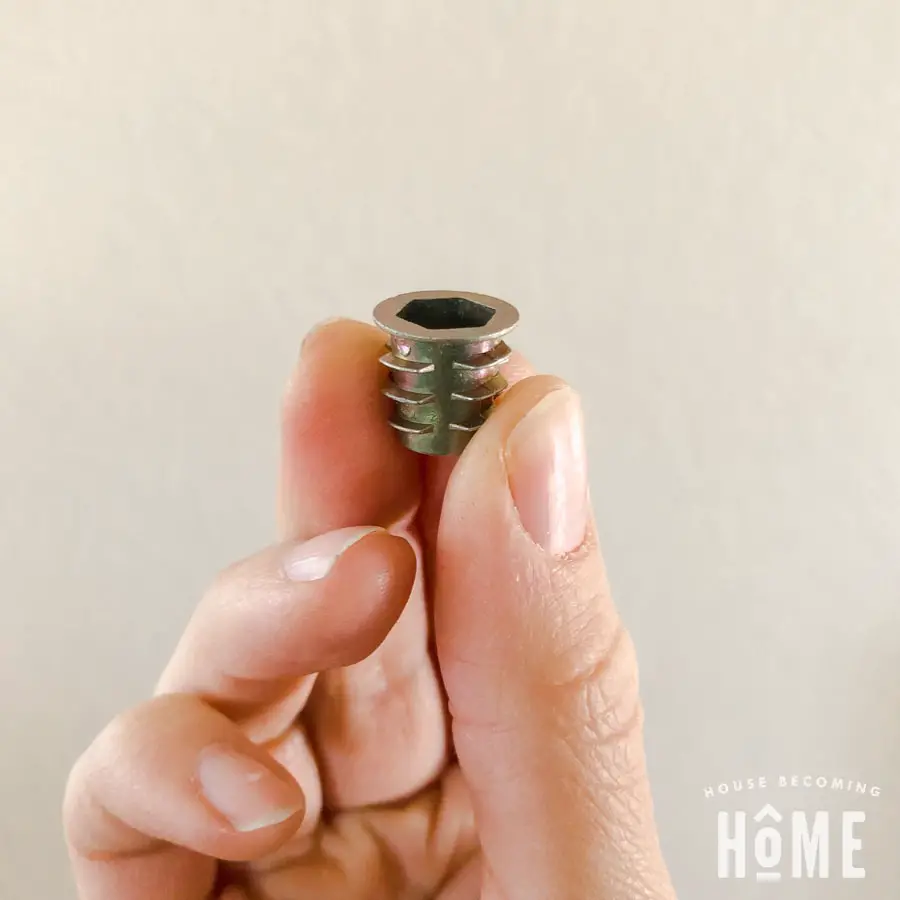
Use a 5/16″ hex key to screw the female converter into the 3/8″ hole you made in the top of each leg.
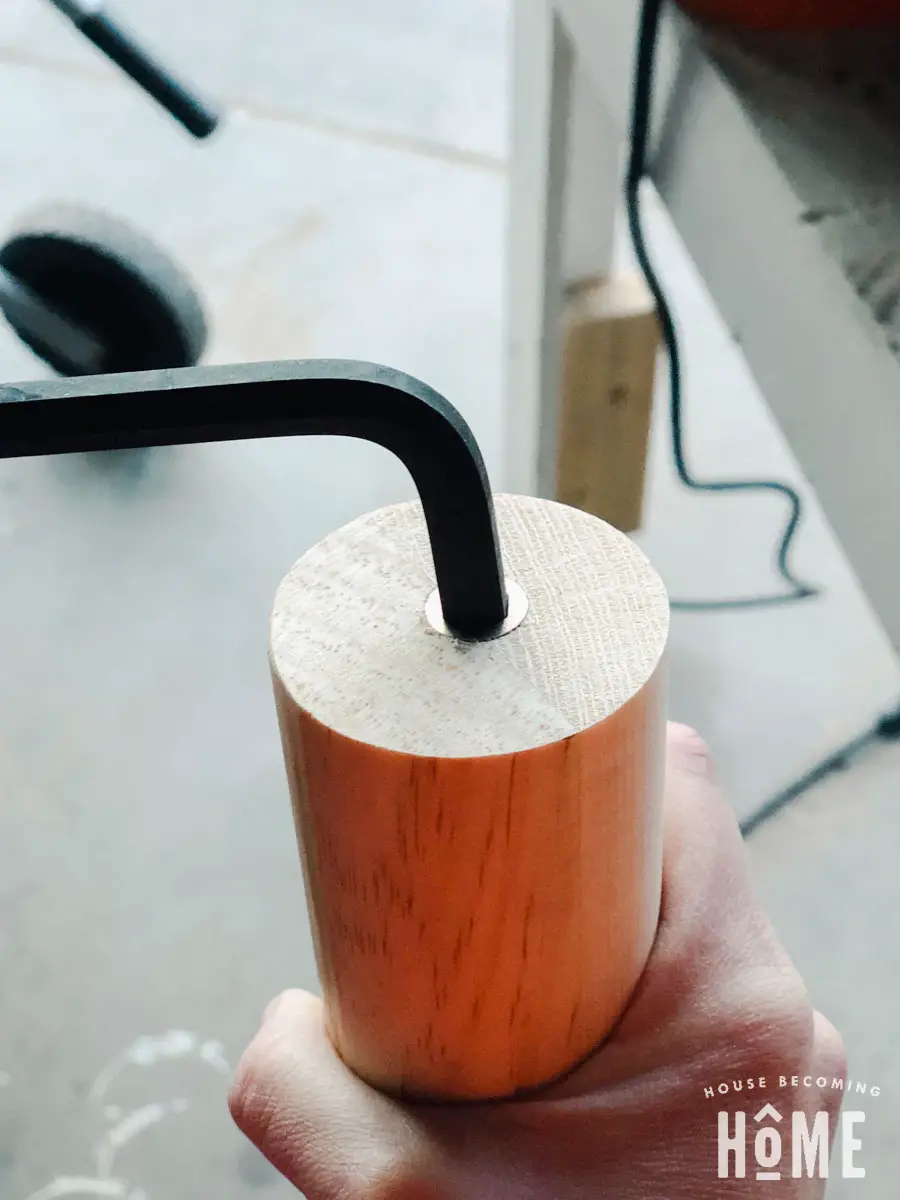
STEP 6 – Attach Legs to Stool Top
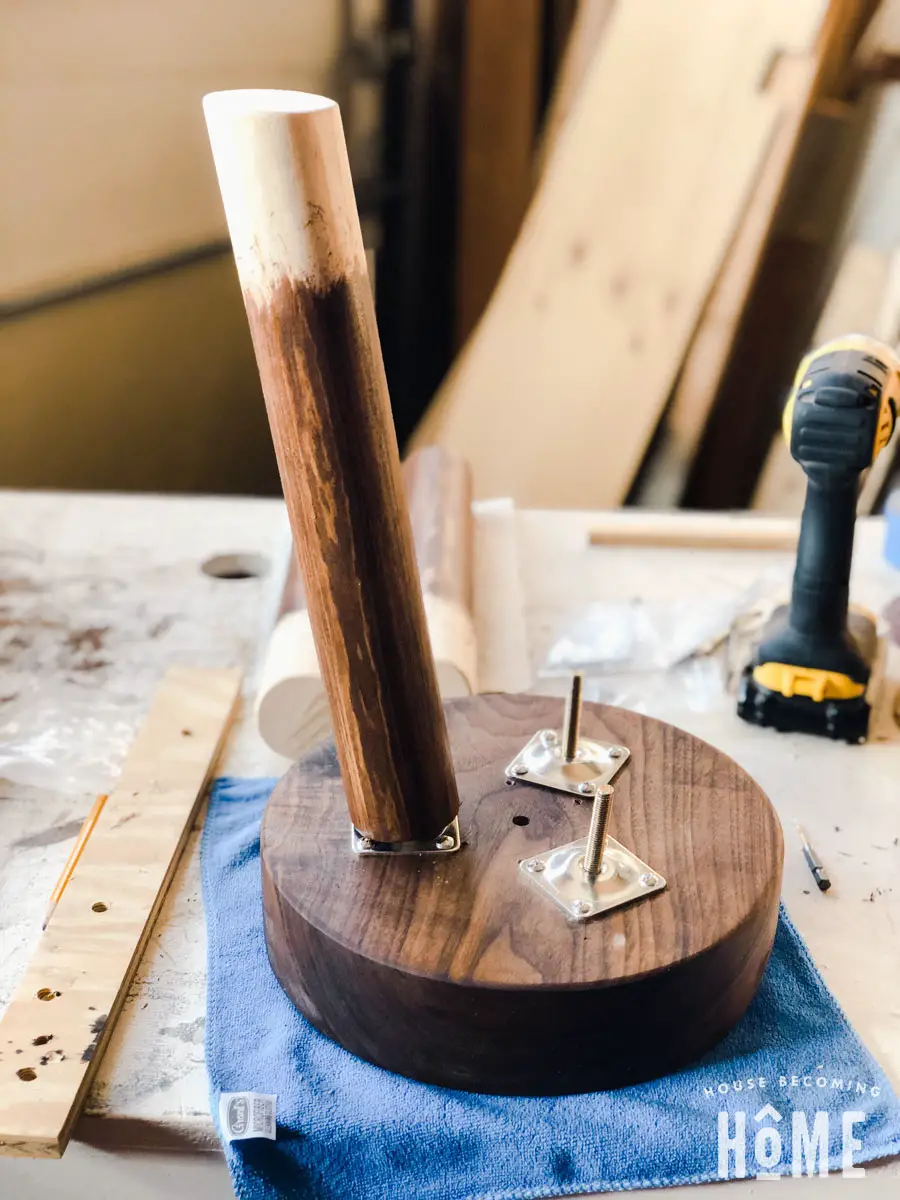
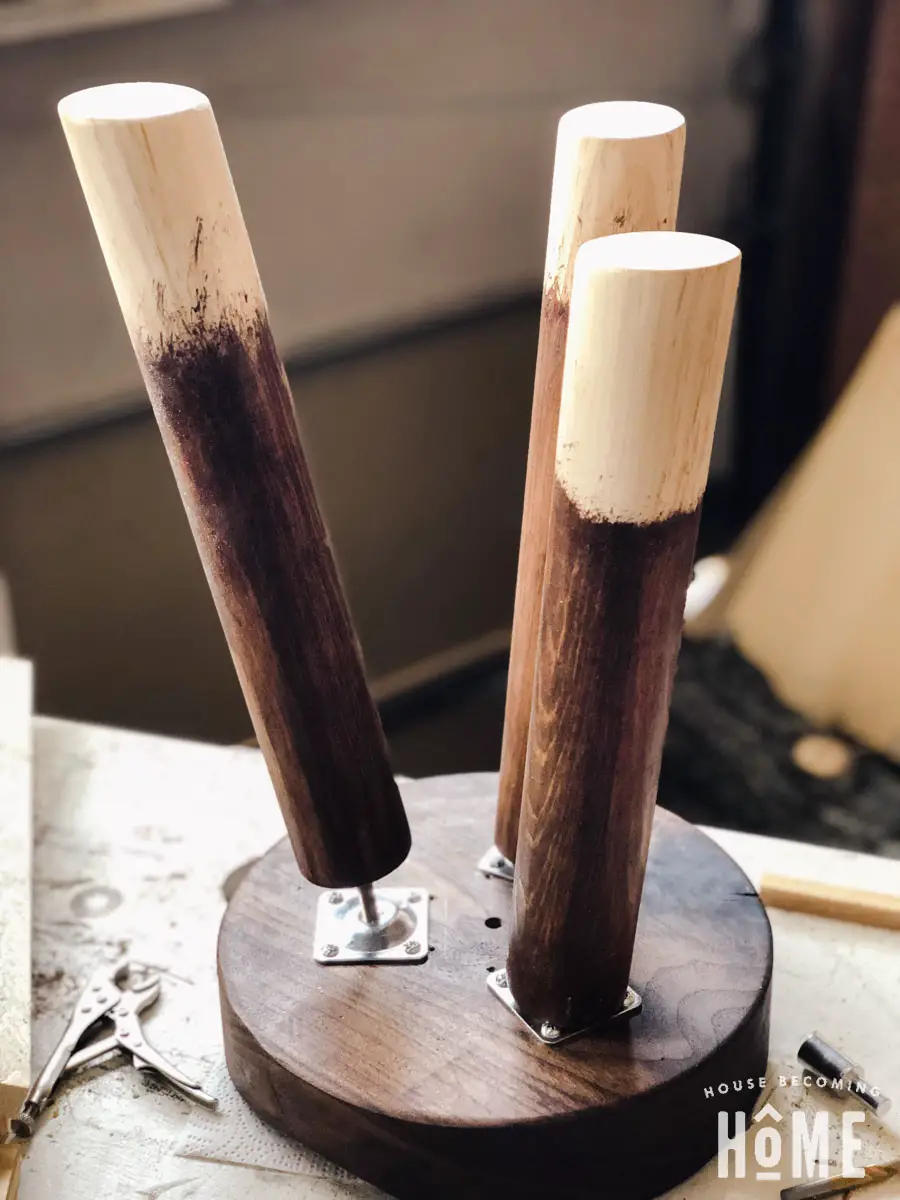
Screw the hanger bolts into the angle leg mounting plates until they can’t go any further.
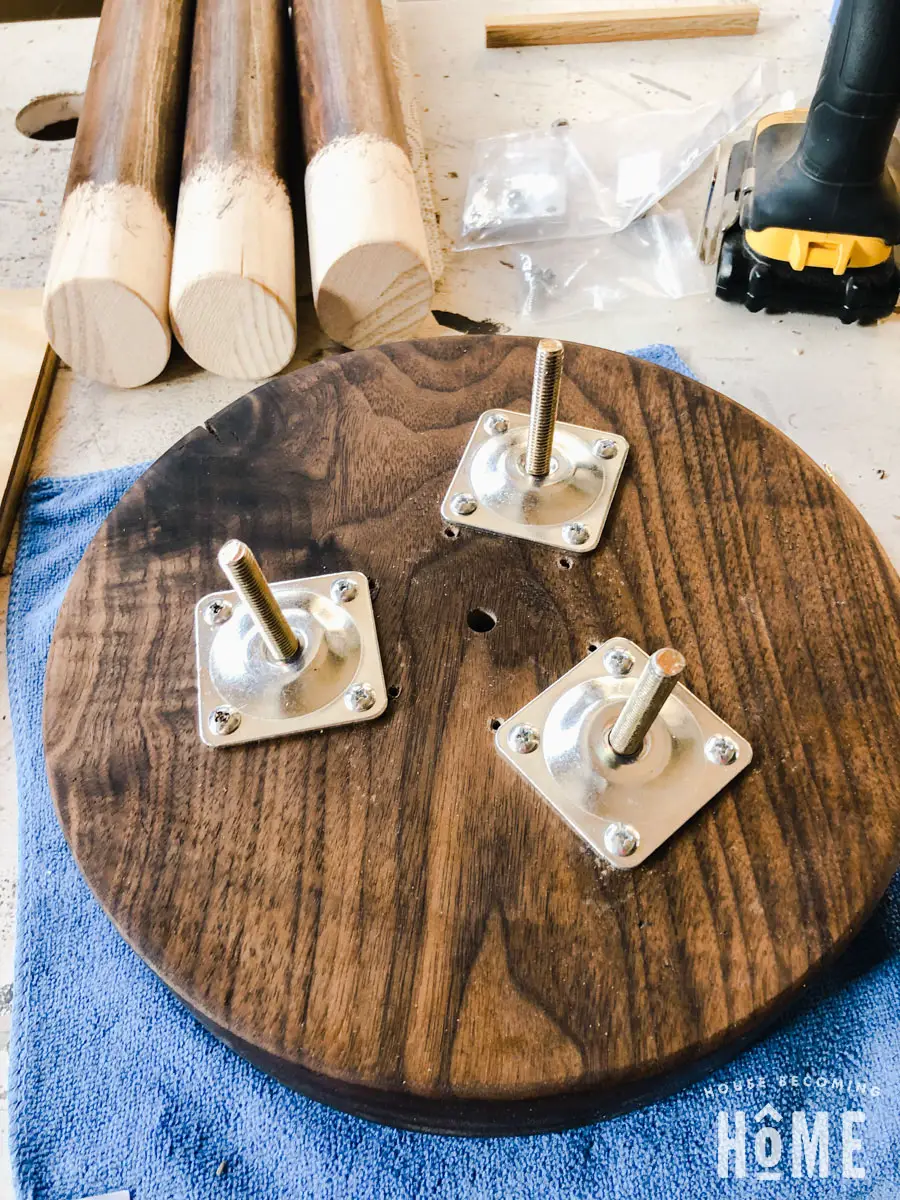
Twist the legs onto the bolts until they are snug and secure. Make sure the bottom of the leg is properly positioned. The longest part of the leg should be facing outward. You may have to tighten the leg more than what seems possible to get the longest part facing out.
STEP 7 – Paint and Seal
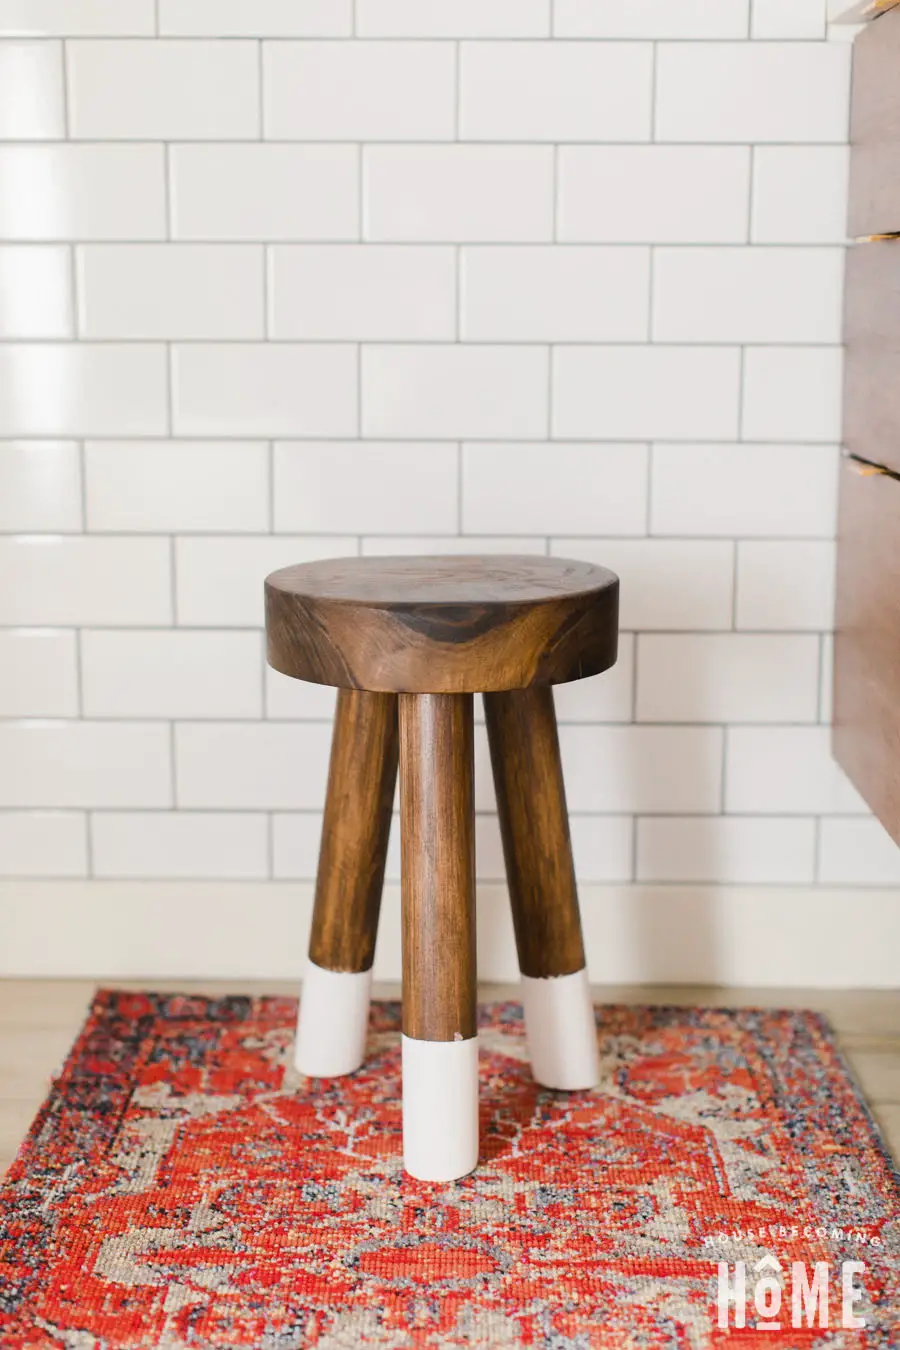
Almost done! Wrap painter’s tape around the bottom of each leg, about 3-4″ from the bottom on the small stool, and about 7-9″ from the bottom on the large stool. Paint several coats of white paint, letting dry in between coats. Finish the legs with several coats of polyurethane.
DIY Dip-Dyed Walnut Stools Complete
I love how they turned out! They are super sturdy and those thick pieces of walnut are soooo pretty.
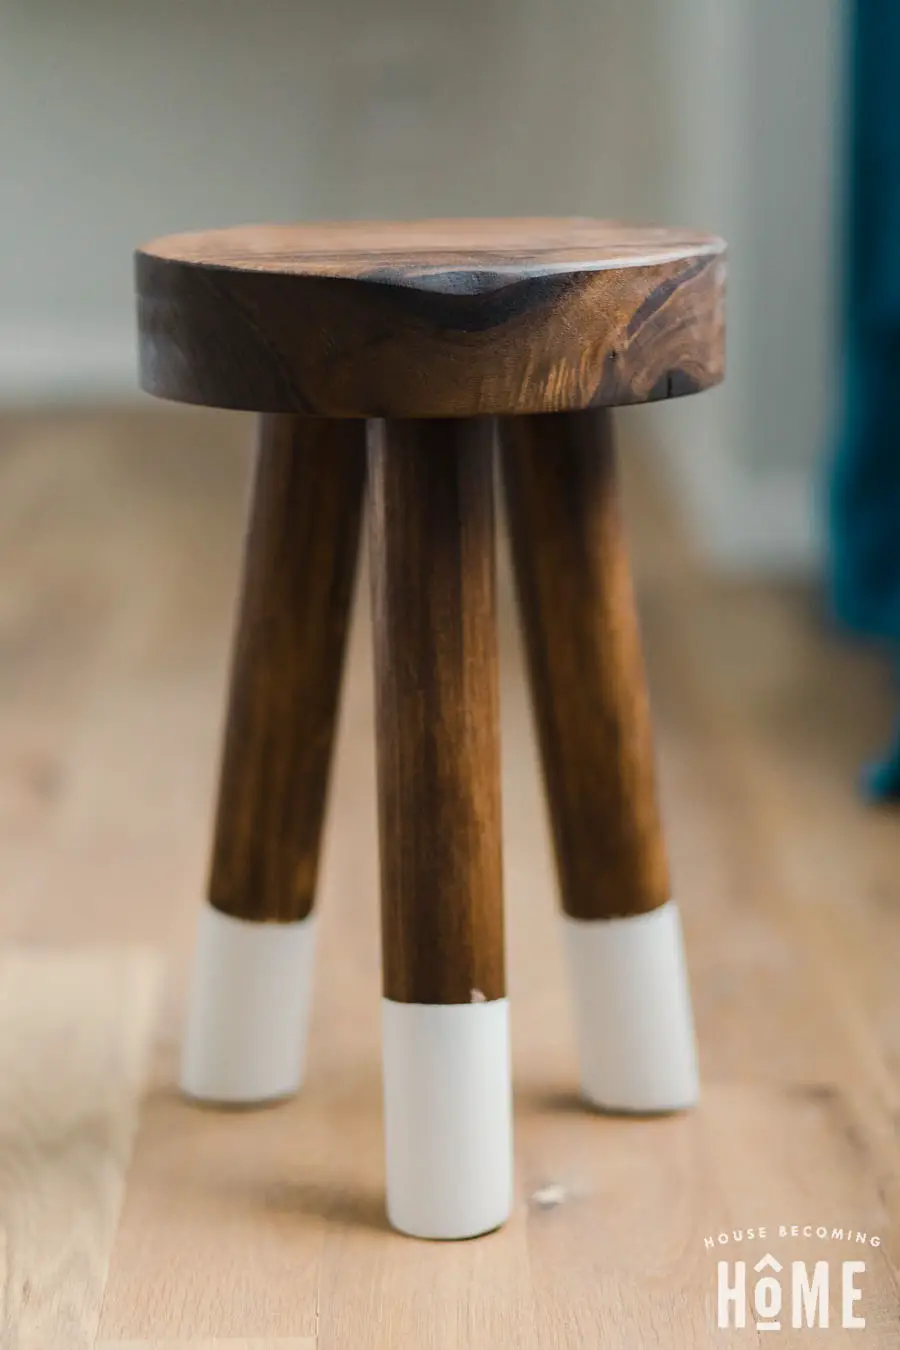
I love the cracks and imperfections that make each piece unique:
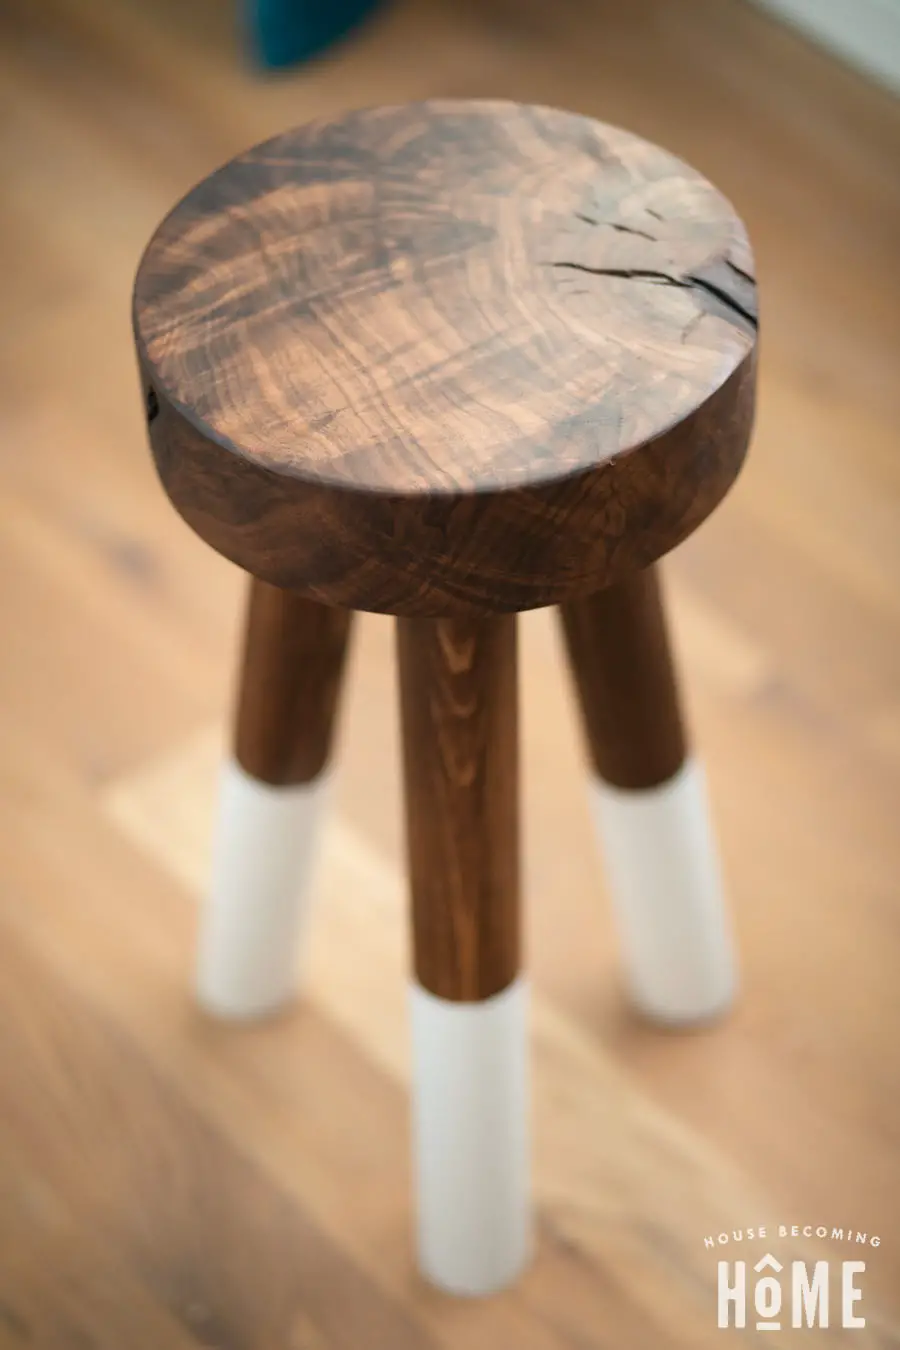
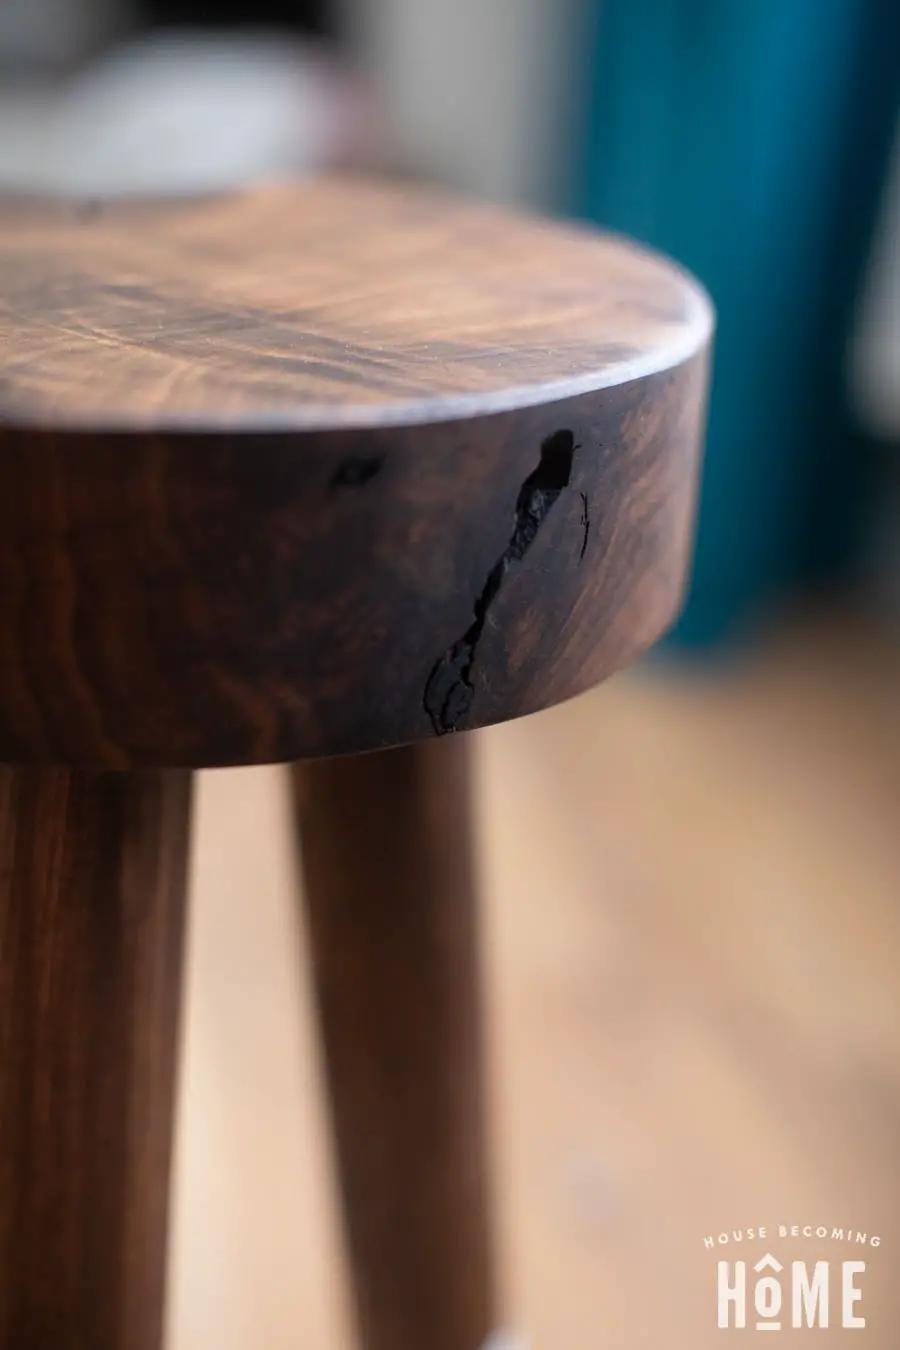
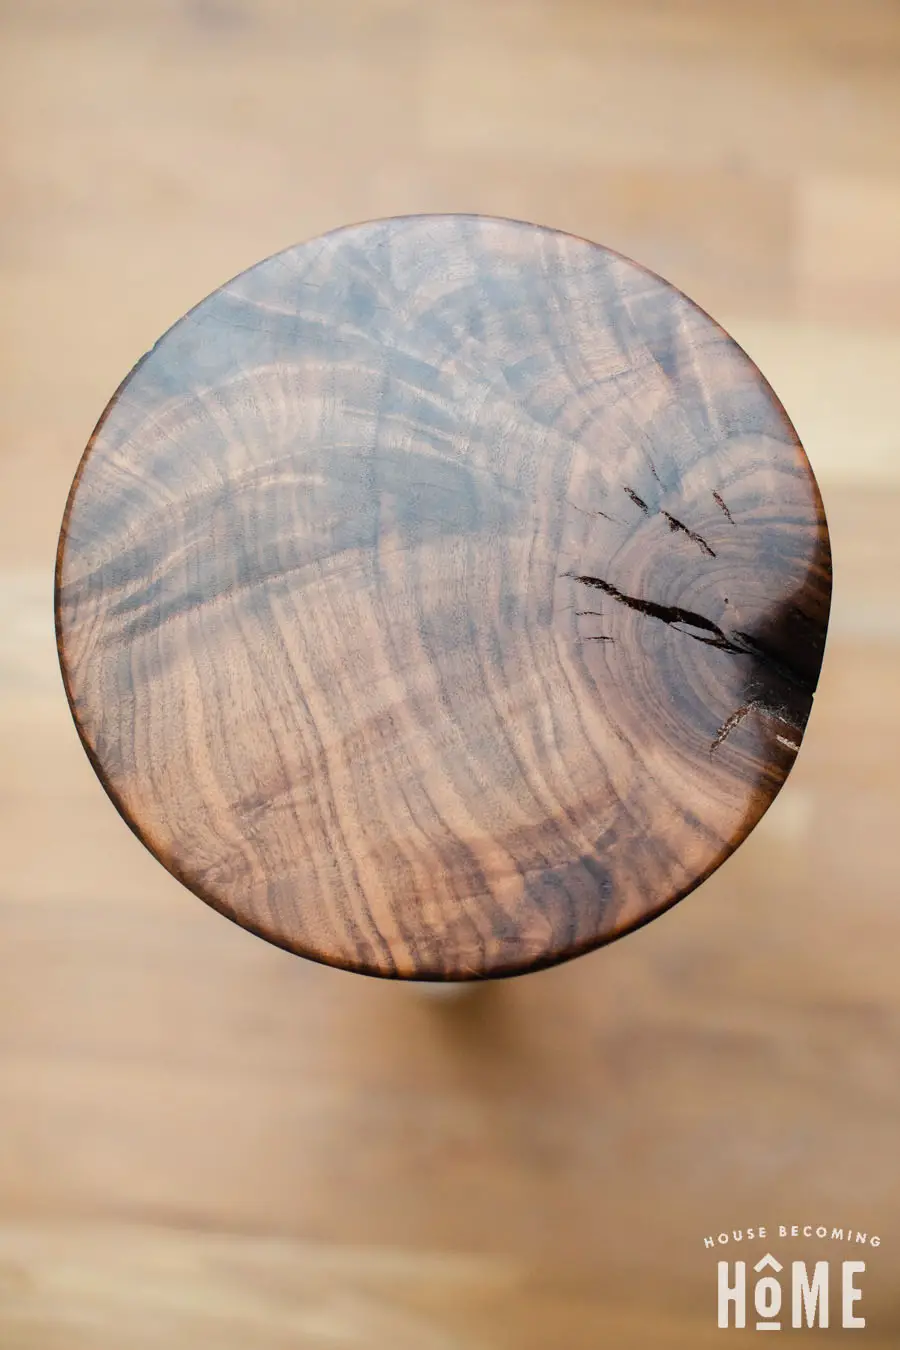
Jim and I are putting the finishing touches on our kids’ bathroom DIY renovation. I built a floating vanity and the small walnut dip-dyed stool will be perfect to keep Lucy and Jack from climbing all over the vanity to get to the sink.
Did I mention they’re sturdy? ?


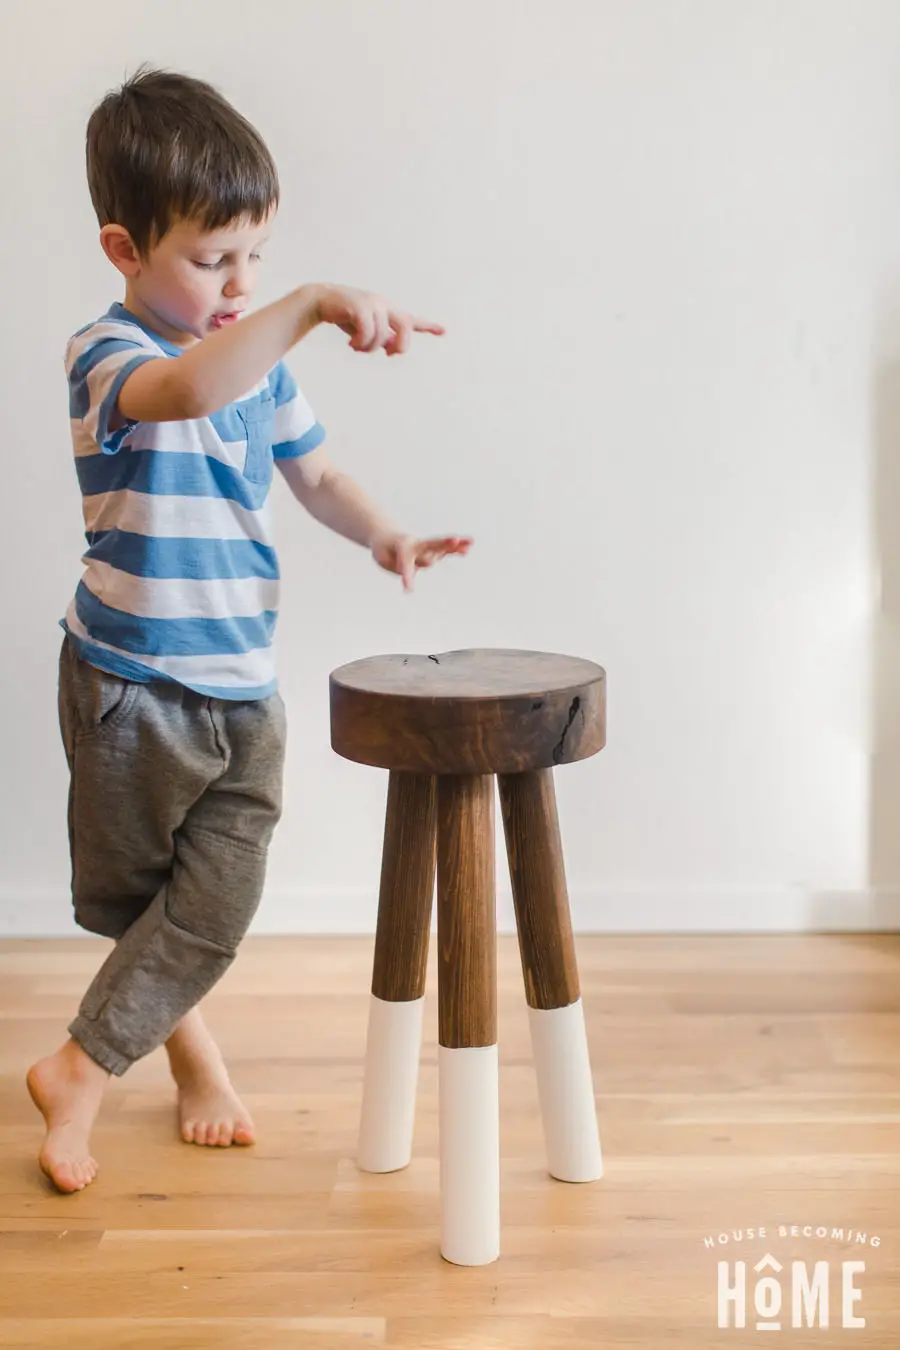

I haven’t decided on a spot for the taller stool. I’m thinking of using it as a side table by one of the sofas? Or perhaps next to the bed with a stack of night reading? Maybe even the master bathroom? Where would you put it???
Be sure to visit Jen Woodhouse’s post for the free printable plans. If you build it, tag us on Instagram so we can take a look!
