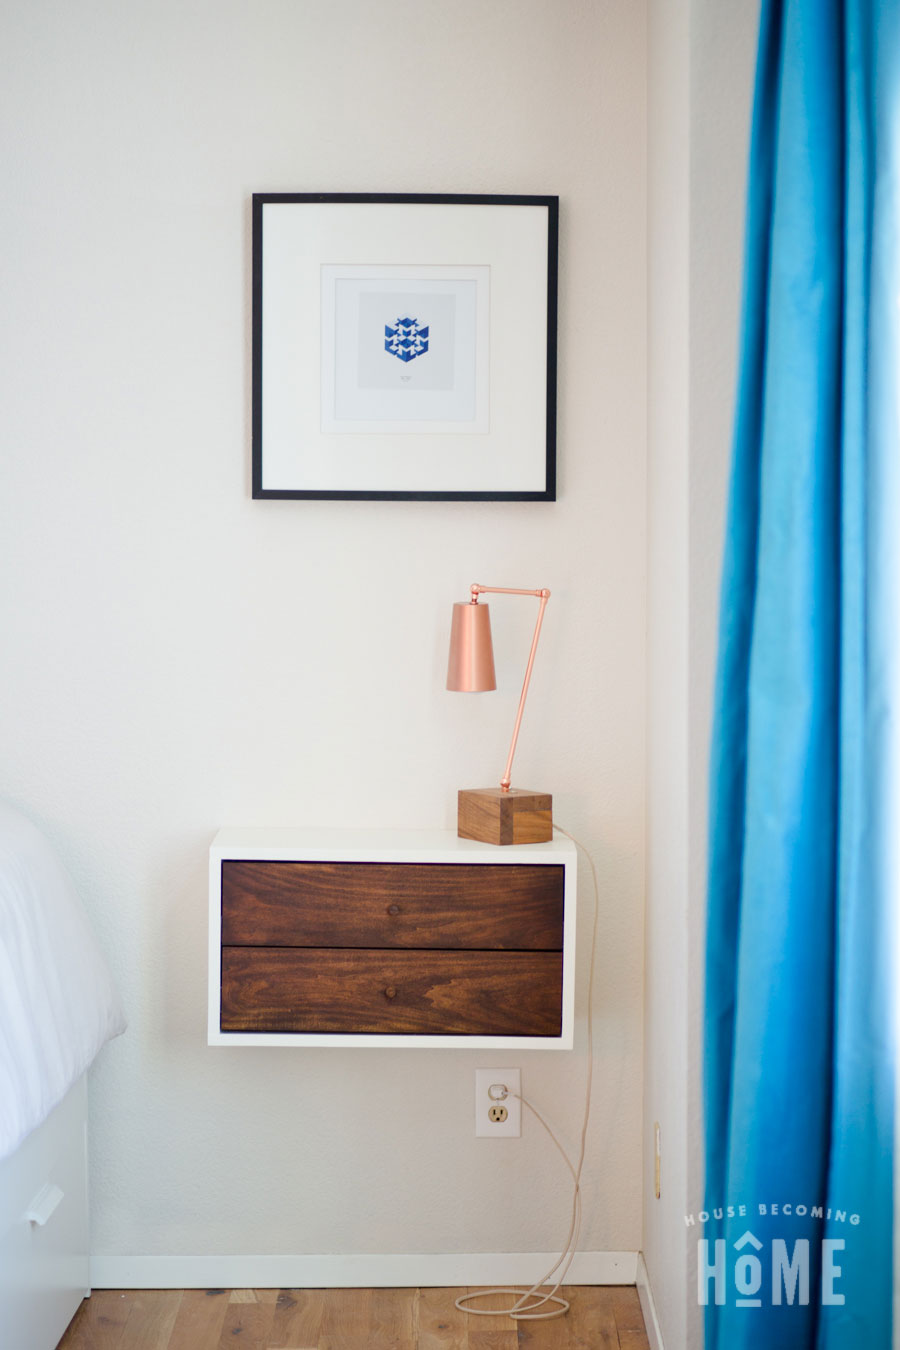
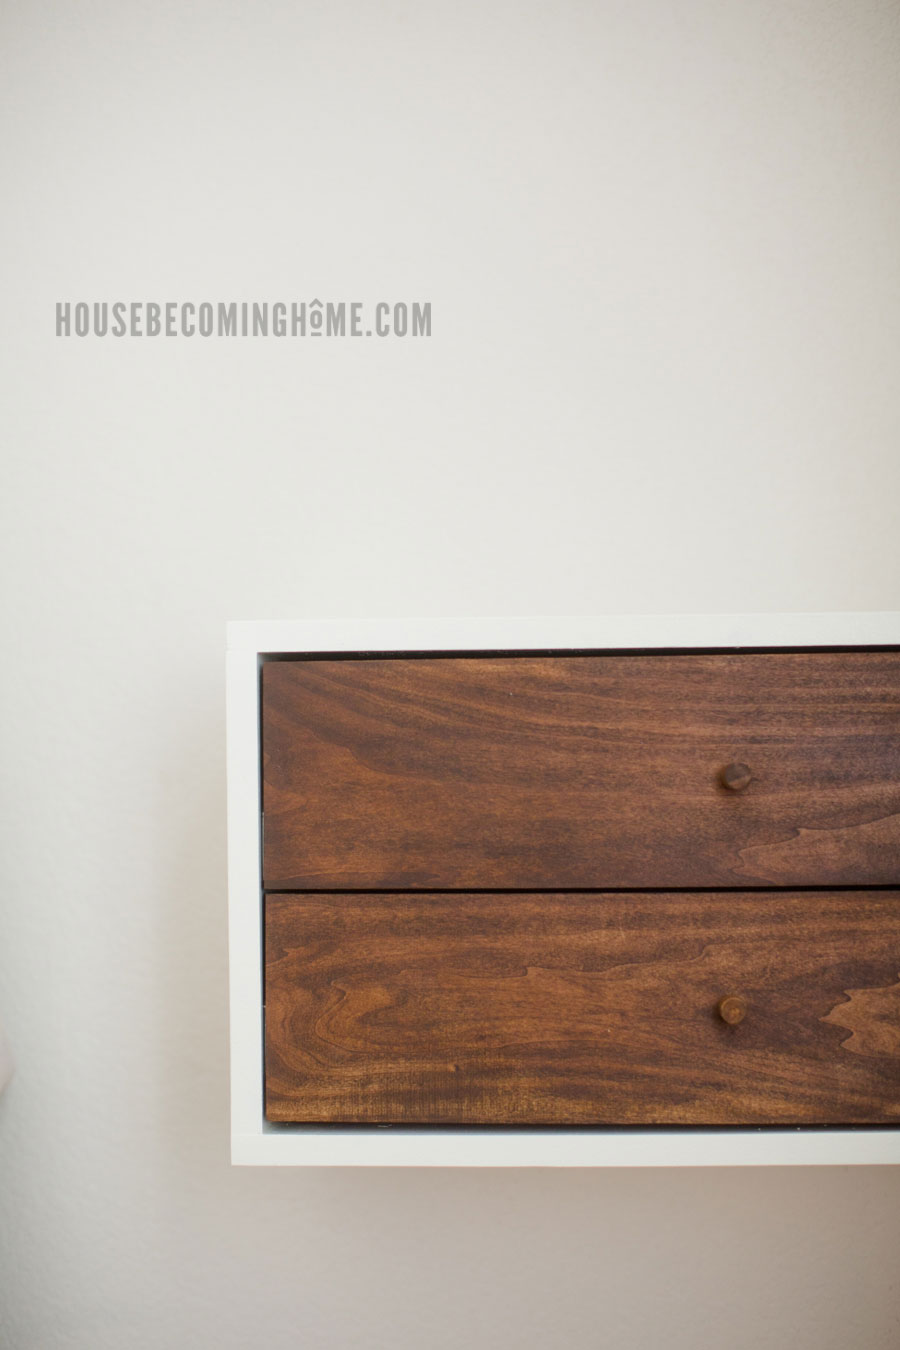
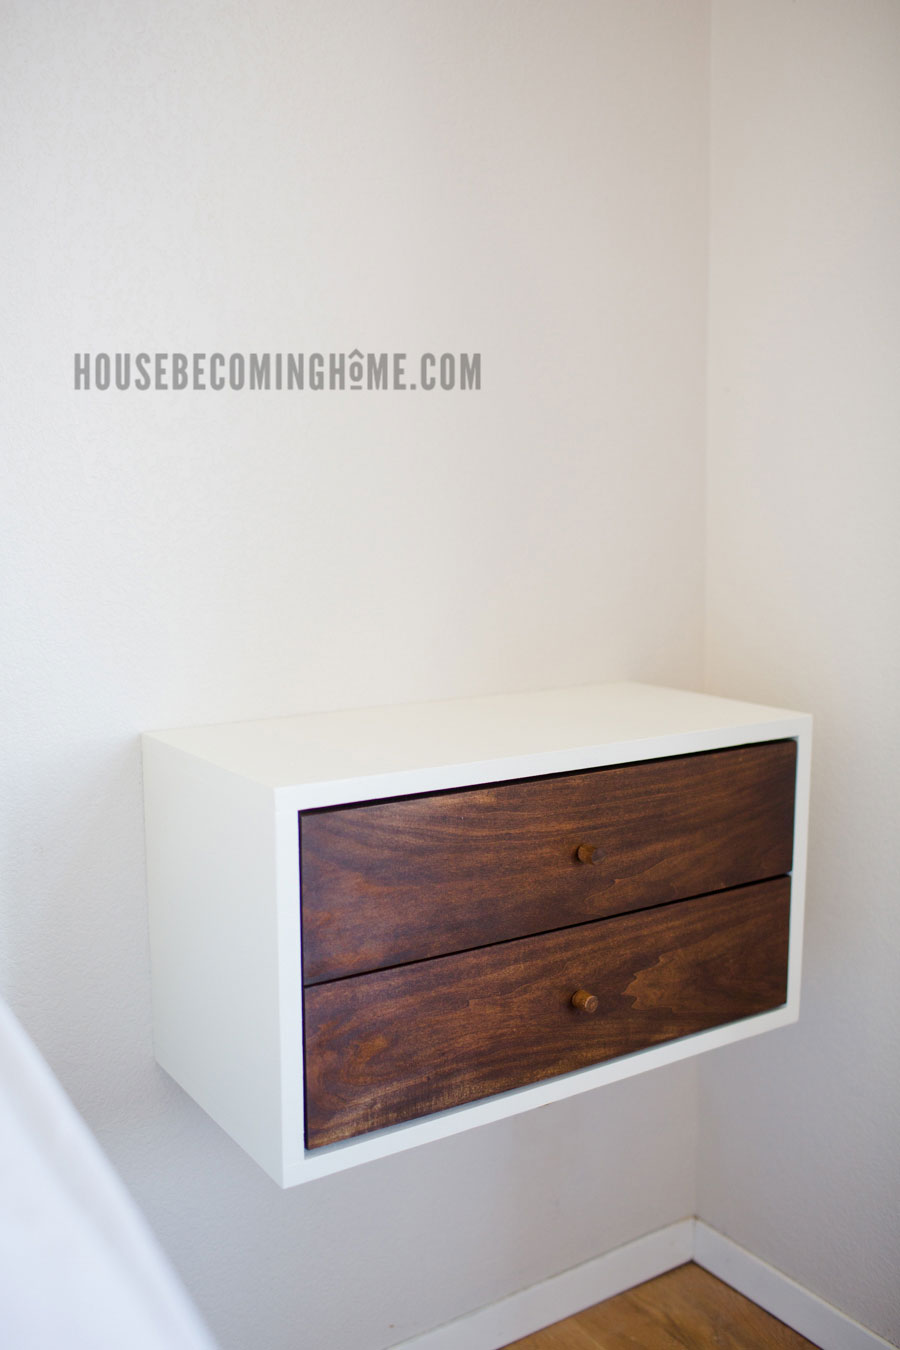
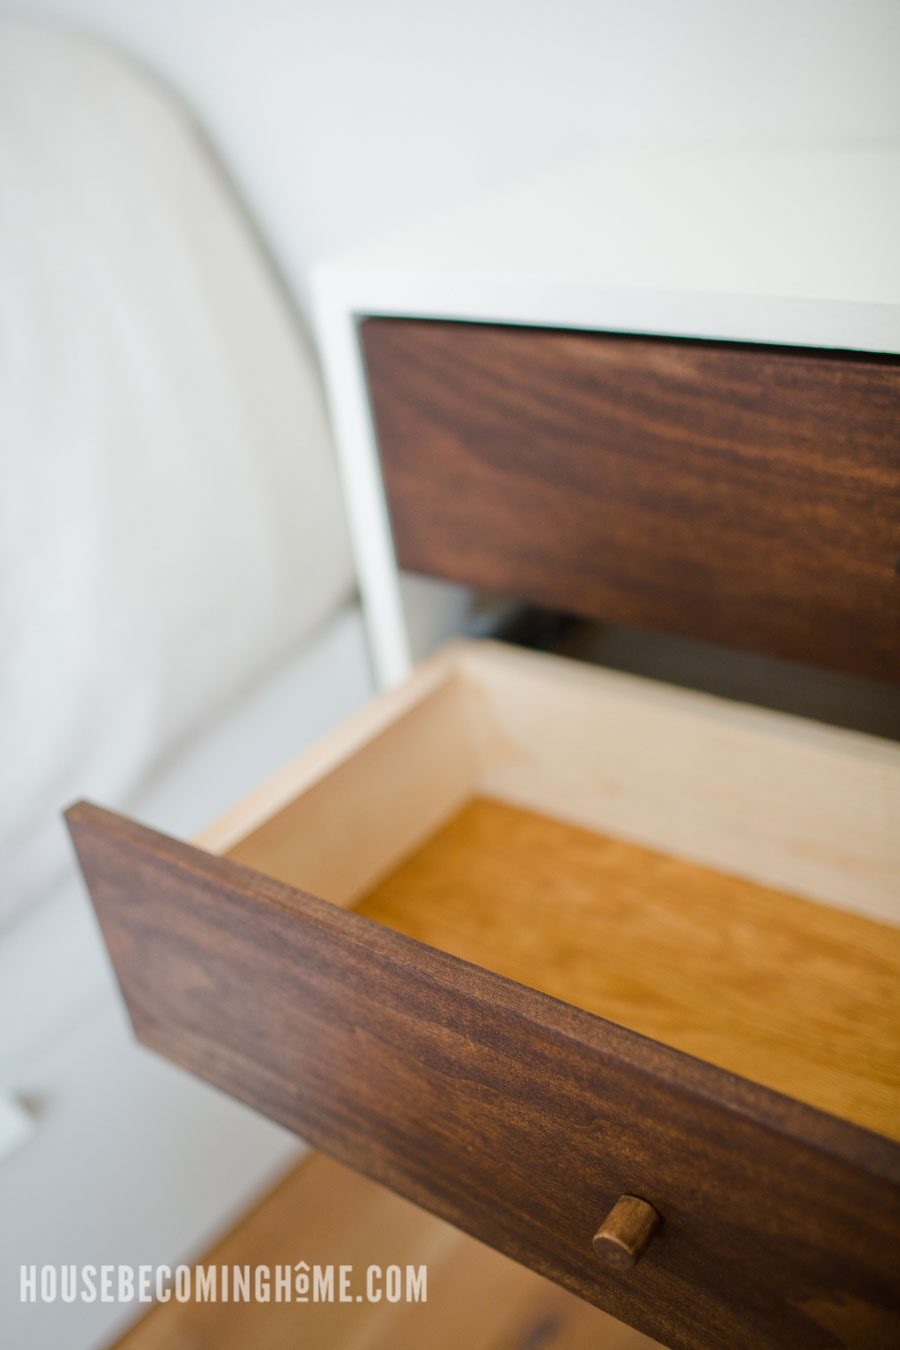
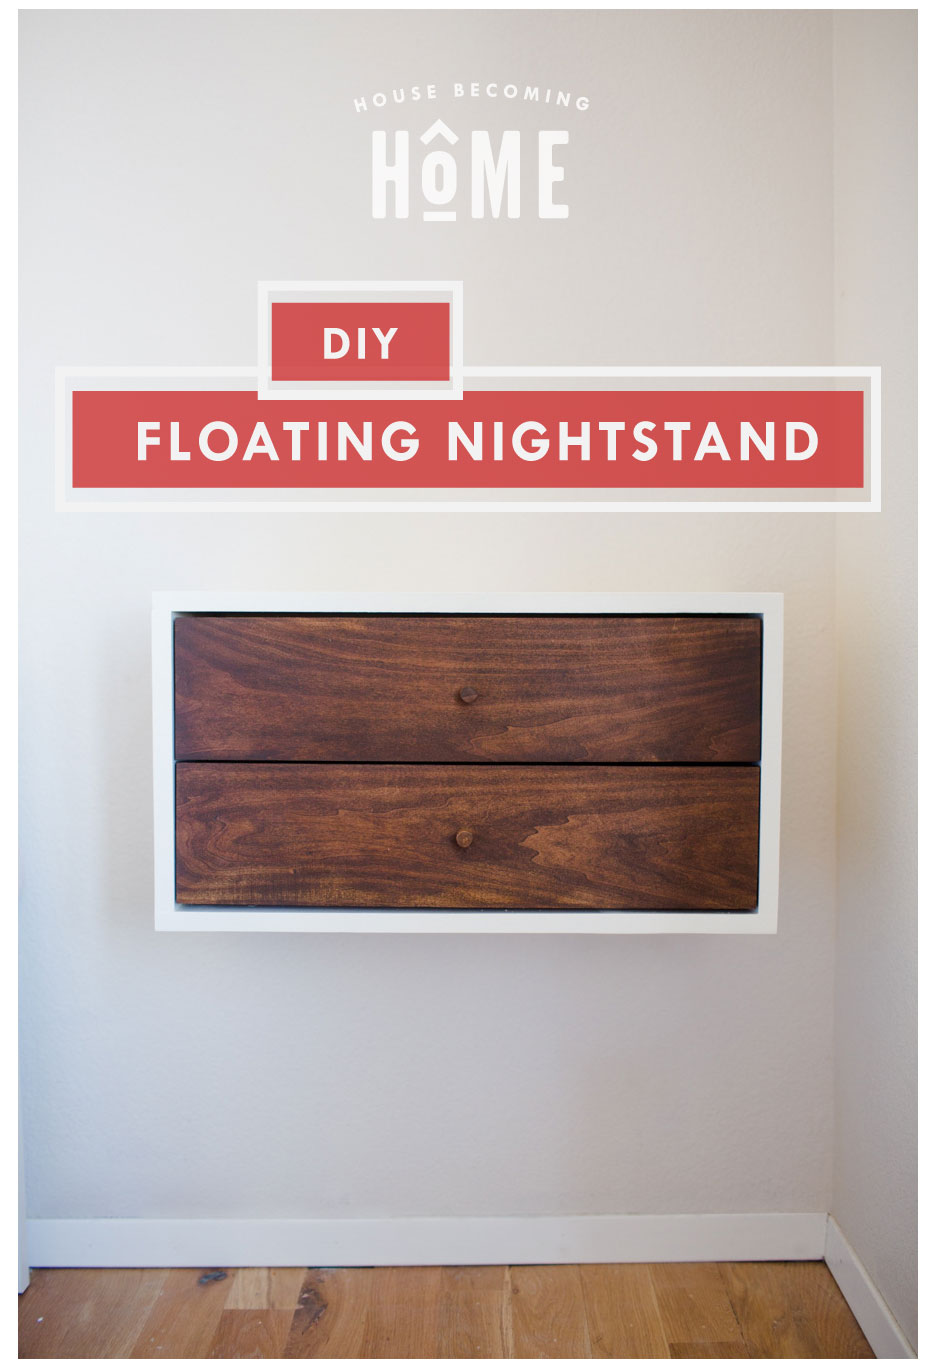
This modern floating nightstand is super easy to build, and a great beginner project to tackle if you’re new to woodworking. If you’re not a new woodworker, well, it’s still great because it’s a quick, affordable build that provides you with some modern bedside storage. 🙂 I always say yes to extra storage, especially hidden storage.
BEST OF ALL–beginning woodworkers I’m talking to you–once you can build and hang this floating nightstand you can change up the dimensions and make SO MANY THINGS! This basic idea of a framed box + drawers can be utilized for much more than just a floating nightstand. Closet organization systems, a floating bathroom vanity, hanging wall shelves (swap out the drawers for shelves), etc.etc. You get the idea, right? Learn to build this floating nightstand and soon you’ll be making all kinds of DIY furniture for your home. 🙂
House Becoming Home is a participant in the Amazon Services LLC Associates Program, an affiliate advertising program designed to provide a means for sites to earn advertising fees by advertising and linking to Amazon.com. Some links in this post may be affiliate links. Read my full disclosure policy here.
How to Build a Floating Nightstand
Lumber
- (1) 1 x 12 x 6ft.
- (2) 1 x 4 x8ft.
- (1) Plywood or MDF
- 1/4 in. x 2 ft. x 4 ft
- (1) poplar hobby stock- 1/2” thick x 5.5” wide x 4 ft. long
Hardware & Fasteners
- (2 pairs) 10” full-extension drawer slides (each of my drawer slides was actually 9 3/4” long and 1/2” wide–if yours are more or less you’ll need to adjust your drawer sizes). These are the slides I used. It’s been brought to my attention that the slides I used are no longer available. These drawer slides look identical to the ones I used, and they come in a set of two–perfect for this project!)
- 1-1/4” pocket hole screws
- Finishing products of your choice–stain, paint, wax, polyurethane, etc.
- Knobs/pulls or make your own modern knobs for cheap
Tools
- Miter Saw
- Table saw
- Drill
- Pocket Hole jig
- Sander + sandpaper
- Tools for finishing
- (paintbrush/ stain rag, etc.)
For a detailed cut-list and printable instructions, download the pdf following the instructions below.
Free Furniture Plans
– DIY Nightstand –
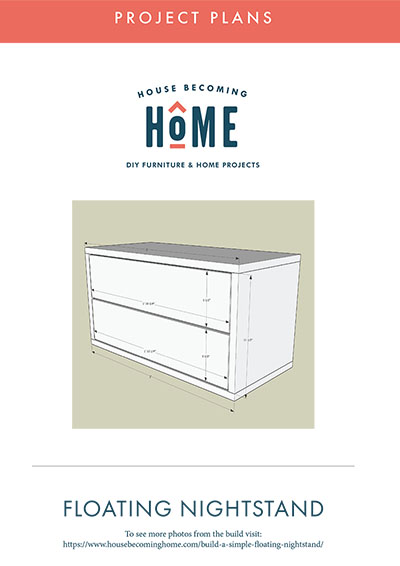
Subscribe to the House Becoming Home newsletter and receive the DIY Floating Nightstand plans, a free printable PDF. Enter your name and email address below–you’ll immediately be sent a link to download the file. (*personal & non-commercial use only*)
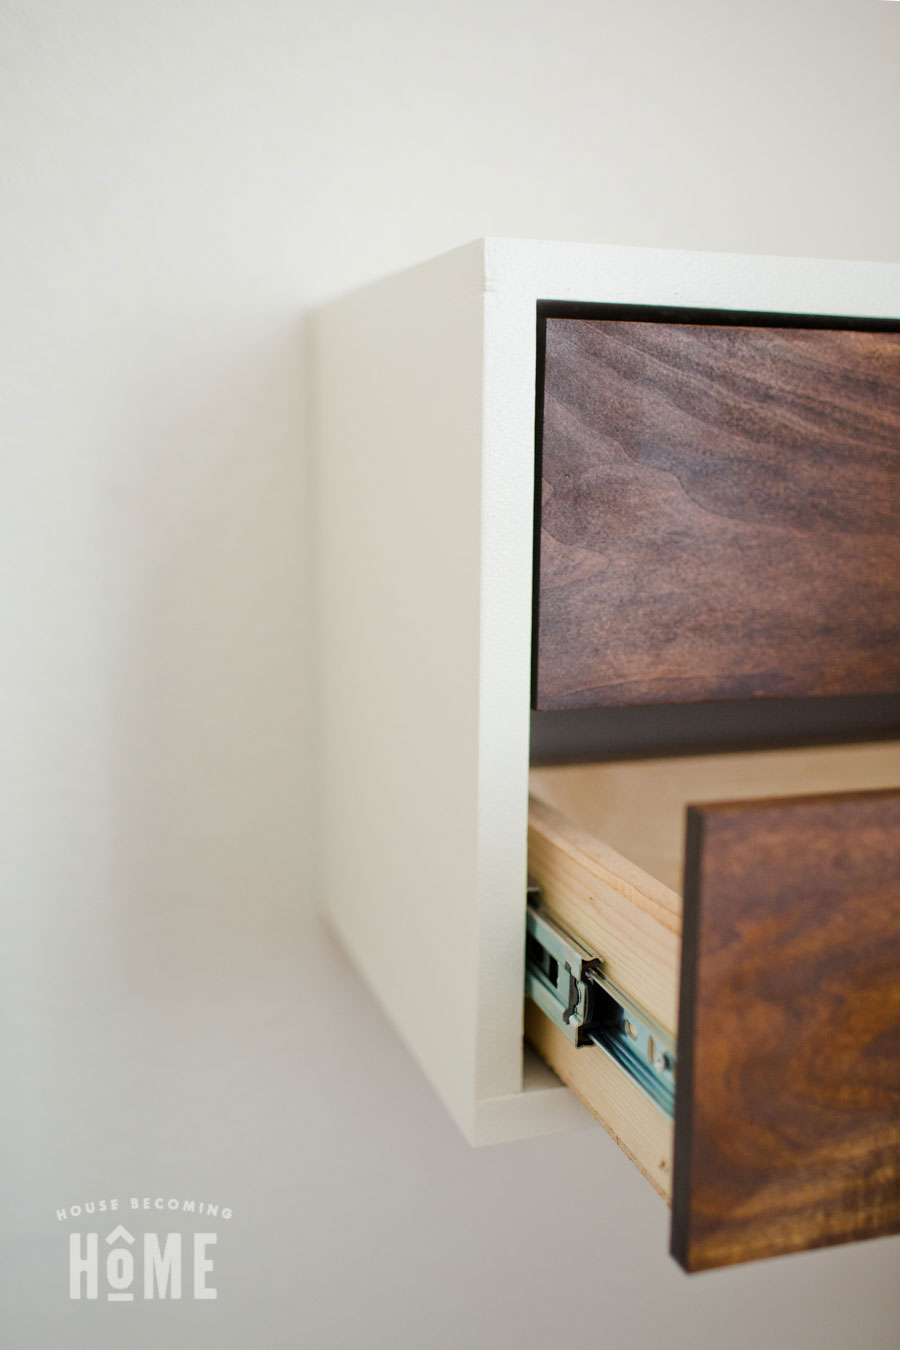

Hi Angie, thanks for the plans! I’ve started building my night stands, but I’m a little unclear how to align and attach the drawer slides. Can you provide some insight on how to line these up on the drawer and the inside wall of the night stand? Thanks!
Hi Josh! Yes, to attach drawer slides I use the Kreg drawer slide jig. I plan on doing a post sometime to show the process, but in the meantime, you could probably search a video on how to use the kreg drawer slide jig and that should help. Good luck!
Amazon doesn’t carry the same slides you used but I got ones with the same measurements and when I went to put them on they are too thick to fit between the drawer and the box. Any suggestions on a way to adjust for that? I tried to buy thinner slides but they didn’t have any in a shorter length
Darn it! That would be frustrating. The slides I use for nearly all of my projects are about 1/2″ thick each. So the width of the drawer I build is 1″ less than the width of the opening, to allow 1″ of space for the drawer slides. Sounds like you’ll probably need to rebuild your drawer. If your drawer slides are 3/4″ thick each (1.5″ total), then you’d need to build your drawer box to the width of the opening minus 1.5″. Hope that makes sense . . .