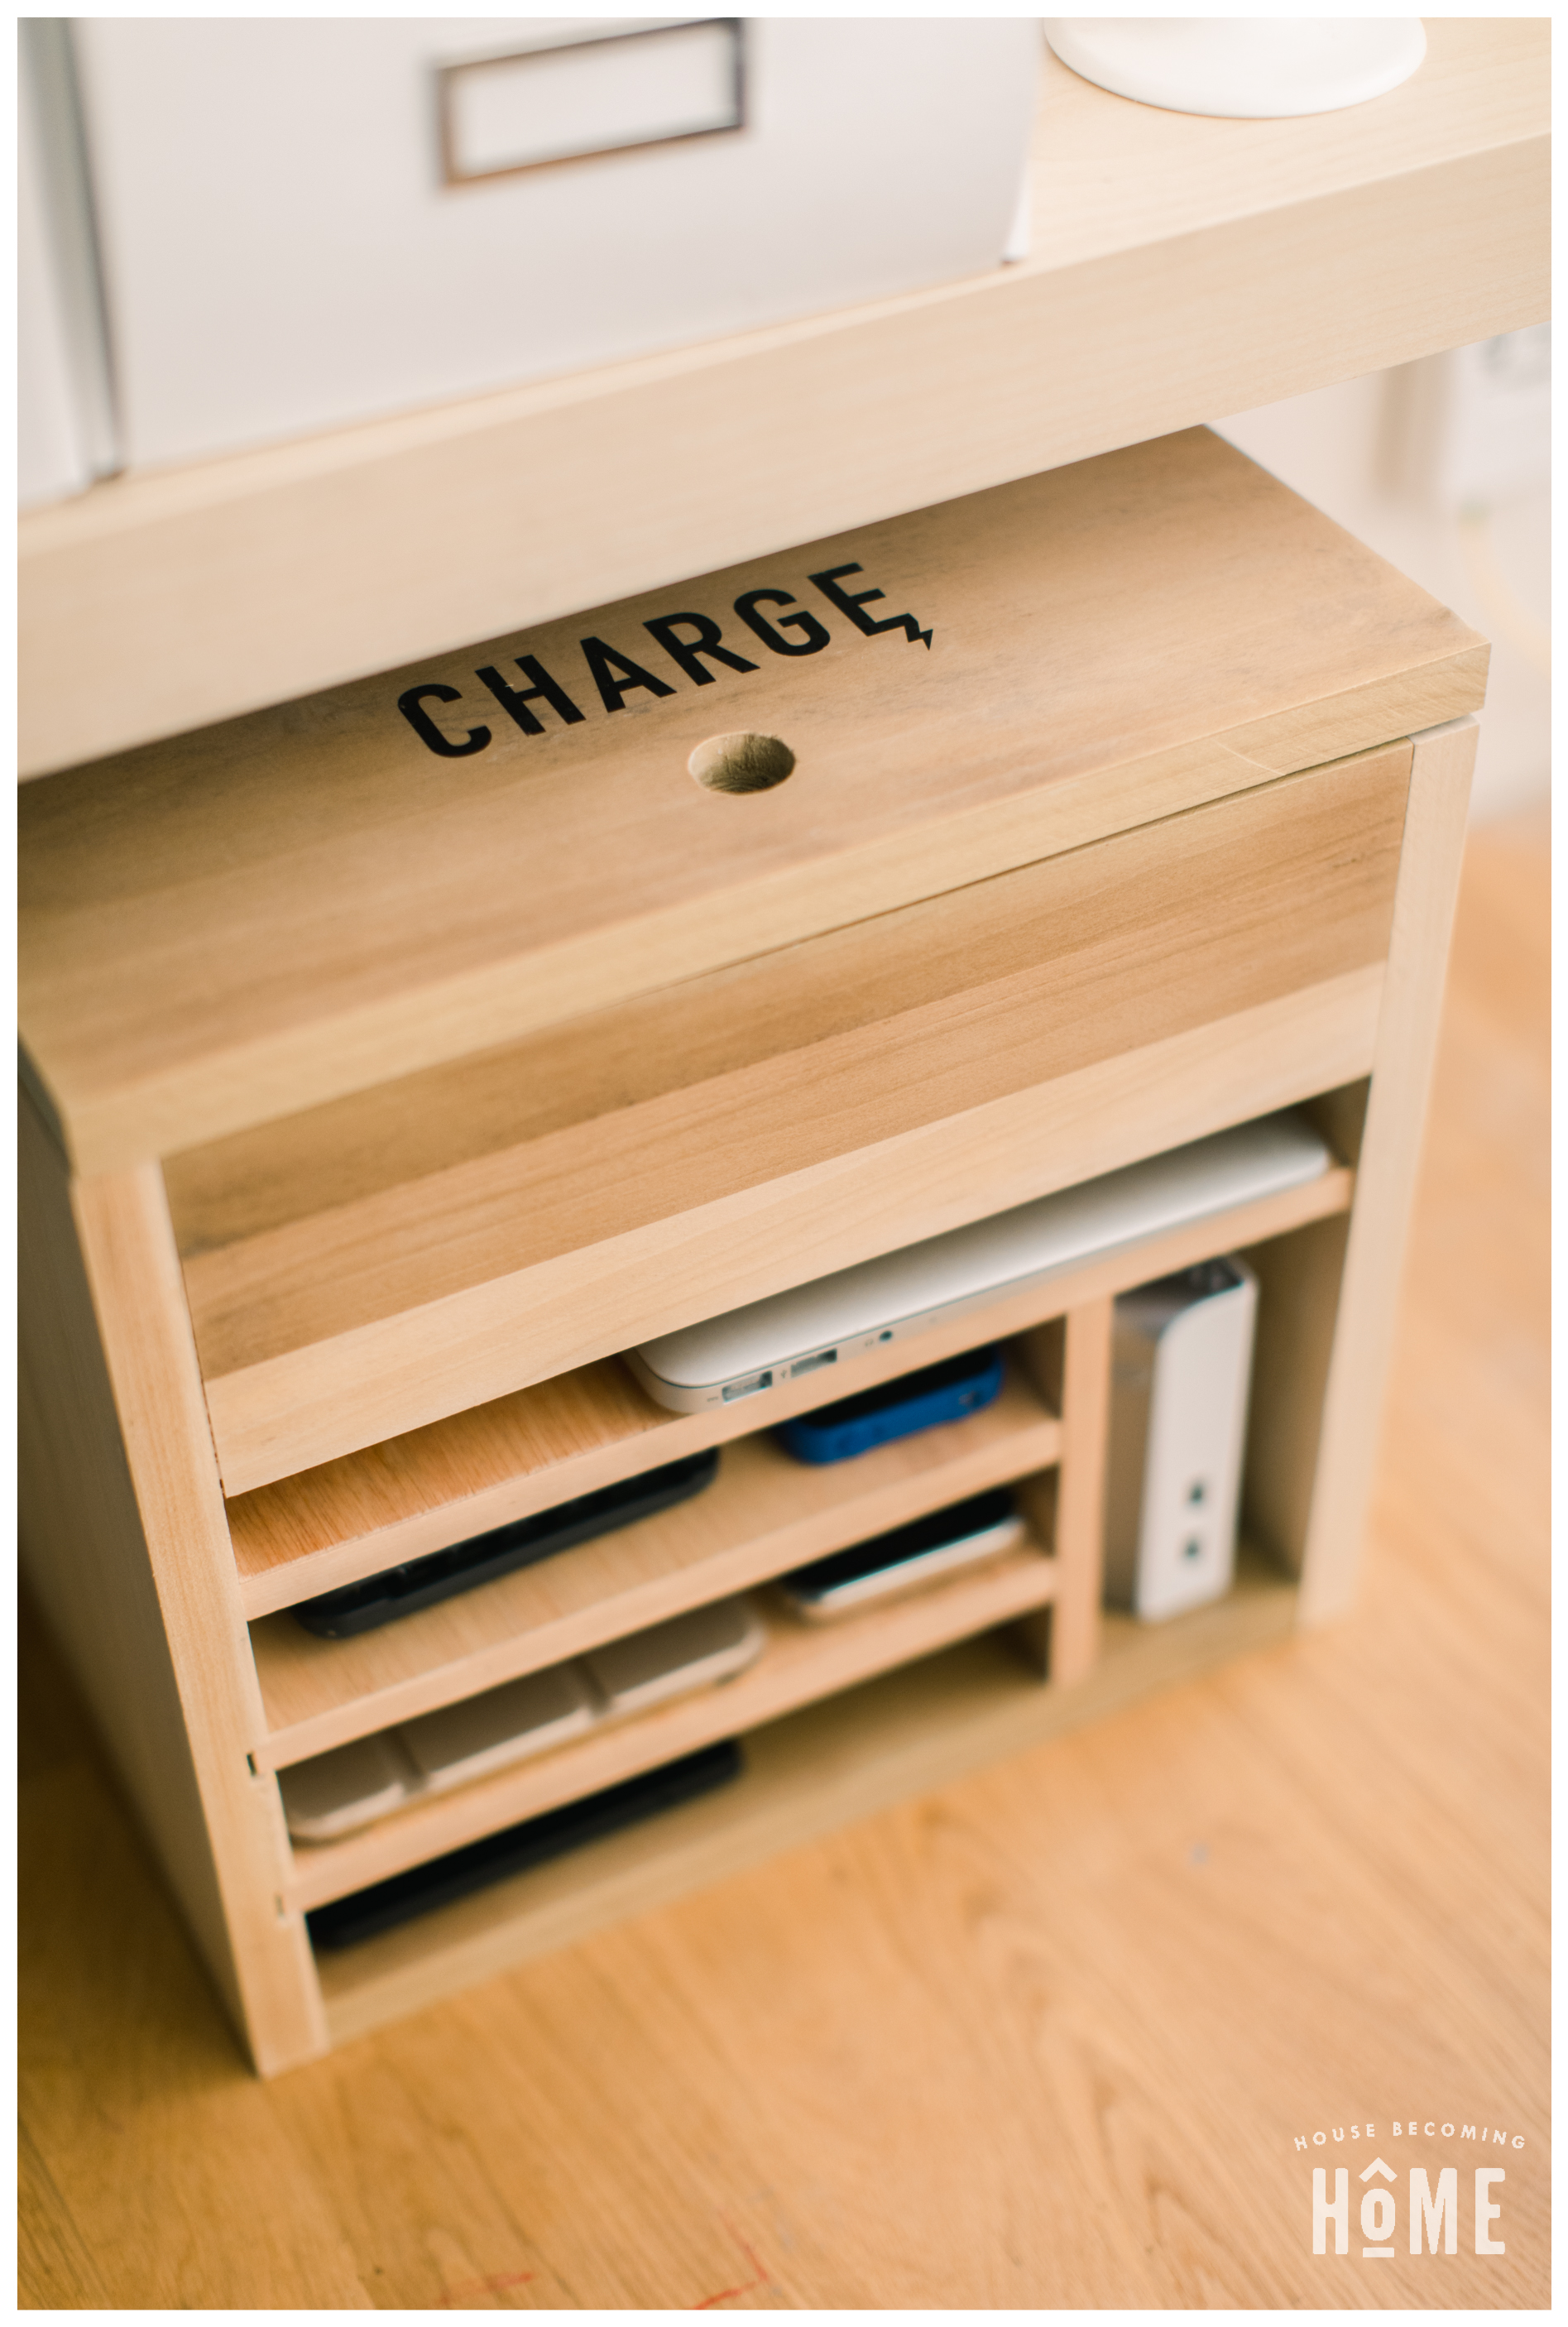
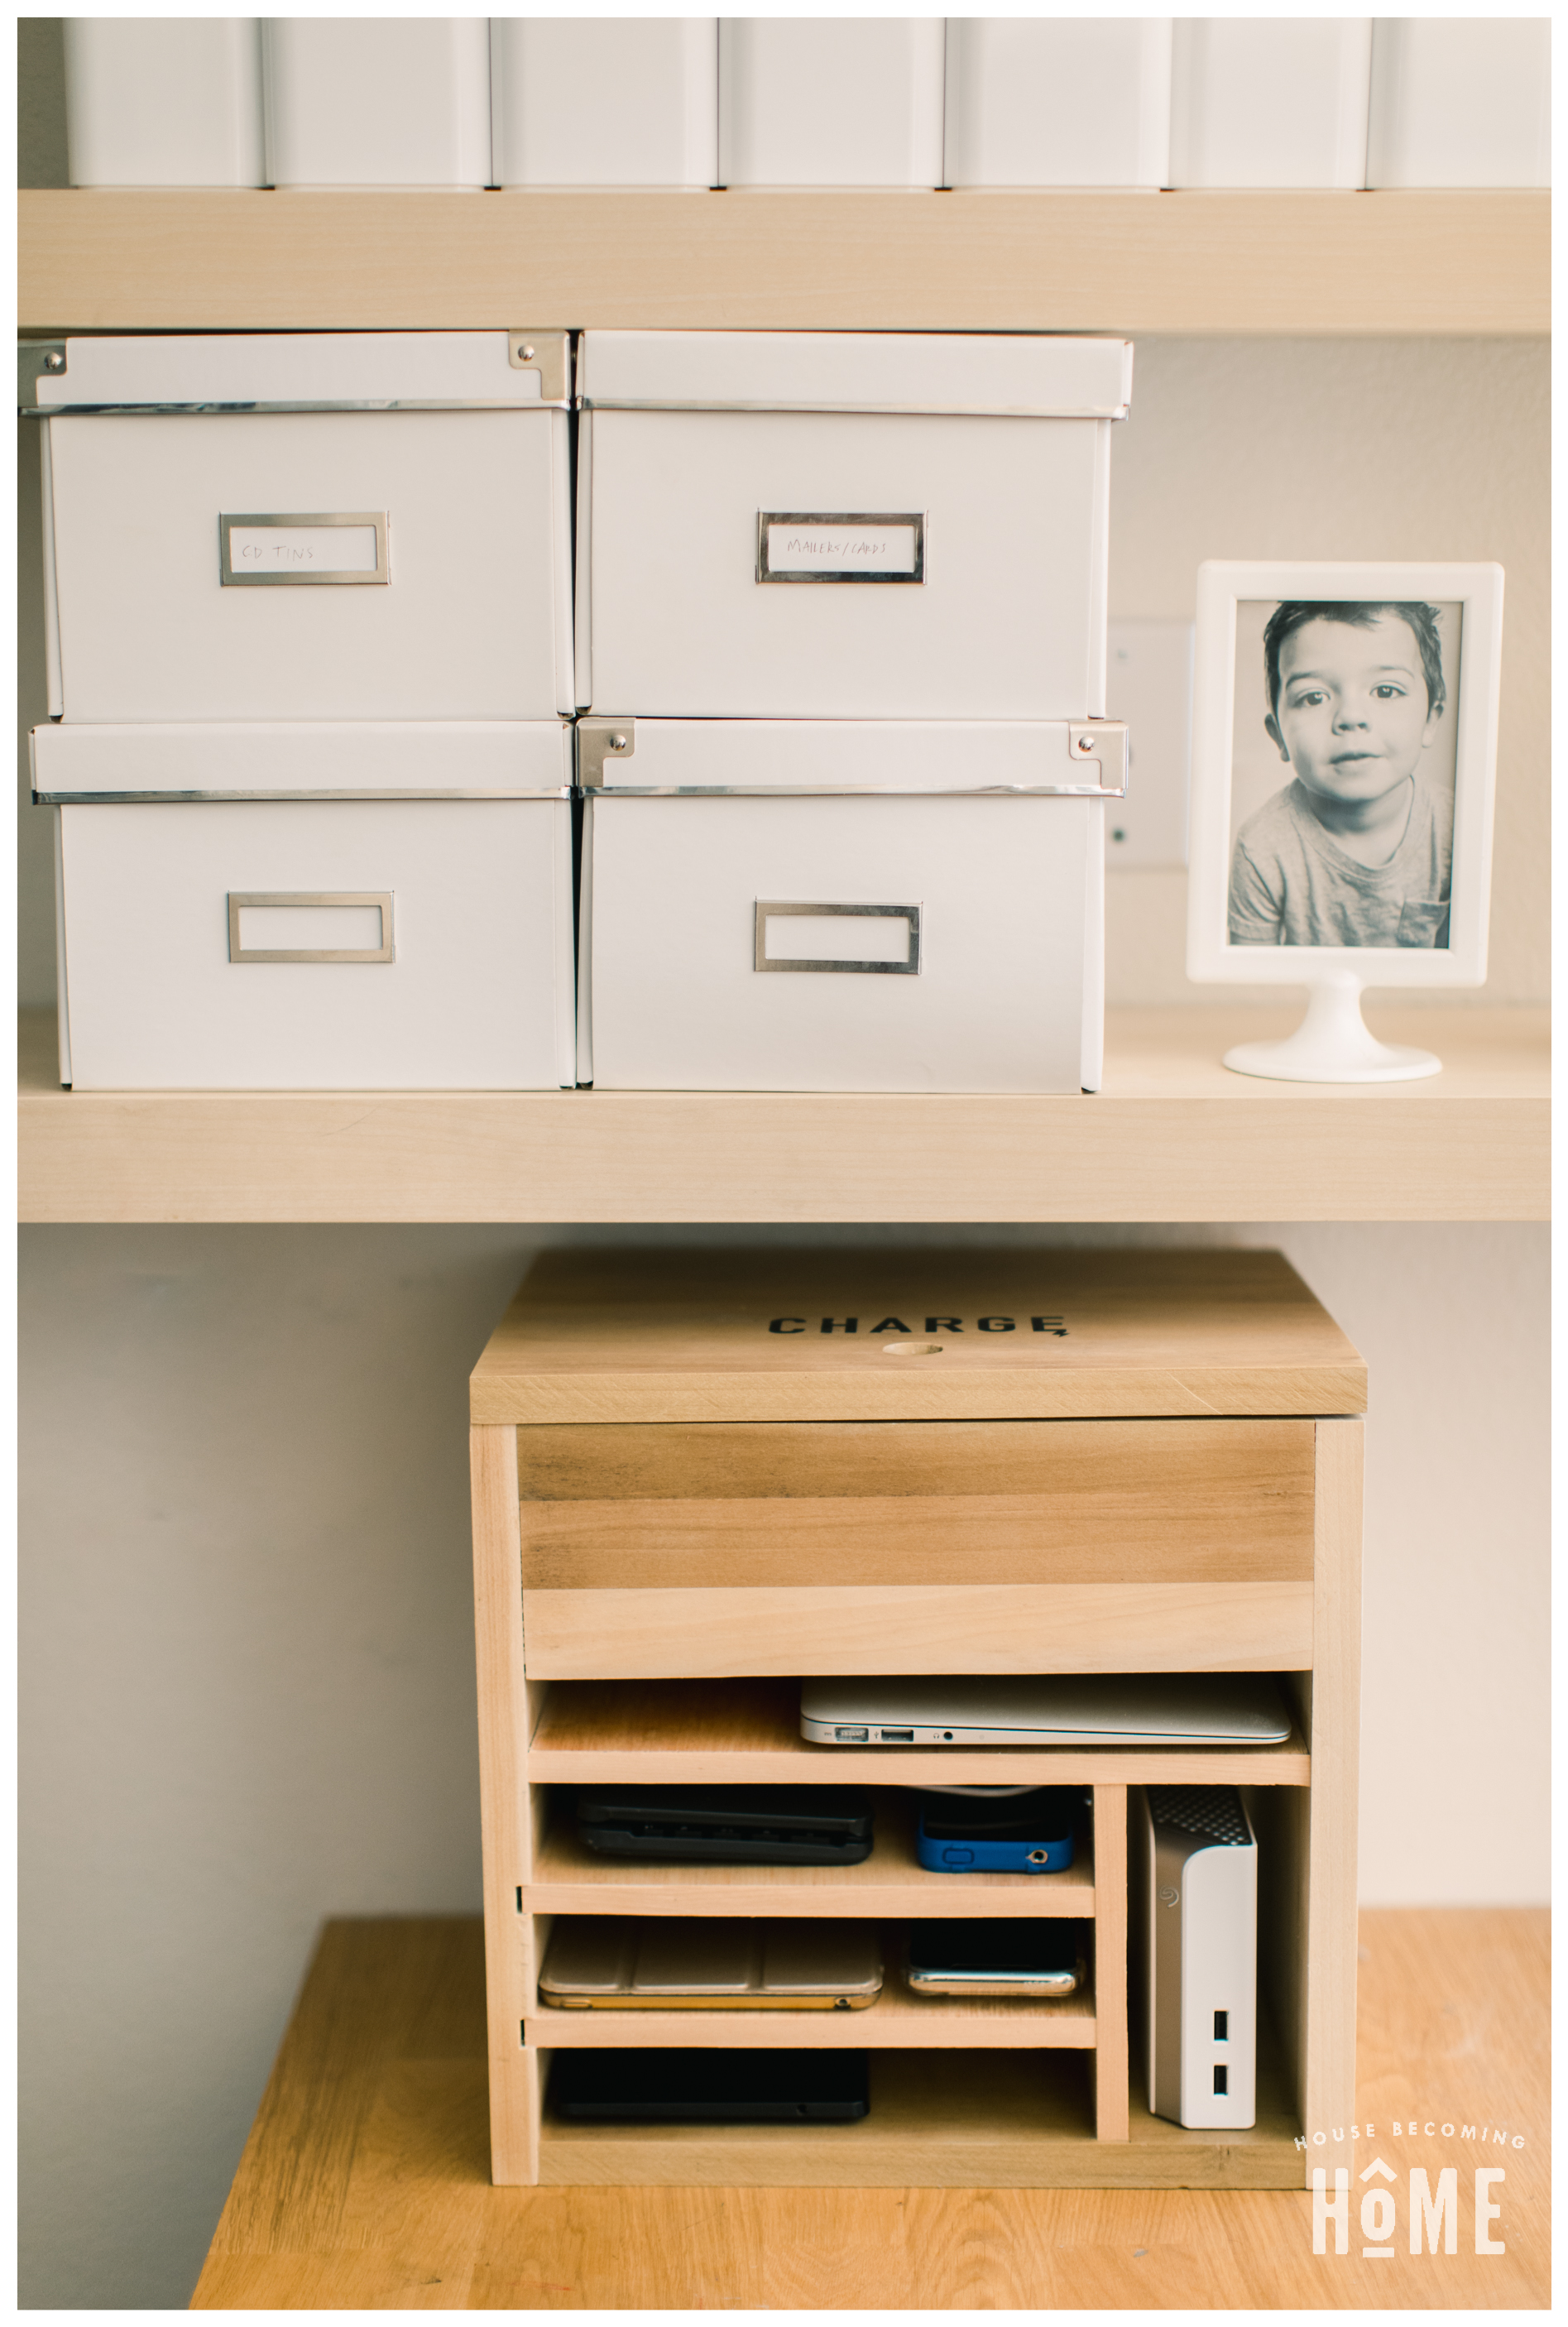
If your house looks like anything mine did a few months ago, there are ipads, tablets, laptops, phones and ALL THEIR CHARGING CABLES scattered everywhere. I made a DIY Charging station to help clear some of that electronic clutter:
House Becoming Home is a participant in the Amazon Services LLC Associates Program, an affiliate advertising program designed to provide a means for sites to earn advertising fees by advertising and linking to Amazon.com. Some links in this post may be affiliate links. Read my full disclosure policy here.
DIY Charging Station Materials
- ¾” thick material of your choice (pine, poplar, walnut, etc.)
- ½” plywood
- Veneer edging
- 1-¼” Pocket Hole Screws
- Wood Glue
DIY Charging Station Tools
- Table Saw
- Miter Saw
- Router & ½” straight bit (or table saw + dado blade)
- Pocket Hole Jig
- Kreg Right angle clamp
- Drill with ⅞” bit
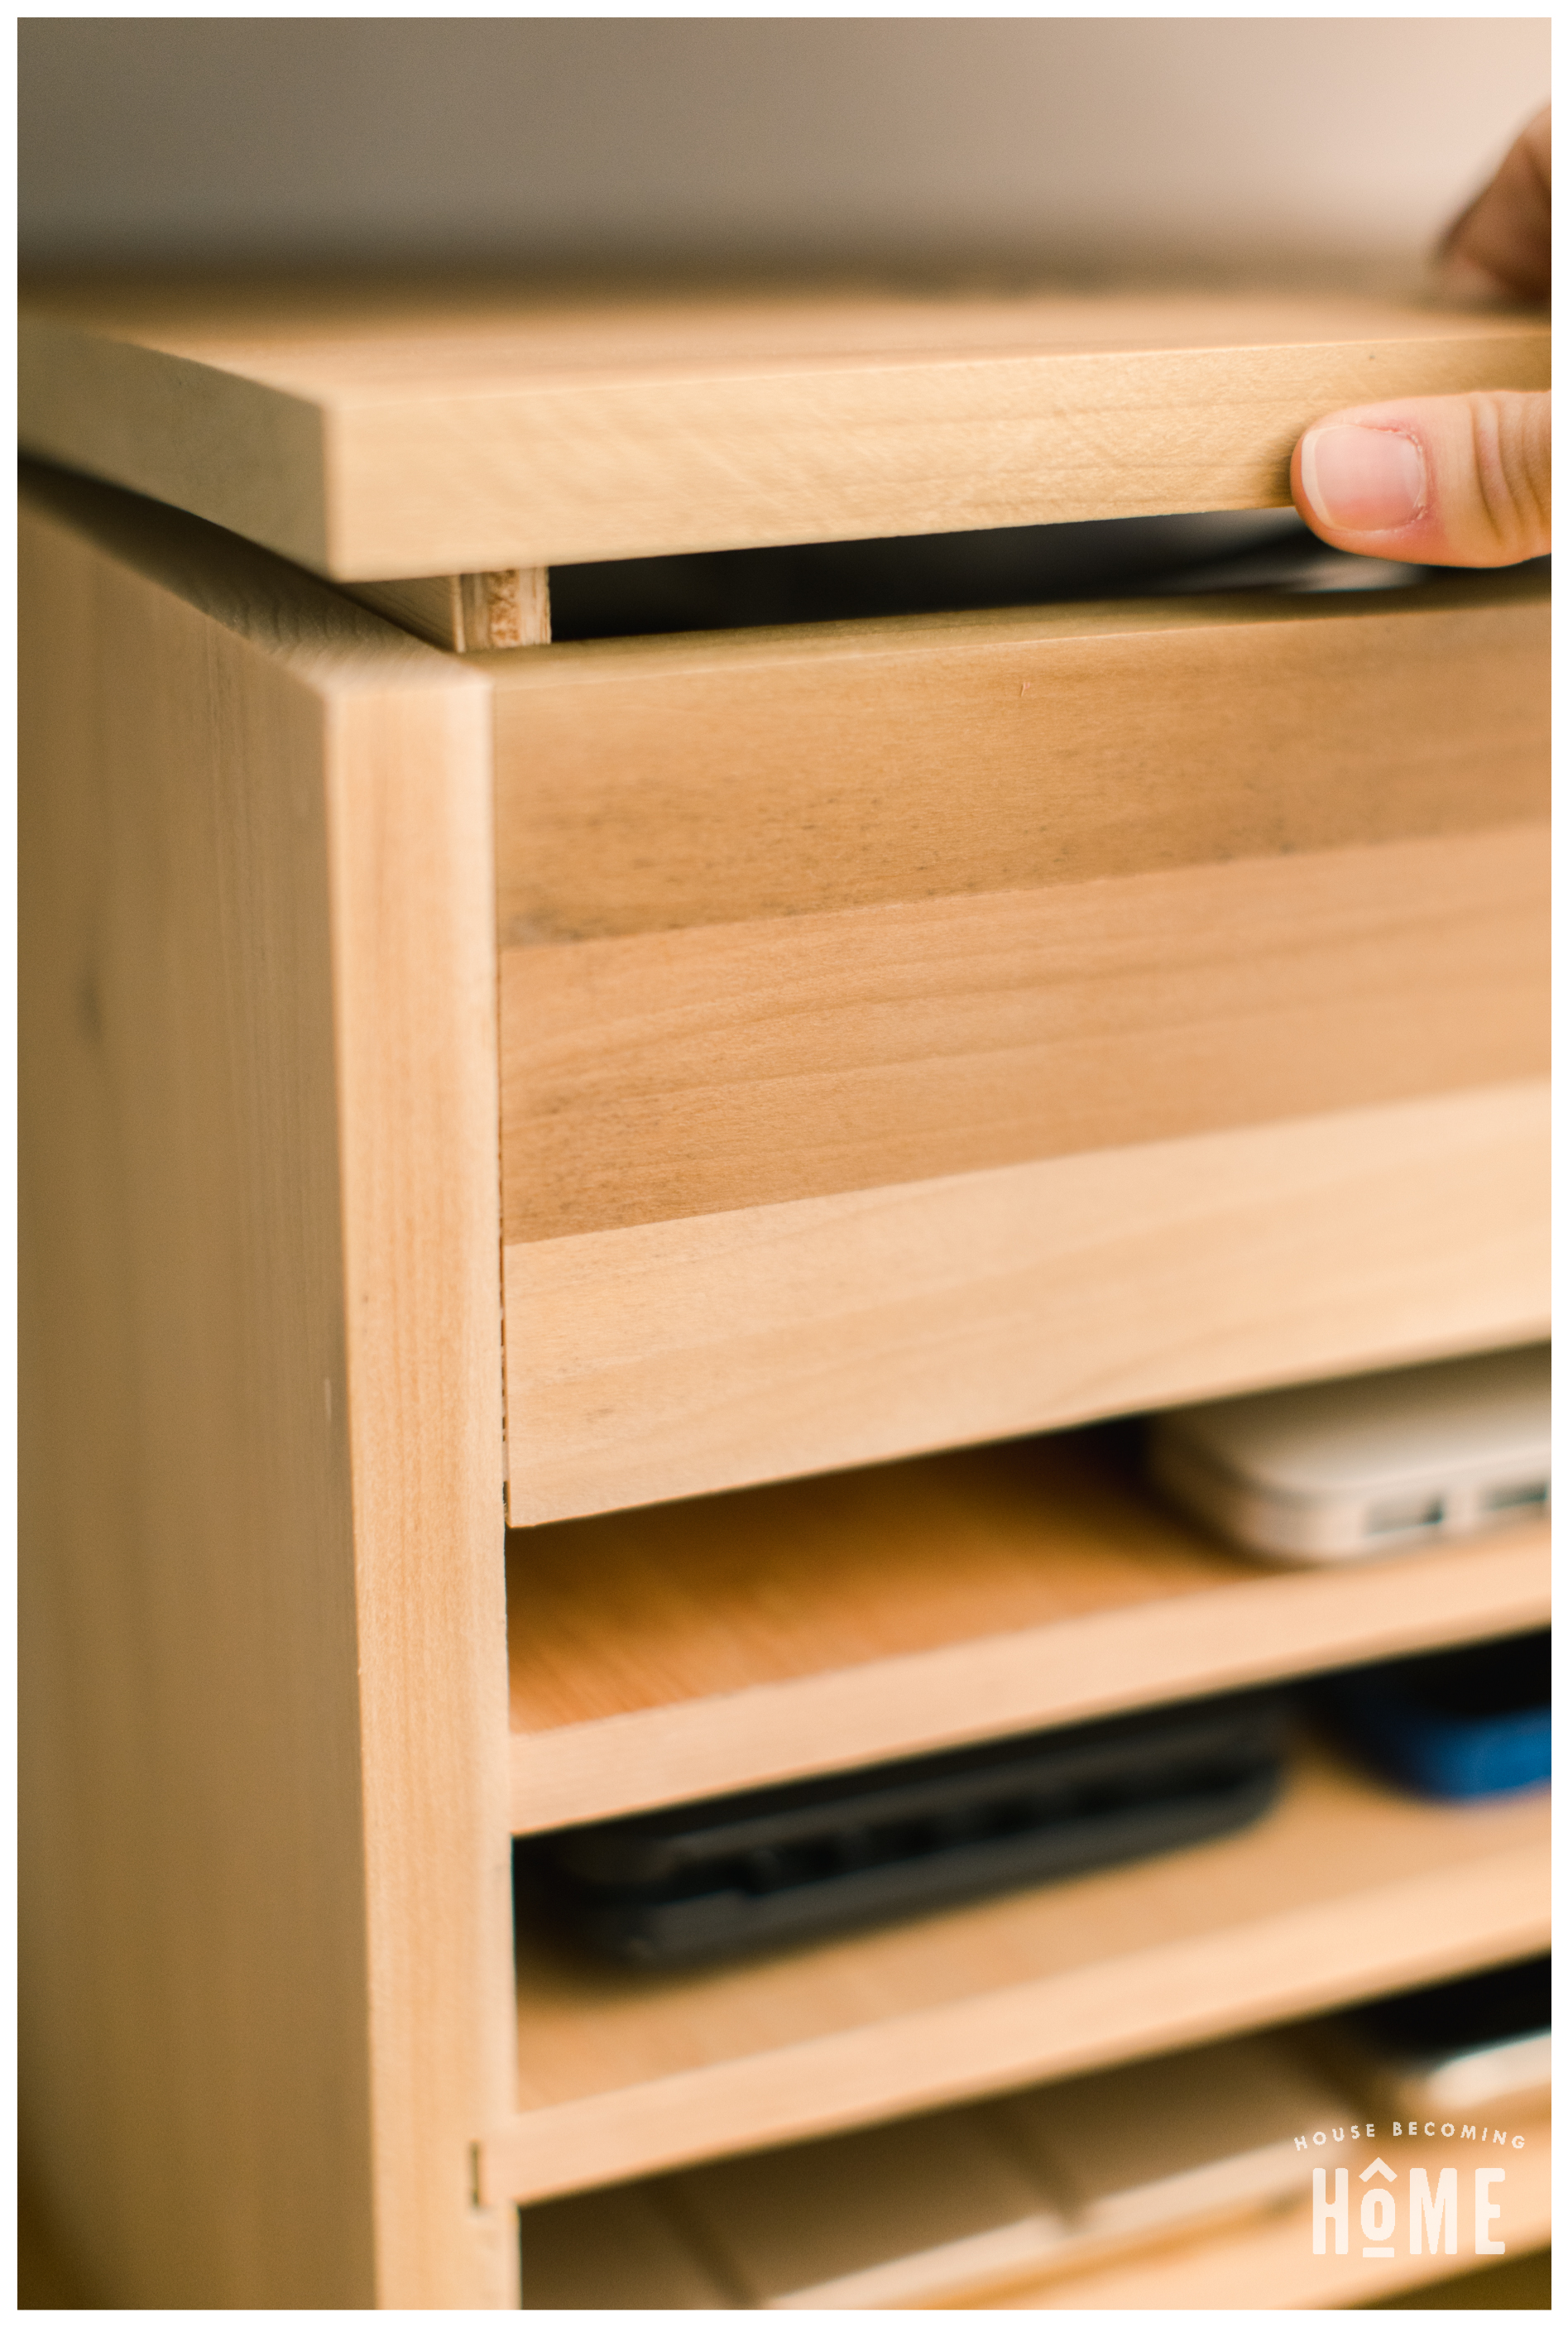
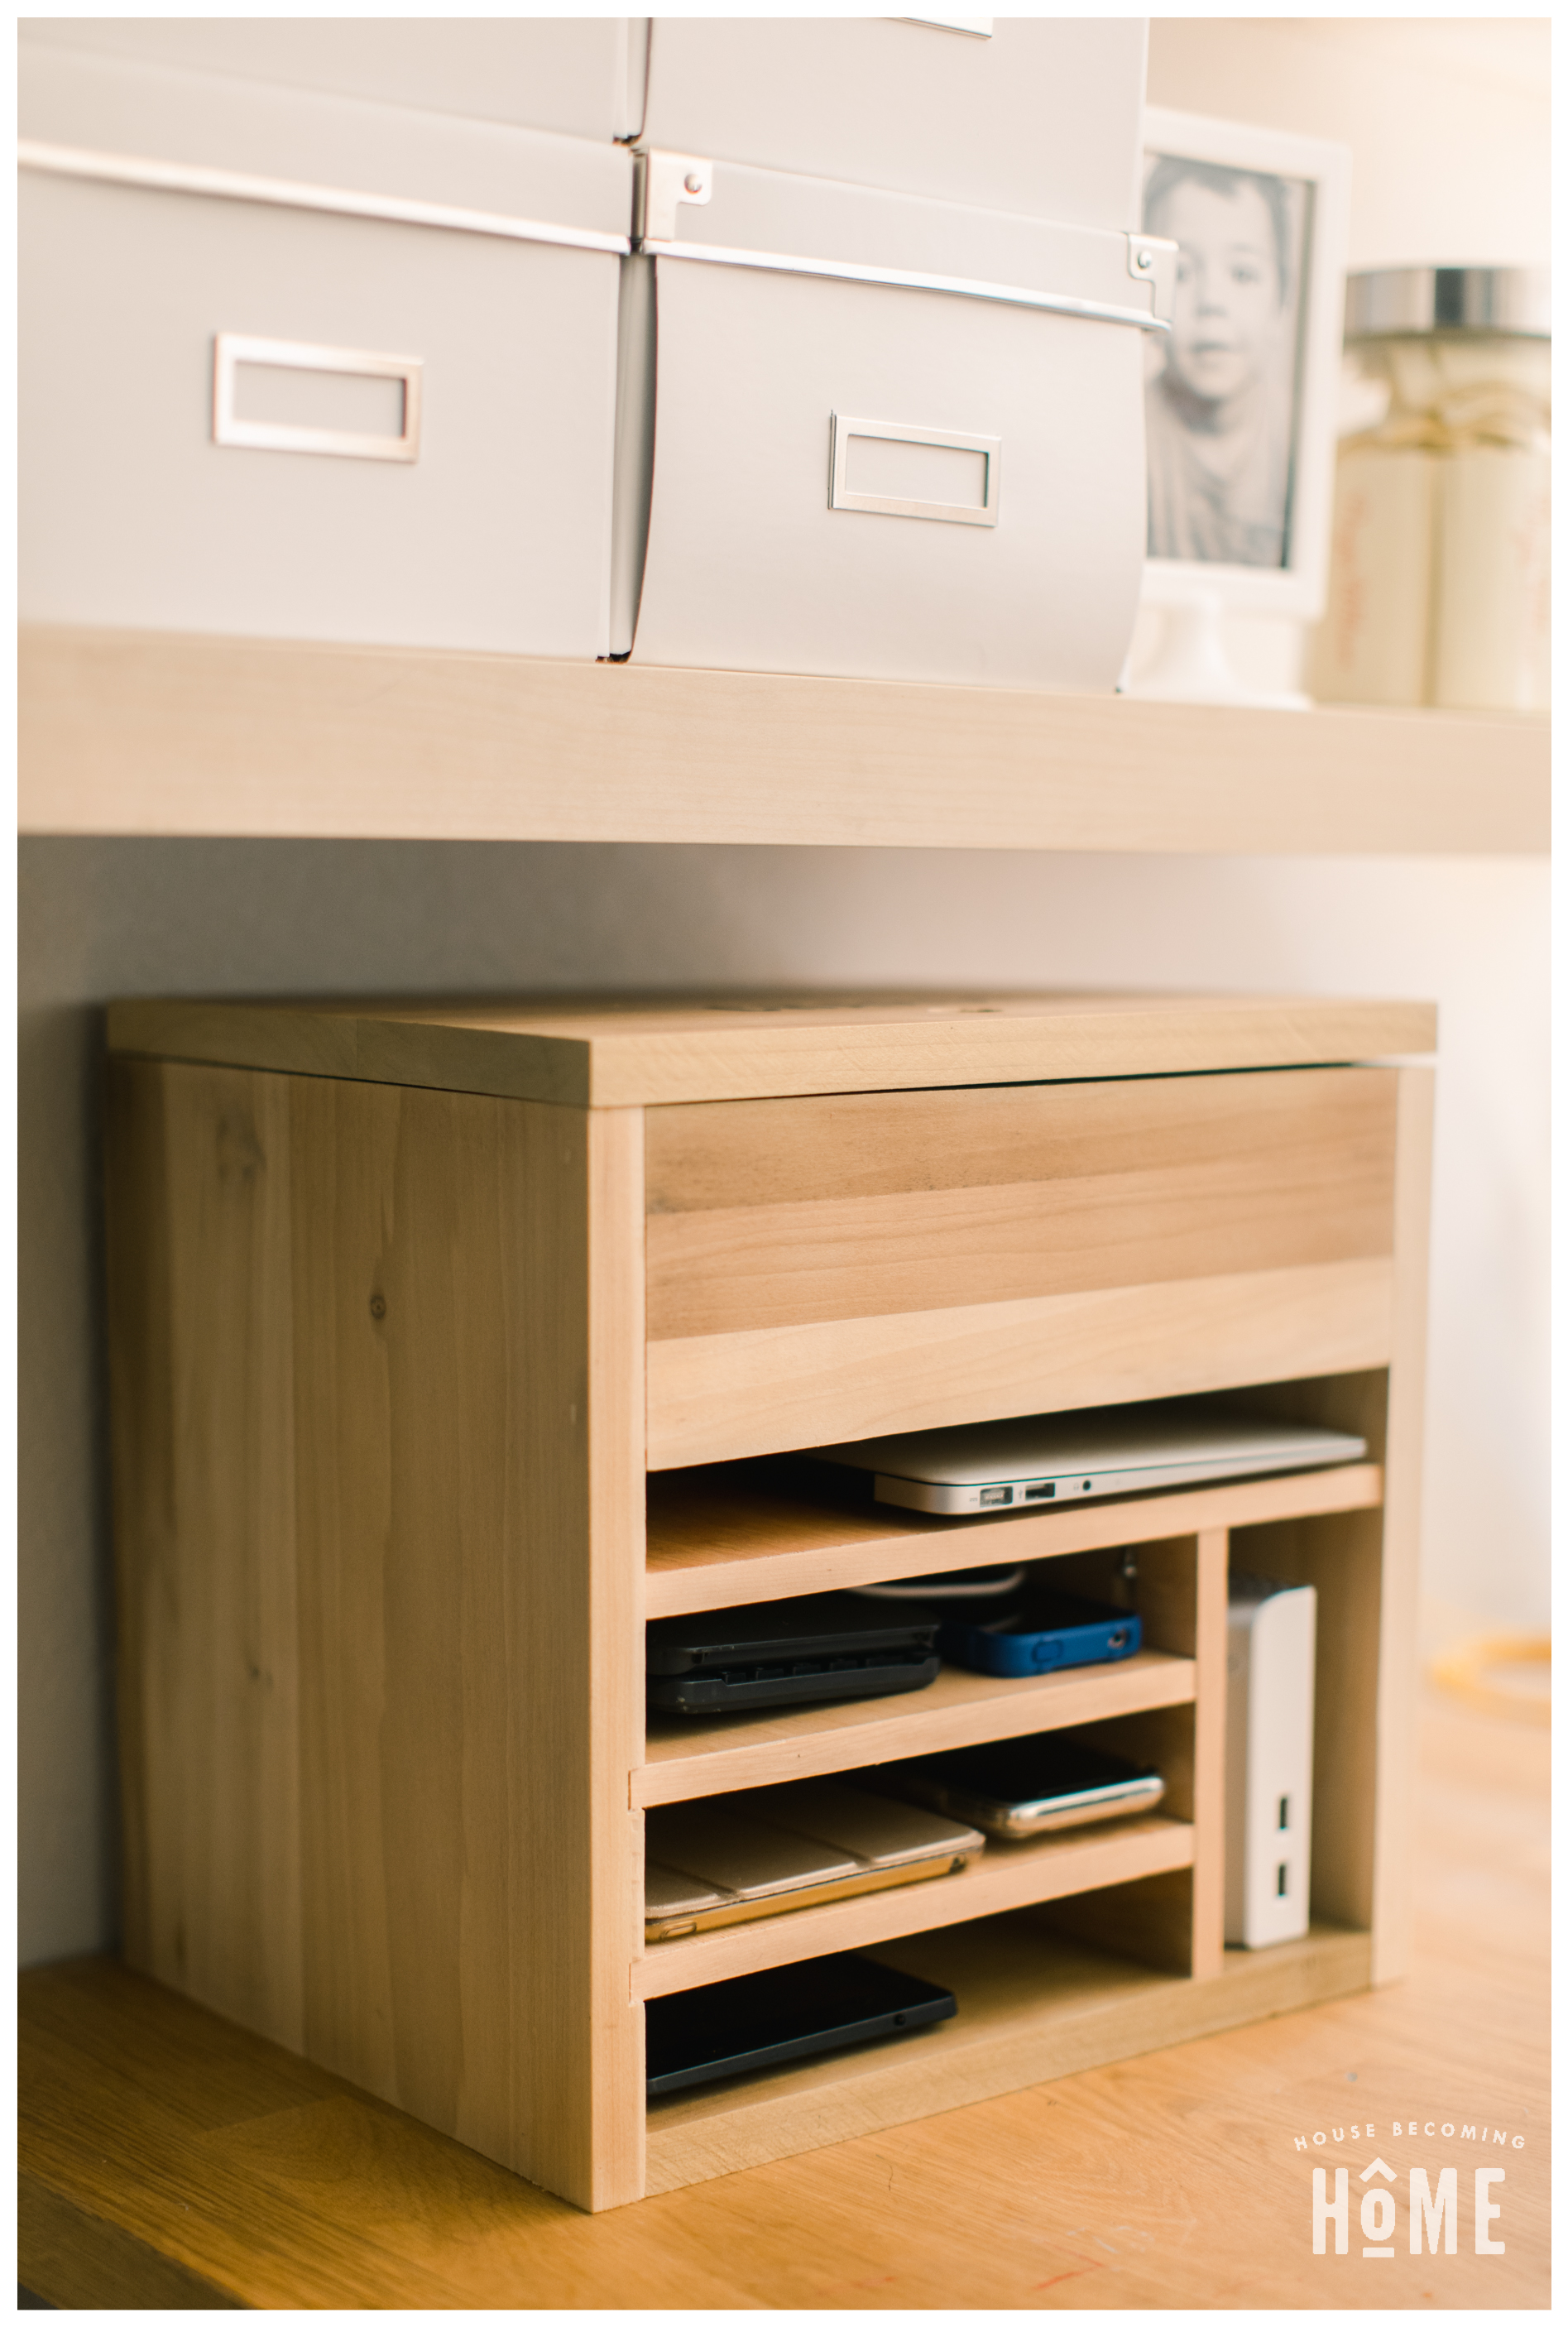
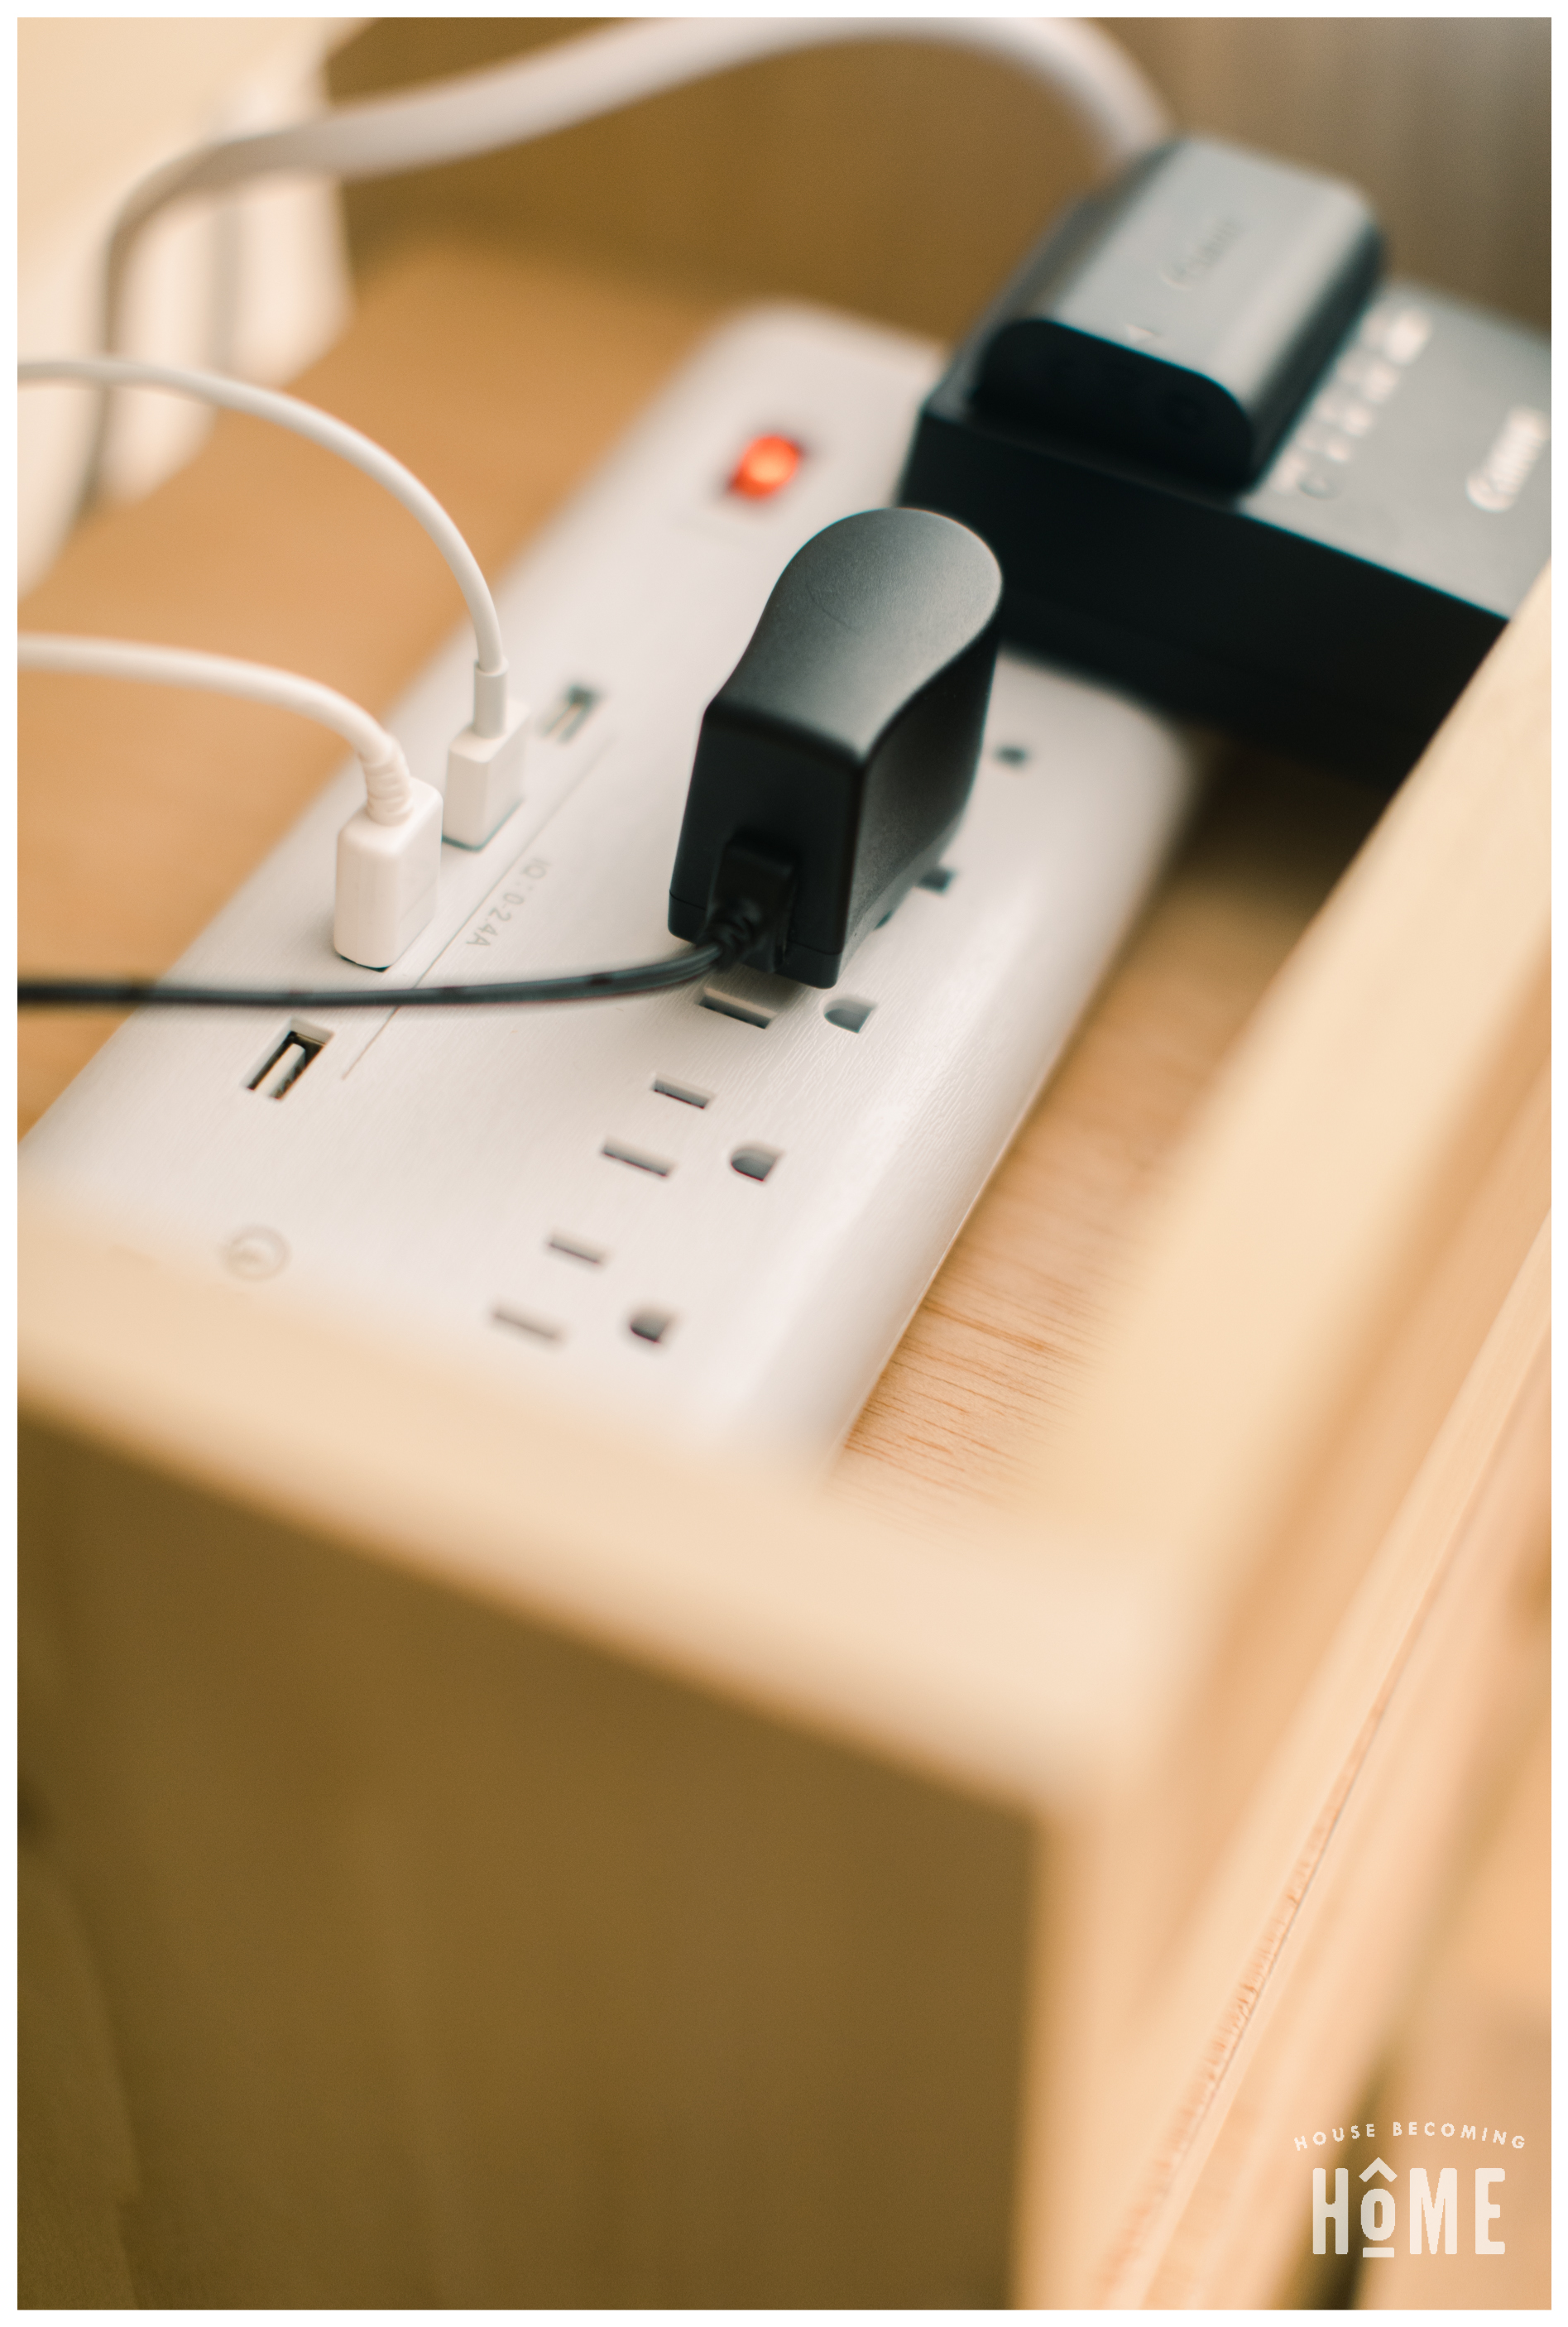
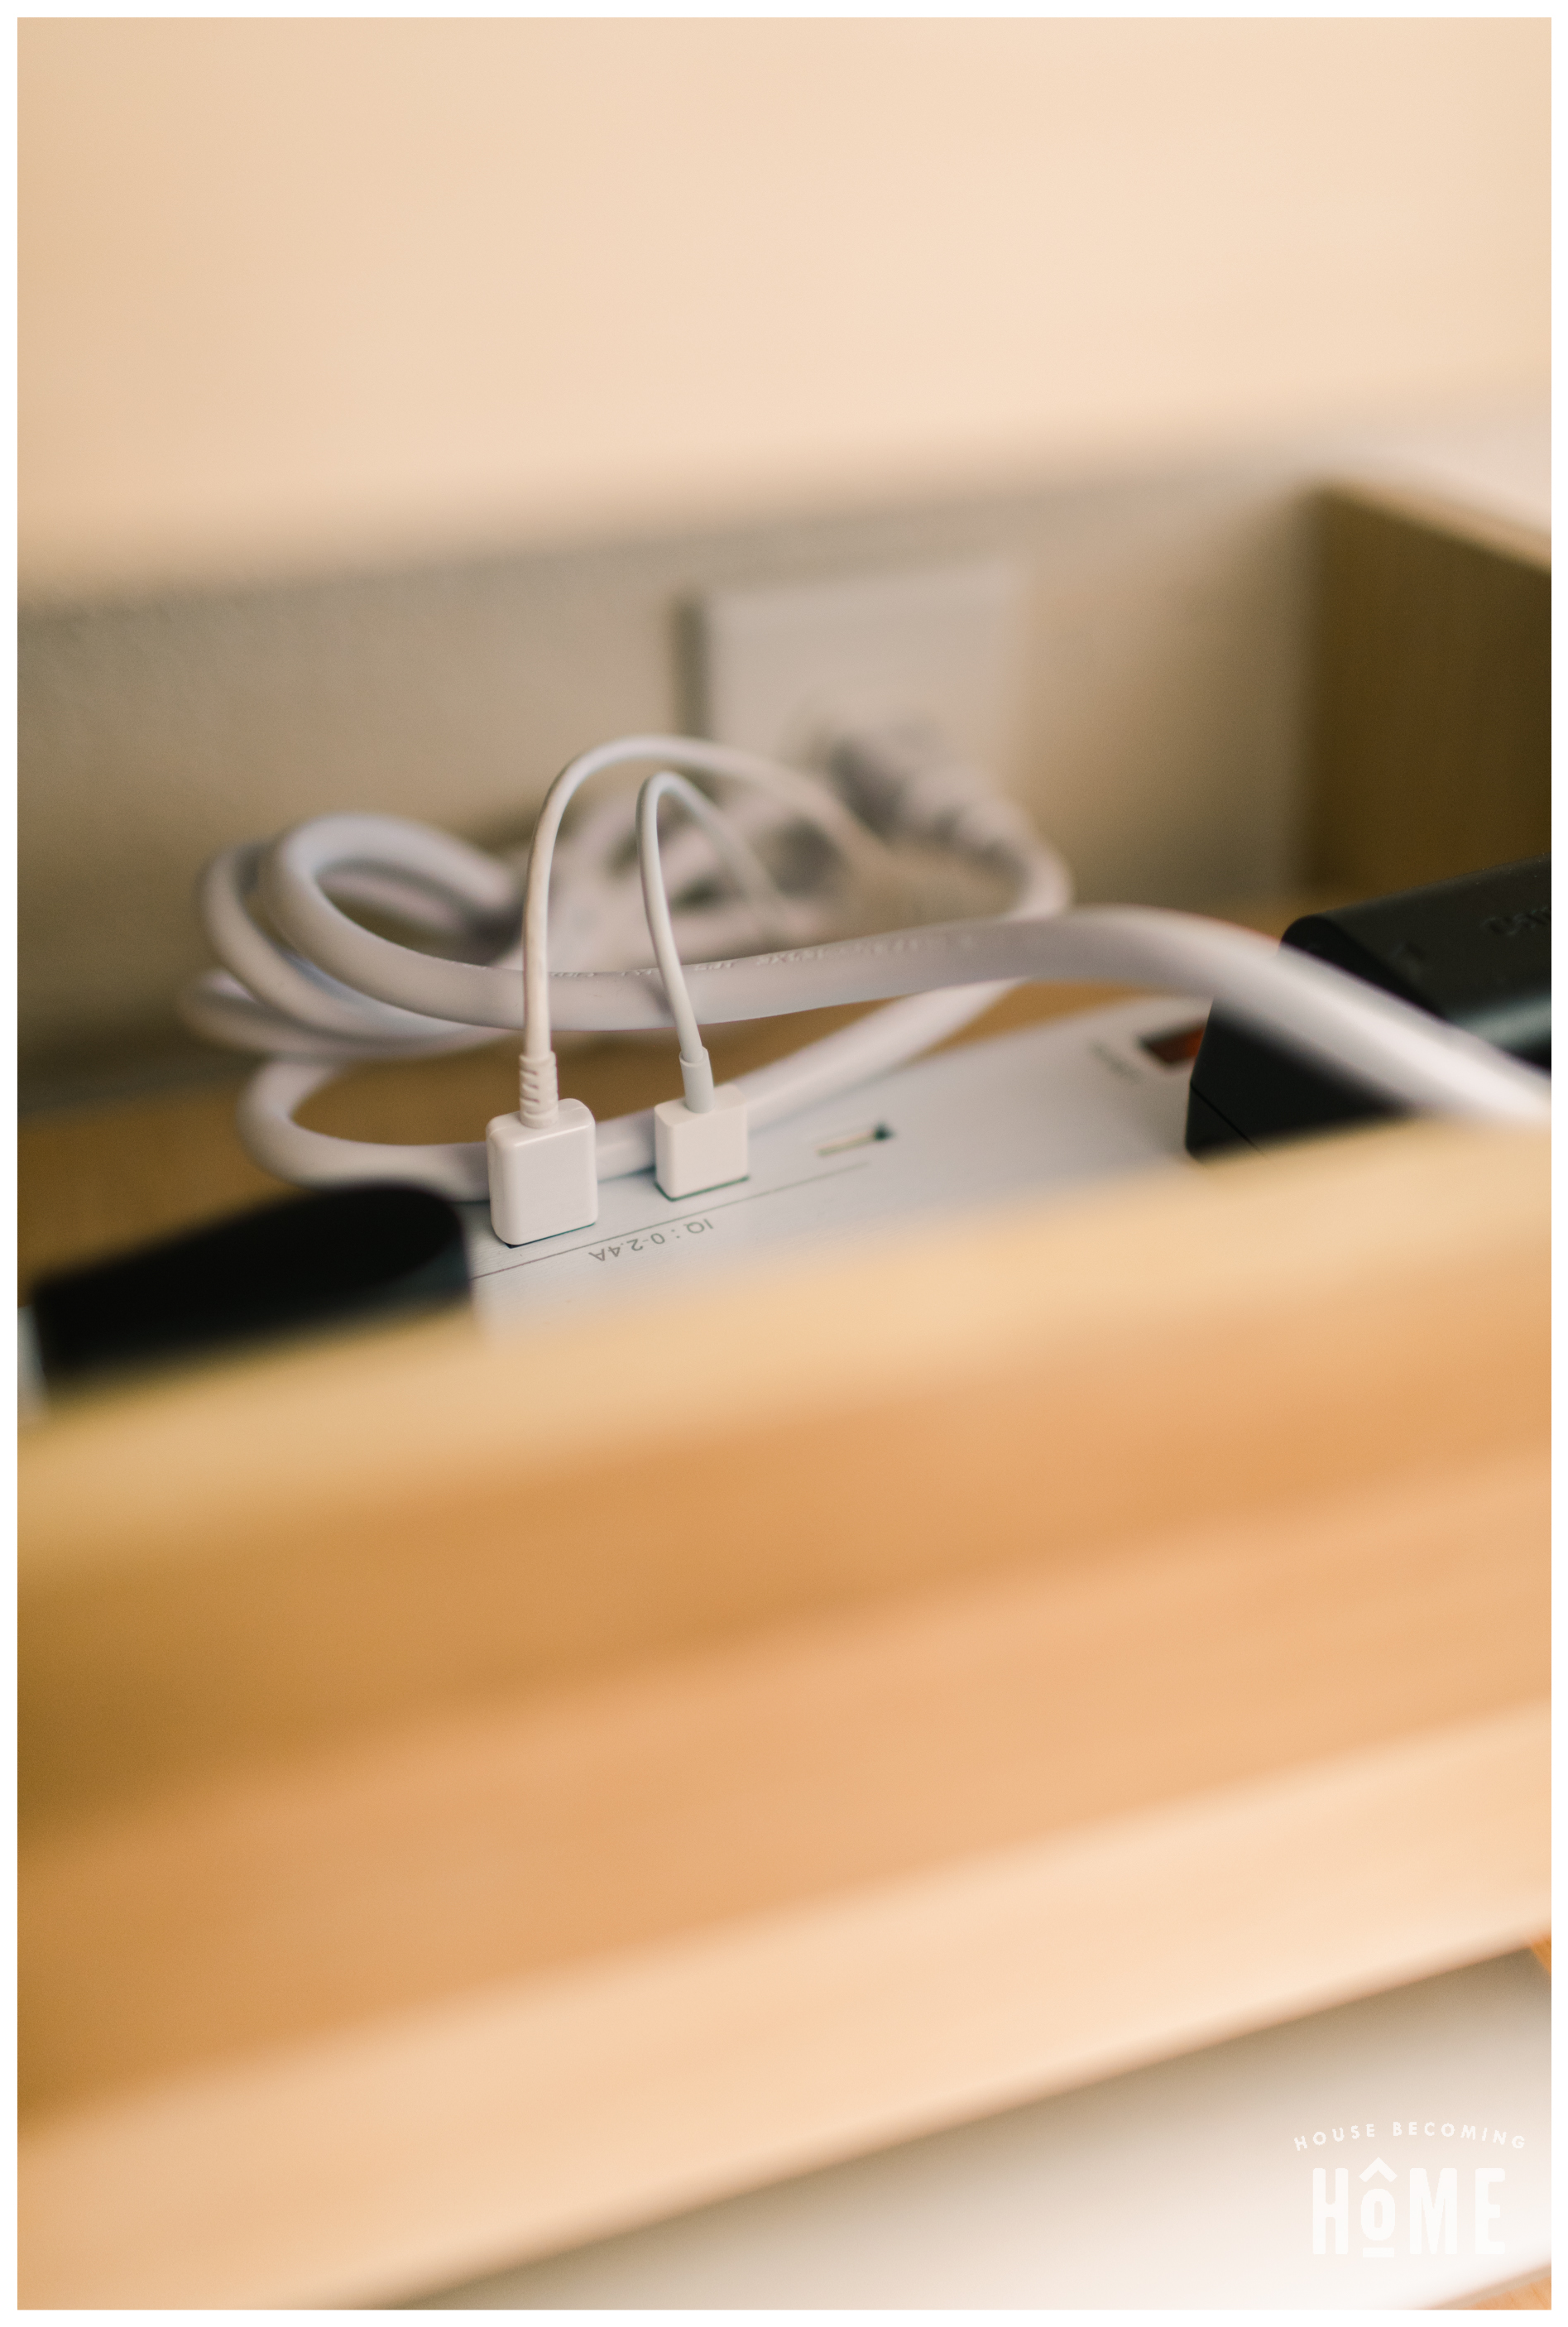
This DIY charging station holds multiple tablets, phones, a small laptop, and my external hard drive. All the cords and cables are unseen in the back, and the top compartment hides a 7 outlet/5 USB port power strip. With so many outlets, I’ve even got enough room to plug in my camera battery charger.
DIY Charging Station Instructions
Today I’m sharing the complete tutorial on my friend Jen Woodhouse’s blog. You can find the post here. And if you’d like to use the charge icon I made, I have a free printable pdf file you can download at the end of this post. If you make your own DIY charging station, come back here and share your photos with me. I’d love to see how it turns out!
