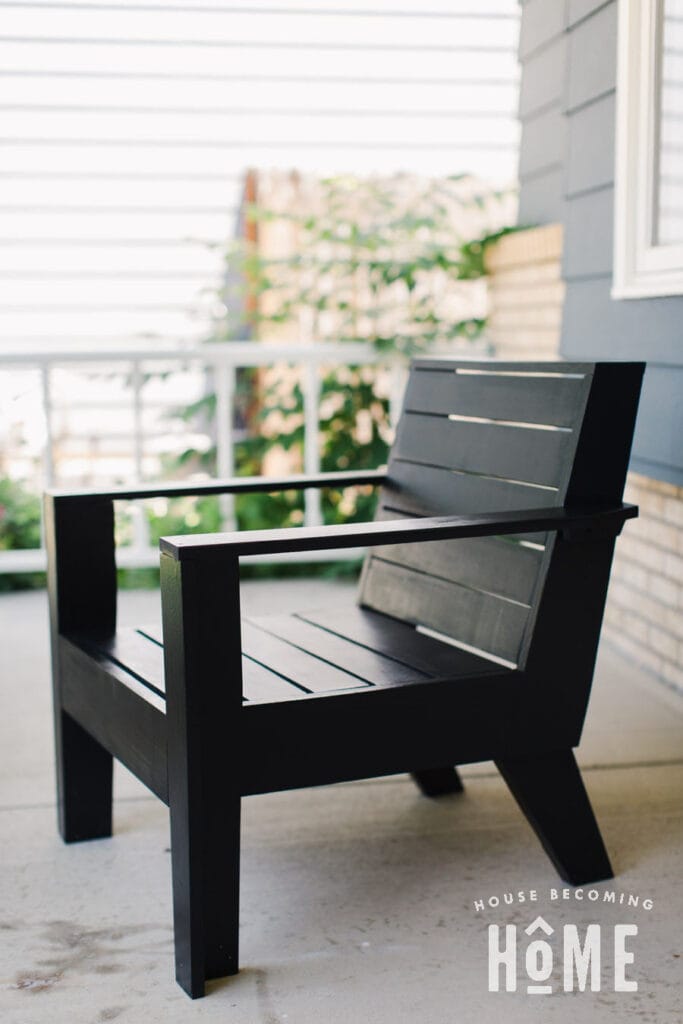
A few weeks ago my neighbor gave me some unwanted lumber. A couple of the pieces were redwood, which made me start thinking about building something for an outdoor space . . . perhaps an adirondack chair for our bare front porch. I began searching for some patio chair inspiration, and knew I had found what I was looking for when I saw this modern adirondack chair from Rejuvenation.
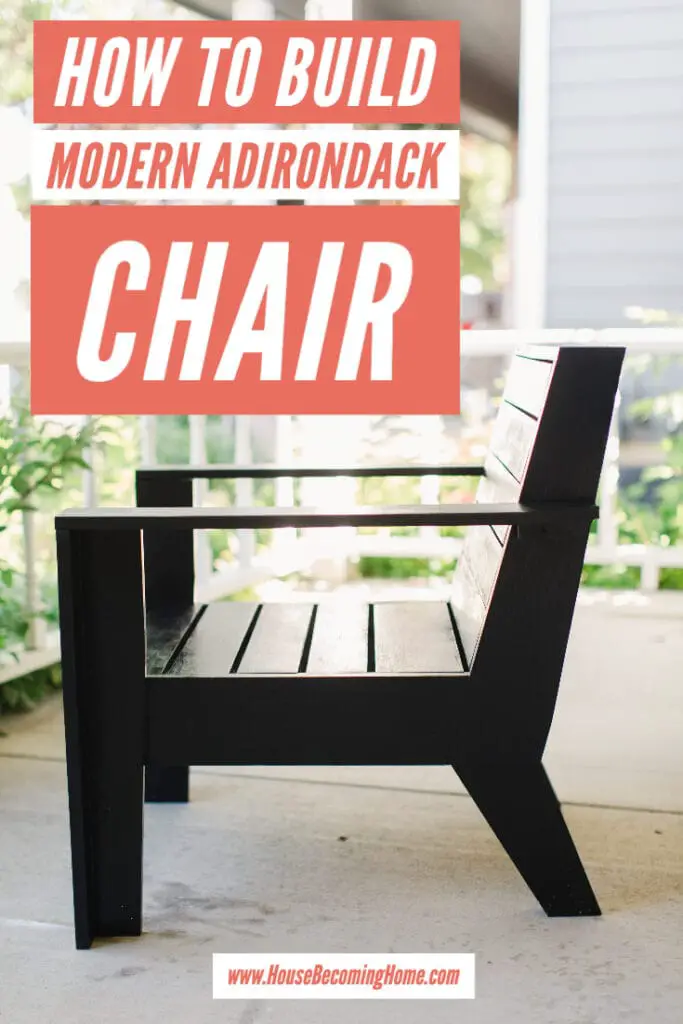
Build a Modern, Rejuvenation-Inspired Adirondack Chair
I drew up some plans and then built this chair entirely from my scrap pile + free lumber from my neighbor. Even if you don’t have a large scrap pile or a neighbor giving away lumber, I’m certain you can build this modern adirondack chair in a single day for WAY LESS than $499, which is what you’d pay if you get it from Rejuvenation.
This post provides the tutorial for building my modern adirondack chair, heavily inspired by Rejuvenation’s. If you’re interested in printable plans with a cut list, parts diagrams and exact dimensions of each piece, you can find those here:
Modern Adirondack Chair Building Plans
* This post contains affiliate links for your convenience. Read my full disclosure policy here. *
How to Build a Modern Adirondack Chair
Recommended Tools
- Miter Saw
- Table Saw
- A Taper Jig is helpful if you plan on adding tapers to the legs and back like I did. I have a tutorial for a very simple taper jig, but the one I used for this project is one I built following a tutorial from 3×3 Custom
- Pocket Hole Jig
- Drill or Impact Driver with bits
- Woodworking Clamps
- Sander + Sandpaper
Optional Tools:
- Kreg pocket hole clamp (not absolutely necessary, but makes assembly a lot easier.)
- A homemade spacer, made from scrap wood (to maintain even spacing between slats)
Materials
LUMBER
- (5) 1×4 x 8ft (for slats, front legs, arms, and arm attachment pieces)
- (1) 1×6 x 8ft (for chair back top)
- (2) 2×6 x 8ft (for chair seat sides, chair seat front, chair back sides, and back legs visible)
- (1) 2×3 x 8ft (for back legs hidden support)
OTHER
- 2-½” exterior pocket hole screws
- 1-¼” exterior pocket hole screws
- 1.5” Exterior Screws
- 2.5” Lag Bolts
- Wood glue (something meant for exterior, like Titebond III)
- Wood Filler
- Finish of choice (I used an oil-based primer, exterior paint, and an exterior top coat)
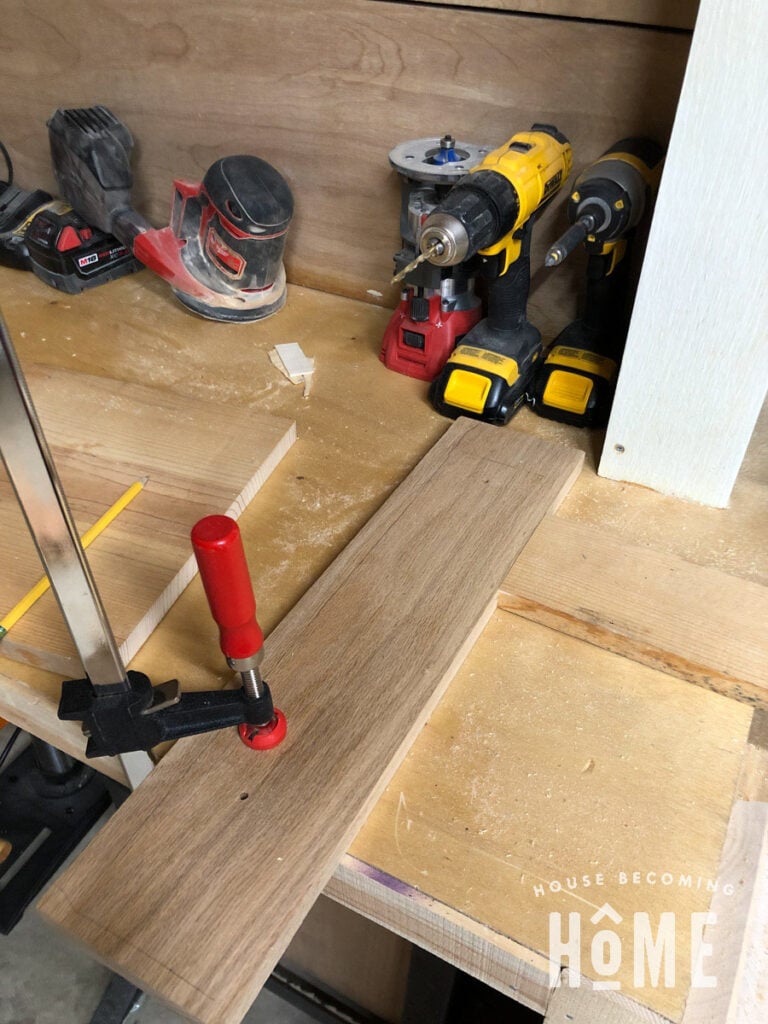
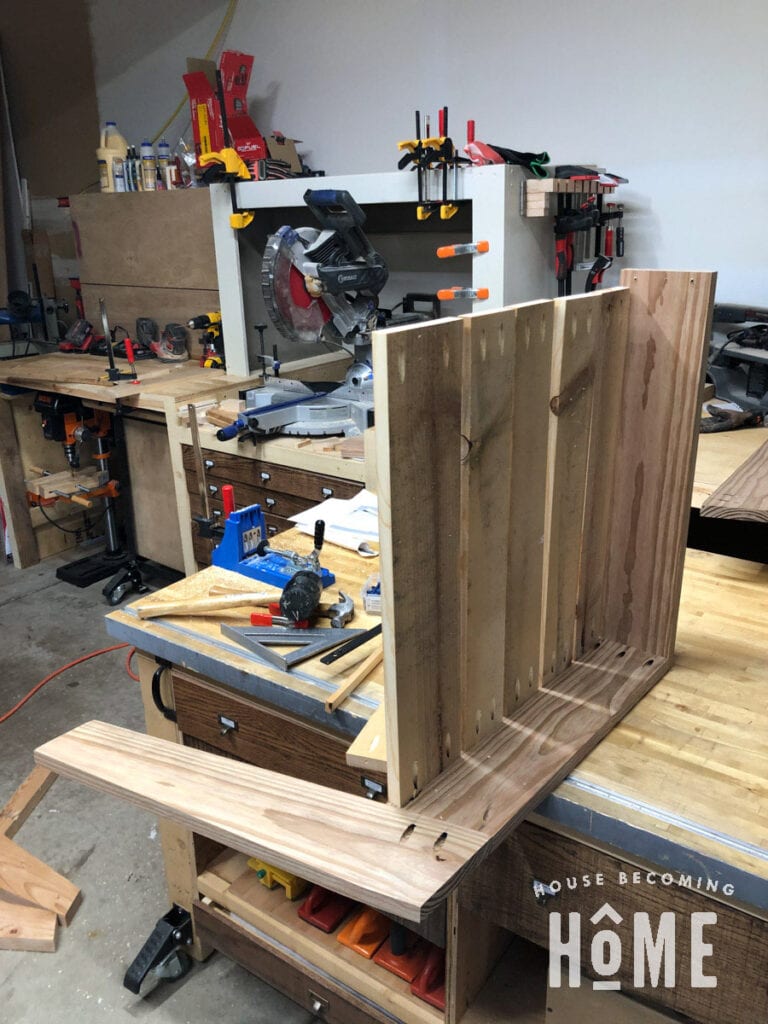
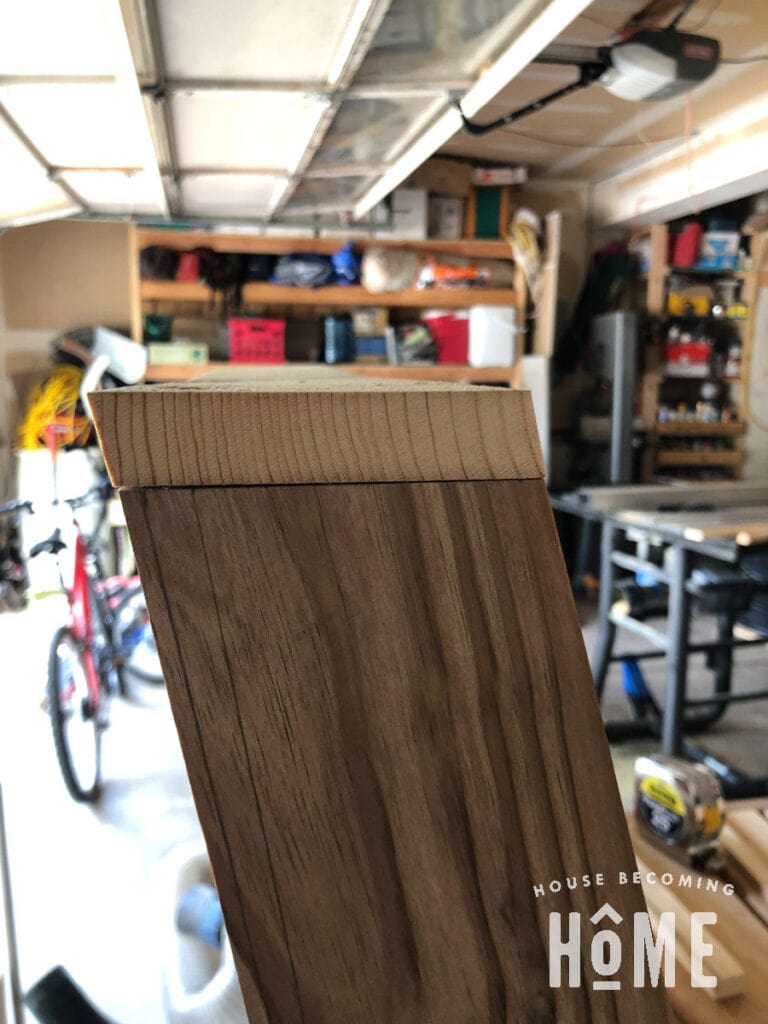
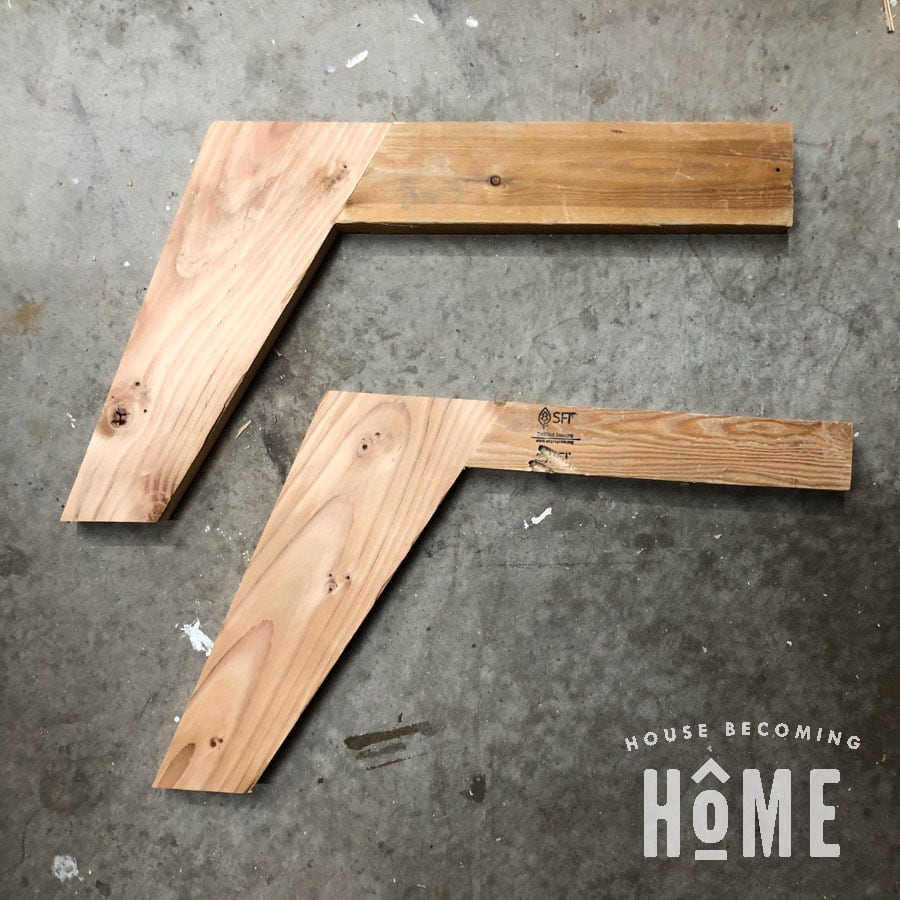
Chair Back Side Pieces
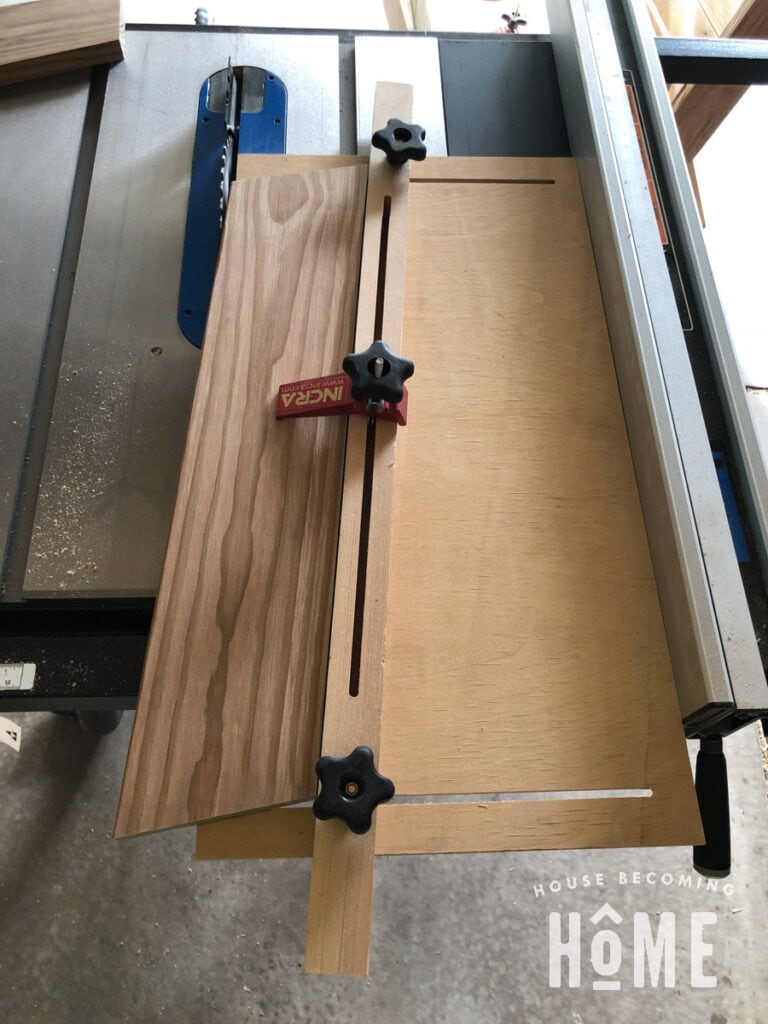
Begin by cutting the two chair back sides. Using a taper jig on your table saw, add a taper to the back edge. If you’re looking for a super simple taper jig, I have a tutorial here: Simple Taper Jig. The one I made and use now, however, is one I built following a tutorial by 3×3 Custom.
Next, make two pocket holes at the bottom, inside face of the chair back side piece. These pocket holes are where you’ll attach the chair back side to the chair seat side.
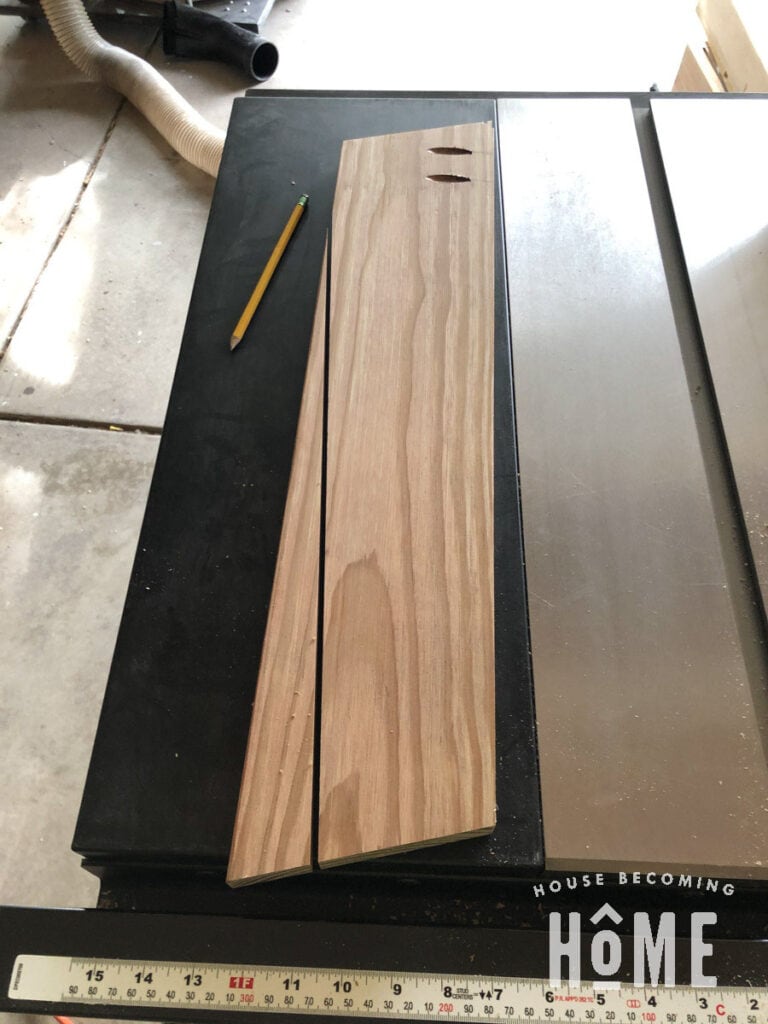
Repeat the above steps to make the other chair back side piece, then set both aside.
Build the Chair Seat
Cut the chair seat front and chair seat sides from a 2×6. Make pocket holes on both ends of the chair seat side pieces.
Using three 2-½” pocket hole screws, join one of the chair seat side pieces to the chair seat front piece. Don’t attach the second chair seat side piece yet, as that will make it difficult to add the seat slats.
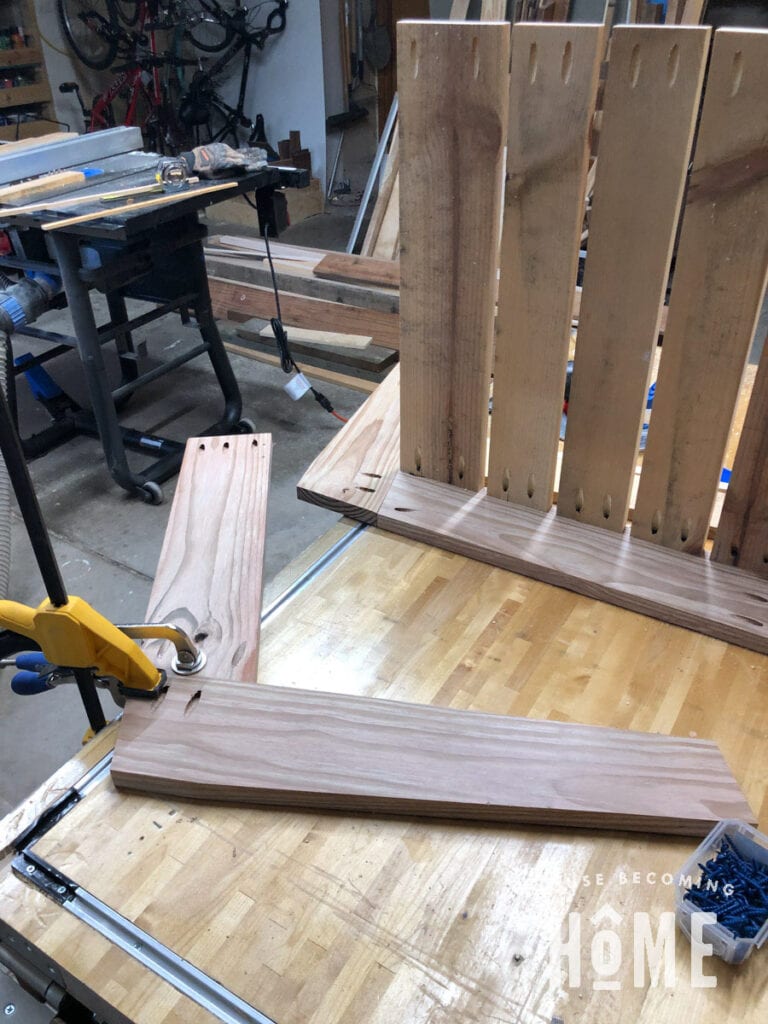
Chair Seat Slats
Cut five chair seat slats from 1×4 lumber. Use a stop block to ensure that each of the wooden seat slats are cut to the exact same length. I clamped a piece of scrap wood to my miter station to use as a stop block.
Make two pocket holes on each end of the chair seat slats (on the bottom face).
Attach the first four seat slats with 1-¼” exterior pocket hole screws to the chair seat side:
If desired, make a spacer from scrap wood to ensure consistent spacing between each slat. (you can see my spacer between the two slats in the photo above.)
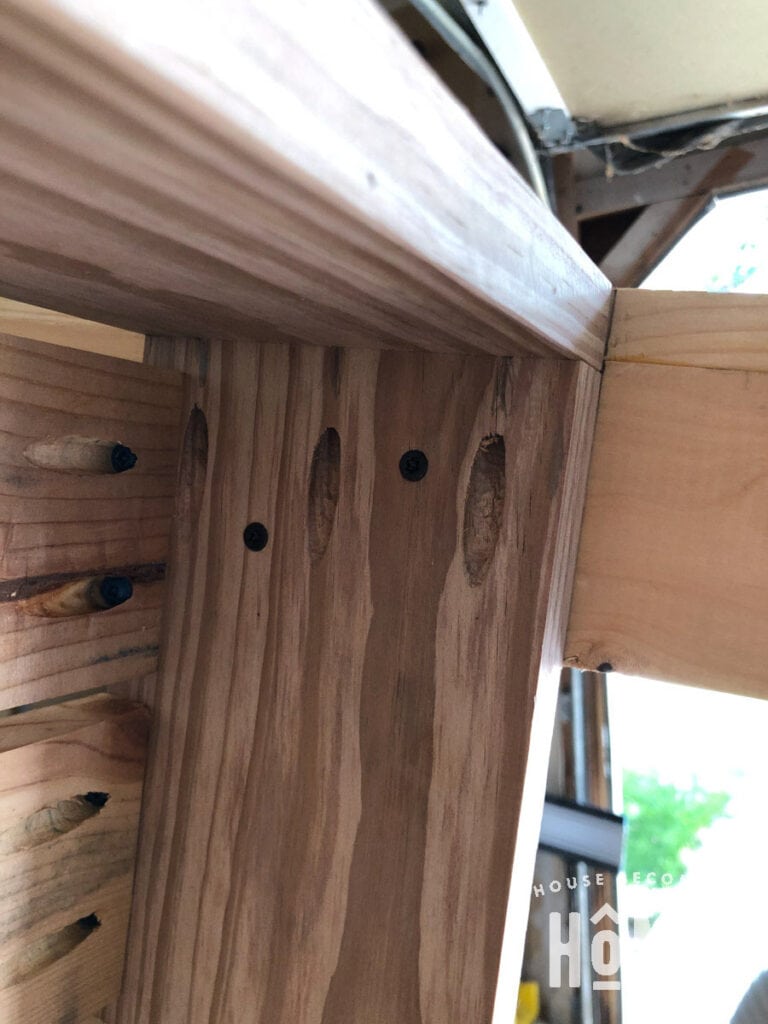
Before screwing in the 5th seat slat, attach the chair back side piece (you cut two of these in the first step) with 2-½” exterior pocket hole screws. The chair back side piece will be attached with four screws (two through the chair seat side and two through the chair back side). Once the fifth slat is added, it may be more difficult to access these pocket holes.

Attach the fifth chair seat slat:
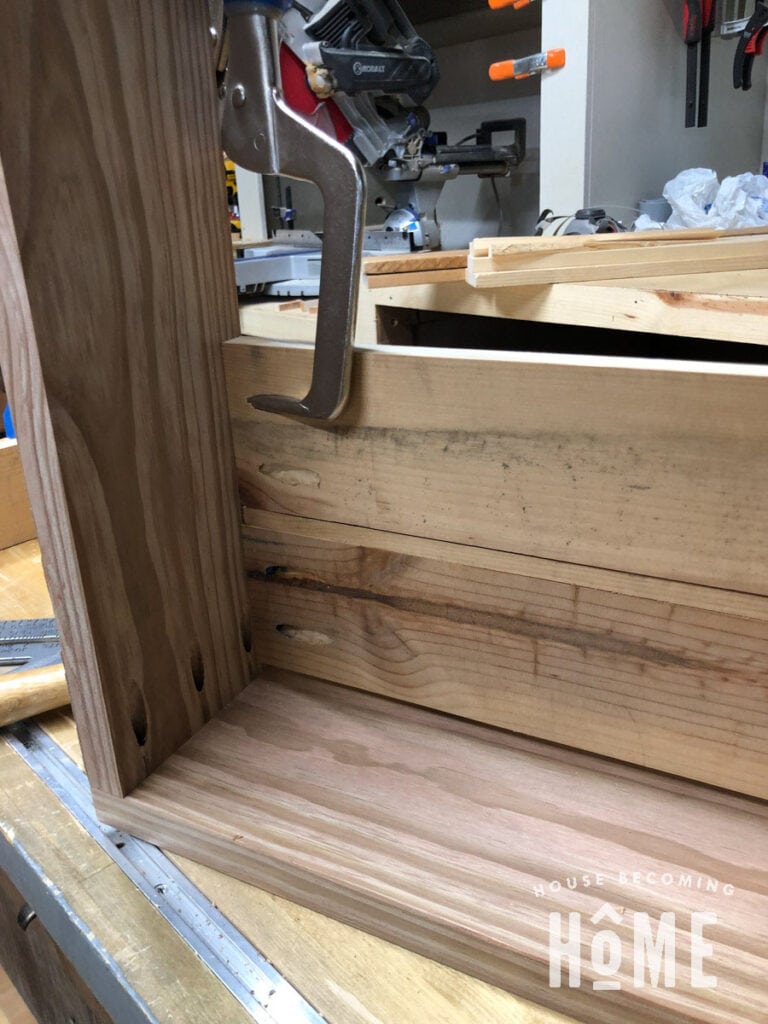
Chair Seat Side Two
Using four 2-½” pocket hole screws, join the remaining chair seat side with the remaining chair back side piece.
Attach this to the chair seat front with 2-½” pocket hole screws through the three pocket holes at the front of the chair seat side piece.
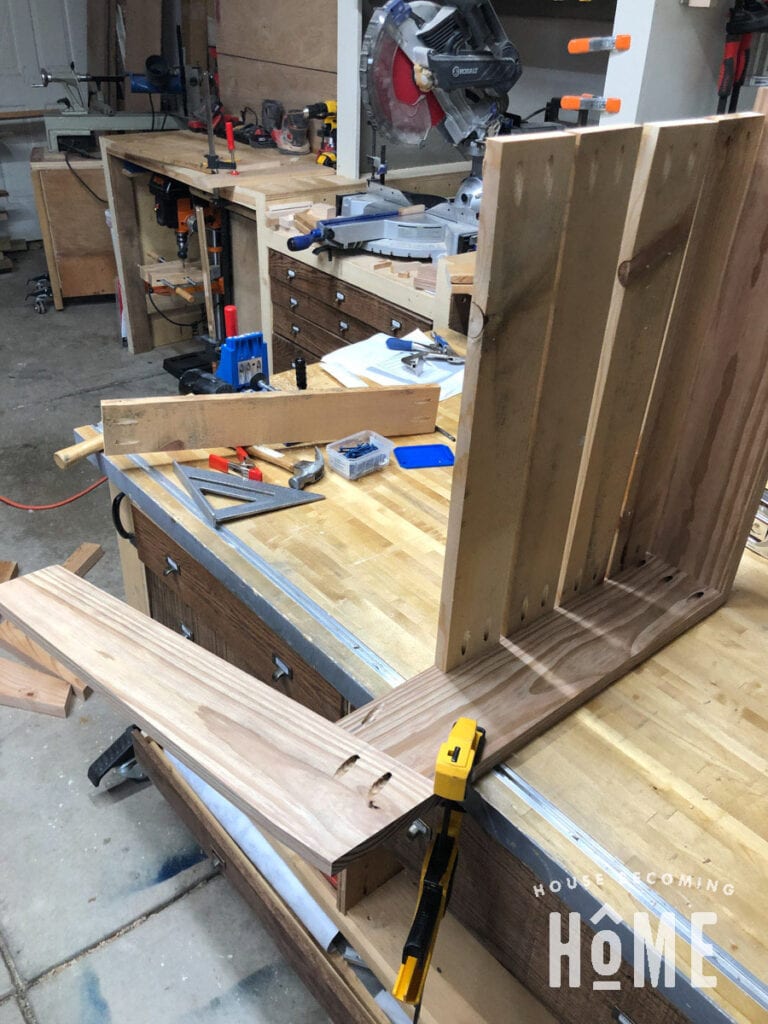
Fasten Chair Seat Slats to Second Side
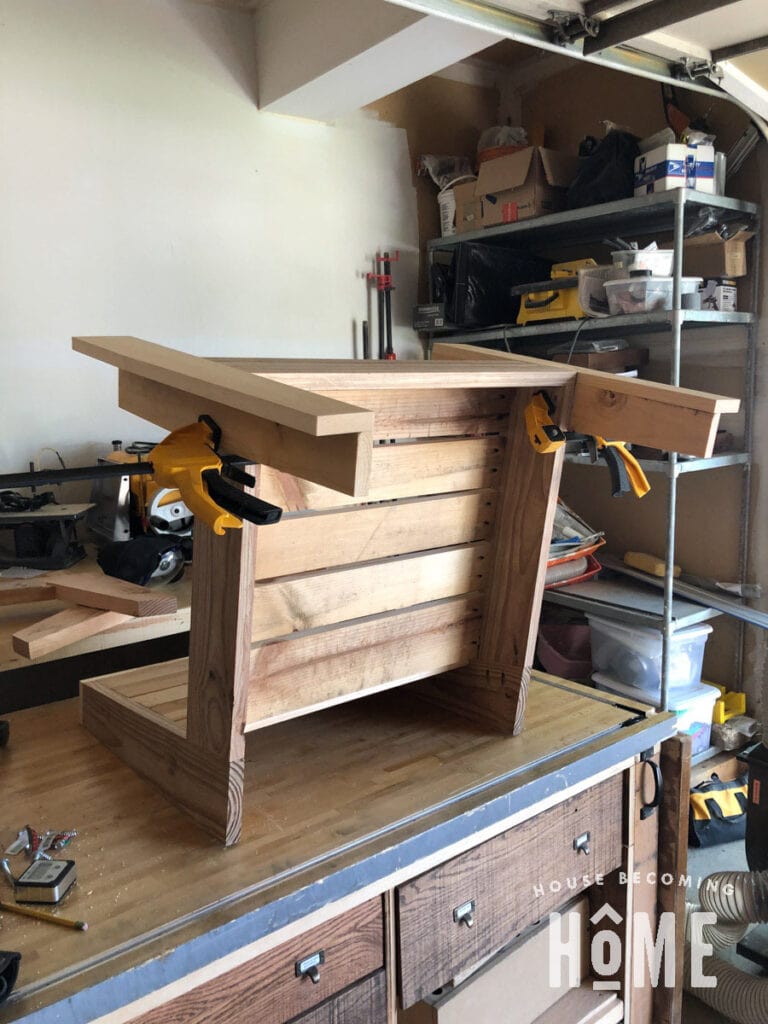
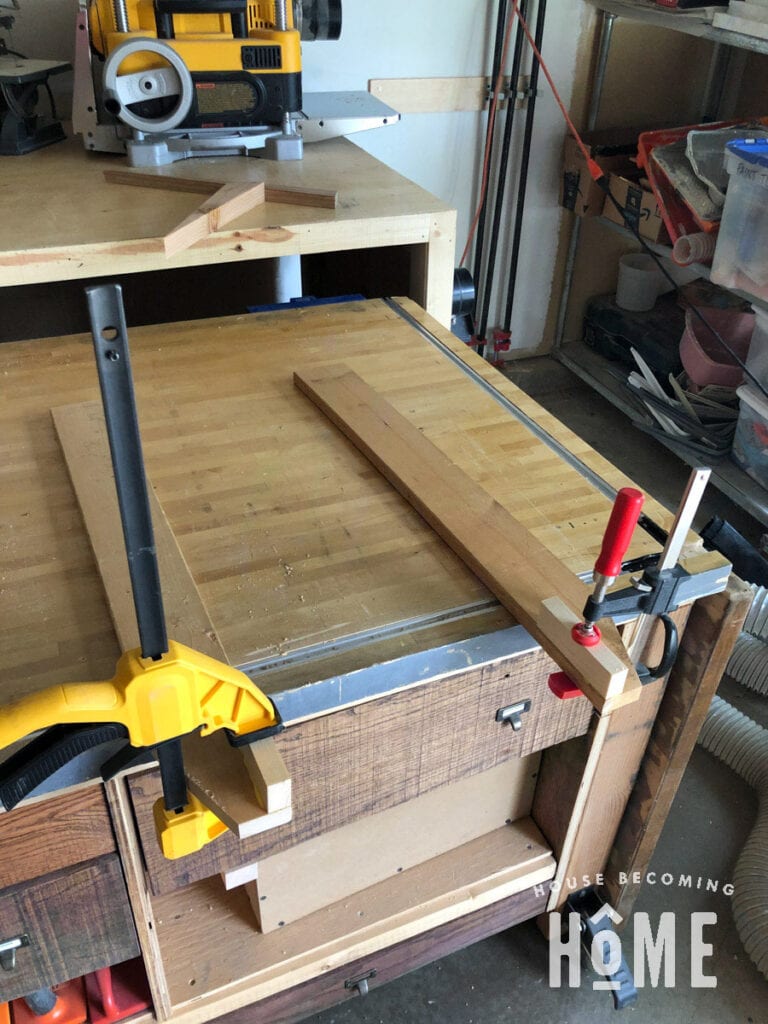
Next, attach the chair seat slats to this second chair seat side. I flipped the “chair” on its side (with the already attached side on top) and clamped it to my assembly table. I used the same spacer to keep slat spacing consistent.
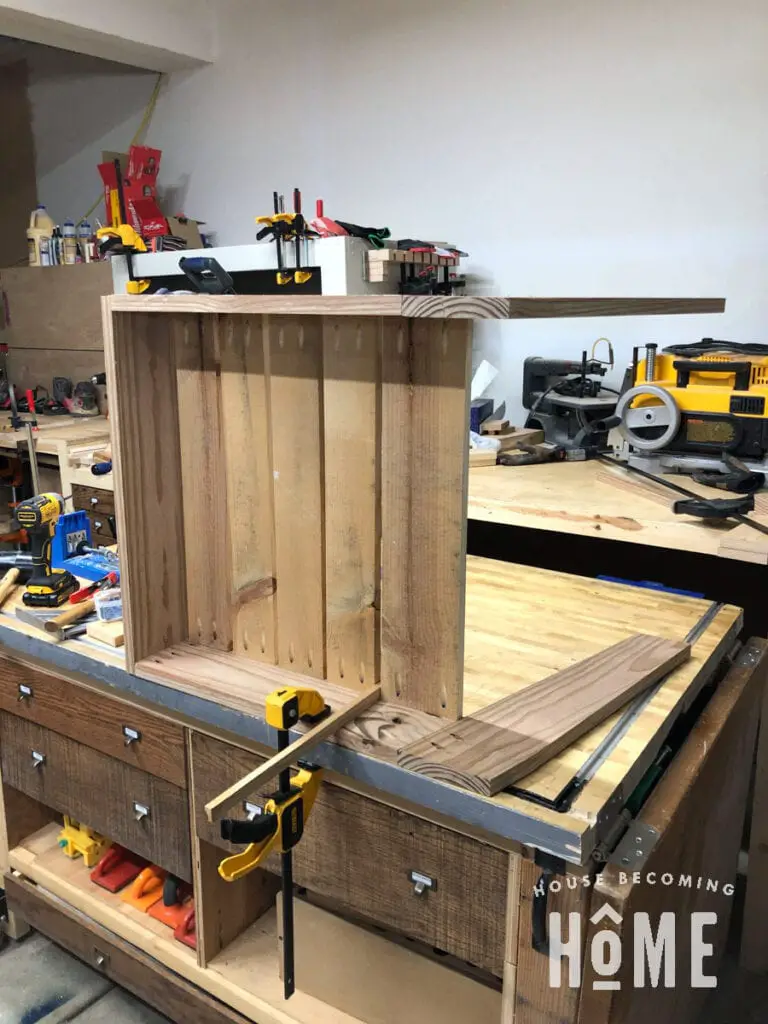
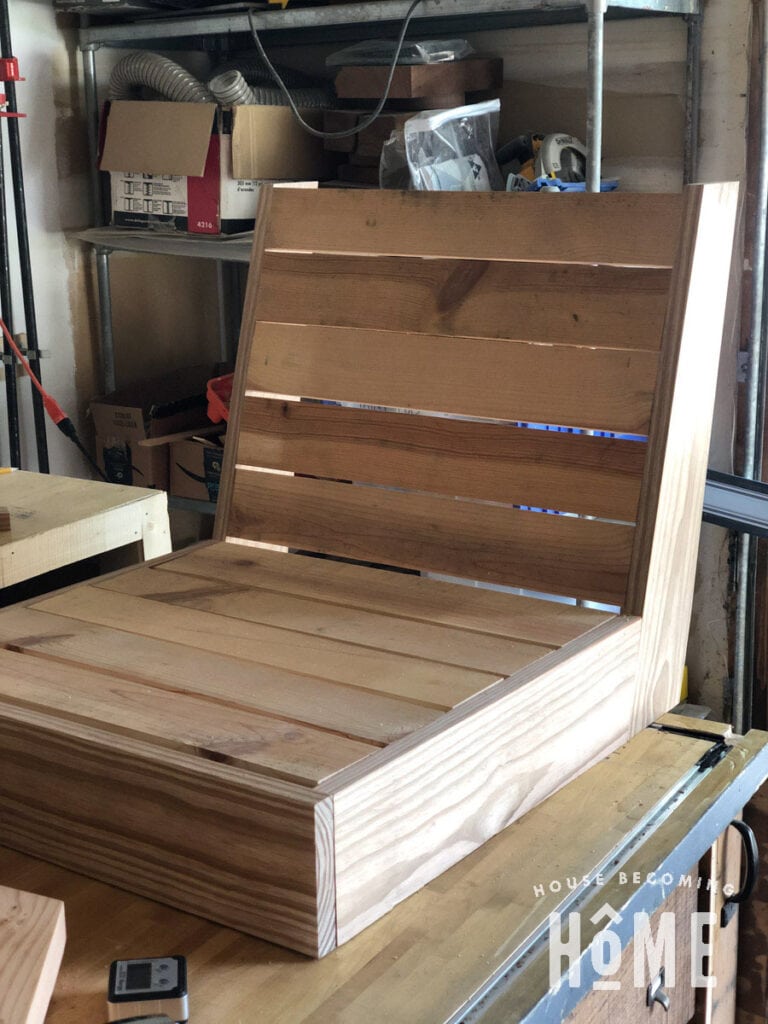
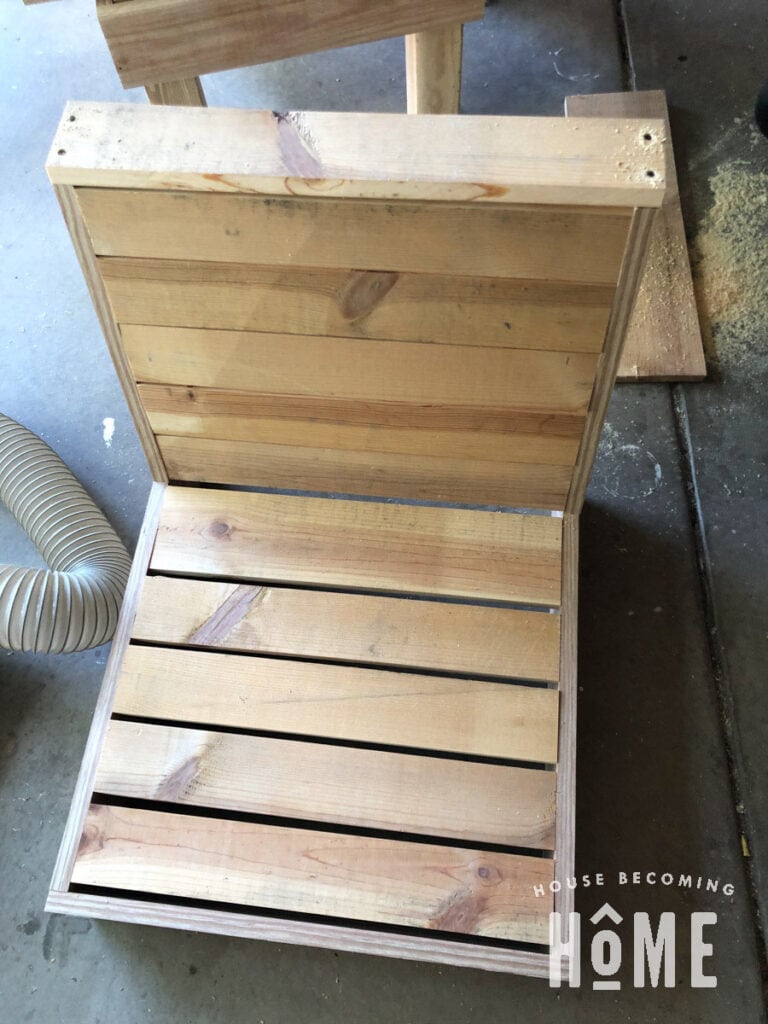
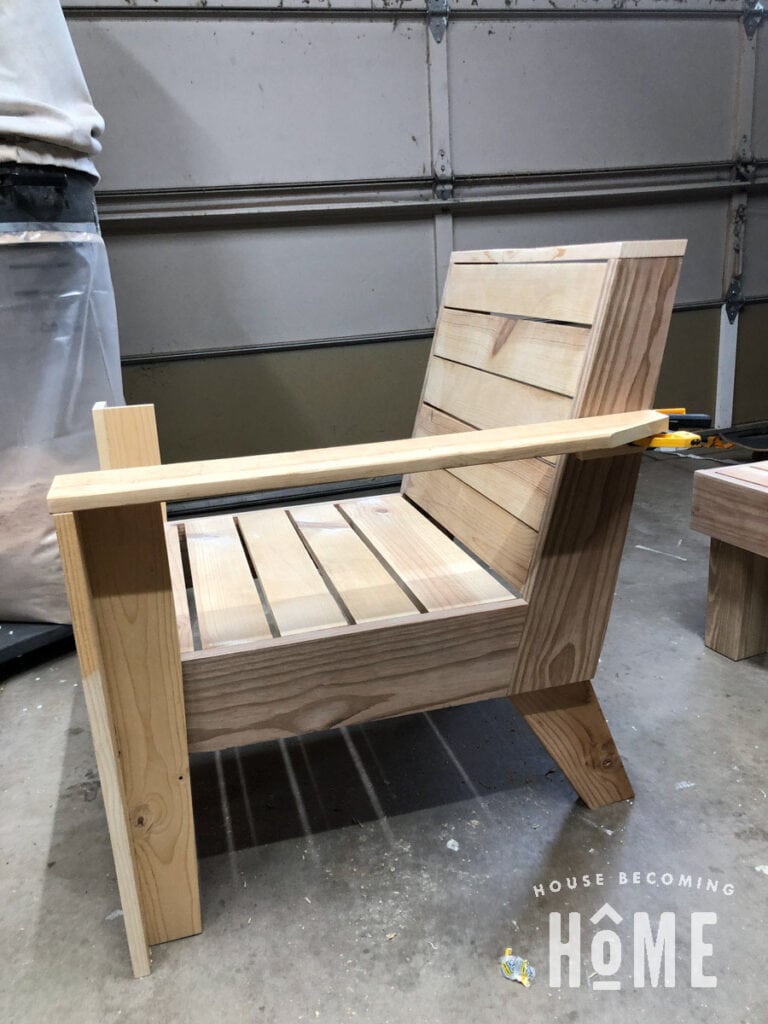
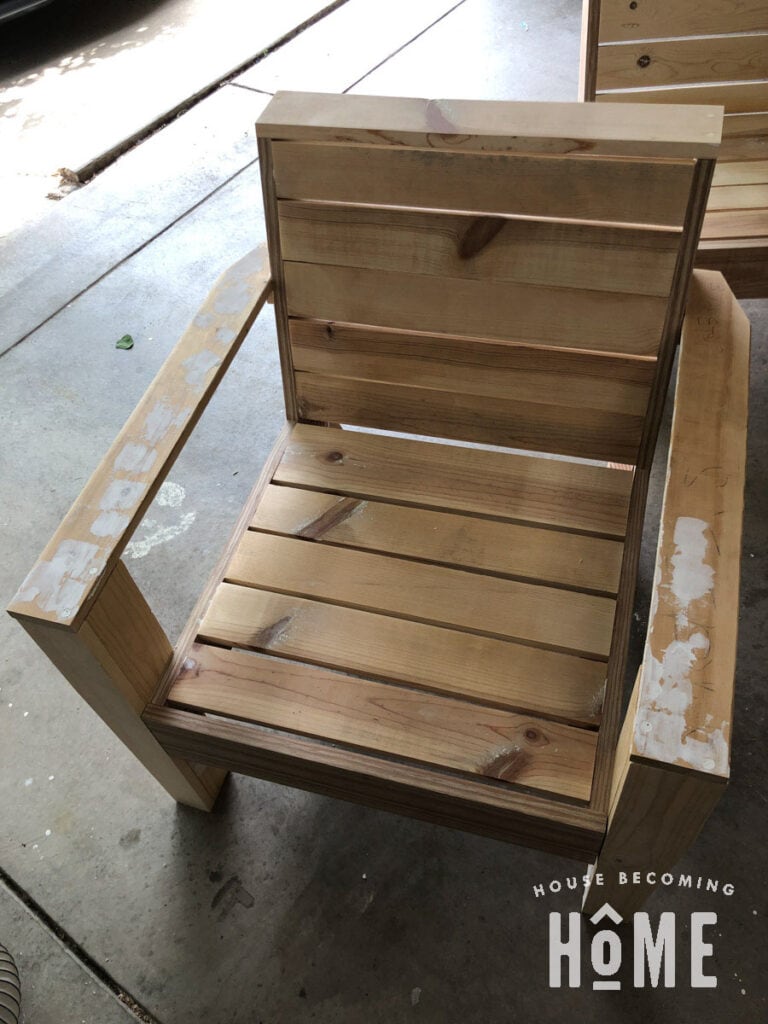
Flip the chair so that it is right side up. It should now look like this, and the seat slats should be securely fastened with screws to both of the chair seat side pieces:
Assemble the Chair Back Rest
Cut five chair back slats, then make pocket holes on the back faces (two on each end). Attach the slats with 1-¼” pocket hole screws, flush to the front edge of the chair back side pieces. Use a shop-made spacer from scraps to maintain consistent spacing between slats. (It is extremely helpful to have a Kreg right angle pocket hole clamp for this!)

I was able to fit the back slat pieces into place by applying slight outward pressure to the chair back side pieces. If you have trouble fitting any of the pieces, try removing 1/16” from one of the slat’s ends using your miter saw.
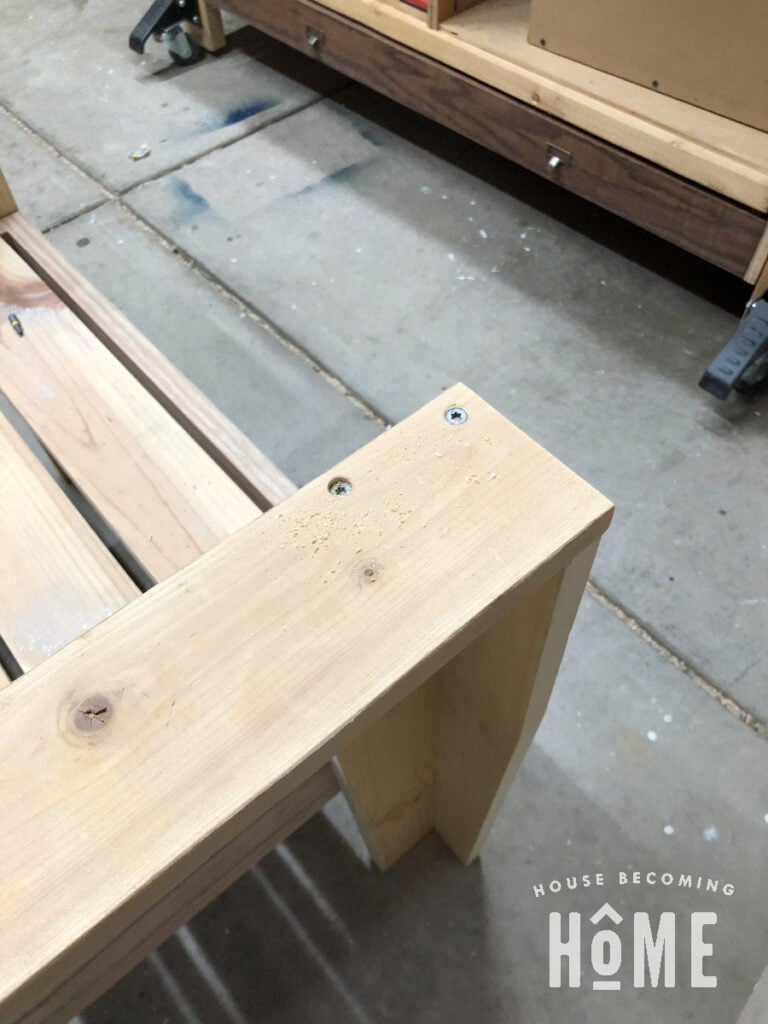
Cut and Attach Chair Back Top
Cut the chair back top piece to size, then attach to the chair back sides. Use 1-½” exterior screws through four, pre-drilled, countersunk holes.
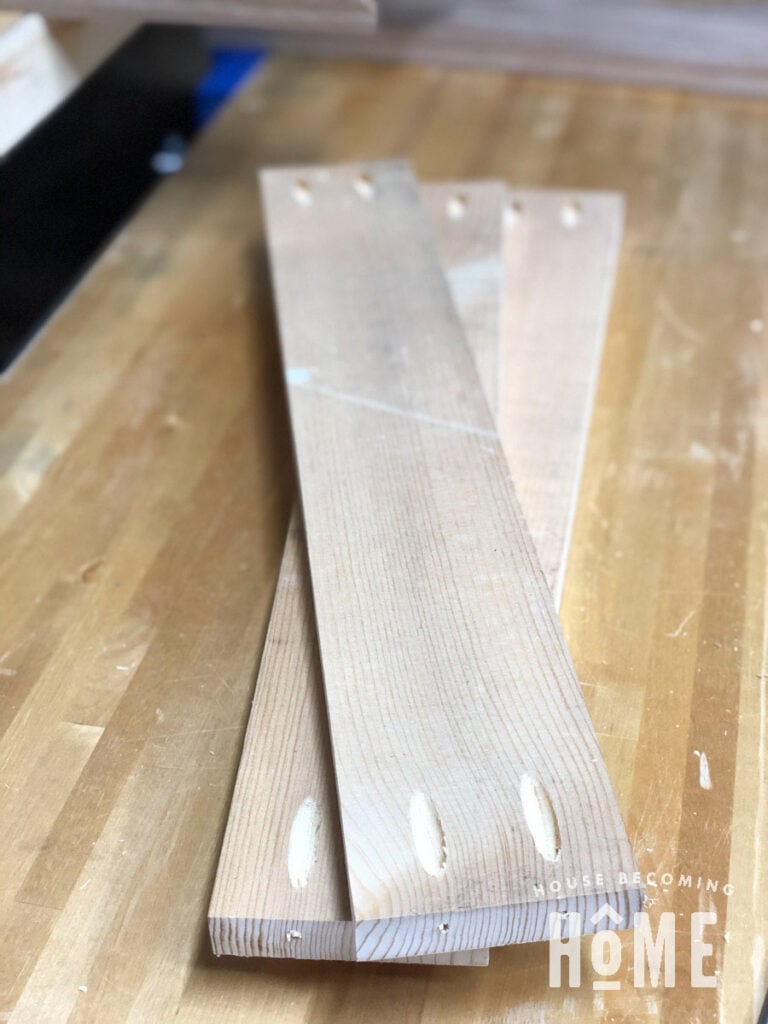
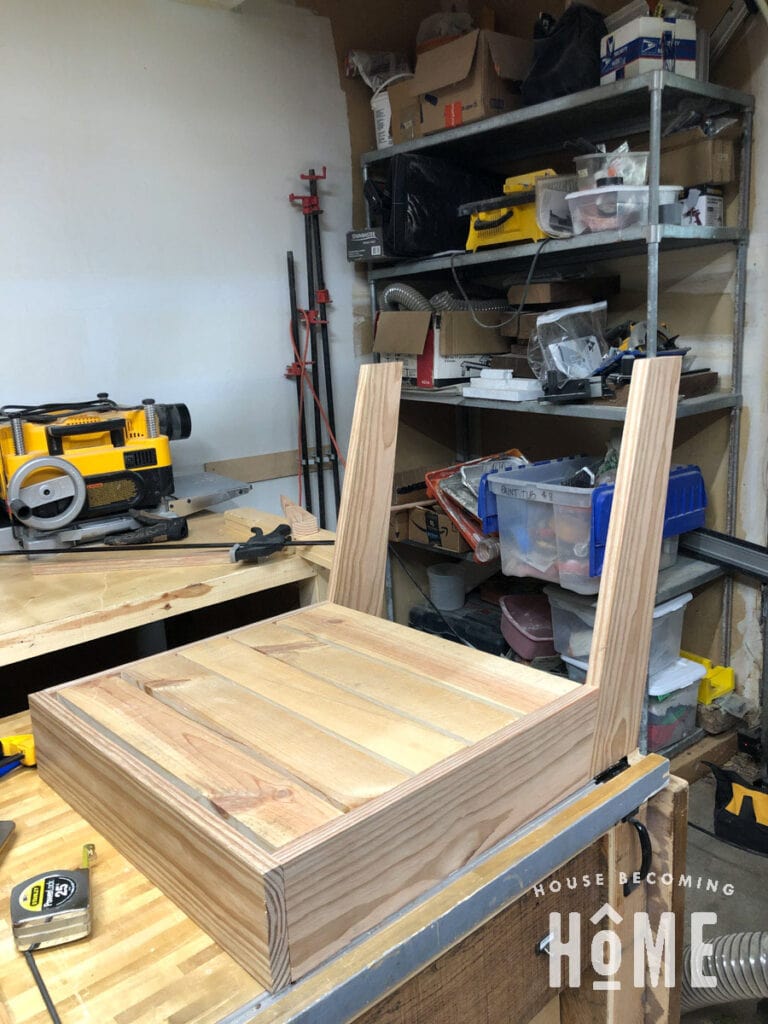
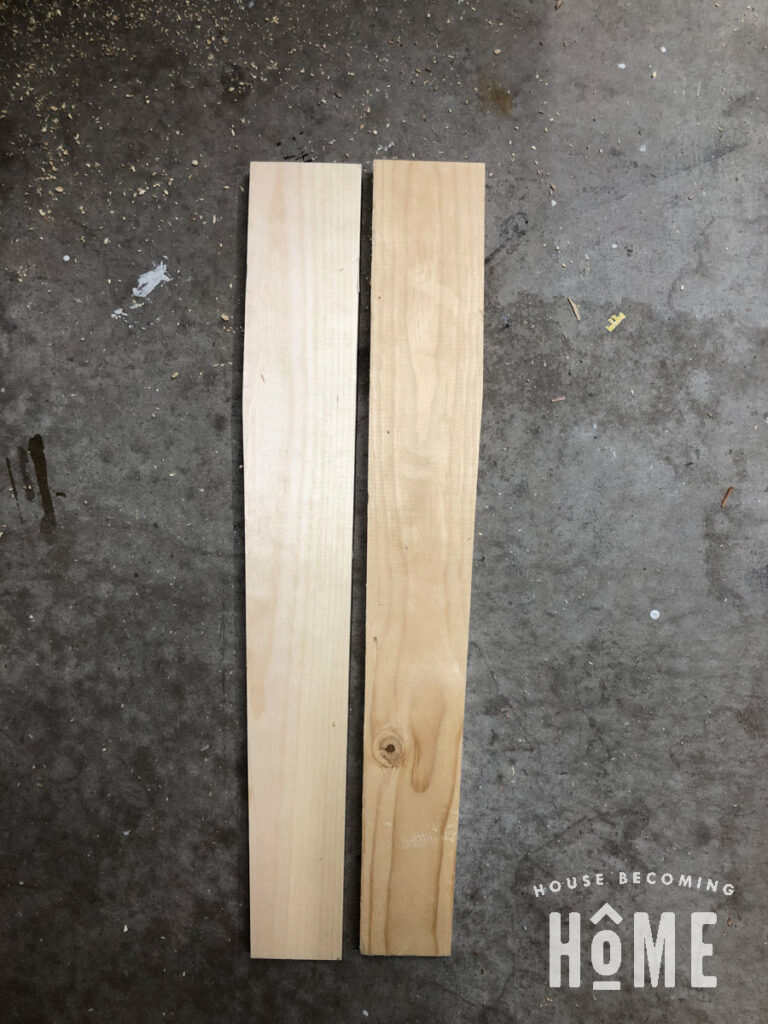
Front Legs
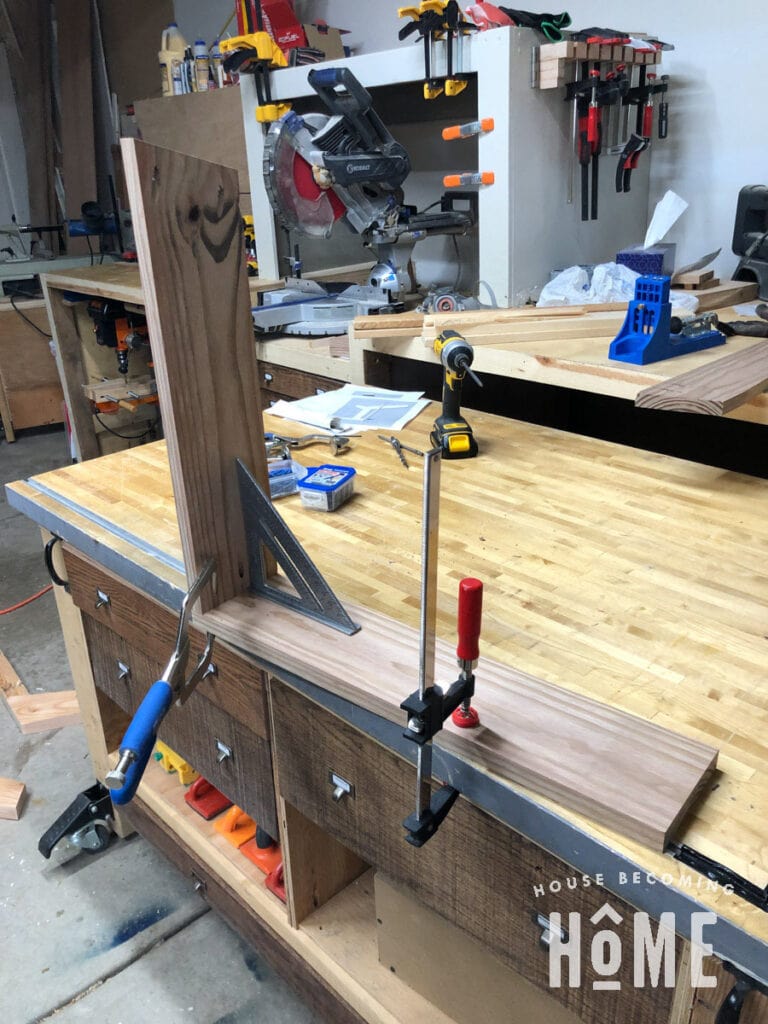
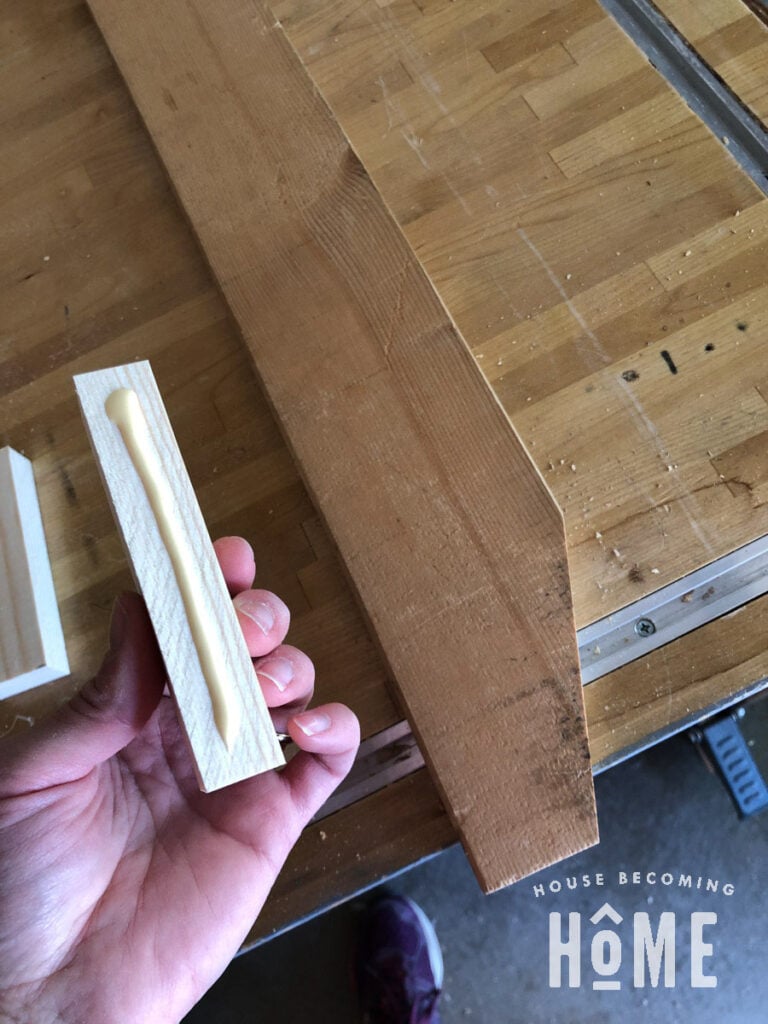
Each front leg will be constructed from two identical 1x4s. I added a taper to each of the leg pieces. (Save the tapered cut scrap piece to help with clamping in the next step.). Make four of these.
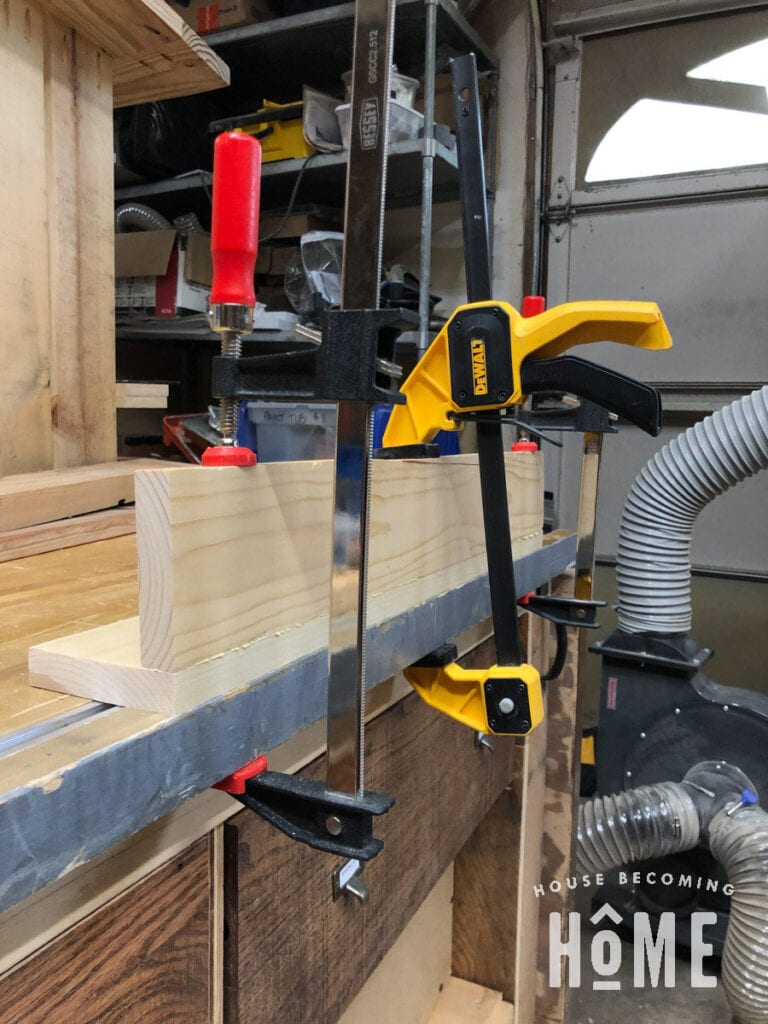
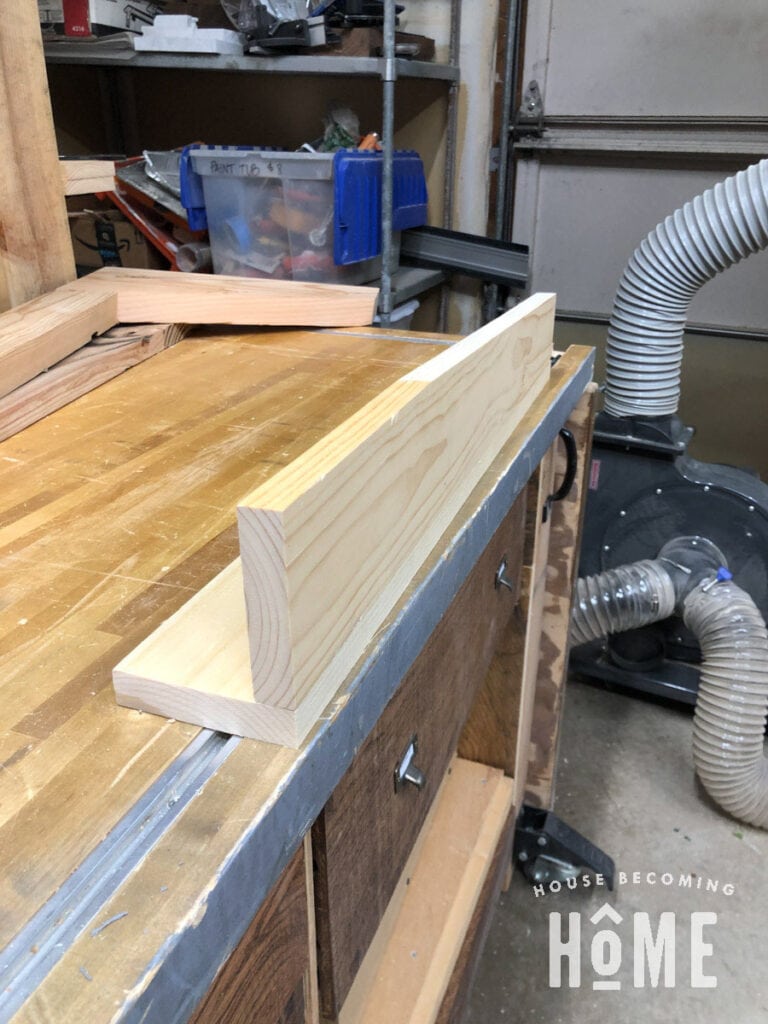
Assemble Front Chair Legs
Construct a front leg from two pieces. Place the non-tapered side against the non-tapered side of another leg piece. Add wood glue to one of the pieces, then clamp until dry. Place the tapered scrap piece back in place to keep consistent pressure when clamping.
Attach Front Legs to Chair Seat
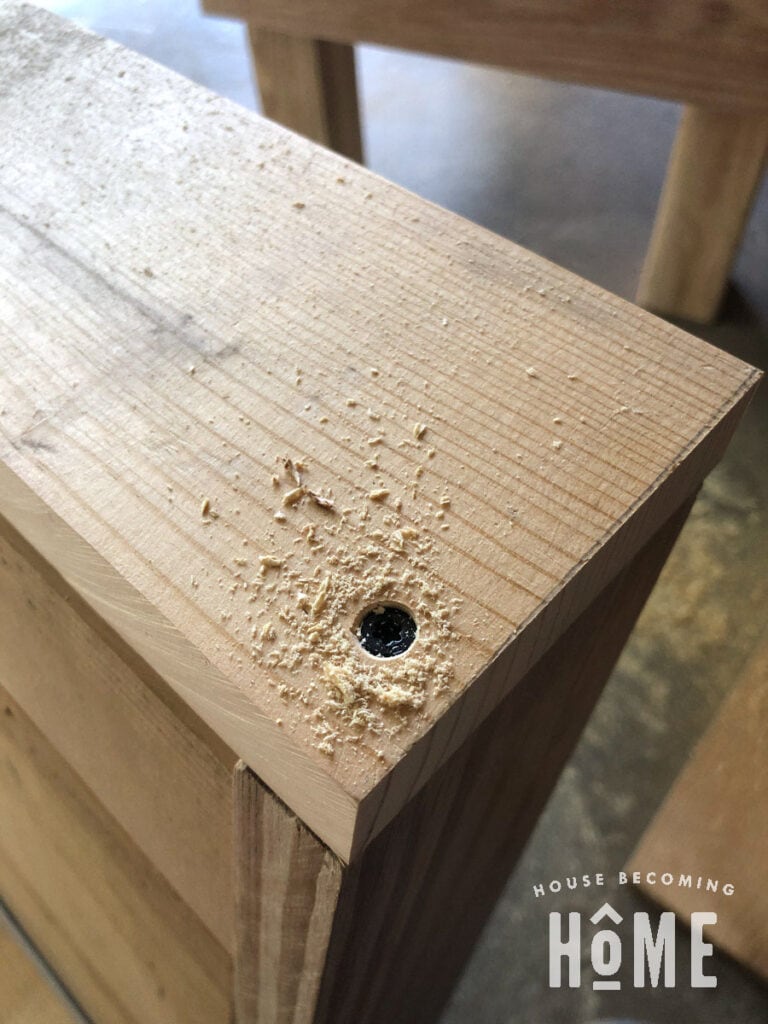
Place the chair with its back on your workbench. Align the leg with the chair seat, so that the bottom of the seat comes to the line you marked on the inside of each leg (for these exact measurements, download the pdf printable plans). The chair seat front piece should be flush to the front of each leg. Clamp the leg into place.
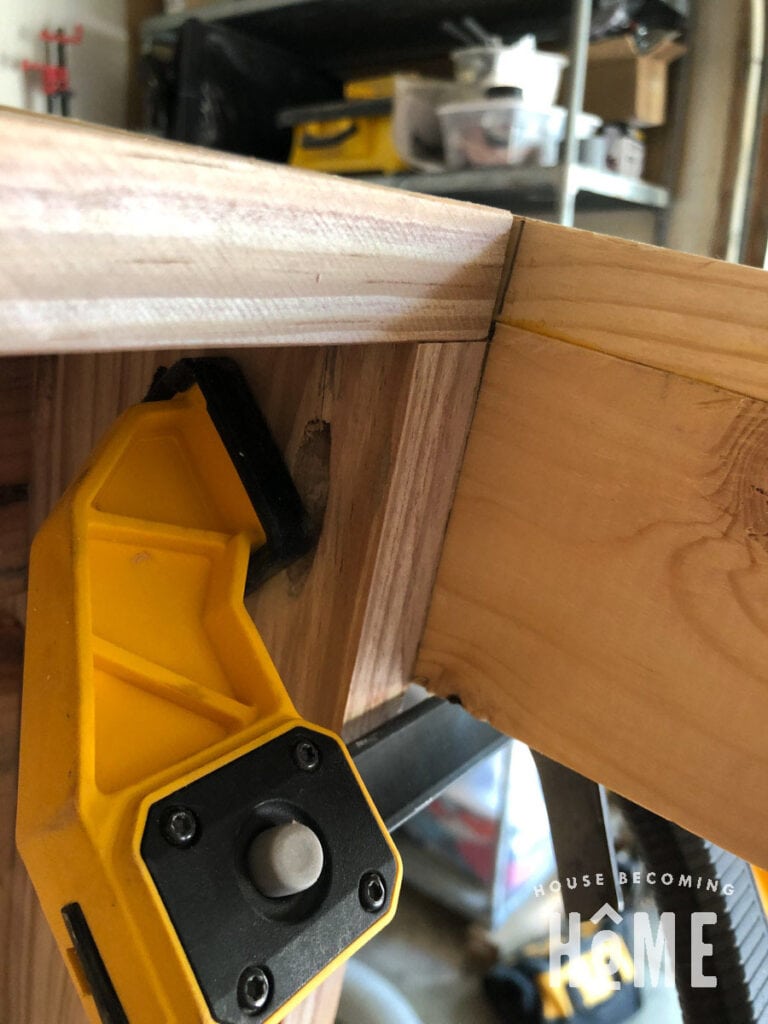
Attach the front legs with 2-½” screws from inside the chair. Predrill the holes, and use at least two screws per leg.
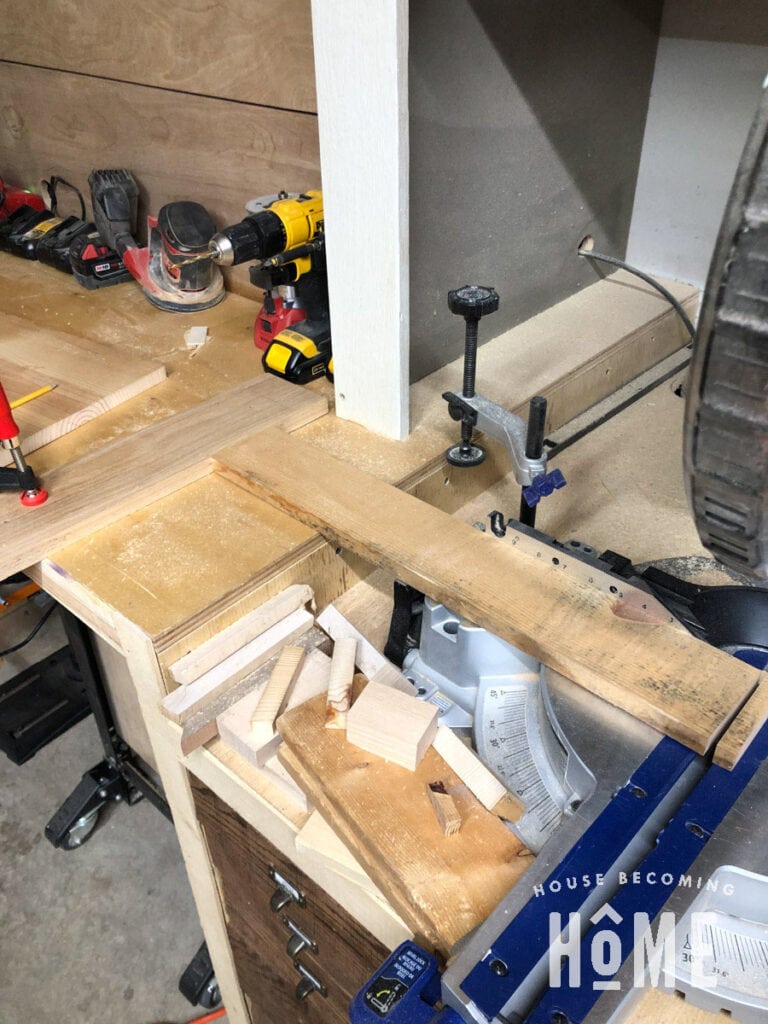
Back Legs
The back legs are made up of a tapered visible leg and a hidden leg support. They are joined together with pocket holes and screws on the hidden leg support.
Clamp the back legs into place, and attach to the chair seat sides with 2.5” lag screws:
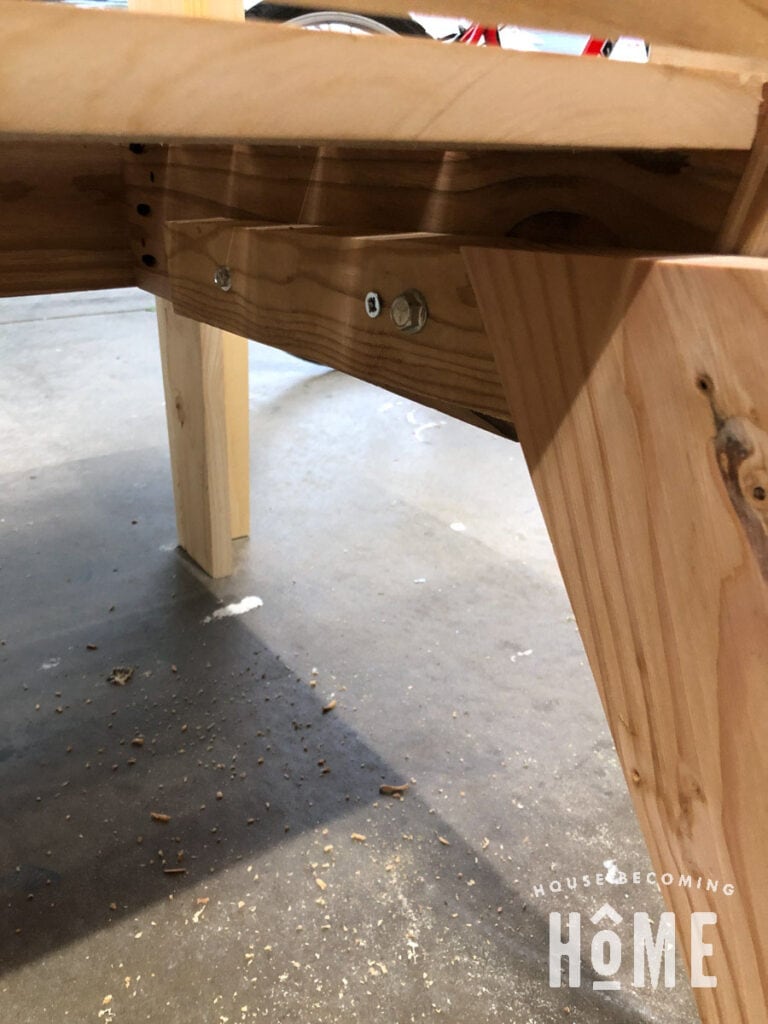
I first attached the legs with a single screw at the correct height. With the legs roughly in place, I could make small adjustments to the angle at which they were attached (if you’re doing this in your garage like I was, remember that garage floors are not level!). Once I had the leg angle perfectly adjusted, I clamped the leg to the chair, then added two lag screws to each hidden leg support.
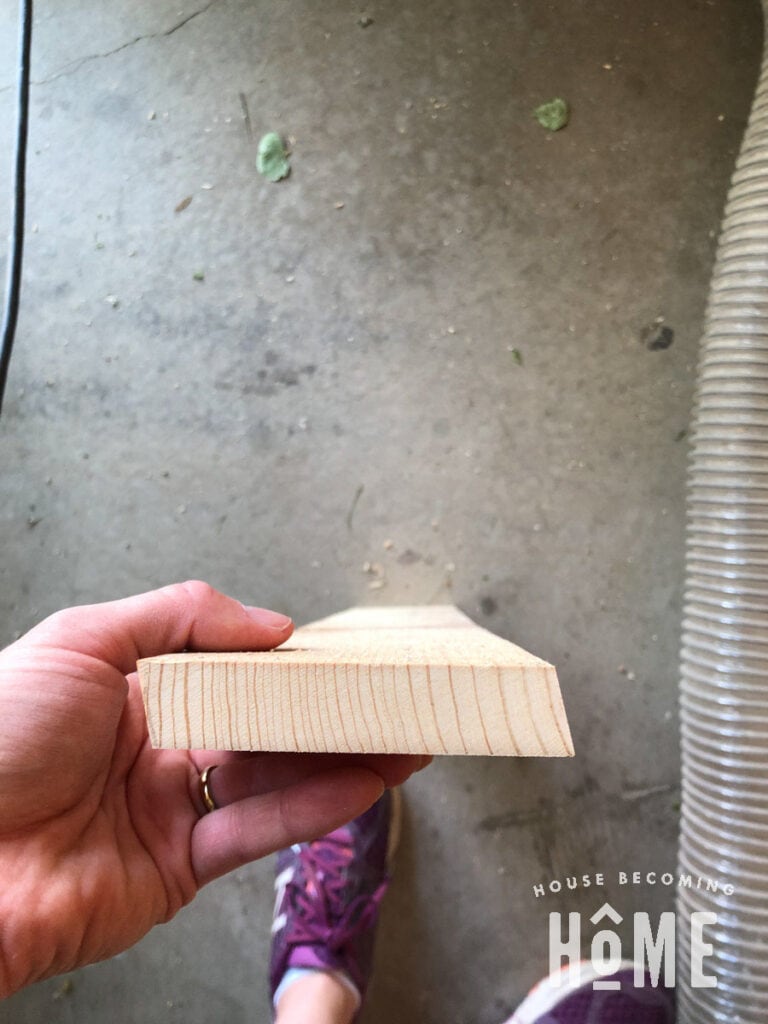
Chair Arms
After cutting the arms to the correct length, taper the back end.

Can you tell the arms are old bed slats? (I saved them after replacing my kids’ old bunk bed with the offset built-in bunk beds.)
Cut two arm attachment pieces. Add wood glue to fix the arm attachment piece to the back side, bottom face of the arm.
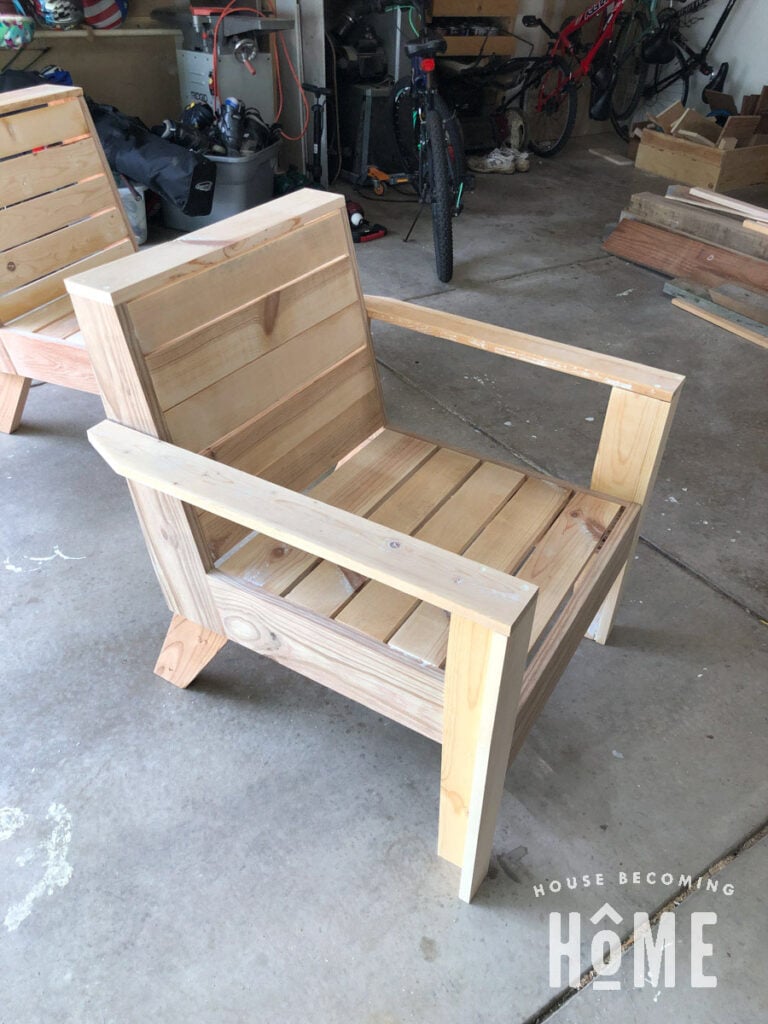
Clamp the arm to the chair so that it is level, then screw into place through the arm attachment piece:
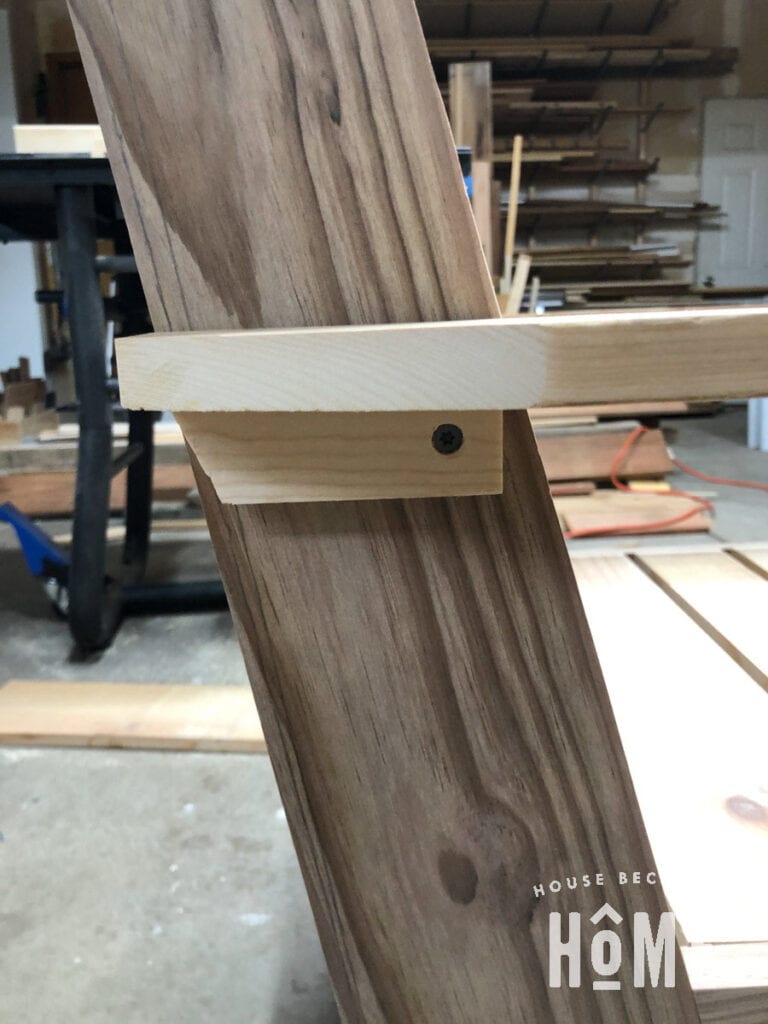
Add two more countersunk screws through the front of the arm into the front leg, then repeat for the other arm.
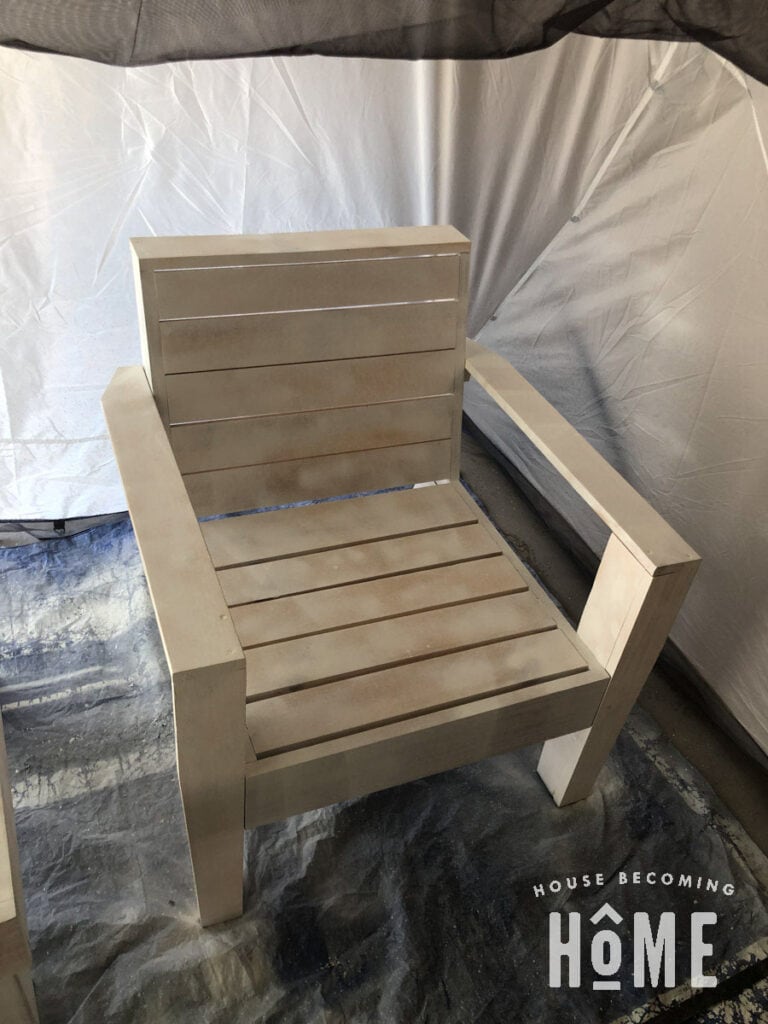
Finishing
Fill cracks, knots, and countersunk screws with wood filler. Working your way from coarse to fine grit, sand the chair.
To finish the chair, I applied an oil primer, then painted it with exterior paint. Last, I applied an exterior topcoat.
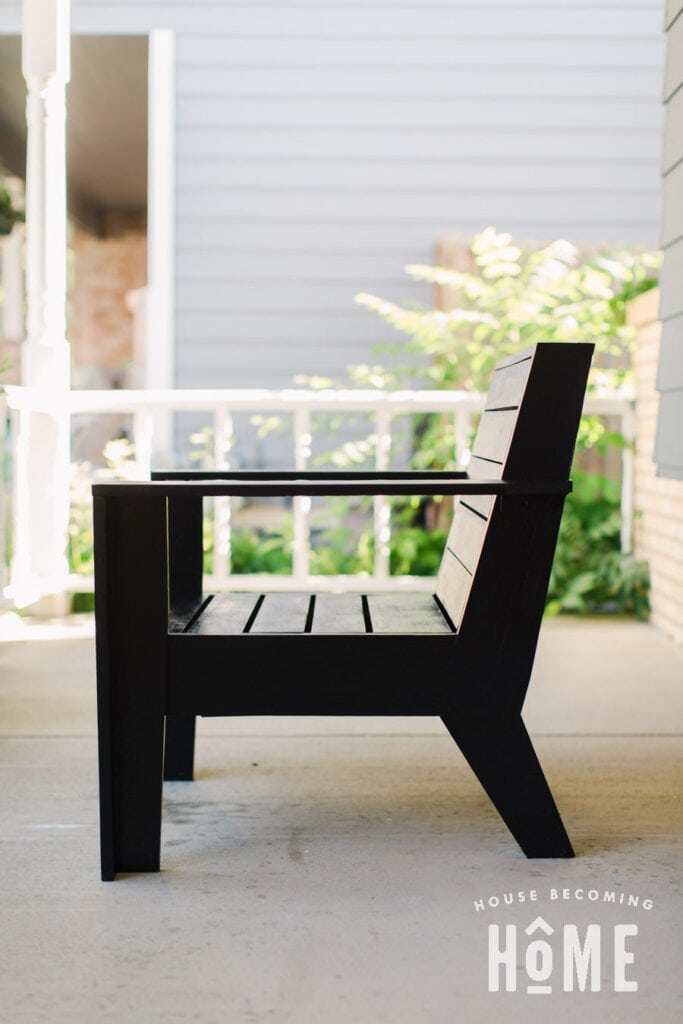
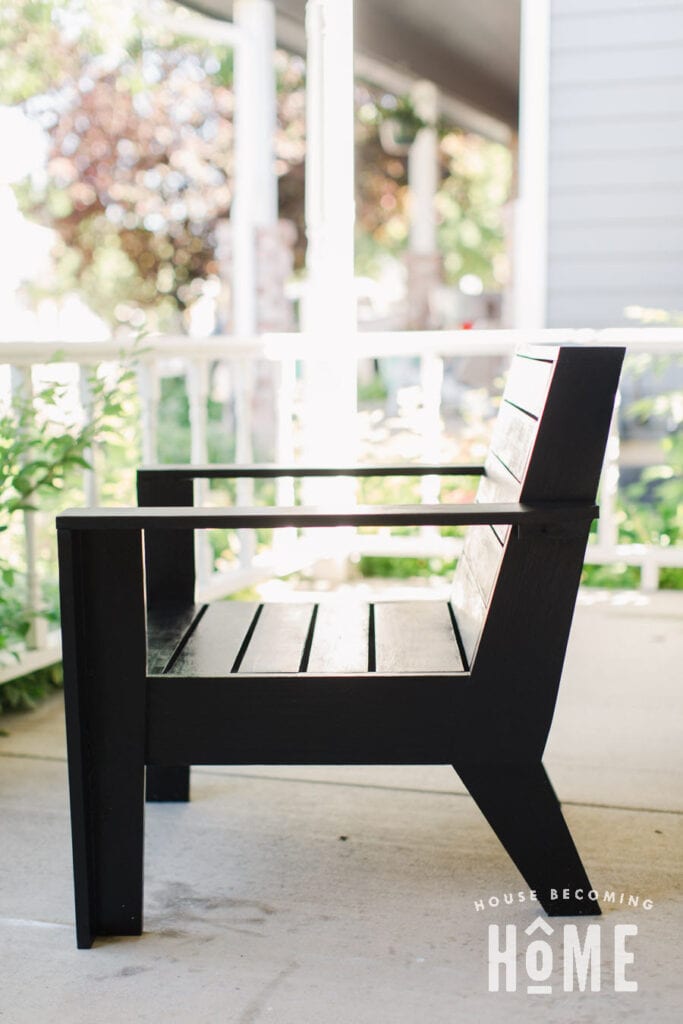
Modern Adirondack Chair Complete
Here’s the chair all painted and sitting on our front porch. If you’re interested in building one for yourself, you can find the printable plans with all the dimensions here: