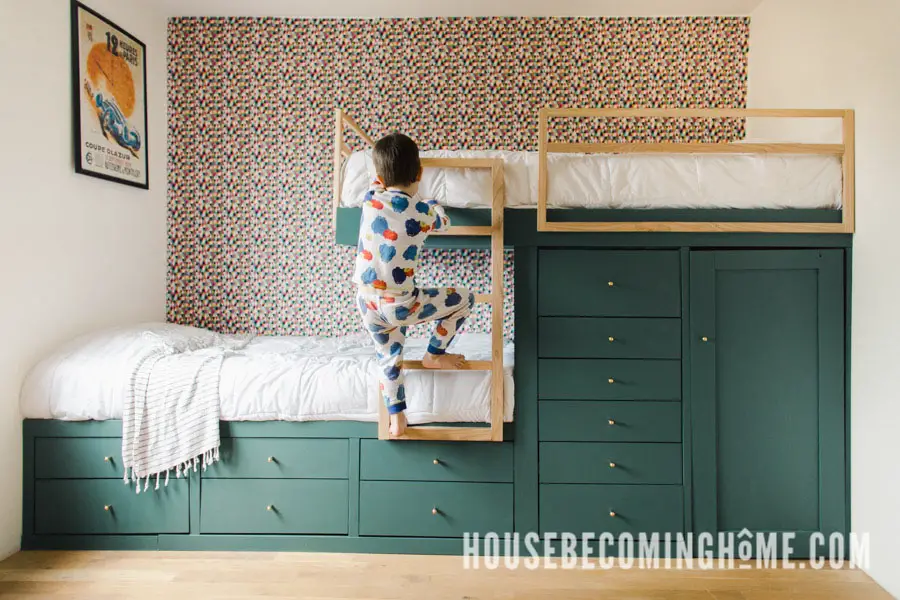
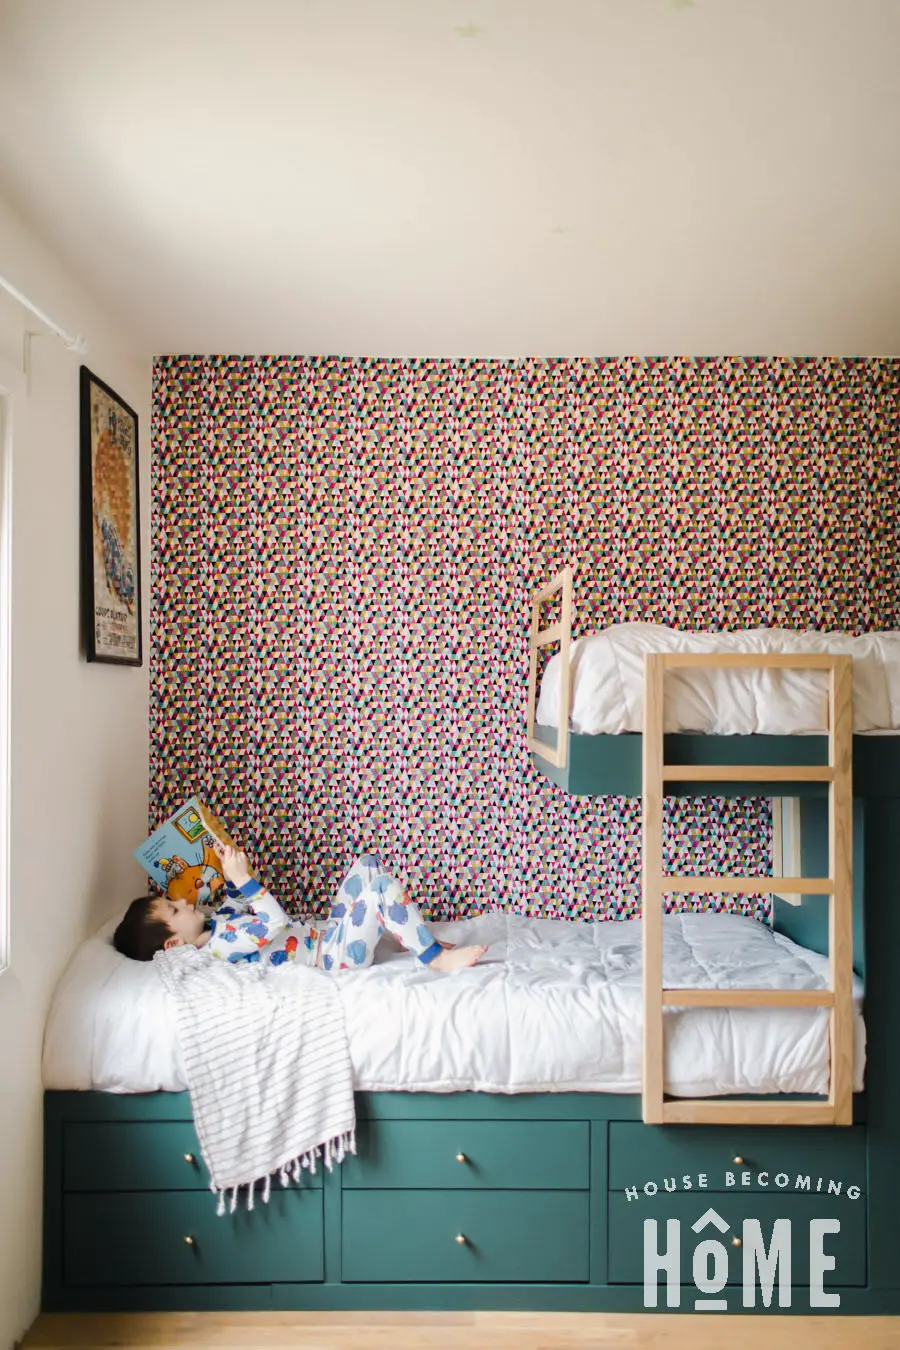
I recently finished making offset built-in bunk beds for Lucy and Jack. The room they share isn’t huge, so I was hoping to pack as much storage into the bunk beds as possible. One of my goals was to eliminate the need for dressers so that they could have more space to play.
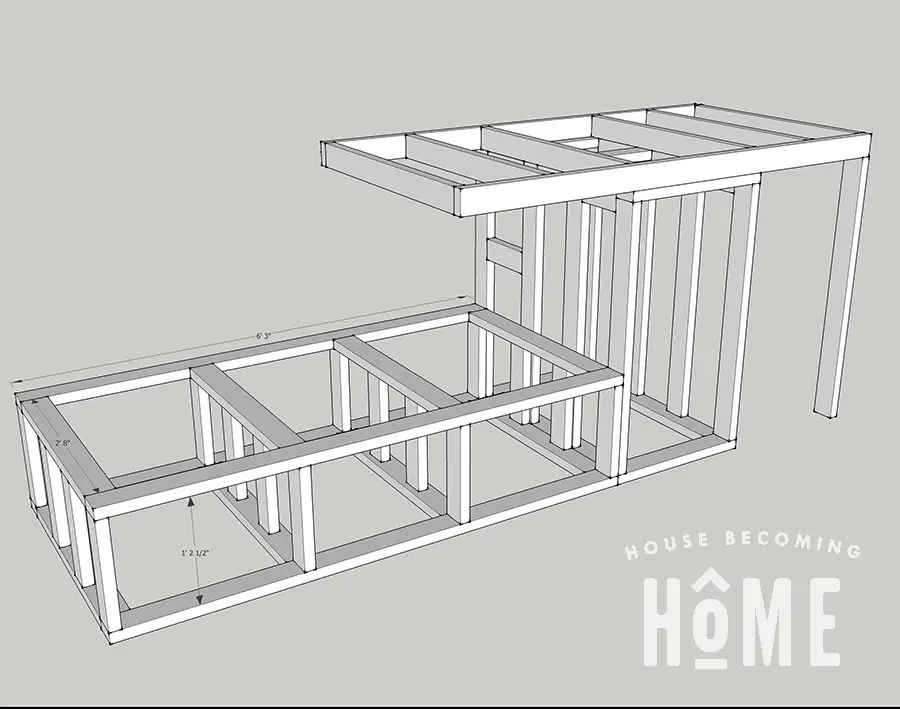
Offset Bunk Beds Overview
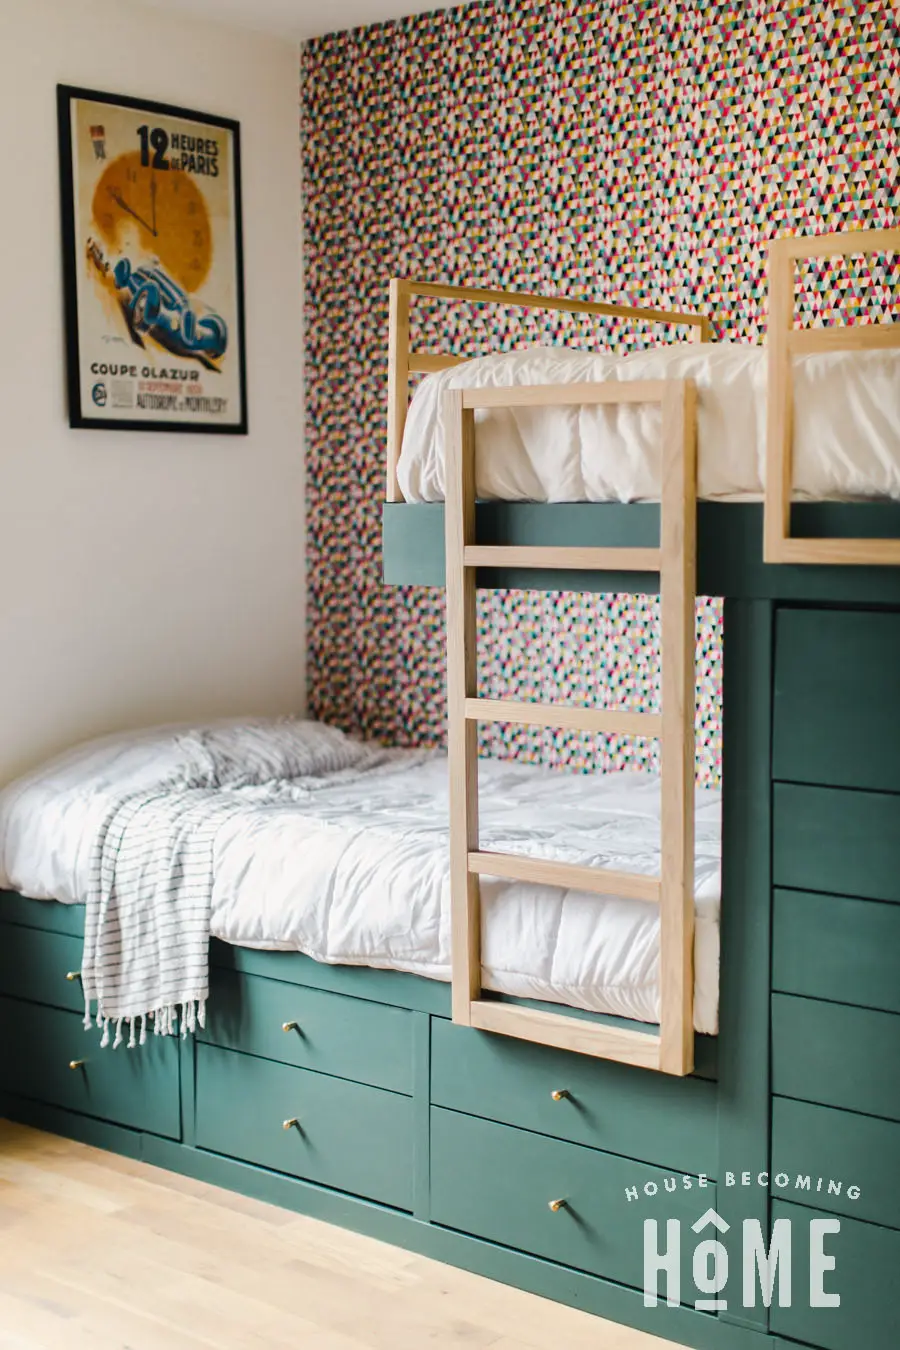
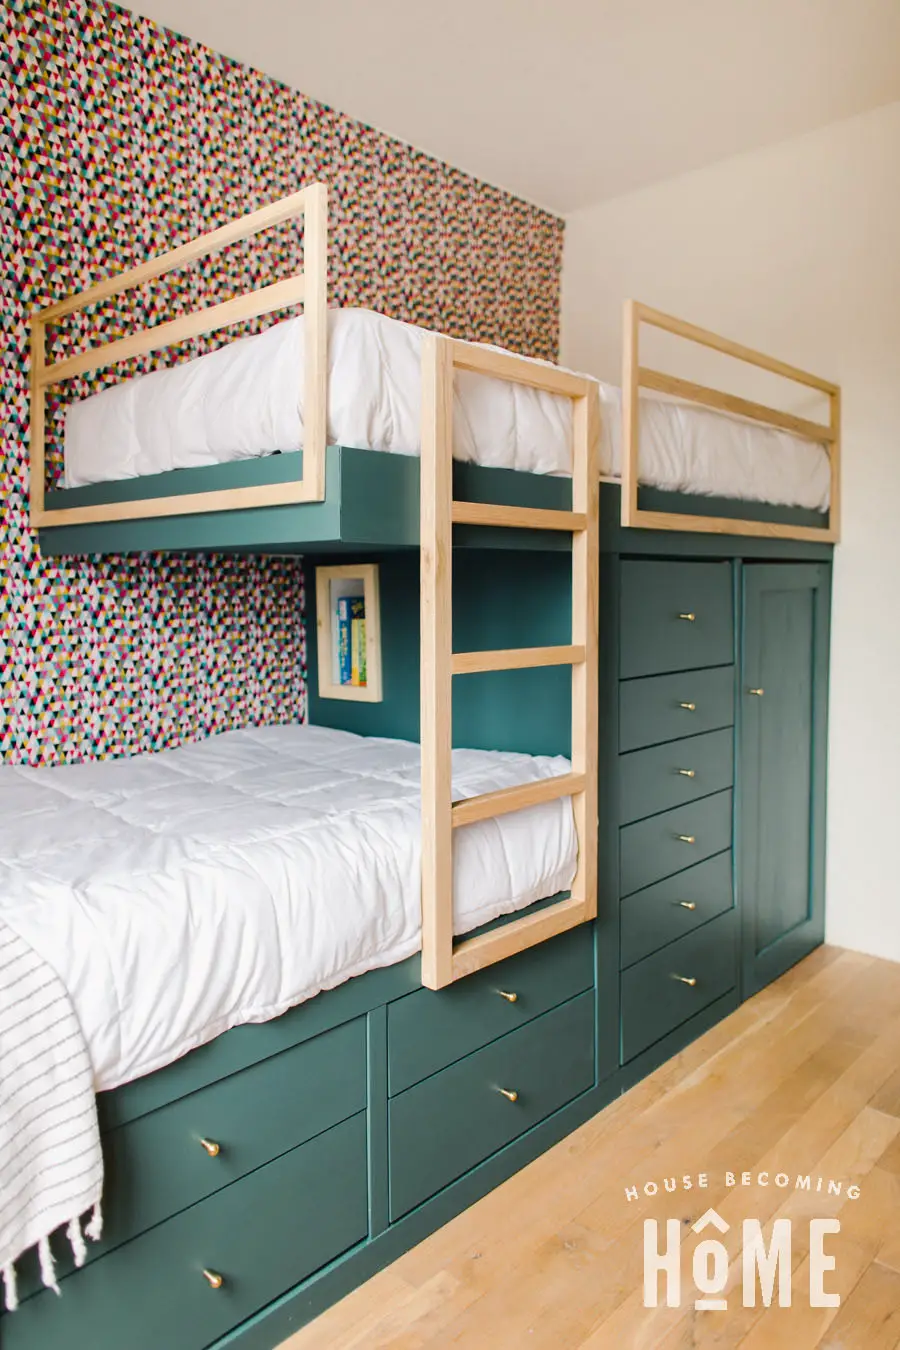
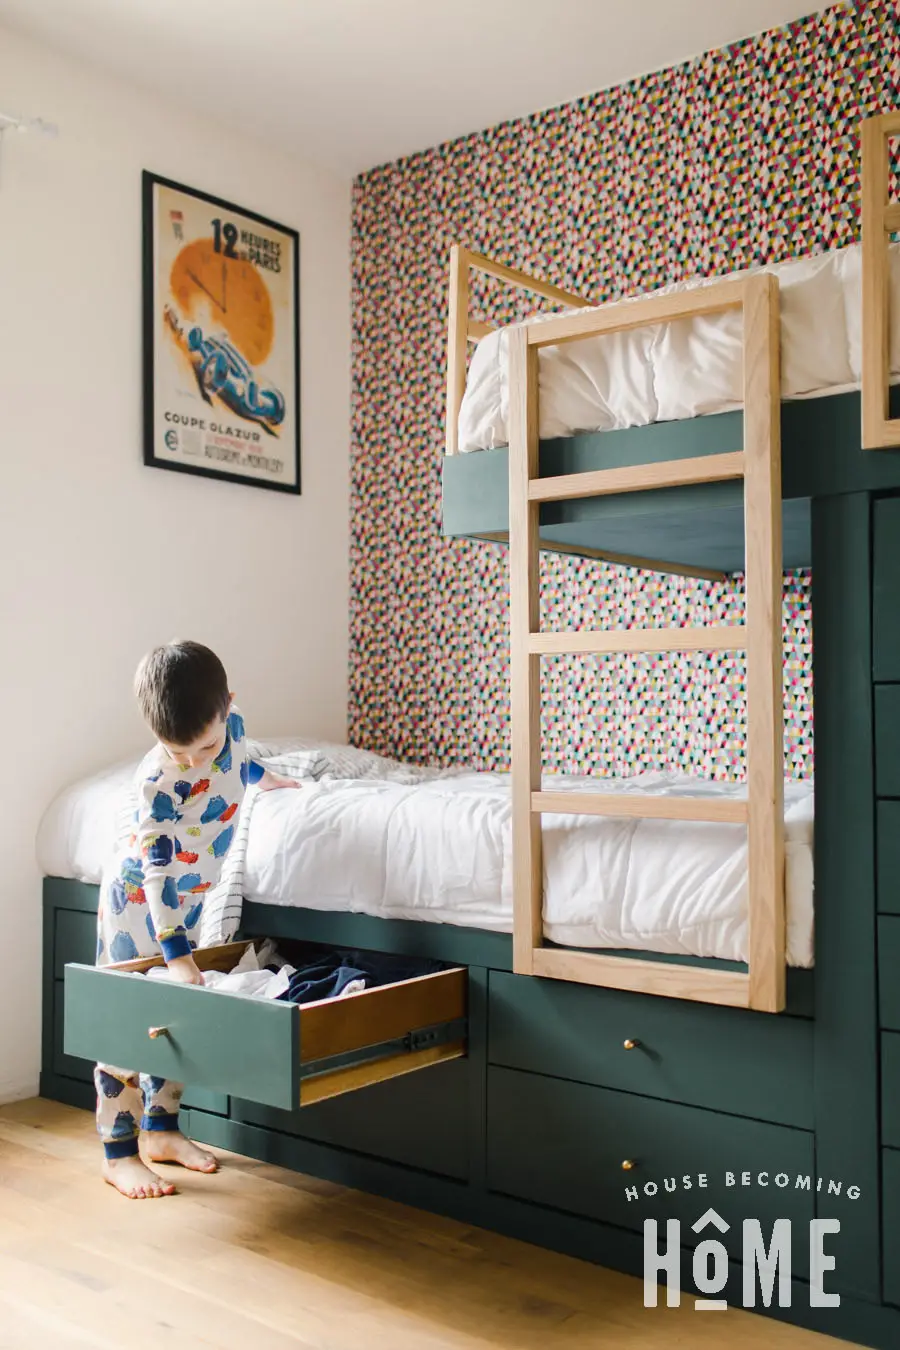
The “bottom bunk” is on the left side. It has three sections that can hold two drawers each.
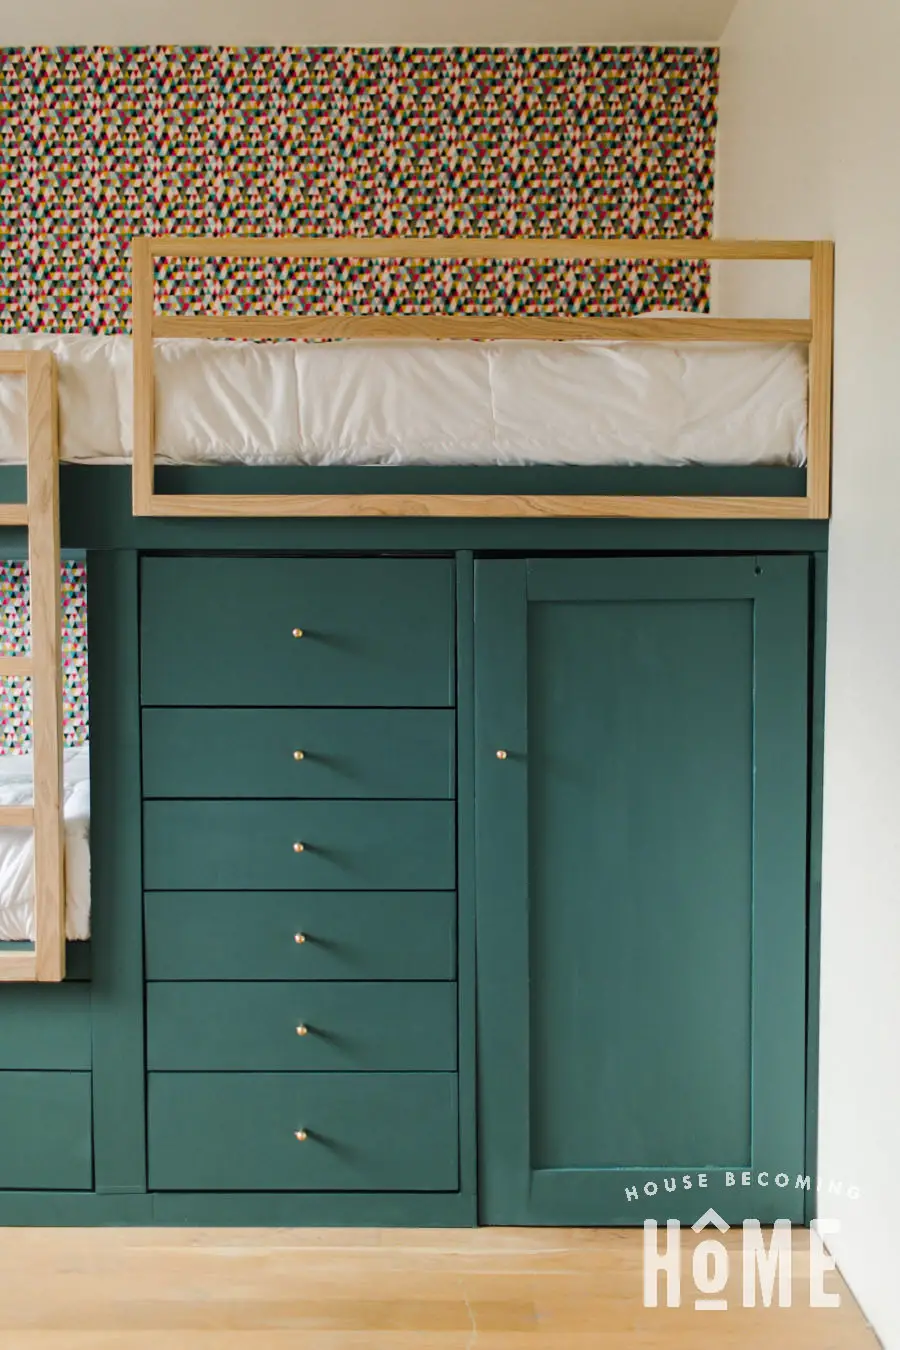
Next to the bottom bunk is a taller structure that:
- Packs a LOT of storage (six more drawers! The bottom two are 28″ deep, and the others are 24″ deep)
- Provides some support for the “top bunk” above
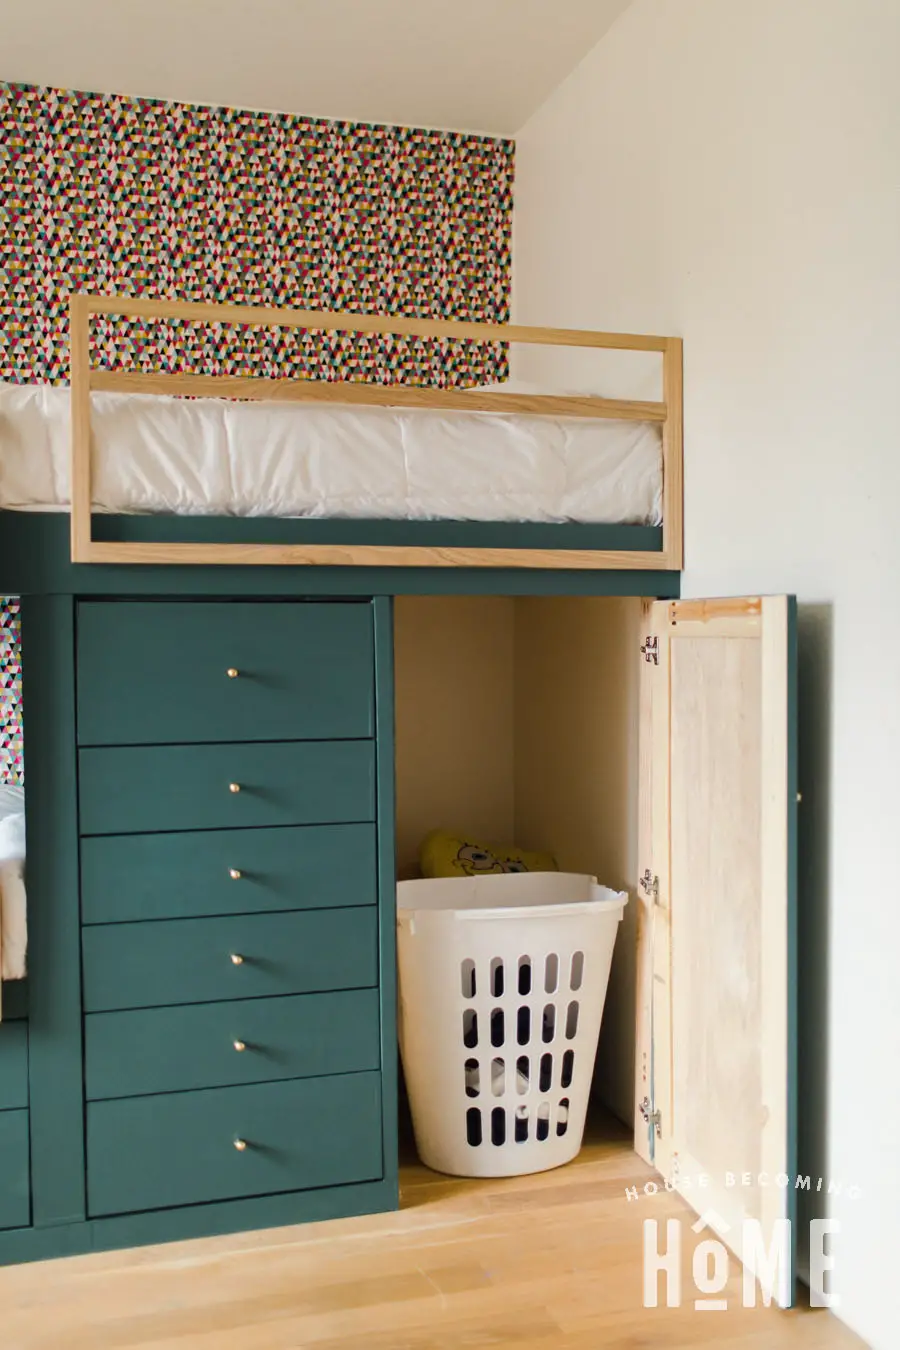
On the other side of the “dresser” is empty storage space that will be hidden with a shaker style door.
* This post contains affiliate links for your convenience. Read my full disclosure policy here. *
What Supplies Do I need to Make Offset Built-in Bunk Beds?
Materials
Lumber
- 2x4s for the frame of the beds (this frame was built from 19 of them!)
- 1×3 for the bottom trim + vertical trim between the drawers
- 1×6 for the top bunk trim
- 3/4″ mdf sheets for the bed base
- 3/4″ plywood for the drawers and drawer faces
- 1/4″ plywood or hardboard for the drawer bottoms
- 1/2″ plywood to enclose the center dresser
- 2×2 for guard rails and ladder (I trimmed down some repurposed oak on my bandsaw)
Hardware
- 24″ or 28″ Drawer Slides
- Drawer knobs
- 2-1/2″ Pocket Hole Screws (for the frame)
- 1-1/4″ Pocket Hole Screws (for the drawer boxes)
- Screws for attaching drawer fronts and frame pieces together
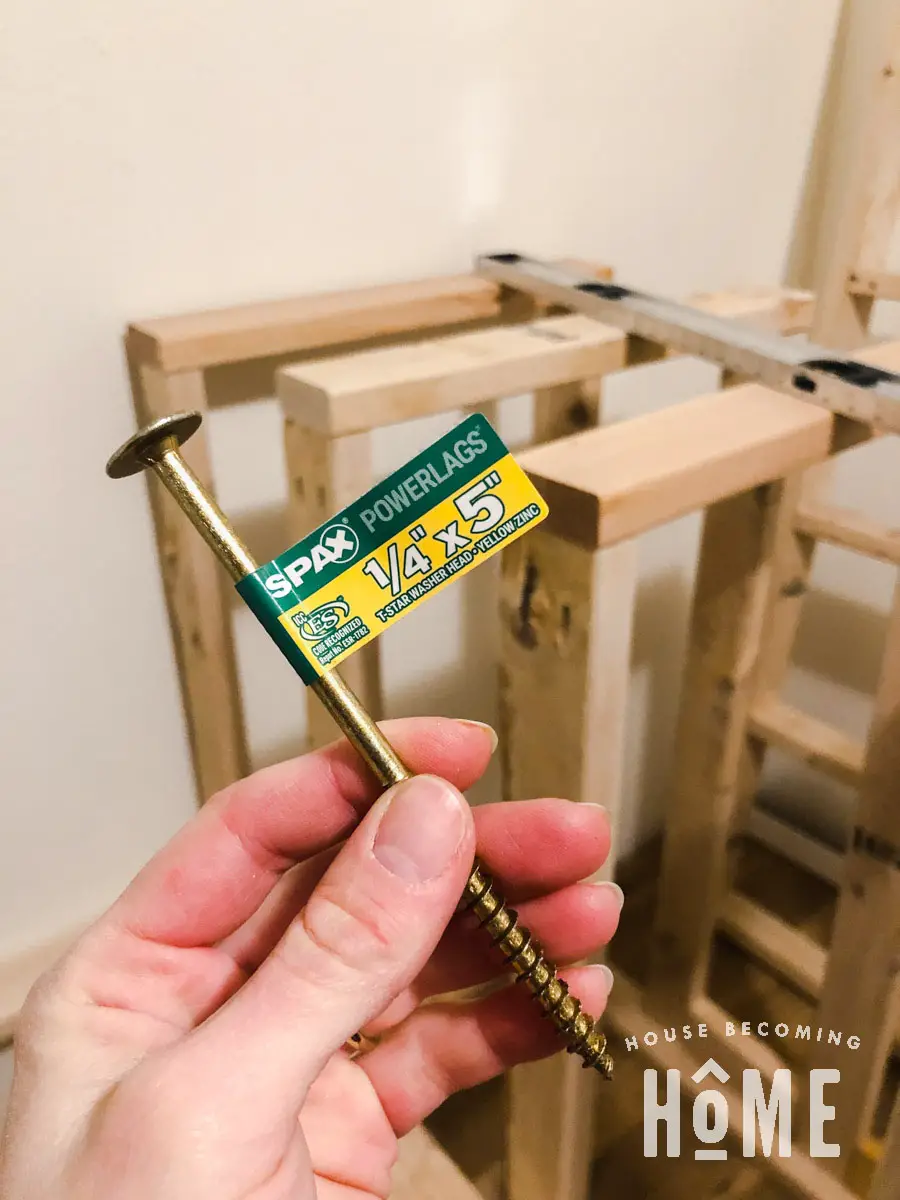
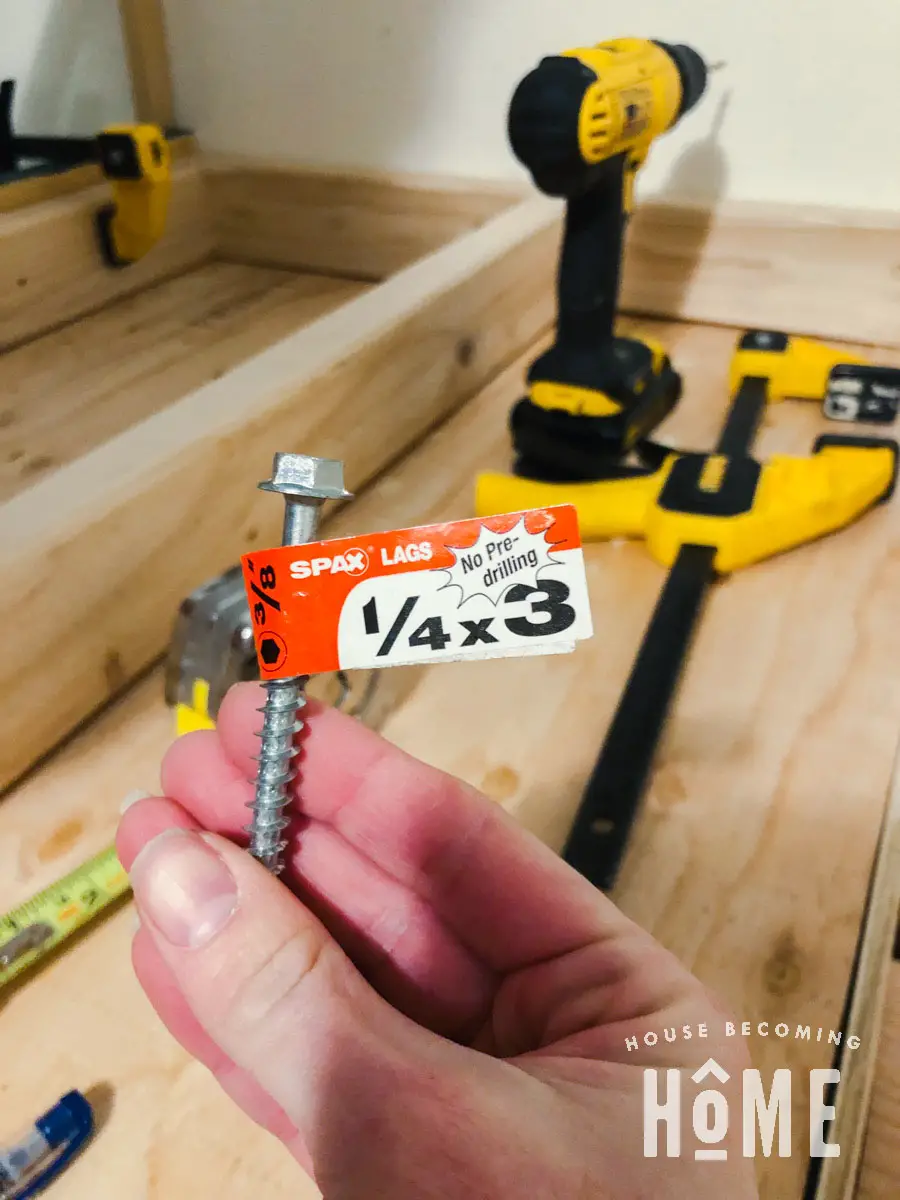
- Heavy Duty Spax screws for attaching top bunk to the wall and guard rails/ladder to bed
- Euro Hinges for door
Finishing Supplies
- Oil-Based Primer
- Paint
- Matte Polyurethane
Overview
- The entire frame is constructed with 2×4 lumber, joined with pocket holes and screws.
- After putting them into place in the room, the separate pieces (bottom bunk, top bunk, center dresser) are joined to one another with screws
- The top bunk is supported by the tall “dresser” and is also secured to the wall with heavy duty Spax screws through the studs.
- I added trim to the frame with a nail gun and 16 gauge nails
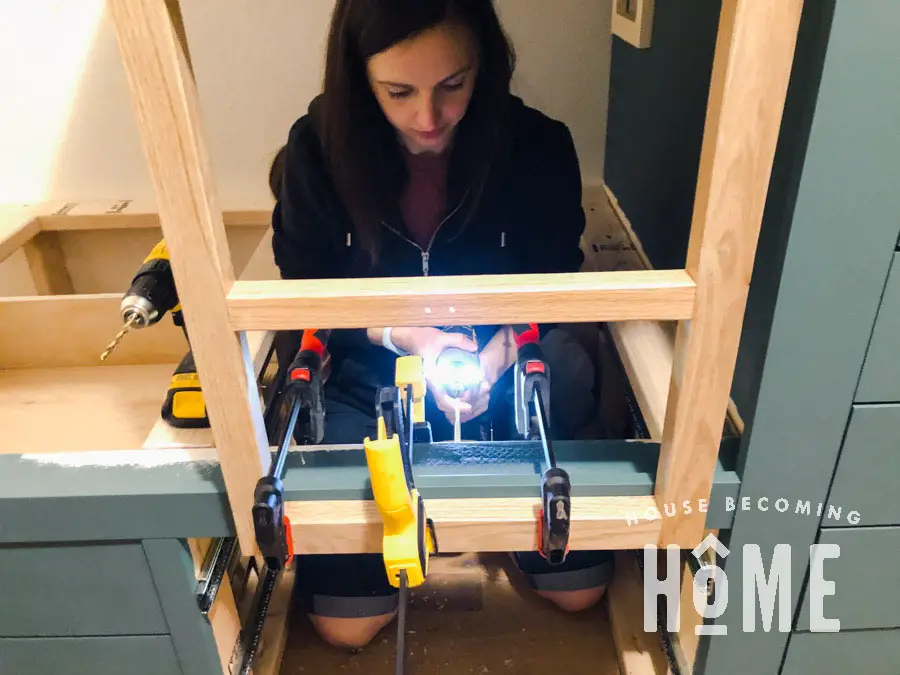
- Guard rails and ladder are attached to the bed from inside the bed so that the screws aren’t visible
How I Made Offset Built-In Bunk Beds
Bottom Bunk
I started by building the frame for the bottom bunk. The standard size of a twin mattress is 38×75″, so I made the frame just slightly larger (39×75″).
Build two identical pieces for the frame of the bottom bunk.
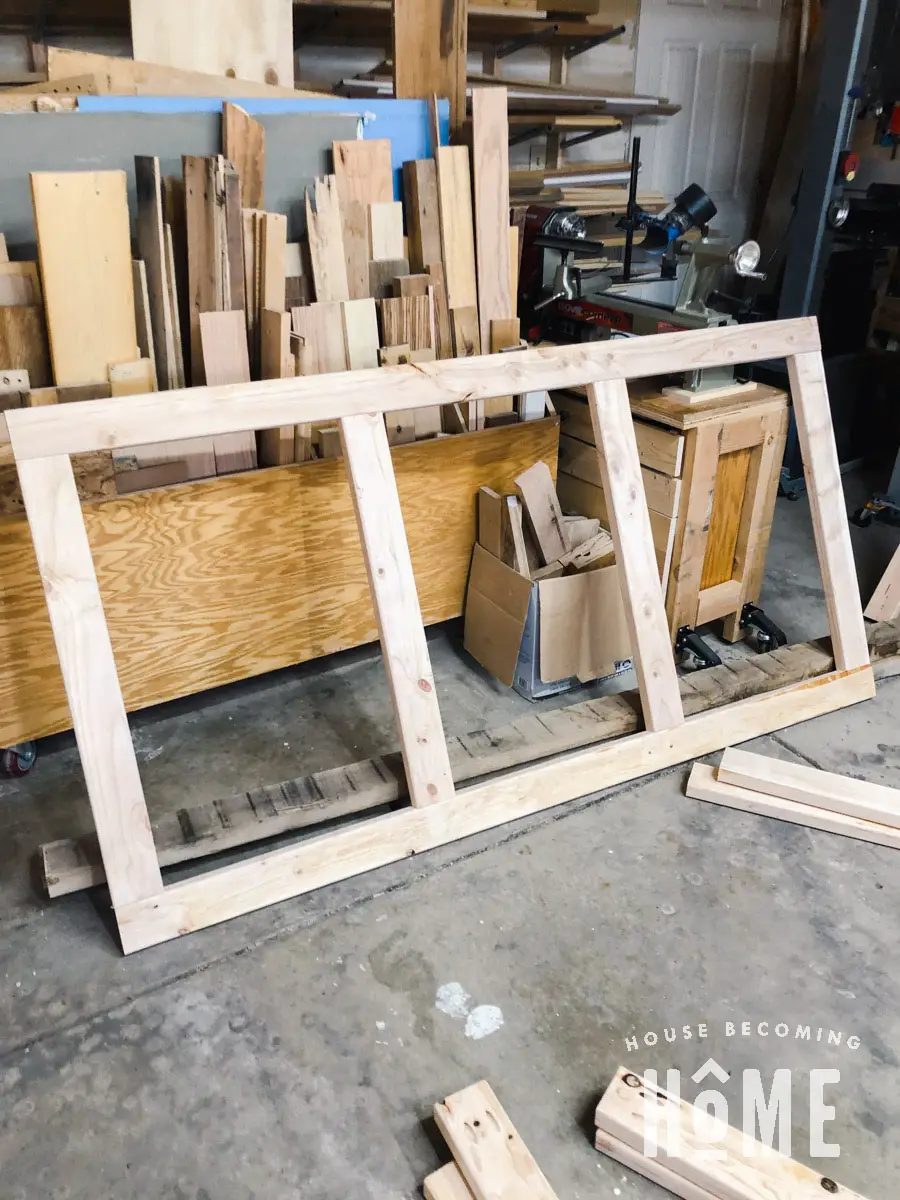
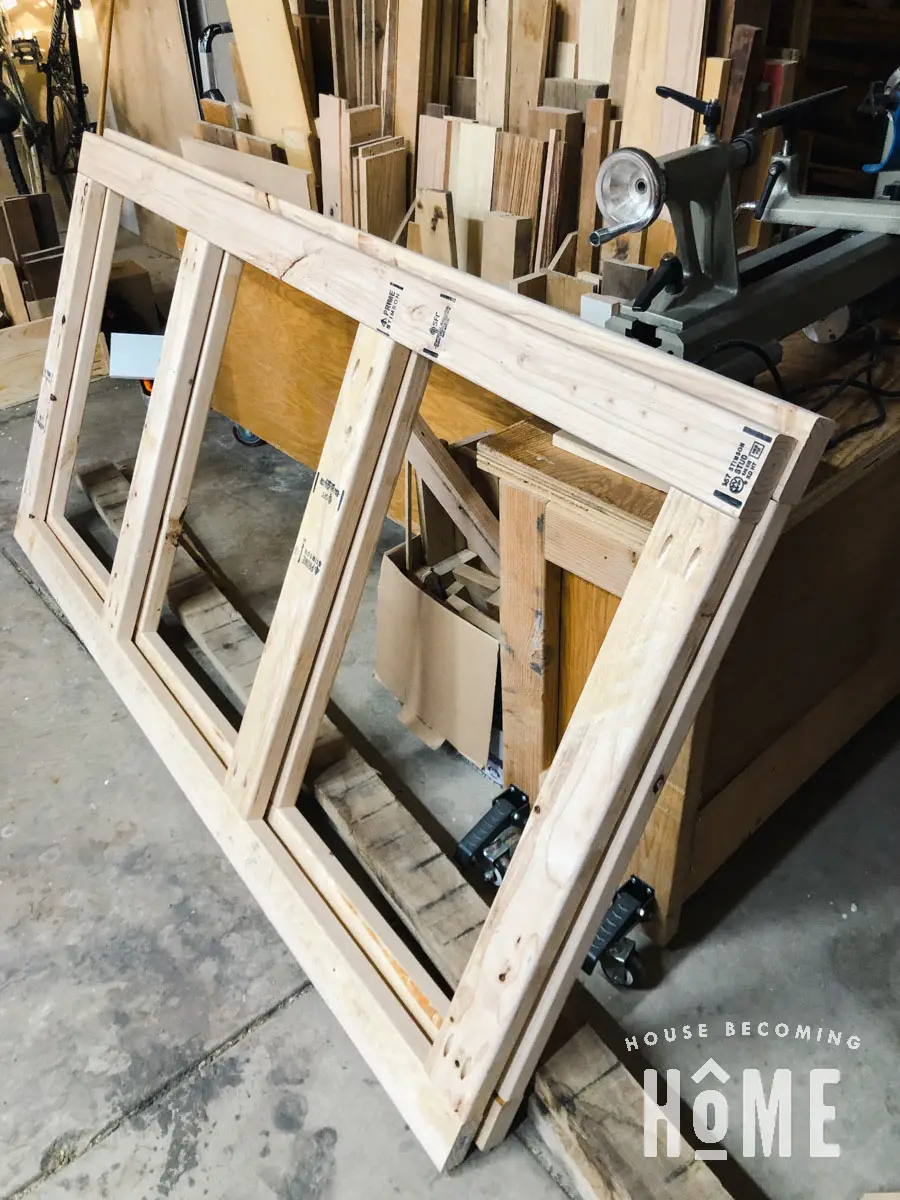
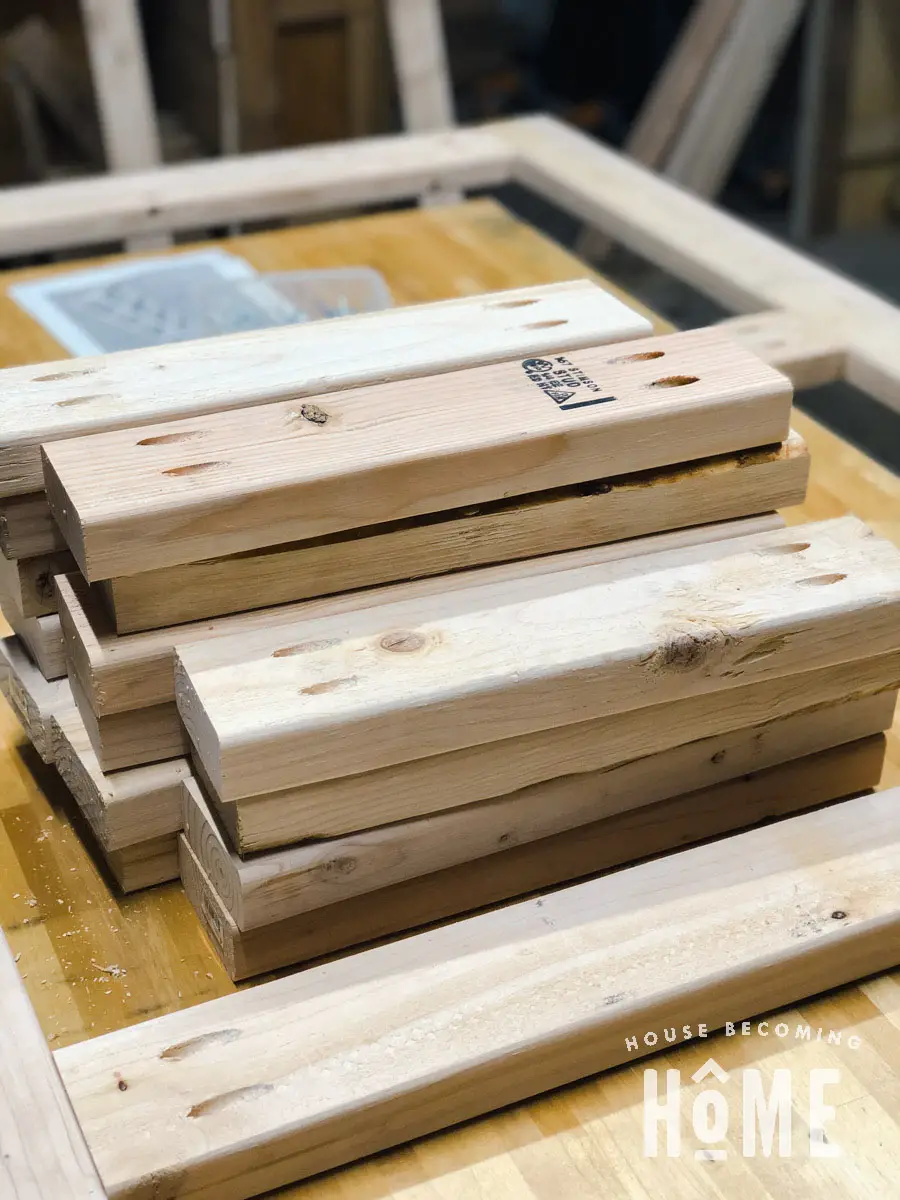
These small 2×4 pieces serve two purposes. They act as supports, and they also divide the frame into three sections for drawers. The drawer slides are screwed directly into these small 2×4 supports.
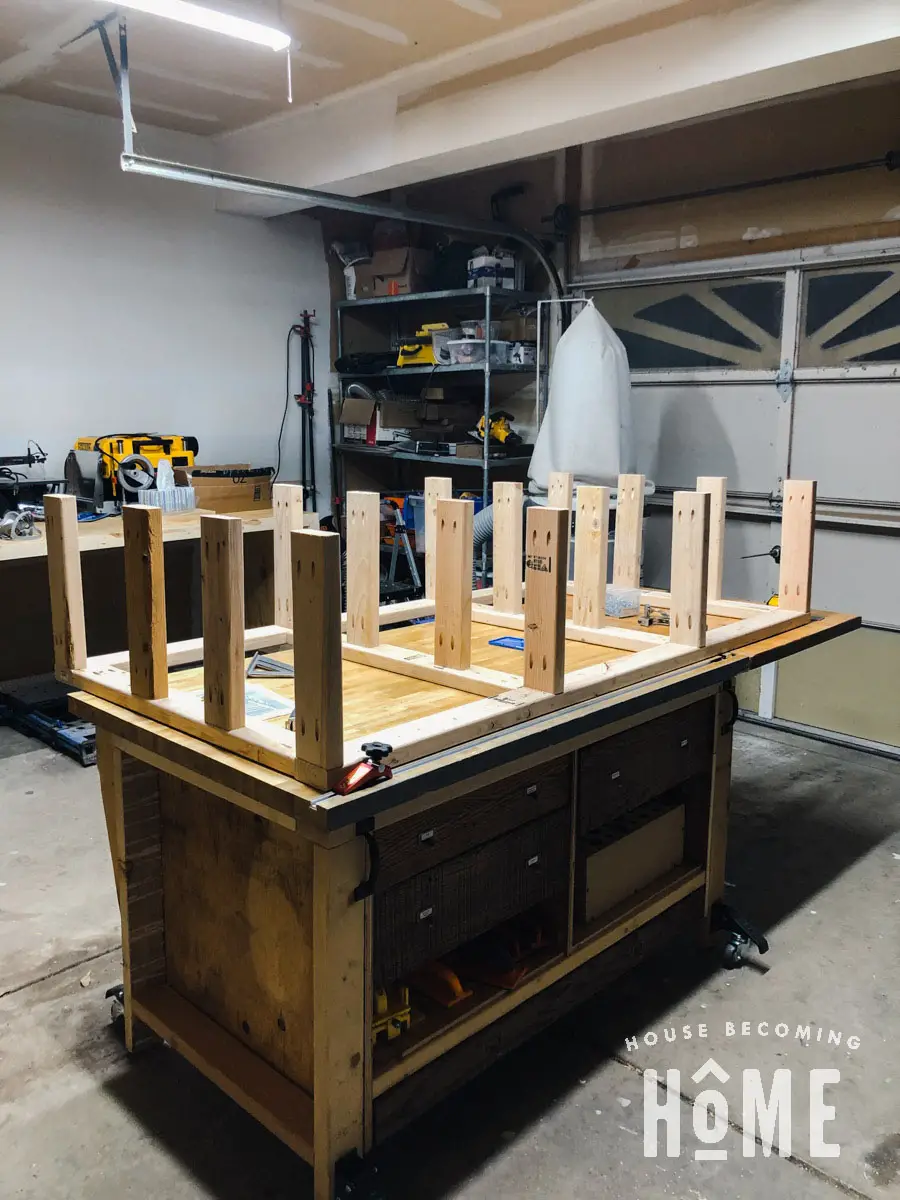
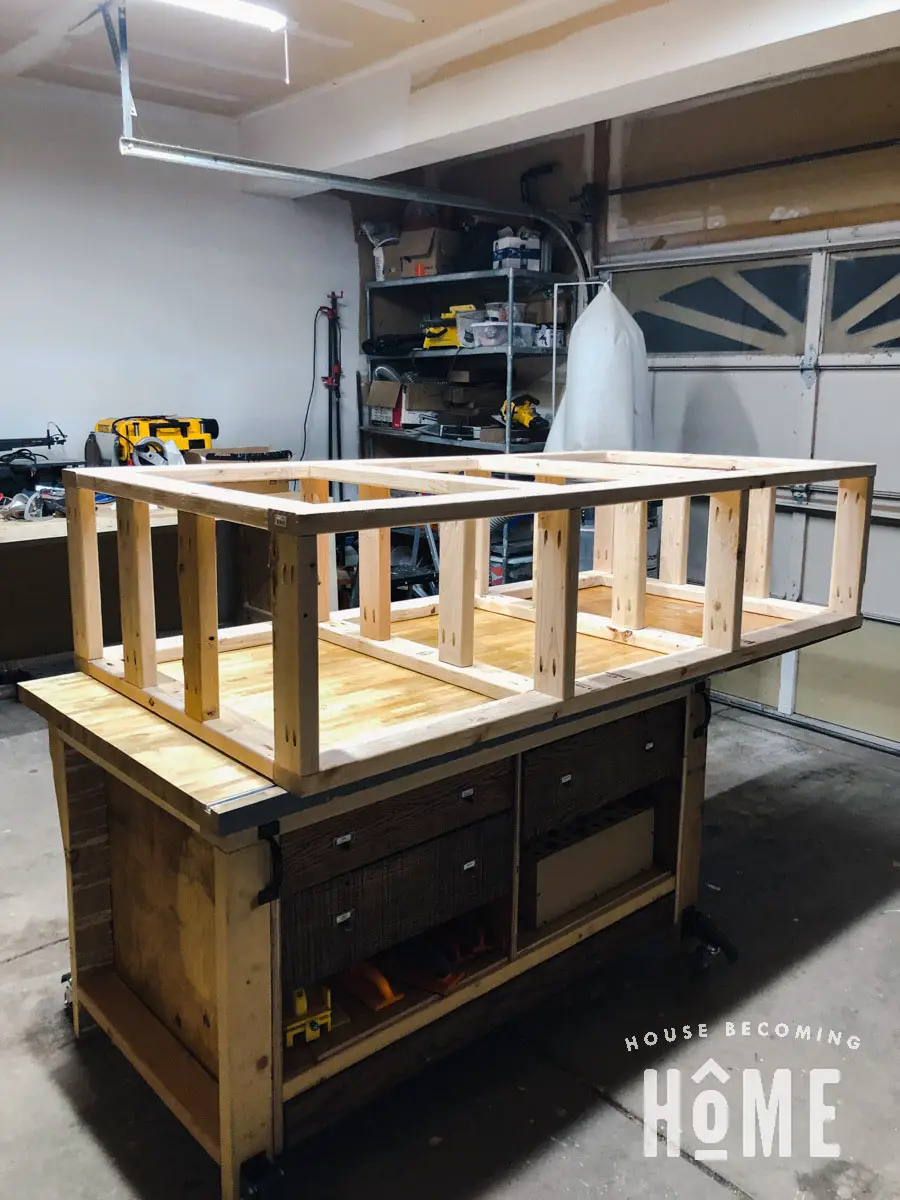
After building the drawer boxes I moved the bed frame into the room. Remove the trim from the wall so the frame can be pushed directly against the wall.
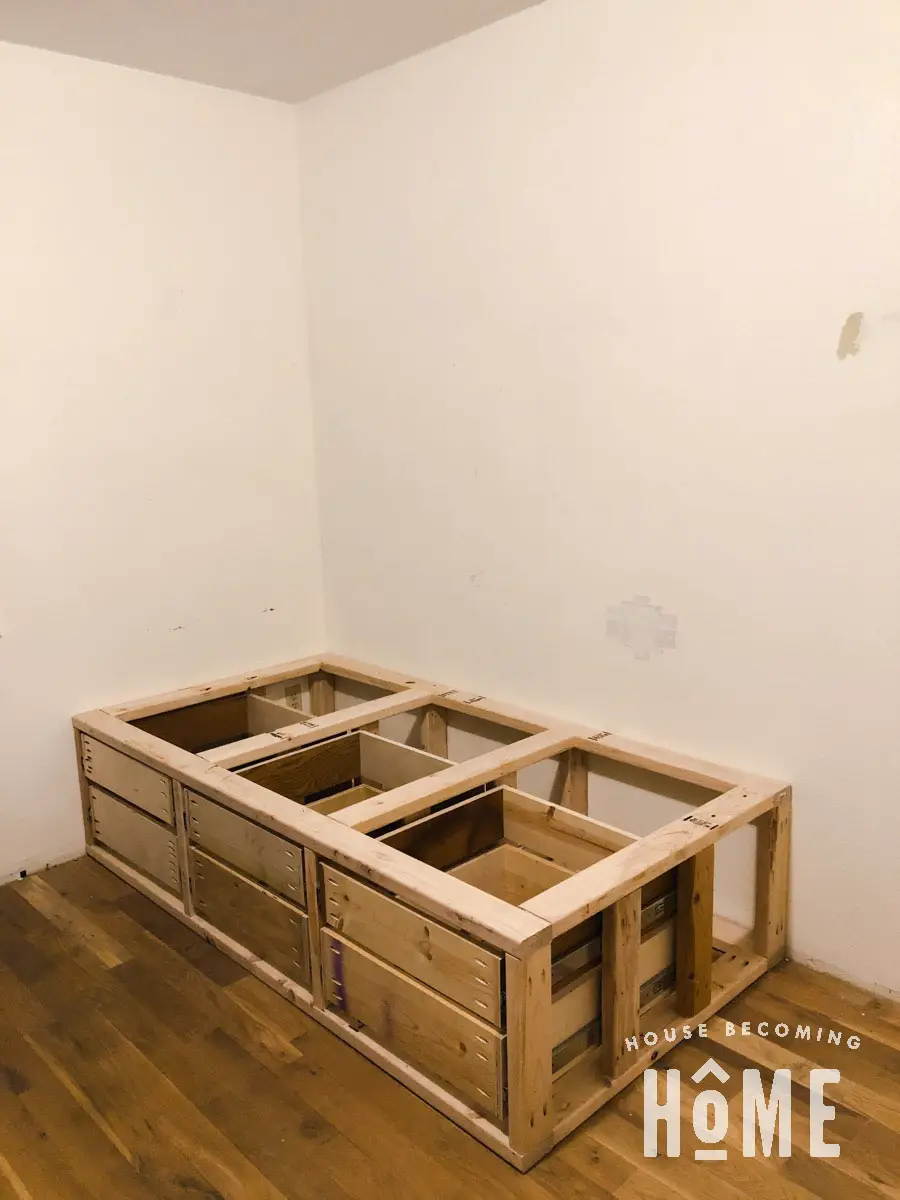
Built-In Bunk Beds : Center Section
Next, I started building the frame of the tall, center dresser.
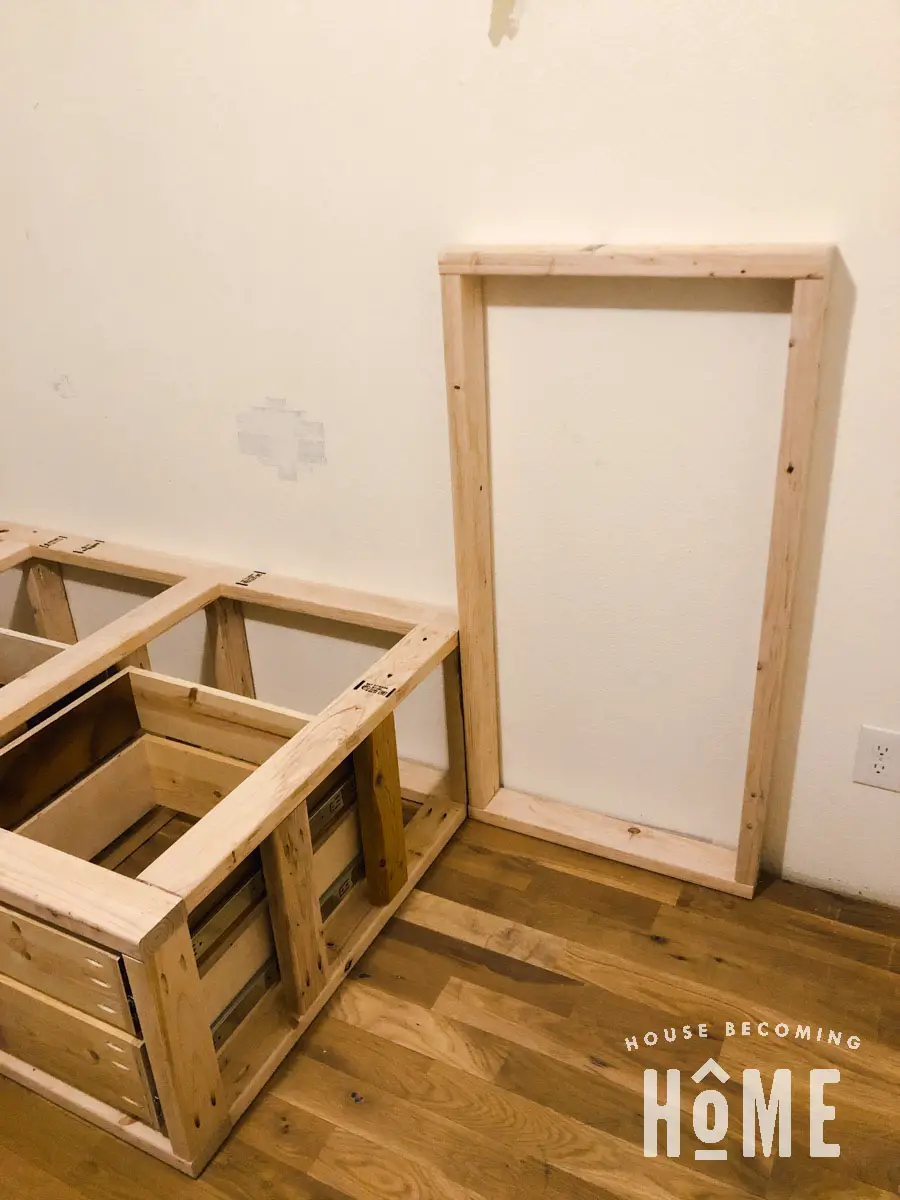
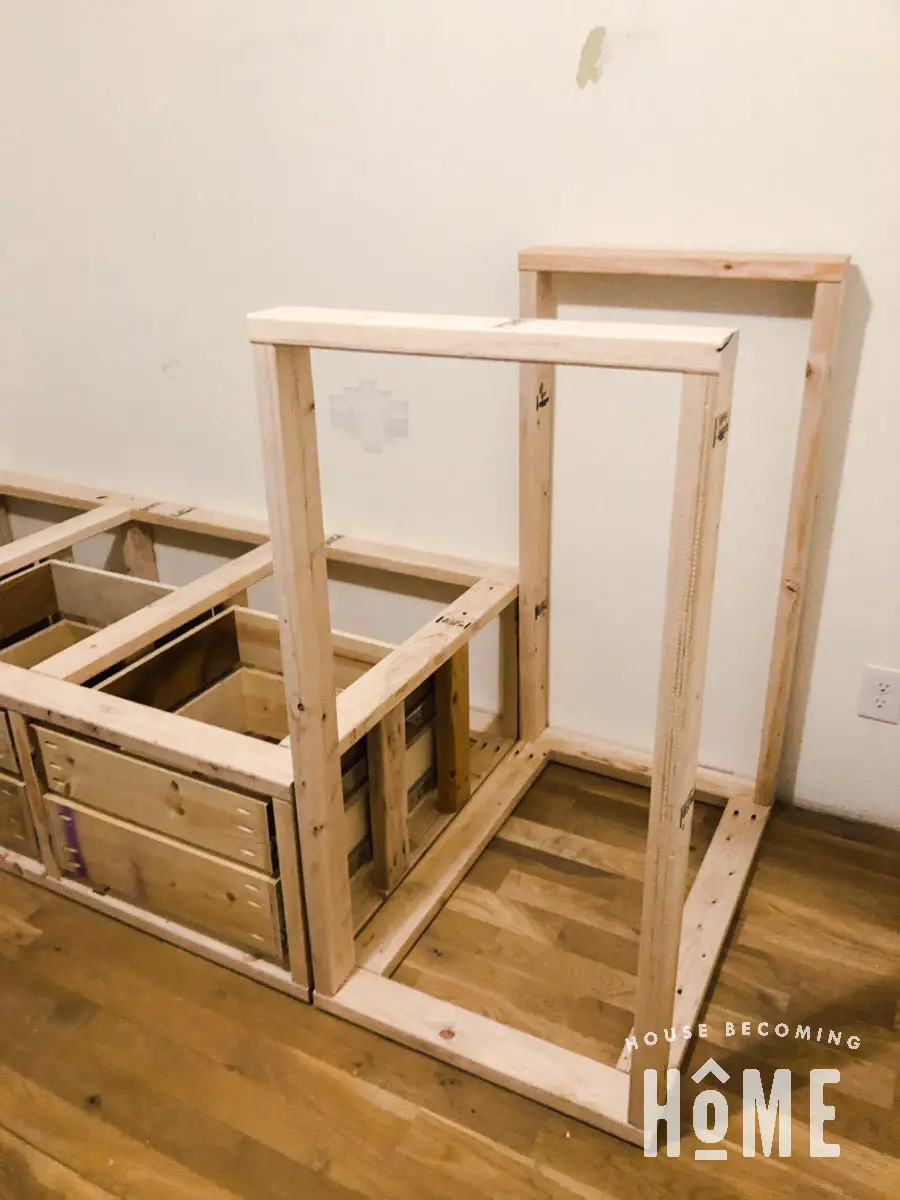
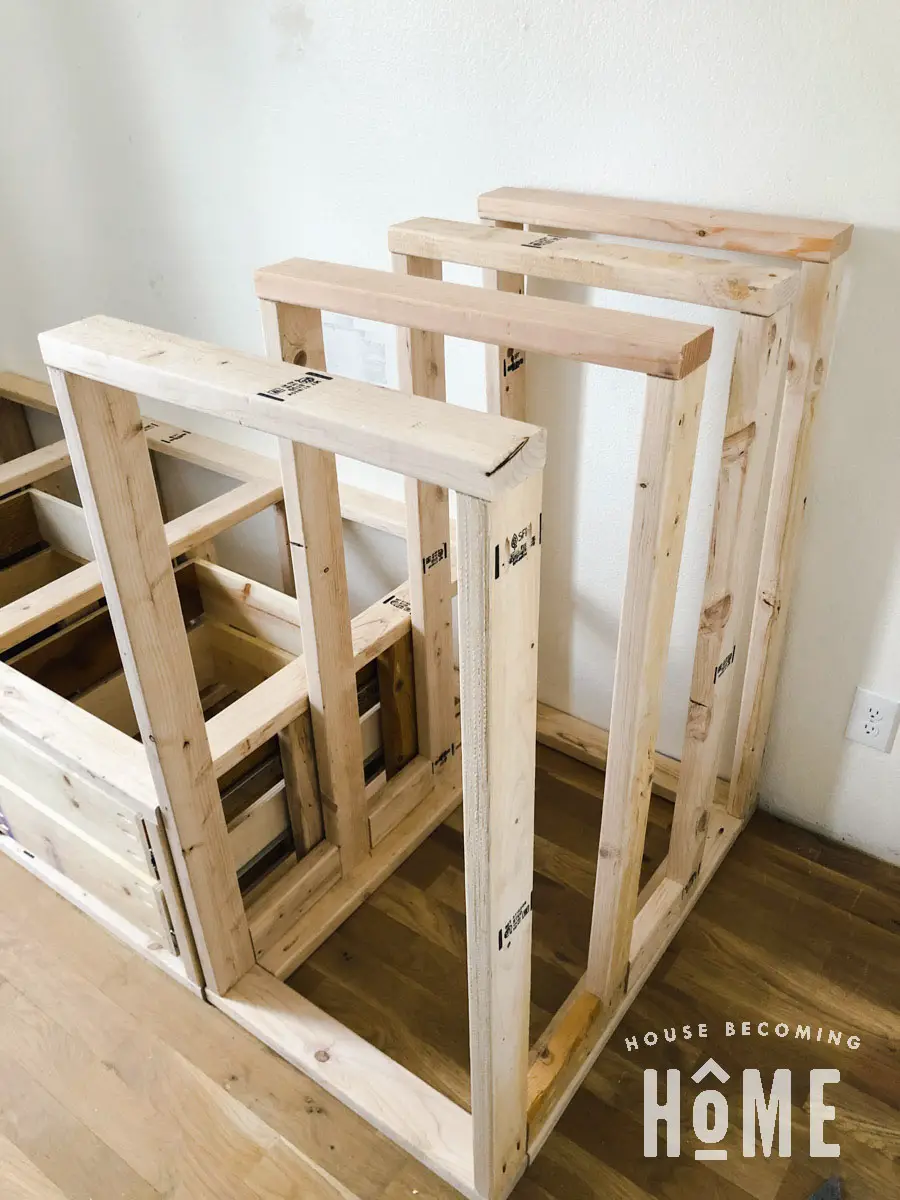
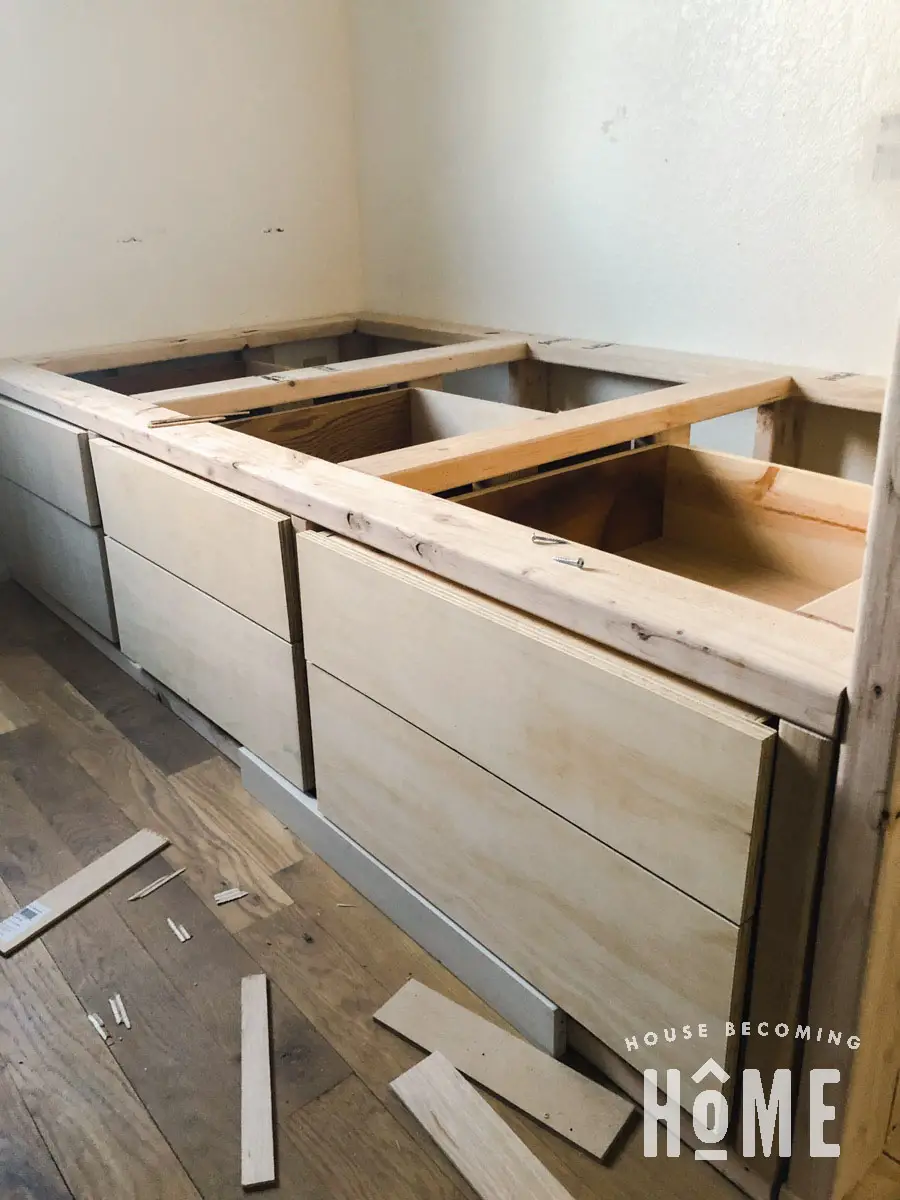
At this point I screwed drawer fronts onto the drawers of the bottom bunk (attached with screws from inside the drawer). I placed a scrap piece of 1×3 trim along the bottom to make sure the drawer fronts were installed at the correct height.
Built-In Bunk Beds : Top Bunk
Next, I built a frame for the top bunk.
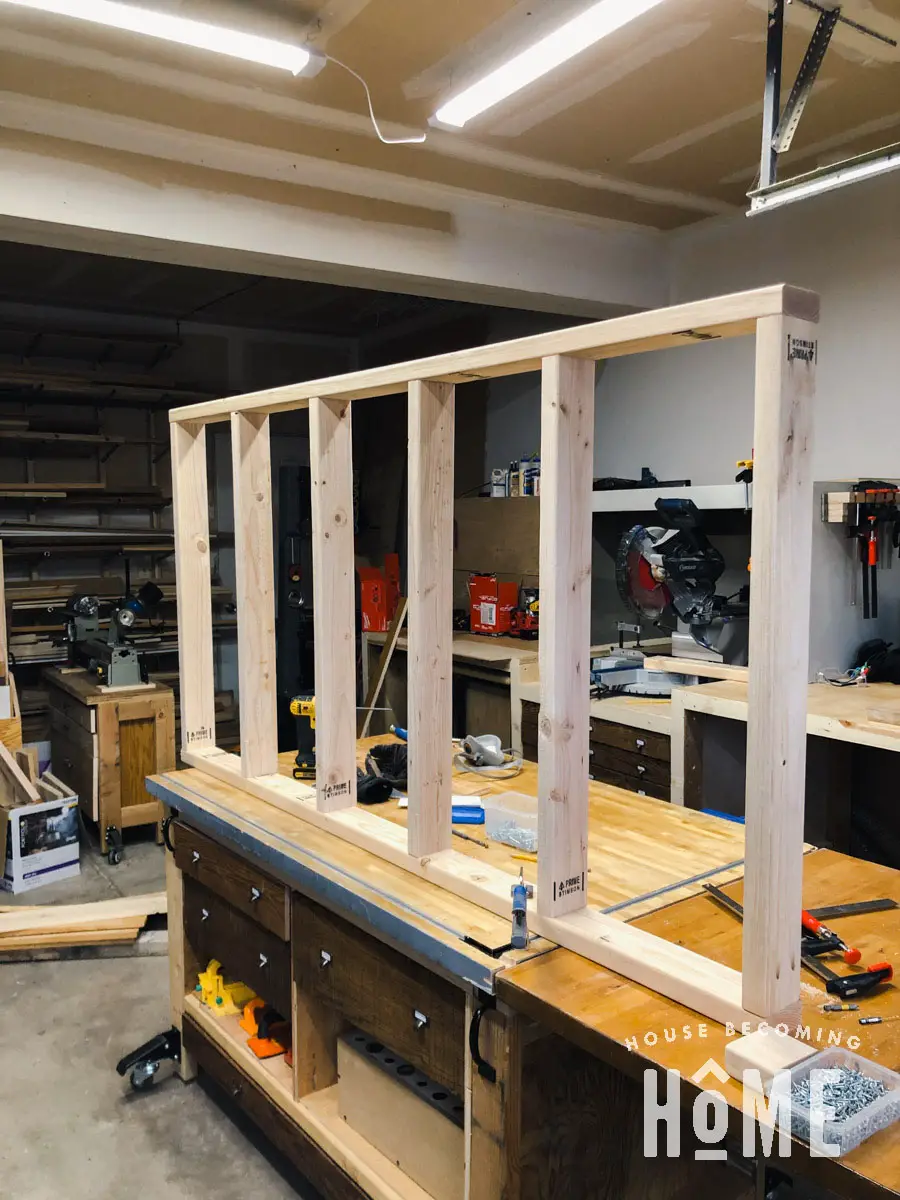
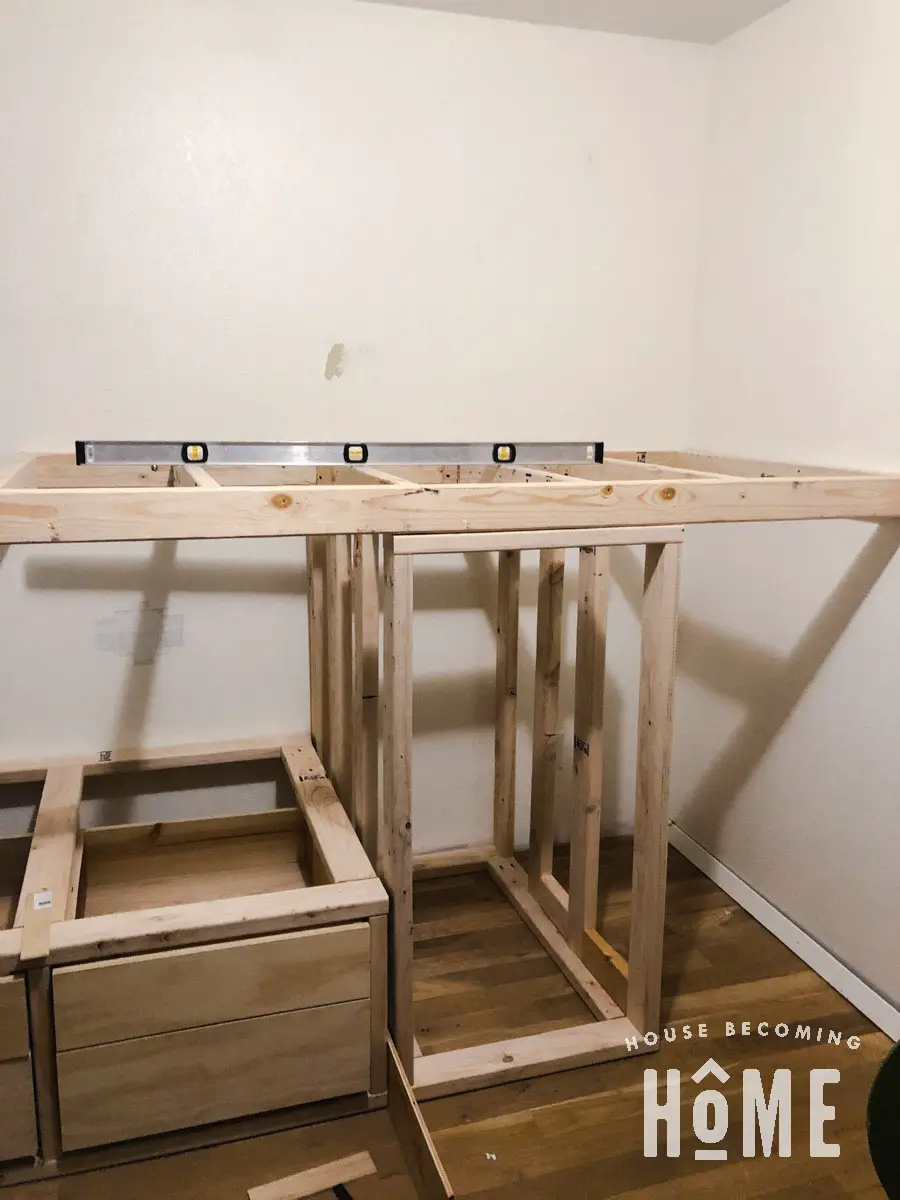
Fix Top Bunk to Wall
Locate the studs in the wall where the top bunk will be.
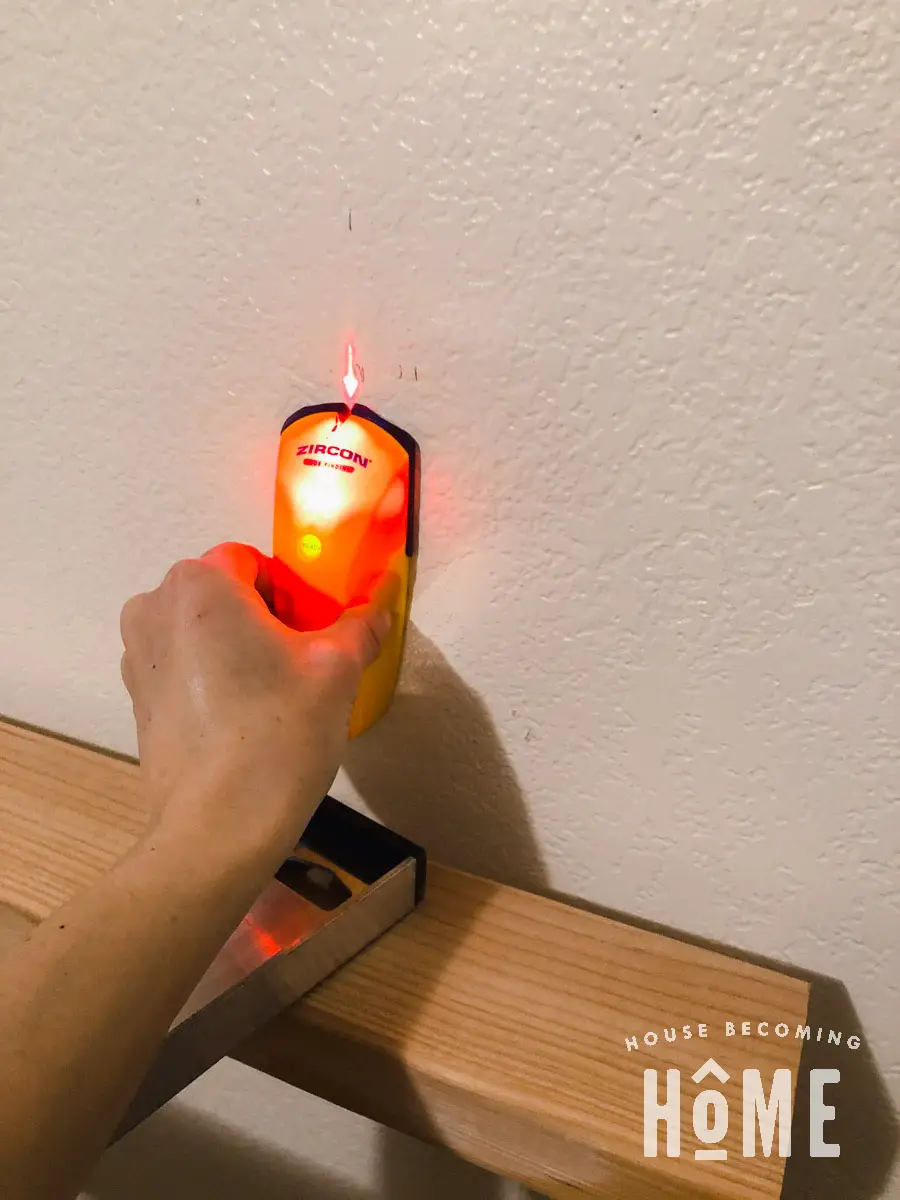
I used these Spax powerlags to attach the top bunk to the wall through the studs.

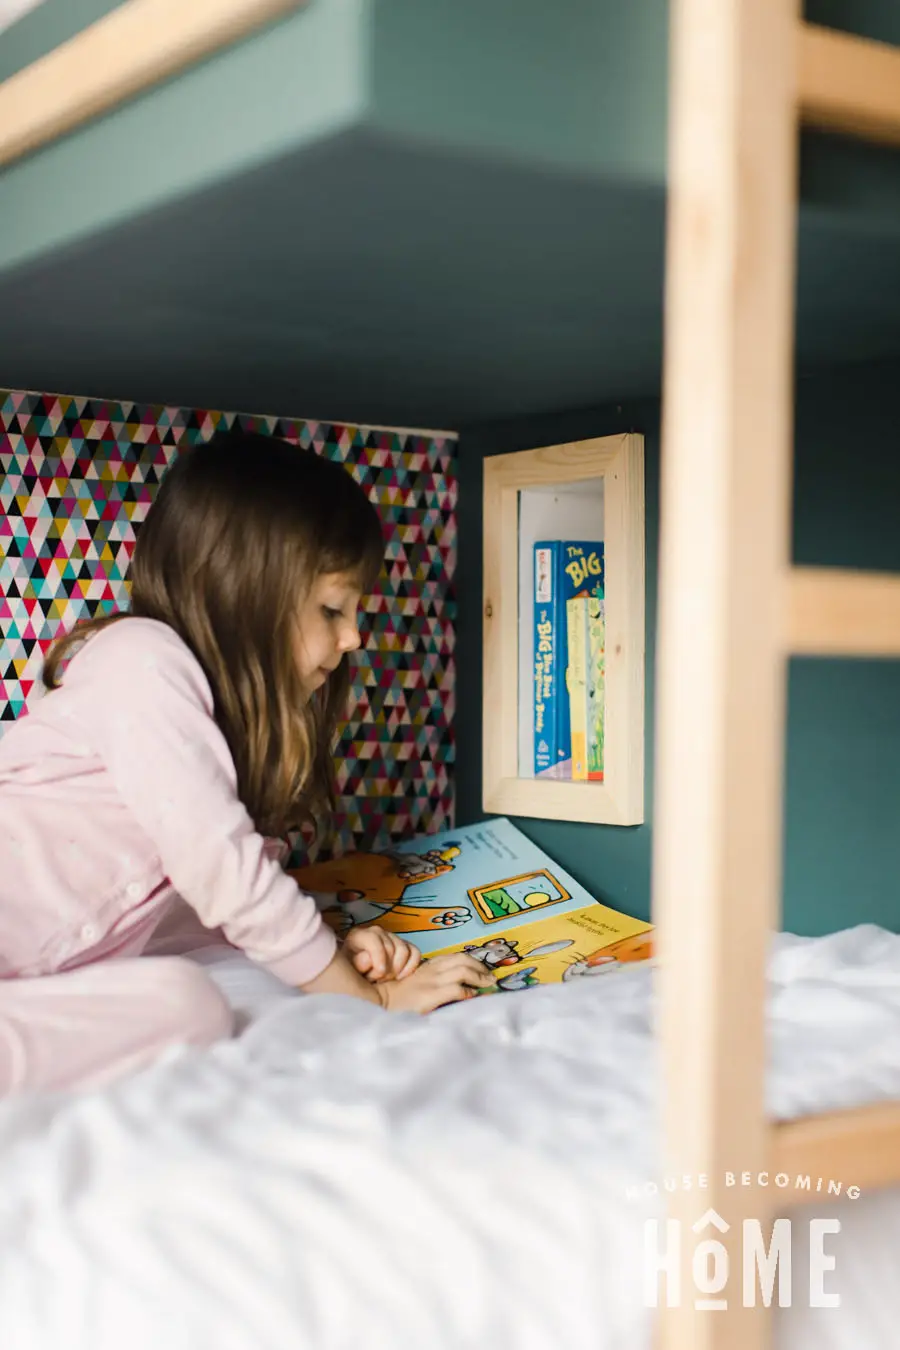
Book Nook
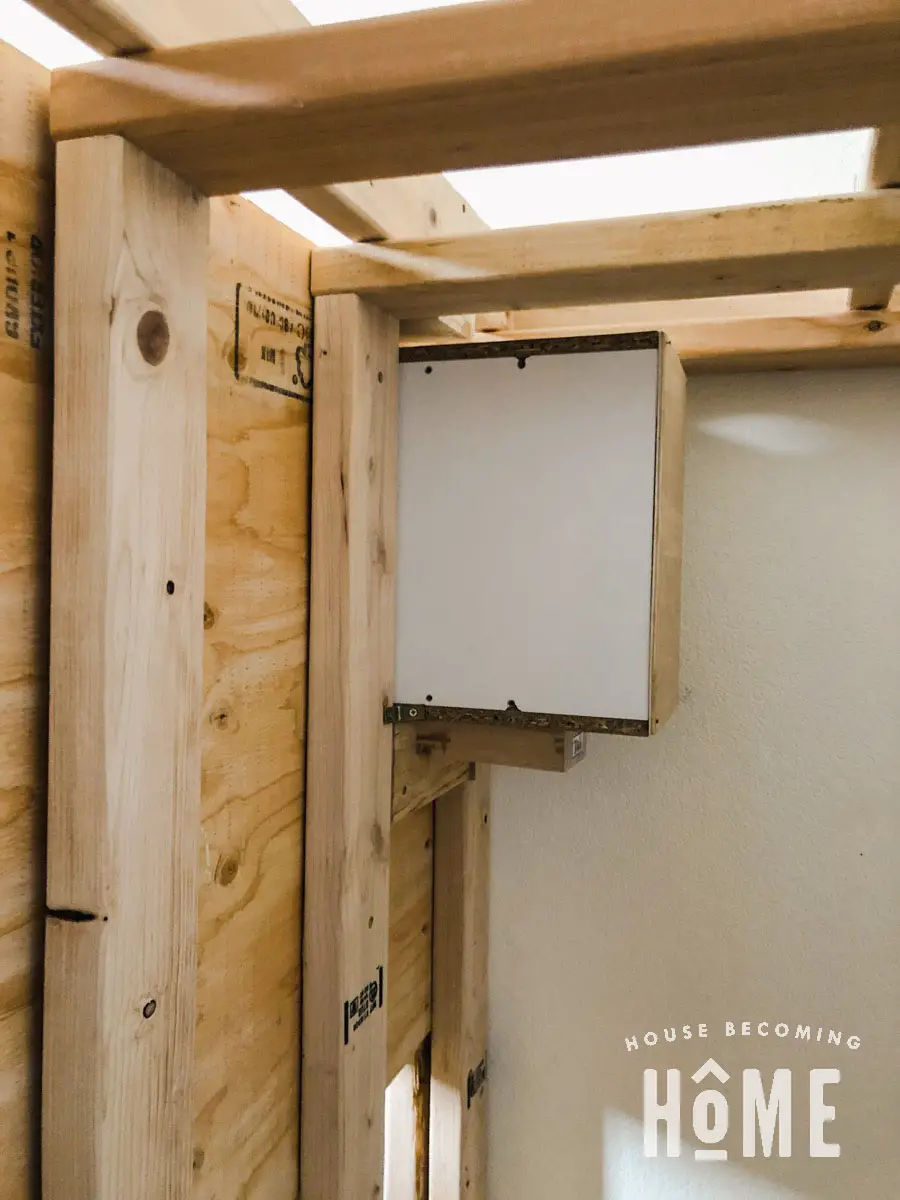
I decided midway through this project to add a little “book nook” in the empty space behind the drawers of the dresser. I made a support from 2x4s to attach to the inside of the dresser.
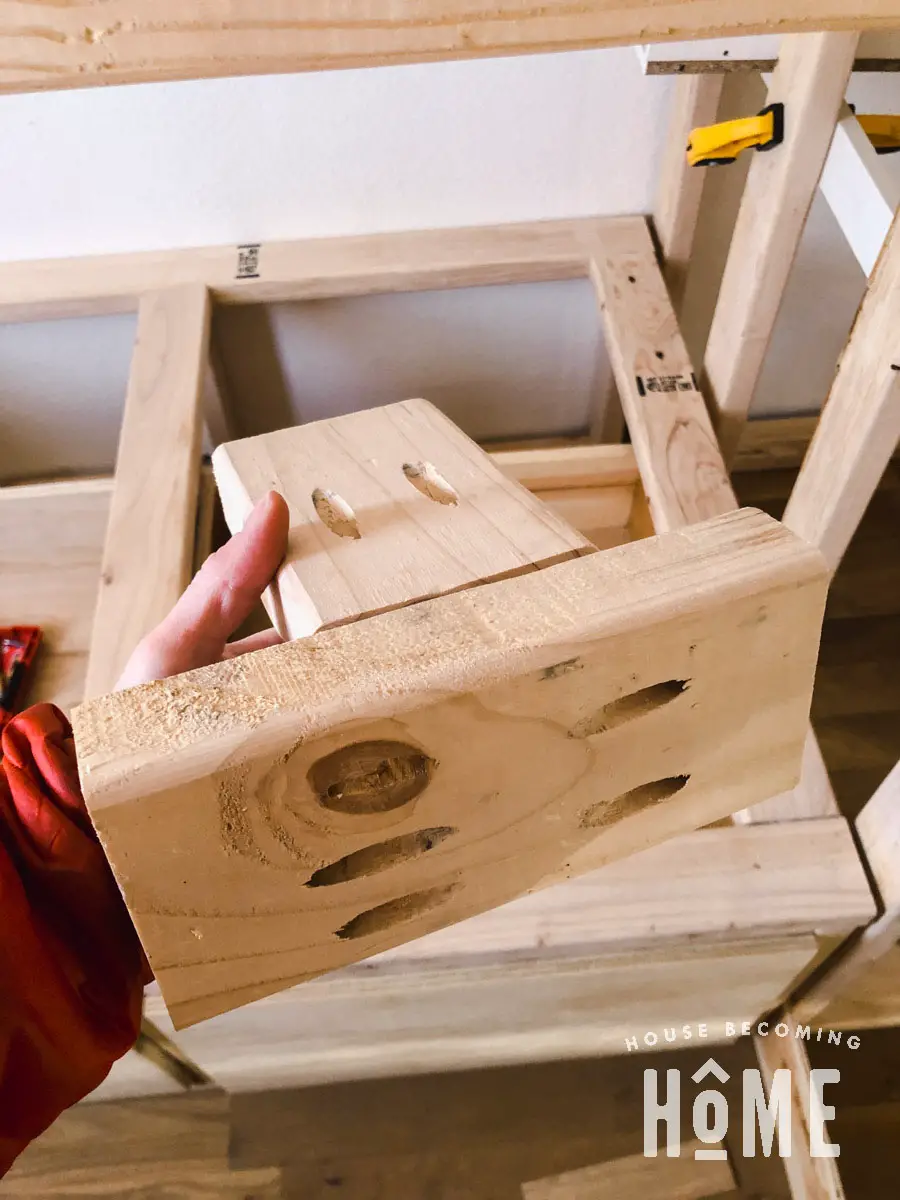
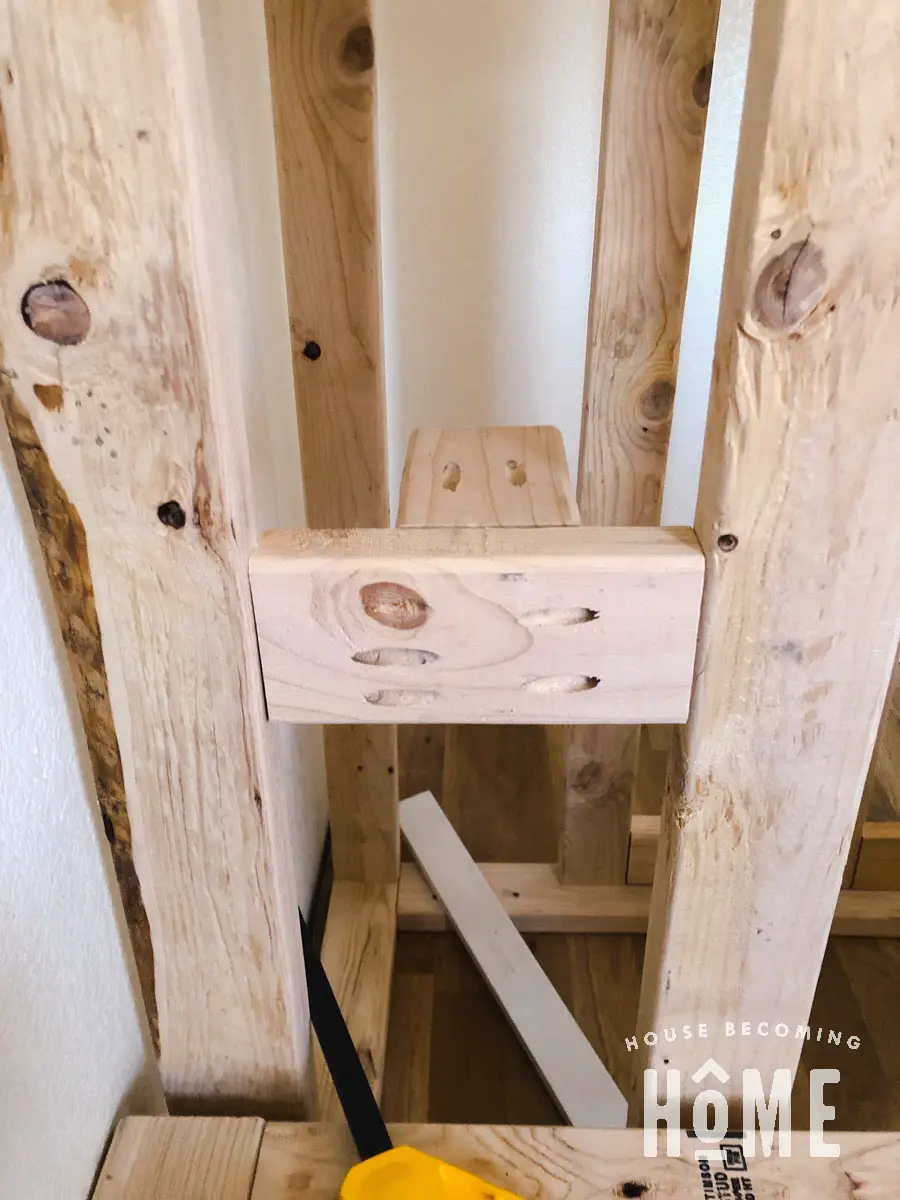
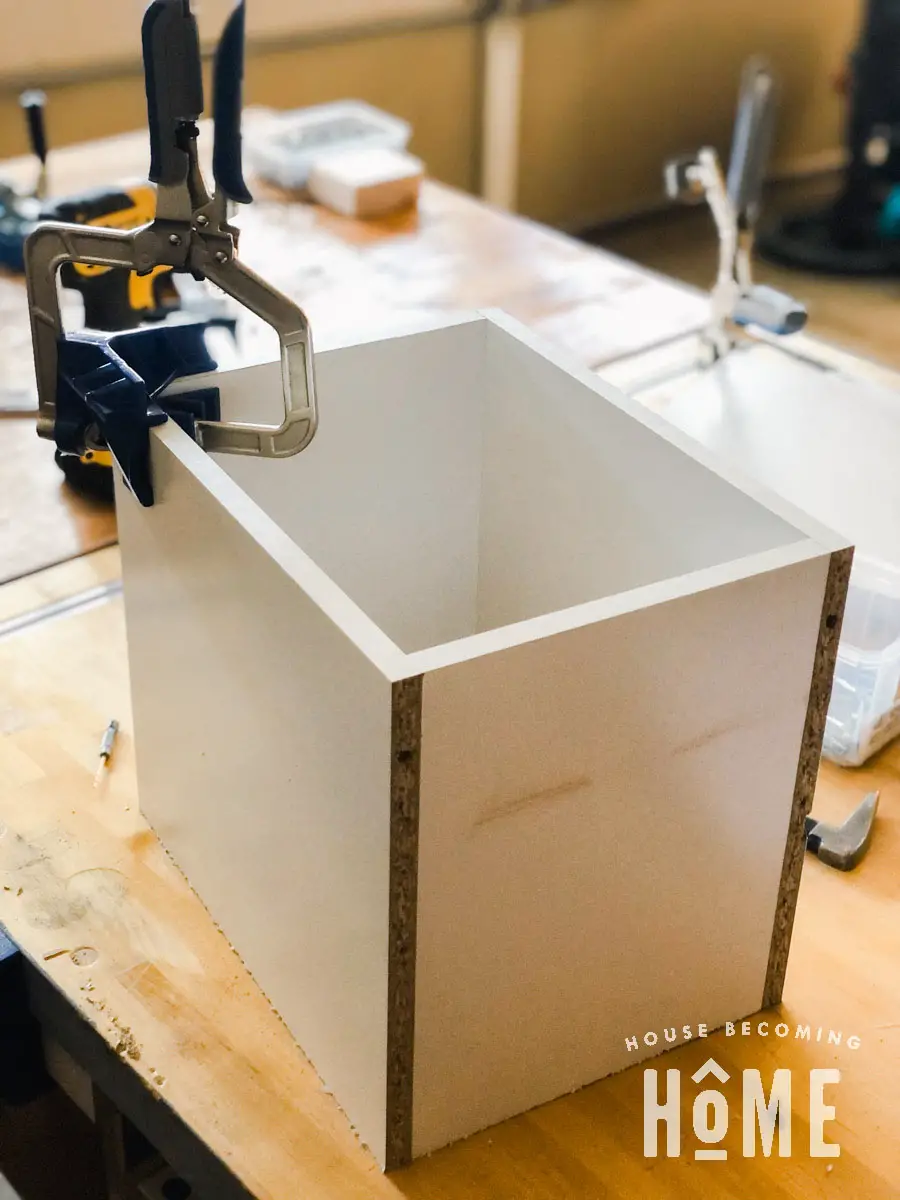
The book nook is screwed onto the 2×4 support it rests on. (In case you’re wondering about the scrap of plywood next to it . . . I put that there as a way to ensure the book nook would be flush with the plywood that I’d soon be attaching to the sides.)
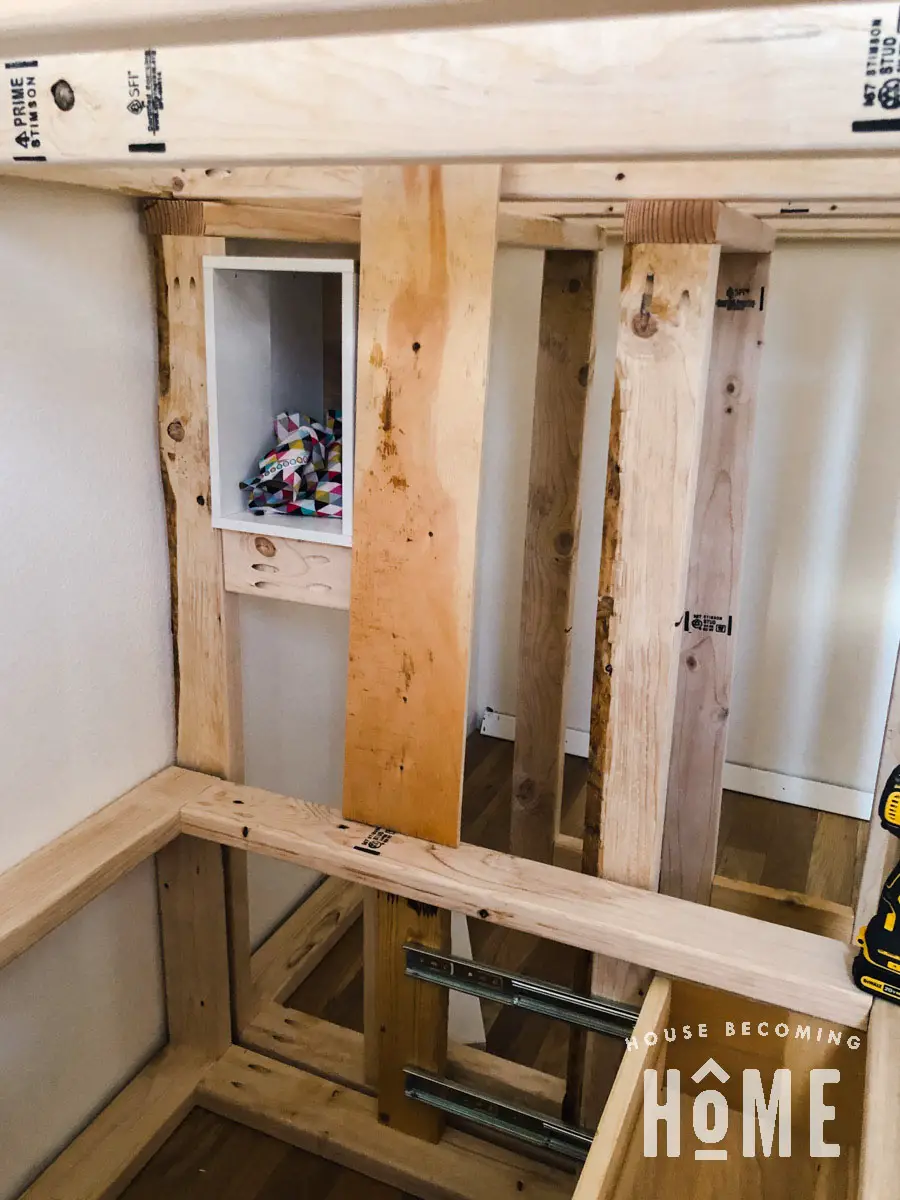
I also added some small corner braces to keep it in place. (You can see one of them at the bottom of the book nook.)
Dresser Sides
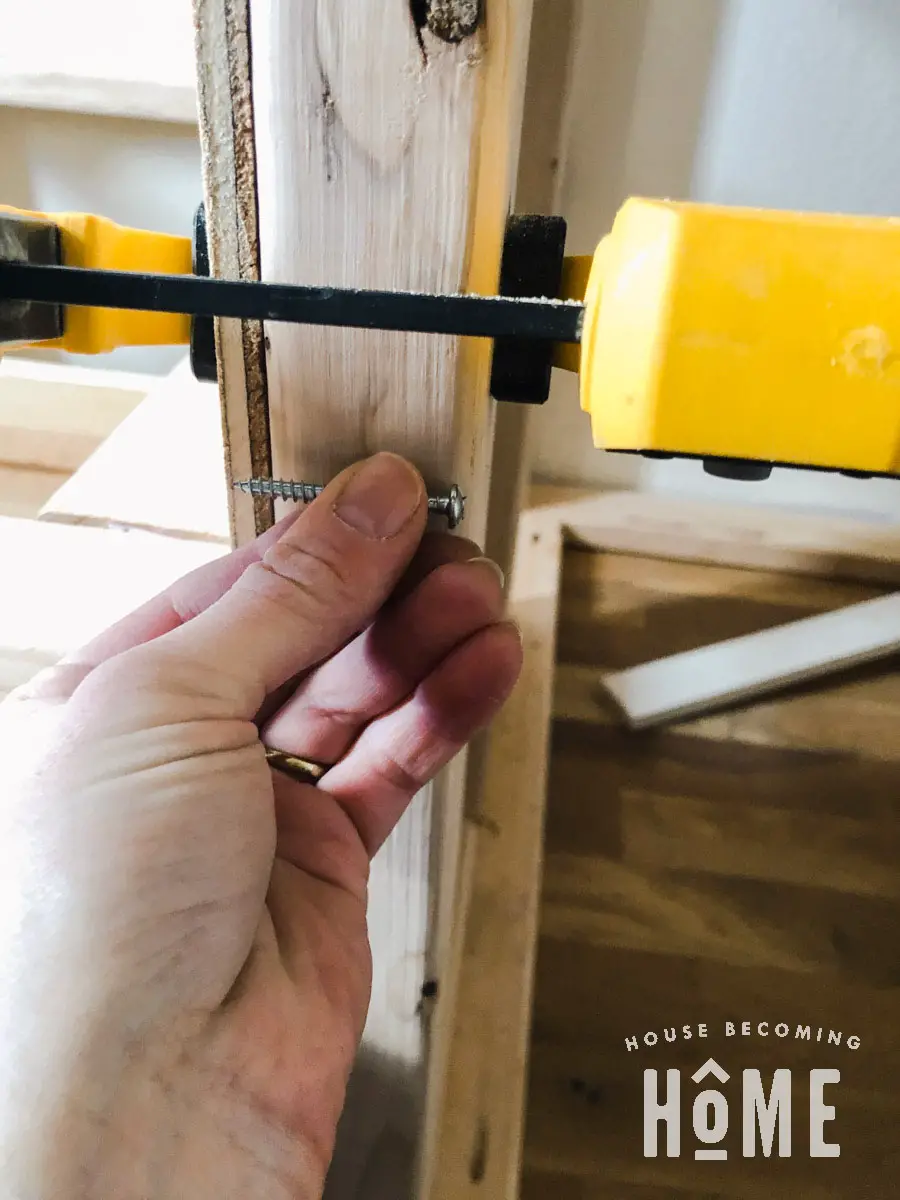
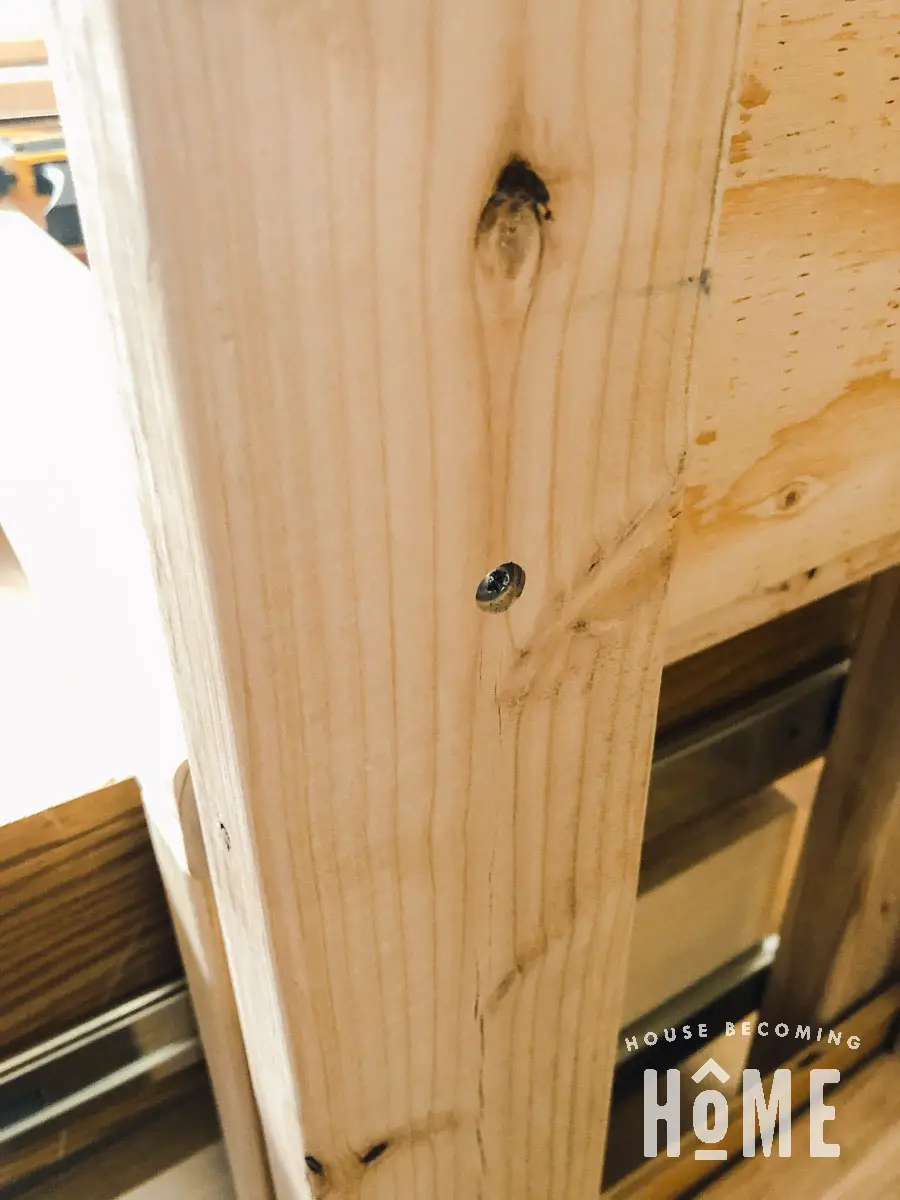
I then attached 1/2″ plywood to the sides of the dresser with screws from the back side. (I also ended up adding a few screws through the front.)
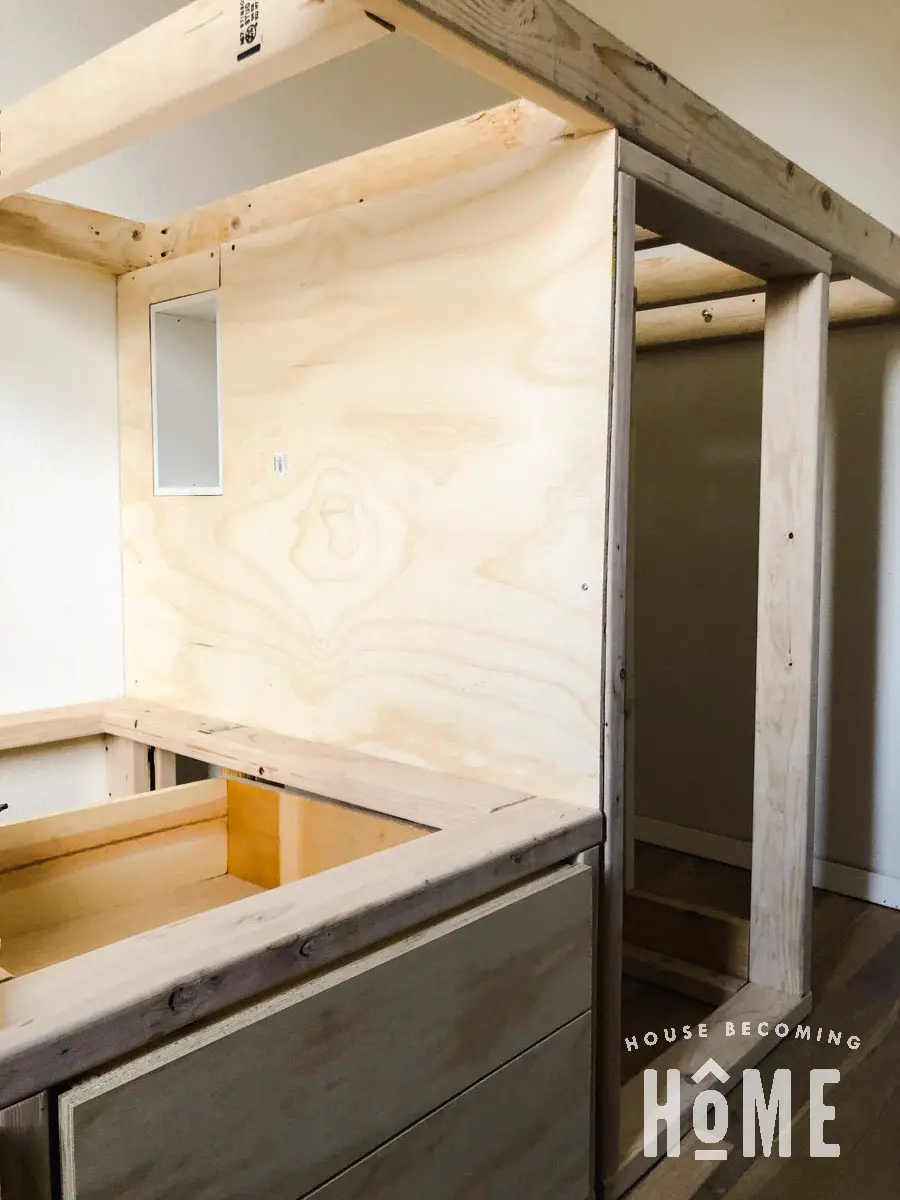
After that I added plywood underneath the top bunk.

Center Section Drawers
Next I started building drawers for the dresser. You can see that the drawer slides are attached directly to the 2×4 frame, as they were with the drawers in the bottom bunk.
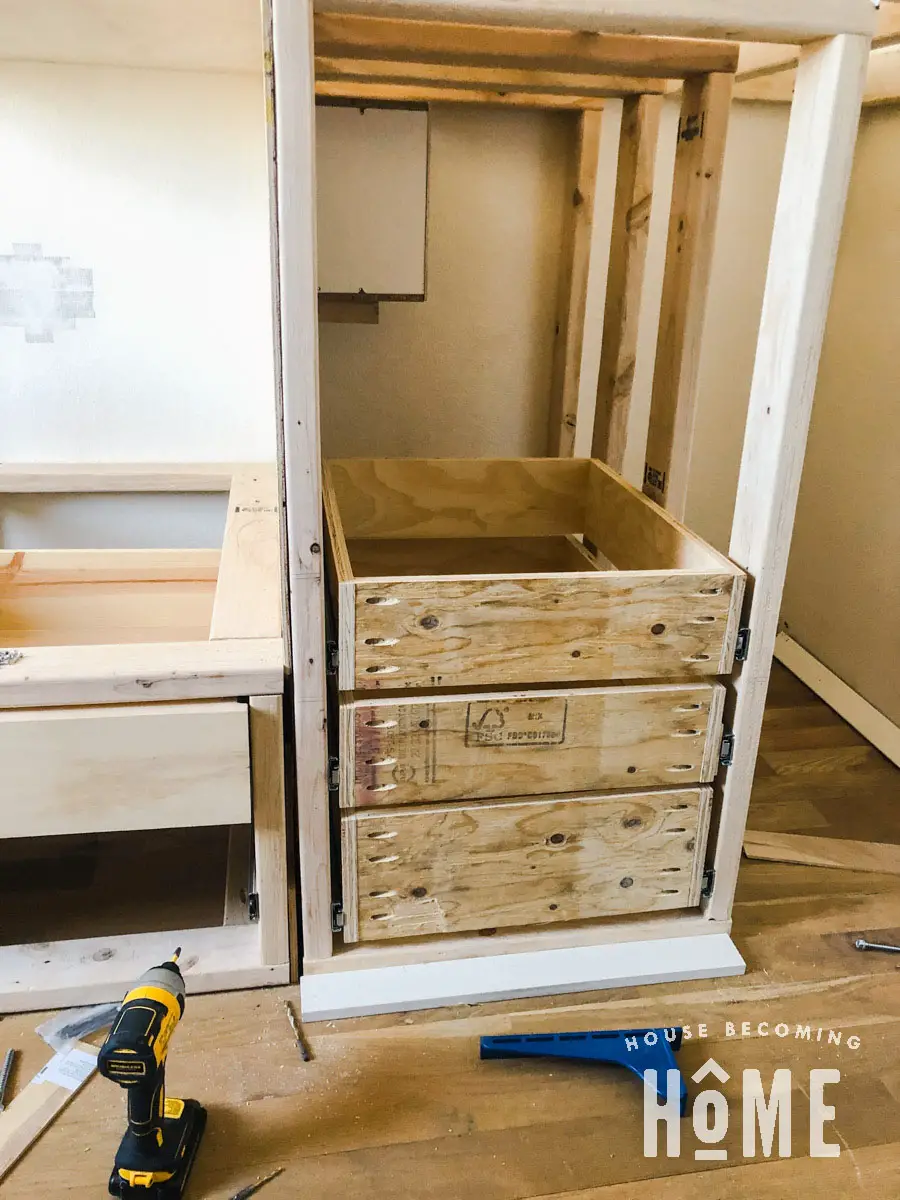
Before screwing the drawer fronts on, I made sure all the pieces were firmly attached to each other with screws. (Tall dresser frame screwed to the bottom bunk frame as well as the top bunk frame.)
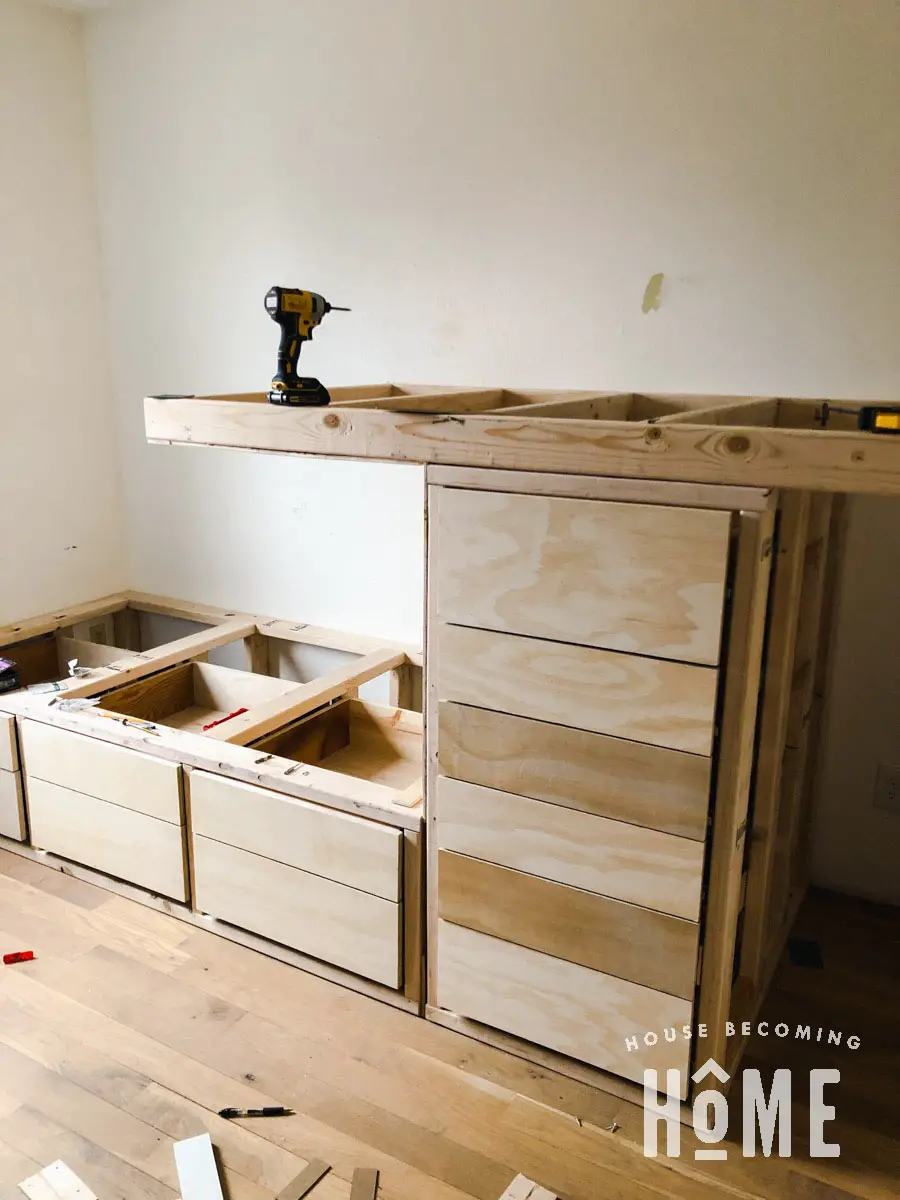
FINISHING
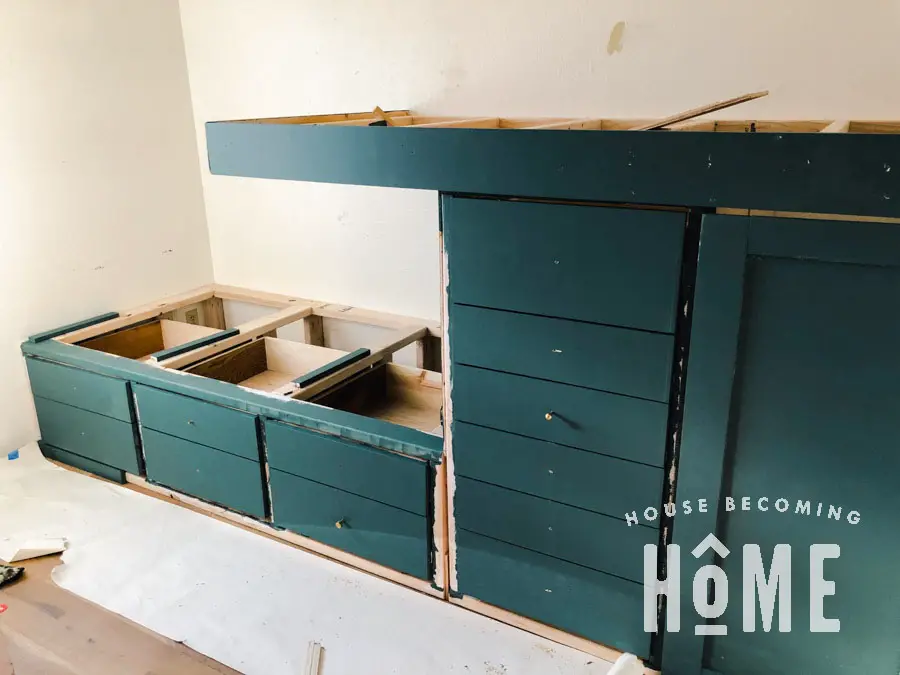
Prime, then paint!
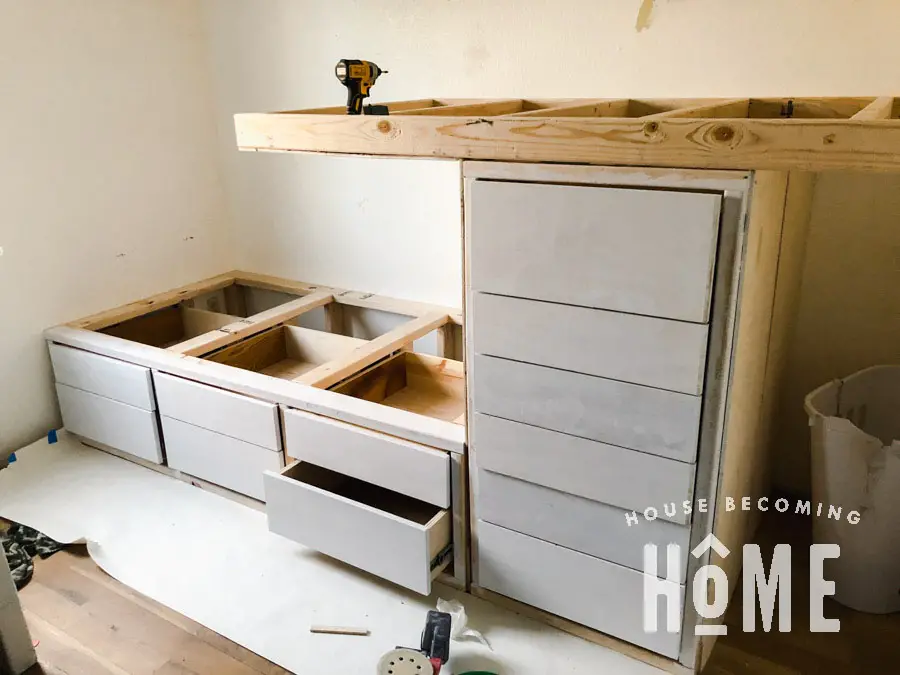
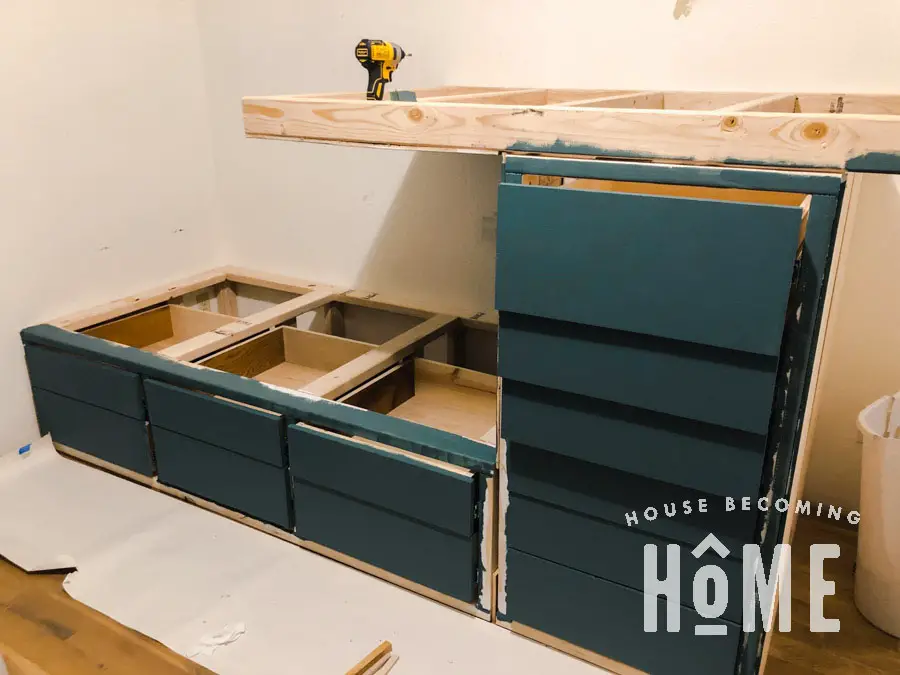
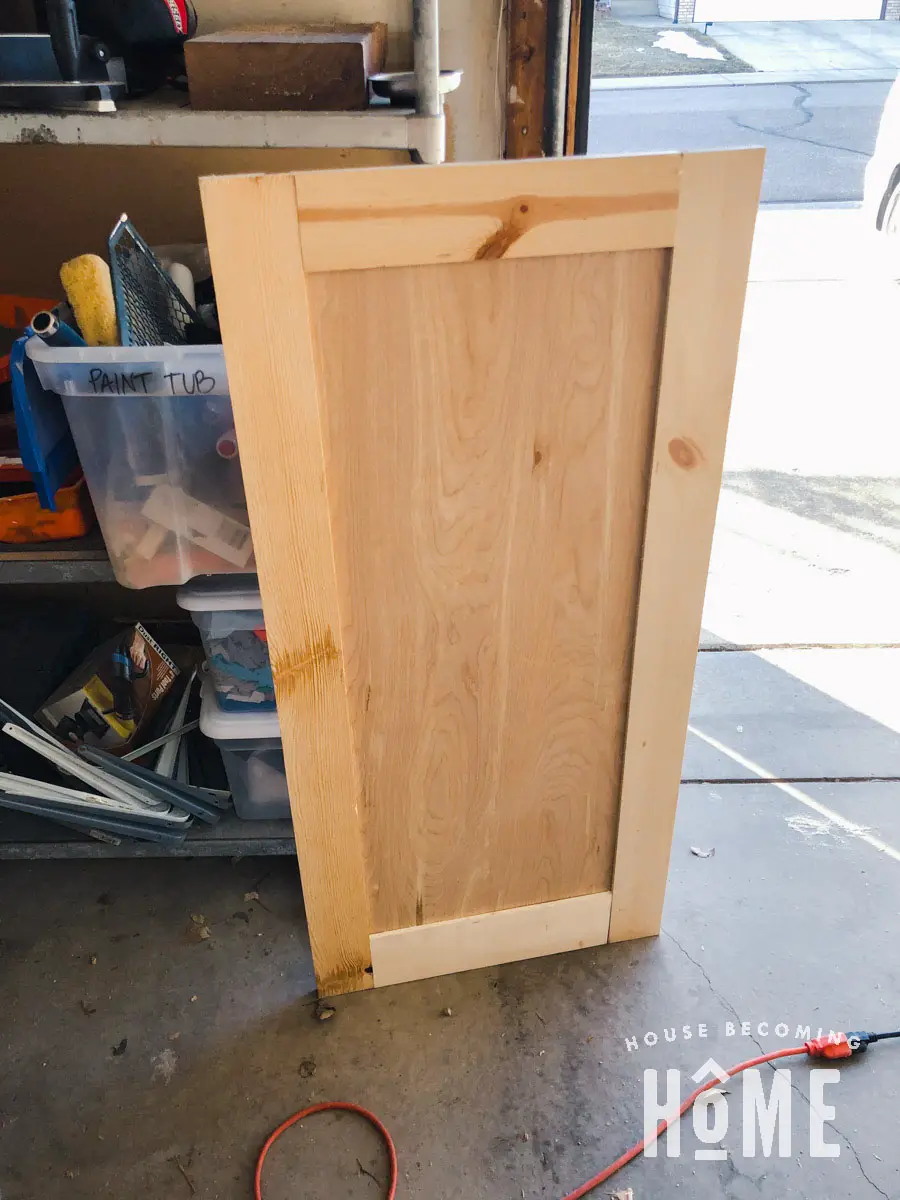
Build a door to enclose the right storage area.
Begin adding trim to the bed. I used 1×6 pieces to trim the top bunk, and 1×3 trim for mostly everything else. Make sure the trim on the beds goes at least 3/4″ above the 2×4 frame so that it will hide the 3/4″ mdf sheet that will eventually be placed on top.
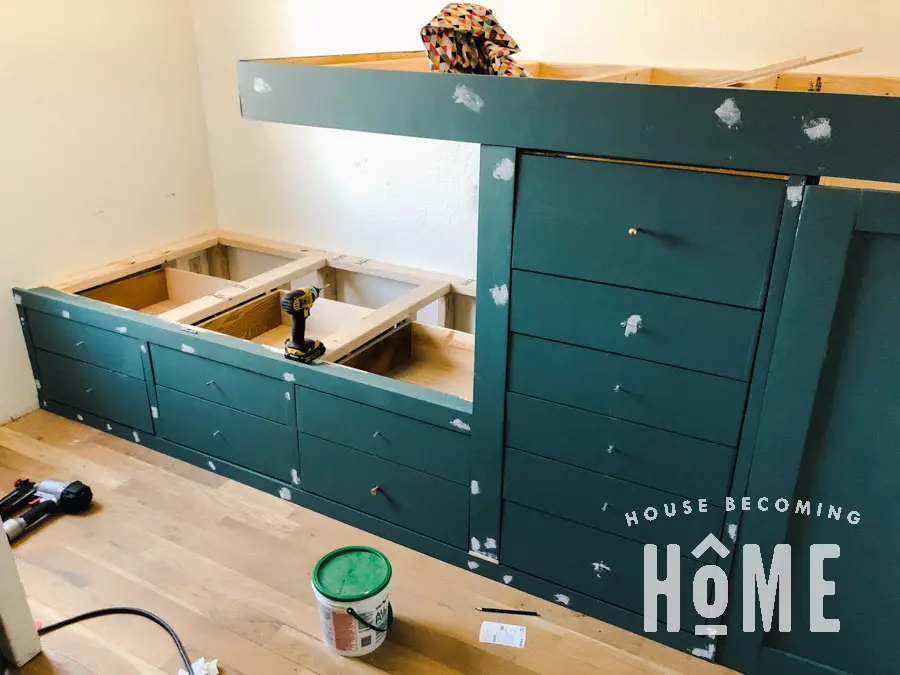
Fill any holes after nailing the trim to the frame.
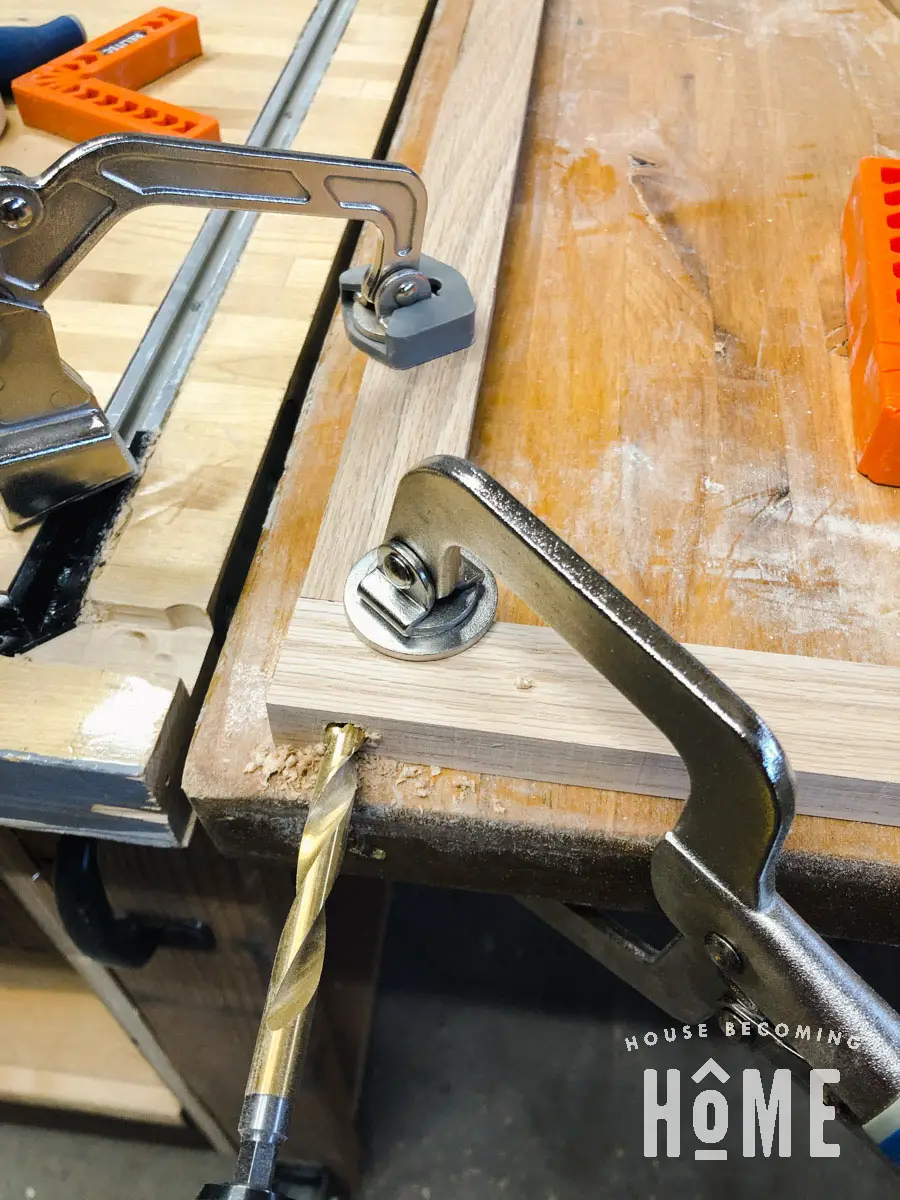
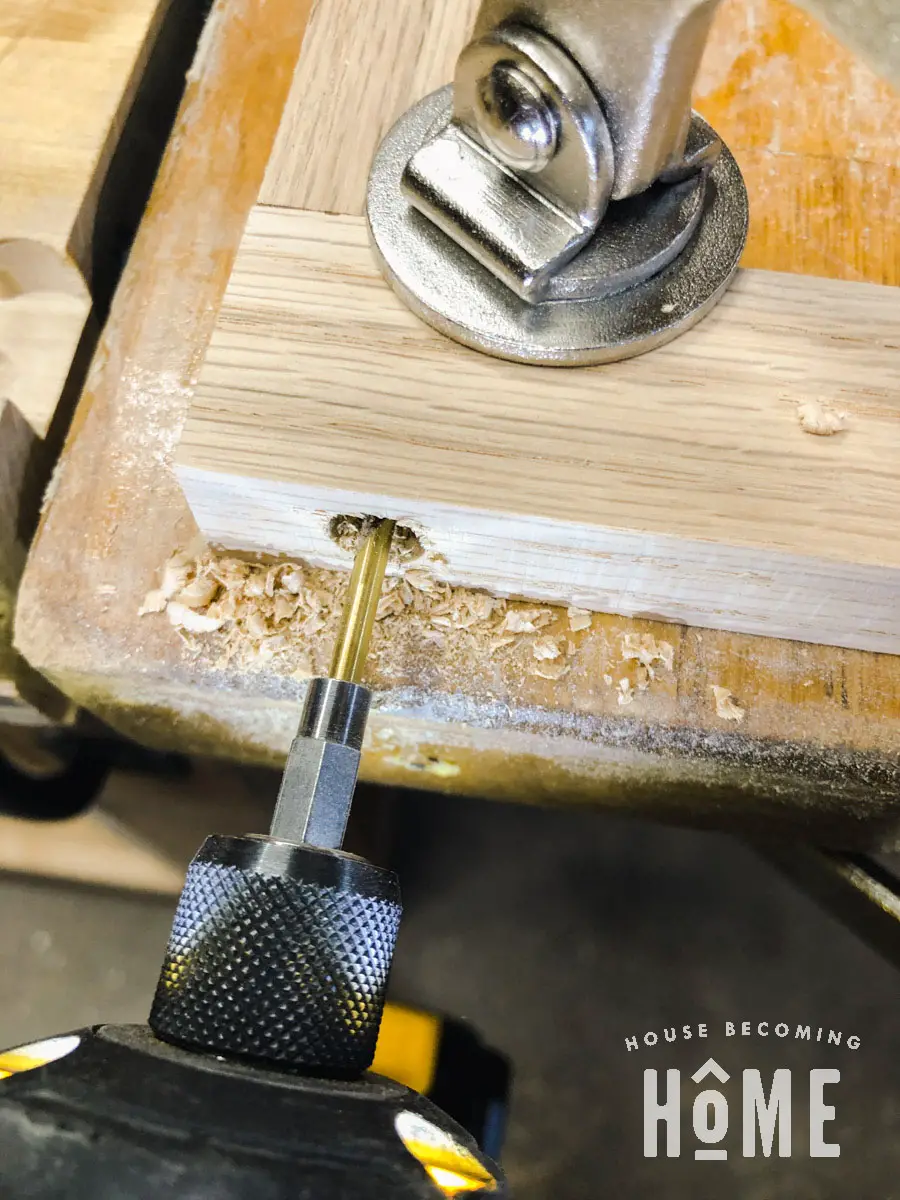
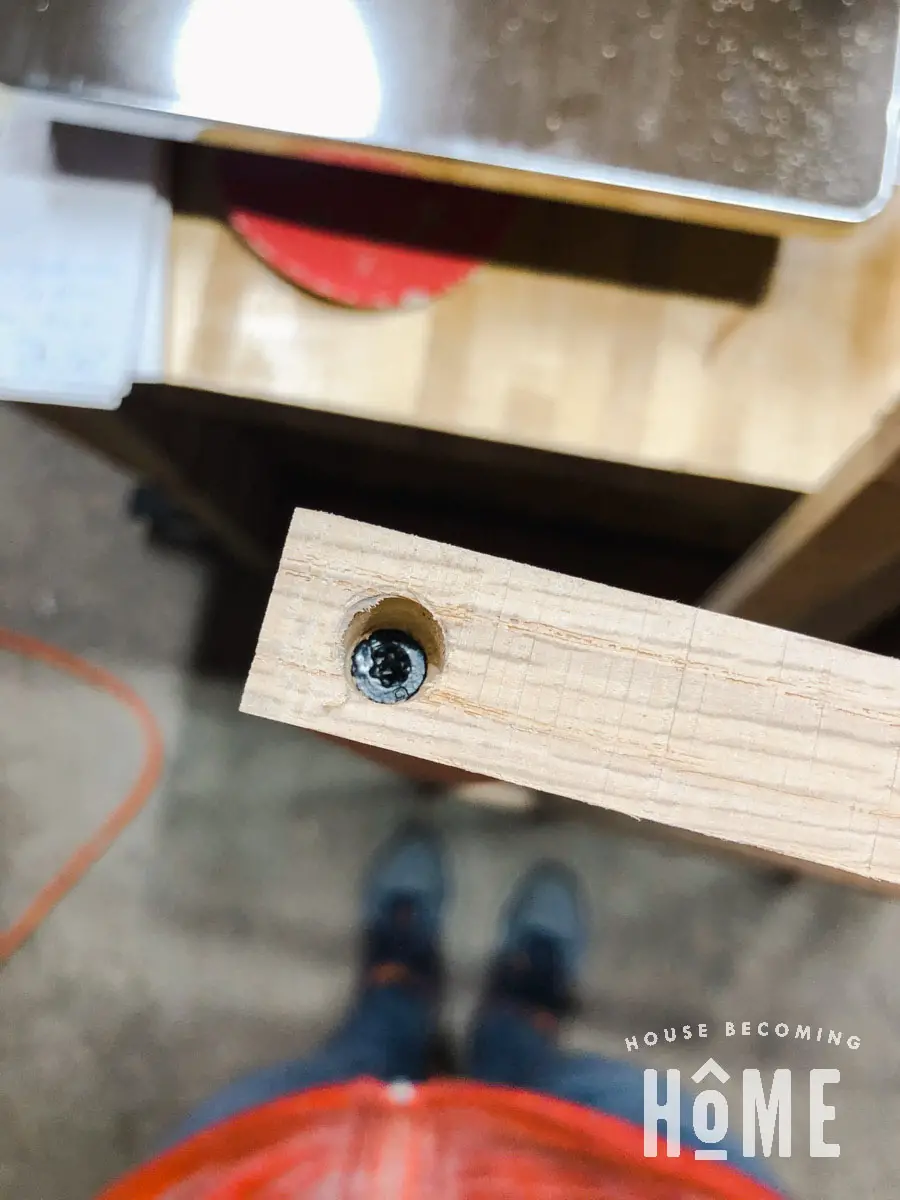
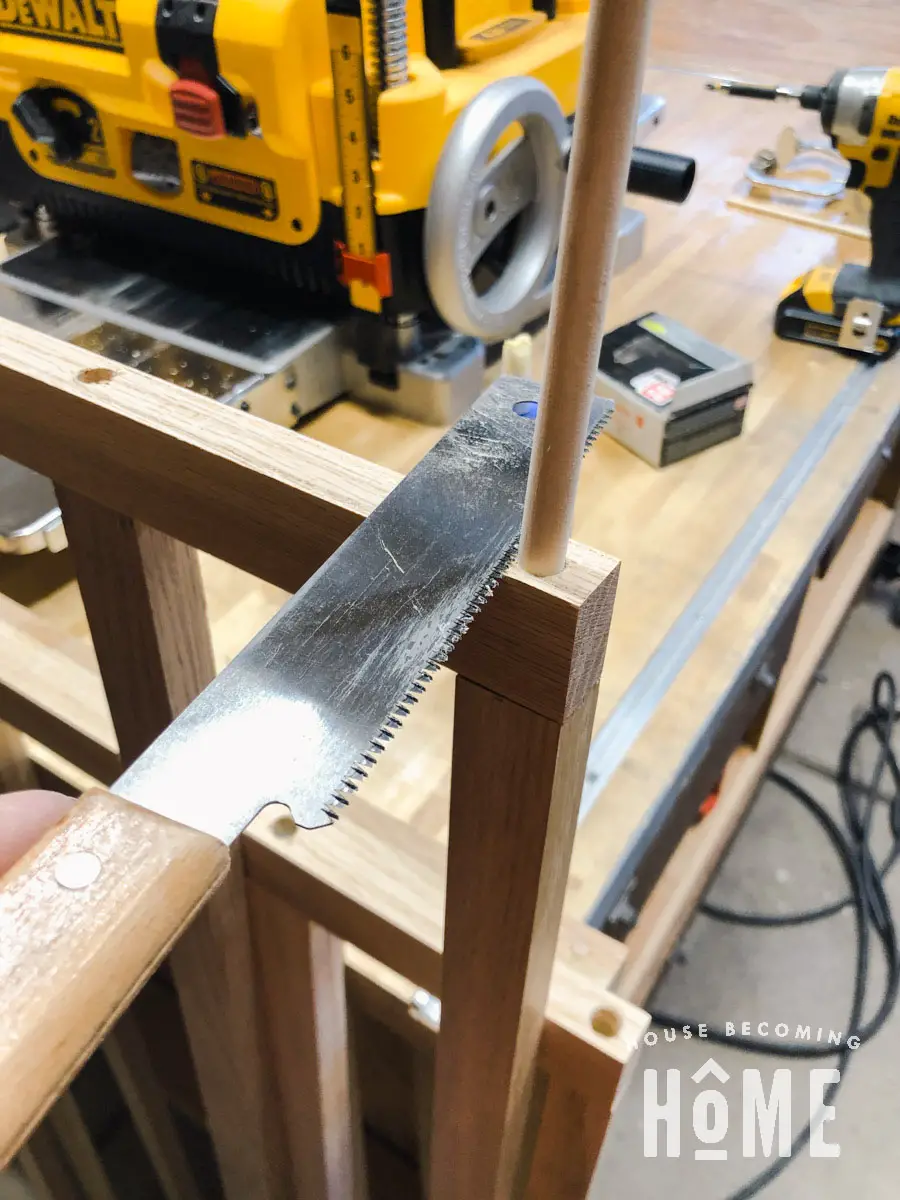
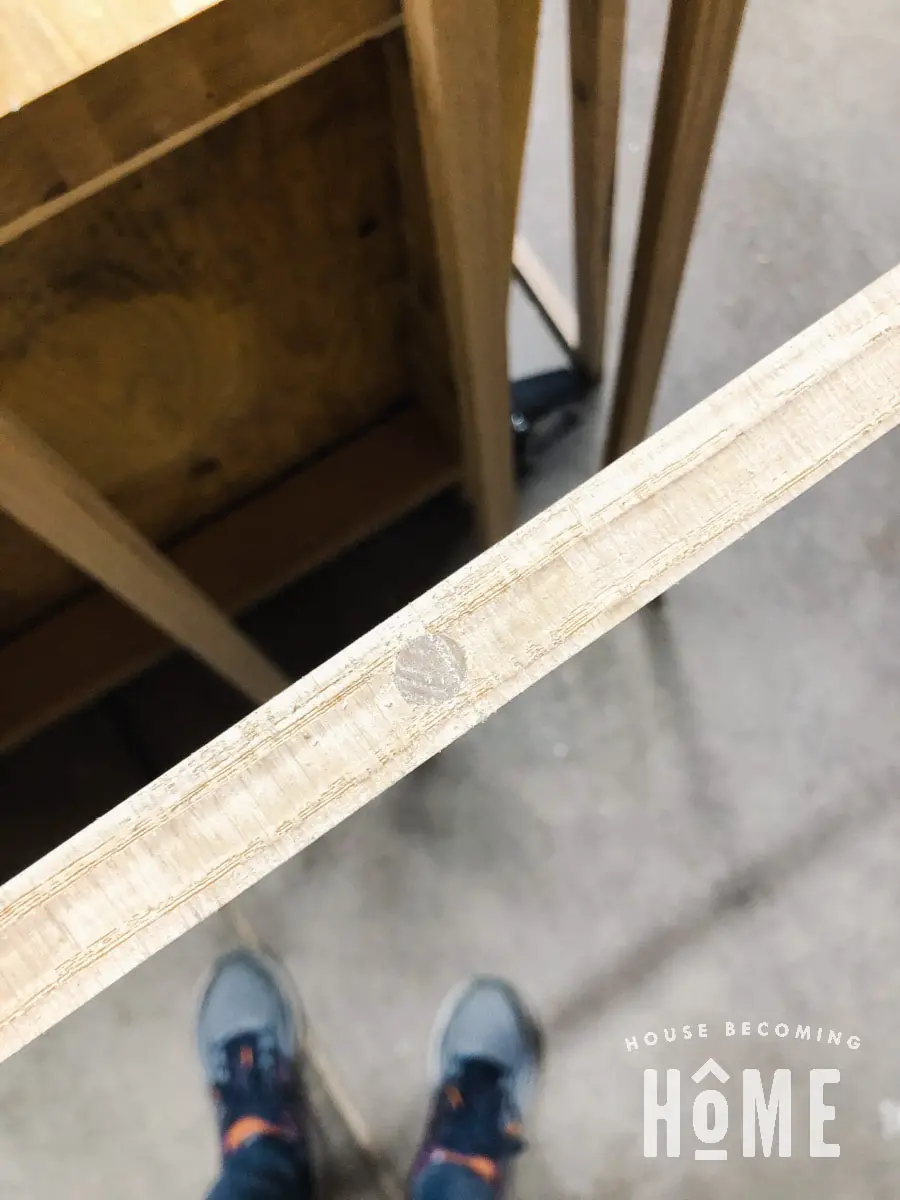
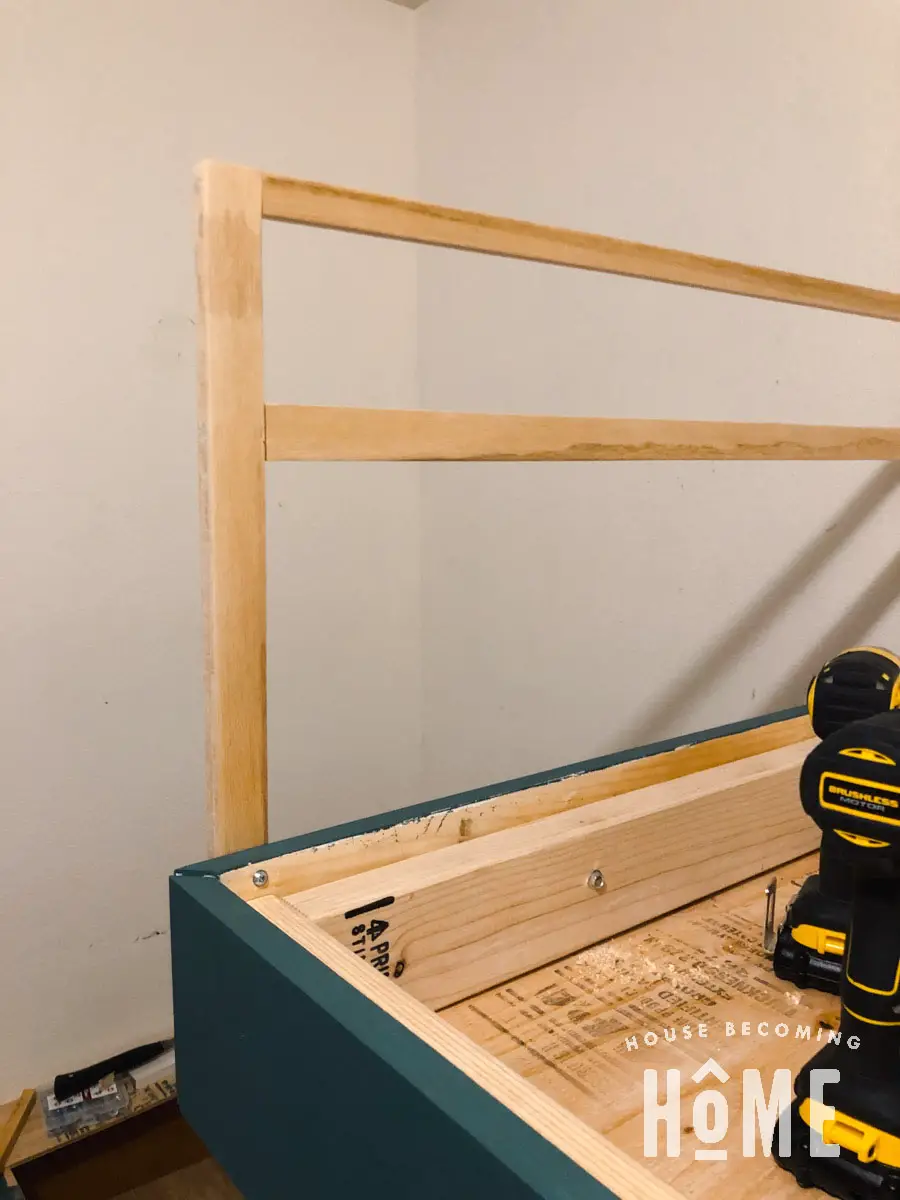
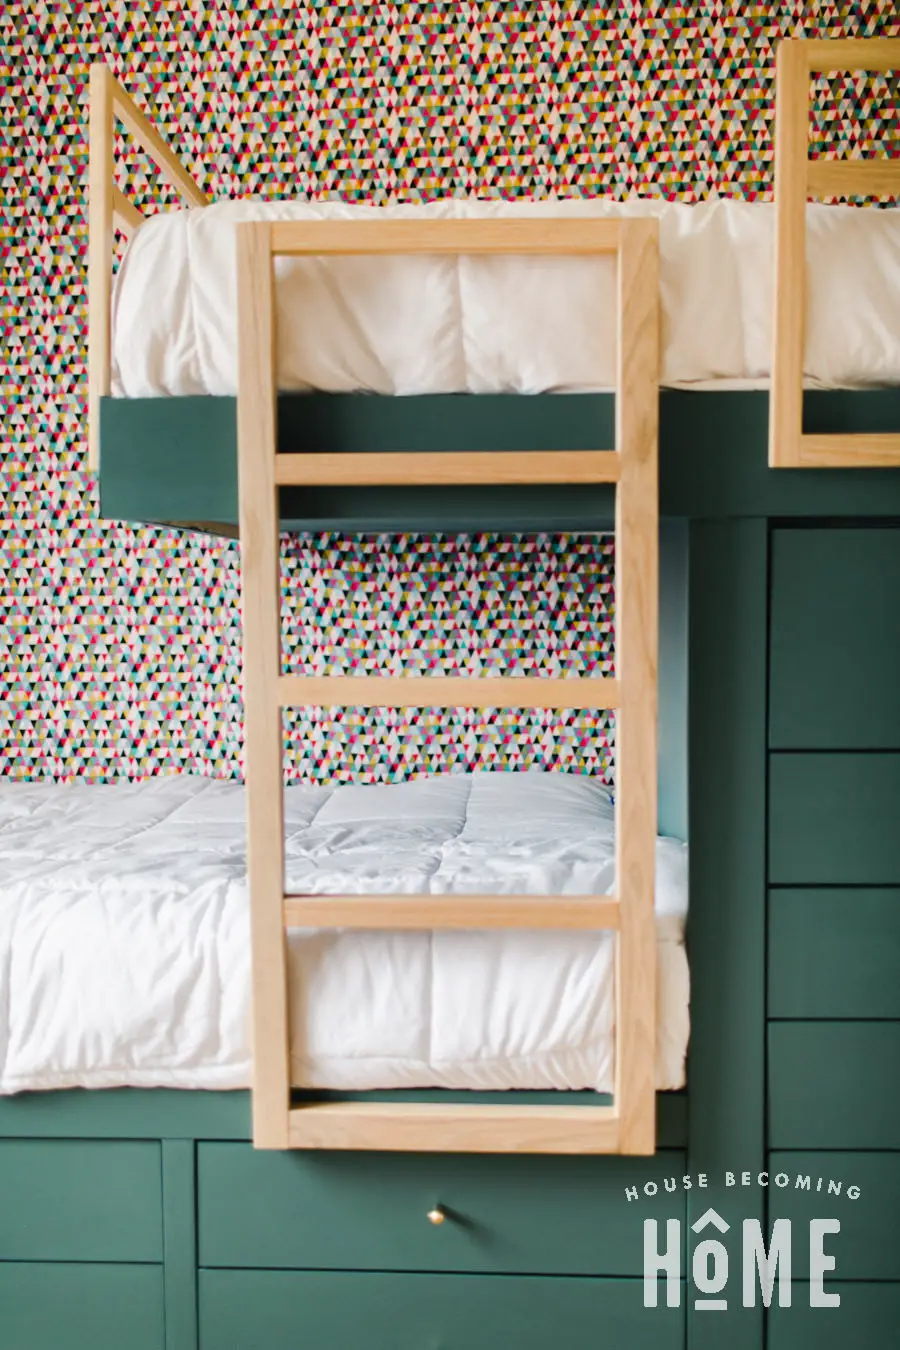
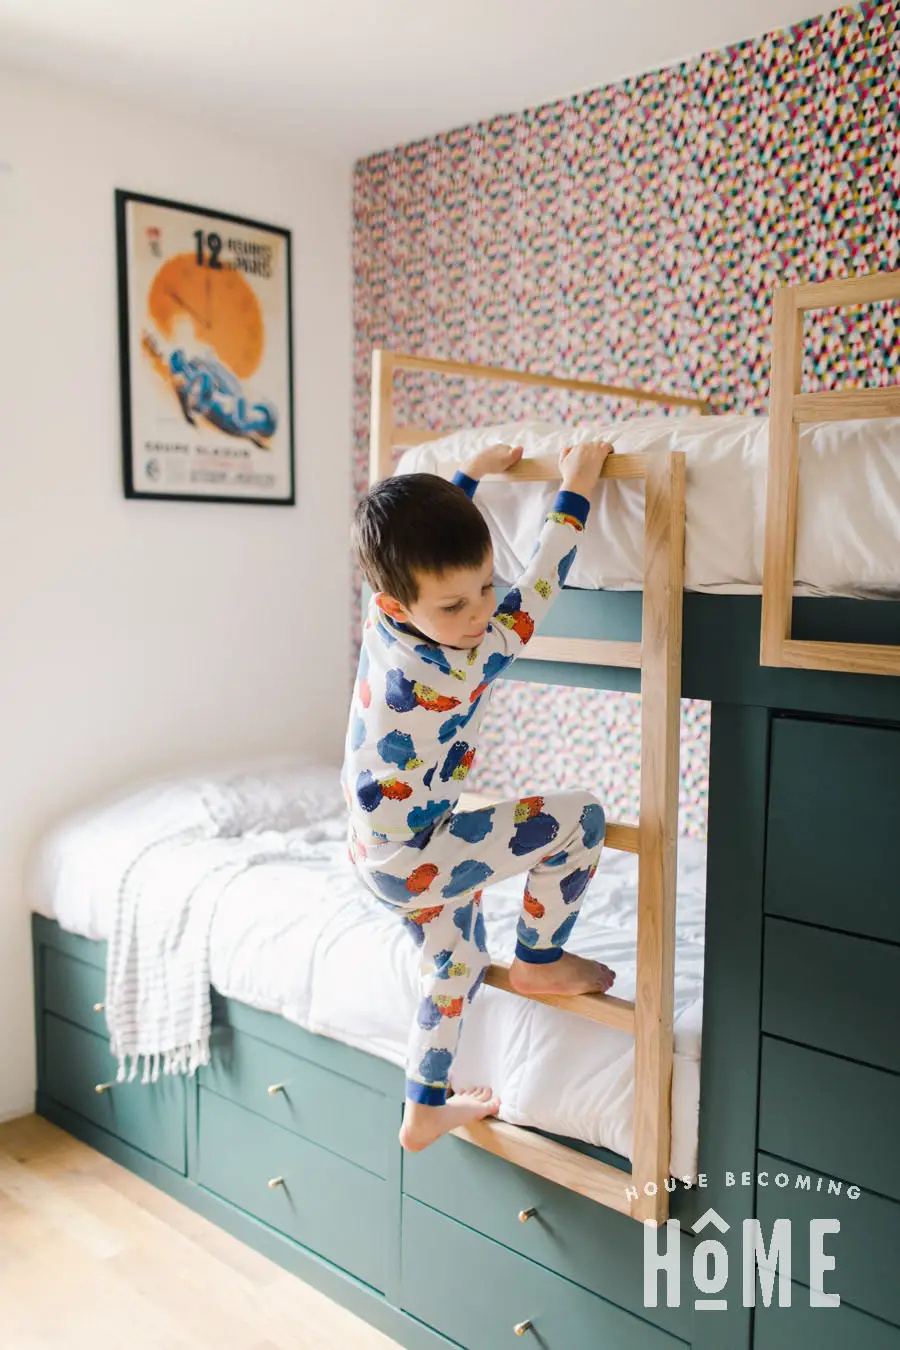
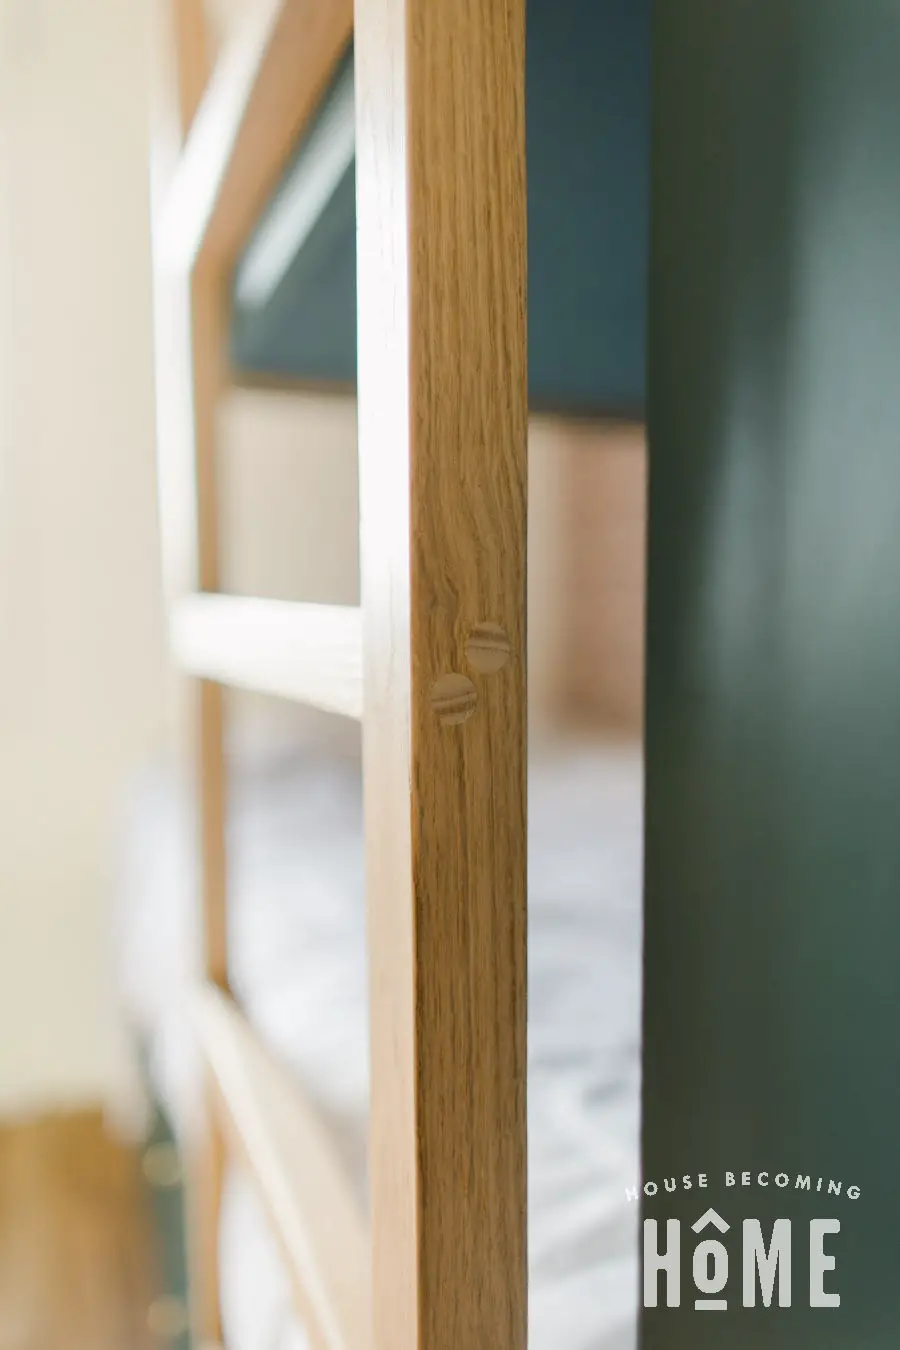
Last, you’ll need to make a few guard rails and a ladder. I screwed all the pieces together, but first drilled a 3/8″ hole to hide the screws with a 3/8″ dowel.

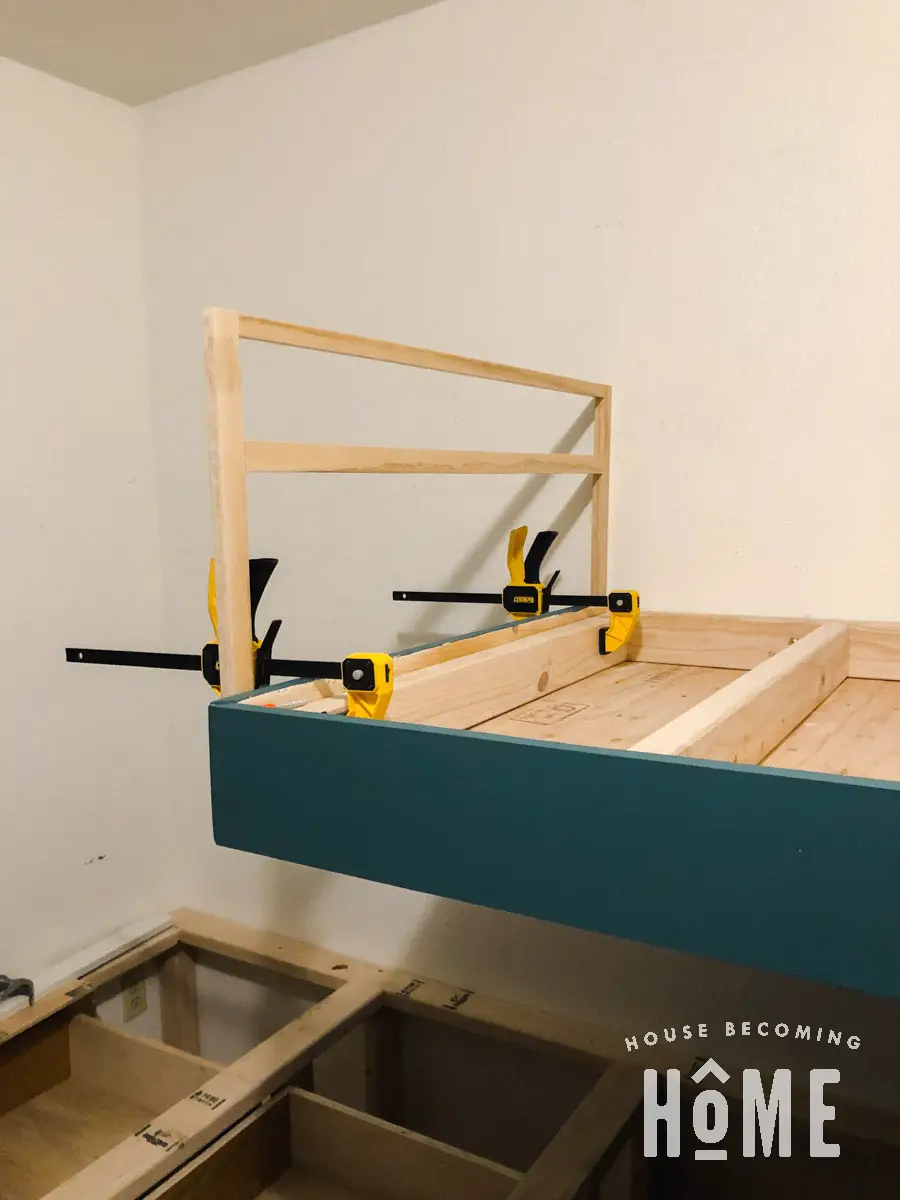
I attached the rails and the ladder to the bed with screws from the inside so that they’re not visible.
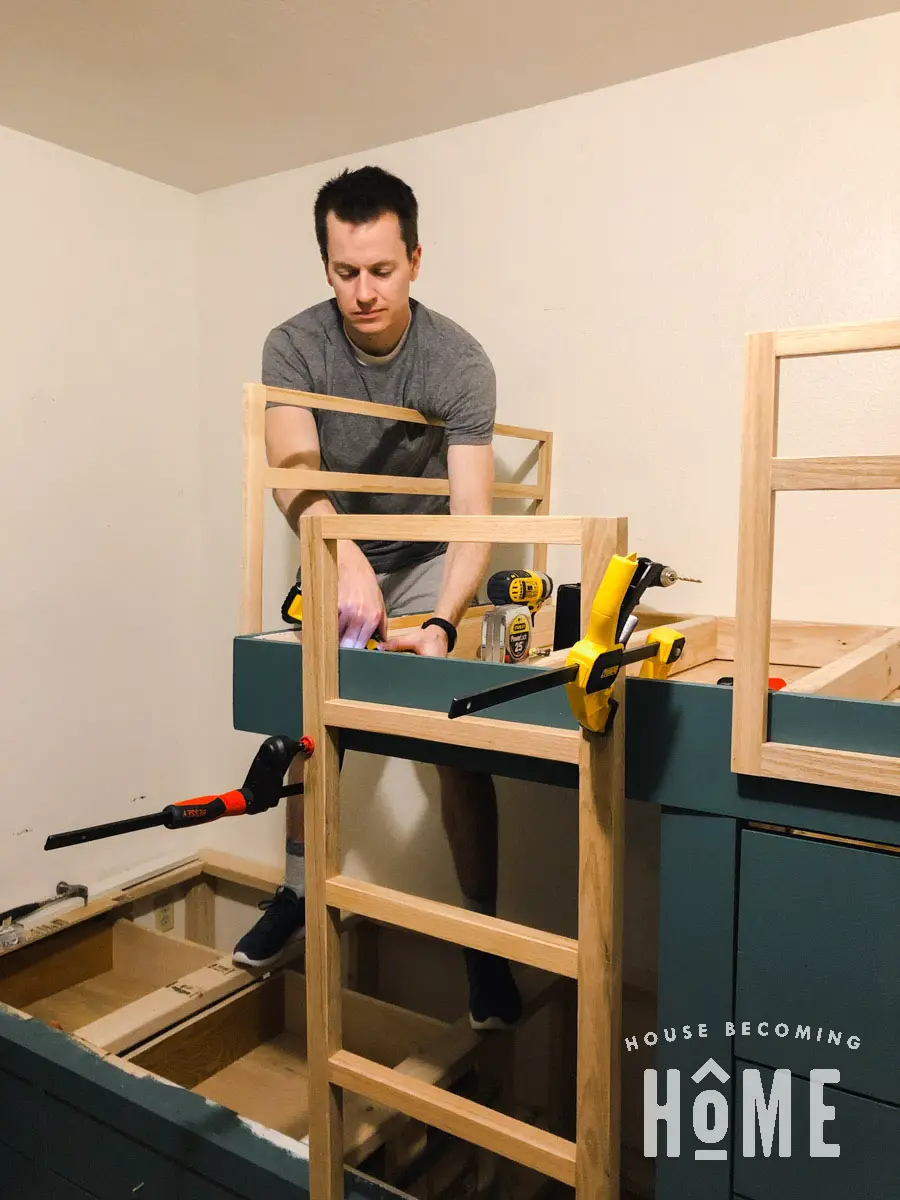
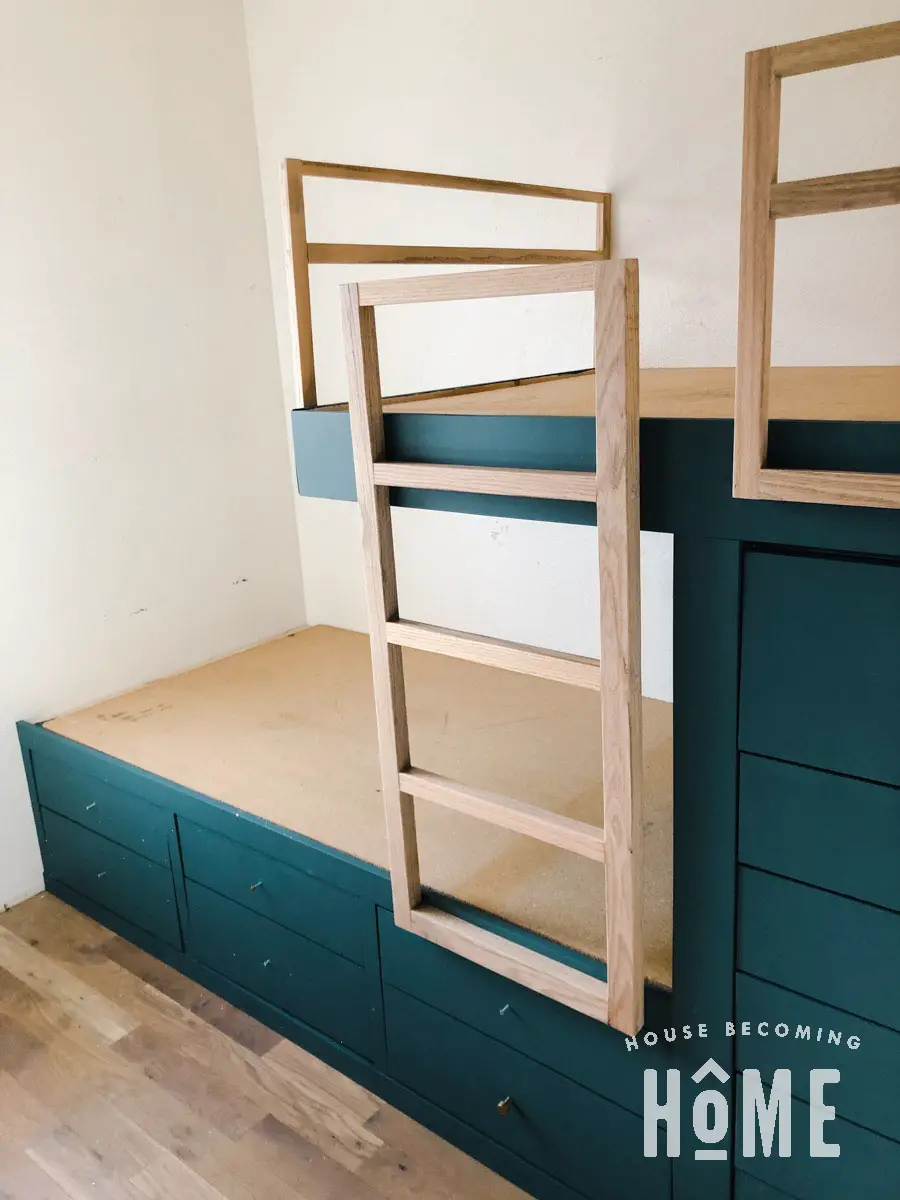
After that I put mdf sheets (reused the ones from their old beds) onto the frame, brushed on two layers of polyurethane to protect the paint, covered the wall in fabric, added some solid brass drawer knobs, and finally, dropped their mattresses into place.
Finished Built-In Bunk Bed
The beds are far from perfect (!), but they are solid and LOVED by Lucy and Jack, so I am happy. 🙂
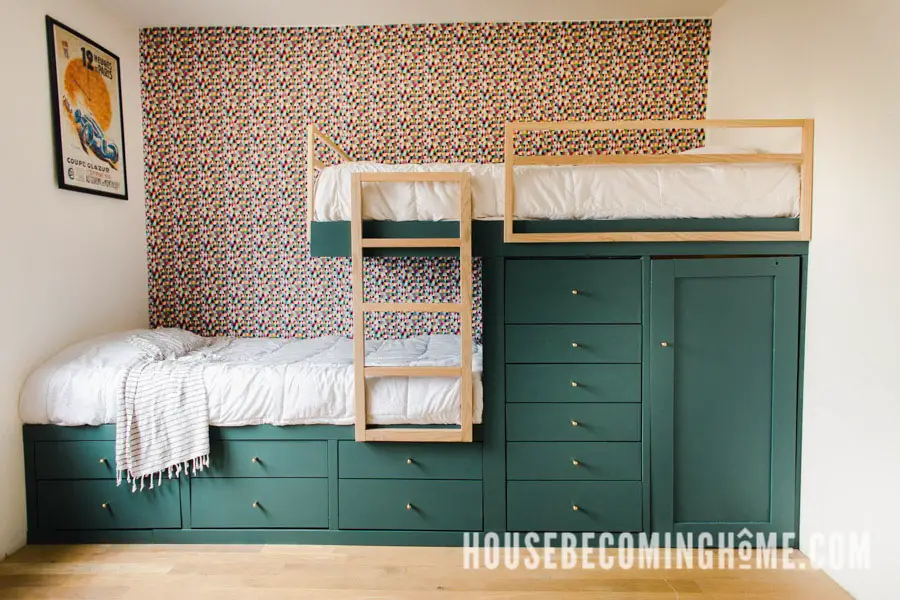
For now this storage area hides a big bin of stuffed animals and a basket of dirty laundry. I’m thinking about adding a shelf along the back wall to place a bin of play-doh or legos.
Lucy and Jack both love the bunk bed’s book nook.
All of their clothes fit in the bed’s storage drawers! Goodwill is coming to collect their old dressers this week. 🙂

This is AMAZING! Do you feel that you need the railing at the foot of the top bunk? Seems like it might be nice without it so kiddos can quickly slide down off the top bunk onto the lower one or even climb up that way.
Thanks Libby! It probably depends on the child and how crazy of a sleeper they are. 🙂 It probably wouldn’t be necessary for my daughter, who doesn’t move around too much in her sleep, but I felt better about having it there just in case.
What’s is the color of the paint you used?
This is off the top of my head, but I *think* it was Behr meteorological
Can you please share finished dimensions (or maybe I just missed them)? I’m trying to decide if this would work with the wall space I have. This whole set-up is just beautiful!
Thanks Marti! The wall the bunk beds are on is about 10.5 feet across. If your wall is longer or shorter it could still work, it will just affect the size of “closet” on the right side underneath the top bunk.
Nice work man, thank you for all the information. I’m about to start gathering materials. Any chance you could tell me total material cost?
Hey Marshall- Sorry I don’t have a total cost for this project. I used a lot of scraps so I was able to cut lots of costs on lumber. The biggest expense is probably the plywood (if I wouldn’t have been building from mostly scraps, I imagine I would have had to buy quite a few sheets to construct all of the drawers) + the drawer slides.
Could you give us a rough estimate and how long it took?
I used so many scraps, so I saved a lot of money there. But if you are buying all of the lumber, I’m thinking maybe $400? I’m also terrible at guessing costs, so keep that in mind. 🙂 If you have time to dedicate long stretches to building, you could probably get it done in a couple of days. I only had an hour or two at a time, so it took me over a week!
Oh my gosh! I am beyond impressed!! I would absolutely love to have this in my home for my boys. Your style is beautiful!