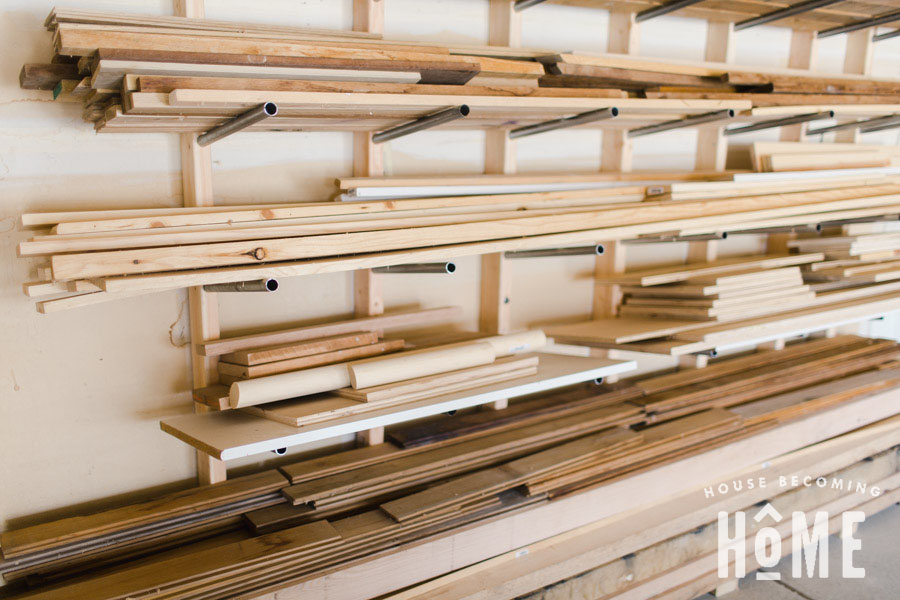
Over the past year my lumber collection has outgrown my ability to keep it organized. I recently decided that it was time to completely re-think the organization system we (don’t) have in the garage. First matter of business–create a dedicated space for all of the lumber I have been collecting, and build some kind of lumber rack to keep it organized and easy to access.
Lucky me, I discovered an easy-to-build, simple, affordable AND heavy duty DIY lumber rack from Jay’s Custom Creations when I was researching dust collection. This lumber rack is really quite simple AND affordable to build, which makes it a definite win.
How to build a DIY Lumber Rack

* This post contains affiliate links for your convenience. Read my full disclosure policy here. *
Materials
- (7) 2 x 4 x 8′
- 3/4″ EMT conduit (about 85 feet of it)
- (14 or more) 6″ lag screws (I bought mine from a surplus store, so I ended up using a combination of something like these lag screws and 3/8 X 6″ Spax Lag Screws
Tools
- Drill press
- 15/16″ Forstner Bit (or, if you don’t already have a collection of forstner bits, this set isn’t much more expensive and includes one that is 15/16″)
- Impact Driver
- 3/8″ drill bit
- 3/4″ wrench
- Studfinder and pencil
- Appropriate safety equipment
Build a Lumber Rack
For the most part, I followed Jay’s plans for the DIY lumber rack. Below are some tips and photos from my process.
TIP #1 : Find used materials
This isn’t the type of project where it matters if your wood is perfectly matching, or if the conduit has some dirt on the ends, so I headed to my local Habitat for Humanity Restore to browse their building materials. I found a few sticks of conduit for less than $1 each. They also had a huge stack of used (but totally fine) 2x4s for cheap, but I had already purchased mine new. 🙁 Next, I headed to a surplus store/used steel yard where I found the rest of the 3/4″ conduit I needed, as well as a handful of 6″ hex head lag screws. All for less than $15.
This build-it-yourself lumber rack is cheaper than purchasing one, even if you use all new materials. But you can save even more money if you buy your materials used. Head to the used construction materials shops/steel yards before you purchase anything new.

Tip #2 : Use a 15/16″ forstner bit
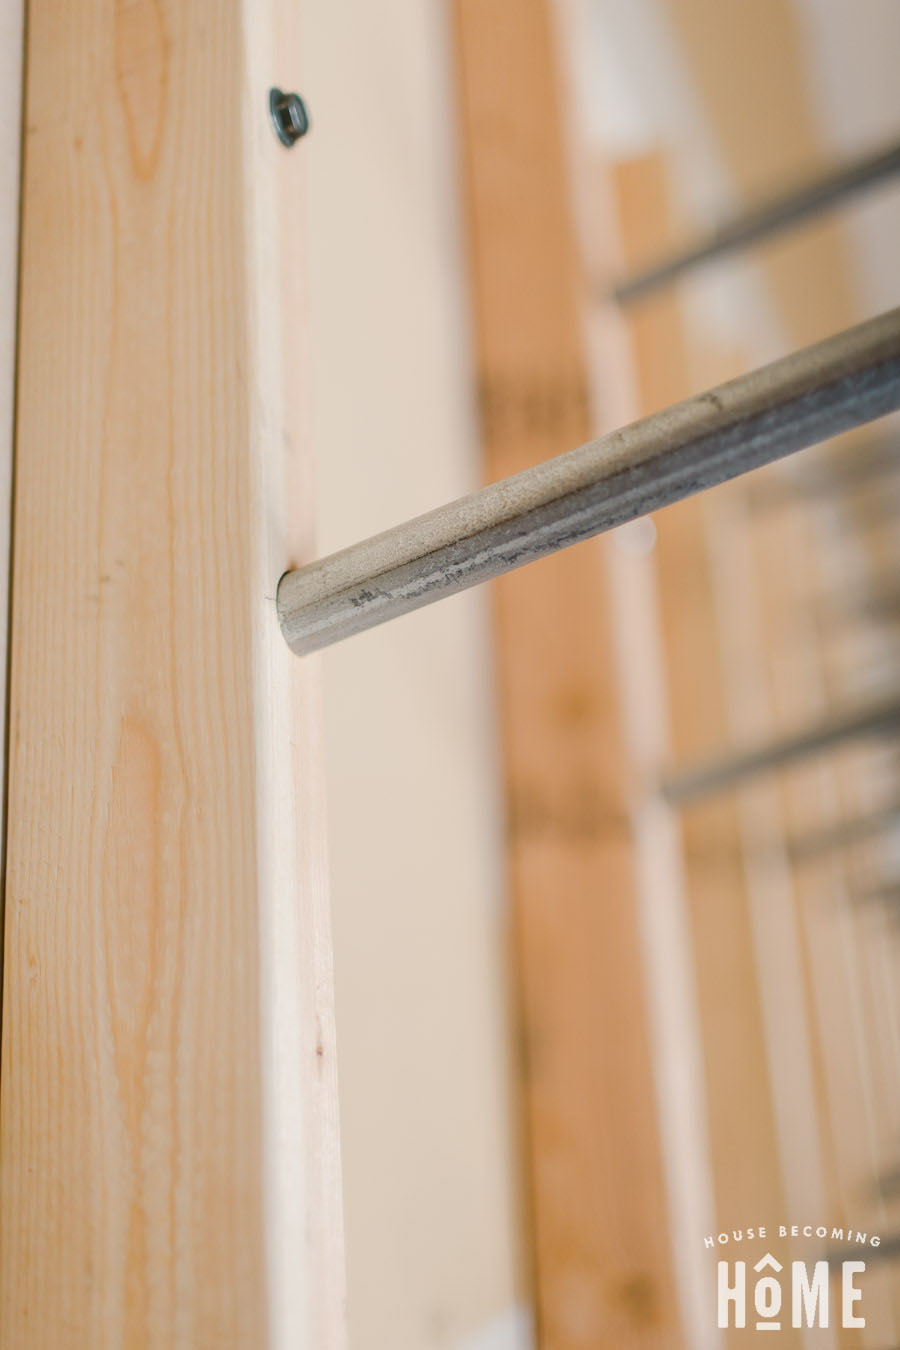
Google says the outer dimension of 3/4″ conduit is .922.” When I was drilling test holes into scrap lumber, I started with the 1″ forstner bit from the set that I own. It worked, but there was a little bit of wiggle in the fit which made me nervous. If you can find a 15/16″ forstner bit your conduit will fit nice and snug. I bought this 15/16″ forstner bit, but if you don’t have a set yet, you can buy this forstner bit set (that includes one 15/16″) for just a little bit more.
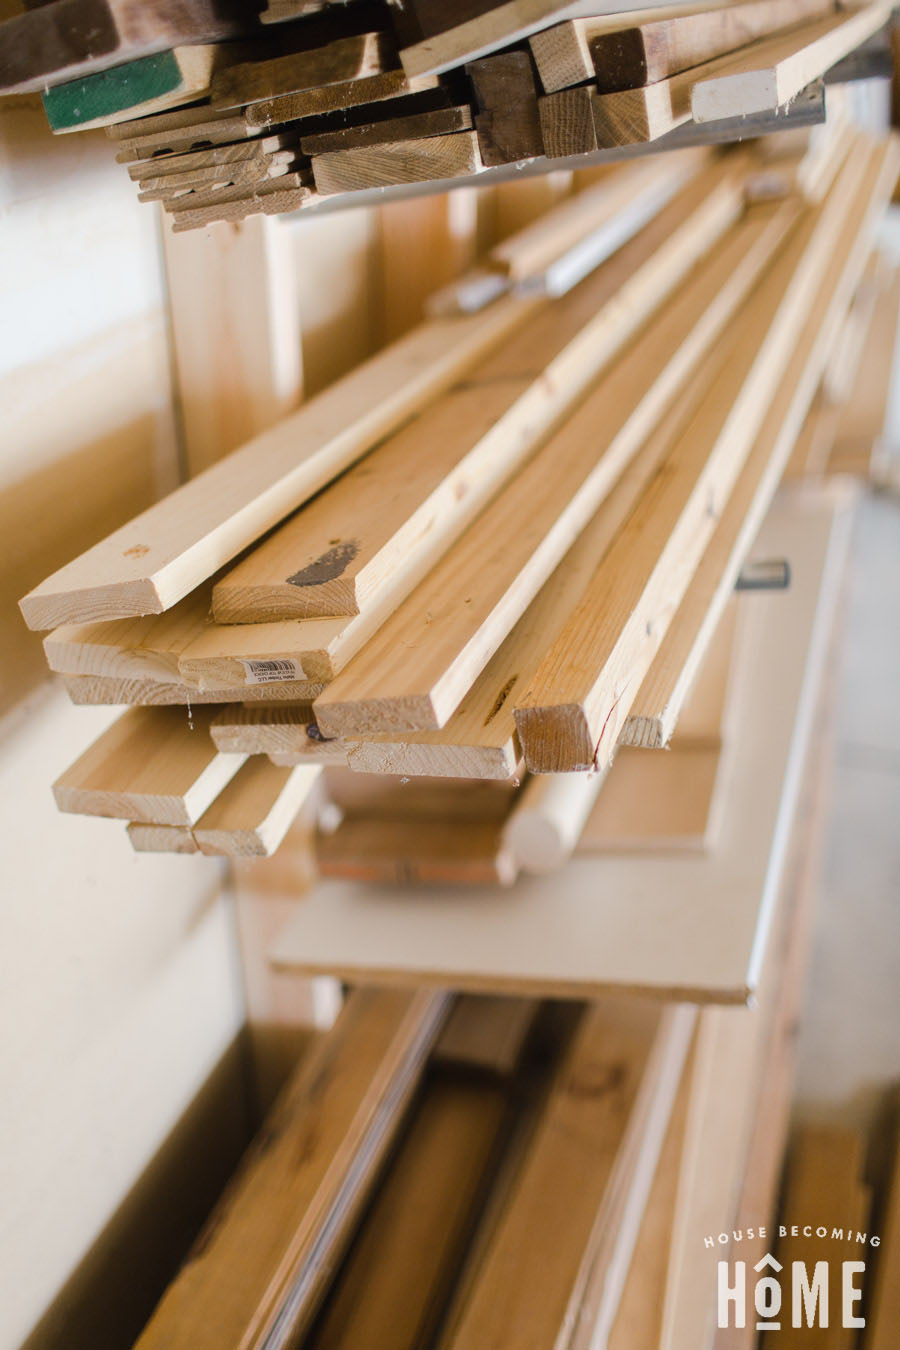
Look how nicely that conduit fits into the 15/16″ opening:
Building a Lumber Rack : The Process
STEP ONE: Prepare the 2×4’s
Lay out all 2x4s with the ends lined up. Clamp them together to keep them lined up, and mark the placement of the conduit. I made the bottom mark at 5″, and then spaced out the remaining pieces every 11 inches, for a total of eight marks per 2×4.
TIP #3 Spacing
11″ spacing between the shelves is good, but I think it might be helpful to have a few shelves with less height. I’d rather have several shorter, lighter stacks of lumber than one larger, heavier stack. If I could do it again, I’d have 11″ between some of the shelves, and 8-9″ between a few others.
Using a 15/16″ forstner bit and a drill press, make holes in your 2x4s at the spots you’ve marked. Angle the table of your drill press so that the conduit will be sloped. My drill press doesn’t have an accurate way of showing its angle, but here’s what mine looked like:
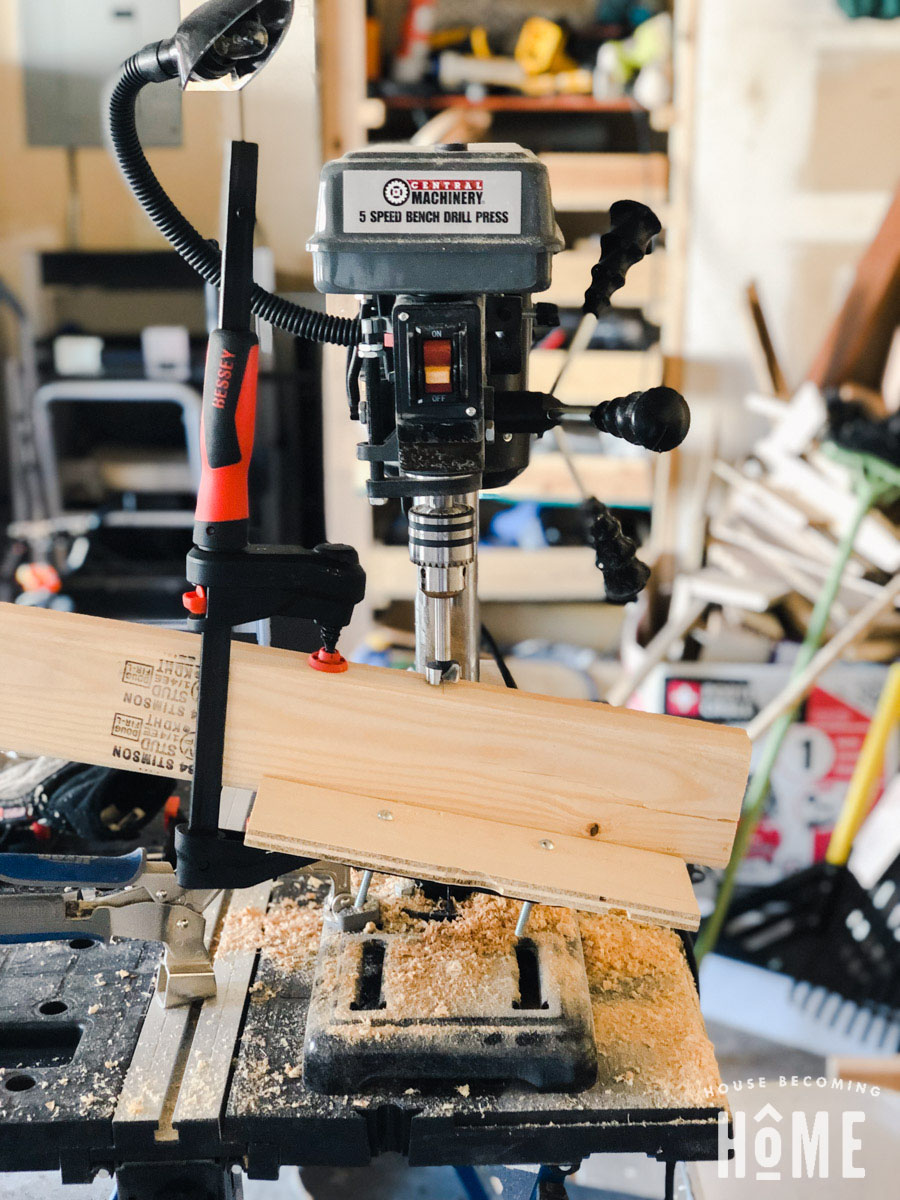
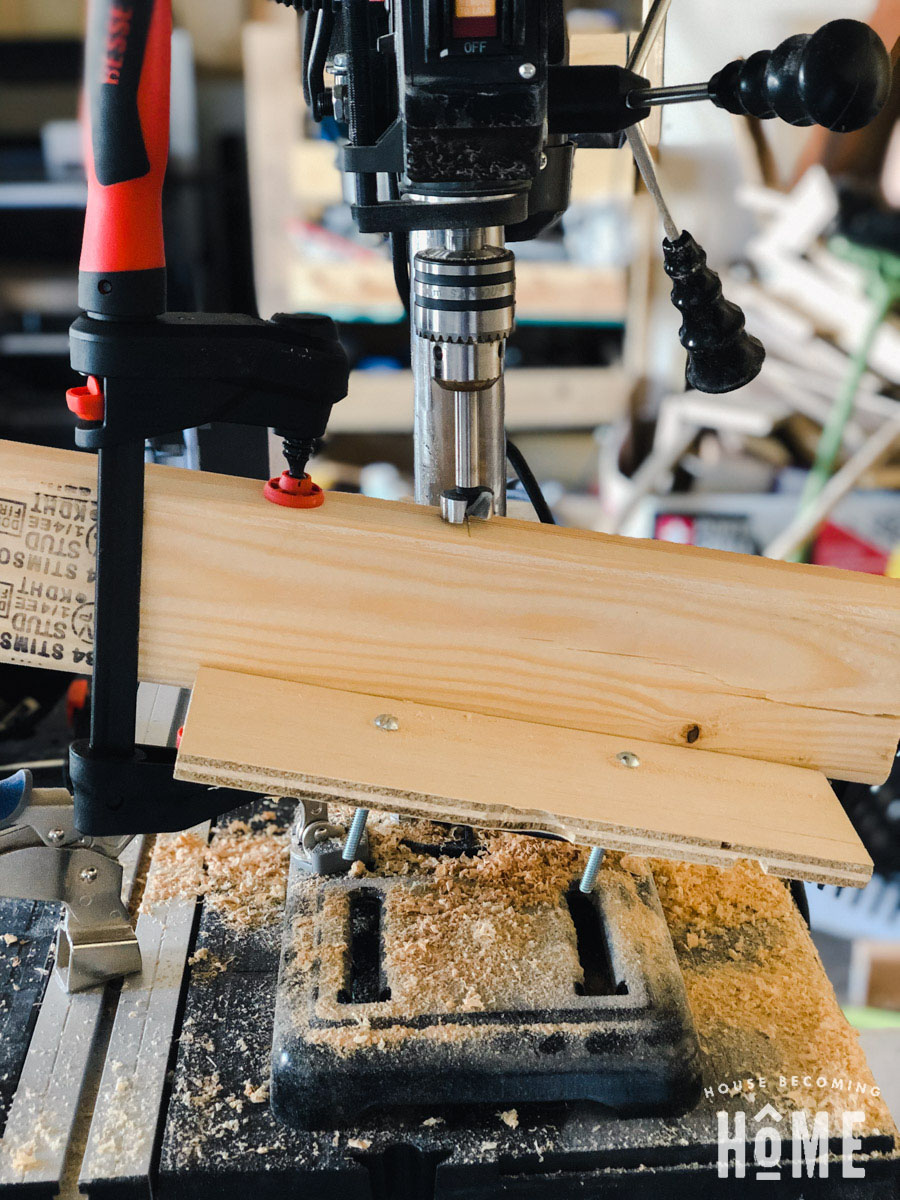
I drilled as deep as my drill press is capable of, which is two inches. If you can make your holes 2.5″ deep, that’s probably even better.
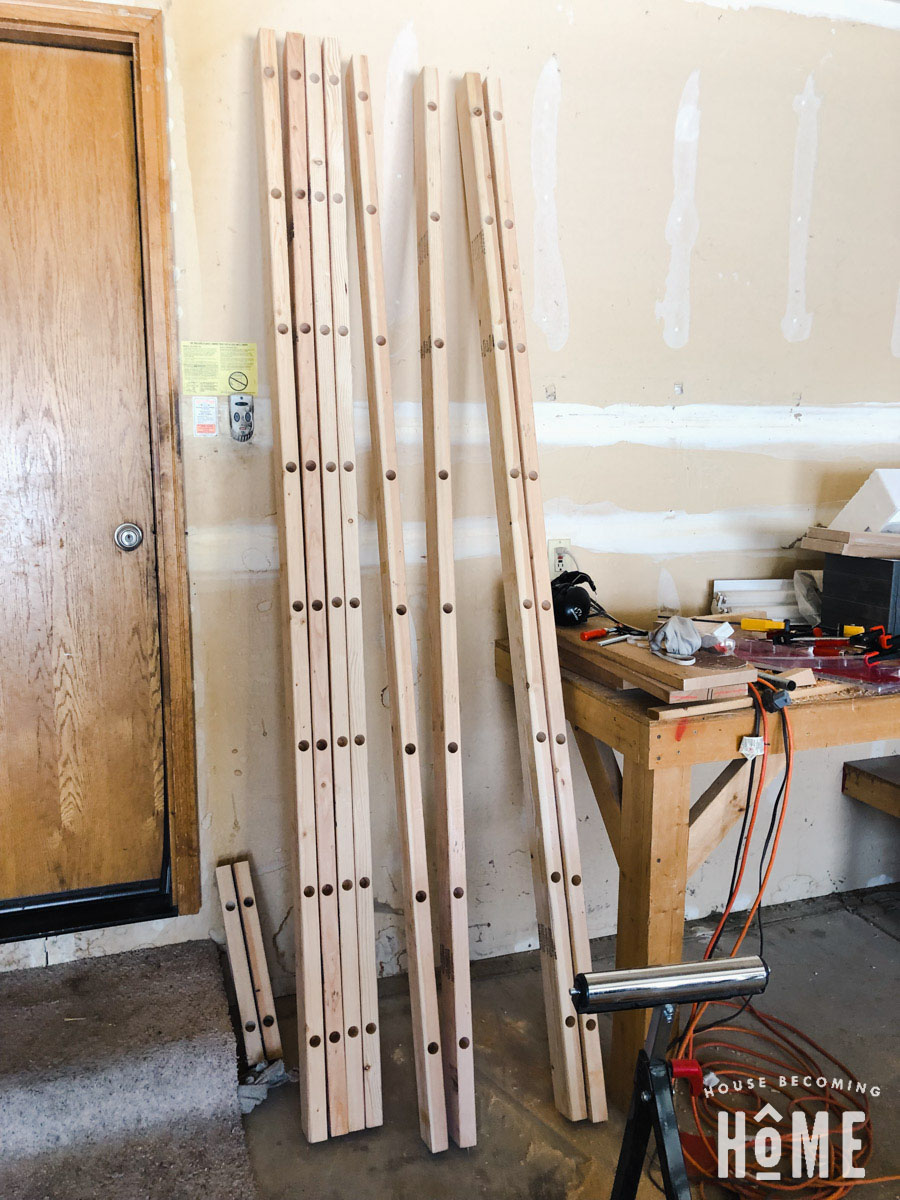
Next, drill two 3/8″ holes all the way through the 2×4 (for the lag screws). We placed these holes in between the 2nd and 3rd conduit hole, and the 6th and 7th conduit hole.
Step 2 : Prepare the Conduit
I cut 56 sections of conduit about 15″ long each. Actually, Jim cut it for me. Because I didn’t like all the sparks flying . . . and Jim is nice. We used the same blade that’s been on my miter saw since I bought it, but it probably wouldn’t have hurt to use a blade like this.
Please, don’t forget your safety equipment here. Goggles, gloves, long-sleeved shirt, mask, etc. are all a must.
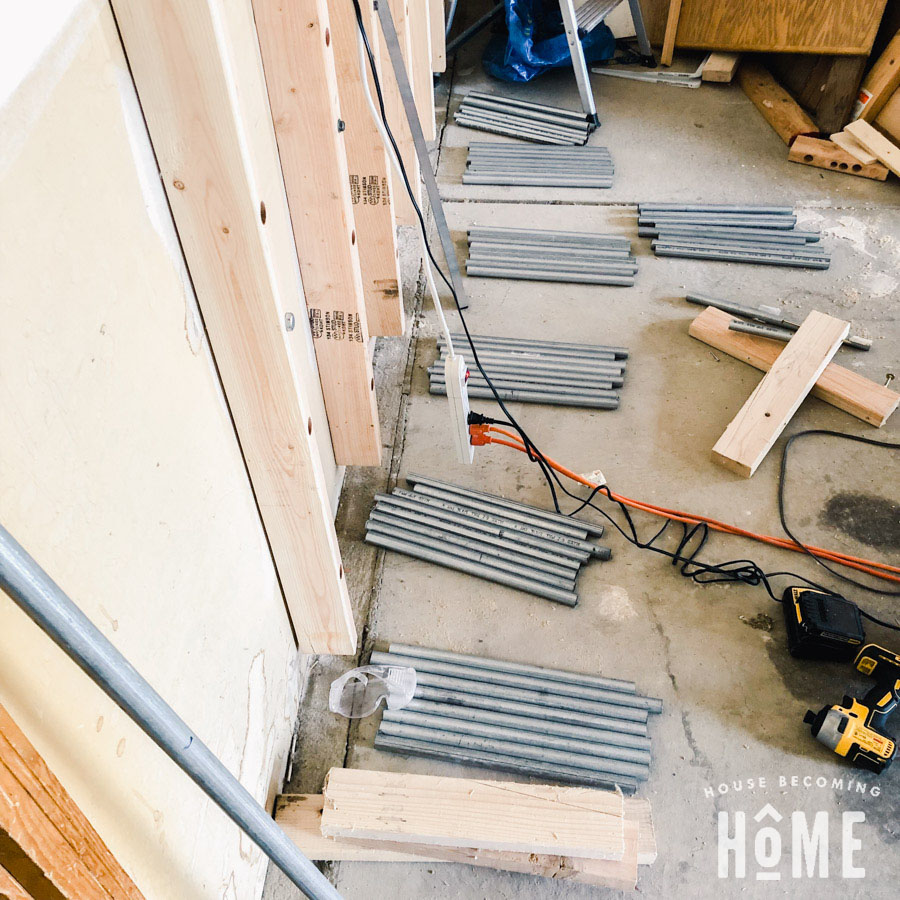
Deburr the ends of the pipe to remove the ragged edges.
Step 3: Fix Your Lumber Rack to the Wall
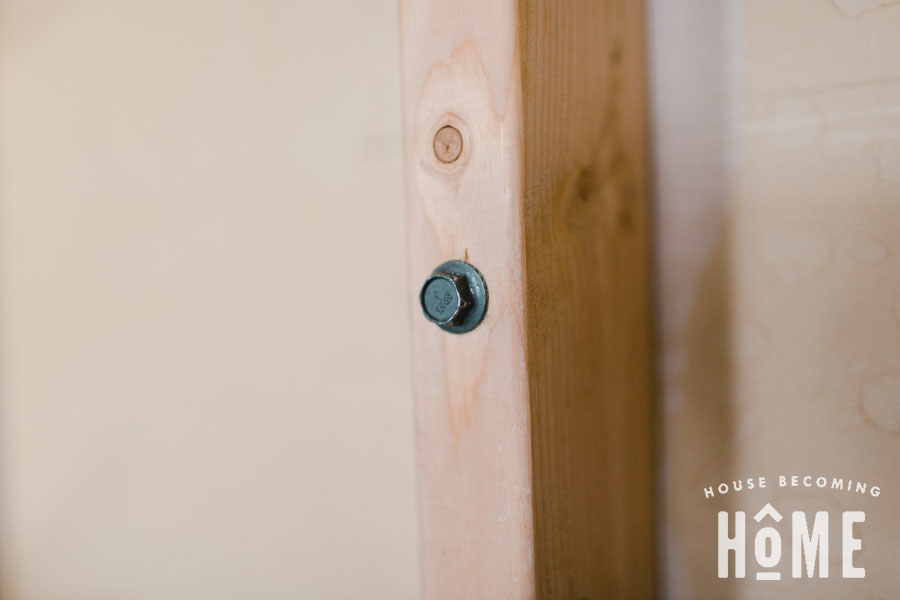
Locate the studs in the wall where you’ll be installing your lumber rack. Screw a long piece of scrap wood (with a straight edge) to the wall at the height you’d like the bottom of the 2x4s to be. (Mine are just 4 inches above the floor.) Use two lag screws to fasten each 2×4 to the stud in the wall.
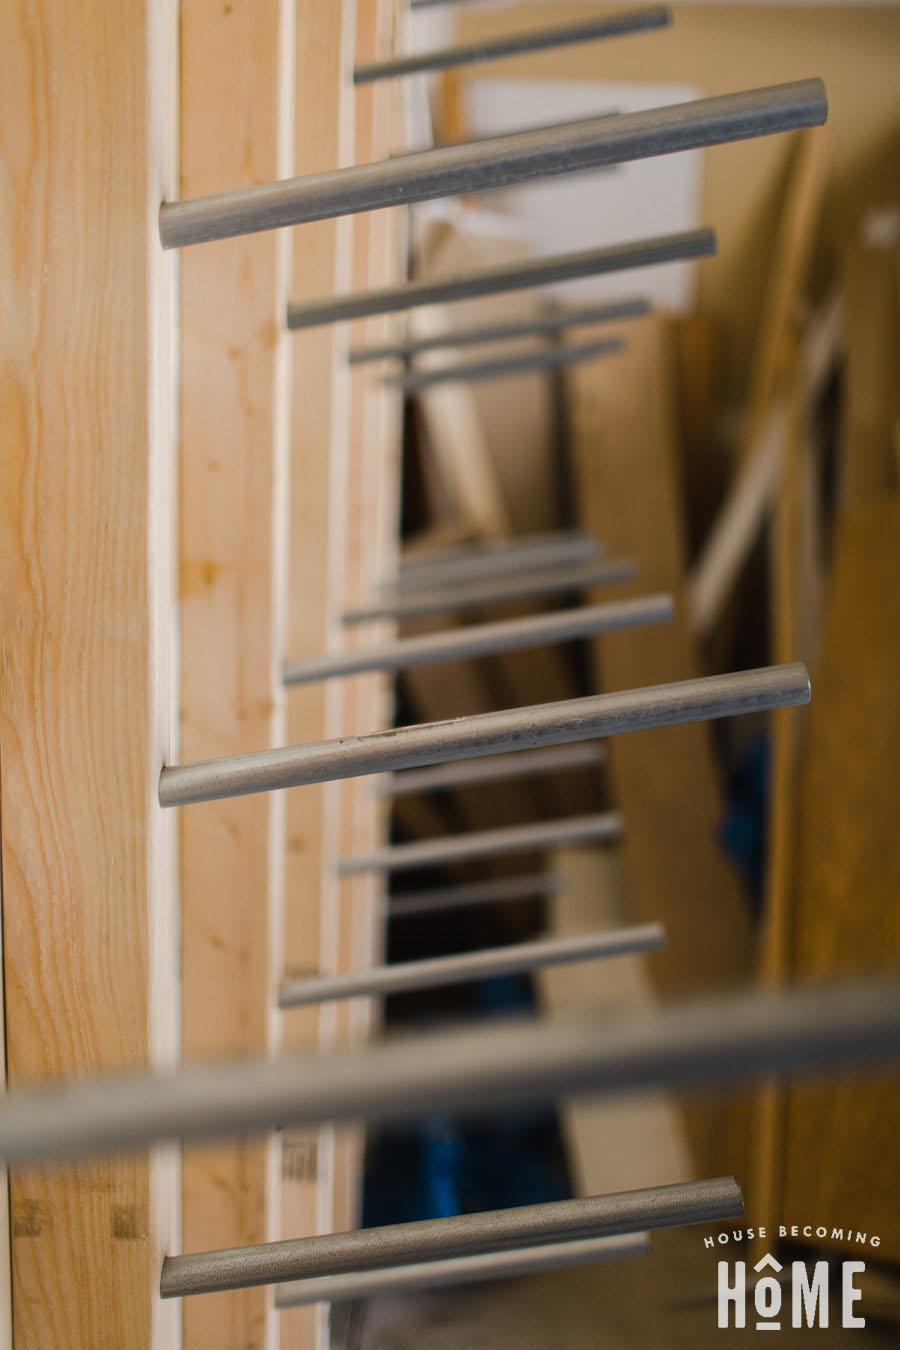
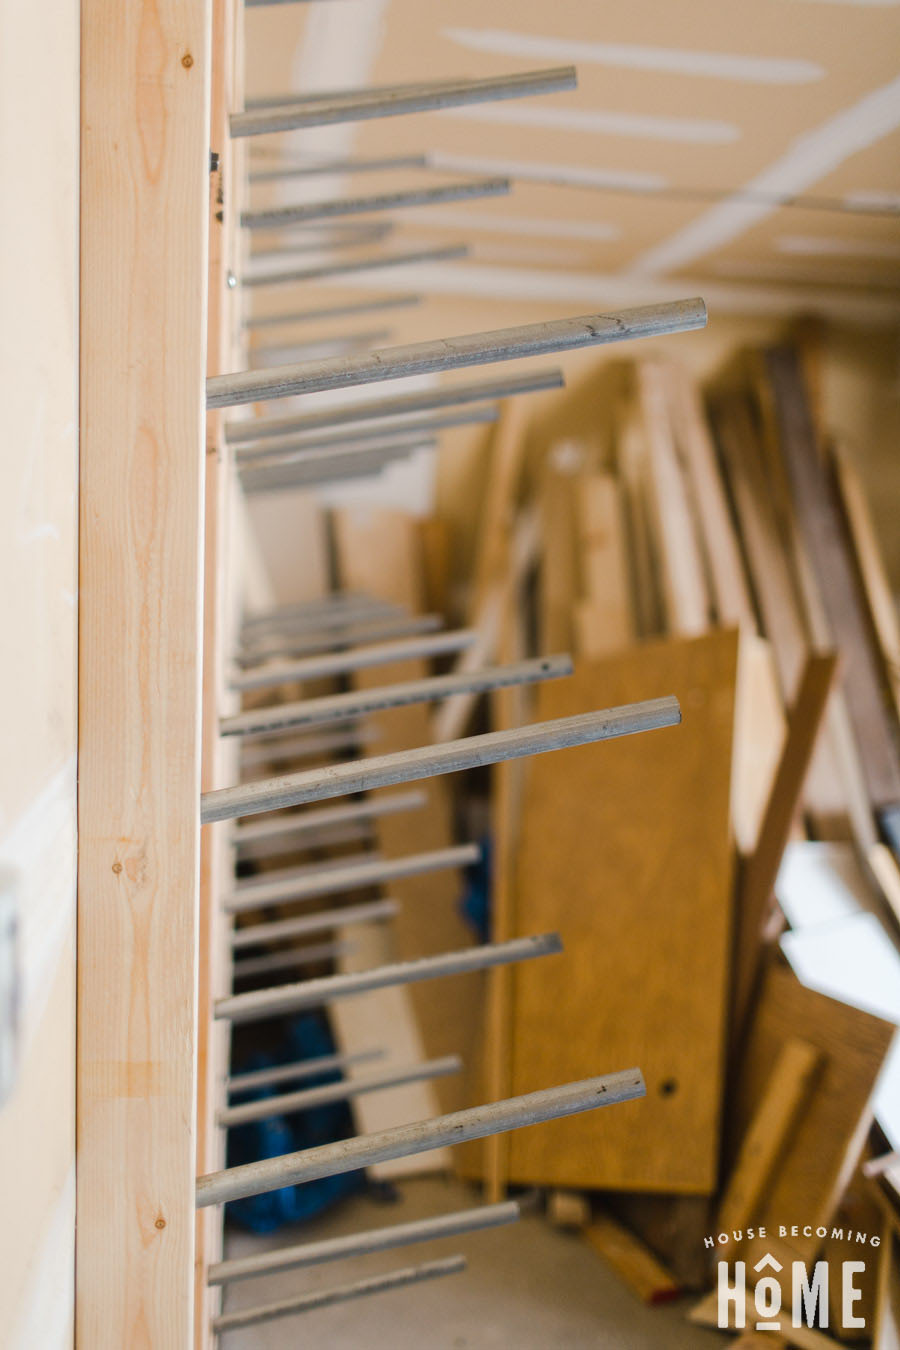
Insert the conduit into the 15/16″ holes you’ve drilled. For now, I’m leaving the bottom row empty so I can store a tall stack of oak underneath.
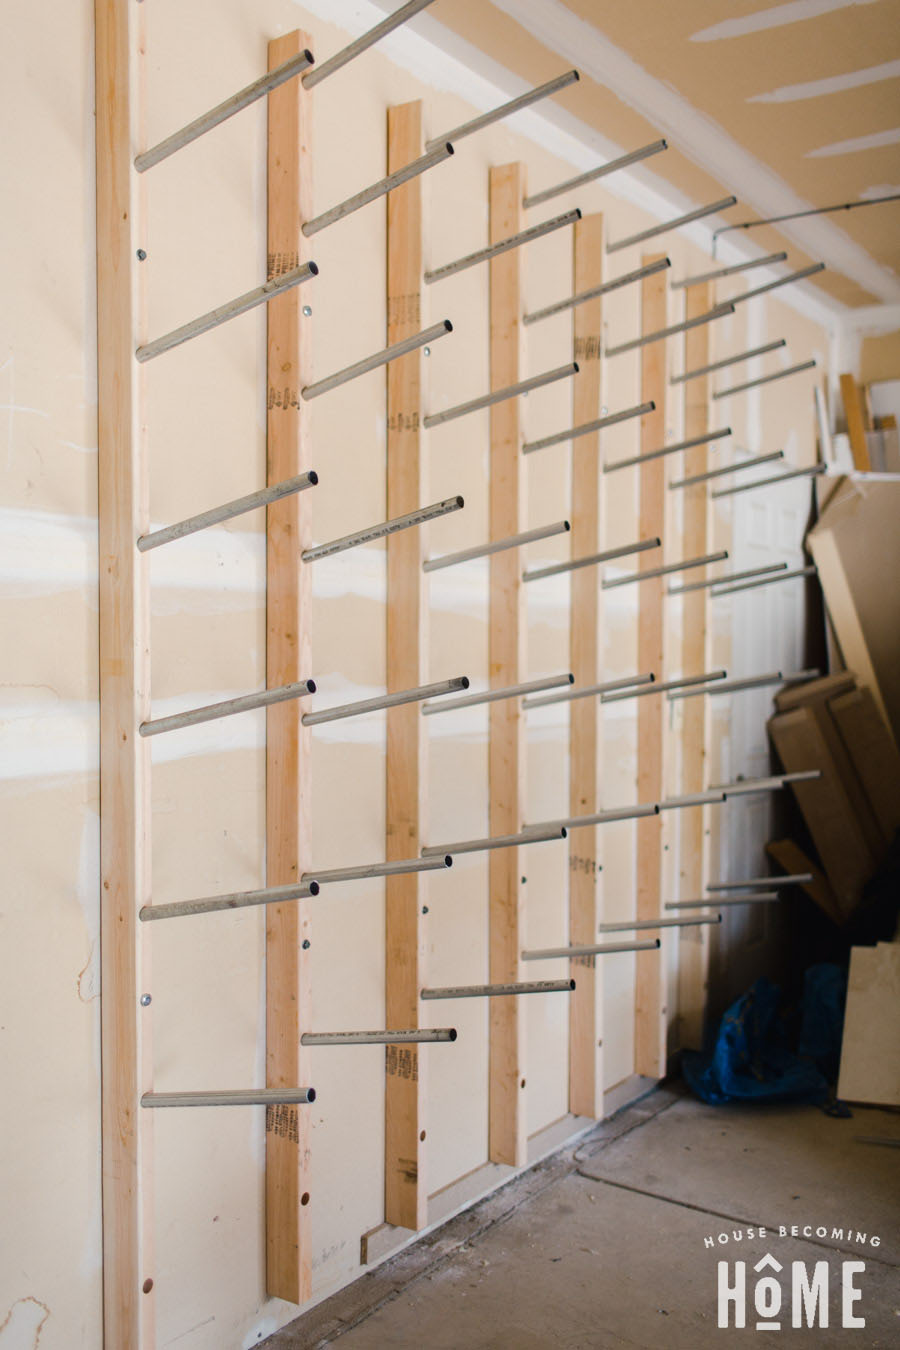
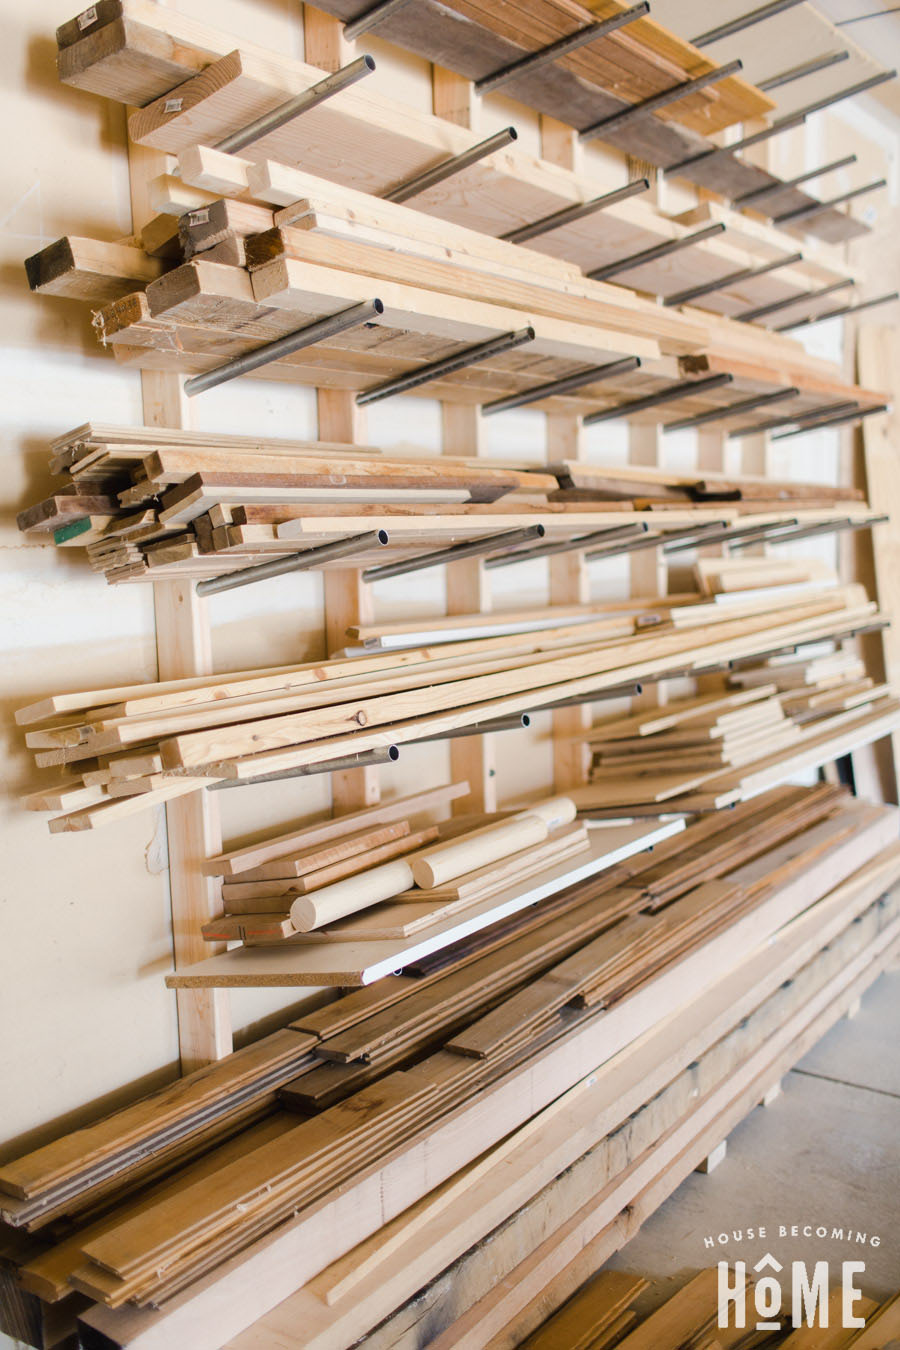
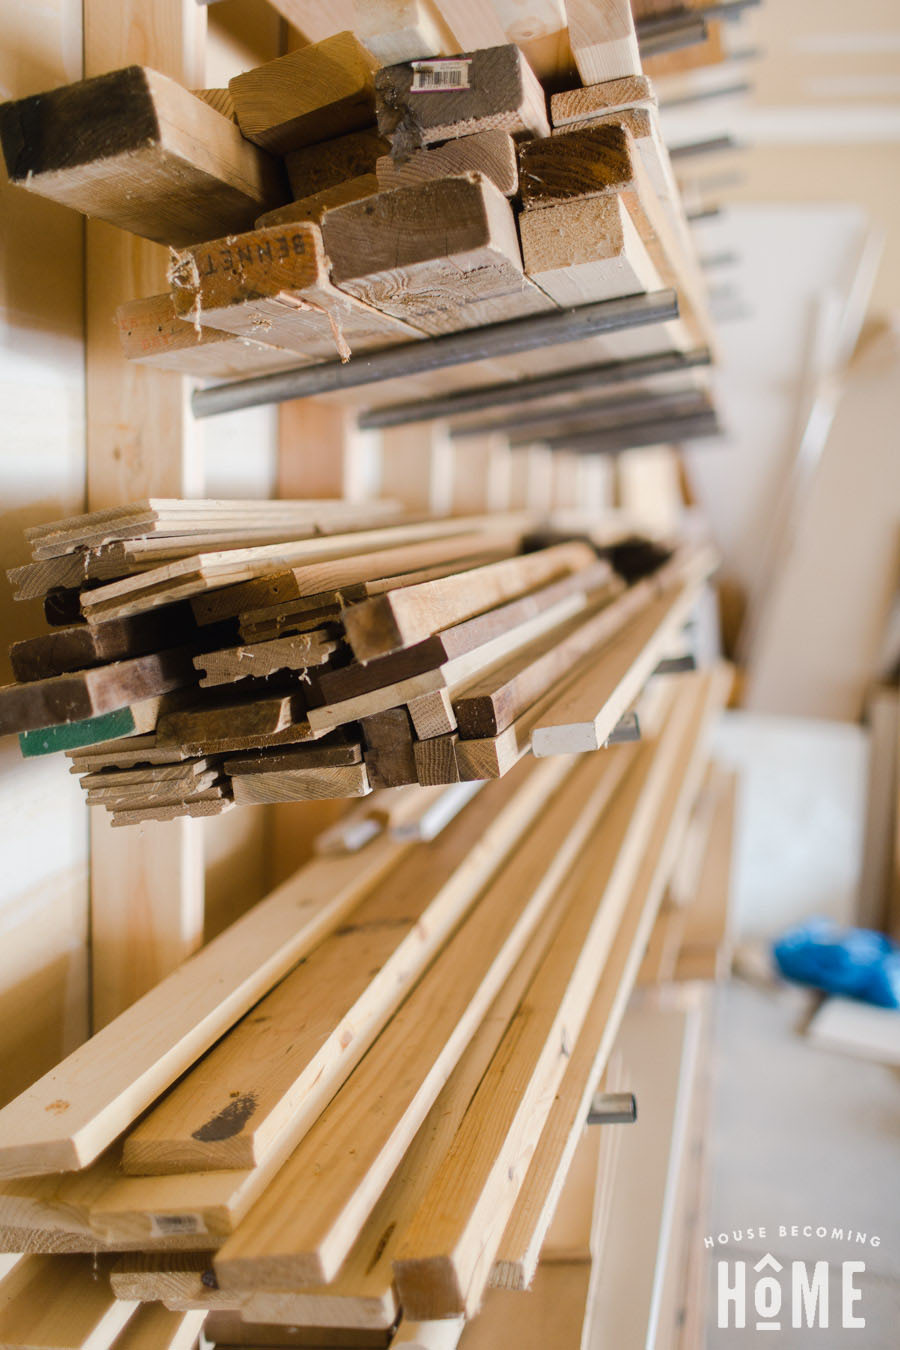
Fill Your DIY Lumber Rack
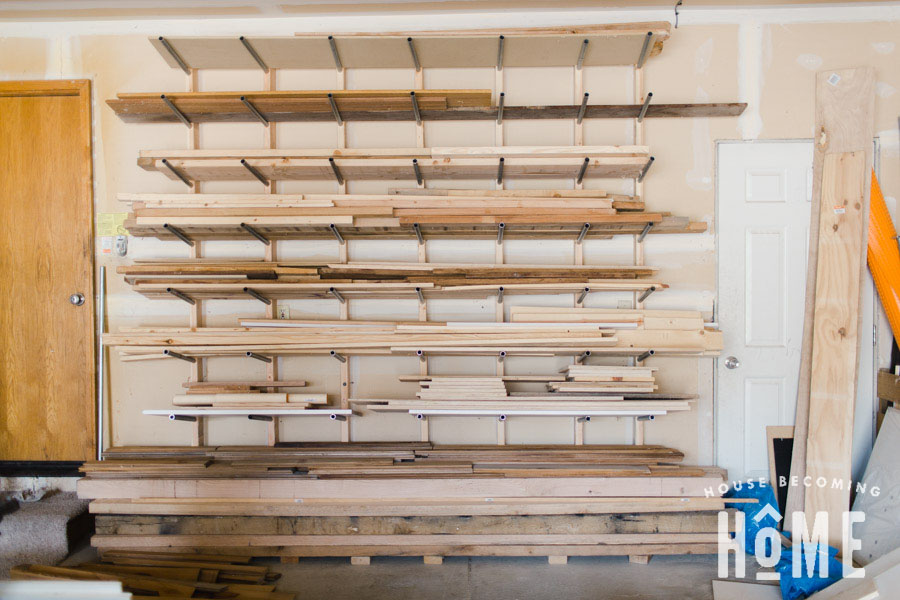
This part was so satisfying. We’ve had a huge mess of disorganized lumber for way too long, and seeing it come together so perfectly organized and easy to access makes me happy.

Hi Diane! It’s called K&K Surplus. It’s off I-76 in commerce city. I’ve only been there that one time, but I highly recommend it! It saved me a lot of money on this project! 🙂
I saw you ar in Denver. Curious what used metal yard you went to. Thanks!