You determined the correct size to build your door, and you built it. Now it’s time to hang it. Here’s how I made a simple door jamb, added hinges and installed the door:
House Becoming Home is a participant in the Amazon Services LLC Associates Program, an affiliate advertising program designed to provide a means for sites to earn advertising fees by advertising and linking to Amazon.com. Some links in this post may be affiliate links. Read my full disclosure policy here.
Tools
- Router (I use this one)
- Mortising Template (I bought this one which has everything you need, including the bit, to route matching mortises for hinges, strike plates, and latch plates into the door and jamb)
- Measuring Tape
- Screwdriver or impact driver
Materials and Hardware
- 1×4 or 1×6
- Shims
- 3 hinges with rounded edges (you can use hinges with square edges, but you’ll have to chisel out the rounded edges that your router + template will make)
- Several flathead screws or nails about 1 ¼”-1 ½”
*Some products link to affiliate sites. See my full disclosure here.
**DISCLAIMER: I am not a professional. This is the process that I used and it worked well for me!**
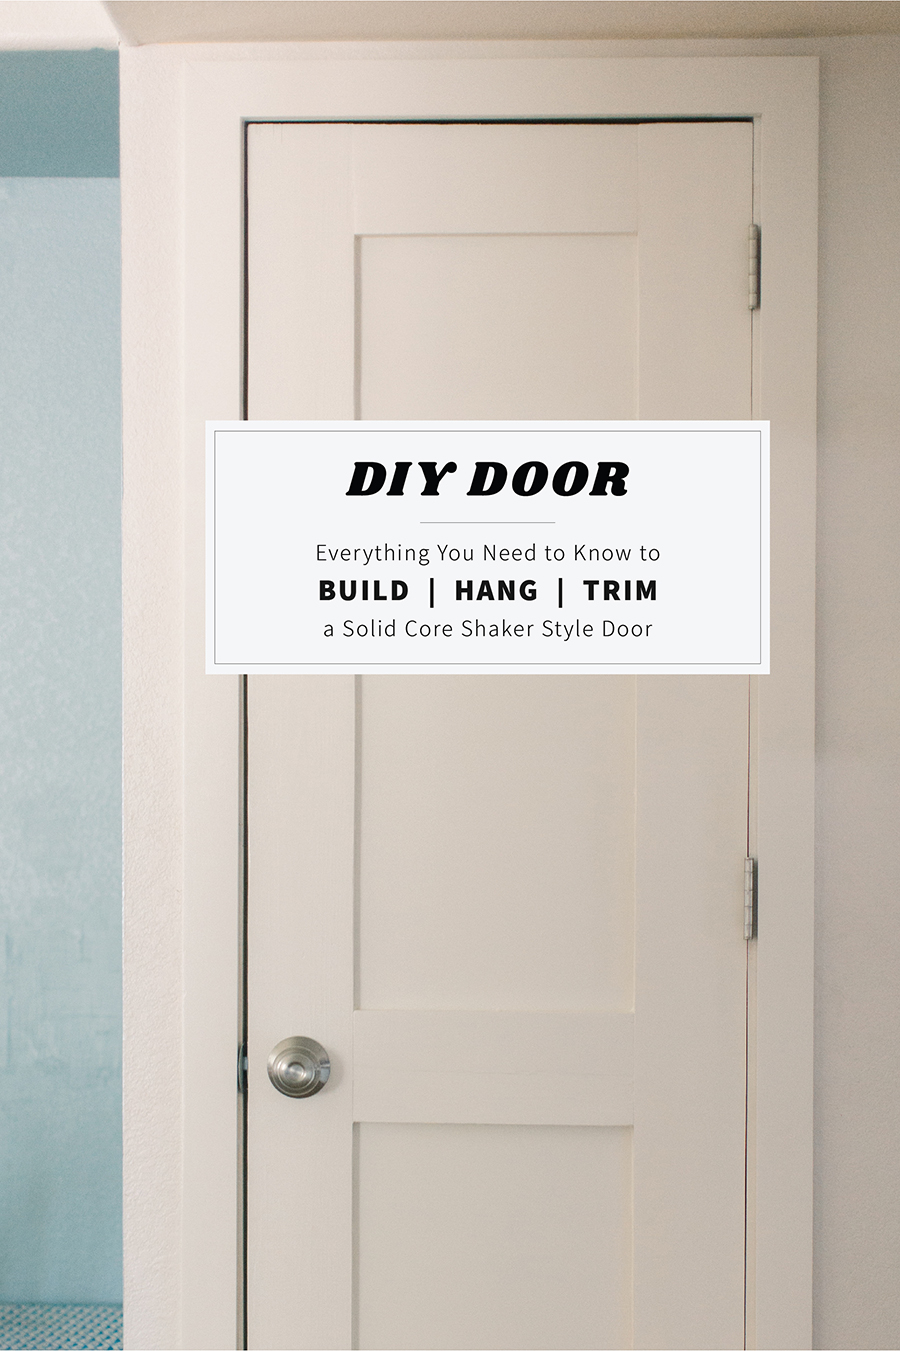
PART THREE : DIY Door Installation Instructions
STEP 1
After your three door frame pieces are cut to the correct size, prime and paint them. It’s much easier to do now before the hinges are screwed in and the whole thing is attached to the door.
STEP 2
Using a mortising template, route matching mortises for the hinges on the door and jamb. Begin with the mortises on the door, then the mortises on the jamb.
Notes on Door Hinge Placement
- Hinge placement varies depending on whether your door is left swing or right swing, in swing or out swing.
- My door, being left swing, meant the hinges would be on the right side of the door, when viewed from the front. It is also an out swing door, which meant the hinges would be visible from the outside and the rounded side of the mortise would be at the back of the door.
- I read various opinions about where hinges should be placed, but ultimately ended up deciding on one 5” from the top, one 5” from the bottom, and the third midway between the two.
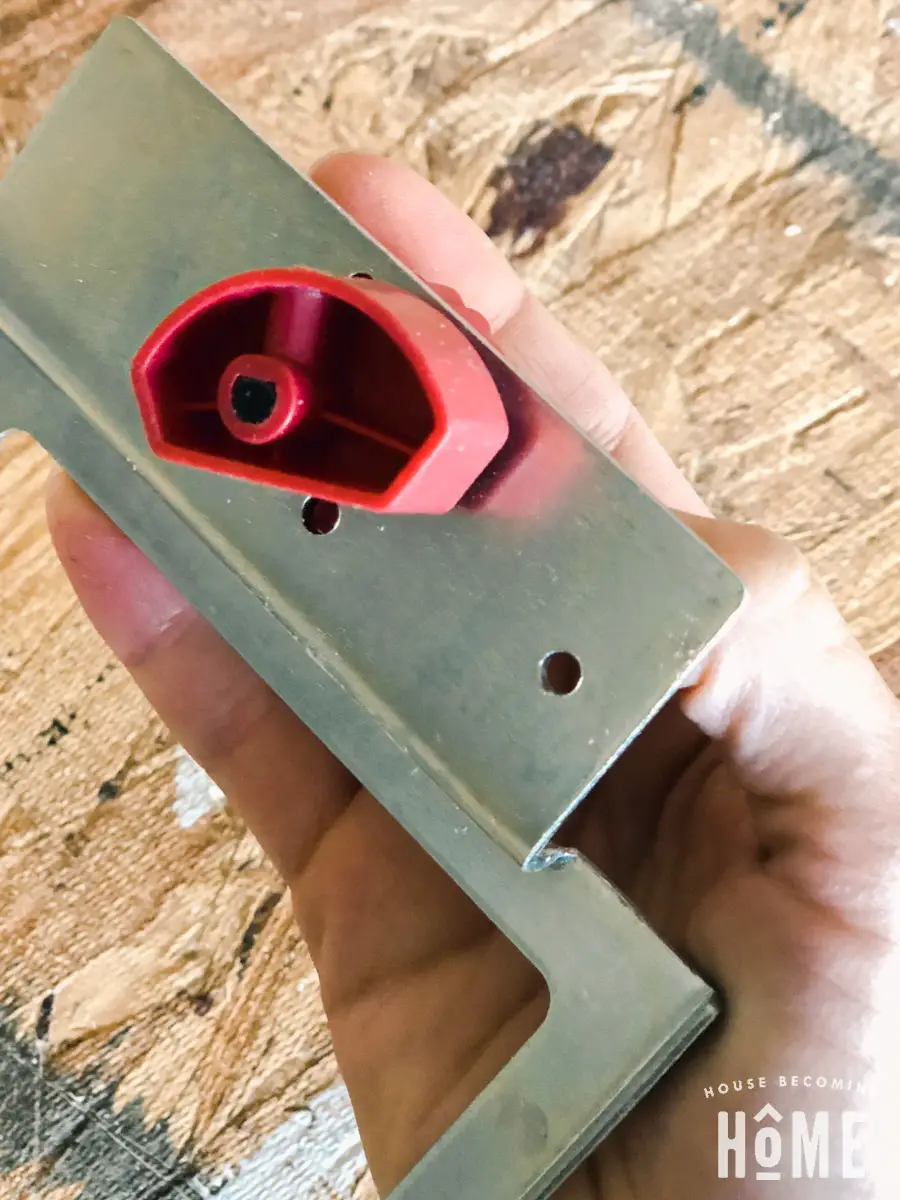
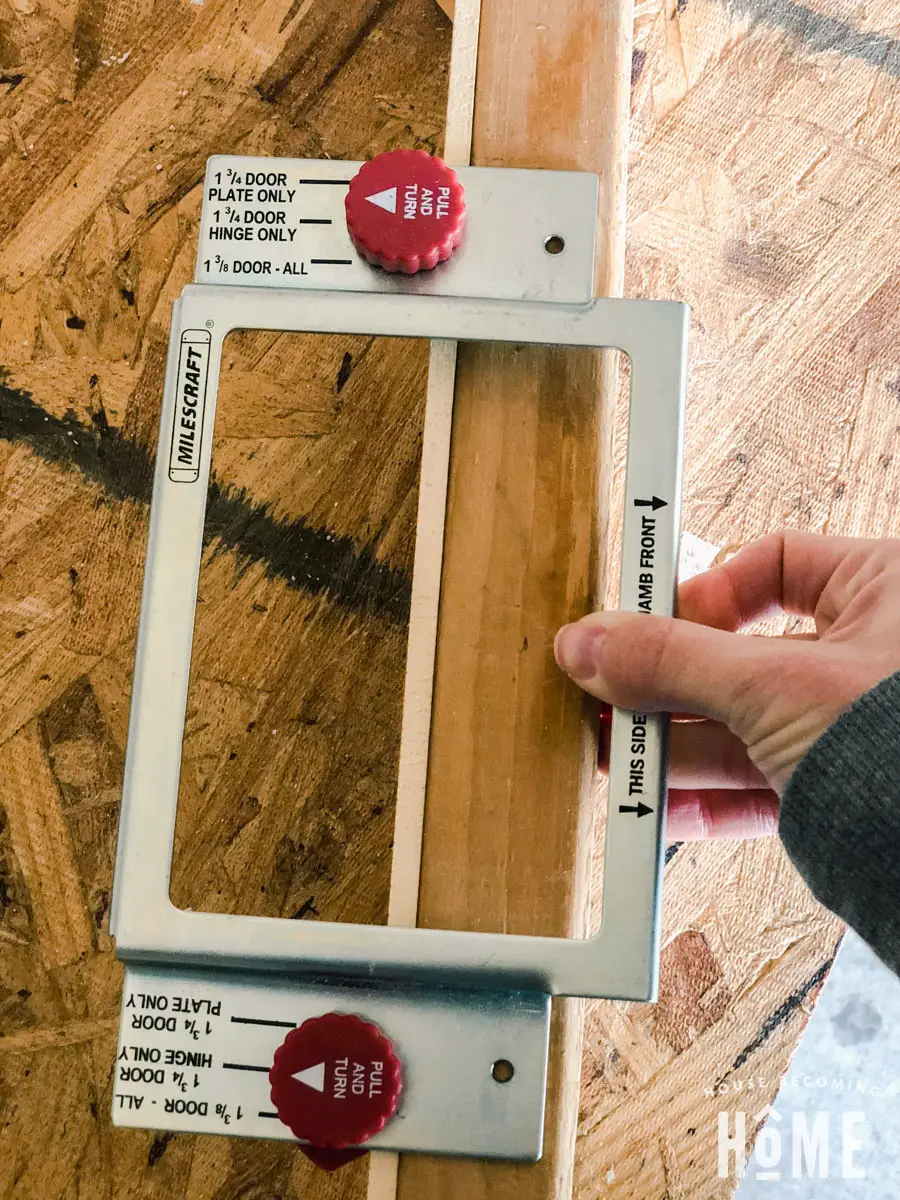
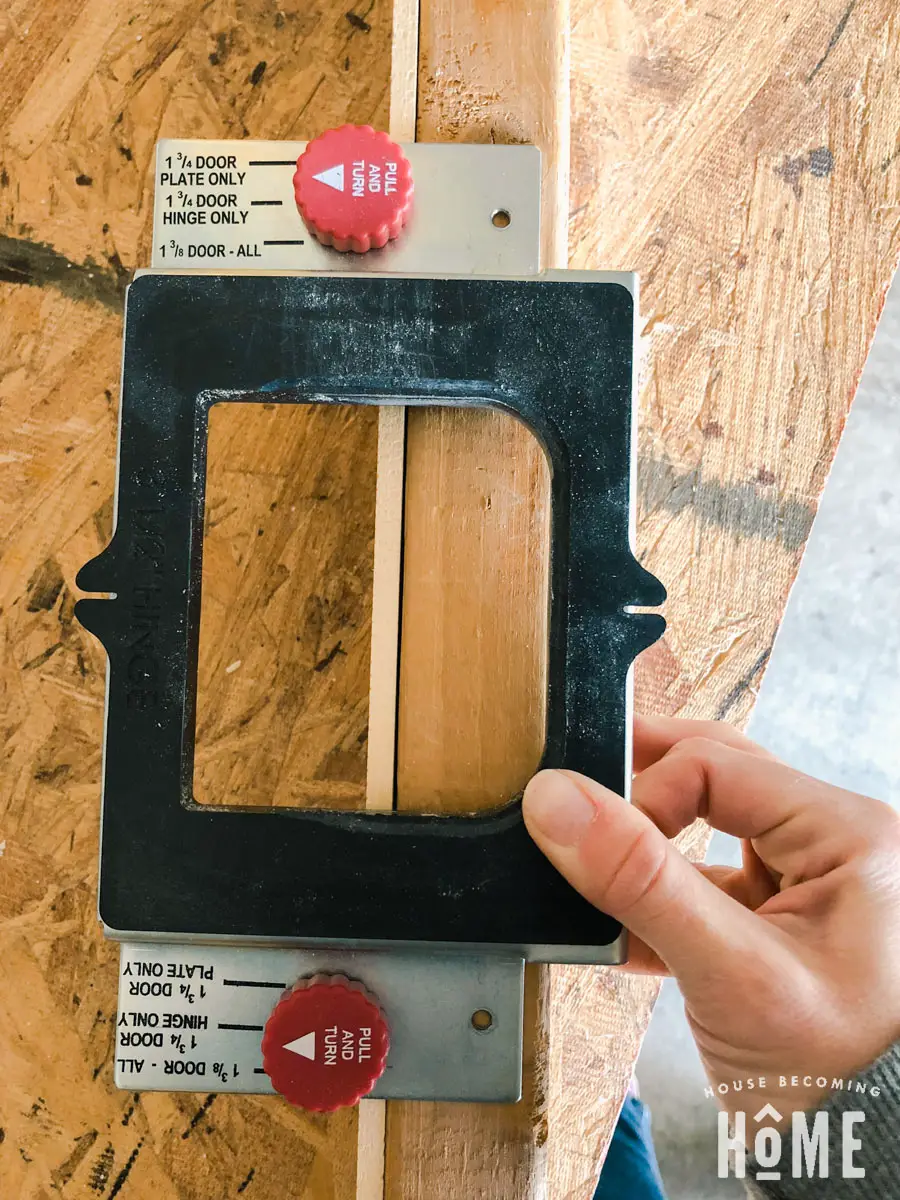
Here’s a photo of the Milescraft 1213 Complete Door Mortising Kit. It has the option to make mortises on doors 1-3/4″ thick or 1-3/8″ thick.
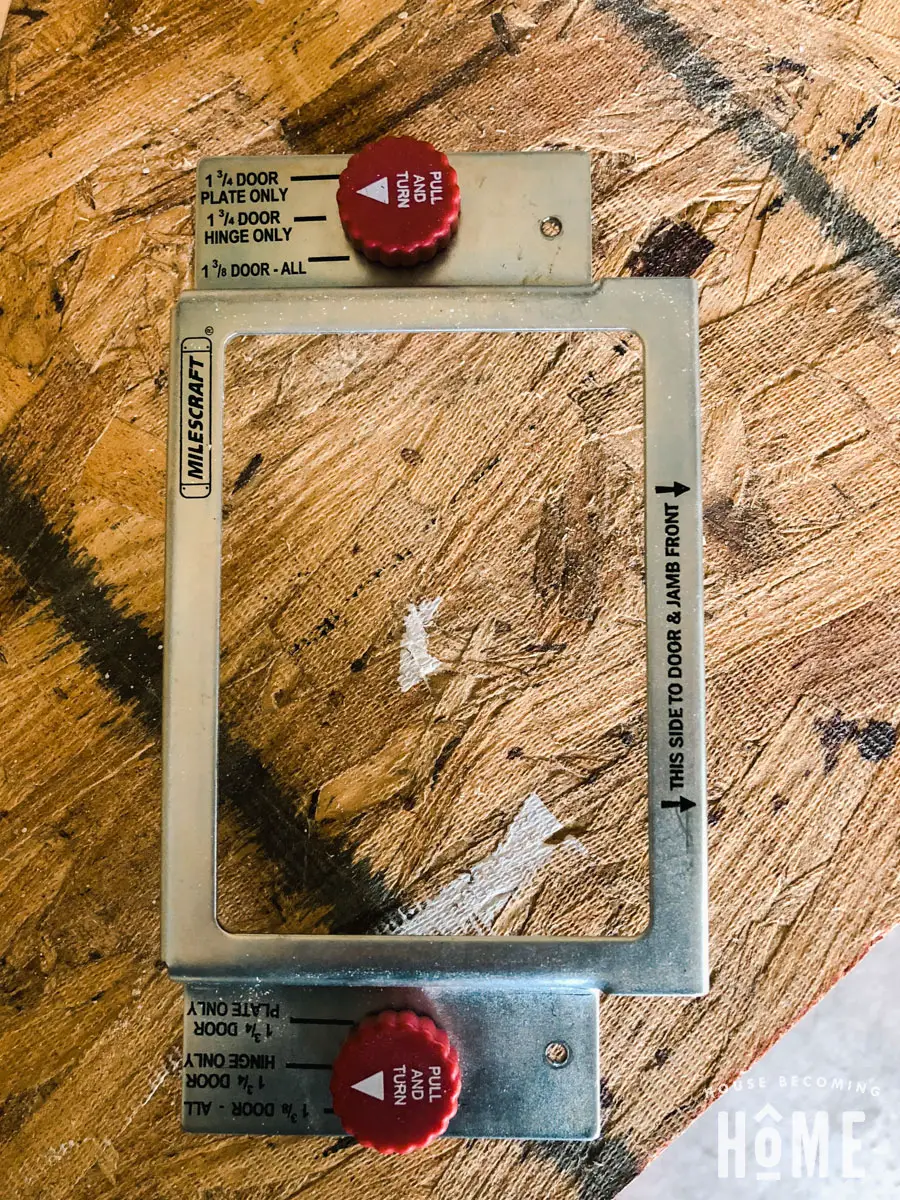
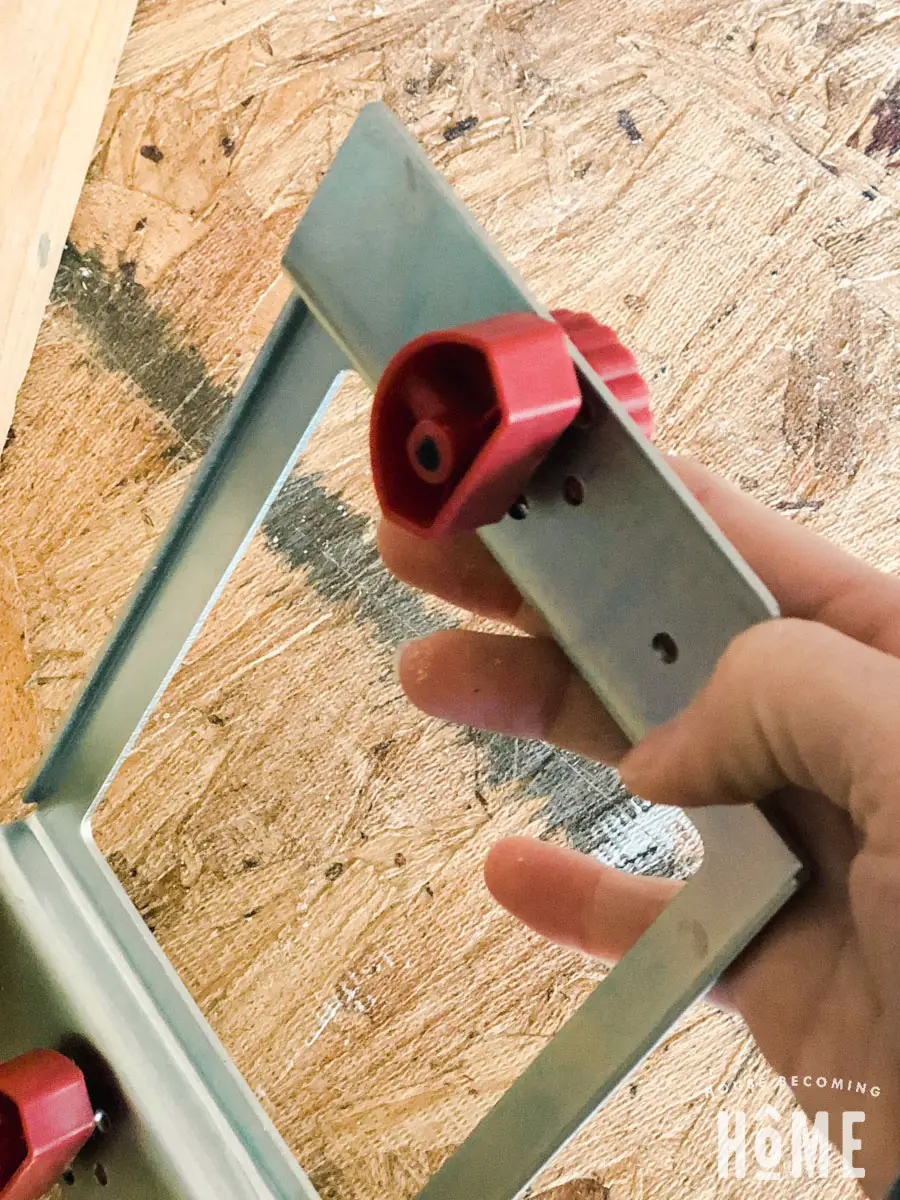
When you turn the red knobs on the front, this piece in the back rotates, setting it at the correct distance depending on the door thickness you select.
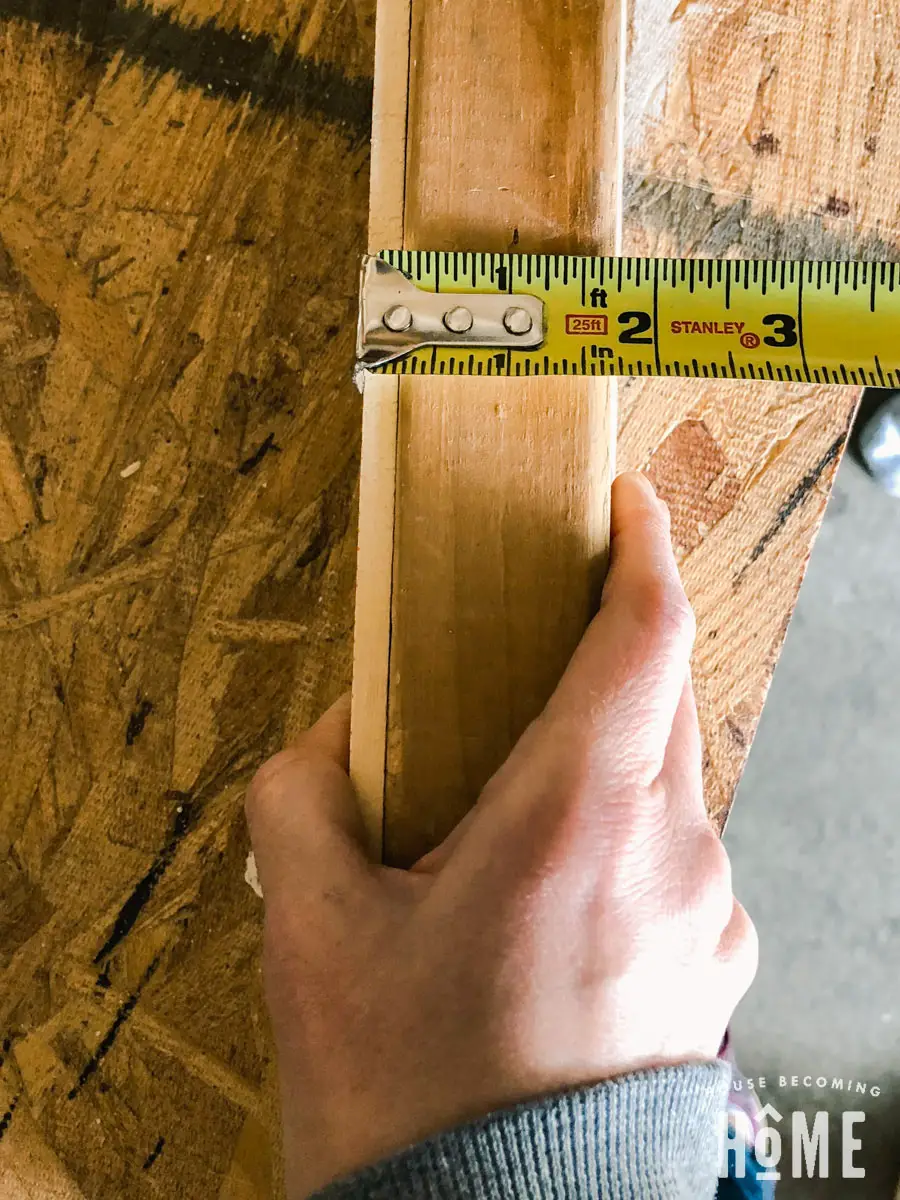
Because my door is made from 2×6 lumber, its thickness is 1-1/2.” Neither of the thickness setting options are correct.
(I didn’t take photos while I was doing this, so the photos below show the template on a 2×4, which has the same thickness as my door made from 2x6s.)

When set at 1 3/8″, not enough of the door will be cut away:
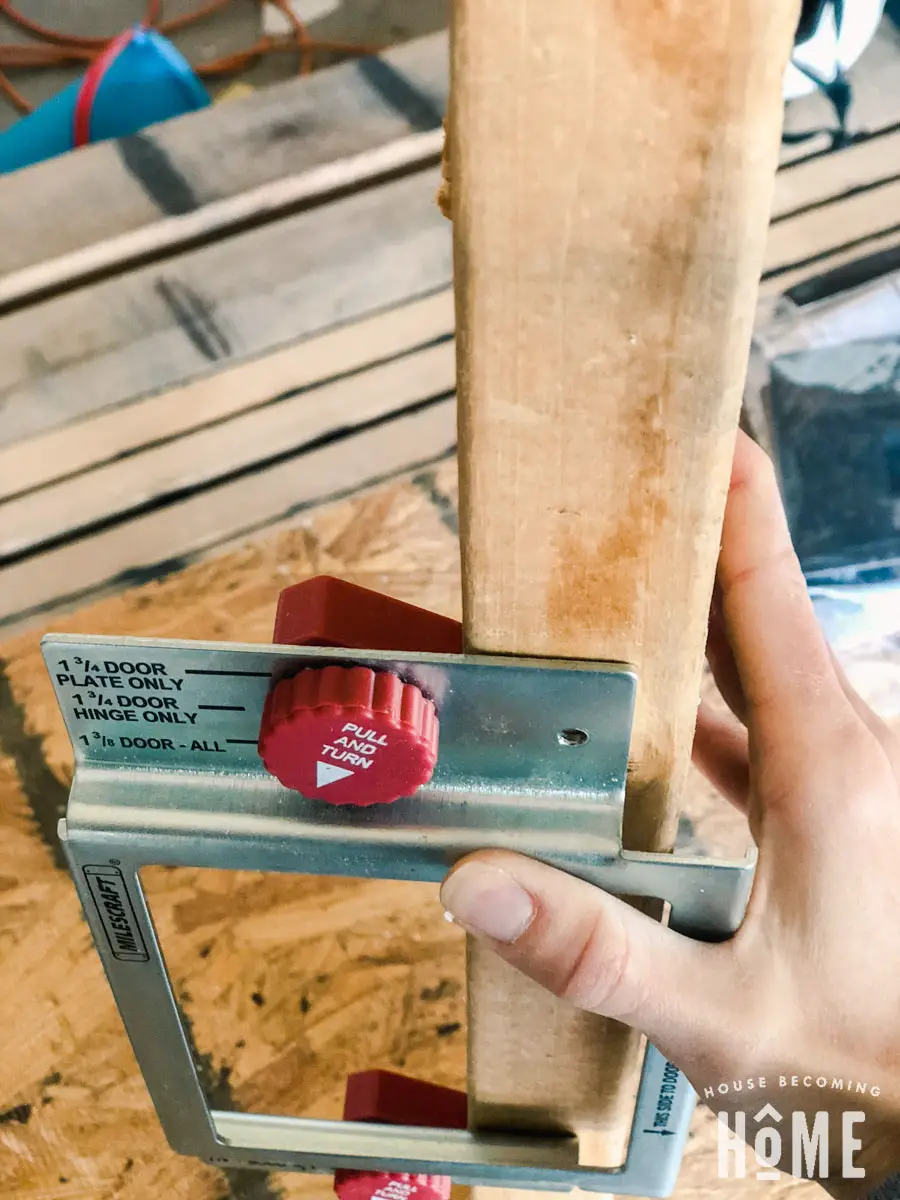
When set at 1 3/4″, too much of the door will be cut away:

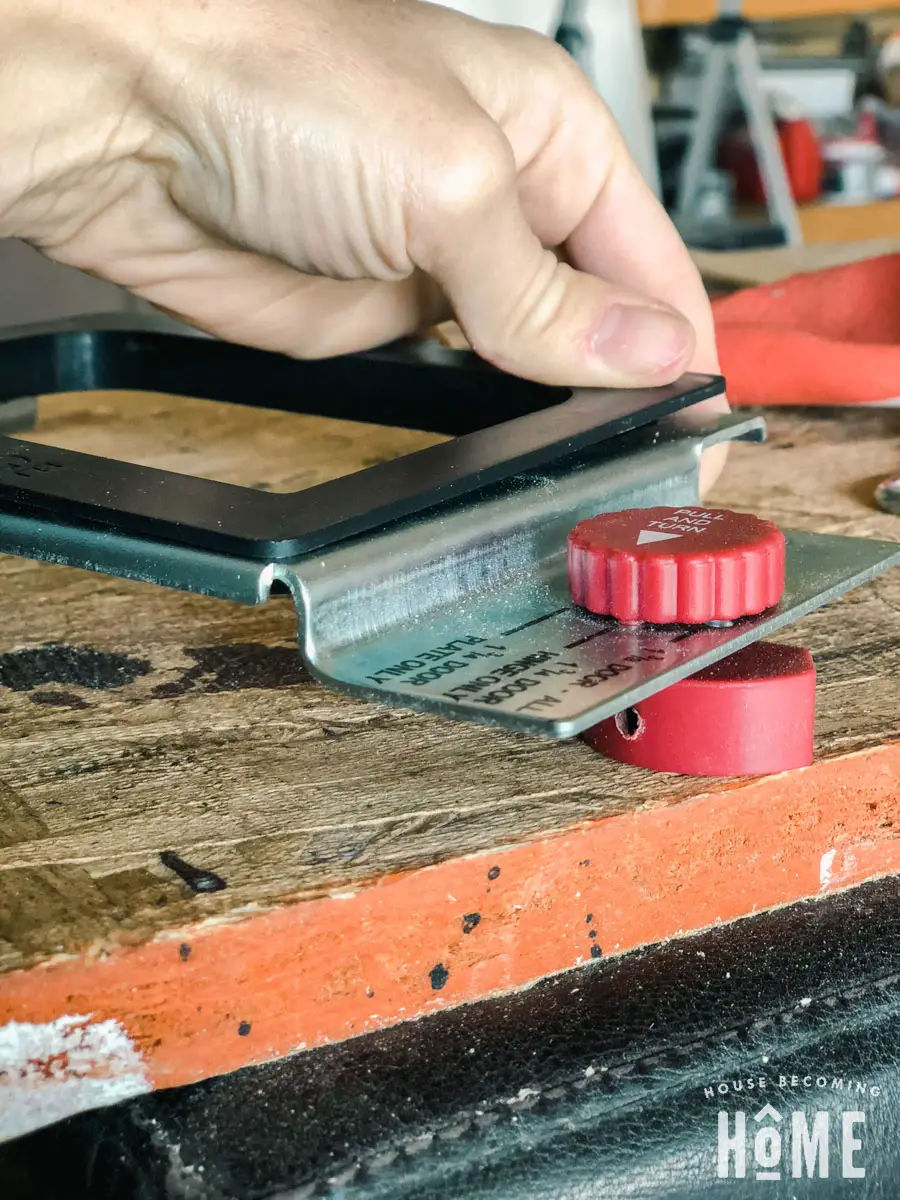
Solution: 1/4″ thick paint stick (or any scrap 1/4″ thick)
Add the paint stick to the side that the red knobs from the mortising template rest against. Your 1-1/2″ thick door, is now 1-3/4.”
Set the jig to 1-3/4″
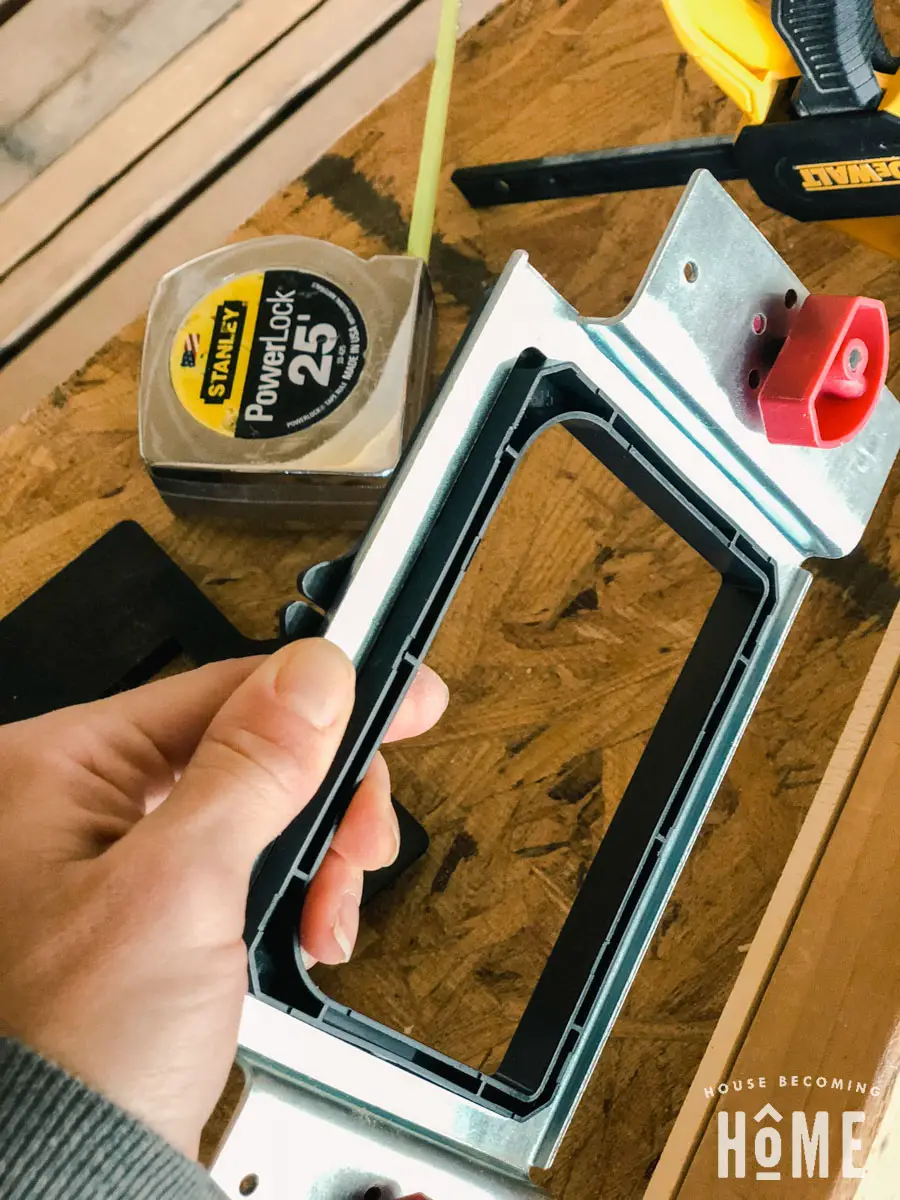
Insert the correct template, depending on the size of your hinges. The kit comes with options for door hinges 2.5, 3, 3.5, 4 and 4.5.”
Place the jig in the correct spot on your door:
Attach the jig to your door by screwing it in on both the top and bottom (you can fill & repaint these holes later).

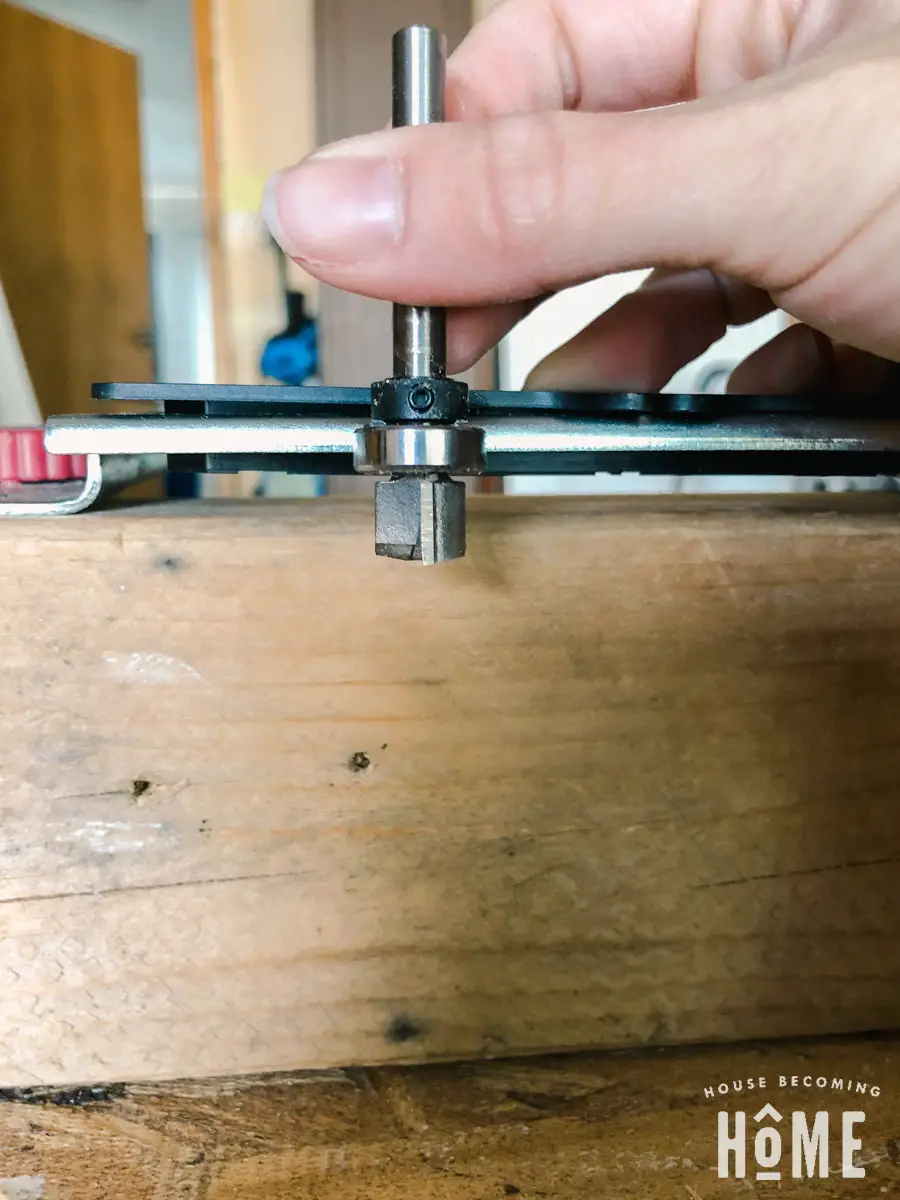
Attach the included router bit to your router. Set the depth of the cut to be the same as the depth of your hinge, so that the hinge will rest flush on the door.
I thought I was being smart here, setting the depth of the router bit to be exactly the depth of the hinge. I forgot that the mortising template adds another layer of depth, so the router bit won’t even hit the wood when set like this. Redo!
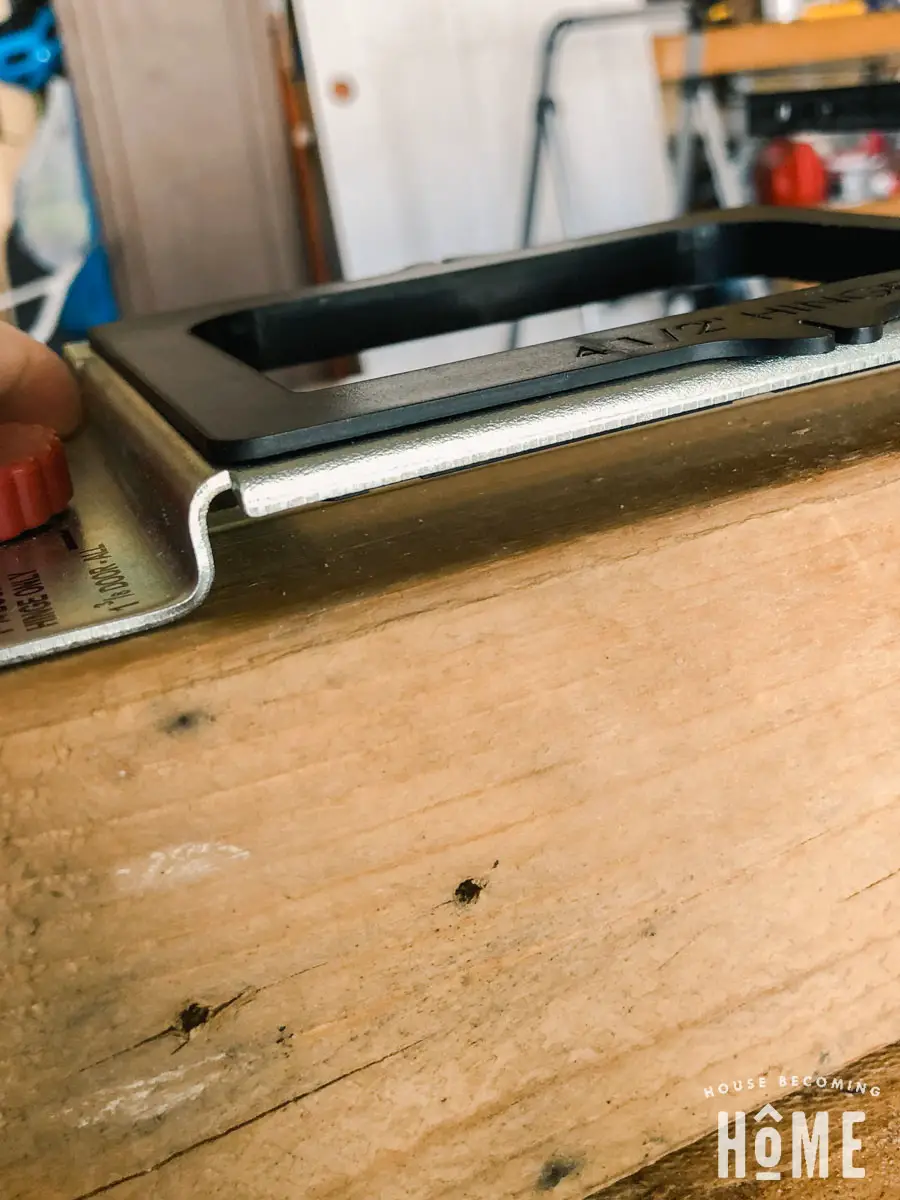
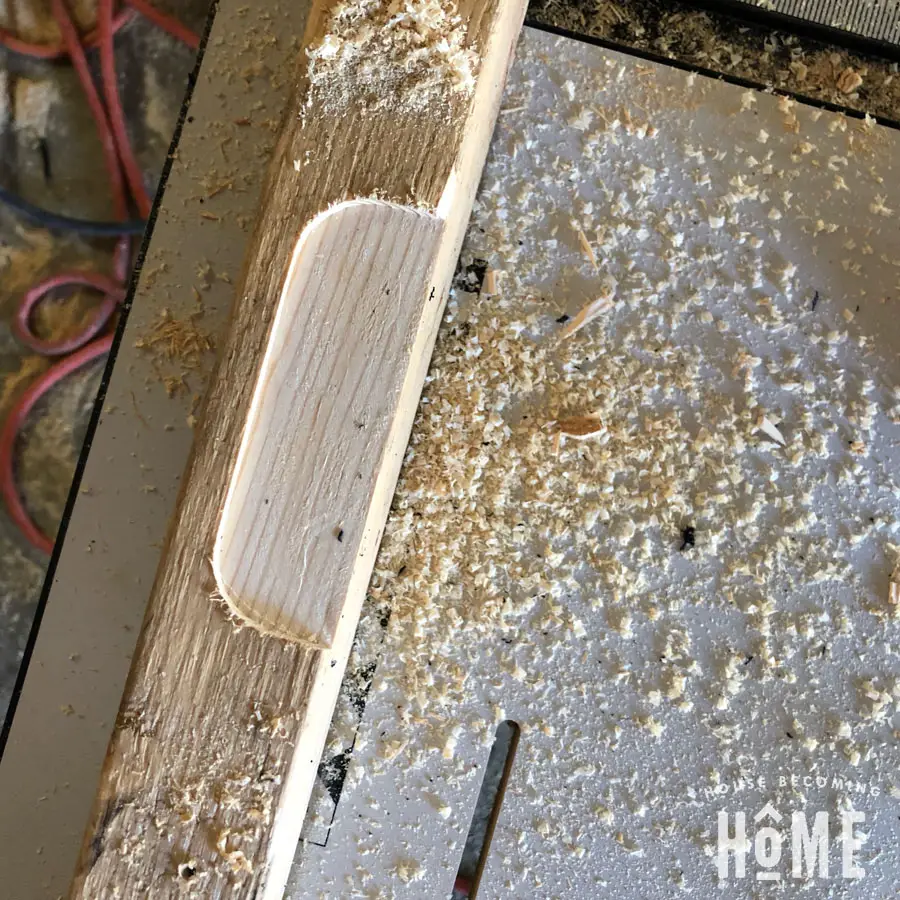
I decided to eyeball it, followed by a test on a scrap, and got lucky with the right depth on my first try. Here’s my test on a scrap 2×4. You can see here I just set the thickness to 1-3/8″.

Which doesn’t bring the cut far back enough. (Which is why we’ll use the paint stick and set the thickness to 1-3/4″ when making the hinge mortises on our real door!)
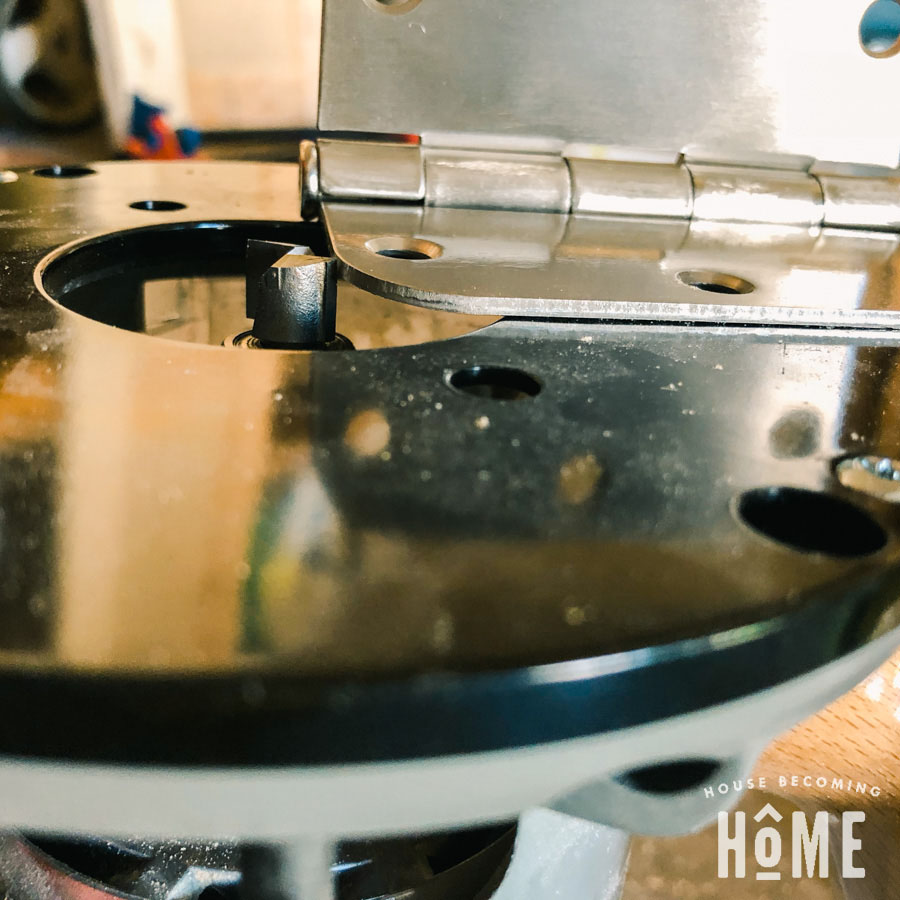
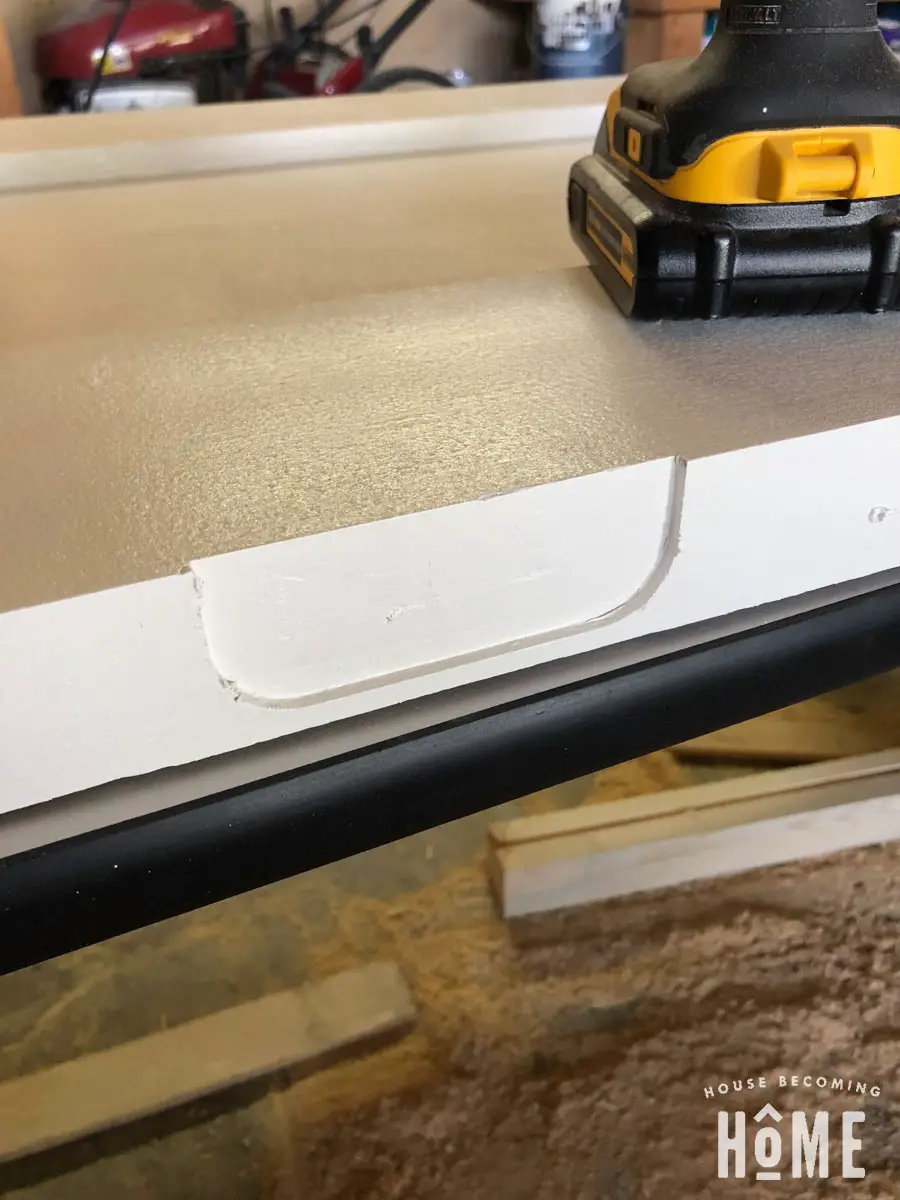
Here’s the real hinge mortise on my actual door, after I had repainted it.
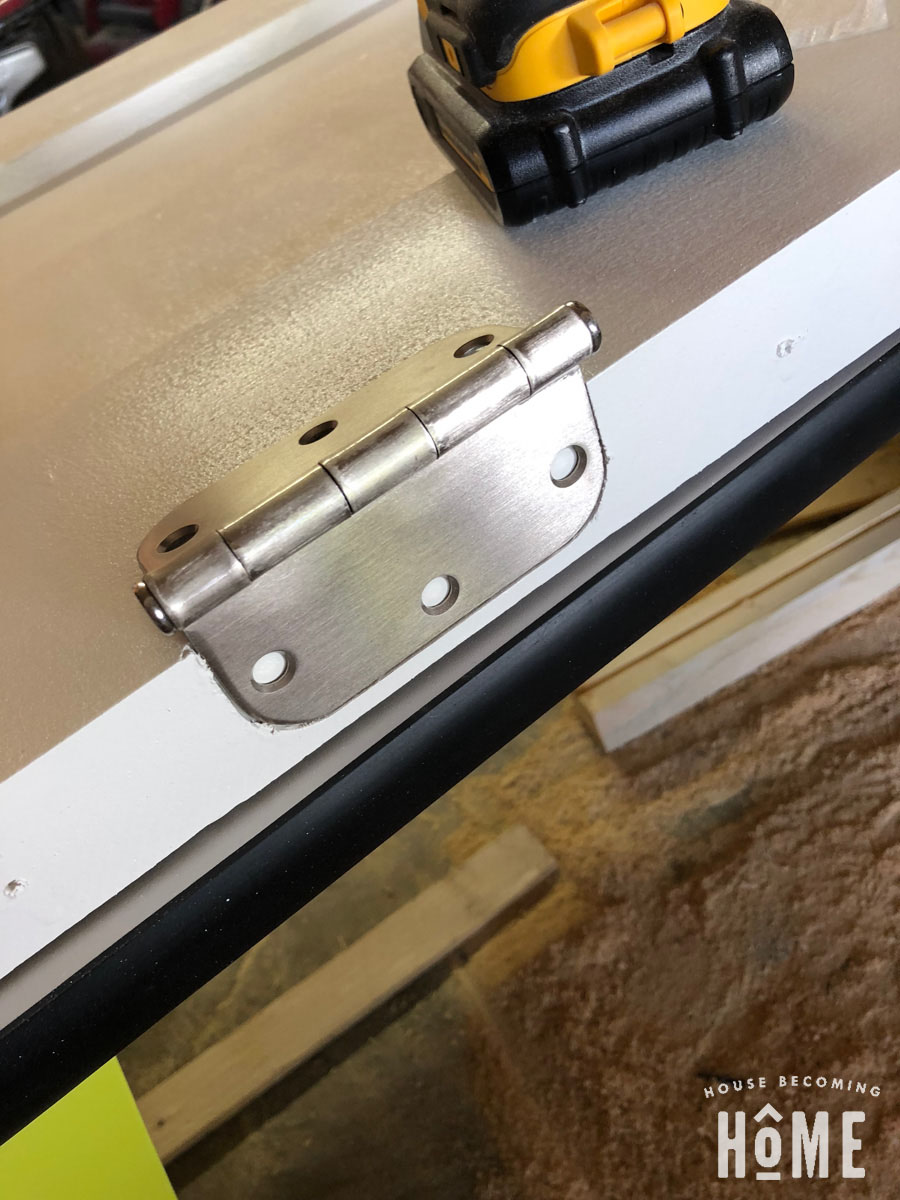
And a flush hinge!
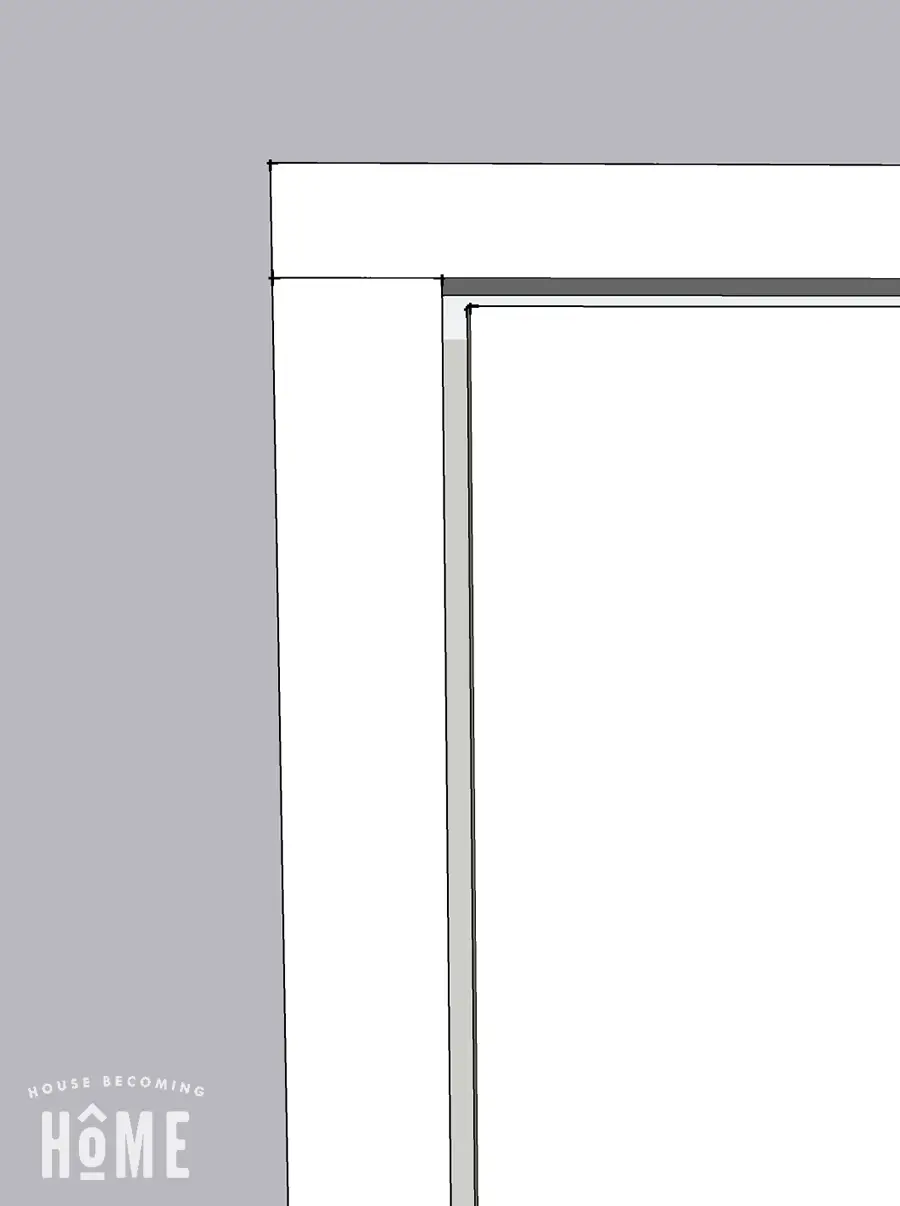
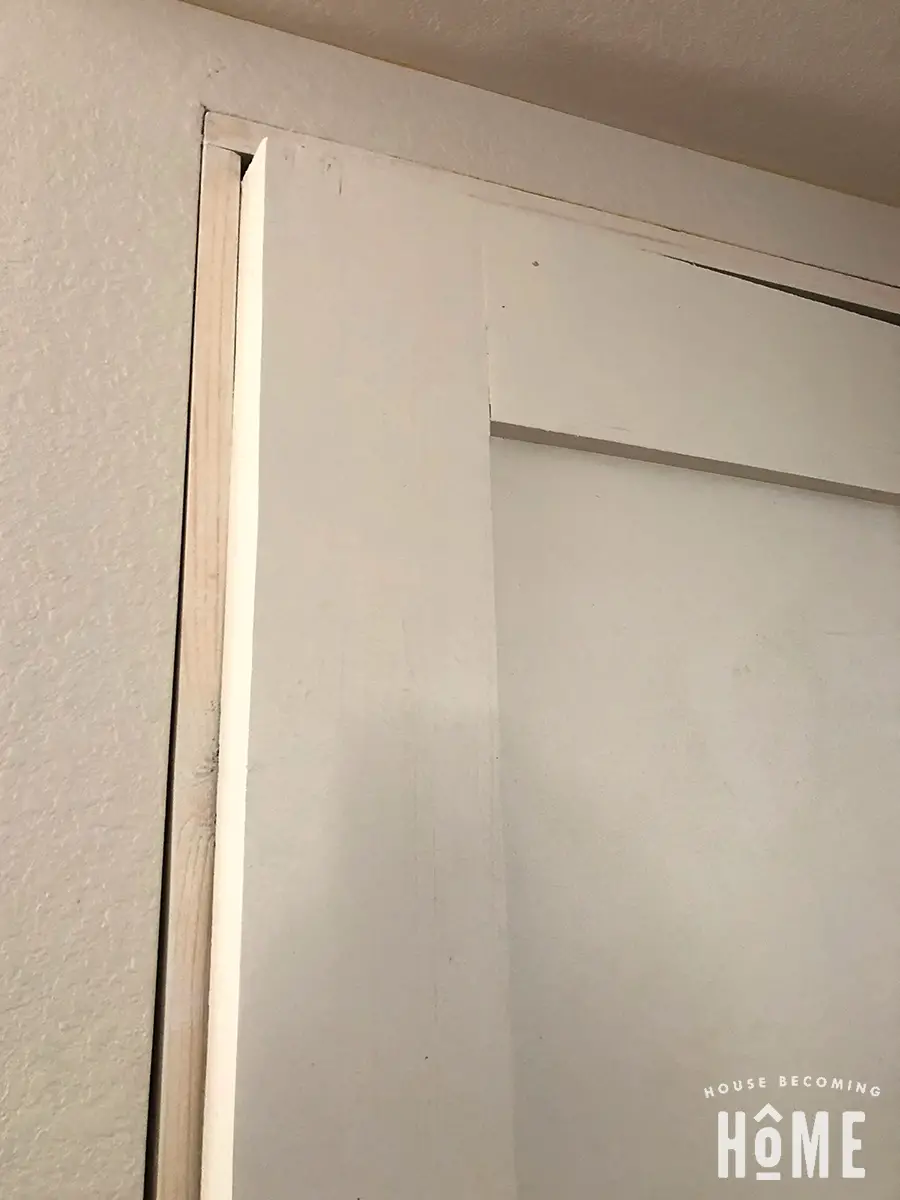
After making mortises on the door for all three hinges, grab the 1×4 or 1×6 that will be the side of the frame that the hinges are attached to. Mark the placement of all hinges, making sure to factor in the 1/8” gap that will be between the door and top of the door frame:
Mark correct placement of all hinges (needs to match up with the ones on the door), then using the mortising template, route the mortises on the door frame. Again, you’ll be using the paint stick and setting the thickness to 1-3/4.”
Step 3
Screw in hinges. I attached them first to the door, and then to the side of the jamb. At this point, you are connecting the hinges on the door to a piece of wood only. It is not yet the complete door frame.
Step 4
Construct the rest of the door frame around the door, making sure to keep the frame square. I predrilled holes and simply screwed two flathead screws from the top piece of the frame into the two side jamb pieces.

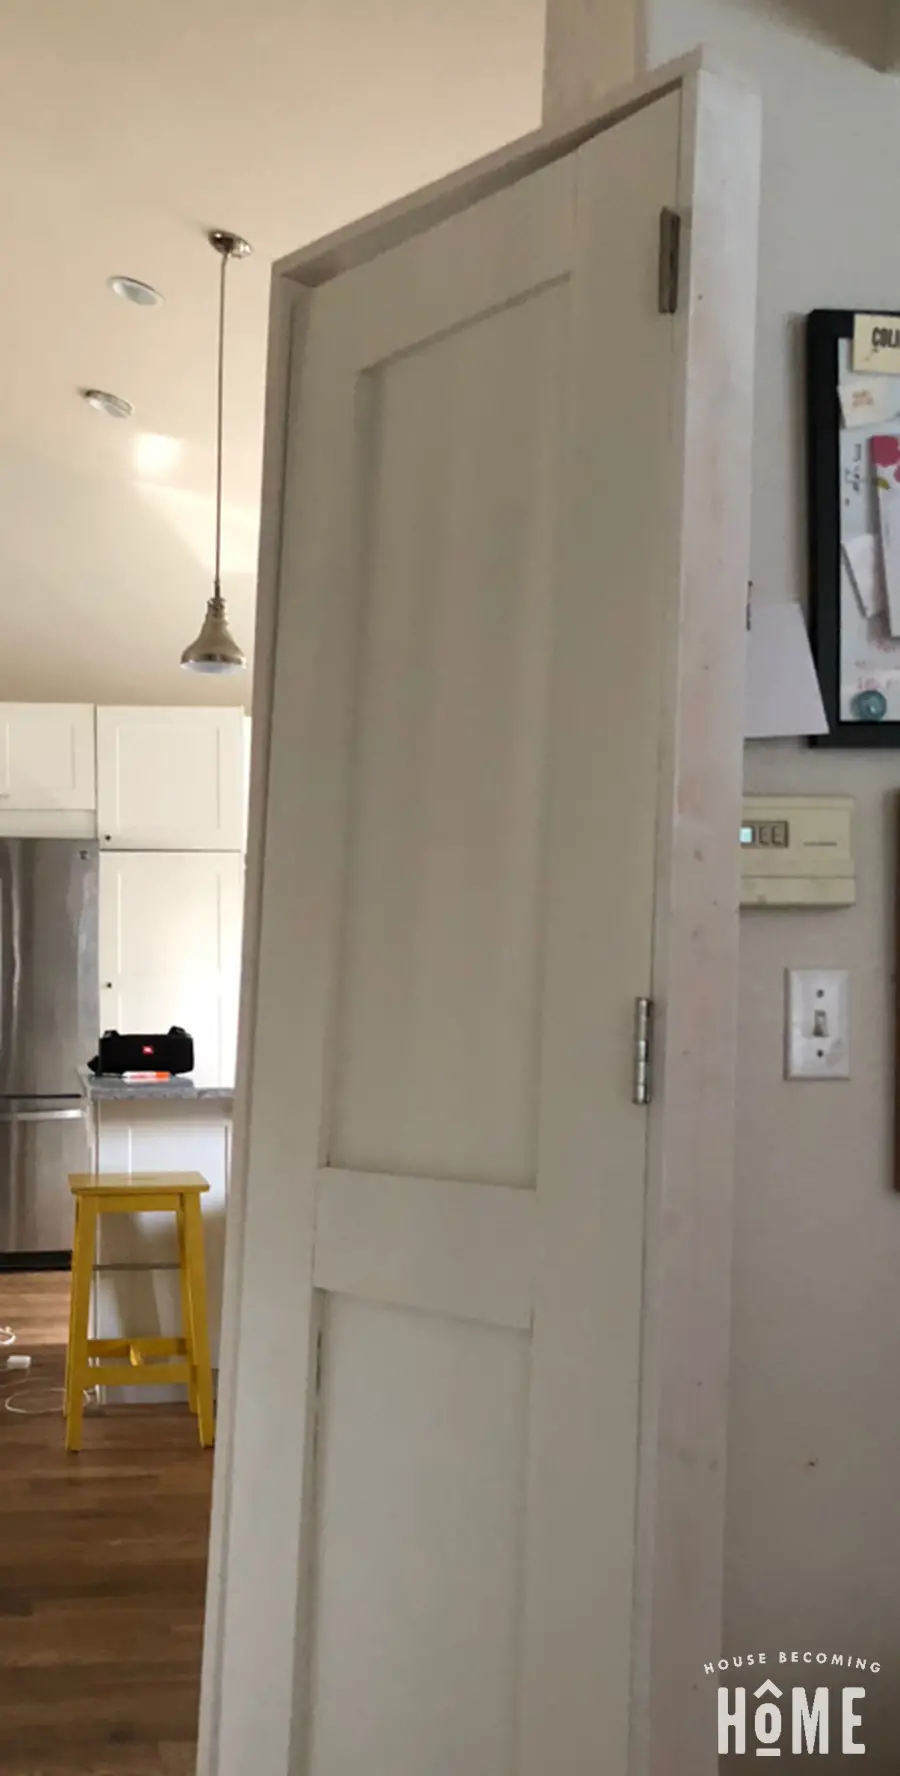
Here’s my door after the frame was built:
Step 5
Attach the door frame to the door opening.
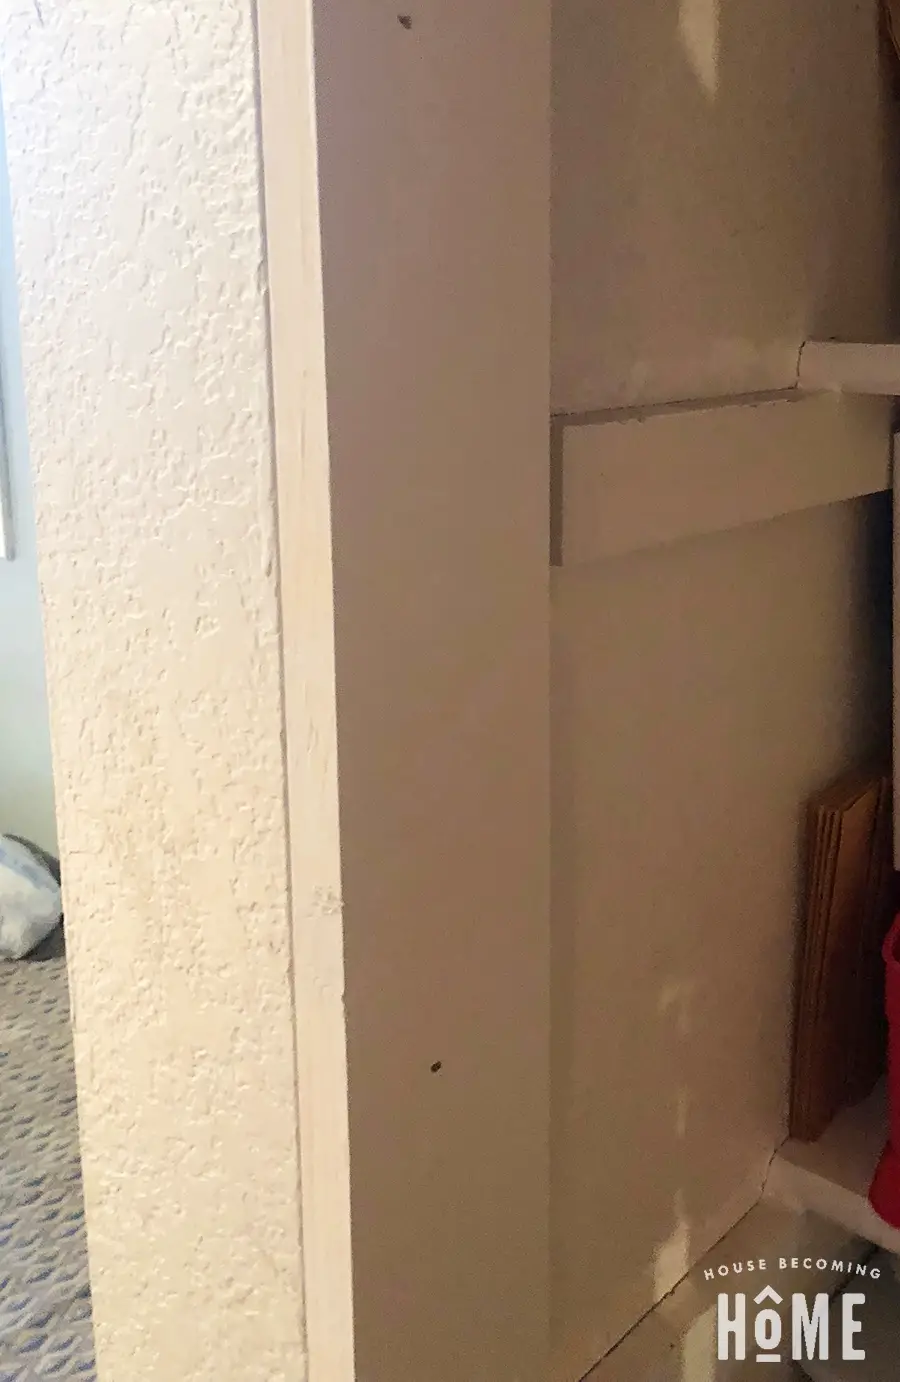
Move the door + frame into the opening. Use shims to close gaps and level the door if necessary. I didn’t need to do this because my door and frame was a tight fit.
Here’s my door after sliding it into place. You can see the side jamb piece didn’t want to sit flat against the opening, which made it impossible to “close” the door.
But that wasn’t a problem. As soon as Jim came home I had him help me hold the door frame in place, with the door swung open, while I nailed the frame into place.
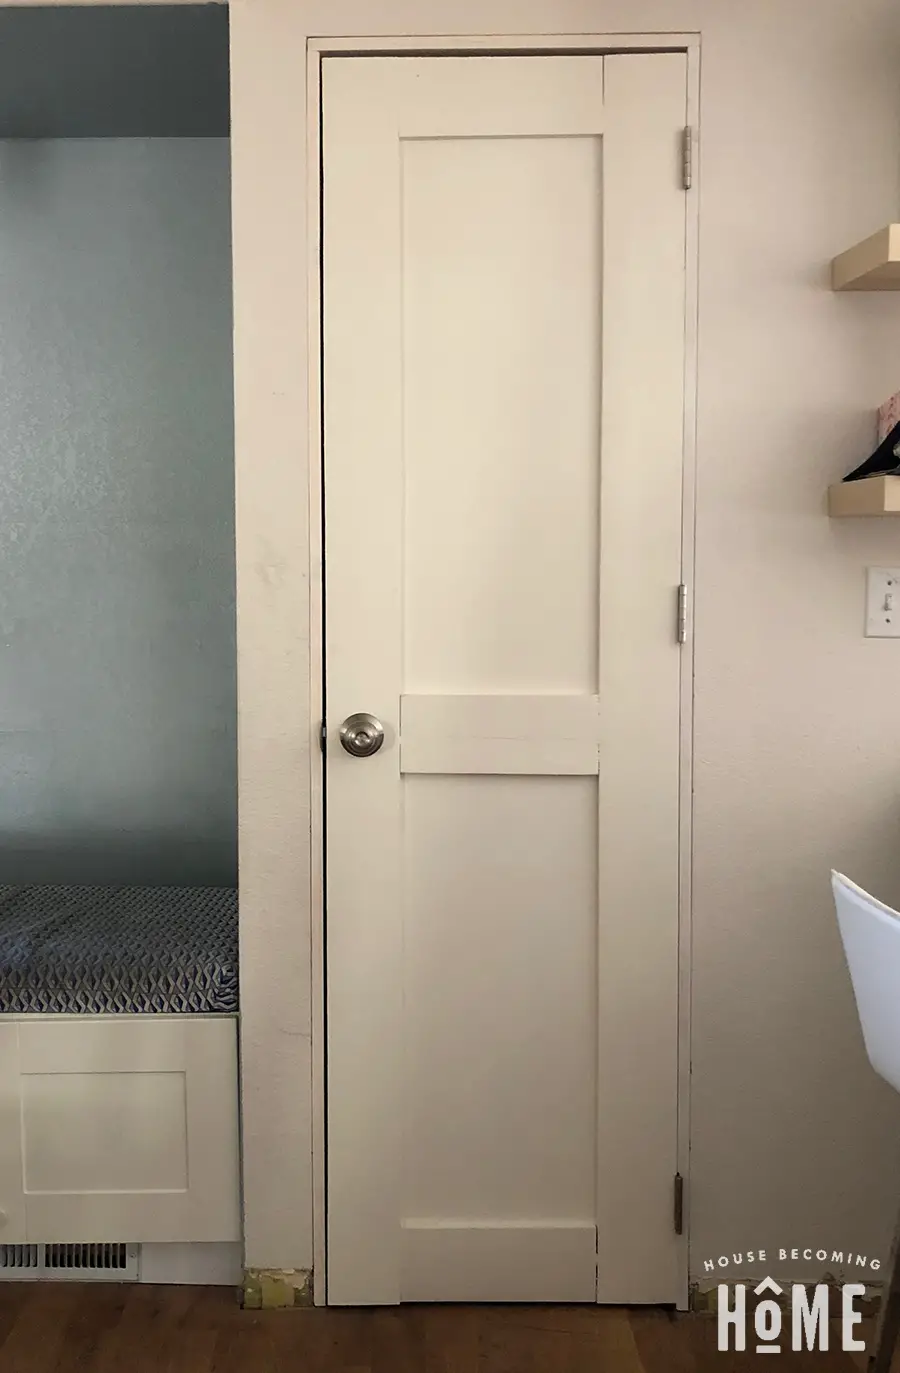
Tah-Dah! Here it is, with the frame nailed into place. (door knob added too, which I will go over in an upcoming post). Wow. I was shocked when it opened….closed….stayed shut. It worked! I had no idea I was capable of this!
Be sure to check back later this week to see the final post in the DIY Door Series, where I’ll go over adding trim and cutting a hole for the doorknob and latchplate!
Check Out More from the DIY Door Series