
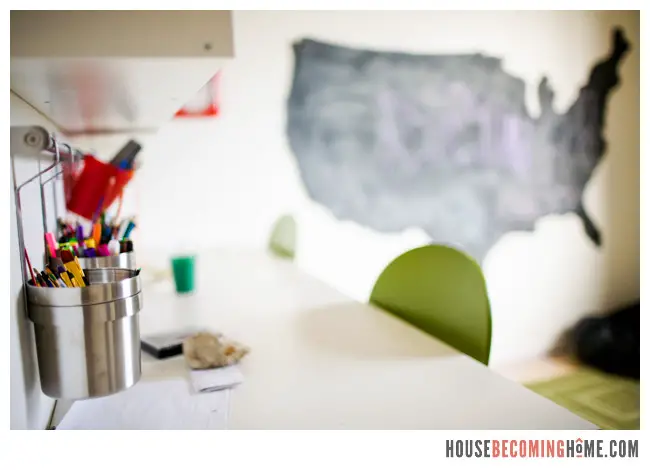
When we transformed the playroom into a children’s arts & crafts room, I knew I wanted the room to have a large chalkboard. At the time James and Colin were quite enthusiastic about drawing and coloring–they went through at least 20 sheets of paper per day–I figured a chalkboard might be a little more practical than a ream of paper a week! We considered a few different shapes but decided on a United States shaped chalkboard since there is quite a bit of good, unbroken area in the west & midwest to draw/write on. 🙂

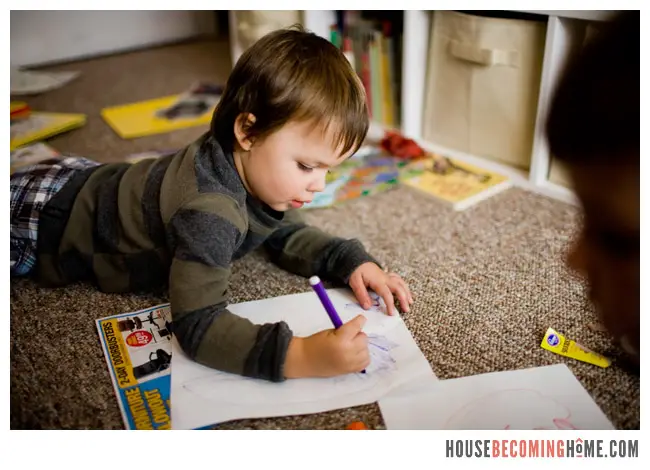
(This photo was taken before we converted the play room to an arts and crafts room. Drawing, drawing, and more drawing.)
House Becoming Home is a participant in the Amazon Services LLC Associates Program, an affiliate advertising program designed to provide a means for sites to earn advertising fees by advertising and linking to Amazon.com. Some links in this post may be affiliate links. Read my full disclosure policy here.
How To Make a U.S. Chalkboard
Materials:
- 1 4×8′ sheet of 1/4″ plywood or masonite (the smoother the surface, the better)
- 1 quart of black chalkboard paint
- 6-10 screws with large heads
- 1 quart of black chalkboard paint
- 6-10 screws with large heads
Tools:
- Jig Saw
- 2-4 Clamps
- Orbital sander or small manual hand sander
- Screwdriver or power drill
- Stud-finder (you’ll want to attach the chalkboard to studs!)
- Appropriate safety gear (DIY safety recommendations)

Make a U.S. Chalkboard:
1. Find an image of the U.S. A quick google image search will pull up tons.
2. Using the image you found as a reference, draw the outline of the map onto your plywood. If you’re not confident in your free-handing skills, use a projector to project the image onto the wall, then have a friend hold your plywood against the wall while you trace. When you make the outline, aim to go as close to the edge of the plywood as you can–you want this to be as big as possible.
3. Place your plywood on a large work surface with one edge hanging off by 12-24 inches. Clamp the other sides to the work surface to prevent the plywood from moving while you cut.
4. Using a jig saw cut along the outline you drew in the areas that are hanging off the work surface. Rotate the plywood and re-clamp as necessary until the entire shape has been cut out.
5. Sand around all edges of the map to remove splintered or rough spots, and give the entire U.S. a sanding if the plywood you bought has grooves or isn’t very smooth.
6. Wipe the map clean and paint with chalkboard paint (priming first might be a good idea, but I didn’t and ours held up just fine). A foam roller works great because it gets the job done quickly and doesn’t leave brush strokes behind. After the first coat has dried apply another coat.
7. In the room you’ll be hanging your U.S. chalkboard use your studfinder to mark the location of the studs. Aim to mark the studs just a few inches above where your map will be.
8. Once the paint has dried, move your U.S. chalkboard to the spot where you will hang it. Have a helper (or two) hold the map in place. You should see your marks on the wall above indicating where the studs are. Mark the map in each of these spots.
9. Drill a hole through the map in each of the spots where the studs are marked. I placed my holes a few inches from the top. Not so close to the top that the plywood would split, but not too far down where it would get in the way of coloring.
10. Have your helper hold your map in place and screw into place. Use screws with large heads that won’t slip through the holes you’ve drilled into your map. I did three along the top and two along the bottom.


Anyone else ever try making a chalkboard? I’m interested to hear what shapes you’ve tried (or want to try)!