My daughter Lucy has been a rockstar of a sleeper ever since she was a couple of months old, but right before she turned four she started sneaking out of her bed and into ours in the early hours of the morning. Hers was a small crib-converted-toddler-bed, so I thought maybe if we upgraded her to a bigger and better bed she’d stay out of ours….? Hmm…time for a DIY twin bed project?
I started browsing the web for twin beds that I liked (and appeared to be within the scope of my DIY capabilities!). Lucy’s room isn’t terribly big (and I’m always looking for ways to incorporate more storage into our home), so I knew I wanted to build a bed with drawers to eliminate the need for a dresser. I found this one on Ana White’s site and it seemed like just what I was looking for. I stuck mostly to her plans, but drew it up in SketchUp with a few modifications:
My DIY Twin Bed Plan
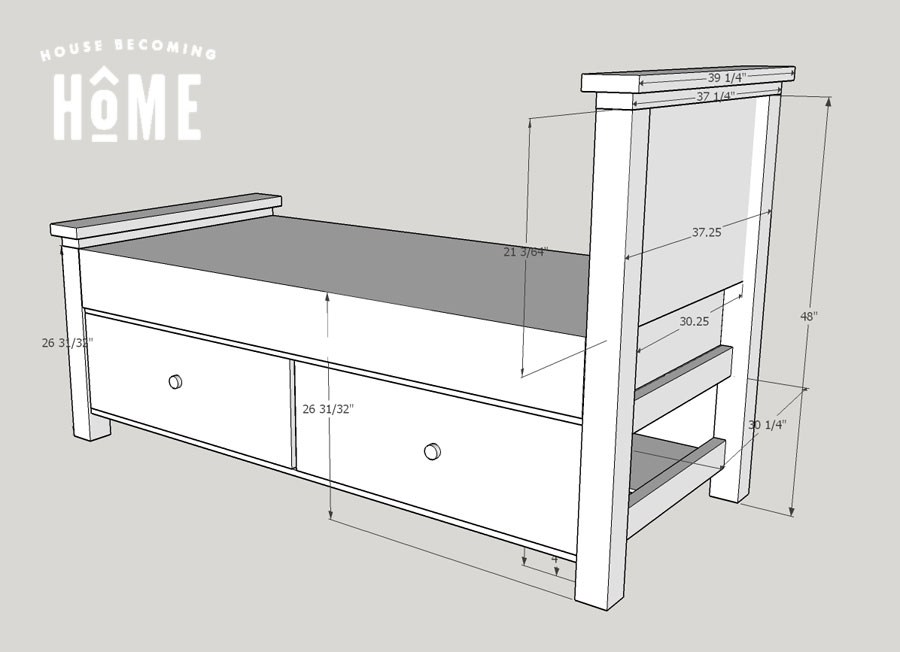
TWIN BED MODIFICATIONS:
-I shortened the height of the headboard so that it could be made with exactly one eight foot 4×4 (I’m not really into giant headboards anyway).
-I increased the height of the footboard so that the top of the mattress would come right to where the cap of the footboard begins. It turns out the footboard is Lucy’s favorite part of the bed (ha!).
-I decreased the overall width of the bed (not counting the protrusions from the footboard and headboard caps) from 39″ to 37.25.” I measured our twin mattress and realized 39″ would leave an extra inch of bed on each side of the mattress (which seemed to guarantee scraped legs getting into and out of bed).
-In my original plan I thought I’d take it down from three drawers on each side to two drawers on each side (less drawers to make and drawer slides to buy!), but quickly changed my mind after realizing that four large drawers would be more difficult to keep organized than six smaller ones.
-I changed the design of the footboard, but that wasn’t planned, just compensation for a mistake I made (more on that later). 🙂
How to Build – Twin Bed with Drawers
* This post contains links to affiliate sites for your convenience. Read my full disclosure here. *
Materials:
- 4×4 for headboard and footboard
- 2×4’s for headboard and footboard bottom supports, and cap
- 2×6’s for headboard and foodboard caps
- 3×4″ plywood for headboard and foodboard panels, bed base, drawer boxes, drawer dividers, and drawer fronts
- 1/4″ plywood or hardboard for drawer bottoms
- lots of screws
- wood filler or drywall mud
- caulk to fill any gaps
- wood glue
- Six- 14 inch drawer slides
- oil-based primer
- paint
Tools:
- Miter Saw
- Table Saw
- Orbital Sander and sandpaper
- Impact drier and drill
- Pocket Hole Jig (I use the Kreg Jig)
- Woodworking Clamps
- Speed Square
- Painting equipment
- Appropriate Safety Gear
- oil-based primer
- paint
Update 5/26/20 : After getting lots of requests to see printable plans for this twin bed with storage, I finally have them! A huge thanks to Kreg Tool for sponsoring the printable plans. You can find them on their website: Twin Bed with Drawers on BuildSomething.com
Instructions: DIY Twin Bed with Drawers
Cut lumber for the headboard and footboard:
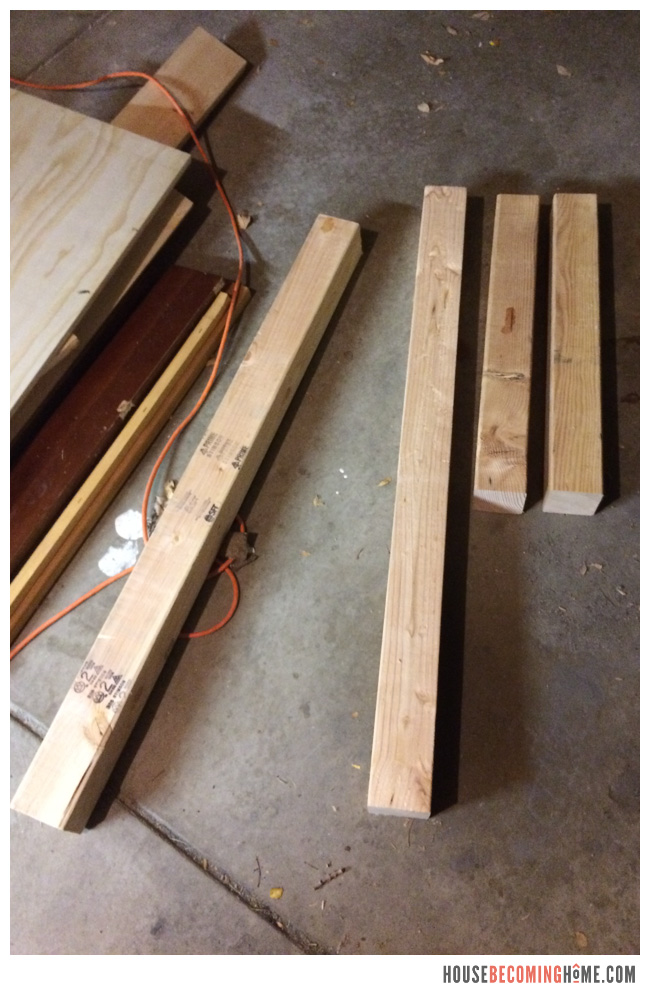
A little trick I learned from someone who helped us paint our house last summer–drywall mud can be used in place of wood filler. That’s what I used here to fill the knots and holes.
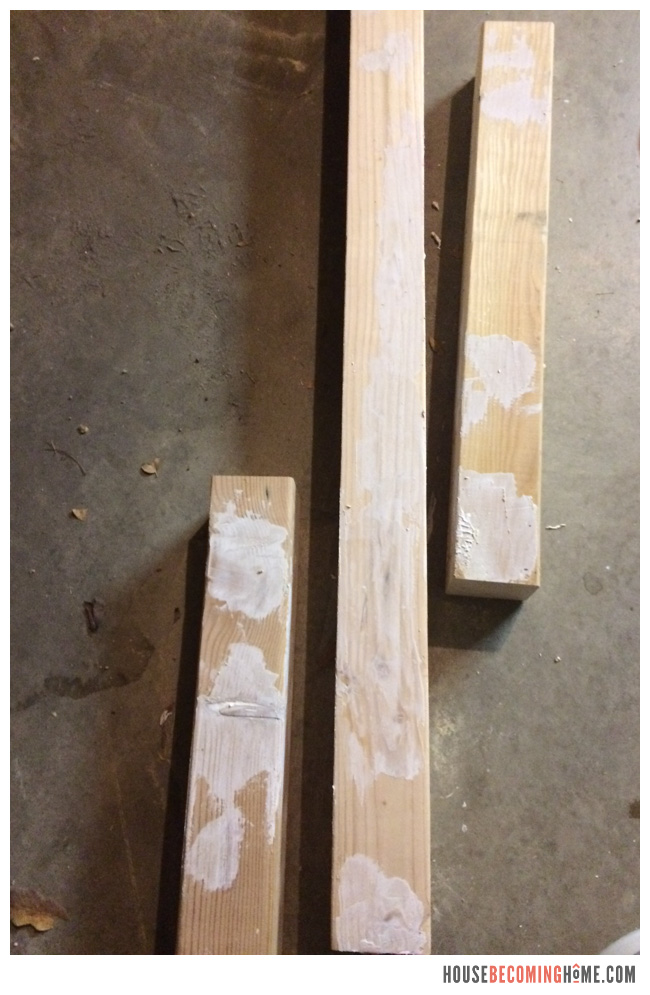
. . . and then give them a good sanding once they are dry:
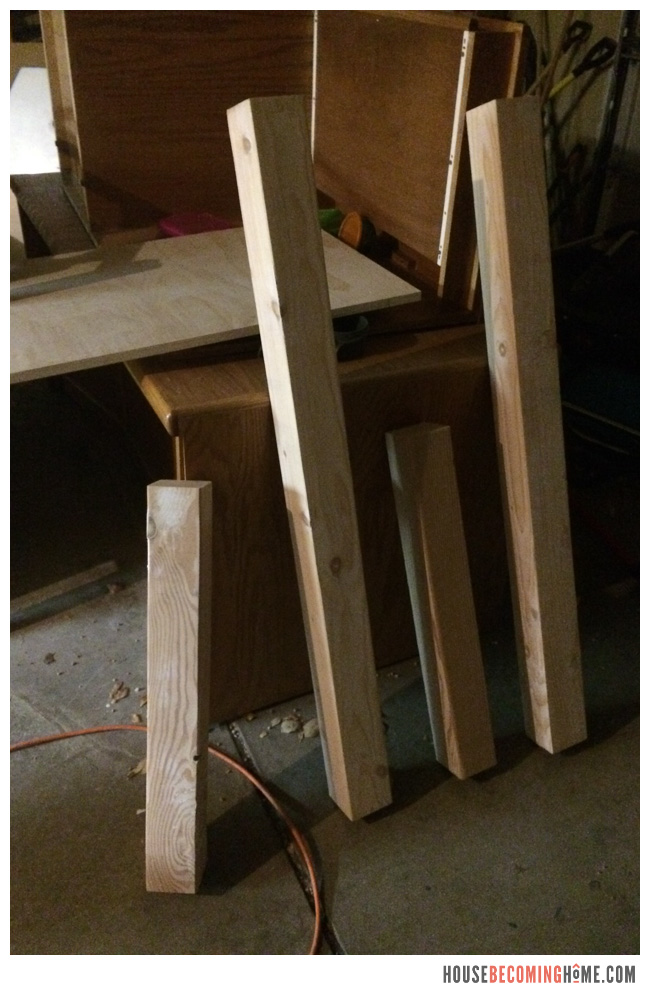
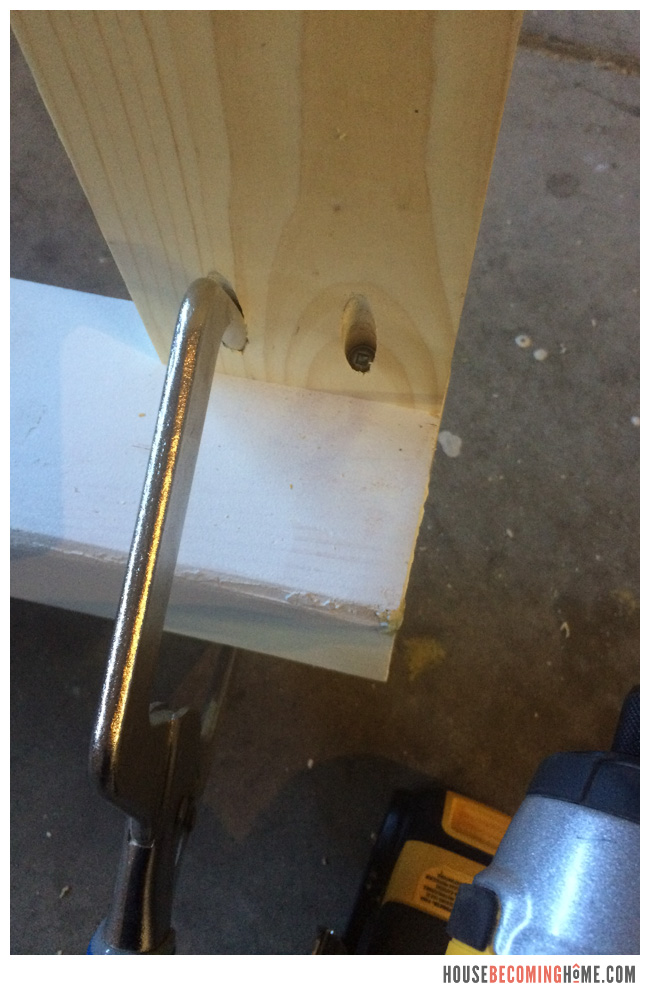
Attach the 1×4’s to the front edge of the headboard and footboard. Use pocket holes and 1&1/4″ pocket hole screws to attach them flush to the front of the 4×4’s.
Attach the plywood directly behind the 1x4s, again using pocket holes. Here’s the headboard partially put together and partially primed.
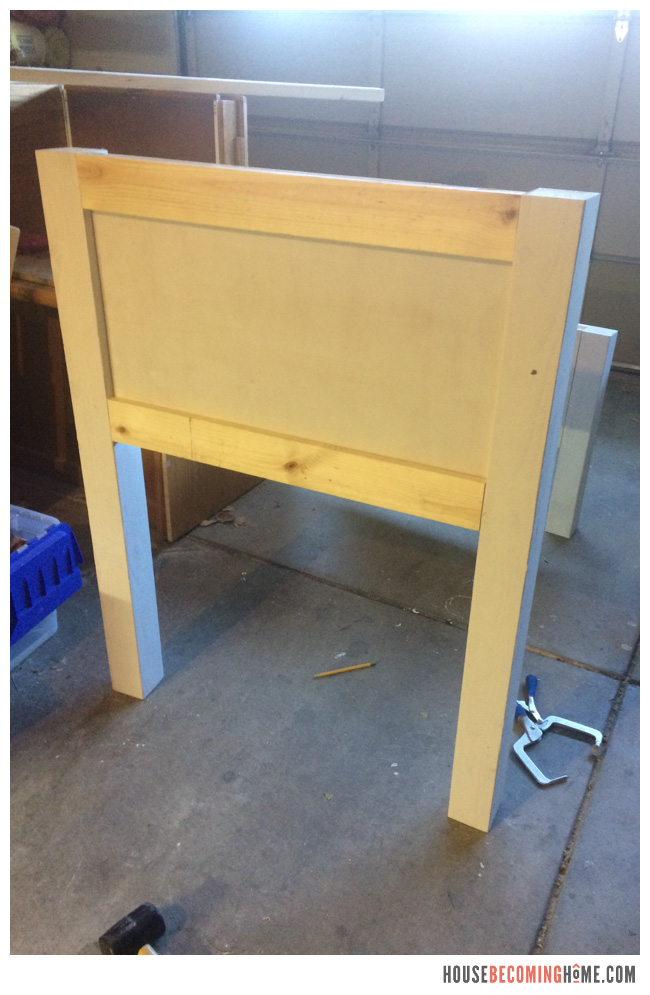
Then add the finishing “cap” pieces–a 2×4 cut to the same width as the headboard, and a 2×6 cut two inches wider than the headboard (so it hangs over 1″ on each side).
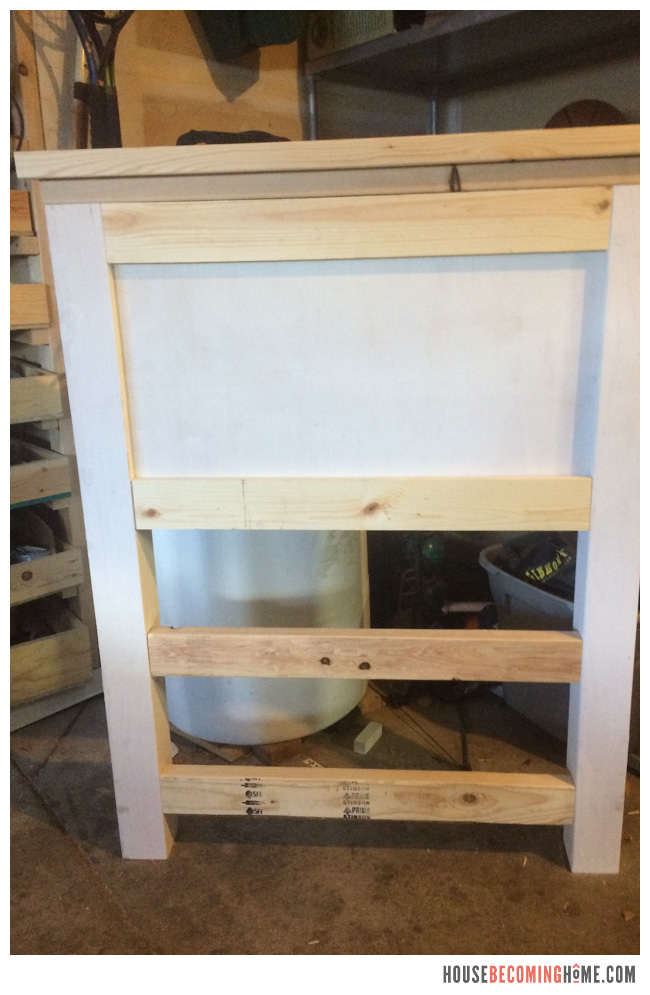
Attach two 2x4s to the bottom of the headboard and footboard. These will be the pieces that the bed base is attached to.
affiliate link
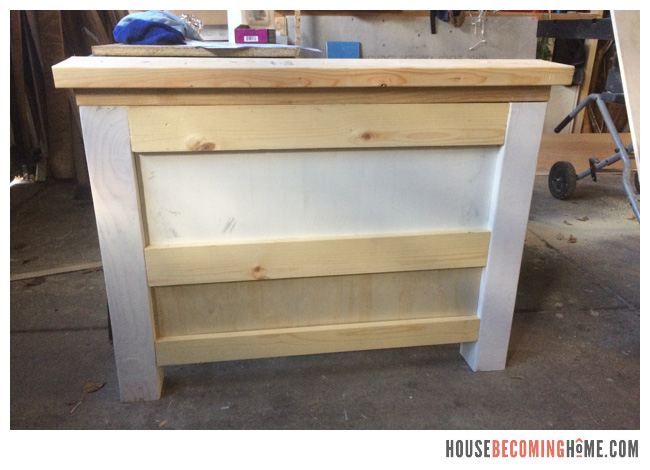
After I assembled the headboard and footboard I realized I completely messed up the footboard. I still don’t know what happened, but somehow I cut the plywood for the footboard waaaaay too short. I tried to remove it but it was firmly wedged in place and wasn’t coming out without completely ruining it. So I added an extra piece of plywood underneath it . . .
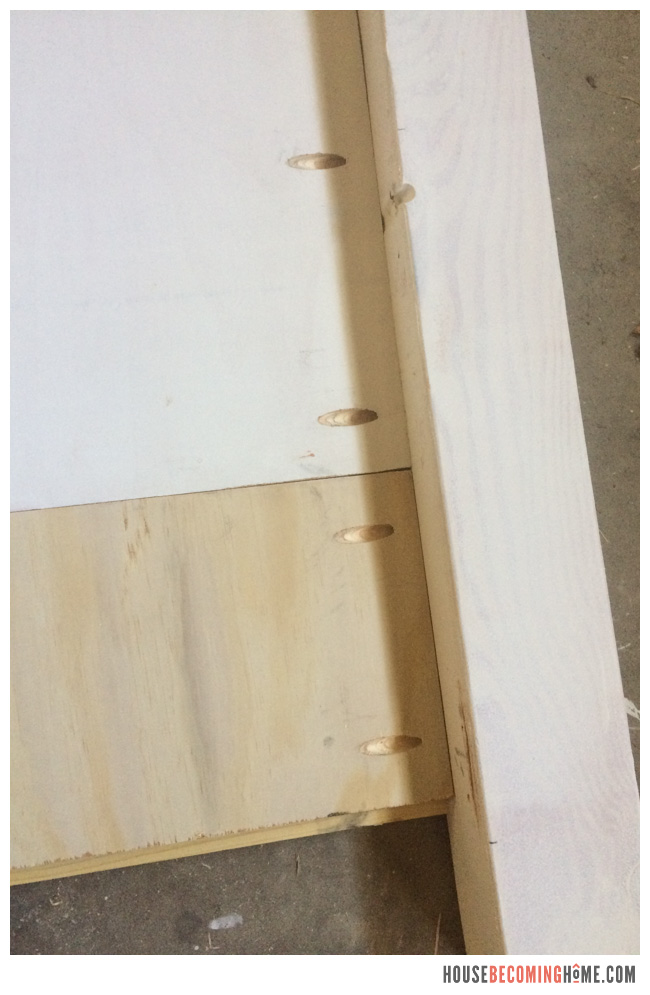
. . . with the gap between the two pieces of plywood masked by the 1×4 in the middle, and another 1×4 added to the bottom. Nobody needs to know that wasn’t the original plan. 🙂
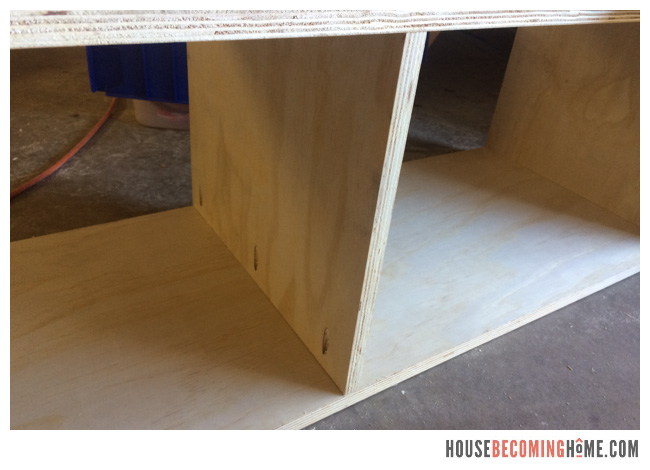
Next, build the base of the bed–the two boxes that hold the drawers. Use pieces of plywood as the drawer dividers, attach on the top and bottom with pocket holes:
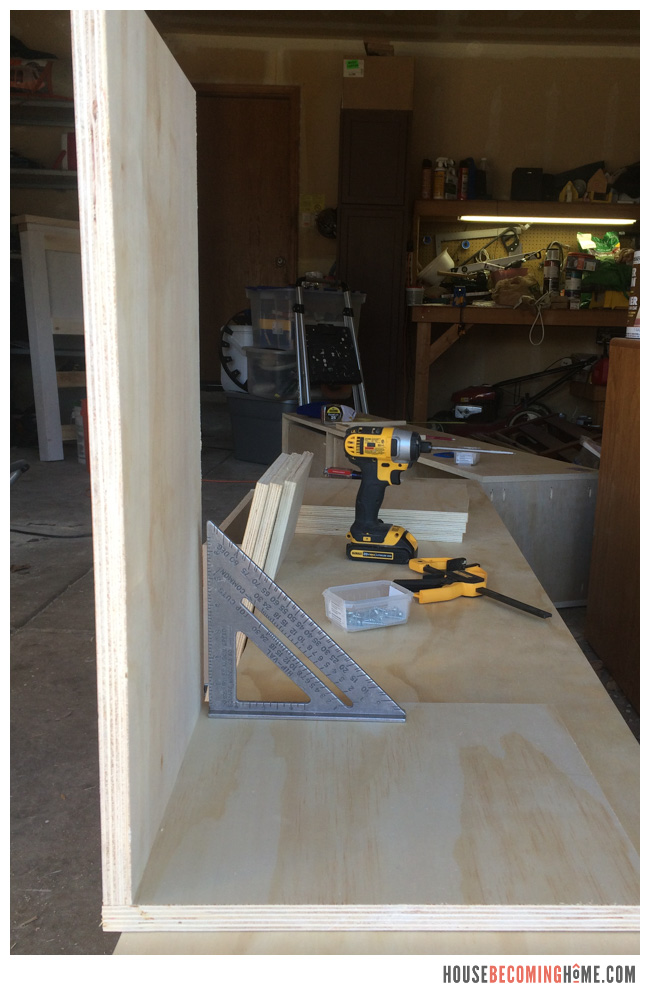
Drawer-making time! I usually don’t cut the wood for these until the drawer housing is built and the drawer dividers are in. The dimensions of the drawers need to be pretty close to exact, there’s not a whole lot of wiggle room when you’re dealing with drawer slides.
Also imperative is that the drawers are made square. The speed square is a wonderful, affordable tool to help with that.
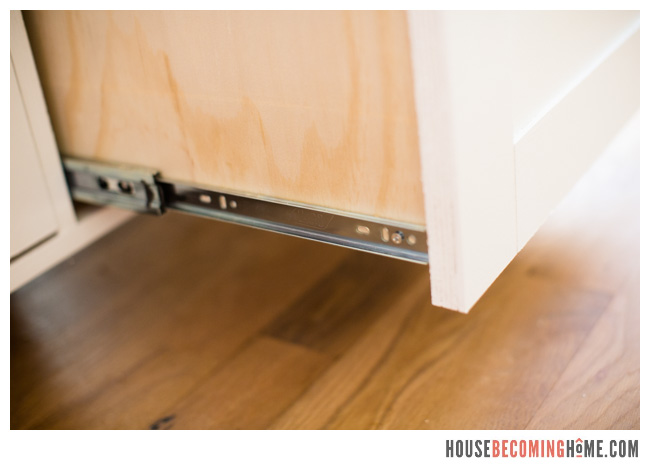
I loved the drawer slides I used for my DIY eight drawer dresser, so I ordered another pack of ten (<– affiliate link) in the same brand, different length. Here they are about to be attached to the side of the drawer, flush to the bottom:
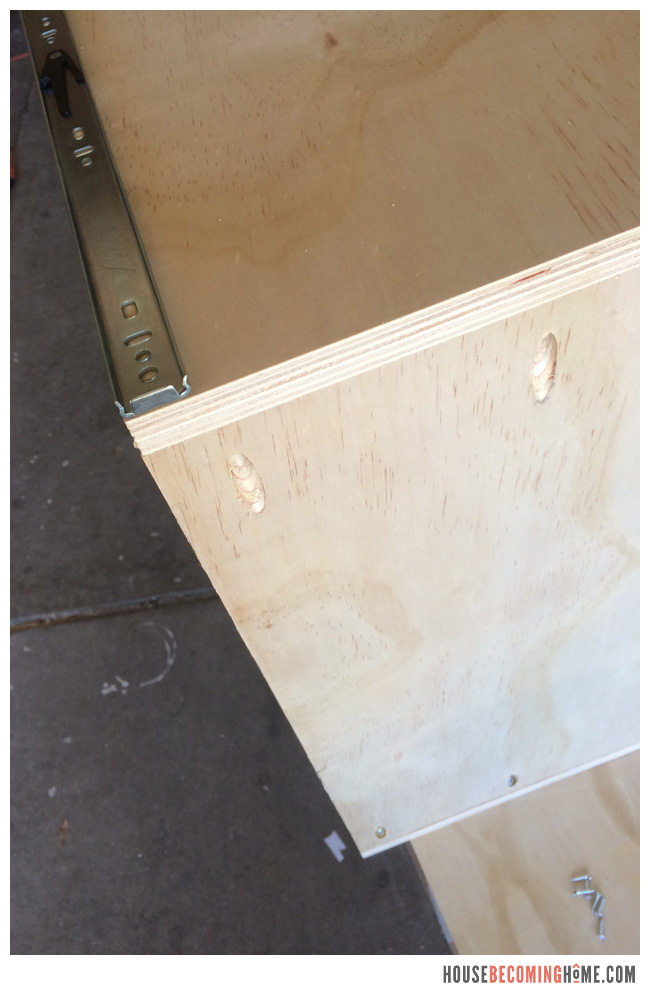
. . . mount the other part of the drawer slide to the drawer divider. Similar to what I did building the dresser, I used a piece of scrap wood to keep the placement of the drawer slide consistent.
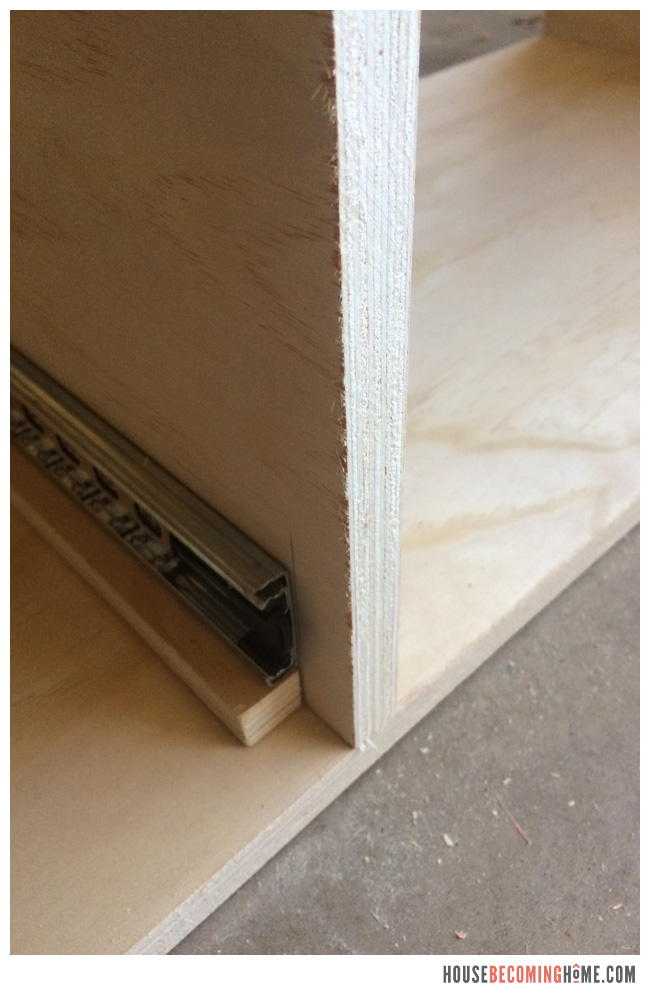
I don’t know about you, but I HATE it when the bottom of those cheap Ikea drawers start falling out with the flimsy little nails that are holding it in place. That’s why I used screws to secure the drawer bottoms. They’re not going anywhere!
Oh . . . and can you see both of our cars sadly parked outside of the garage in the cold? I kind of take over the garage when I’m building. On my wish list for our next house if we ever move–one large workshop!
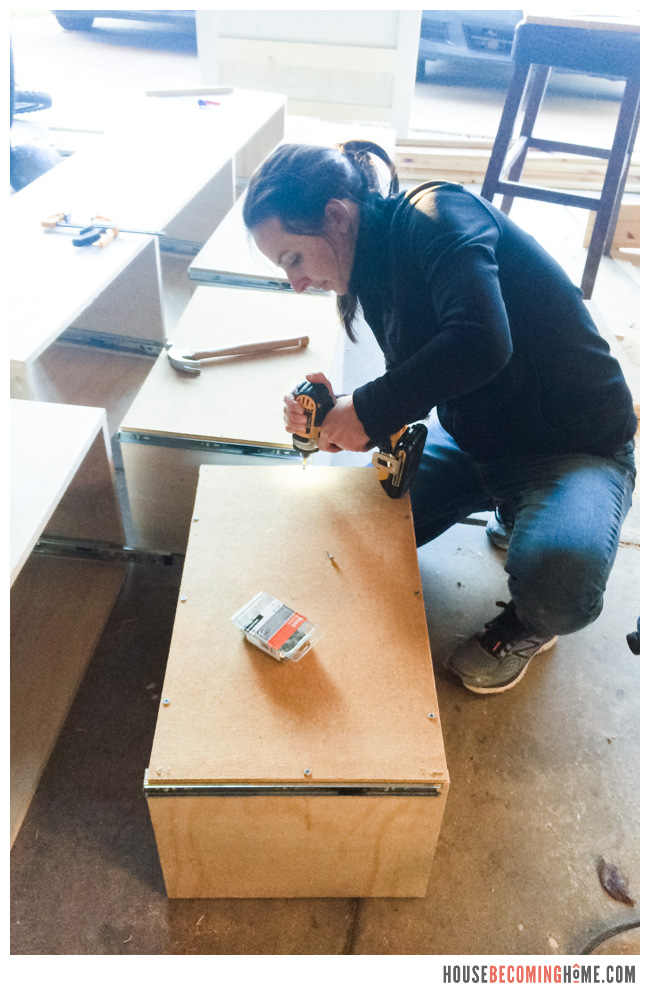
Boom! Drawers in and functional!
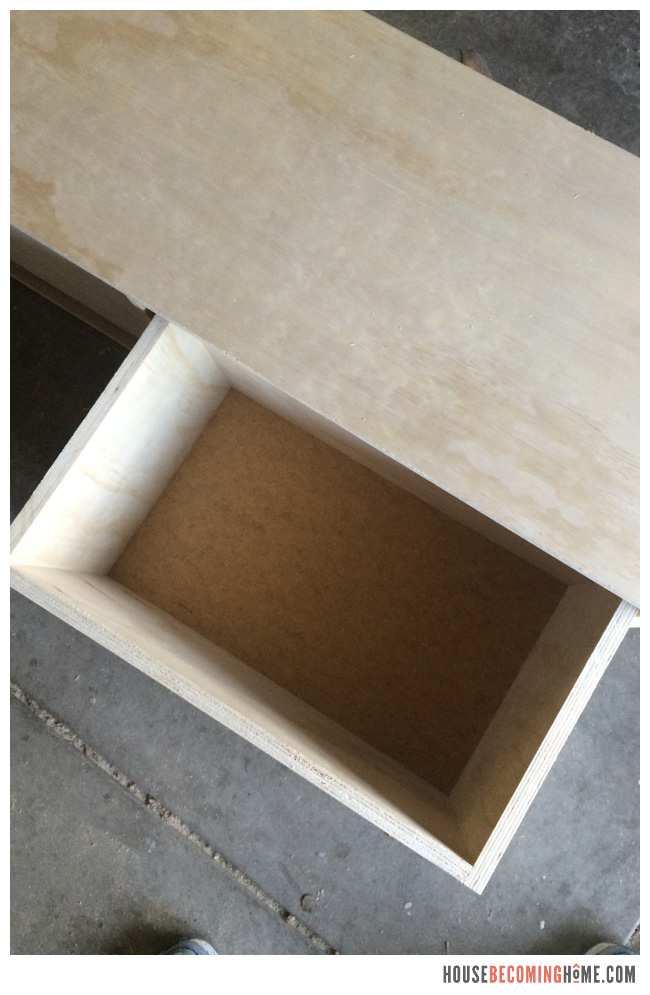
It was sometime around this stage of bed-building DIY-ing that one of my neighbors came over and asked to check out what I was working on. I guess the noises from the table saw, miter saw, drills and sander had him curious. “You built this? . . . From scratch . . . ? . . . Wow. I think you might have a career ahead of you!” Haha. Probably not. But I was beginning to feel proud as I saw it coming together (and when all the drawers went in without any problems…!).
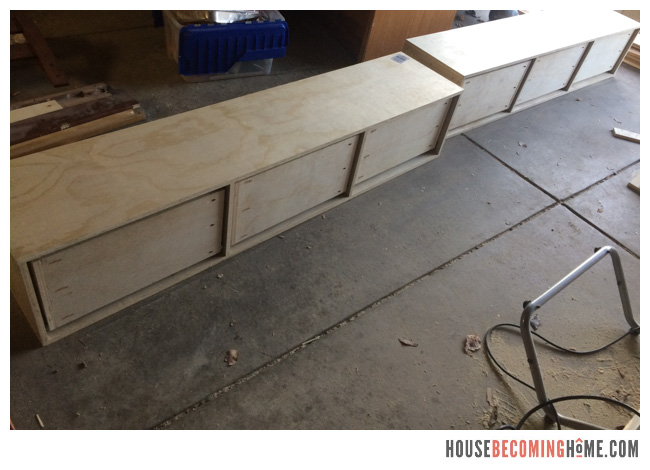
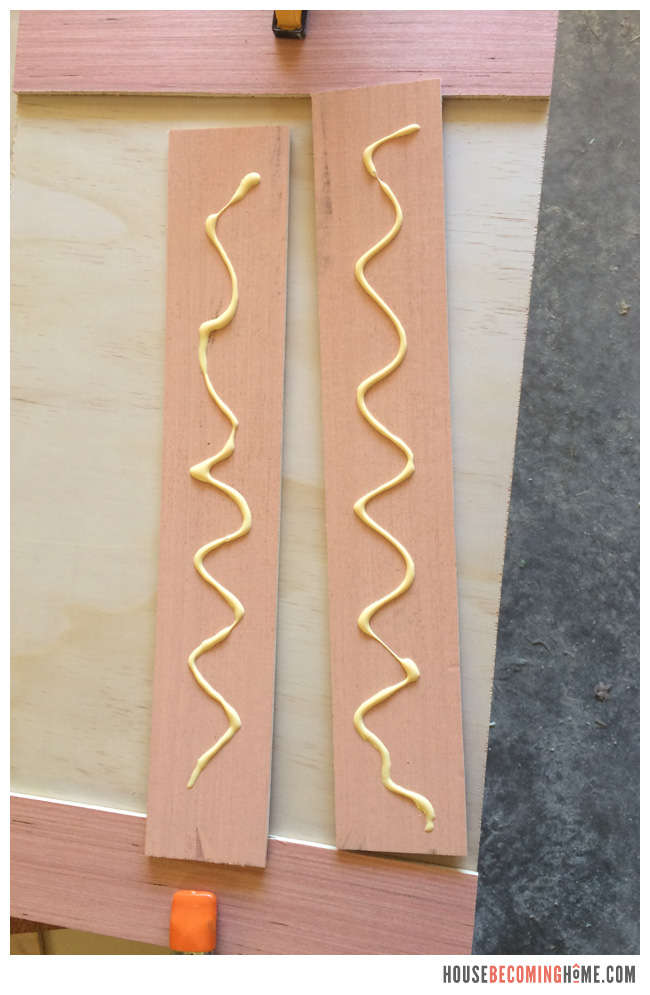
At this point I was really anxious to get Lucy’s new bed in her room and let our cars re-claim their spots in the garage. I was tempted to put on simple drawer faces and ditch the whole shaker-style thing. But shaker style is my favorite. And even though it’s not adding any functionality to the drawer, I sure do love the way it looks. So I sucked it up and devoted another couple of hours to cutting 1/4″ plywood into strips to add to the drawer faces.
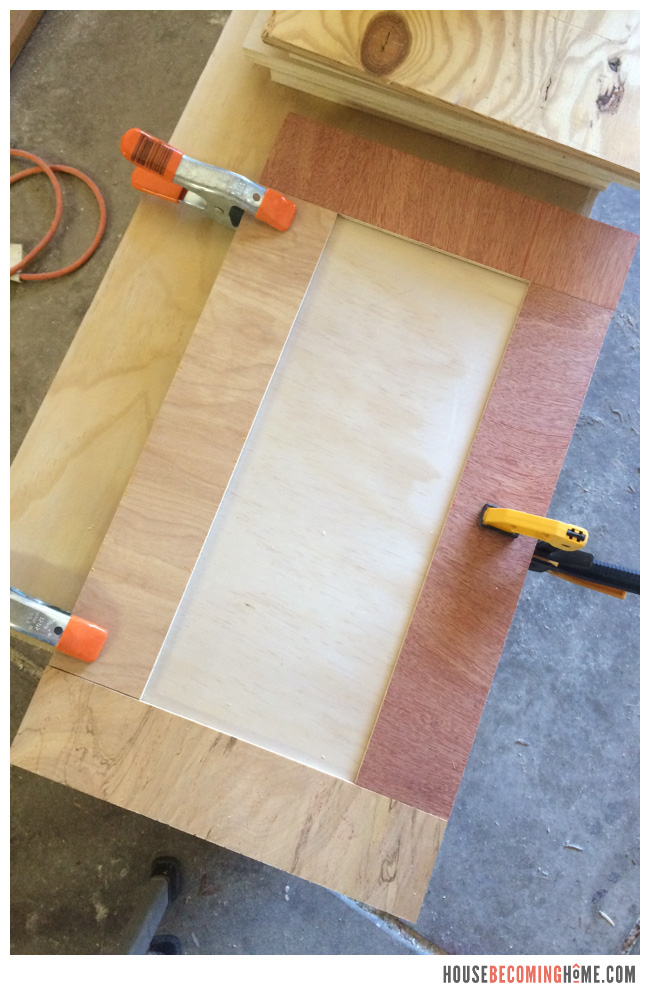
Use wood glue and clamps until they are set:
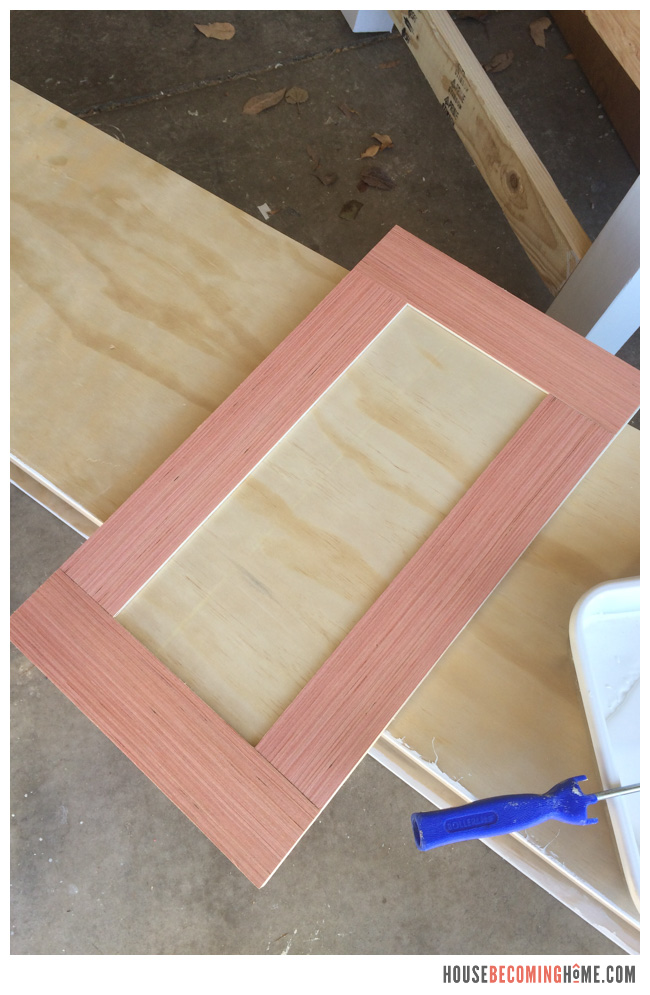
Next step, primer.
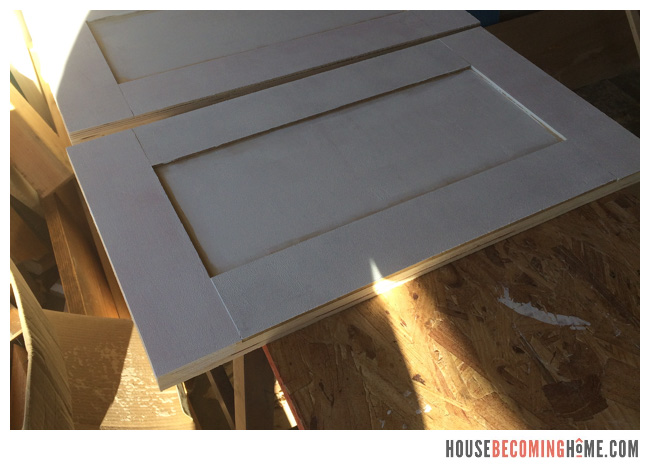
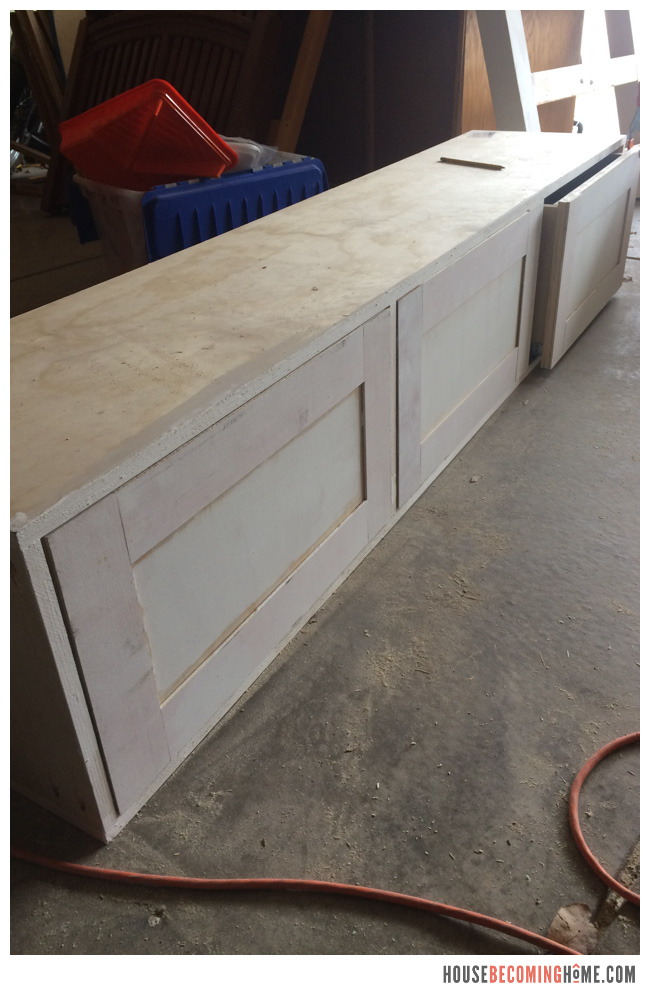
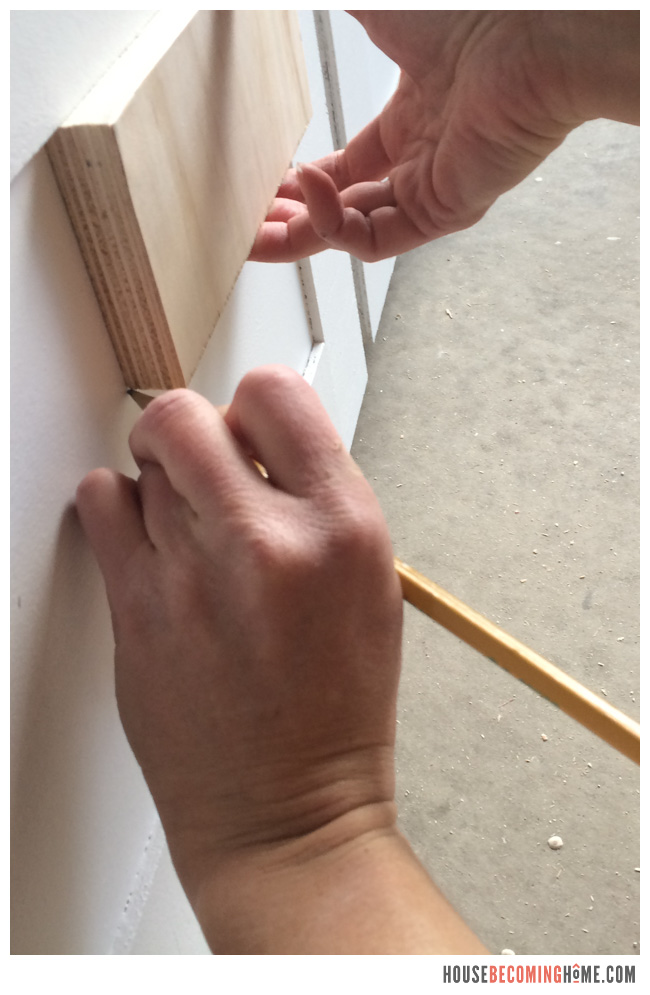
Next, give them a couple coats of paint, and then drill the holes for the drawer pulls. I cut a scrap piece of plywood to use as my template to get the hole placement just right and consistent among all six drawers:
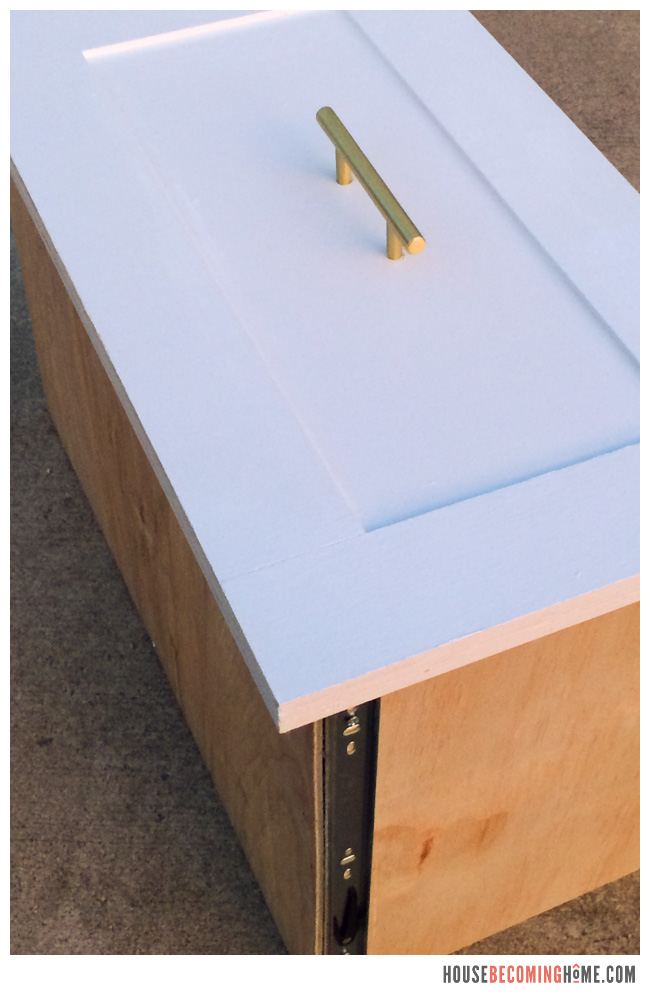
One finished drawer! I stumbled upon these brushed brass drawer pulls at Target one day when I wasn’t even looking for them.
Finally, it’s time to assemble the bed. Jim and I brought all of the pieces up to Lucy’s room (woah, heavy!) and started putting it together.
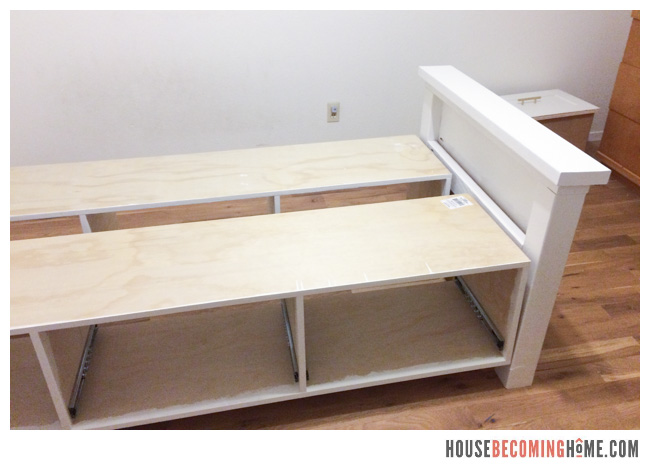
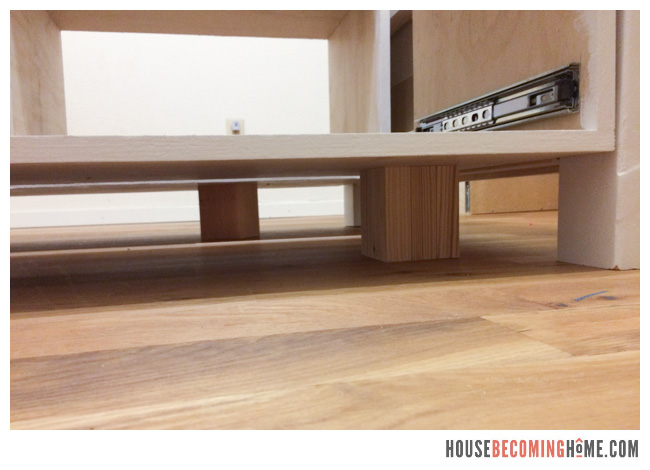
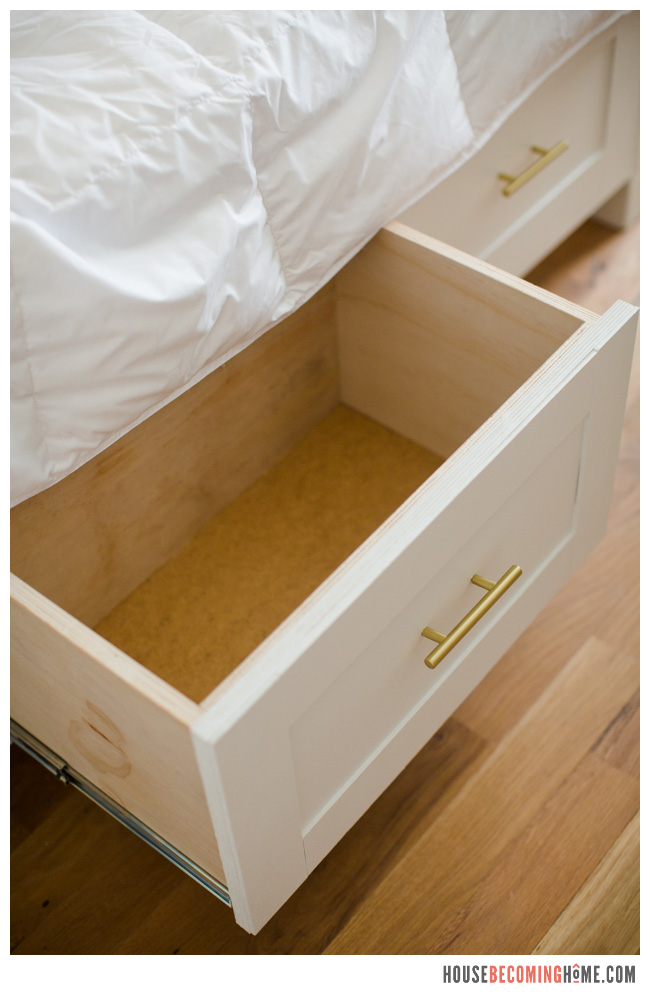
The drawers are raised 4″ above the ground, so I cut leftover 4×4 scraps into pieces four inches high, and placed them underneath to hold the drawers in place while we screwed everything together (after everything was attached I just left them there for added support).
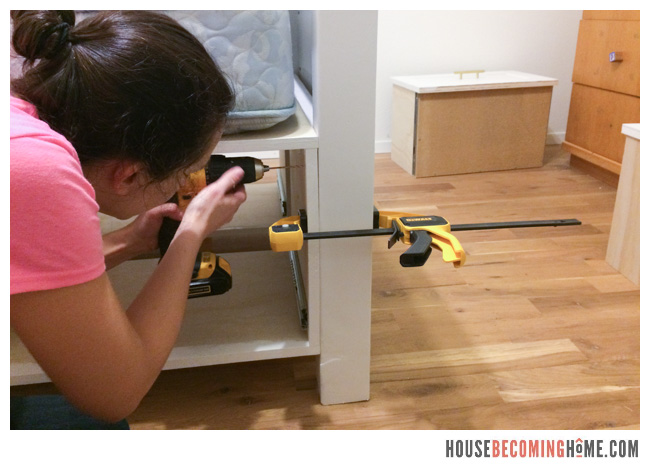
We clamped the drawers to the footboard/headboard while we screwed them into the 4×4’s and 2×4 supports.
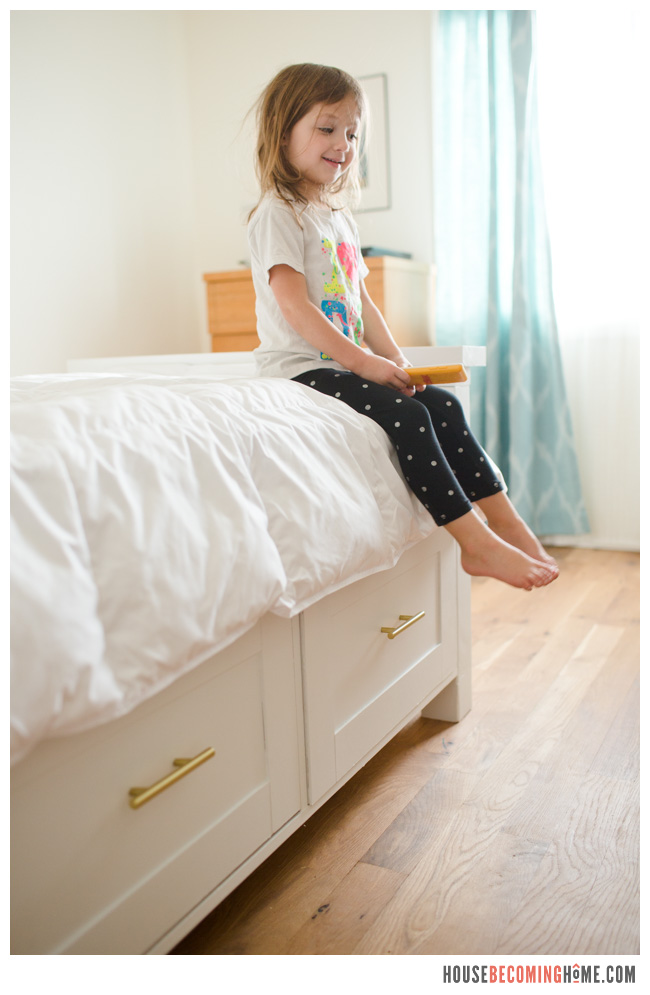
And here’s the finished twin bed with drawers, another DIY project wrapped up!
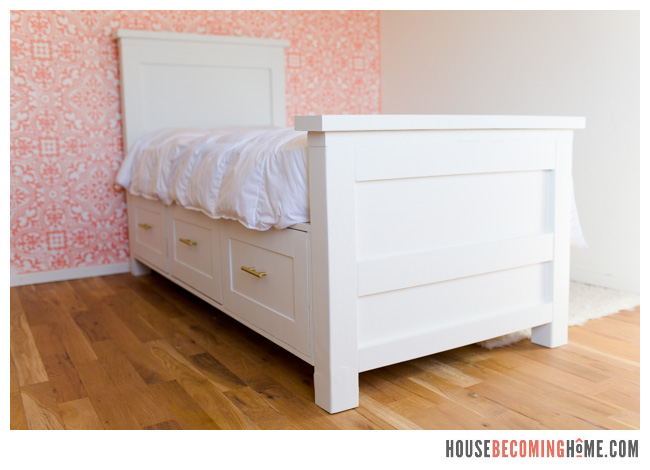
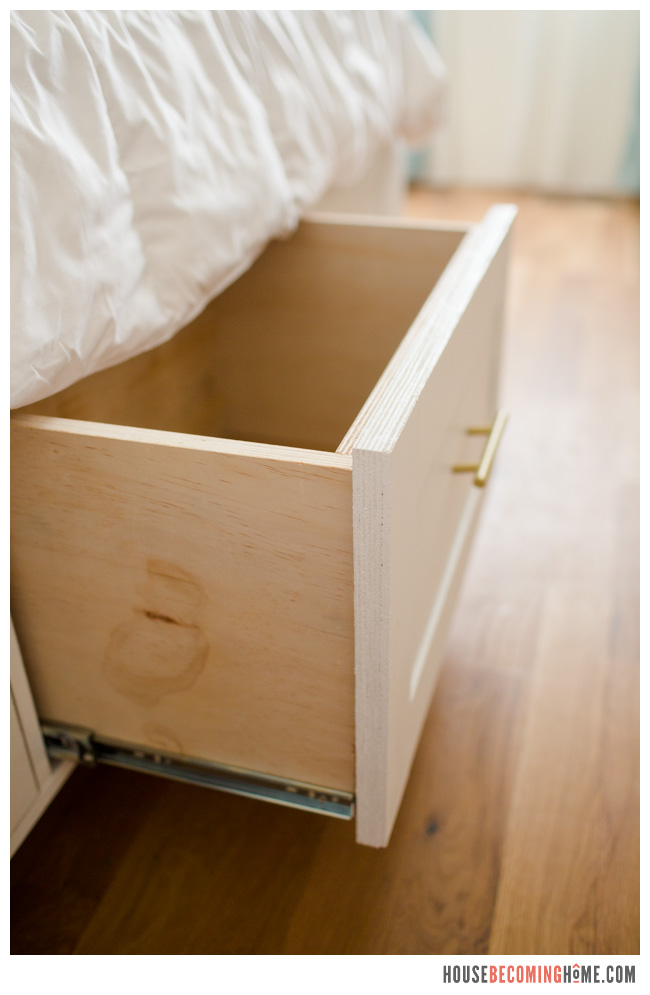
Lucy’s only request was that her bed “have a white blanket” and be in front of a “pink wall.” Delivered!
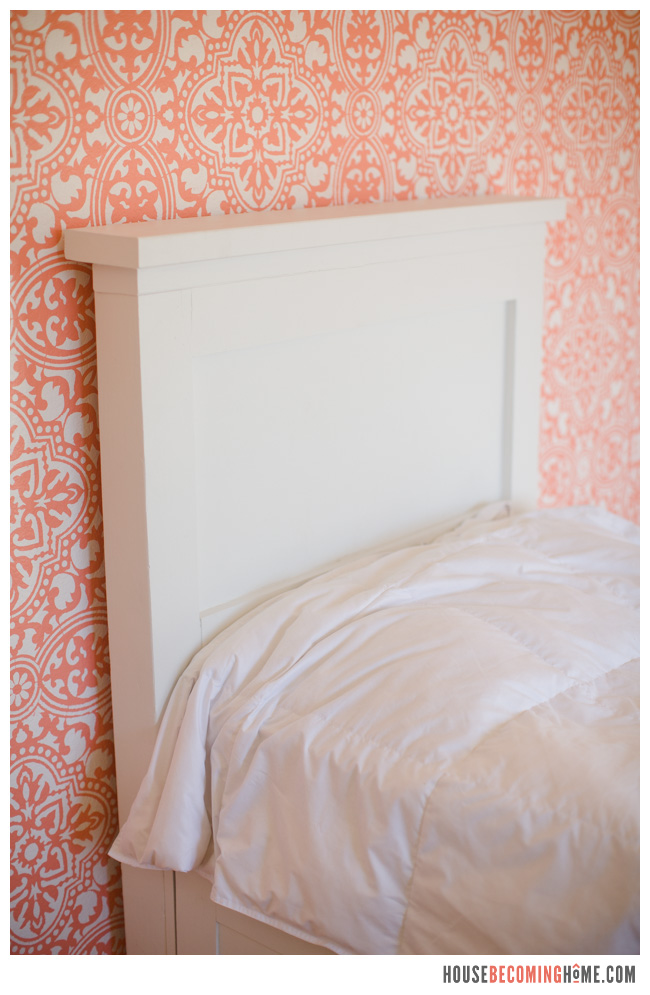
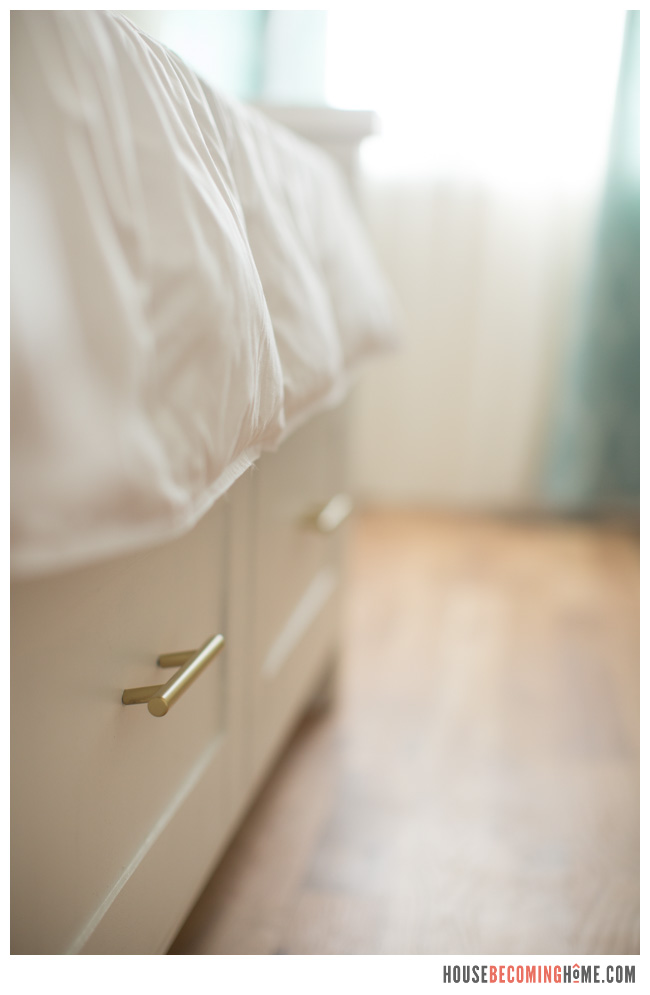
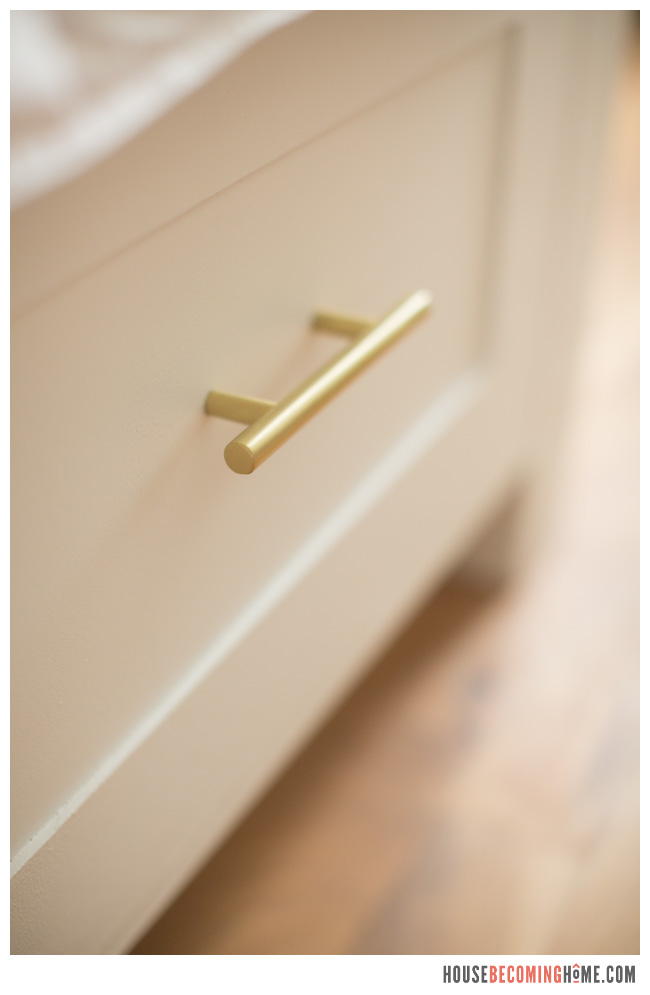
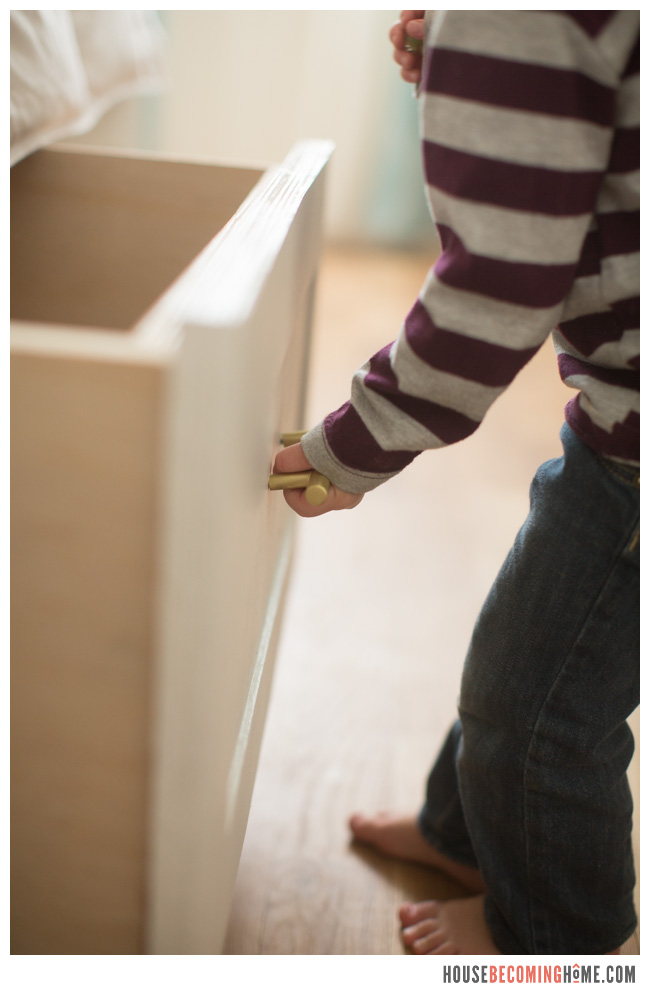
Drawers in action, thanks to a two-year-old who was too excited about his sister’s new bed to stay away while I photographed:
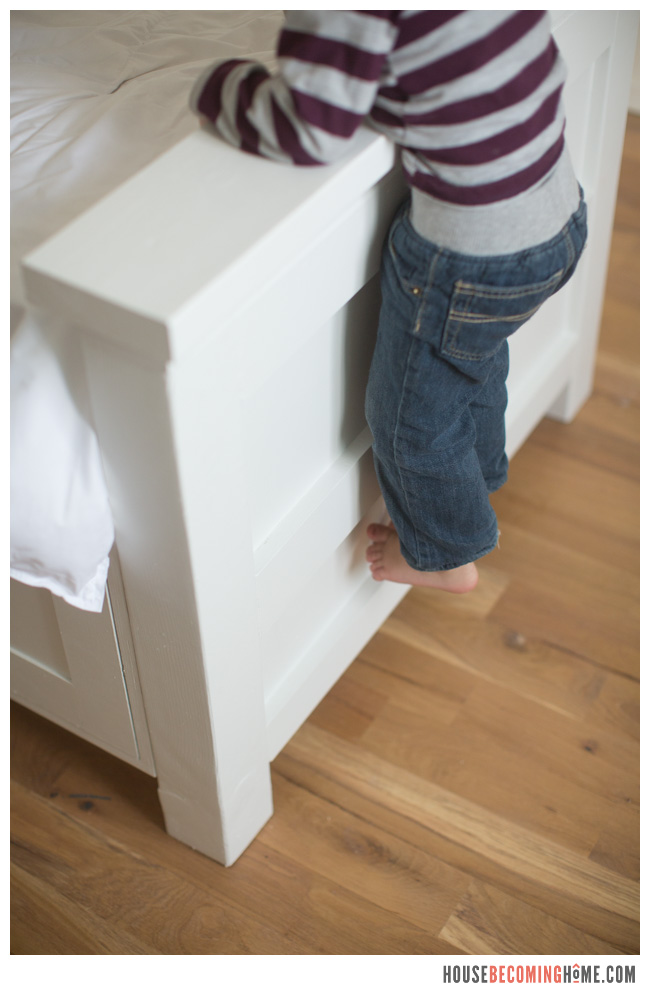
As I mentioned before, the footboard is Lucy’s favorite part of her new bed, and probably her little brother’s too. The extra piece of wood that ended up in the middle as a happy mistake works perfectly as an unintentional ladder to climb into bed. 🙂
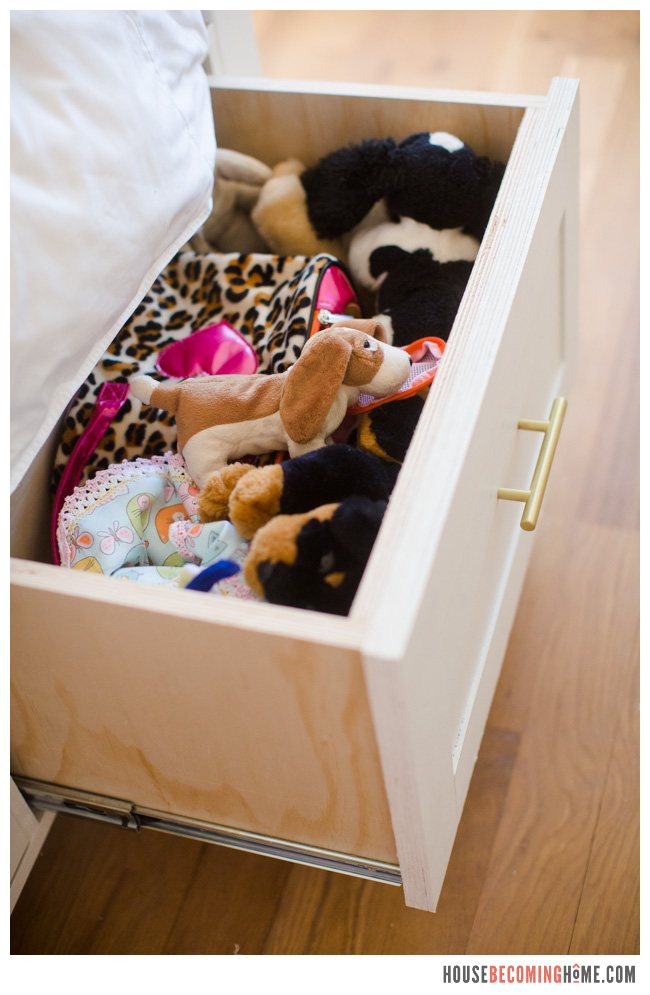
I told Lucy she could use one of the bed’s drawers for toys, and that was the first one she filled up–a nice home for her stuffed animals.
affiliate link
There she is, happy little Lucy on her newly-built twin bed with enough storage space for all of her clothes. And I am happy to report that, for the most part, she has been staying out of our bed and happily tucked into HER bed. 🙂


I’ve got most of the cut list and materials list all figured out and I am getting ready to build my going on four-year-old son his first big boy bed! The only thing I’m trying to figure out Is the length width and height of those drawer boxes
Hi Scott! Glad you’ve got it mostly figured out! I’m sorry I’ve been so slow about putting together a cut list and official plans. Good news though, just today I’ve partnered with Kreg on this, so I’ll begin work on the plans next week. They’ll be ready on May 26. I’ll update with the info when it’s done!
Do you happen to have a cut list yet? I would love it!!
Are there plans and a cut list for this bed!!!???
Not yet, sorry! I can see there is definitely some interest though! I will try to put something together sometime in 2020….?
Would you please email me when you have a cut list/ pdf plans?! Thank you!
Love this bed. Exactly what I’m looking for. Have you developed a cut list and pdf yet?
So you happen to have a pdf of the plans you can share?
Did the cut list ever happen?
Sorry, Randy! Hoping to have something later this year
I would also love a cut list if you have one. My husband wants to order my daughter a bed, but I haven’t found one I loved until I saw this. Please save me from him ordering something I hate. Hahaha
Hahaha! I’m sorry I don’t have a cut list yet! Hopefully I’ll have time later this year to put something together…
This is way better than the one I got from Walmart! Yours is steady, more storage, very functional, and PRETTY! So glad I found you on Facebook and subscribed! Would also love to see a queen or full bed frame with the same!!! Well done!
Thanks so much Anna! I’m glad you found me too. 🙂 If you search on Ana White’s site, I believe she has queen-sized plans for a very similar bed…!
So about that cut list and some plans…… did you manage to get them made? My husband is very interested.
I’m sorry Jennifer, I haven’t put together pdf plans yet! It will likely be later in the year.
I absolutely love your modifications to this plan, even the happy mistake footboard. Do you have a cut list for it with the size adjustments you made?
Thanks Paris! I don’t have a cut list but I will work on putting one together! I’ll send you an email when I have it ready to download. 🙂
Thank you!!!! That would be amazing!