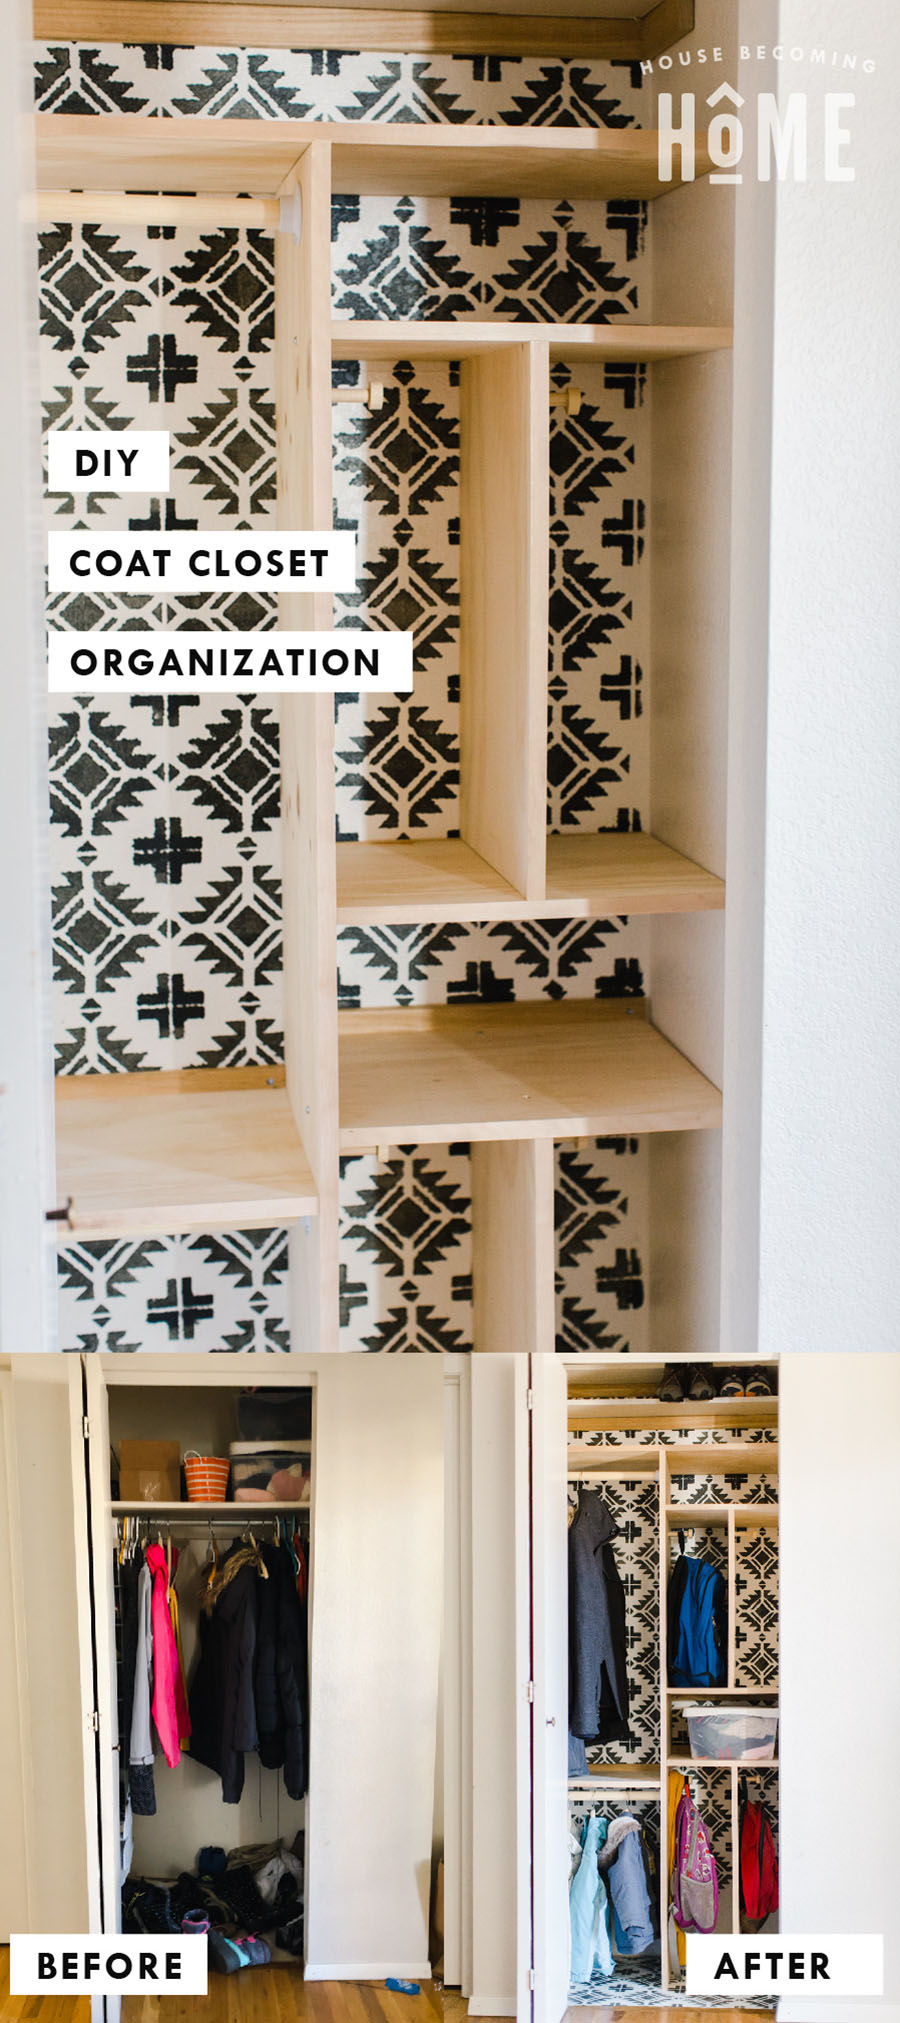
We have one tiny coat closet at our front door. Lately it’s been a constant mess of coats, boots and winter gloves/hats.
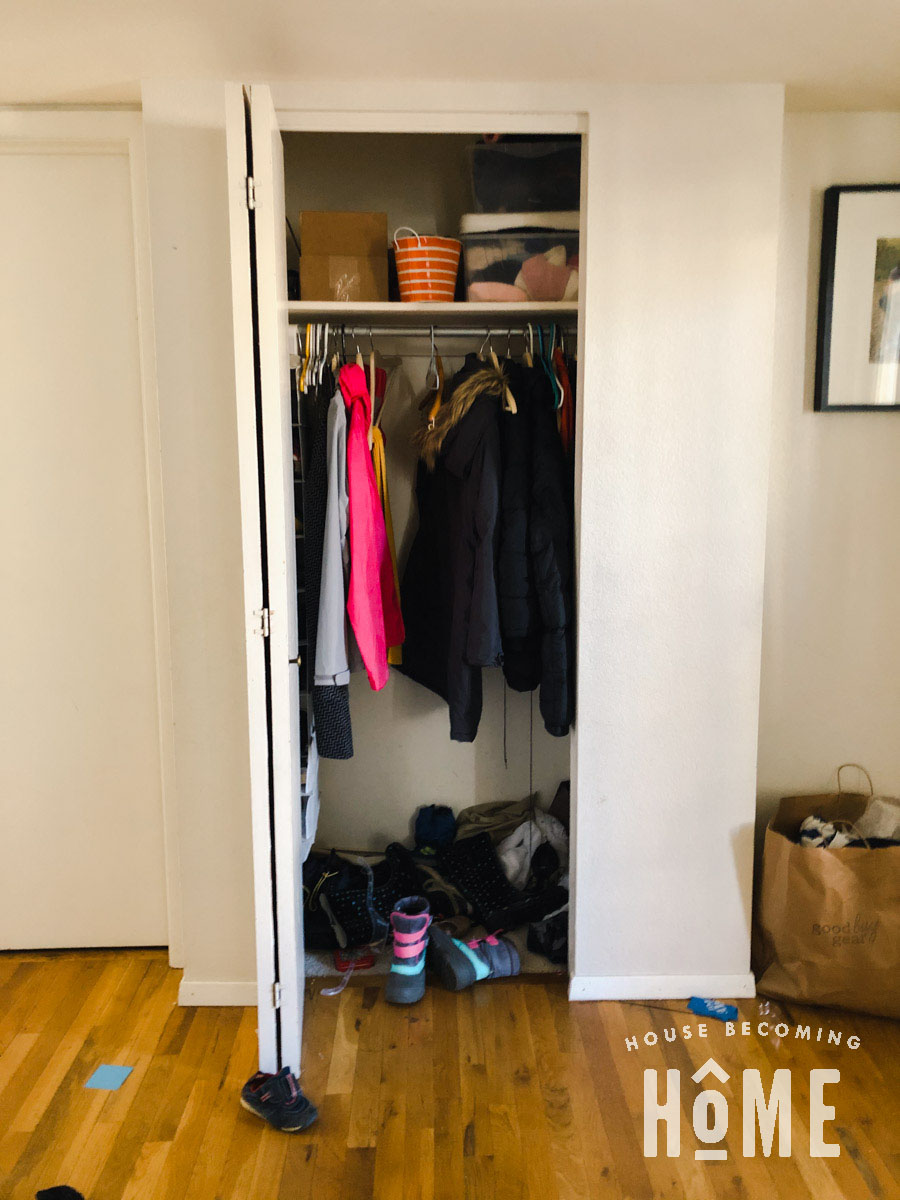
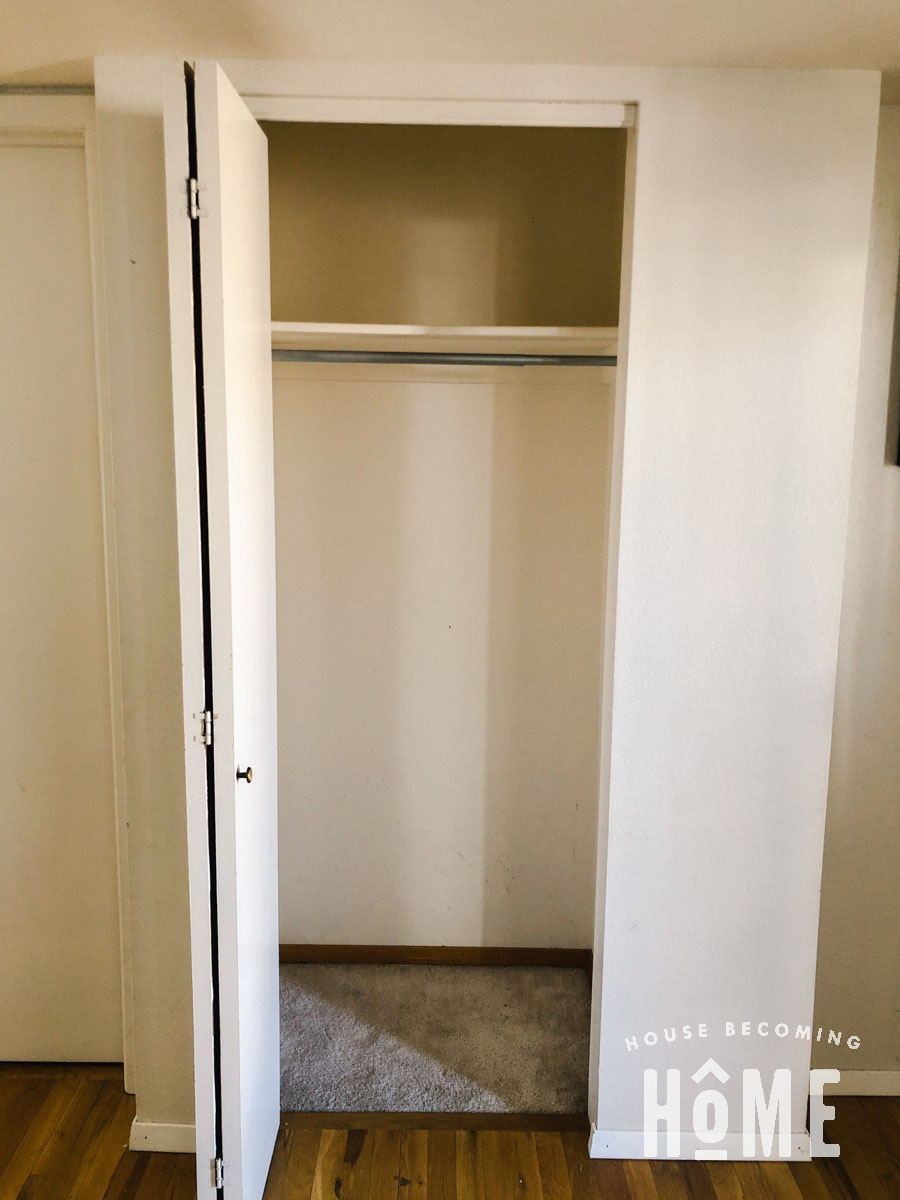
Why do builders design closets so inefficiently? Here, there’s one closet rod mounted WAY TOO HIGH for my preschooler or kindergartener to reach (so how can I really blame them for not hanging up their coats?!). There’s one shelf above the closet rod with like 300 feet of unusable space above it. Below the coats there’s plenty of room for storage . . . yet it always becomes a chaotic pile of boots and winter hats because there’s no way to keep it organized.
DIY Home Organization Challenge
This year I’ll be participating in DIY challenges with some of my favorite bloggers. January’s challenge is Let’s Get Organized!, and I knew right away that our coat closet was going to be my focus for this project.
**For more organizational inspiration, be sure to check out the other posts from the challenge, that I’ve shared at the end of my post.**
DIY Coat Closet Organization – The Process
I began by ripping everything out: the shelf, the closet rod, even the small patch of carpeting at the bottom. After that I filled the nail holes and gave the walls a fresh coat of white paint.
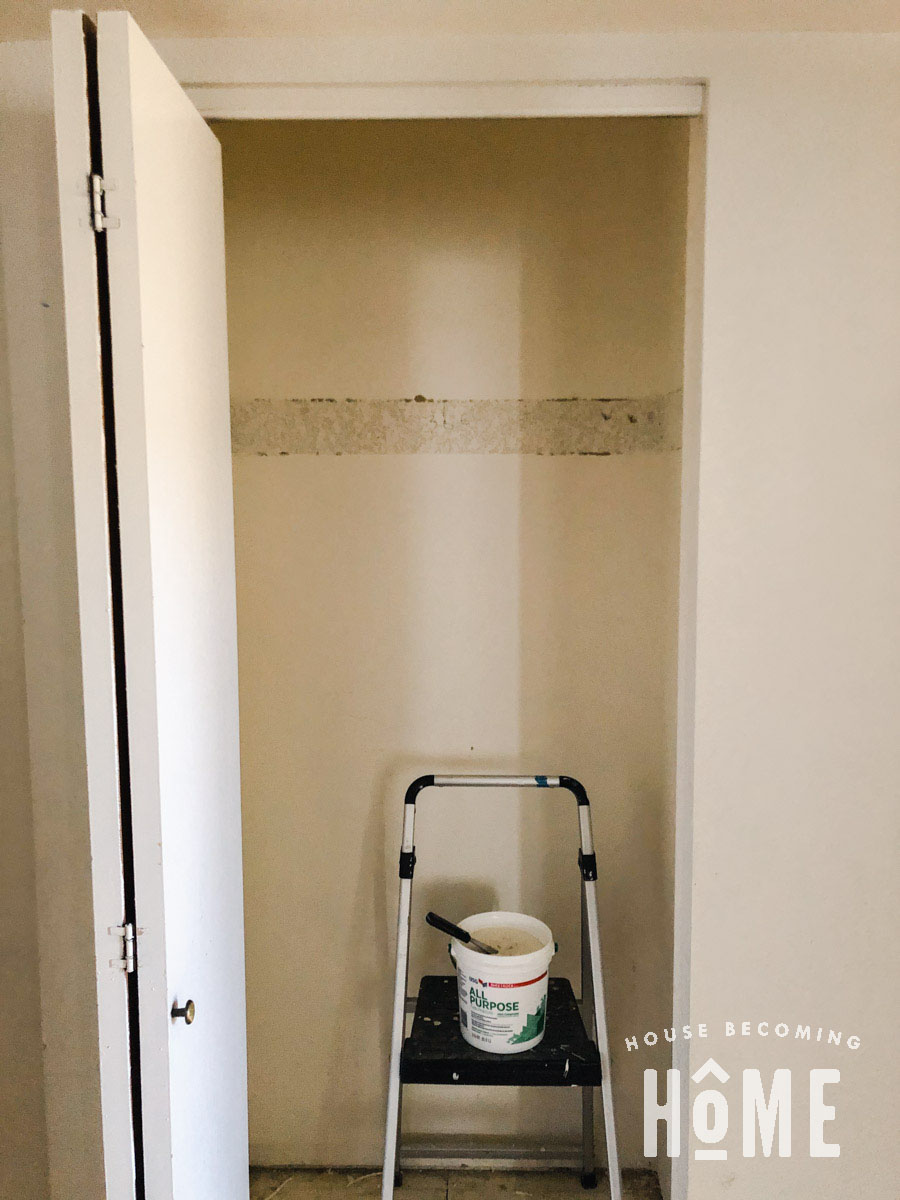
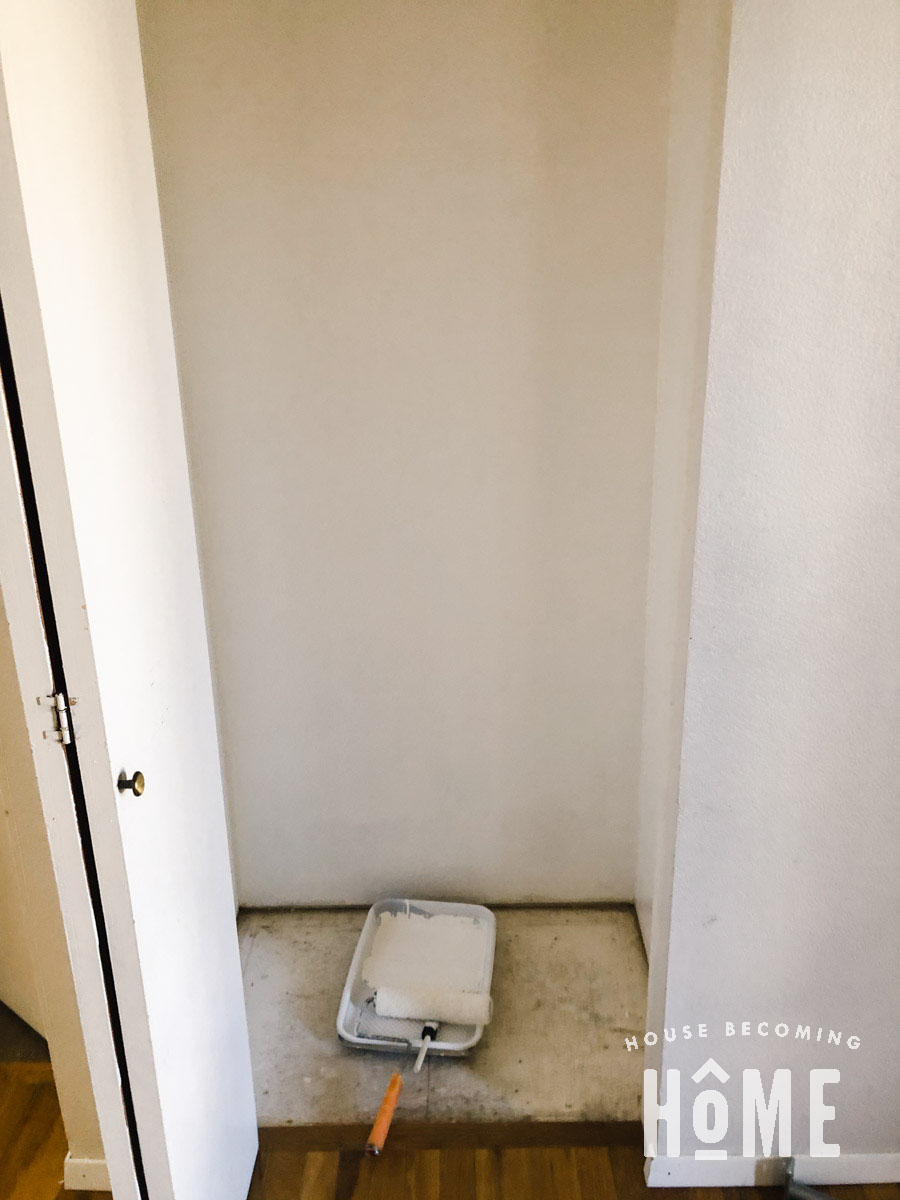
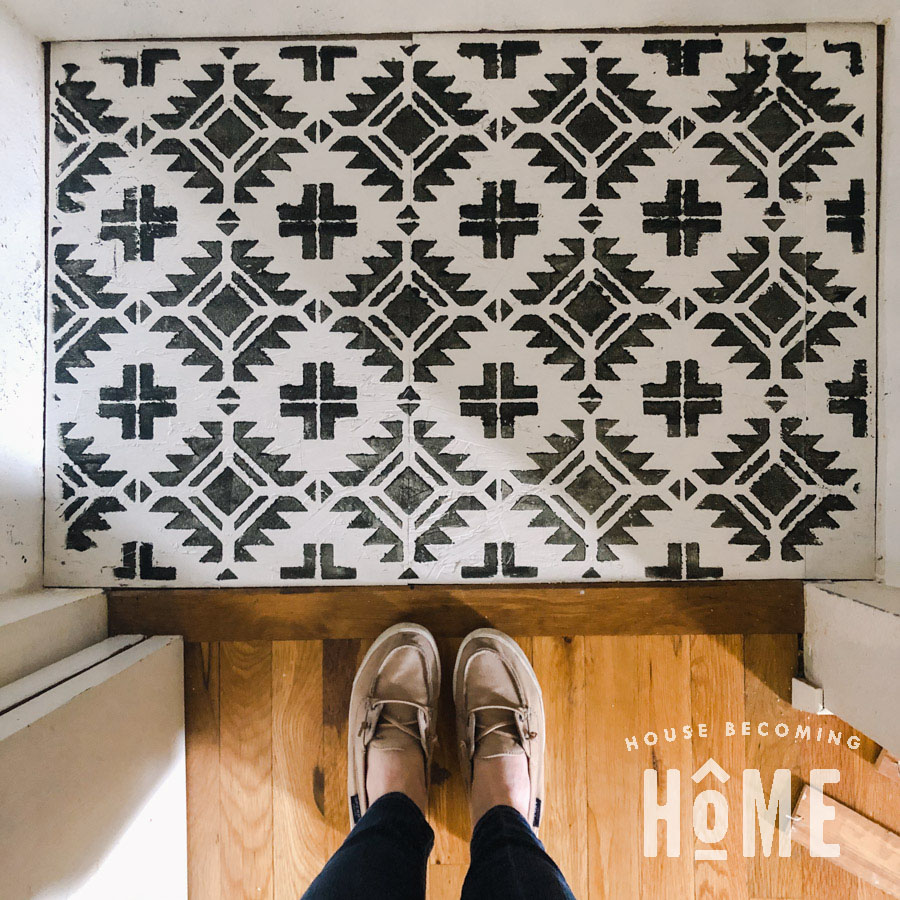
I’ve been wanting to try making my own wall stencil, and I figured the closet was a good place to test it out, so I got to work:
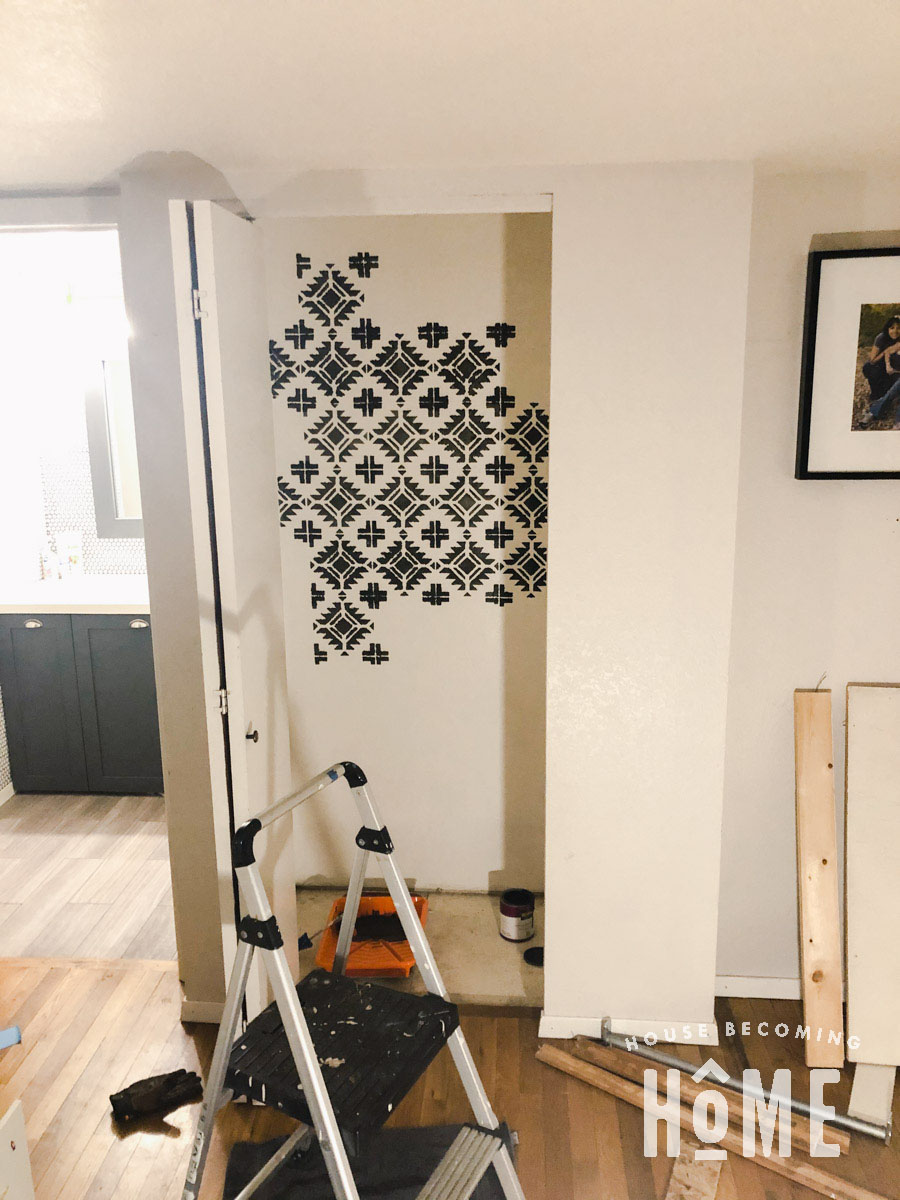
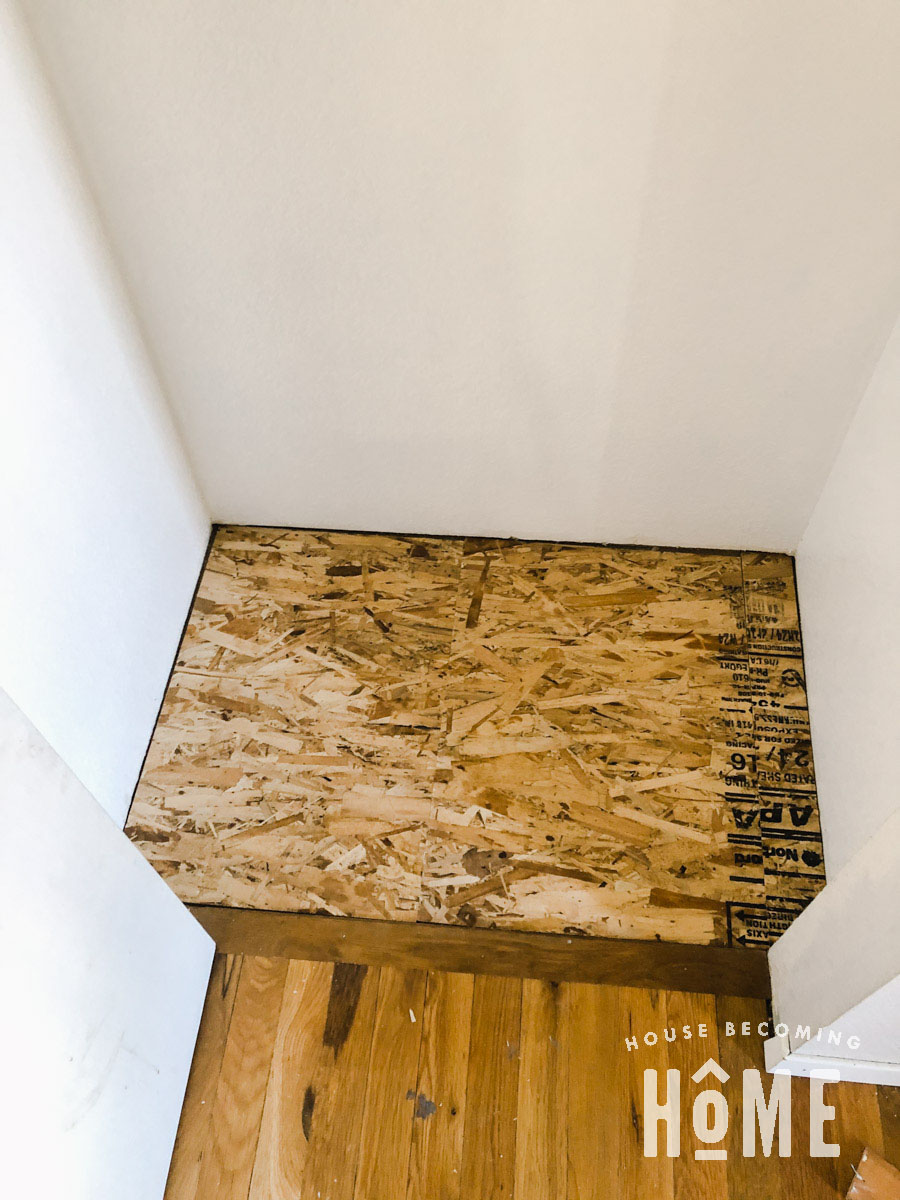
To bring the closet level with the rest of the floor, I nailed down some 3/4″ particleboard:
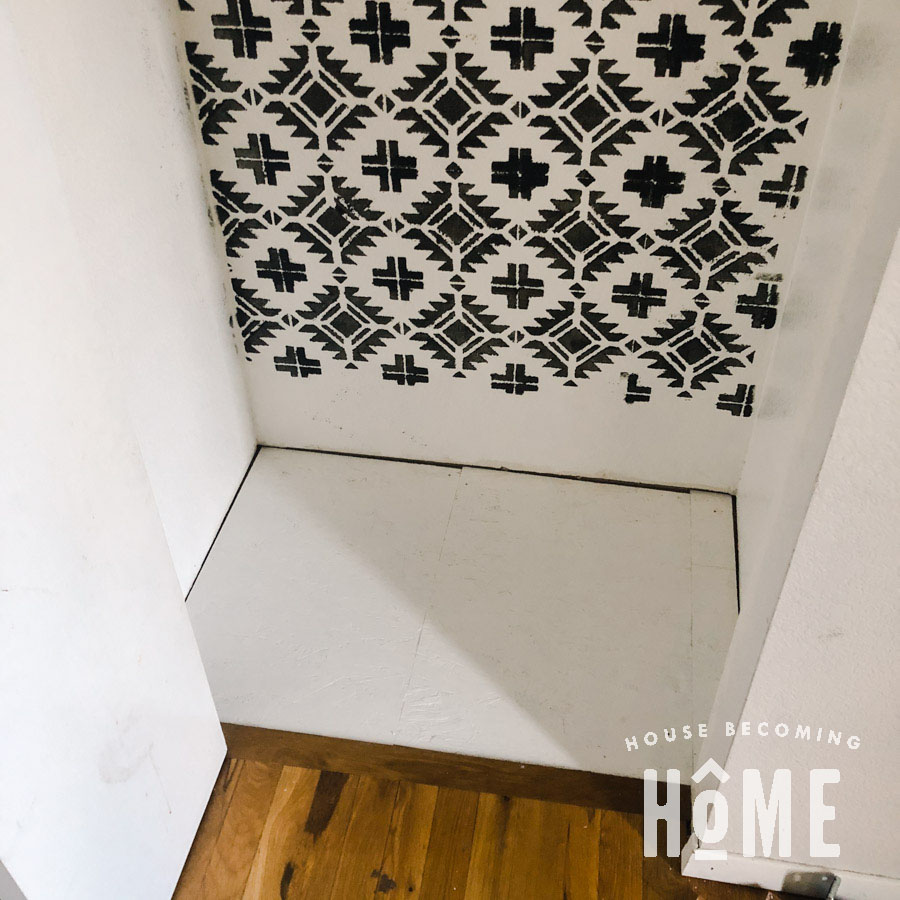
After painting the particleboard white, I stenciled it, then added a couple of clear coats of protection. Let me know if there’s any interest in a tutorial for designing and making your own wall/floor stencil . . .
Making a DIY Closet Organizer
Have you noticed the cost of plywood lately? It’s not exactly cheap, so I decided I wanted to try and build something from a single sheet of plywood. This meant instead of building a structure with sides, I made smaller organizational compartments and mounted them to the wall individually.
The Plan
I started by drawing a model of our coat closet in SketchUp and adding various shelves and cubbies. Eventually, this is what I came up with:
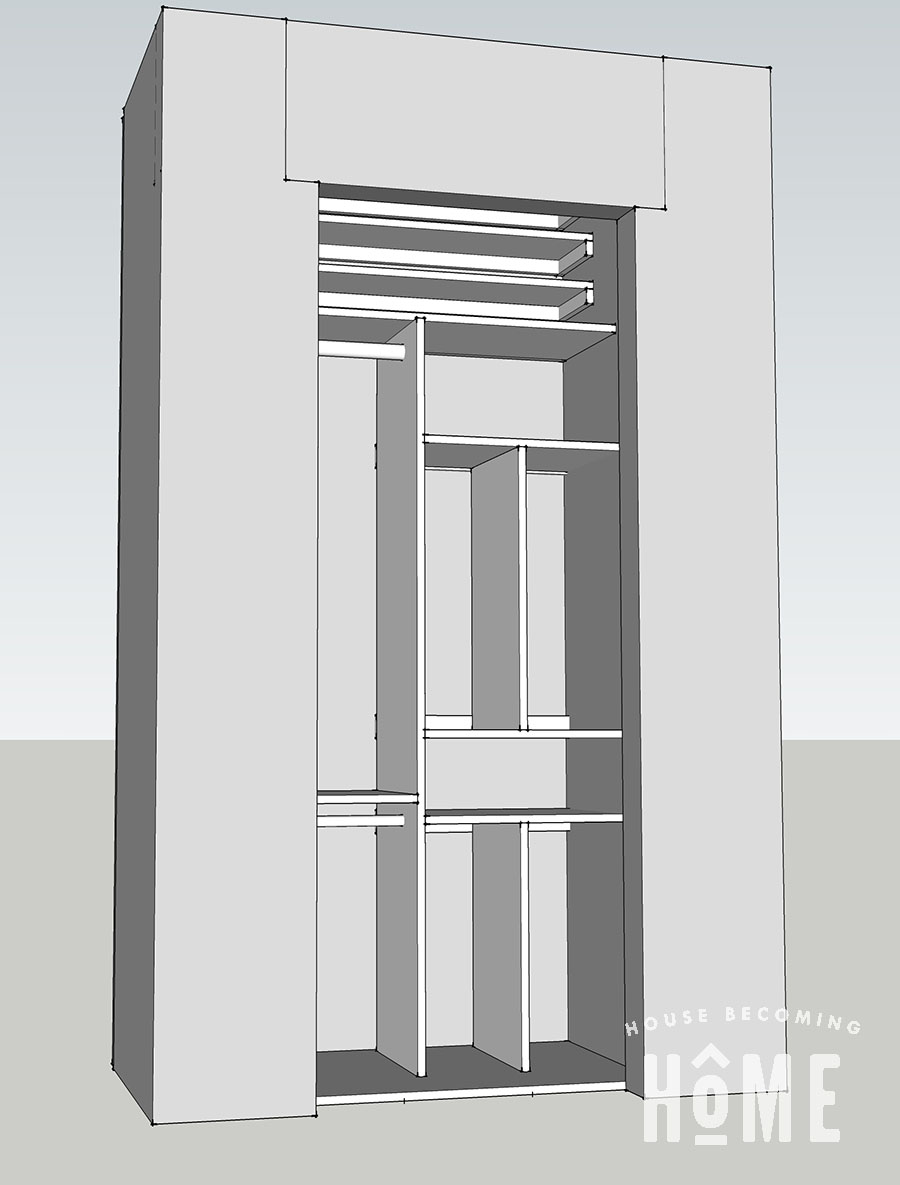
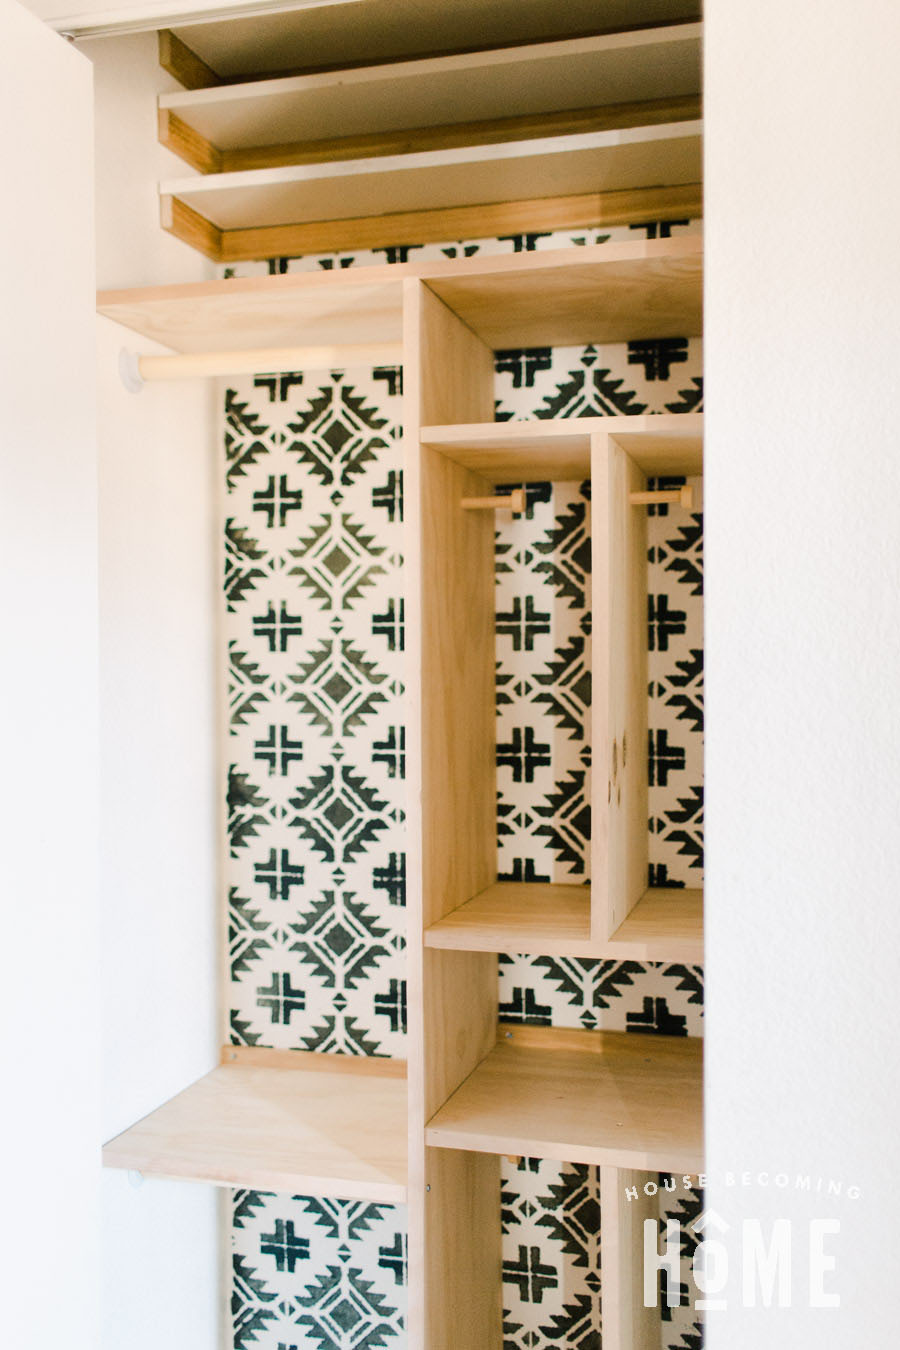
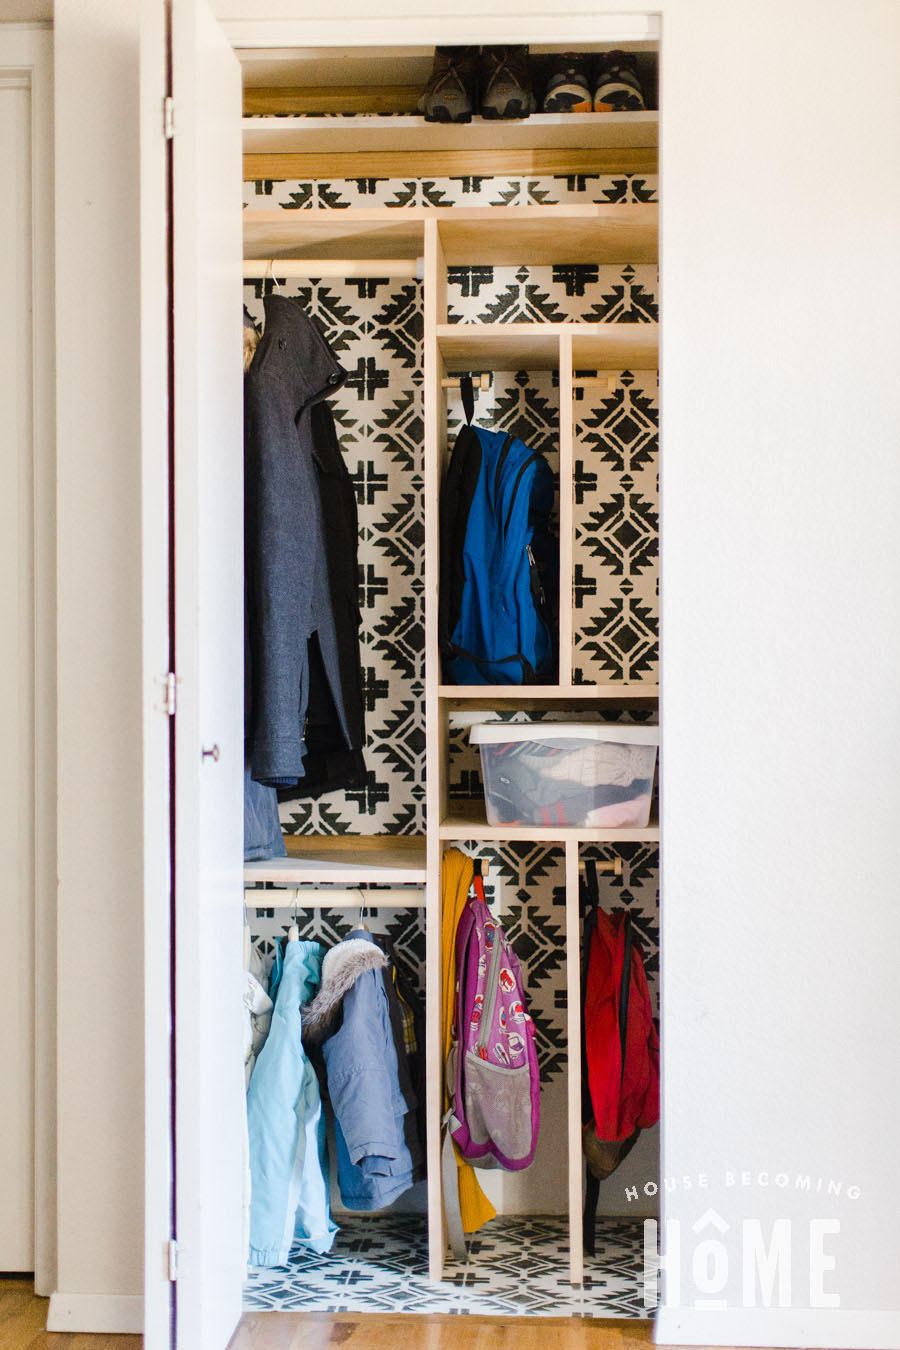
TOP : The top three, difficult-to-reach shelves are meant for shoes. Not the shoes we wear every day (that would be a pain!), but things like hiking boots, old running shoes for mowing the lawn, flip flops (that I LOVE, but won’t need until the weather warms up), etc.
Below those is a single deep shelf, which is great for my tall rain boots and Jim’s work bag.
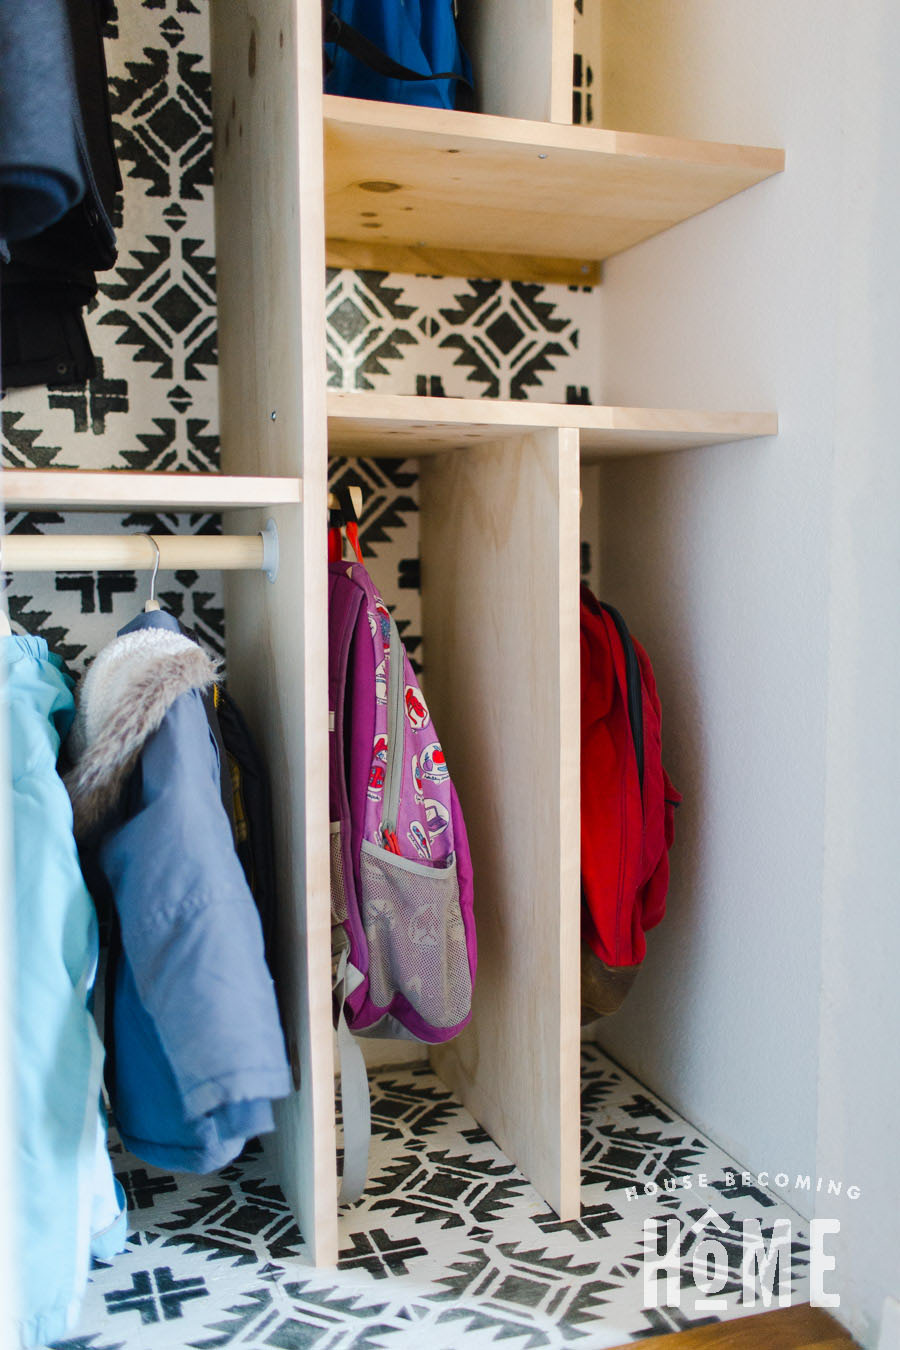
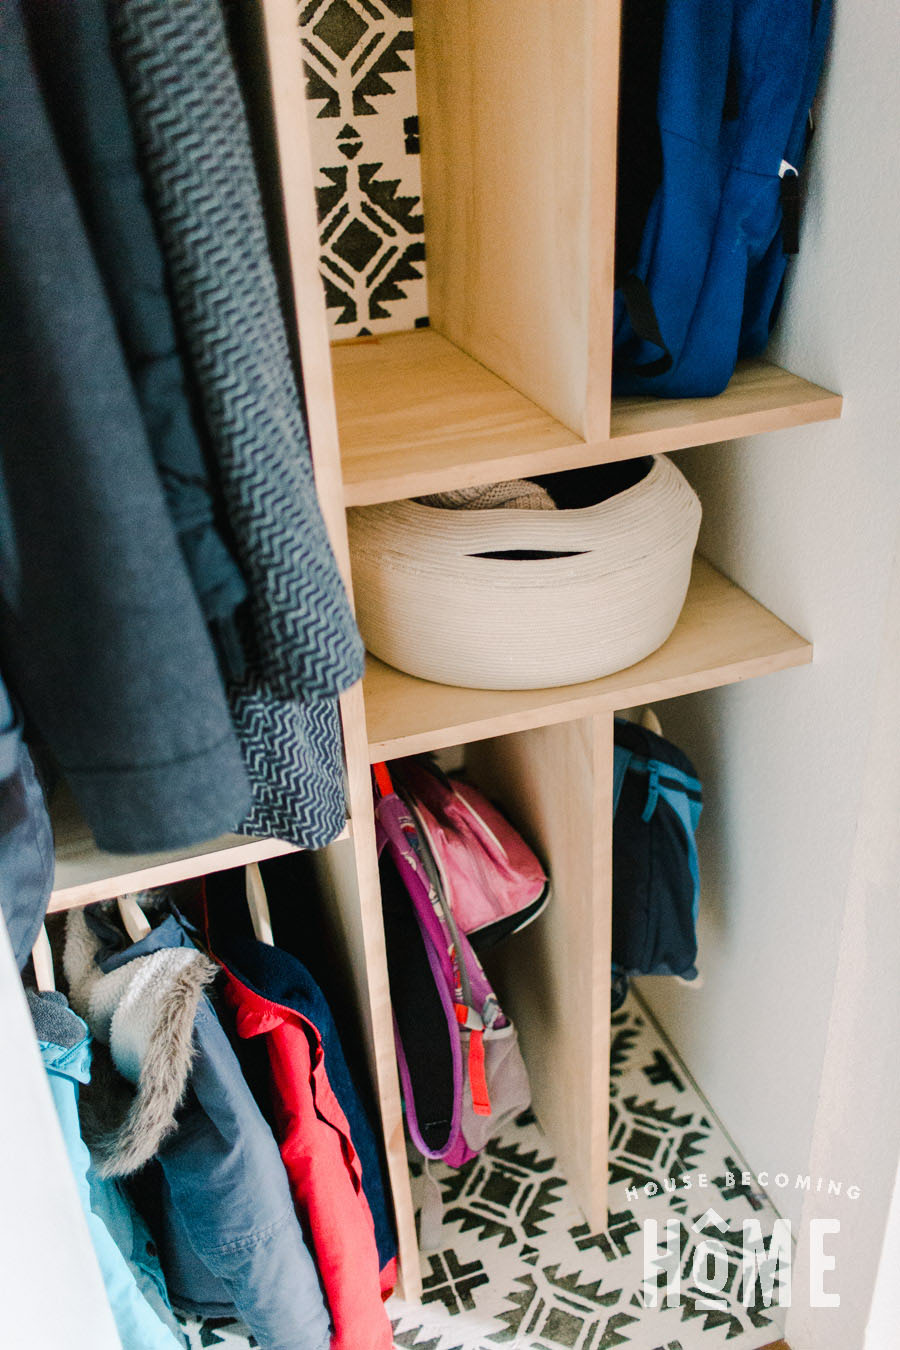
MIDDLE: Below the deep shelf I’ve divided the space into a left and right side. The left side is the coat side, and has a closet rod low enough for Lucy and Jack to reach (they actually hang up their own coats now!!)
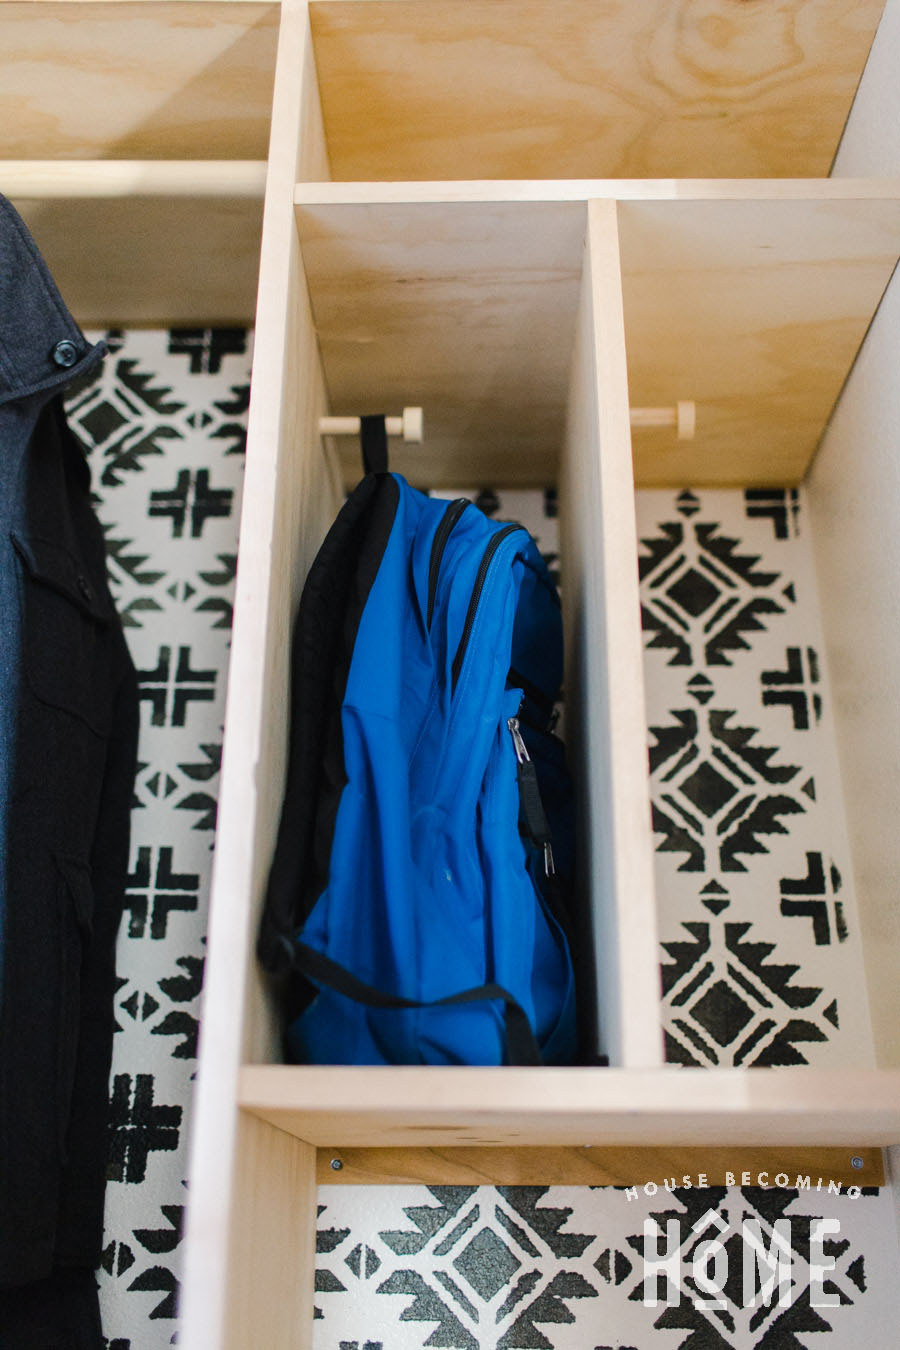
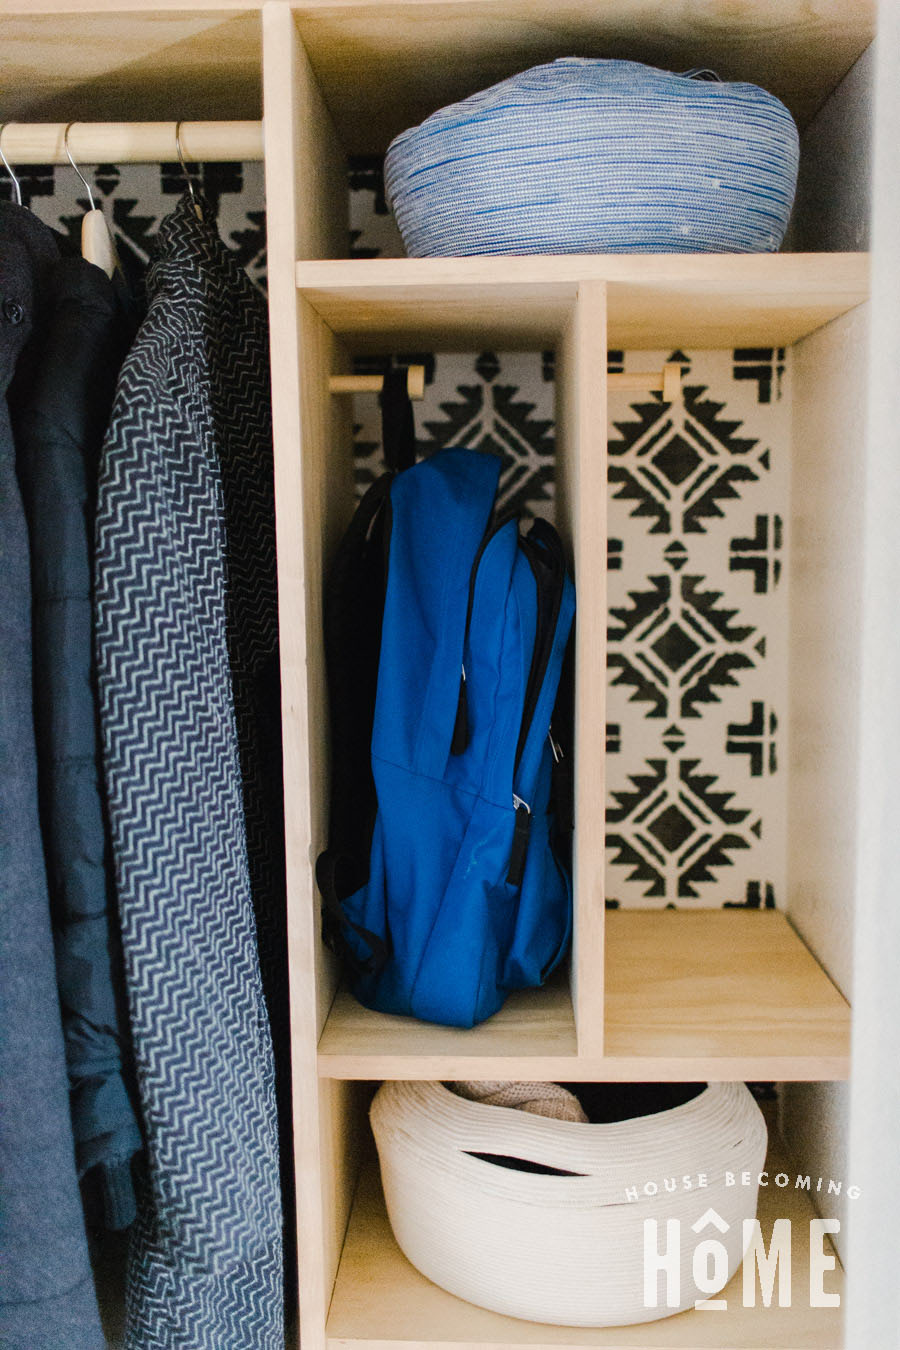
The four tall and narrow compartments on the right side are like mini lockers. We didn’t previously have a good spot for our kids to put their lunchboxes and backpacks. Now they each have their own “locker” inside this closet.
The wide but short right-side compartments are meant for bins of hats and gloves. The lower one keeps Lucy and Jack’s stuff so that they can be responsible for putting them back.
House Becoming Home is a participant in the Amazon Services LLC Associates Program, an affiliate advertising program designed to provide a means for sites to earn advertising fees by advertising and linking to Amazon.com. Some links in this post may be affiliate links. Read my full disclosure policy here.
Supplies
- Closet Pole Sockets
- 1-1/4″ Wooden Dowel
- (1) 4×8 sheet of 3/4″ plywood
- 3/4″ Edge Banding
- 3/4″ x 2″ (or similar size) lumber (I used old bed slats)
- 2″ Screws
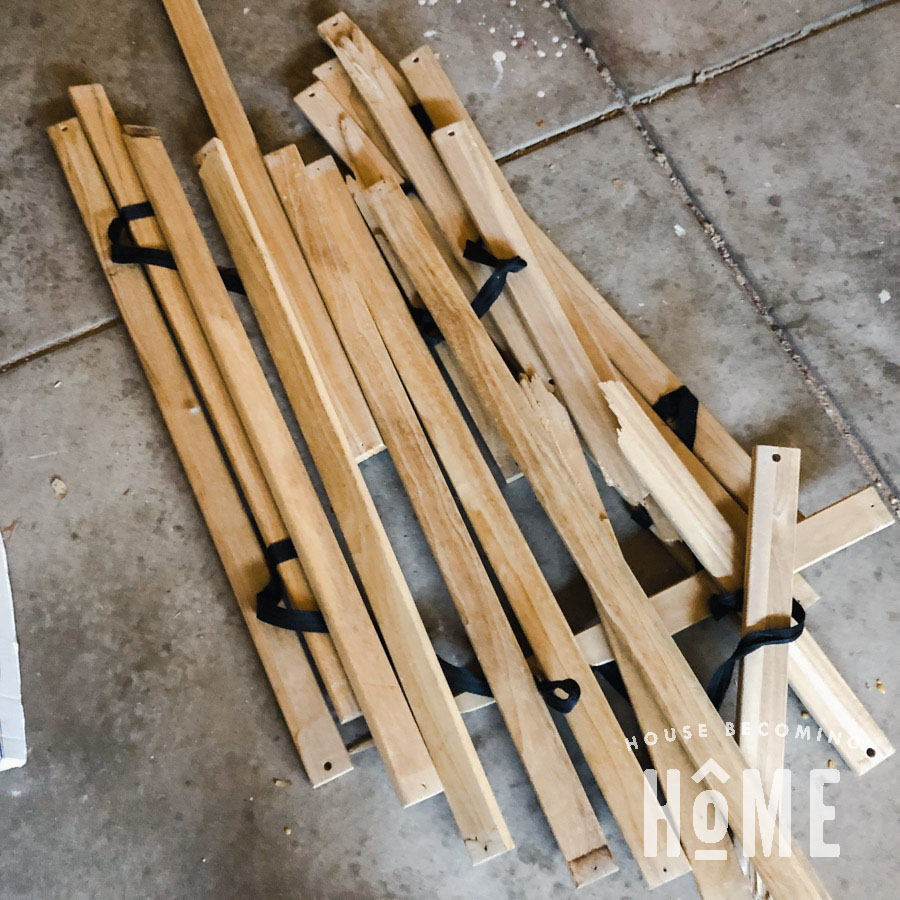
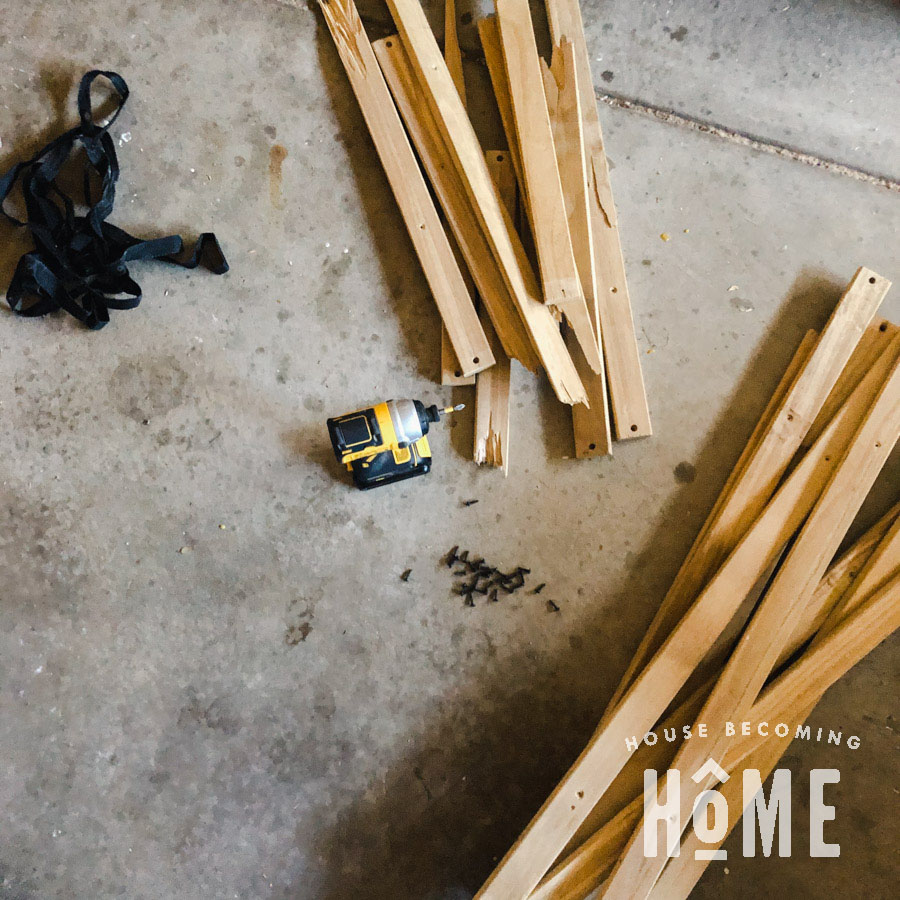
After taking apart this old set of hardwood bed slats, they were perfect to use as the supports for three shallow shelves up top.
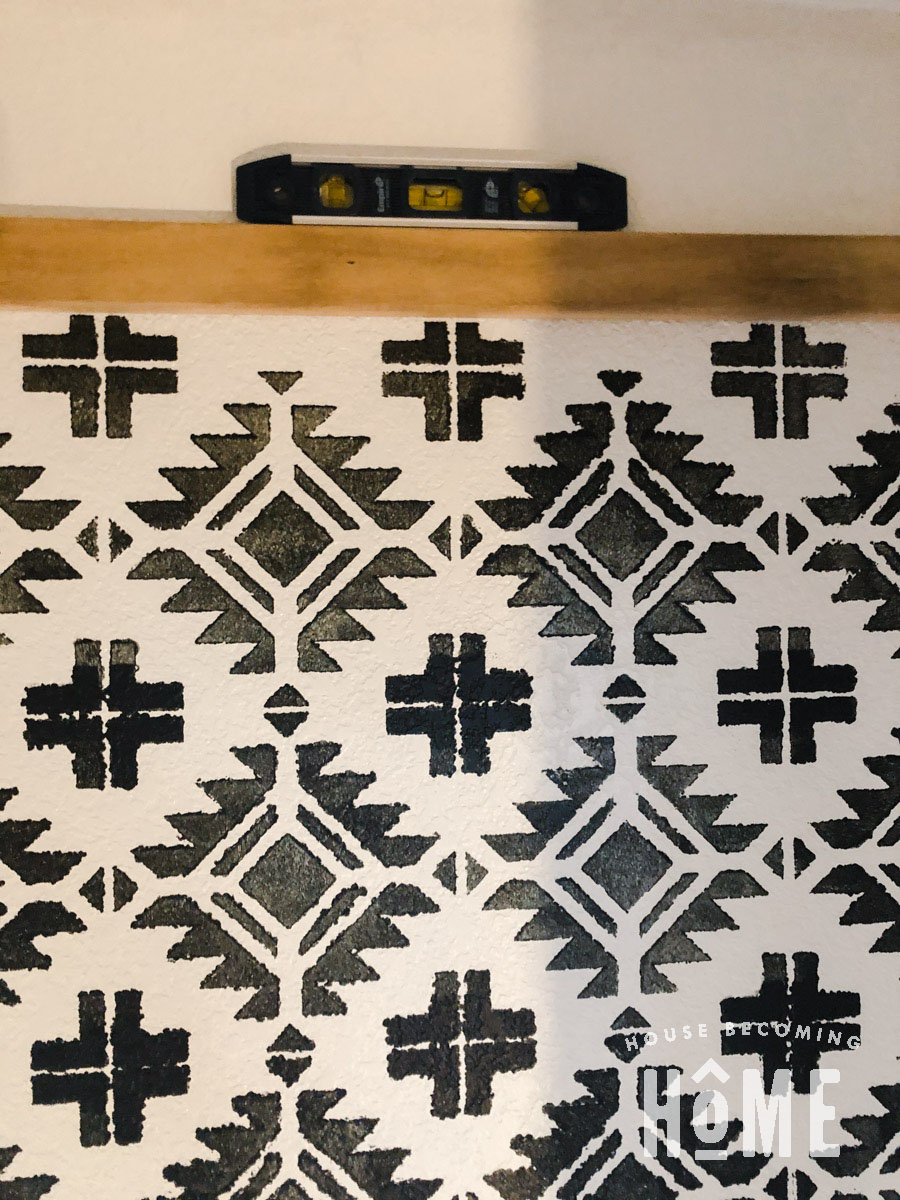
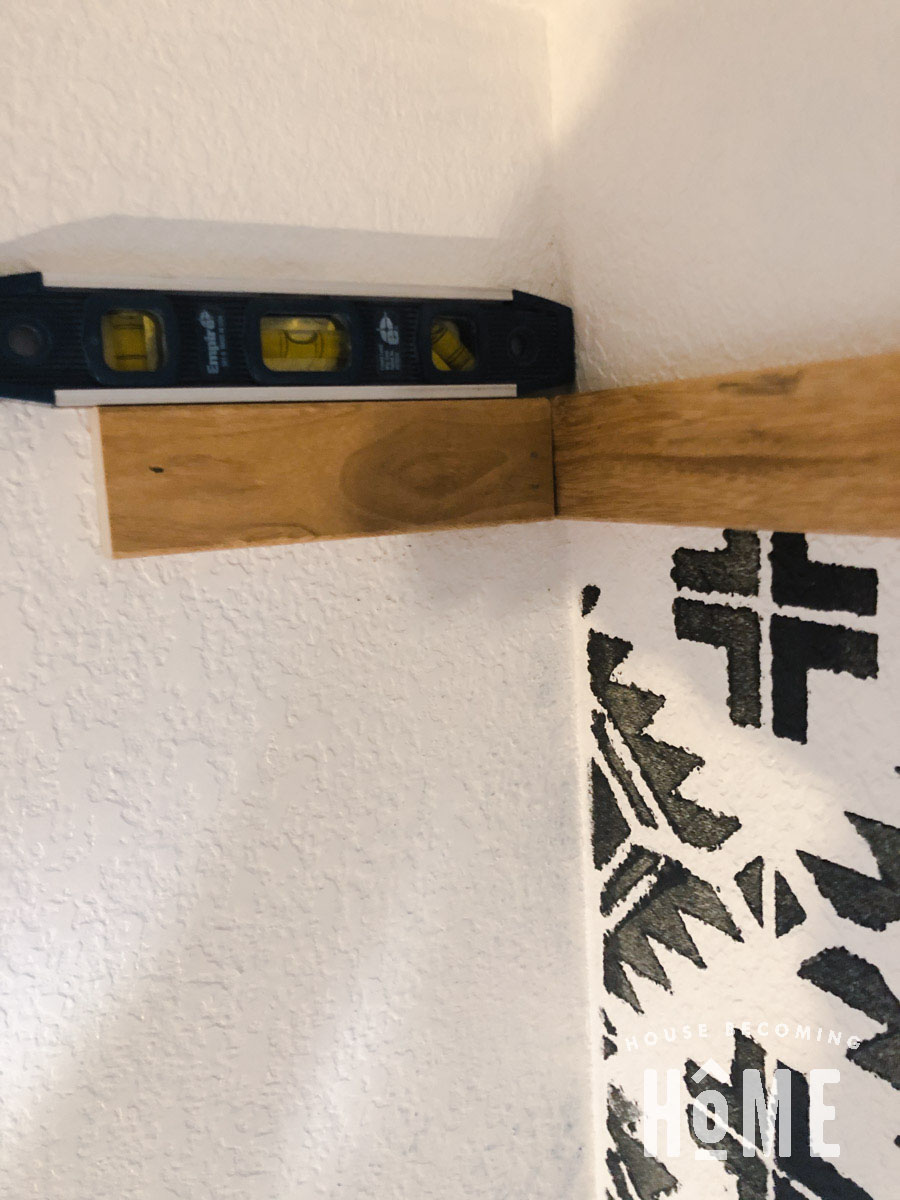
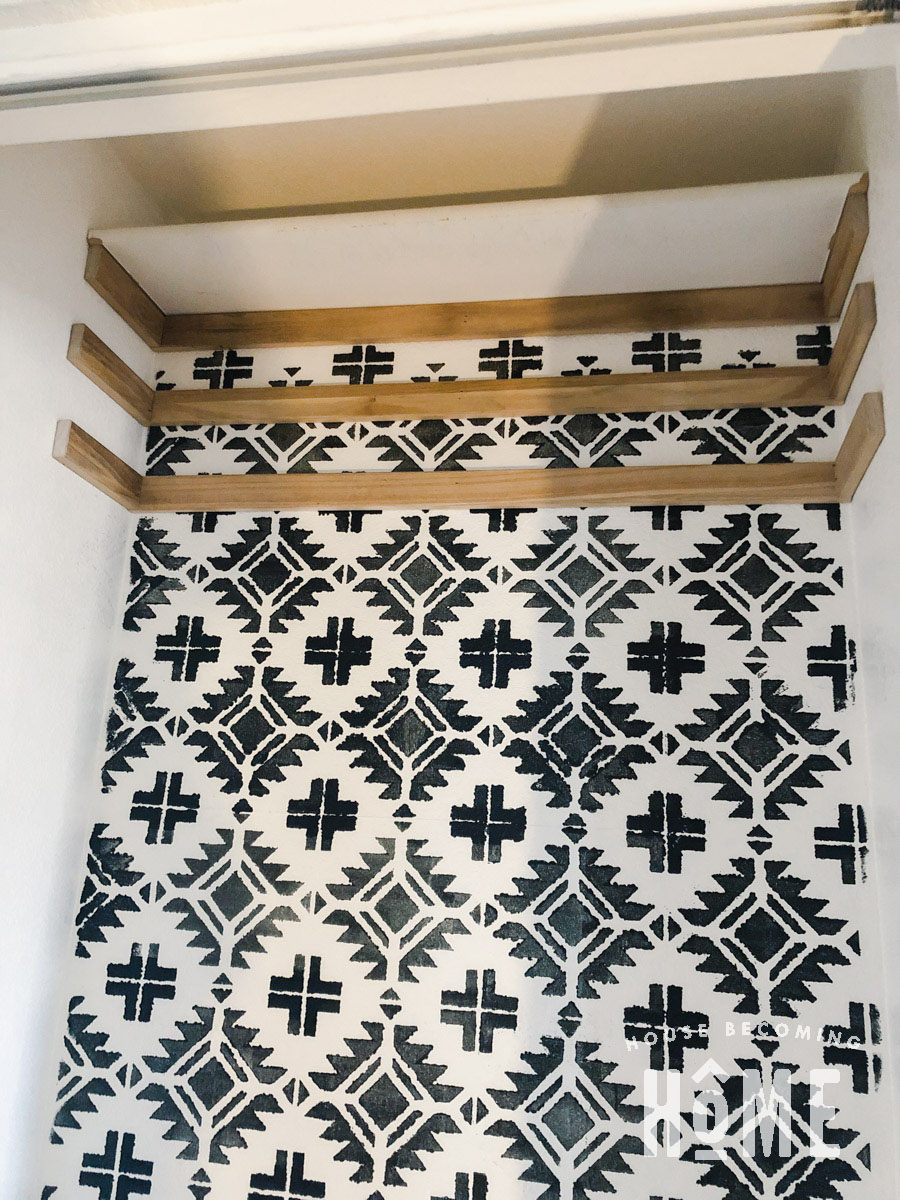
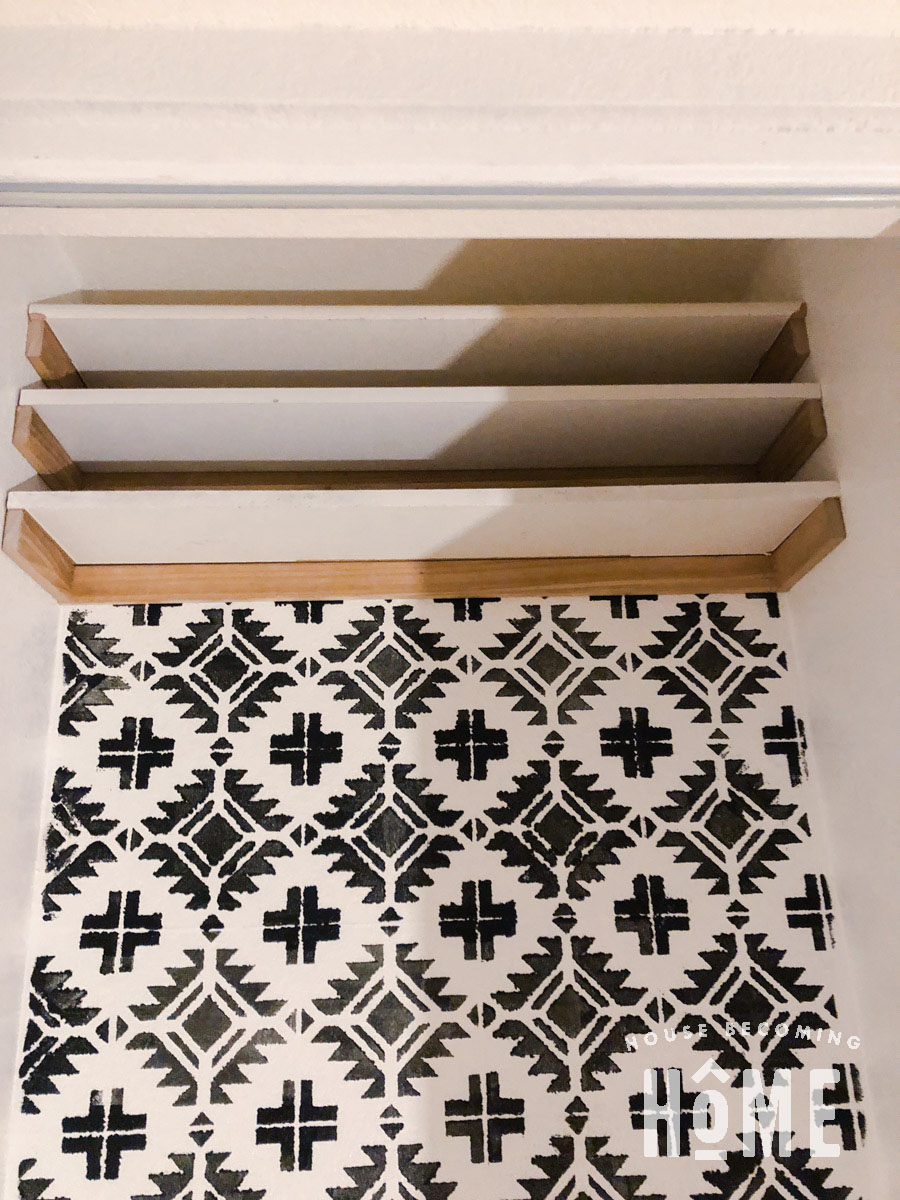
I cut three pieces to the width of the closet and nailed them into the studs, (spaced about five inches apart) at the top of the closet. I then cut smaller pieces to add to the sides.
The single shelf that had been in the closet previously worked great after ripping it into smaller strips to use as shallower shelves.
Deep Shelf
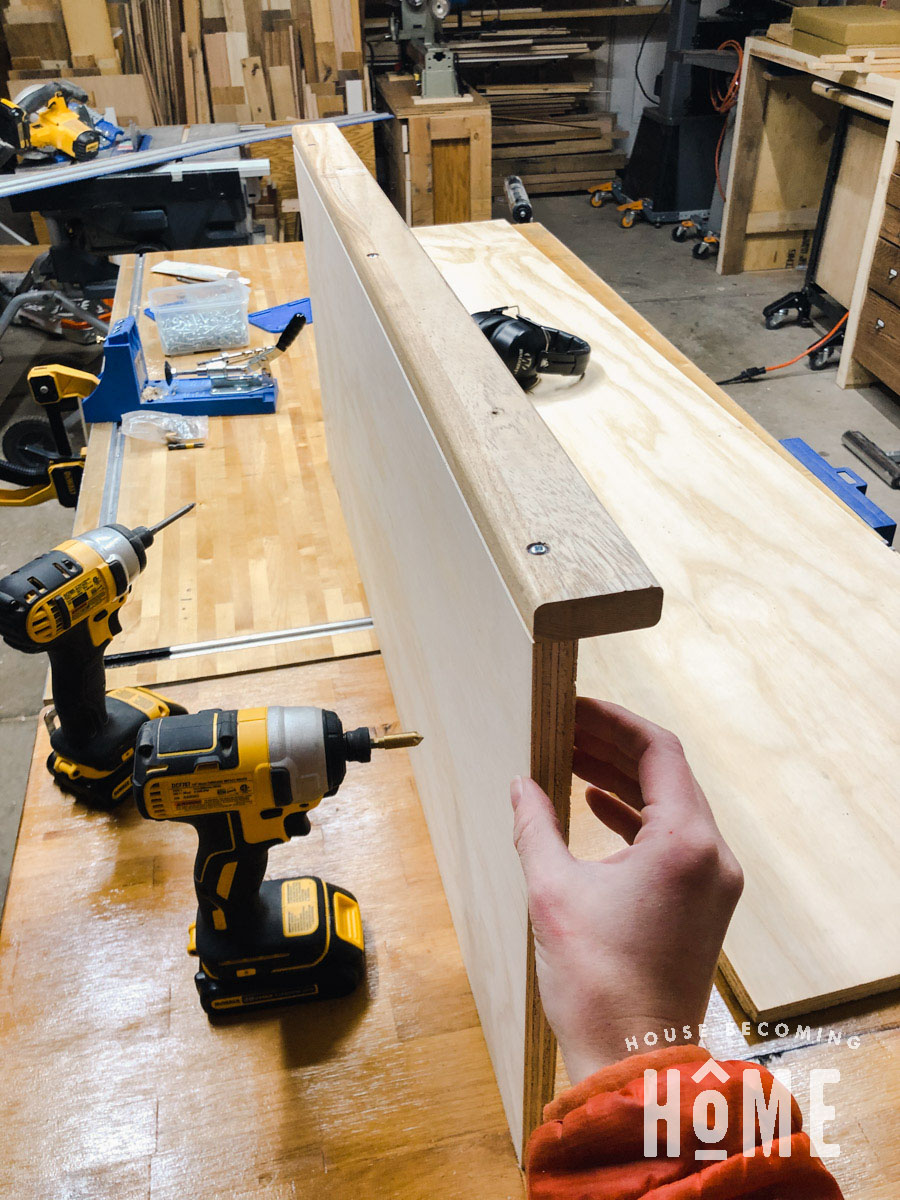
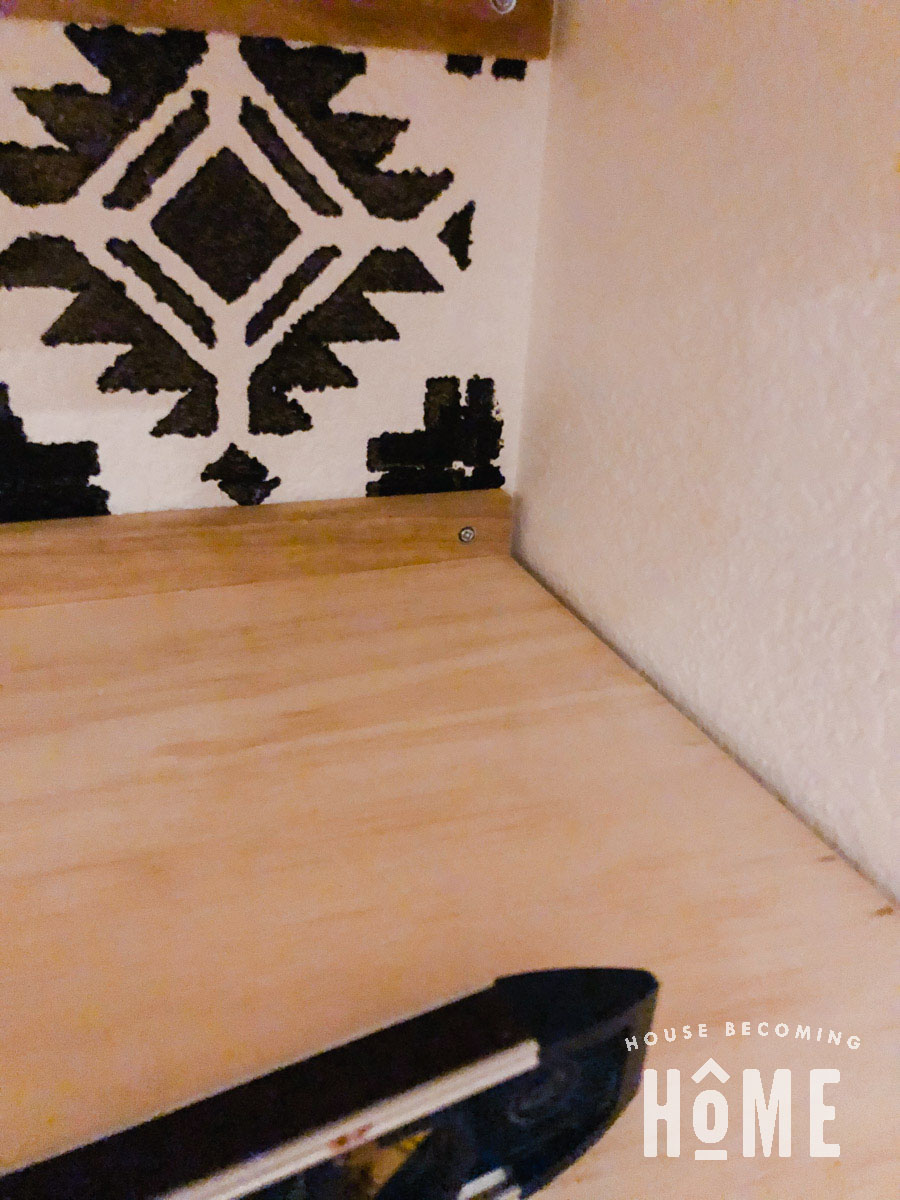
Next I made a deeper shelf to go beneath the three shallow ones. I cut a piece of plywood to the width of the closet, and about 14″ deep. A bed slat is attached to the back of it using countersunk screws:
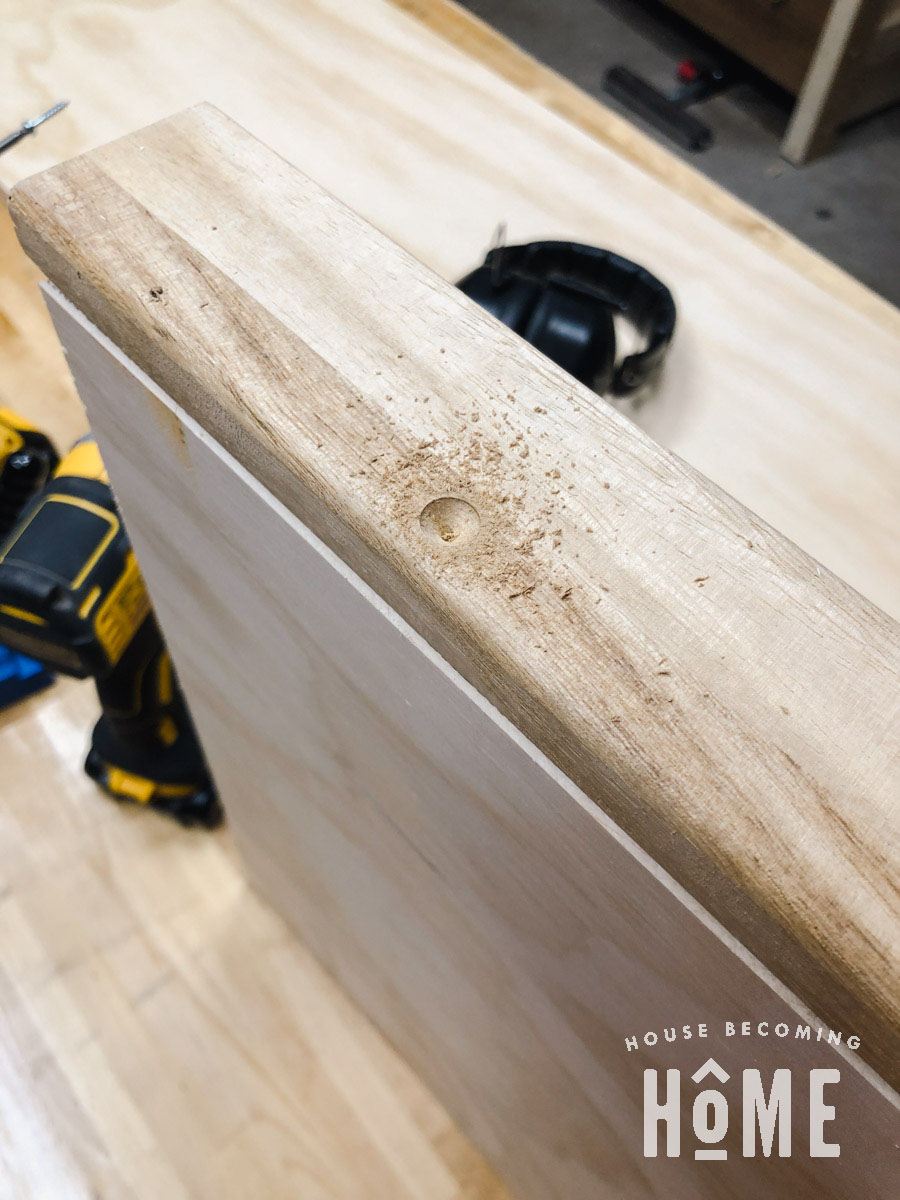
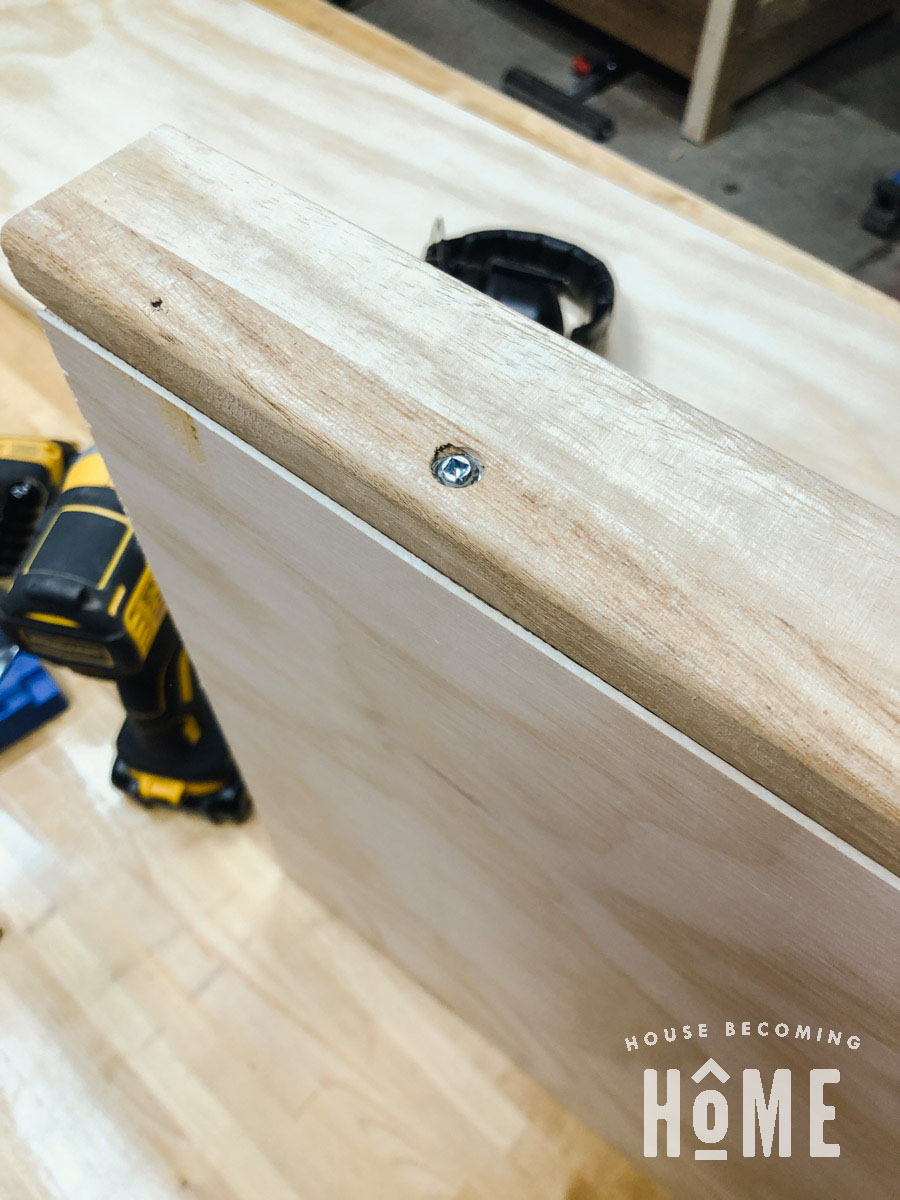
The purpose of the bed slat is to give the shelf a vertical surface that can be screwed into and fixed to the closet wall.
Creating Compartments for the Right Side
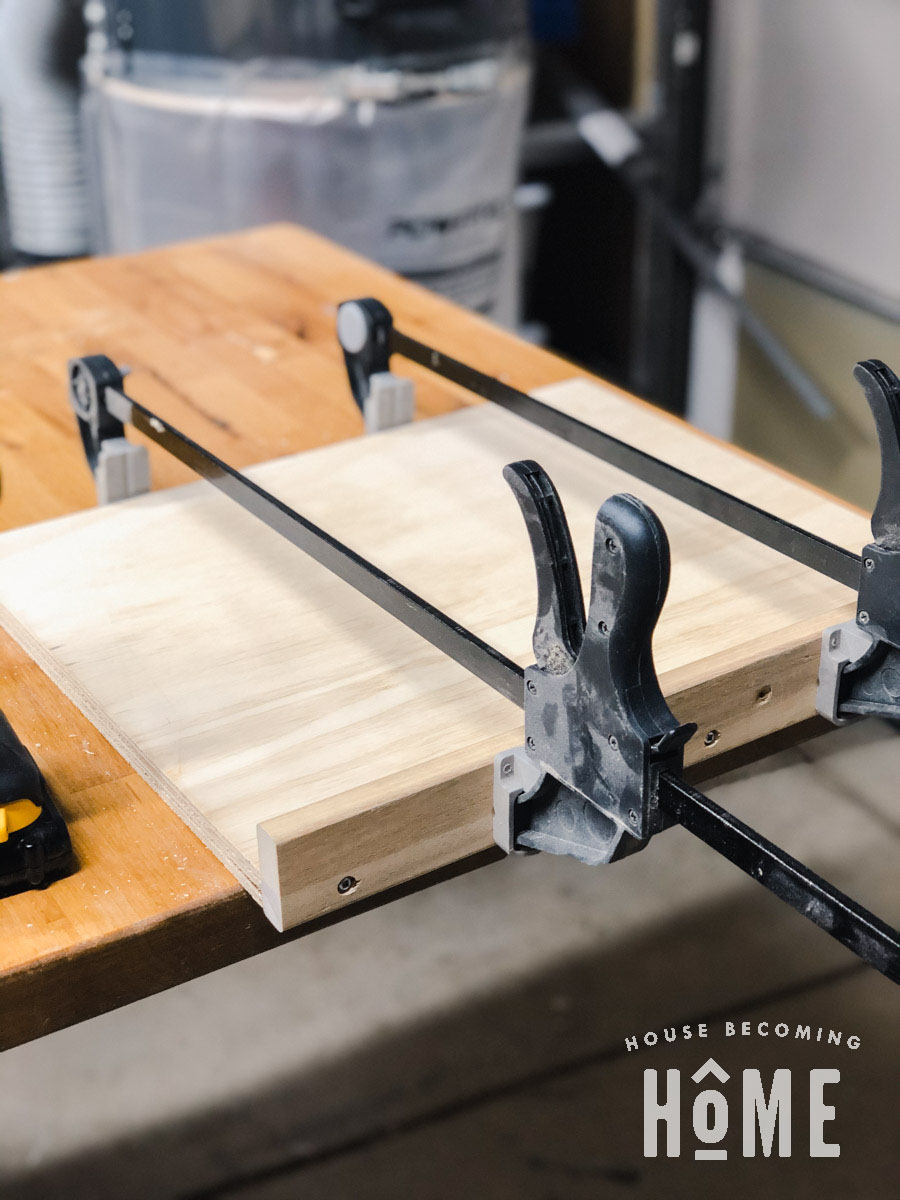
Next, I made an organizational compartment from plywood, again with the hardwood pieces attached to the back.
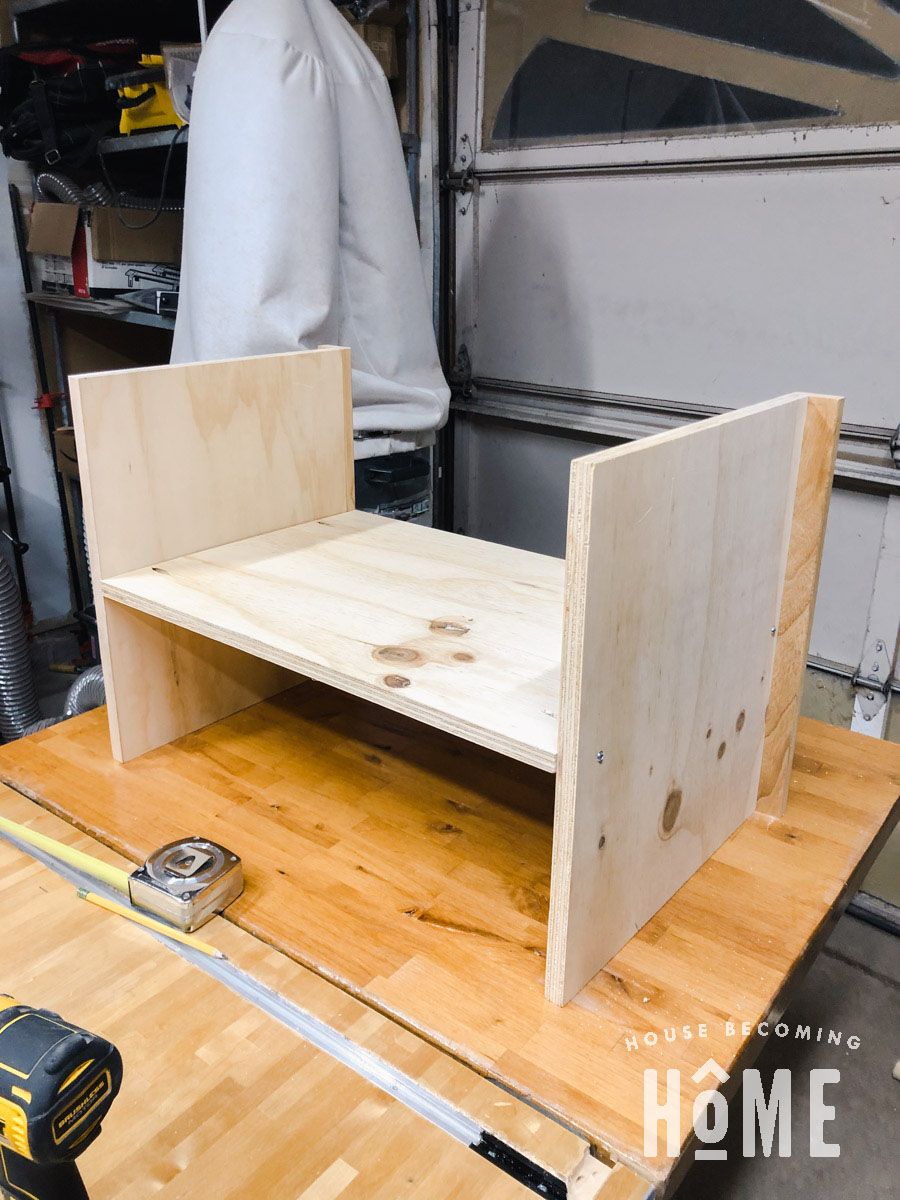
Here it is after screwing it to the wall through the hardwood piece at the back:
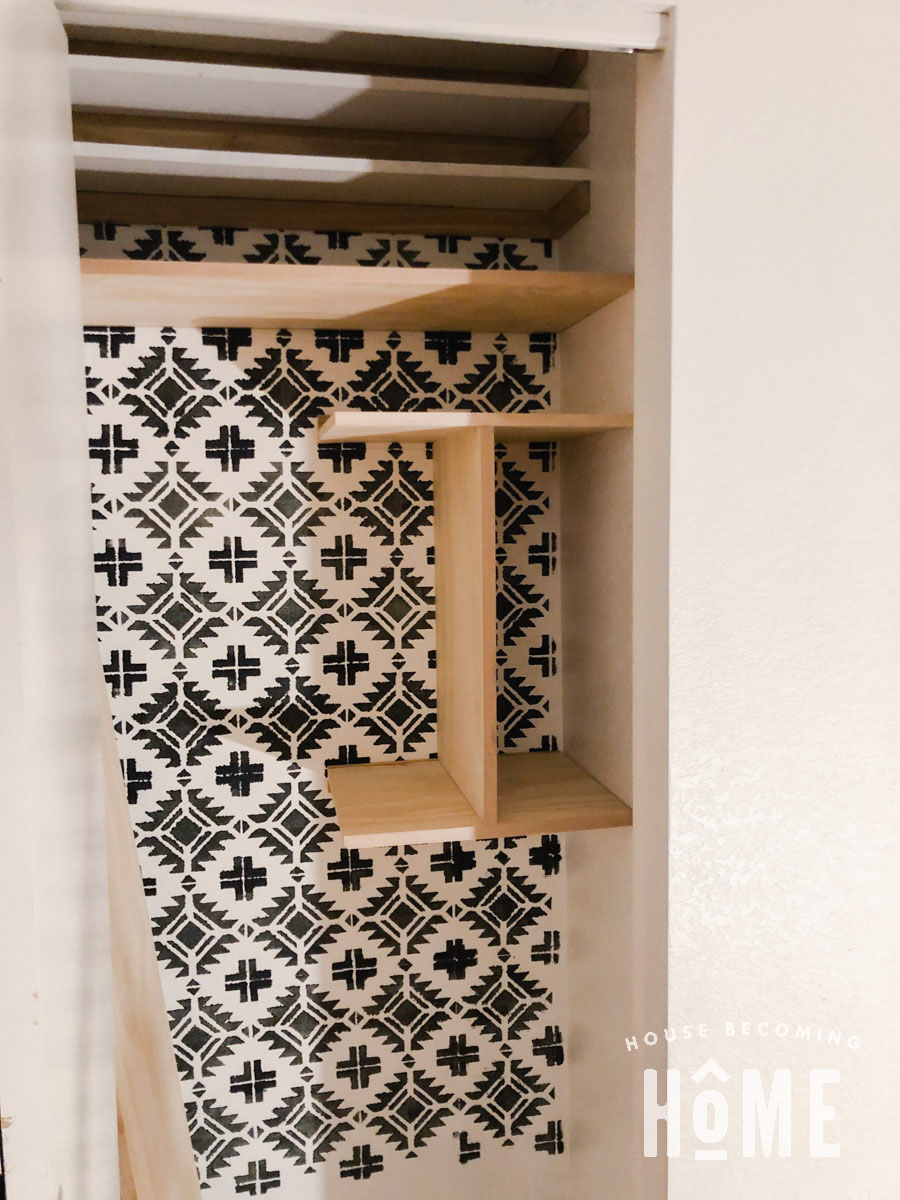
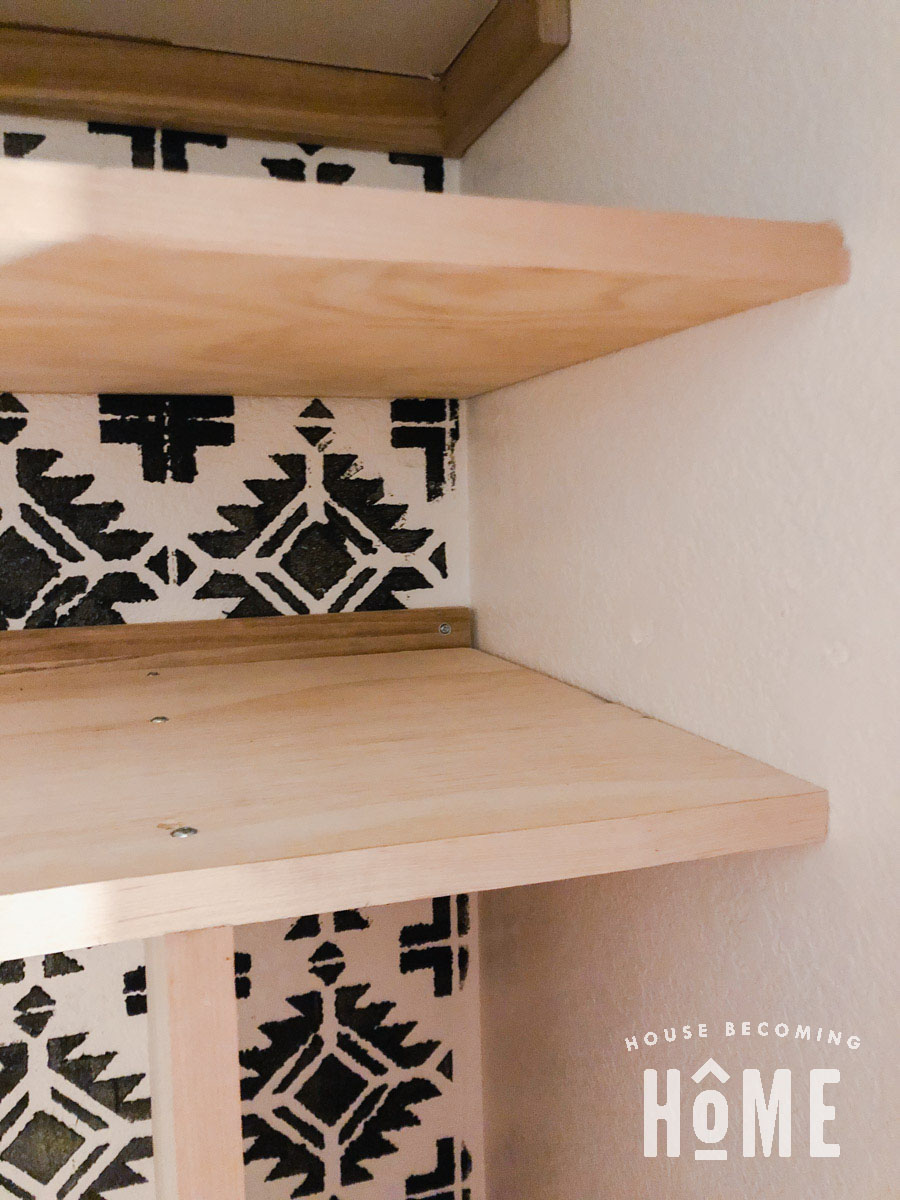
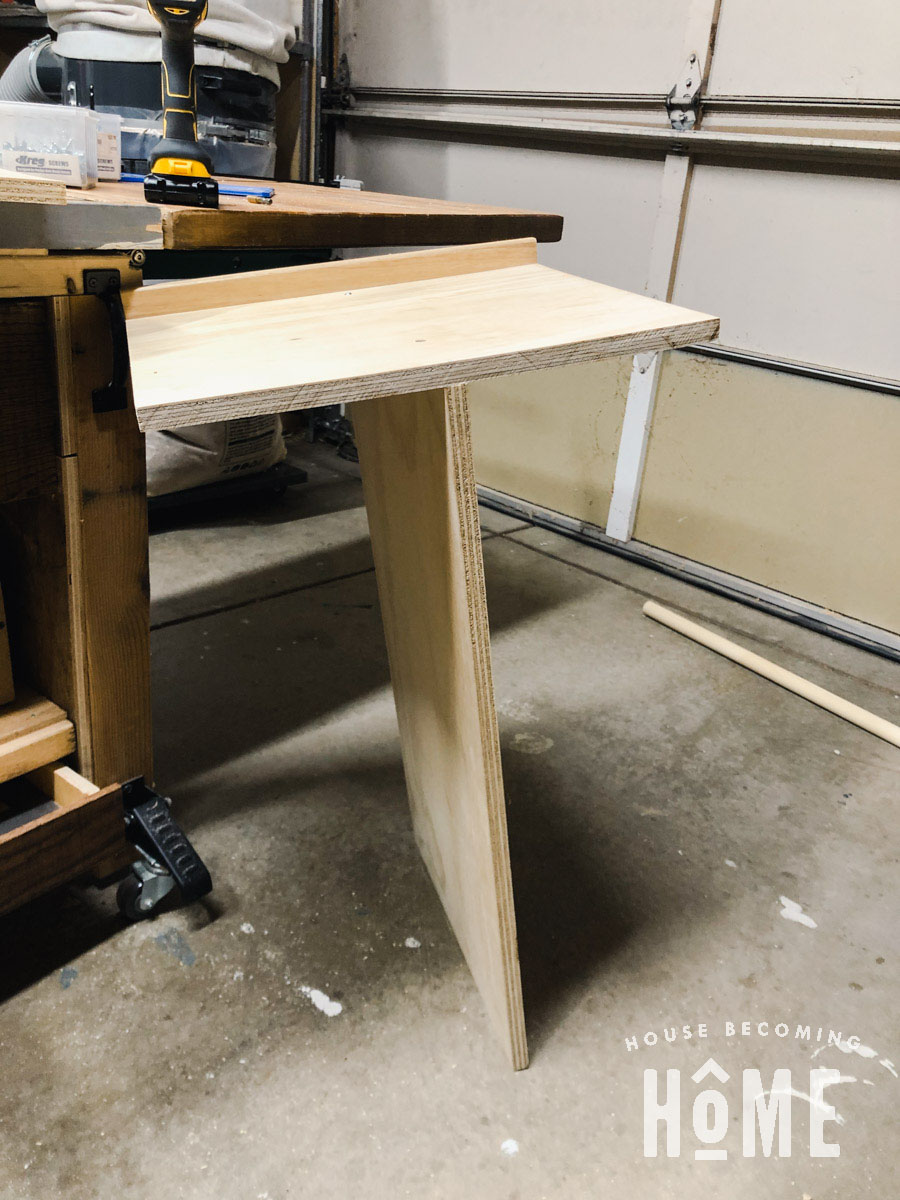
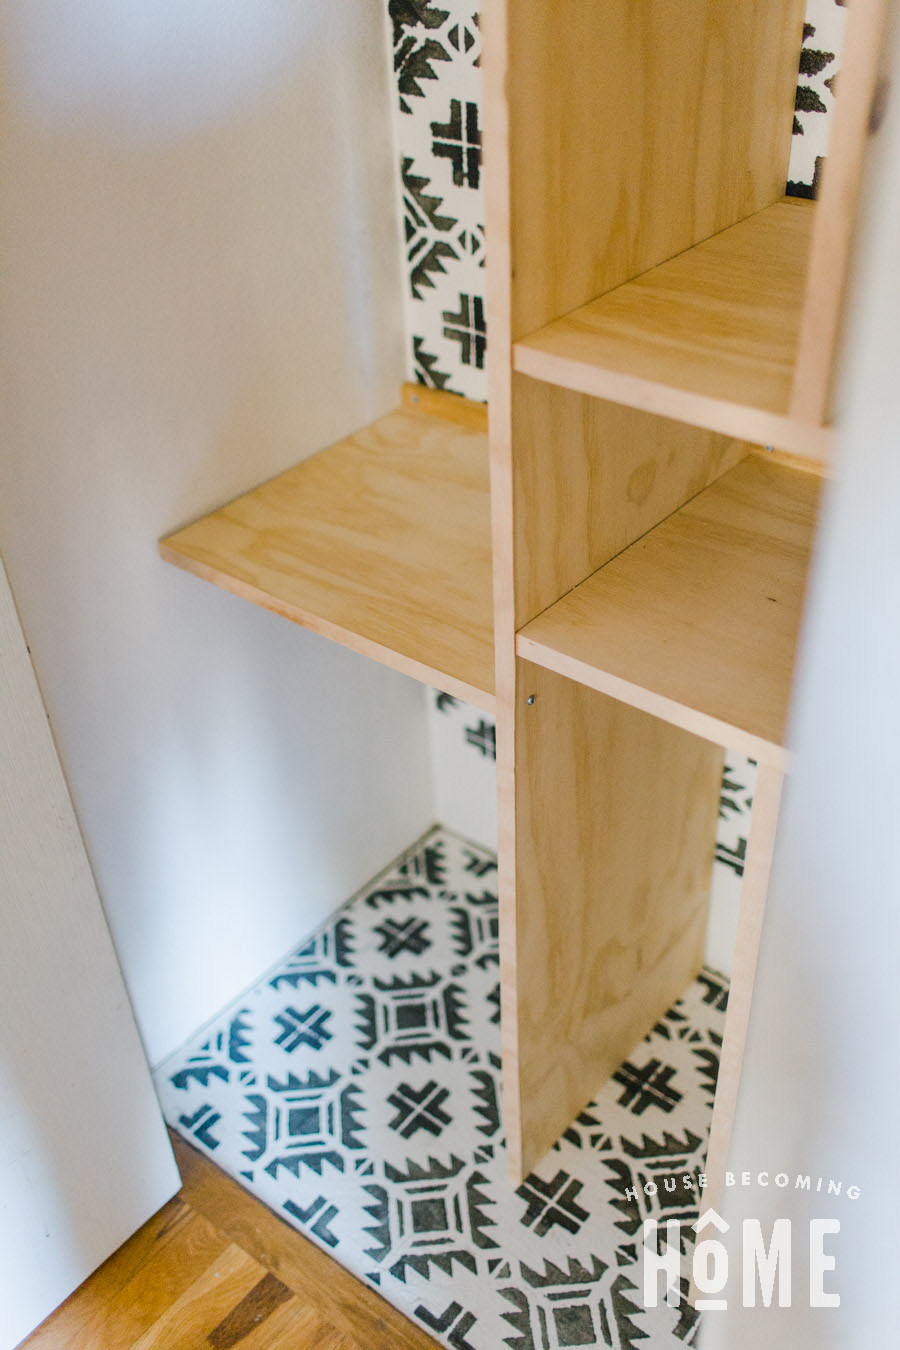
The final compartment for the right side of the closet is shown below: one horizontal plywood shelf, a hardwood bed slat attached to the back of the shelf with countersunk screws, and a vertical divider attached to the center of the shelf (also with countersunk screws)
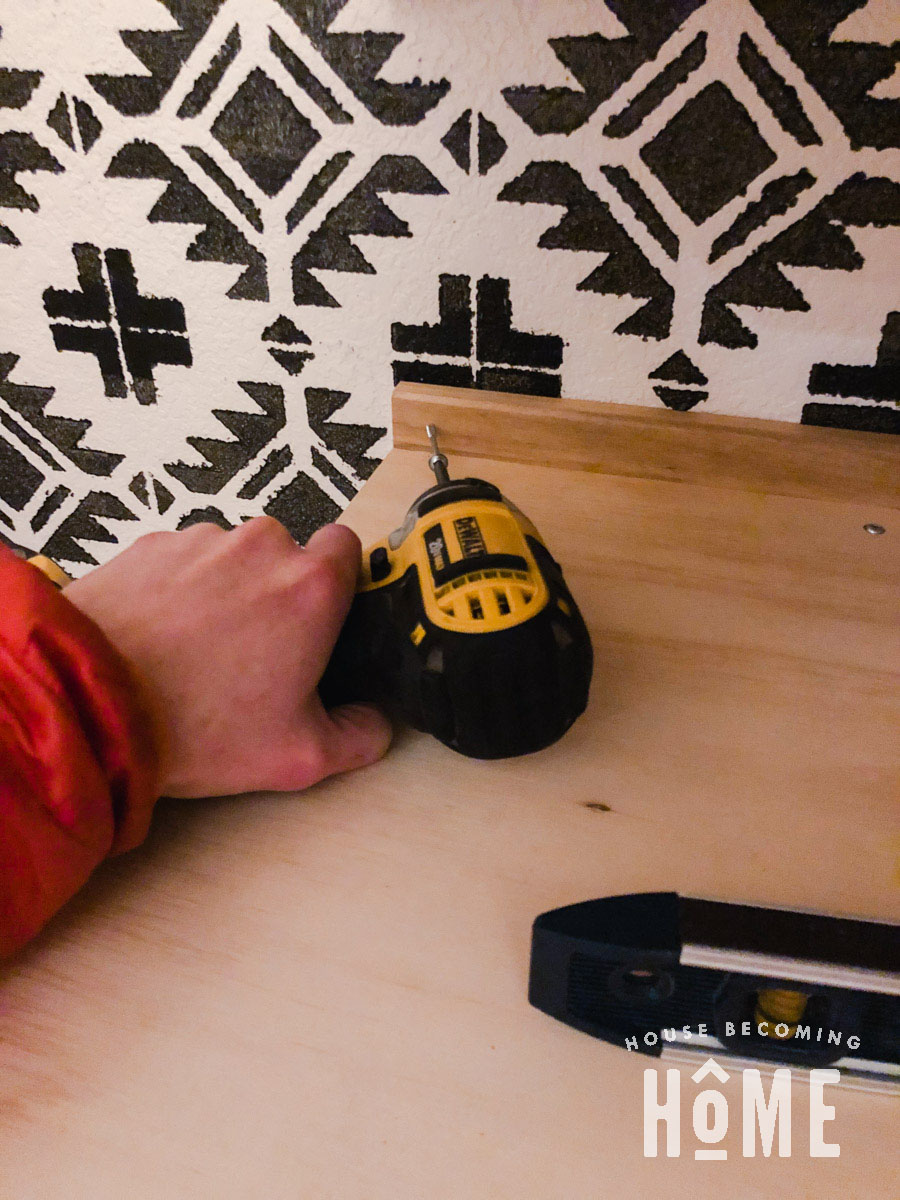
There was only one stud in the center of this closet, along with the two at the corners. I had to attach the screw at an angle to hit the center stud:
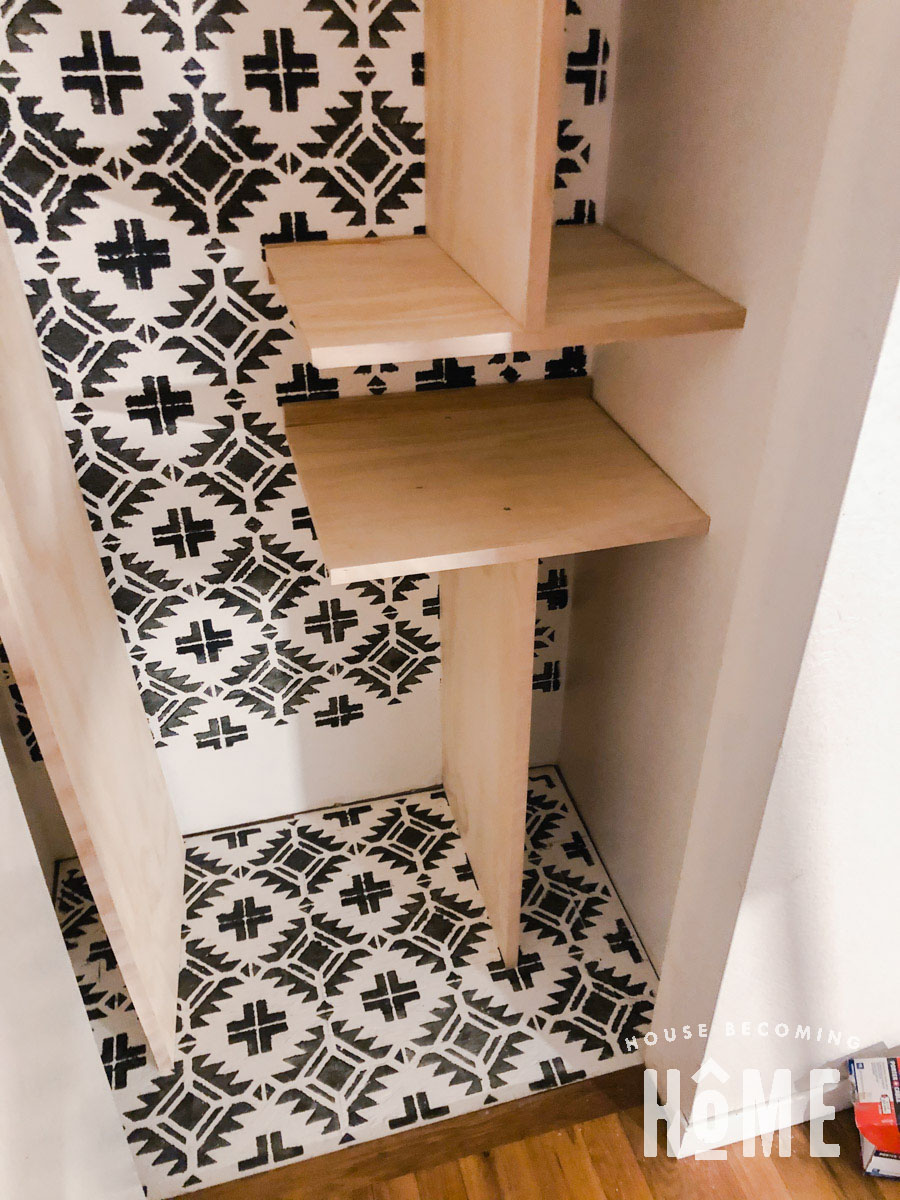
Here’s how it looked after the right side compartments were finished with 3/4″ Edge Banding and attached to the wall:
Vertical Divider
Next, I added a vertical divider. I drove screws through the deep shelf into the divider below it. To give it more stability, I added more screws through the divider into the small, right side shelves.
Left Side Compartments
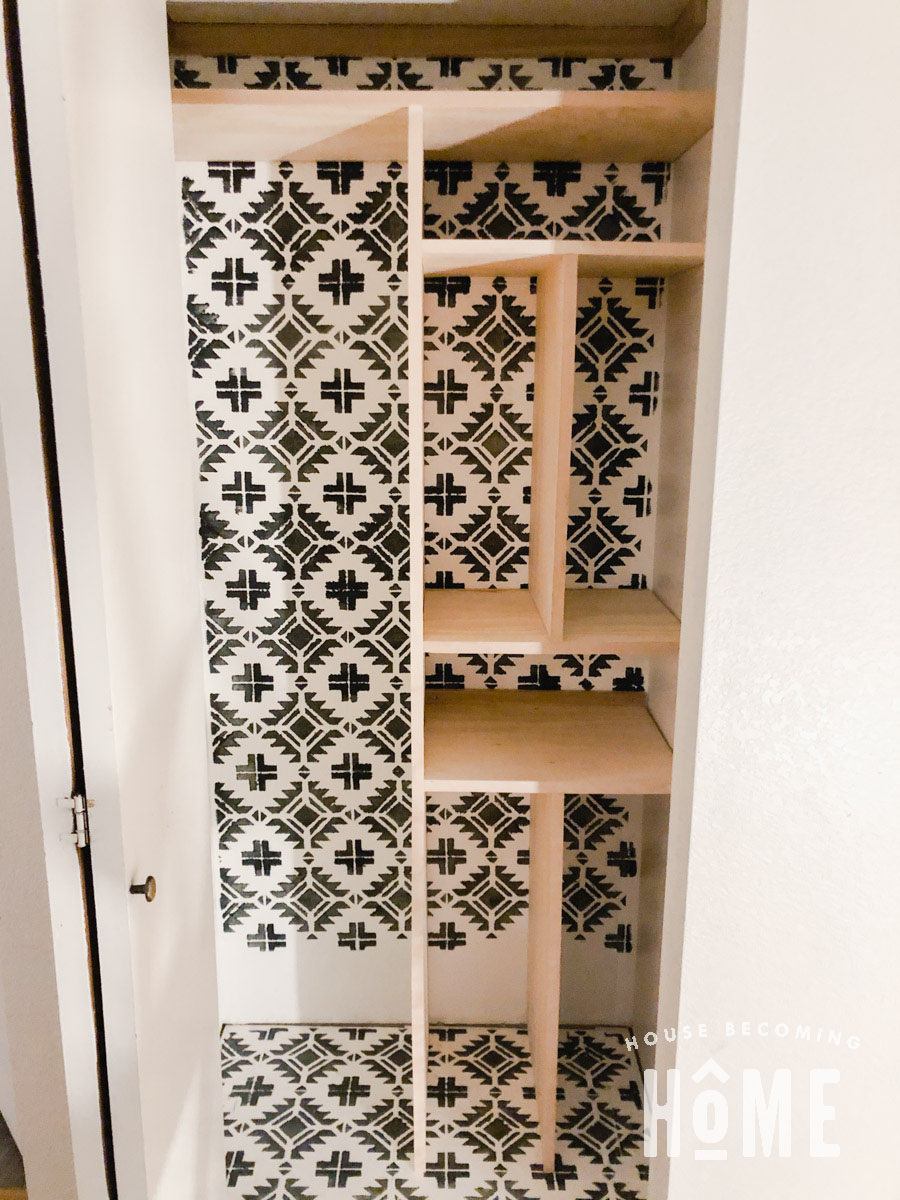
I made one more shelf to divide up the space on the left side, and installed it low enough that my longest jacket could fit in the space above it.
Adding Storage Hooks
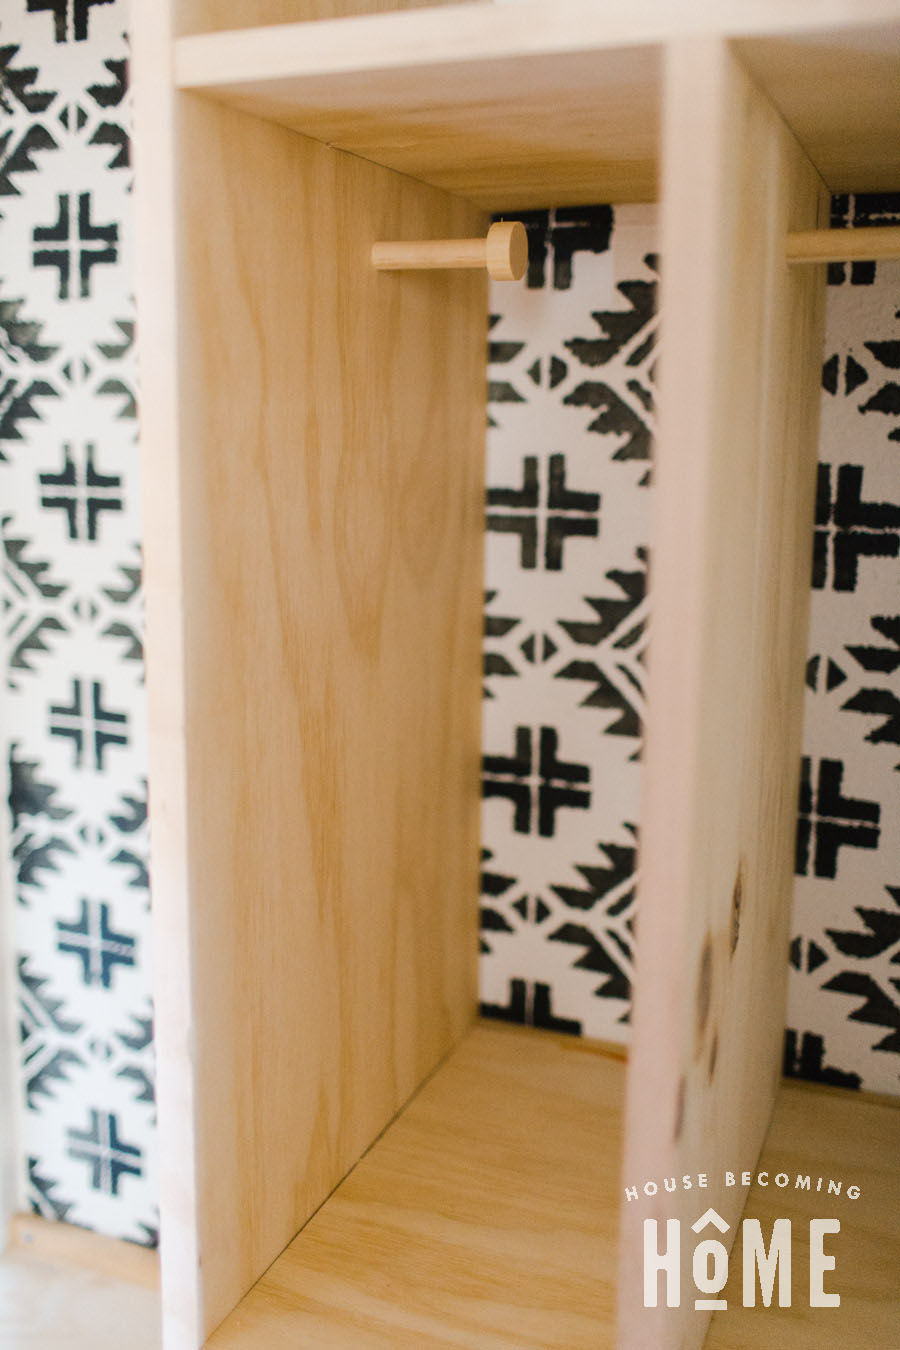
Next, I made wall-mount DIY Coat Hooks out of dowels to attach to the the inside of each of the right-side compartments.
Two Levels of Closet Rods
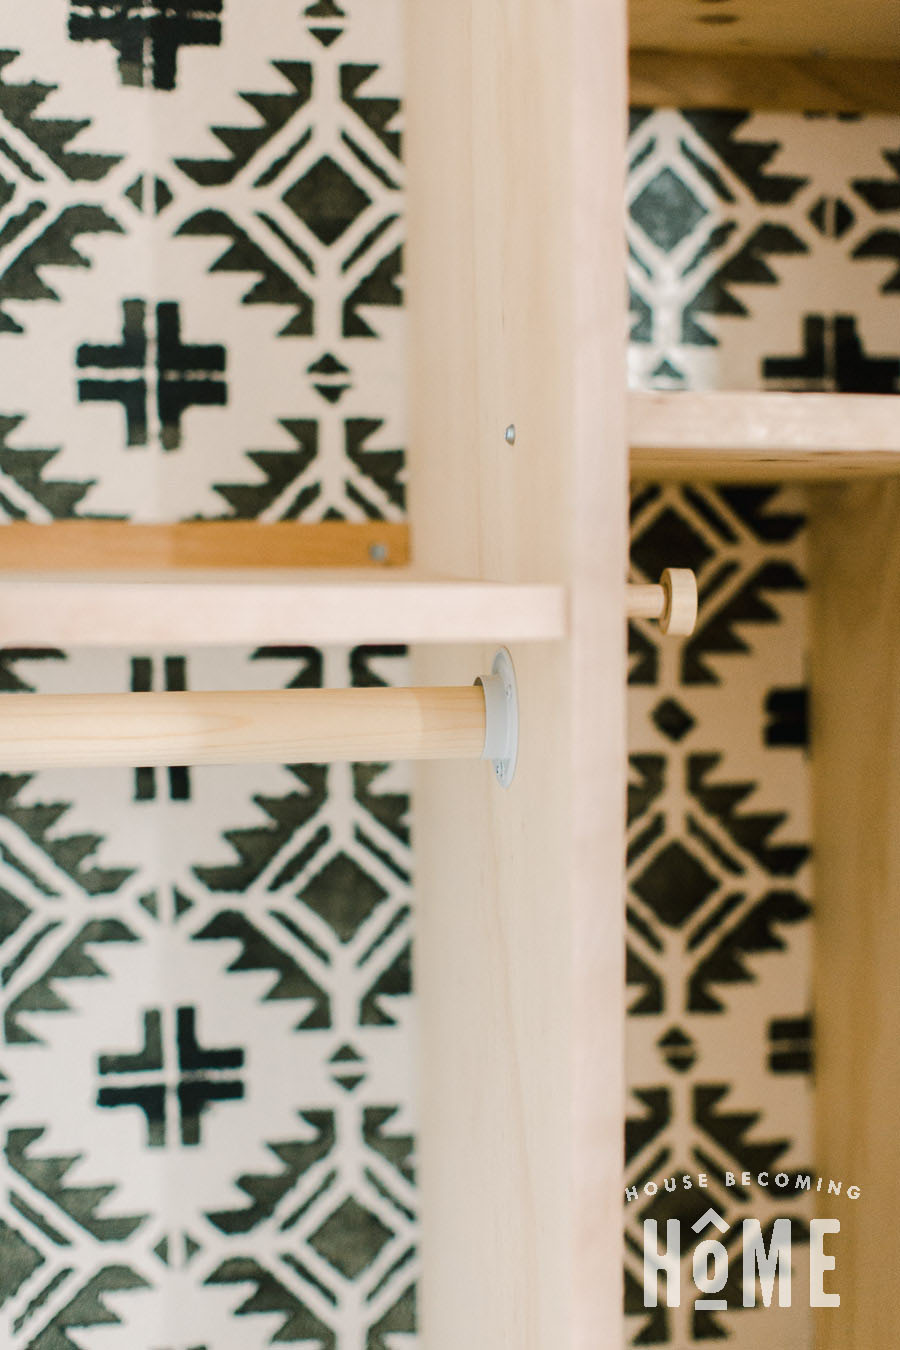
The left side is the “coat side,” so I added two closet rods- a high one for Jim, me, and our teenagers, and a low one for the two little people.
By the way, a 1-1/4″ wooden dowel is MUCH MORE AFFORDABLE than a 1-5/16″ wooden closet rod, and it’s virtually the same thing.
Grab a few pole sockets, attach them the to vertical divider and the wall (I had to use drywall anchors since it wasn’t in a spot with studs), then add closet rods.
Coat Closet With DIY Organization – Completed!
Here’s the finished coat closet, complete with DIY organization:
As I was filling the closet back up with our coats and gear, I hoped to find a few baskets to hold our mittens and hats. I found lots that I liked . . . all over $100 as it always seems to go. So, again, as it always seems to go, I decided to DIY a few rope baskets. My sewing skills are not strong but I think they turned out ok. Stay tuned for that tutorial . . .
More DIY Home Organization Inspiration
If you love organization projects as much as I do, you’ll want to check out these other projects from the DIY Home Organization Challenge:
- Addicted 2 DIY : TV Riser
- My Repurposed Life : Rustic Farmhouse Floating Shelf
- House Becoming Home : DIY Coat Closet Organization
- Ugly Duckling House : DIY Wall U Shelves
- The Awesome Orange : Simple Router Bit Organization
- At Charlotte’s House : DIY Doll Clothes Storage

Amazing transformation! My favorite part is the pegs for the backpacks. You really put a lot of thought into the functionality of this coat closet.
Pinned!
gail
I LOVE that you added pattern to your closet! I’m all about sneaky closet magic in 2020. 😉