When I found a post about printing on wood at Fix This Build That, I knew I had stumbled upon info that I would be using over and over again throughout my DIY-filled life:
Printing on wood.
It doesn’t involve specialized machinery.
The process is quick and simple.
It actually looks good.
(!!!)
House Becoming Home is a participant in the Amazon Services LLC Associates Program, an affiliate advertising program designed to provide a means for sites to earn advertising fees by advertising and linking to Amazon.com. Some links in this post may be affiliate links. Read my full disclosure policy here.
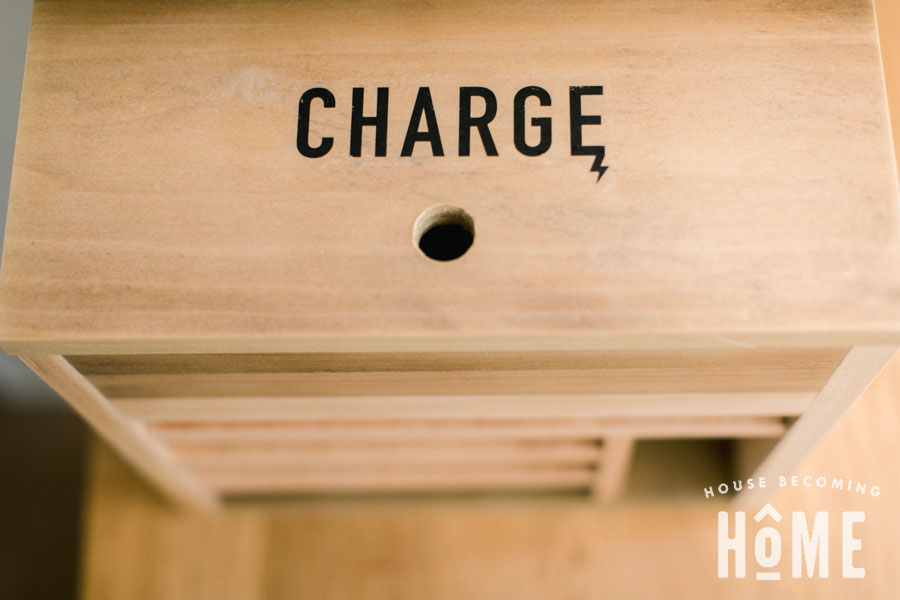
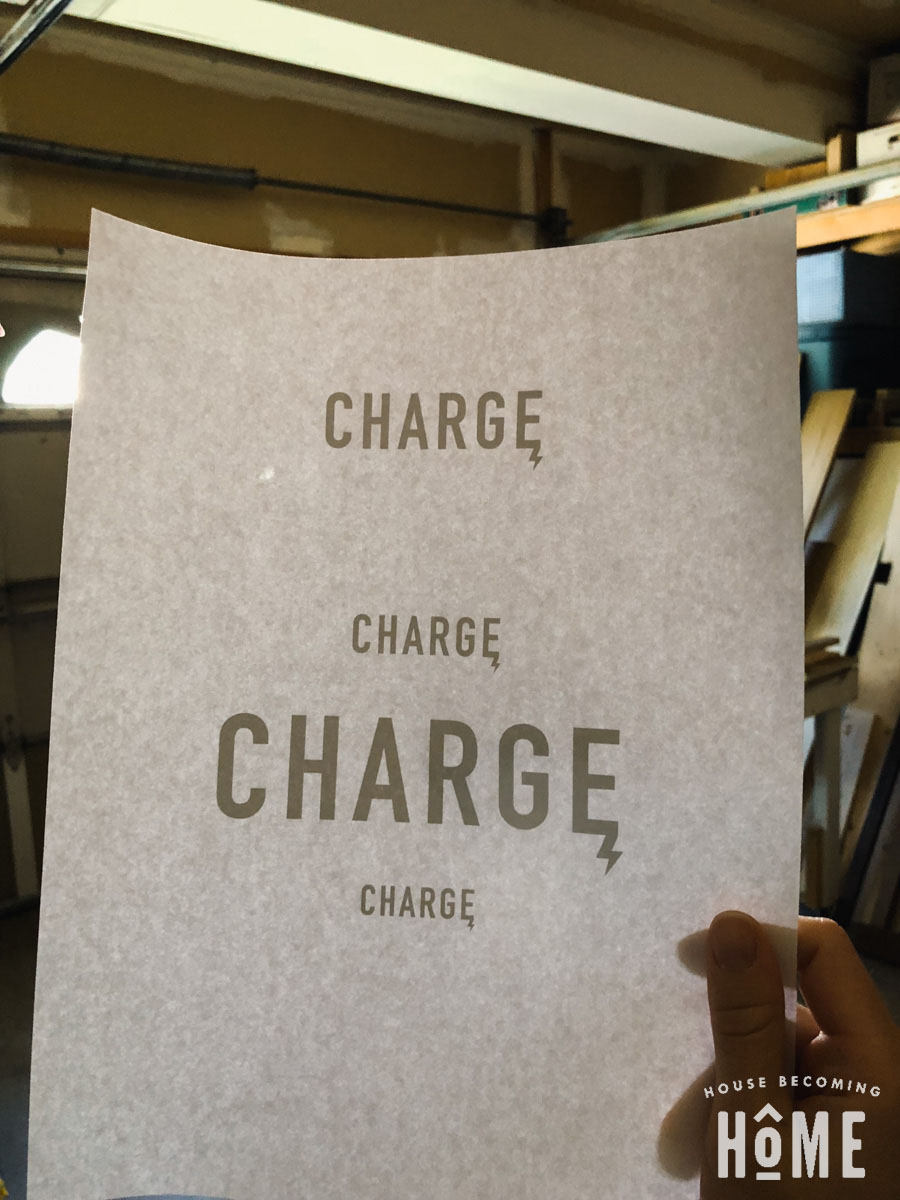
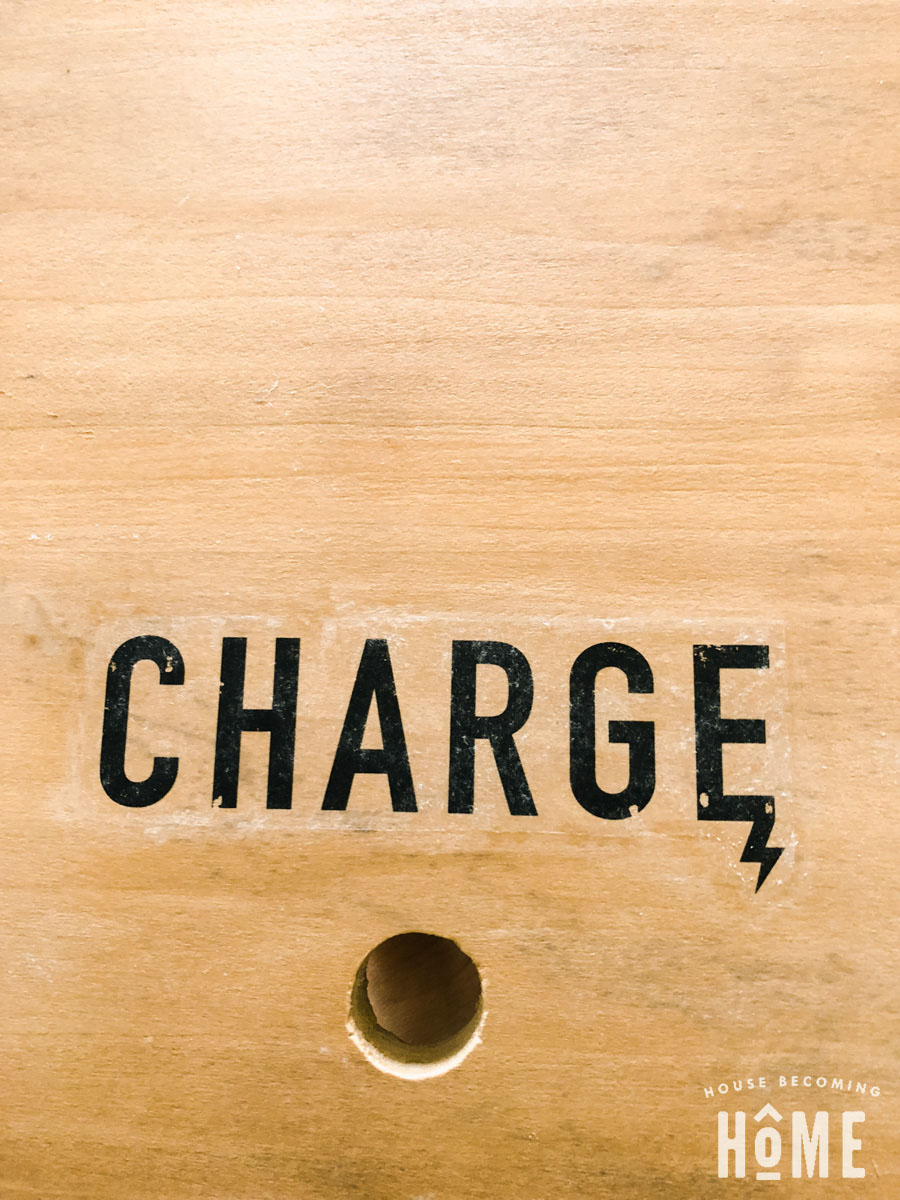
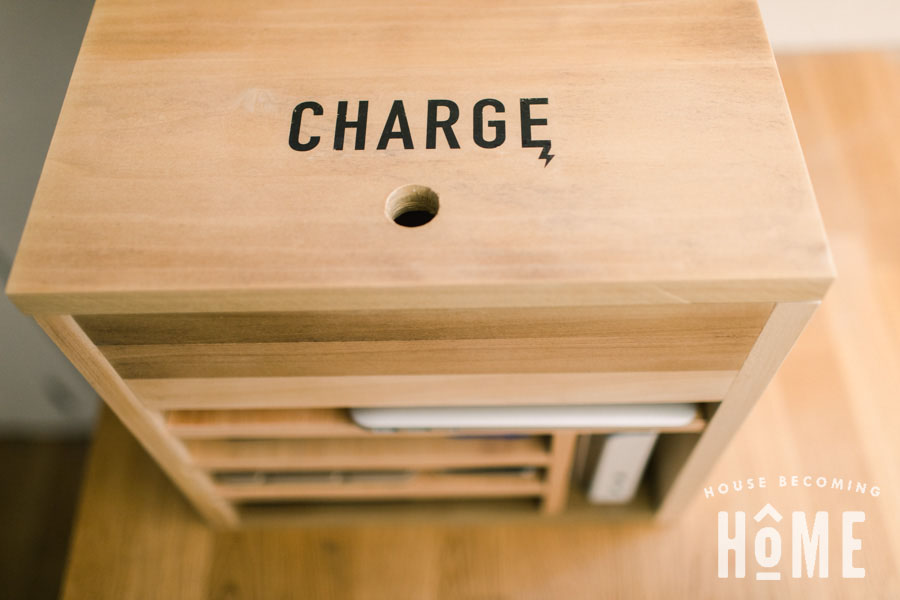
Last week I made a charging station as a neat and orderly place to store our household’s many ipads, iphones, tablets + macbook. I really wanted to incorporate some kind of text/graphic into the design–it seemed like the perfect project to try out my new, print-on-wood knowledge. After playing around a bit, I made this simple graphic:
With less than ten minutes of actual “work,” about an hour of drying time, and PRACTICALLY NO COST, I had the graphic transferred onto the top of my charging station. Here’s how I did it.
How to Print on Wood Easily and Affordably
Supplies
- Polycrylic
- Text or design of choice, printed on regular paper with a laser jet printer (if you don’t have a laser jet printer, most libraries do–bring it there to make a print for $0.25)
- Paintbrush or foam brush
- Toothbrush
- Water
- Permanent Marker (optional)
Instructions
Step 1
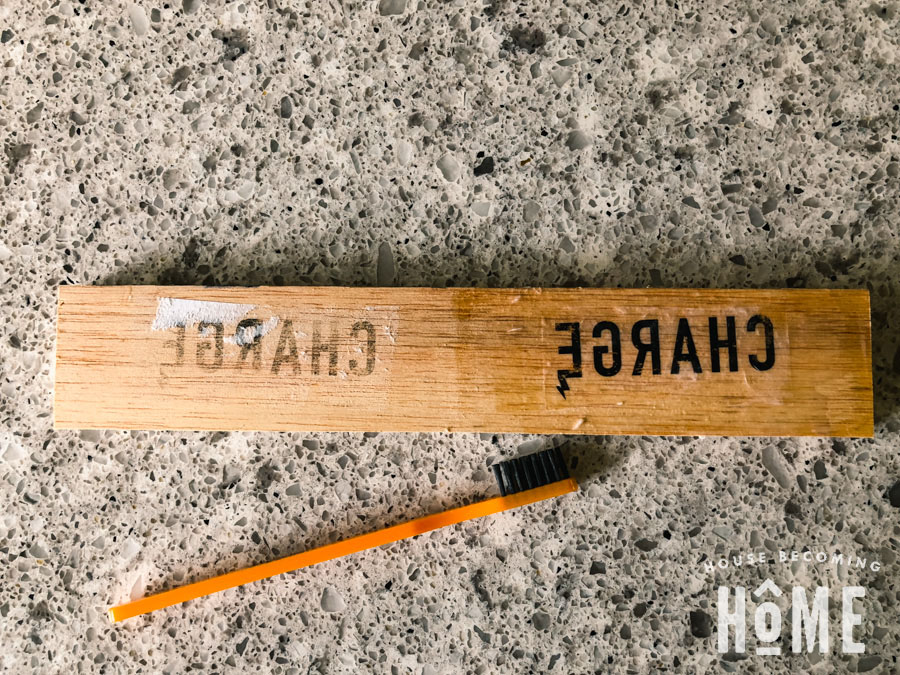
It’s always a good idea to start with a test on a scrap piece to get a feel for the process. I did a few tests on scrap pieces, and learned several important things:
1. Use a reflected version of the image you are transferring to wood. Doh!
2. Don’t go too light on the polycrylic. I used a fairly thin, light layer of polycrylic on the left side (didn’t transfer very well), and several thick layers on the right (much better!).
Step 2
Print your text or image using a laser printer. I realize not everyone owns a laser printer, but the good news is you can bring your file to your public library, or a local copy center, and have it printed for cheap.
DON’T FORGET TO REFLECT YOUR IMAGE! You can do this in image editing software like Adobe Photoshop, Illustrator, etc.
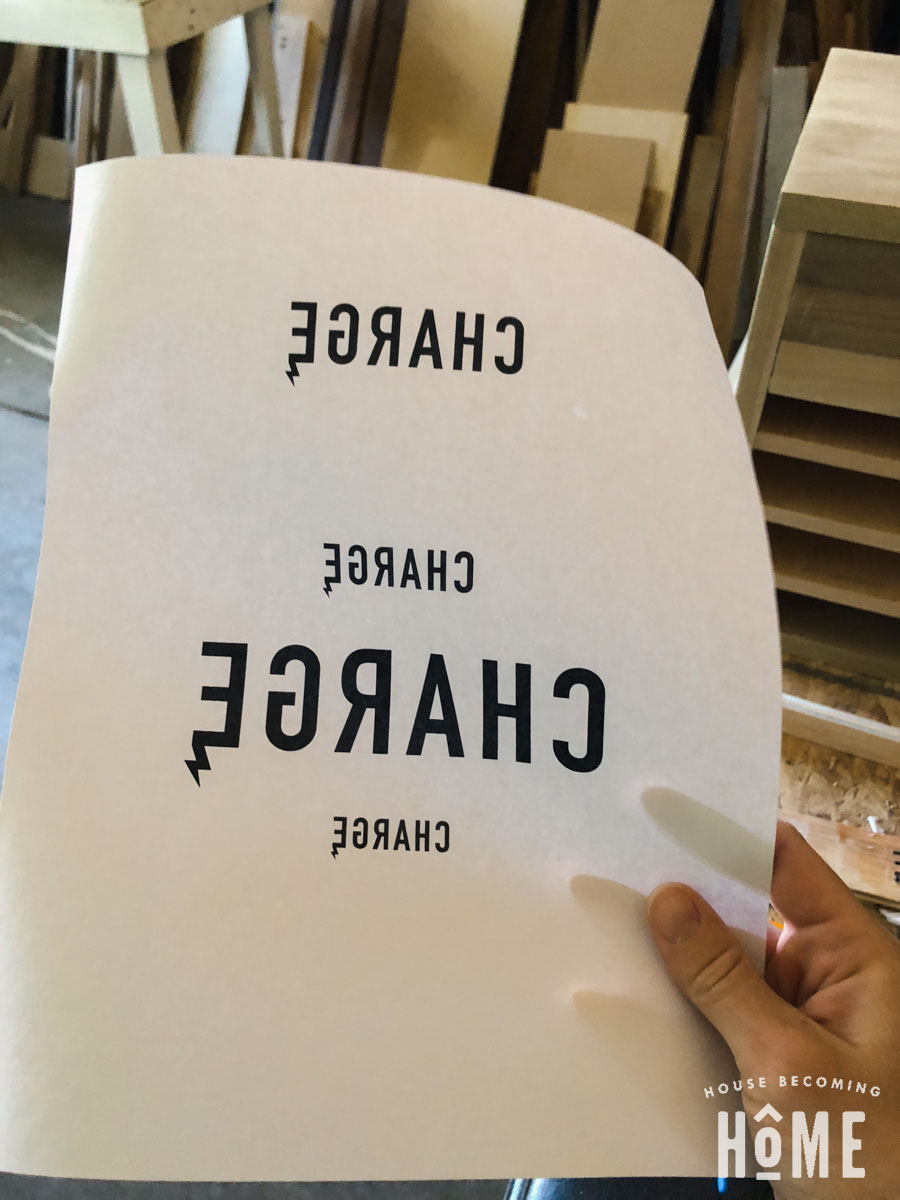
I included several different sizes of the “charge” icon in my print, as I wasn’t entirely sure which size I wanted.
(Here’s the view of my print from the back, with the light shining through . . . you can see how it’ll look transferred to the wood.)
Step 3
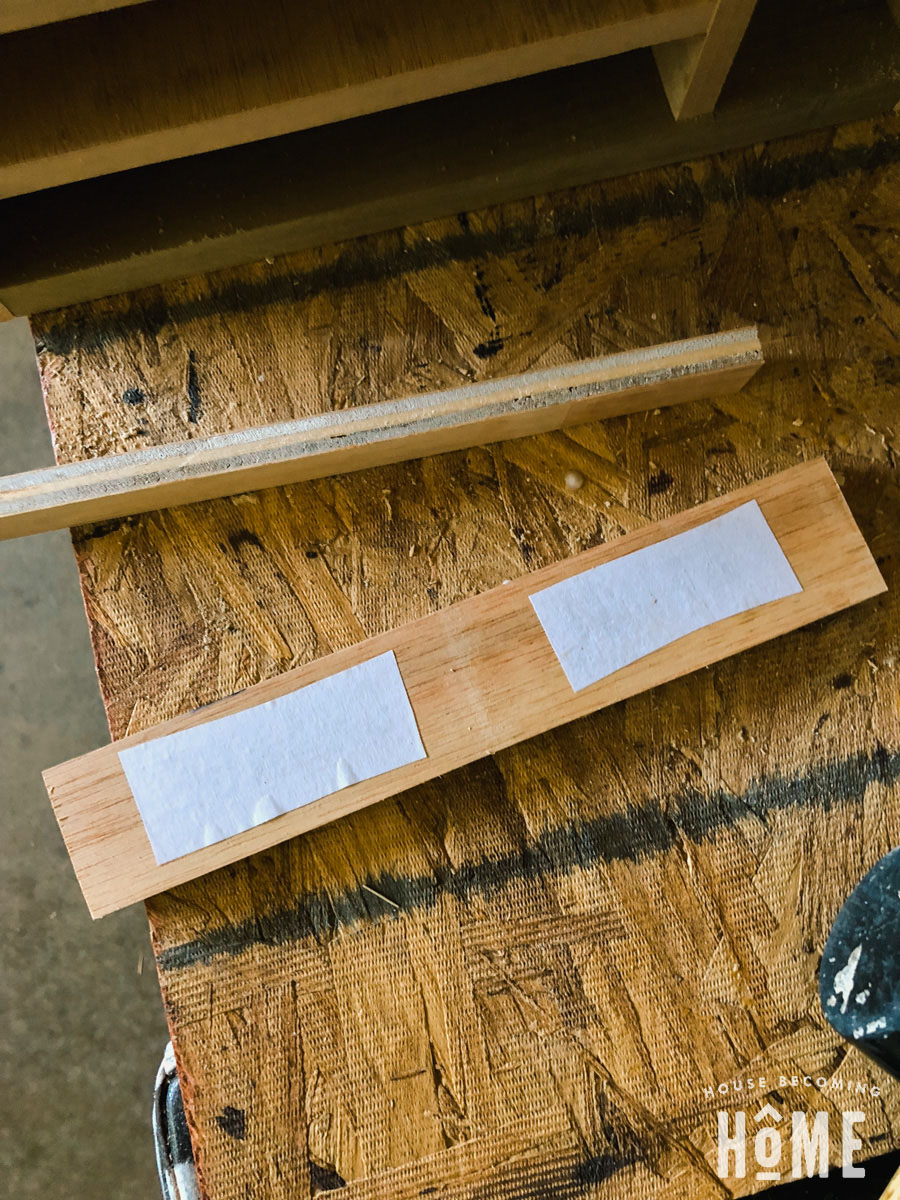
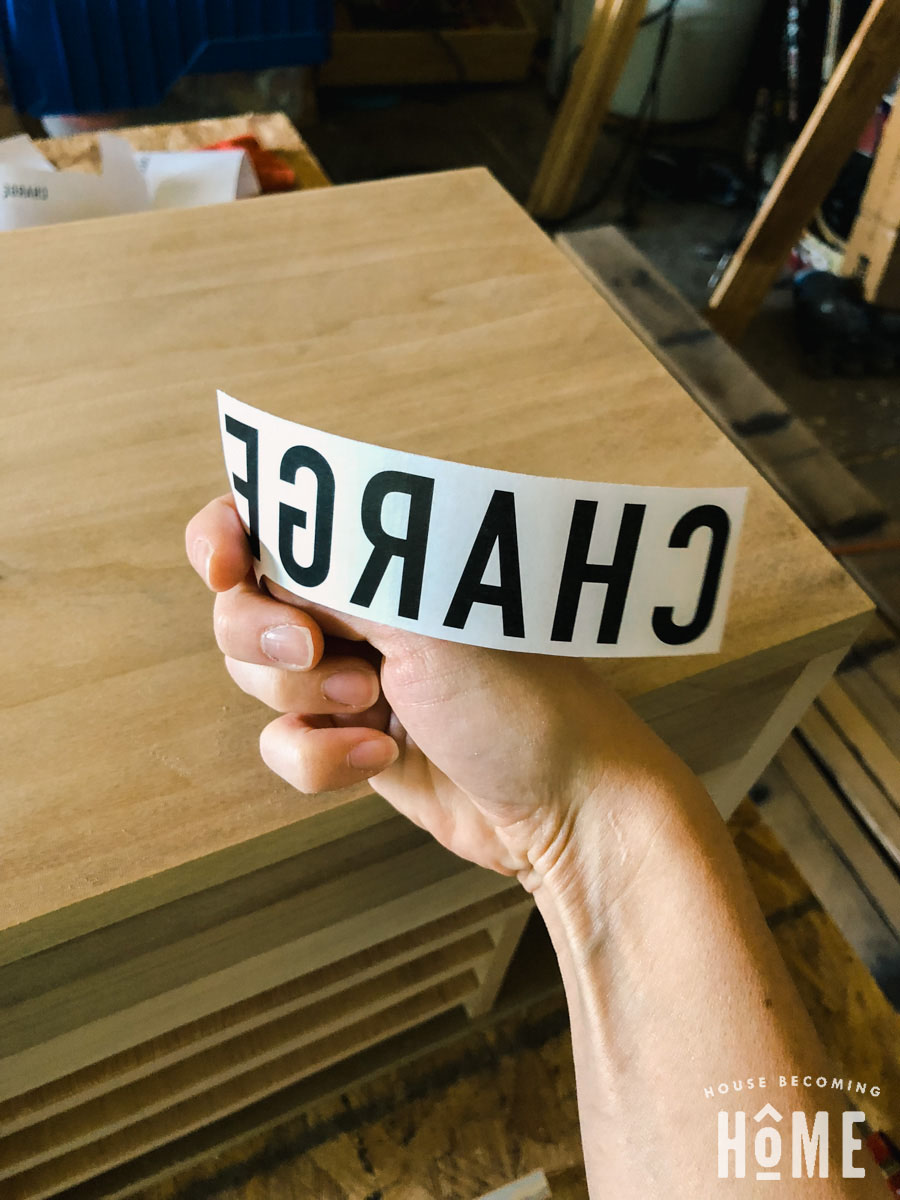
Trim your image. The less excess paper you leave around the image, the less you’ll have to remove later.
*TIP*
Because you can’t quite see what you’re doing when you flip the image over and onto the wood, it’s a good idea to at least cut the top edge straight. This way, when you place your image face down, you’ll know your image is properly aligned, not off at an angle.

STEP 4
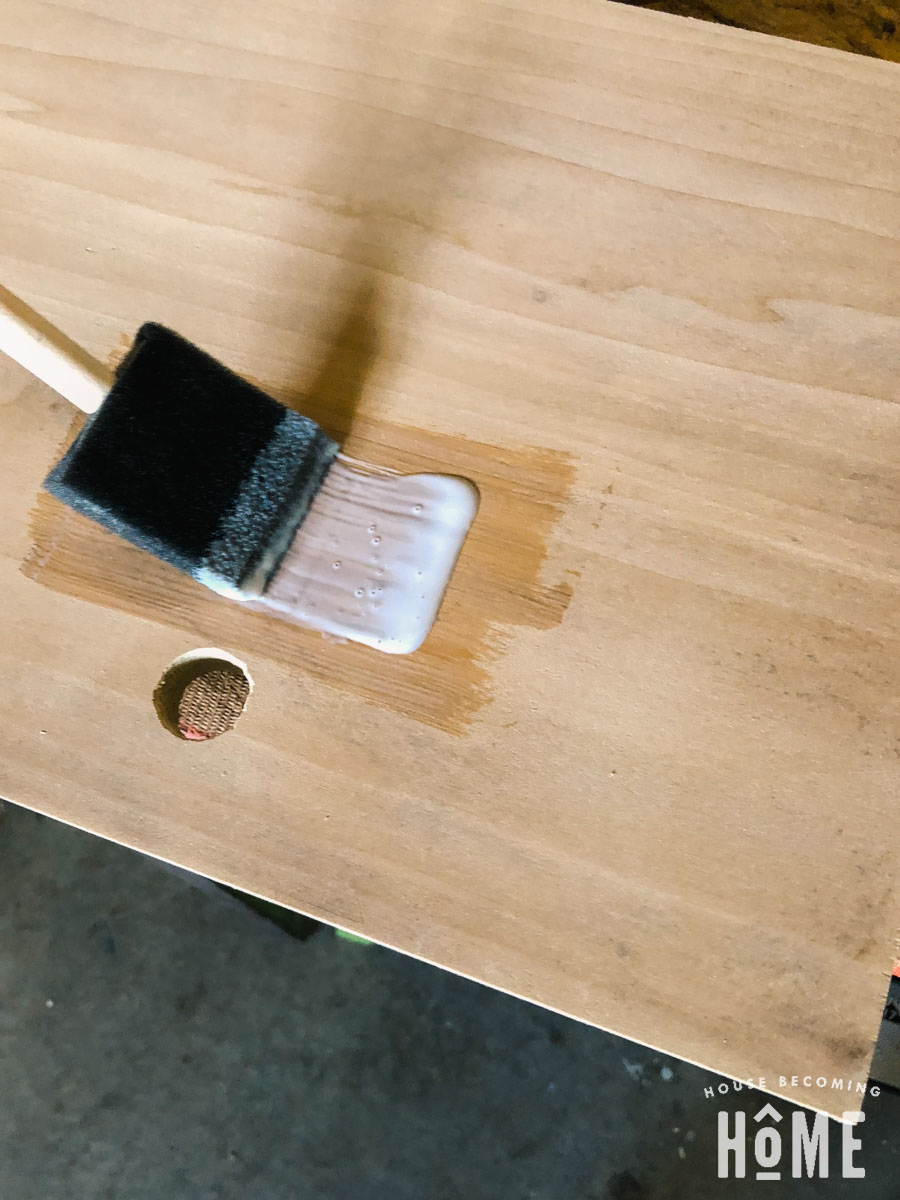
Make sure the surface of the wood you are using is clean and free of dust.
Using a foam brush, wipe polycrylic onto the surface of the wood where you will be transferring your image. I learned when doing my tests that a thin layer is not enough. Go fairly heavy with it, though not so heavy that your paper will be slipping around in a pool of polycrylic.
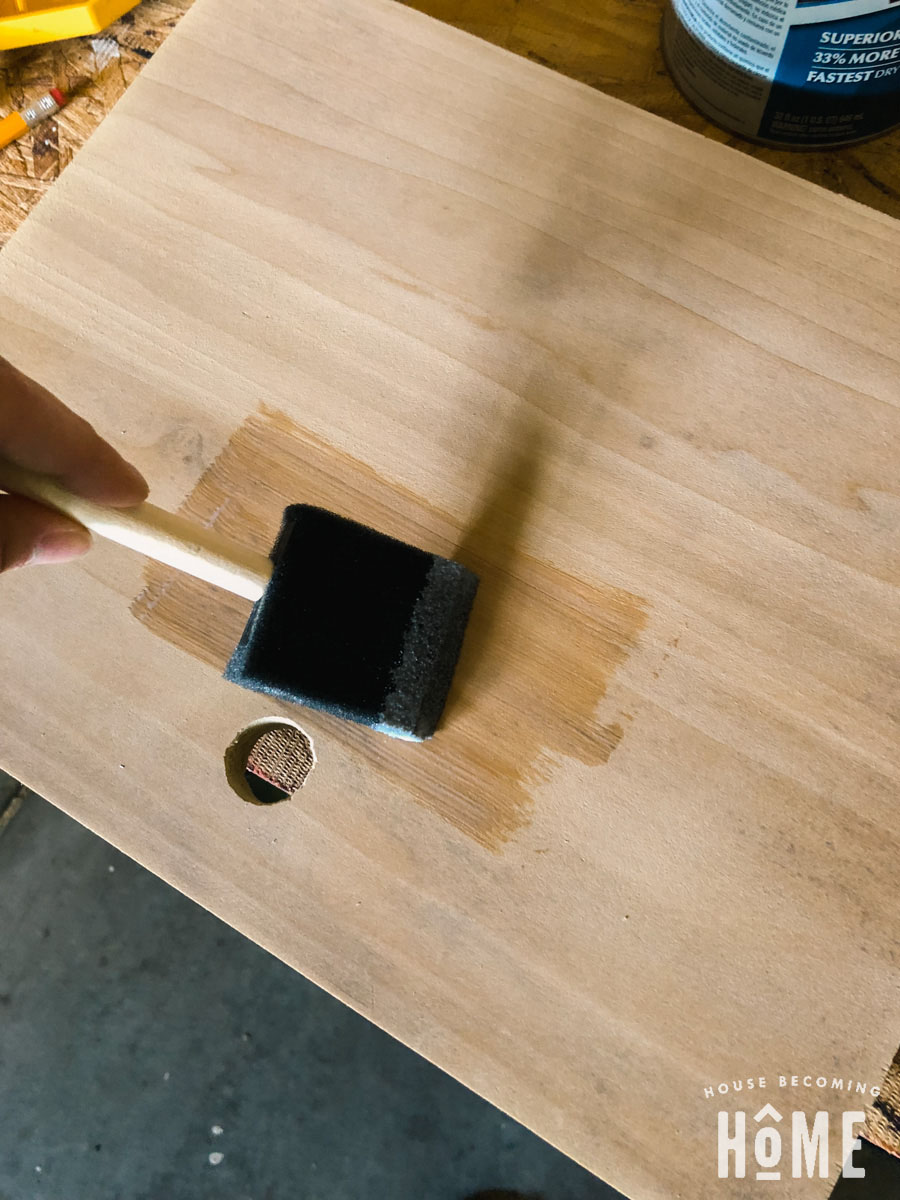
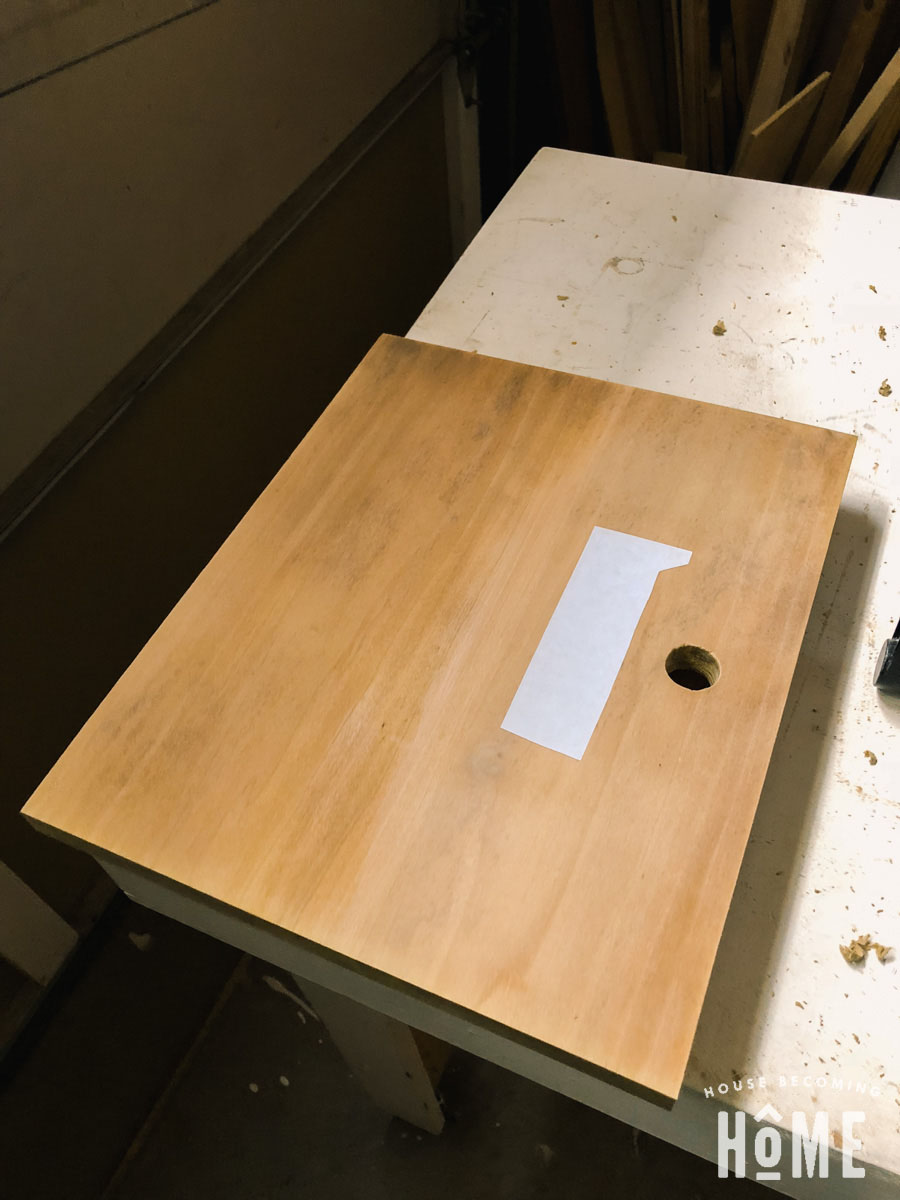
Place the image onto the wood making sure it is lined up, then push it firmly into the wood to remove any air bubbles. I tried to make sure I could see each of the letters from the back side getting wet.
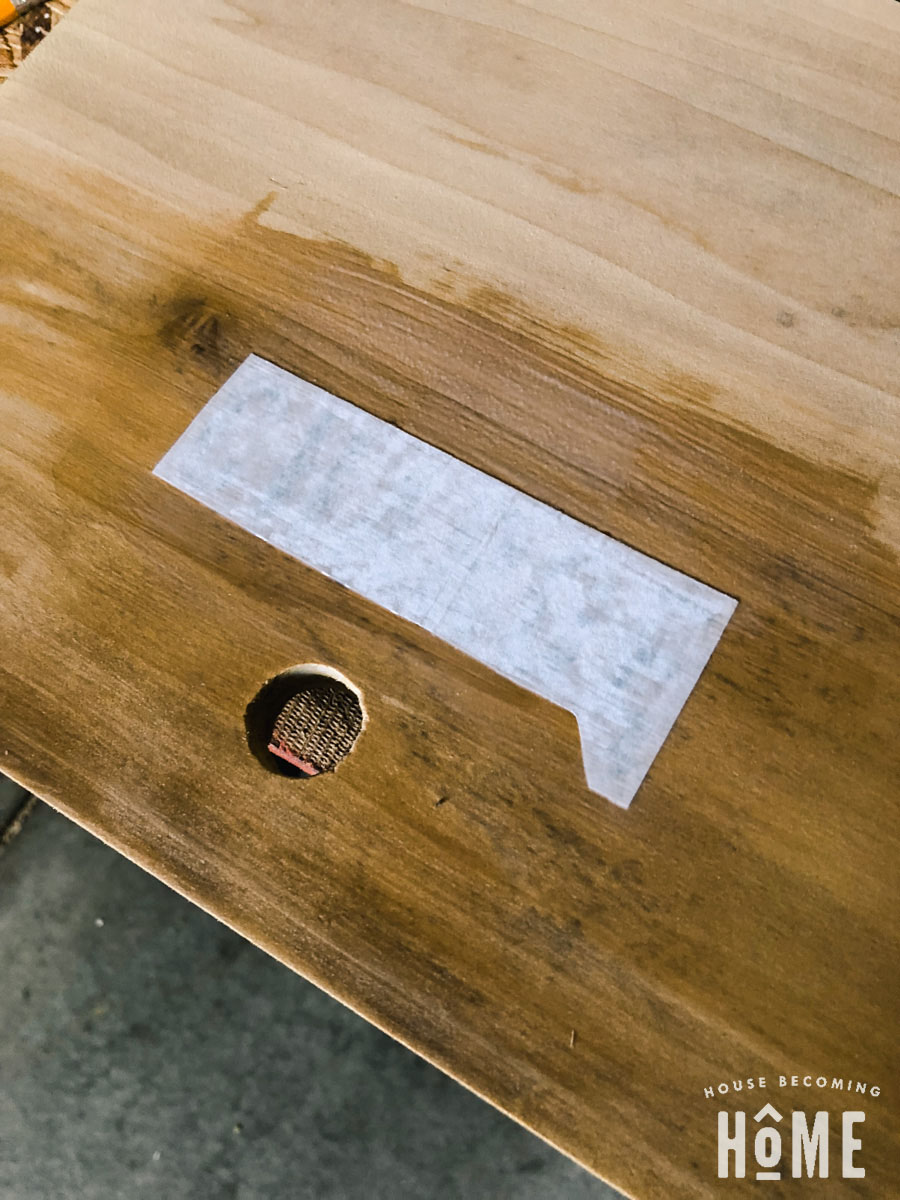
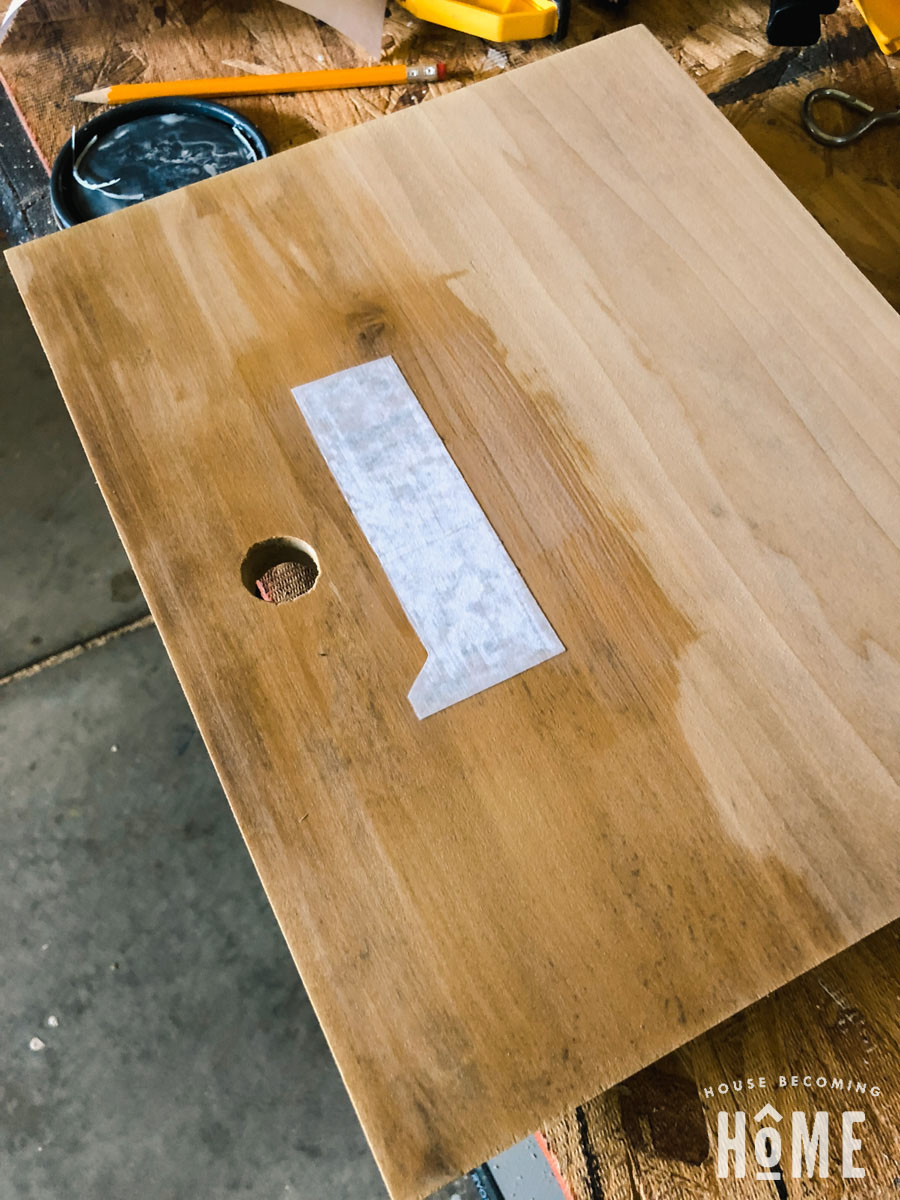
Let dry for about an hour.
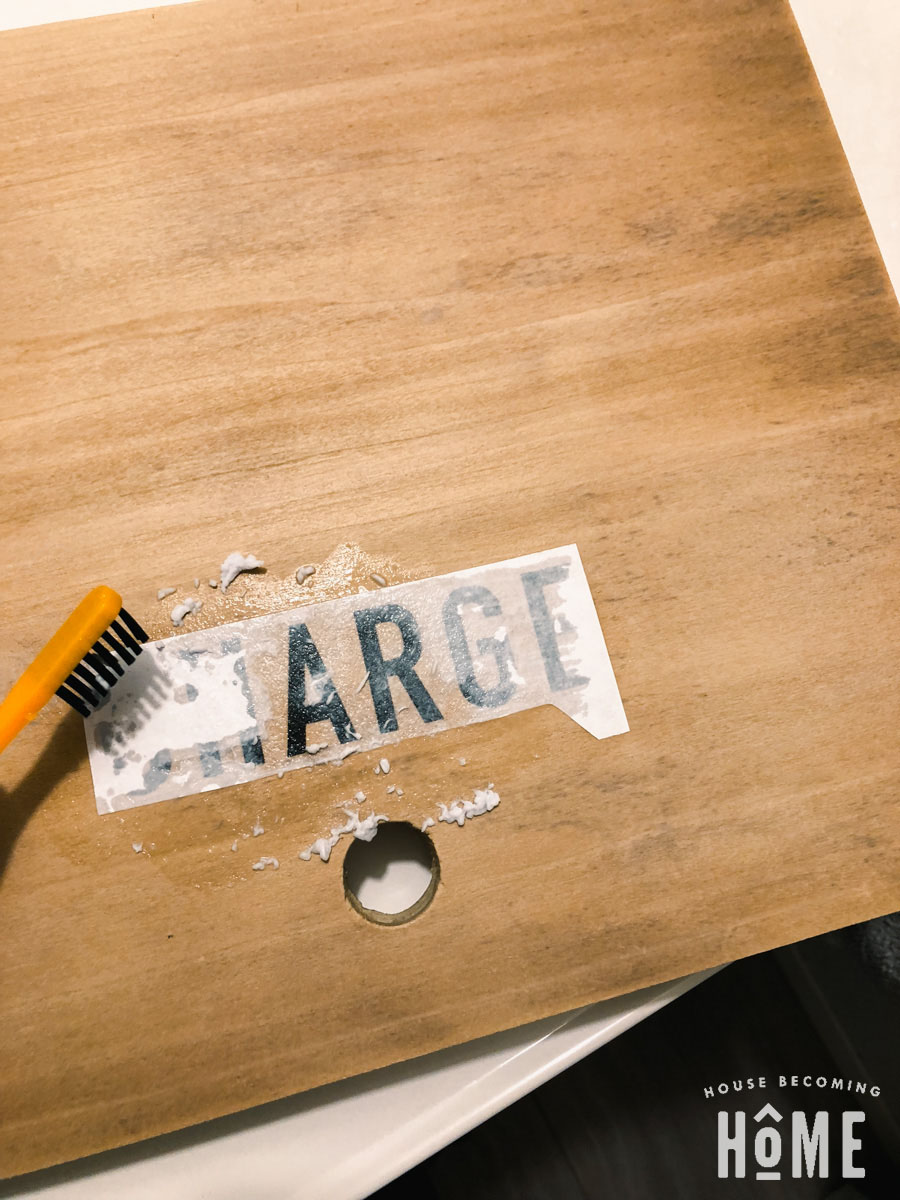
Step 5
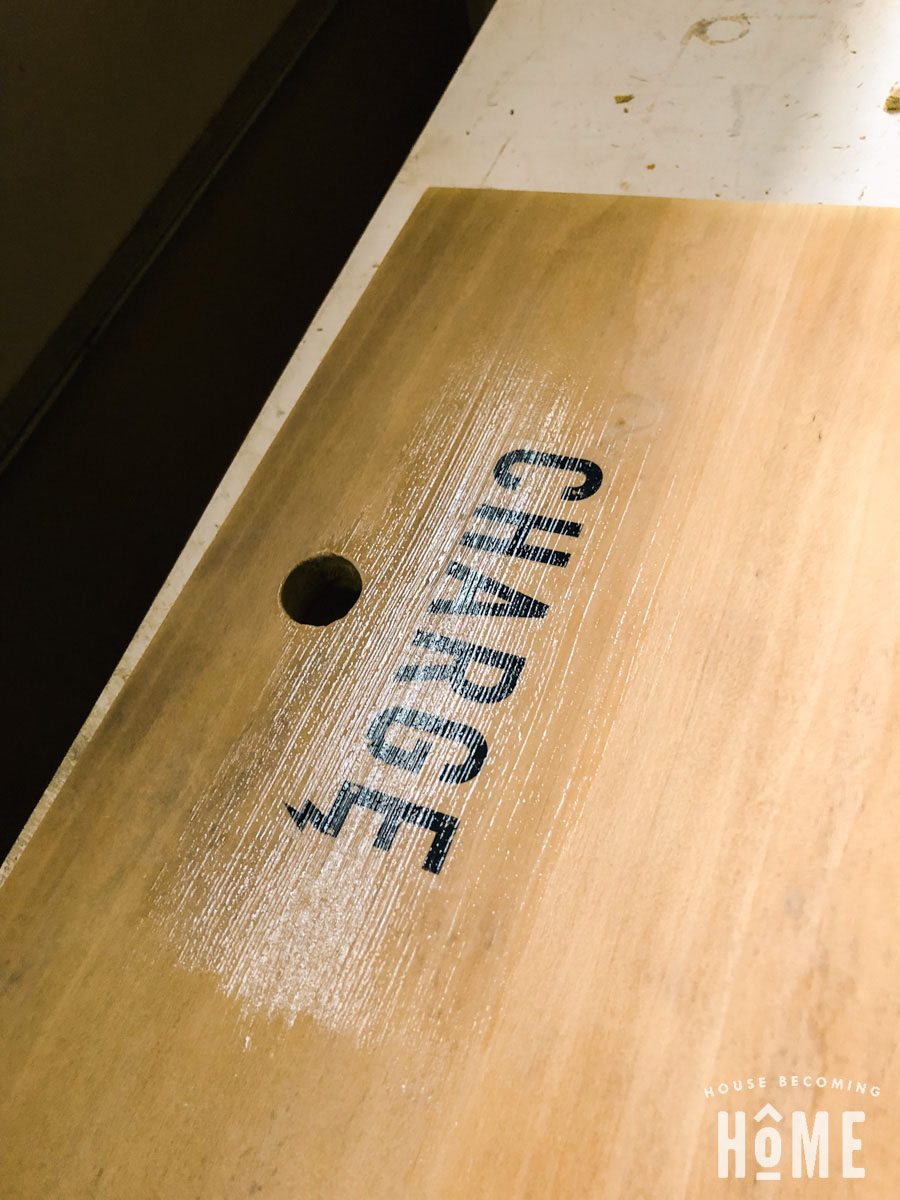
Remove the paper from the wood by first getting it wet. Pull off whatever bits of paper you can, then use a toothbrush to gently scrub off the paper. This is an excellent time to use those cheapie toothbrushes the dentist hands out to your children when they’re trick or treating. 😉
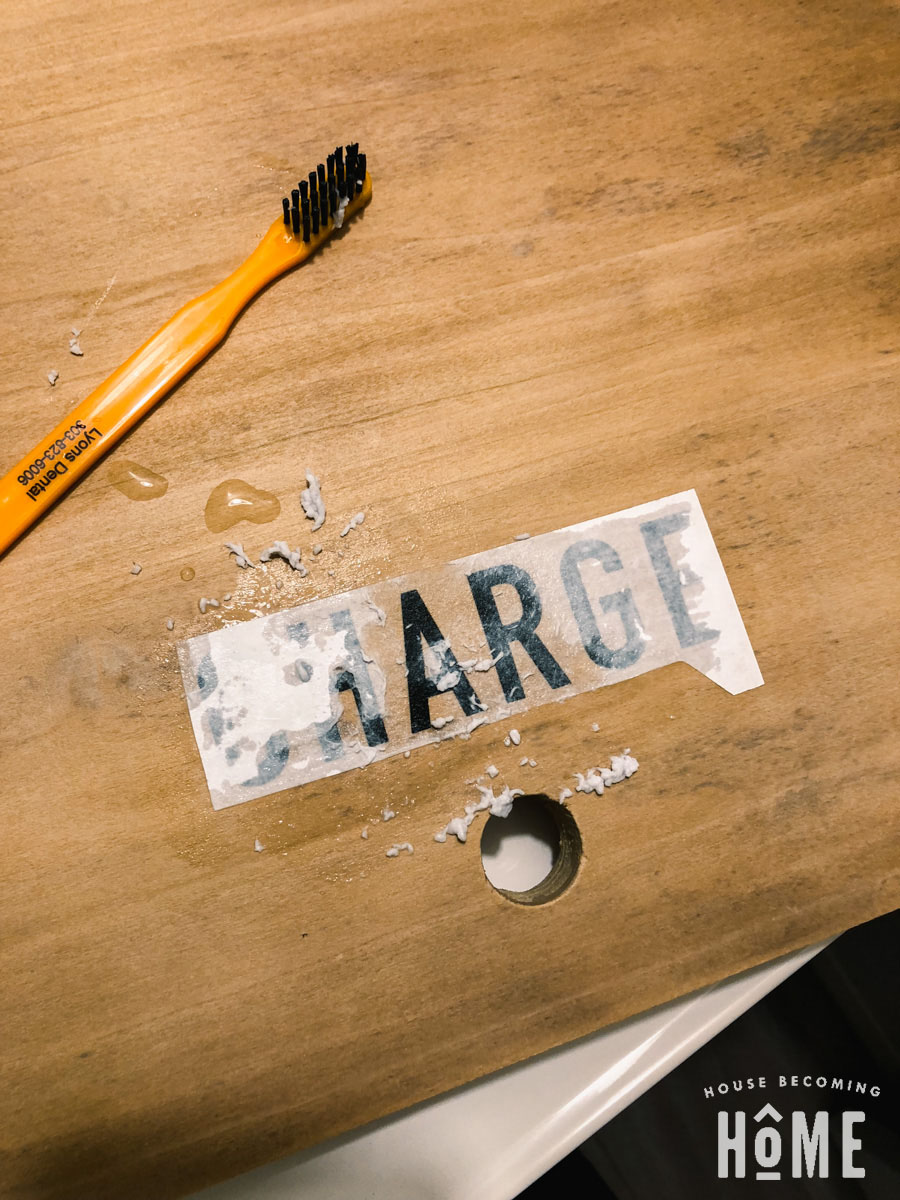
Once the toothbrush had done all it could, I rubbed my finger back and forth across the surface to remove the final bits of paper
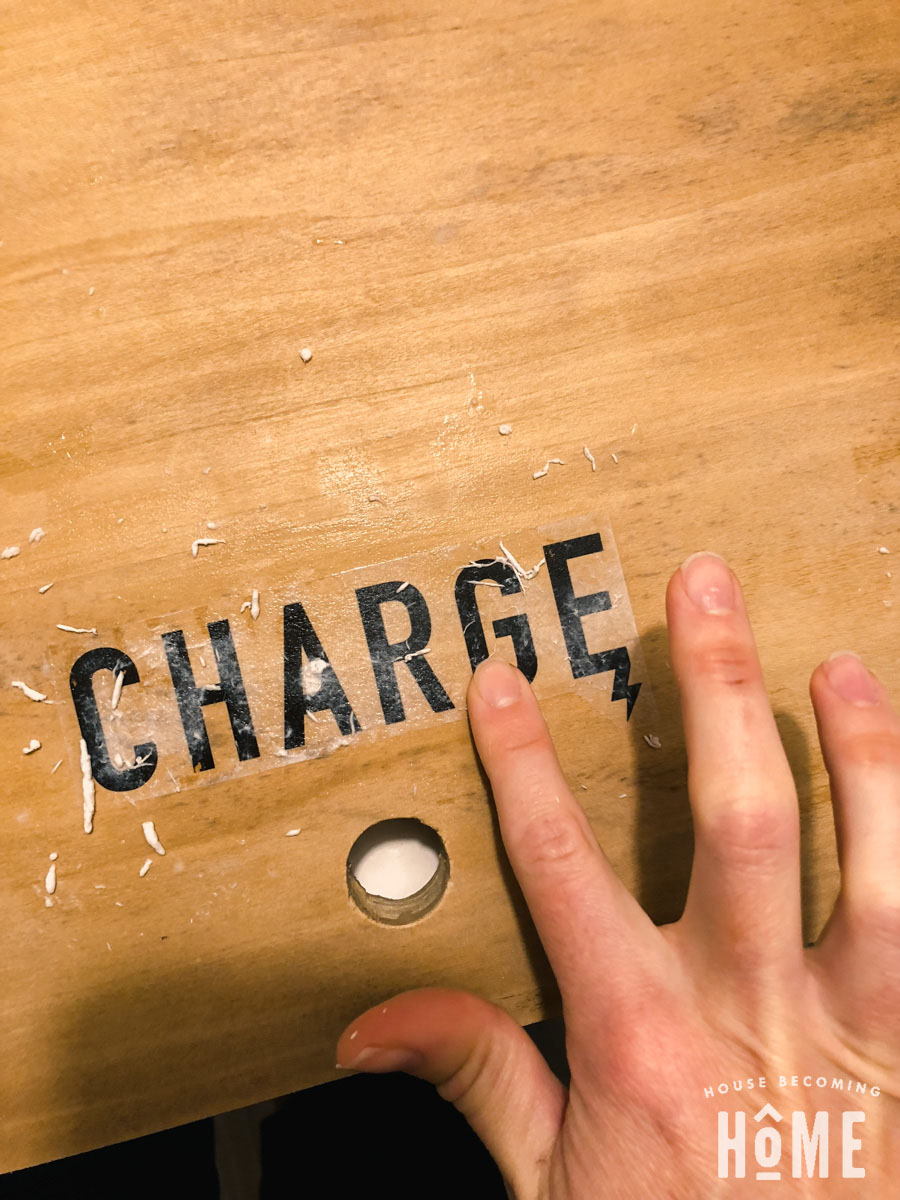
I had a little bit of a “border” around my image where the paper had been. I think this was basically a line from where the polycrylic had “pooled” around the paper. Using 220 grit sandpaper, I carefully sanded the edges of the border, making sure not to sand off any of the image.
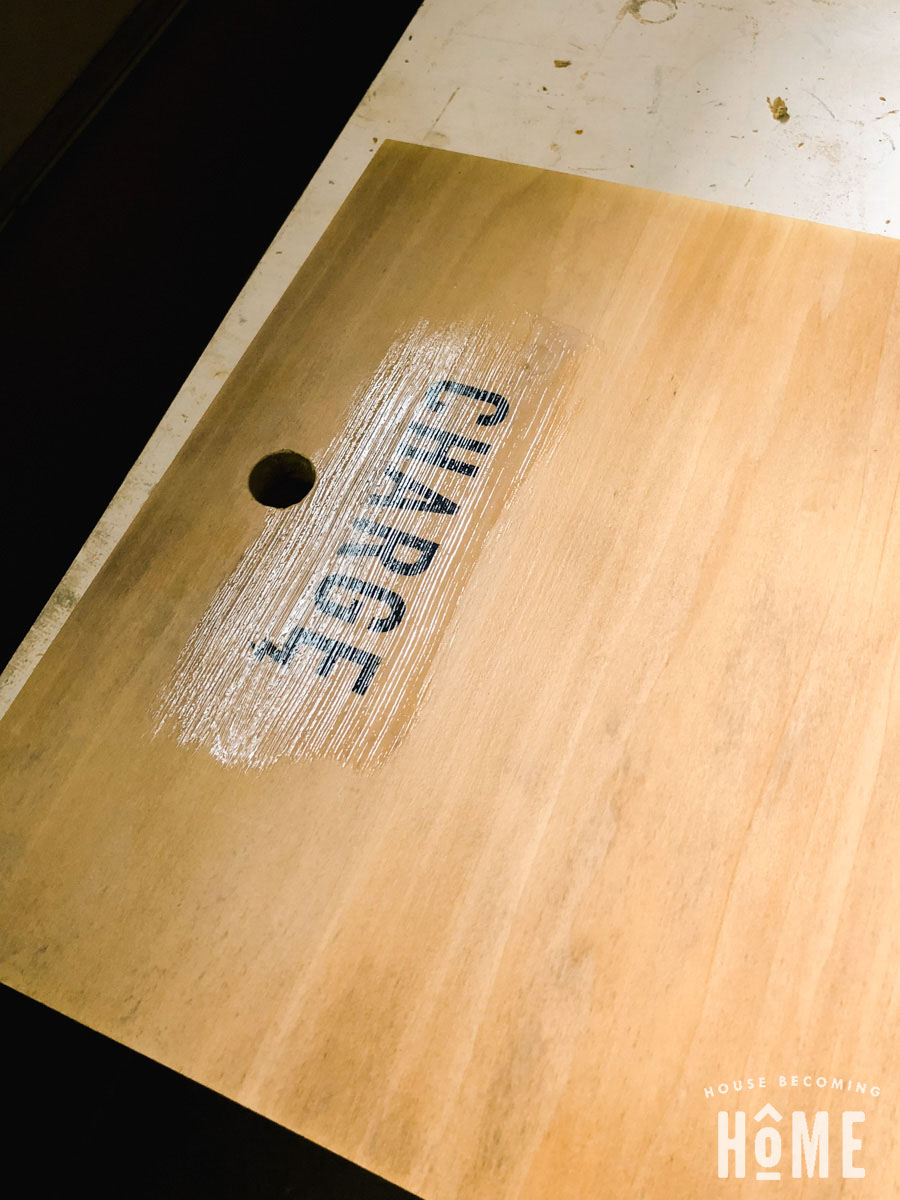
Wipe off any dust with water, then use a foam brush to add more polycrylic across the surface. At this point, I went ahead and added the polycrylic to the entire wood surface, not just the image area.
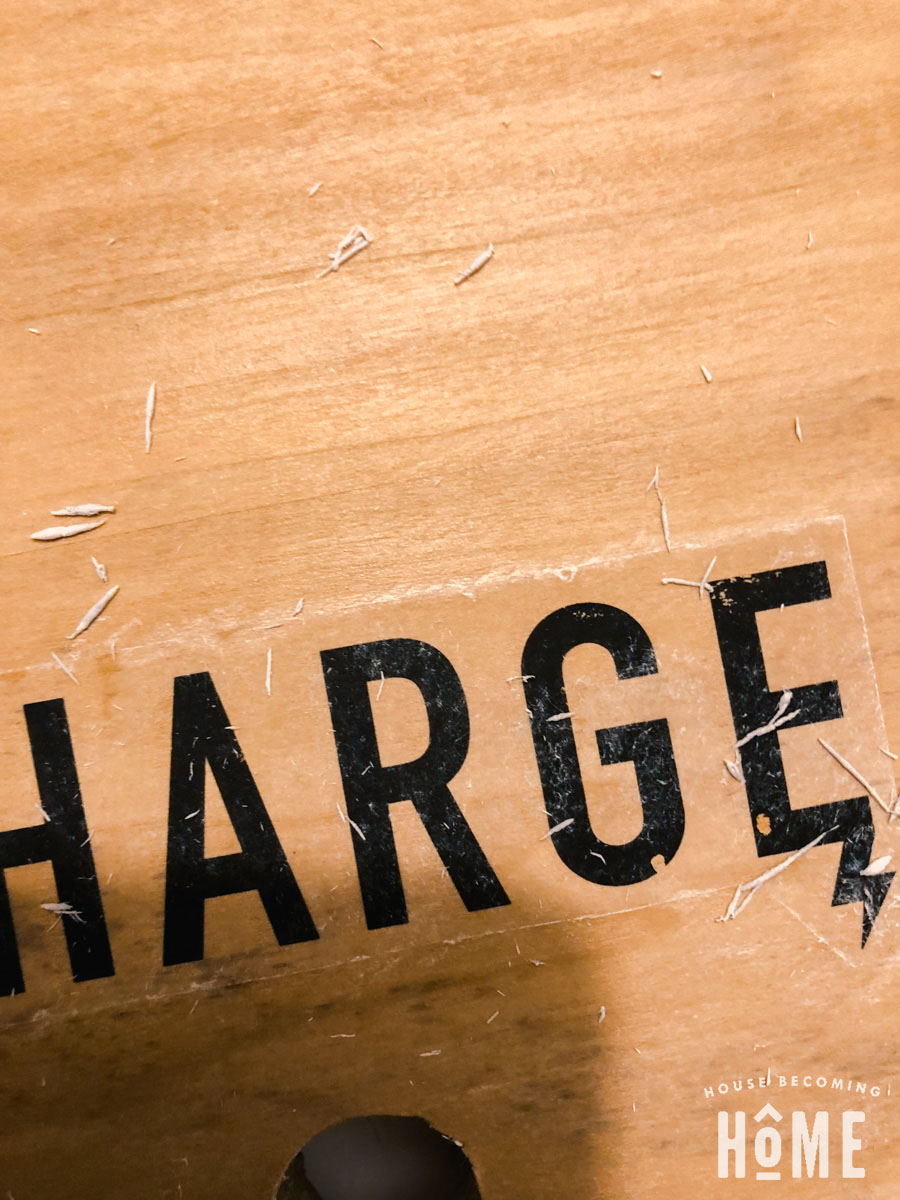
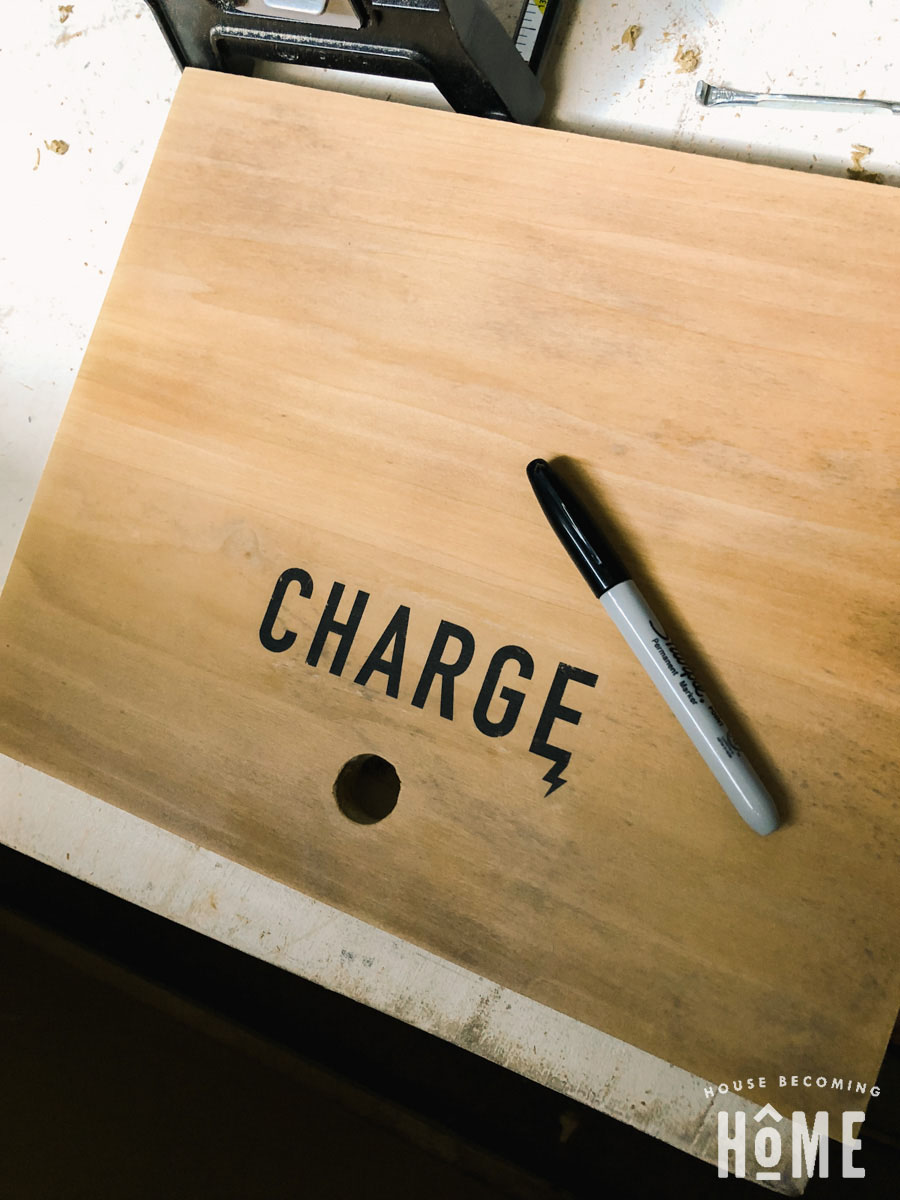
If there are any spots that were pulled off while you were removing the paper (like in my H, G and E), use a permanent marker (after the polycrylic is dry) to carefully fill them in. I noticed that the permanent marker had a different sheen than the other black areas, but luckily after layering with another coat of polycrylic, I couldn’t tell.
Next time, to avoid losing pieces of the transferred image, I think I’ll use even more polycrylic when initially placing the image, and perhaps increase the dry time to a little over an hour.
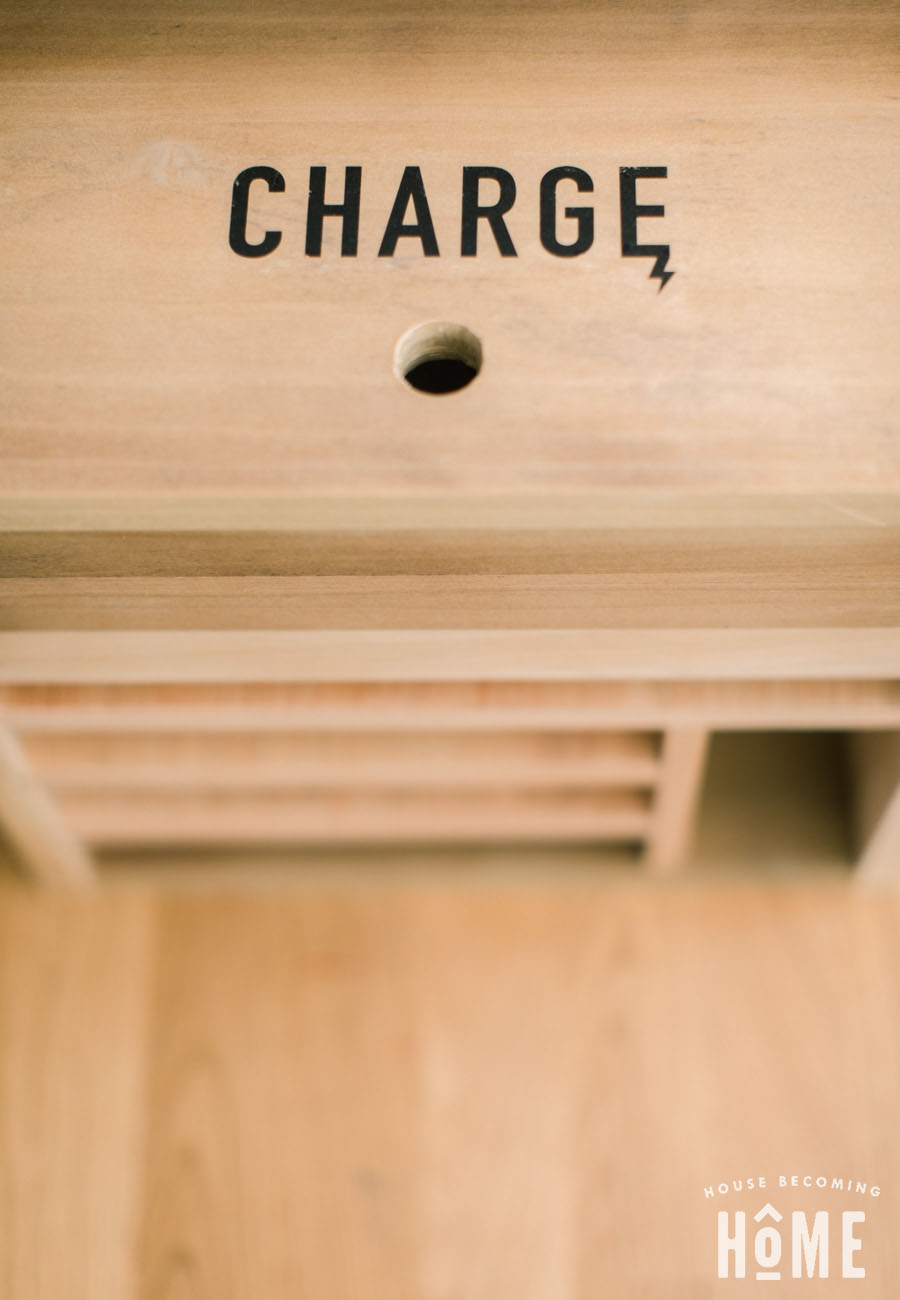
And here’s a peek at the finished charging station. Print on wood success!
If you’re making a DIY charging station and would like to use the CHARGE icon I designed, I’ve created a PDF file for you. The PDF includes the icon reflected at several different sizes so you can select the one that works best for your project. Just print it on your laser printer, grab a foam brush and polycrylic and you’ve got what you need to transfer it onto wood.