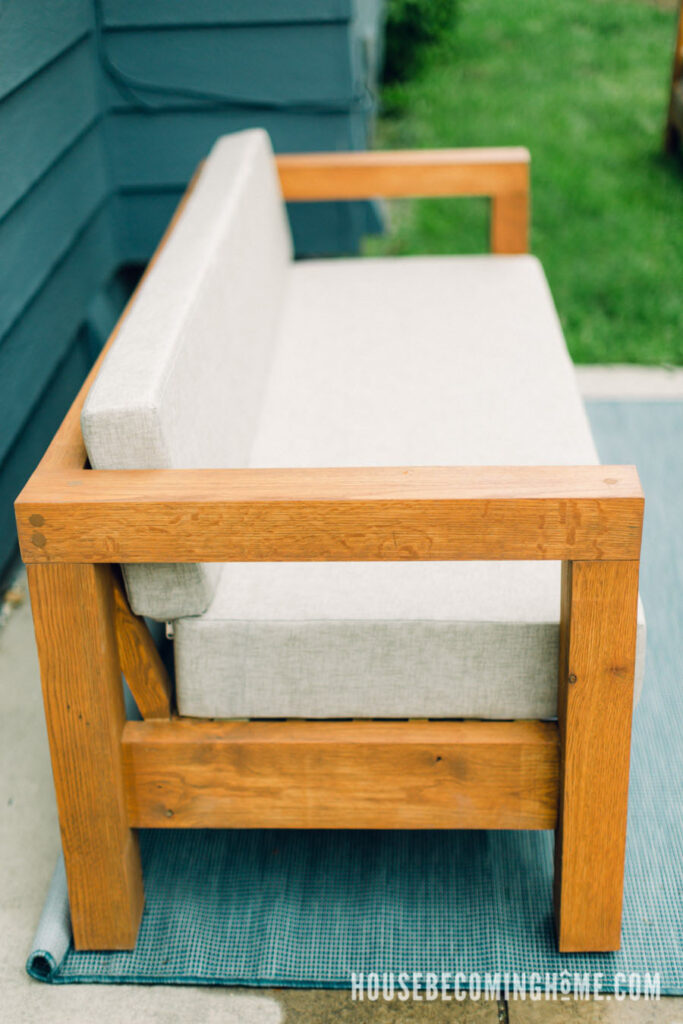
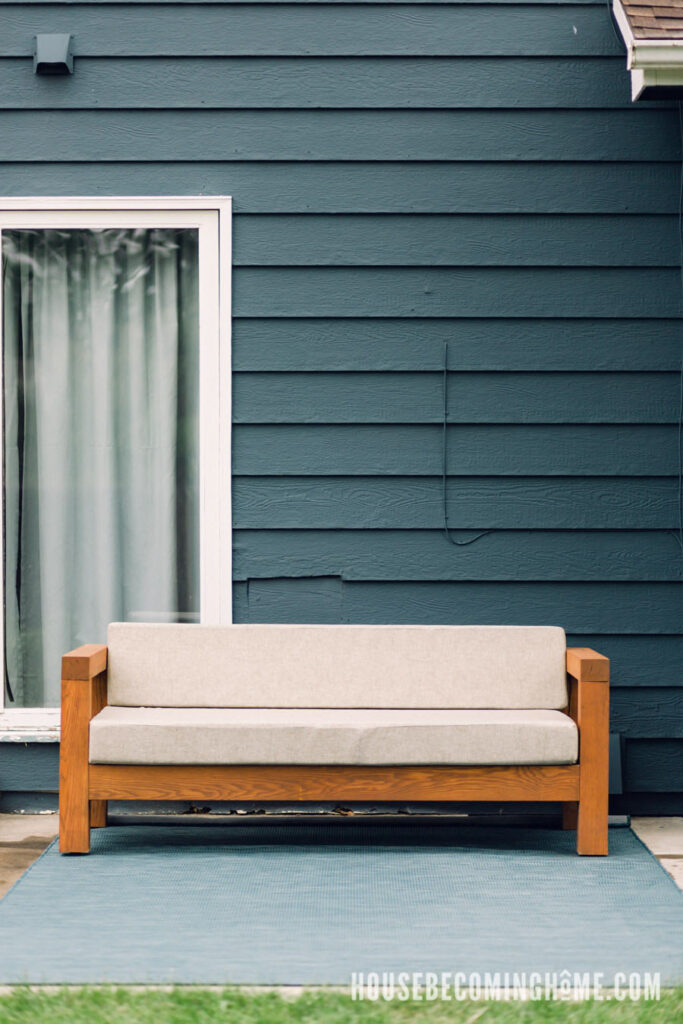
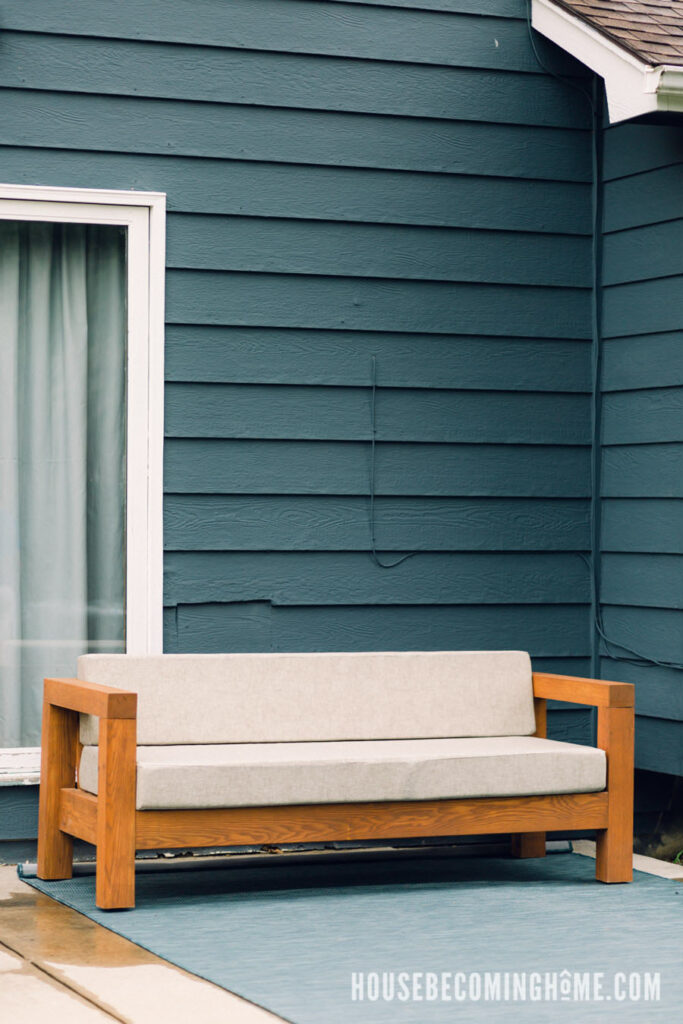
I finished building this modern outdoor couch a few weeks ago, and its presence on the back patio has made such a difference in my feelings about our backyard. I love spending our evenings outside and WISH I would have built this years ago!
This outdoor couch is a fairly simple build. Though I designed the plans to be able to accommodate standard sized couch cushions, ultimately I opted to make my own. Sewing the cushions was by far the most difficult and time-consuming aspect of the whole project (let’s just say I’m more proficient using a miter saw than a sewing machine!). If you’re buying the cushions instead of making them, you could easily have this built and ready to use in a weekend.
House Becoming Home is a participant in the Amazon Services LLC Associates Program, an affiliate advertising program designed to provide a means for sites to earn advertising fees by advertising and linking to Amazon.com. Some links in this post may be affiliate links. Read my full disclosure policy here.
Materials Needed
Lumber
- (3) 4×4 x 8ft
- (2) 2×6 x 8ft
- (2) 2×4 x 8ft
- (1) 2×2 x 8ft
- (4) 1×4 x 8ft
Hardware/Misc.
- (24) 2” exterior pocket hole screws
- (6-8) ¼” x 5” hex head steel lag screws
- (4) 2.75” deck screws
- (20) 2” exterior screws
- 3/8” dowel
- Wood glue (something meant for exterior, like Titebond III)
- Finish of choice (something appropriate for outdoor furniture)
Tools
- Miter Saw
- Band Saw OR Jig Saw OR Table Saw with taper jig
- Pocket Hole Jig
- Drill or Impact Driver with bits
- Woodworking Clamps
- Dowel Jig
- Flush Cut Saw
- Sander and Sandpaper
- Optional: Right angle pocket hole clamp
Instructions : How to Build a Modern Outdoor Couch
*If you’re looking for exact dimensions, a cut list, and printable plans, you can find them here: Modern Outdoor Sofa Plans.
1. CONSTRUCT LEGS/ARM
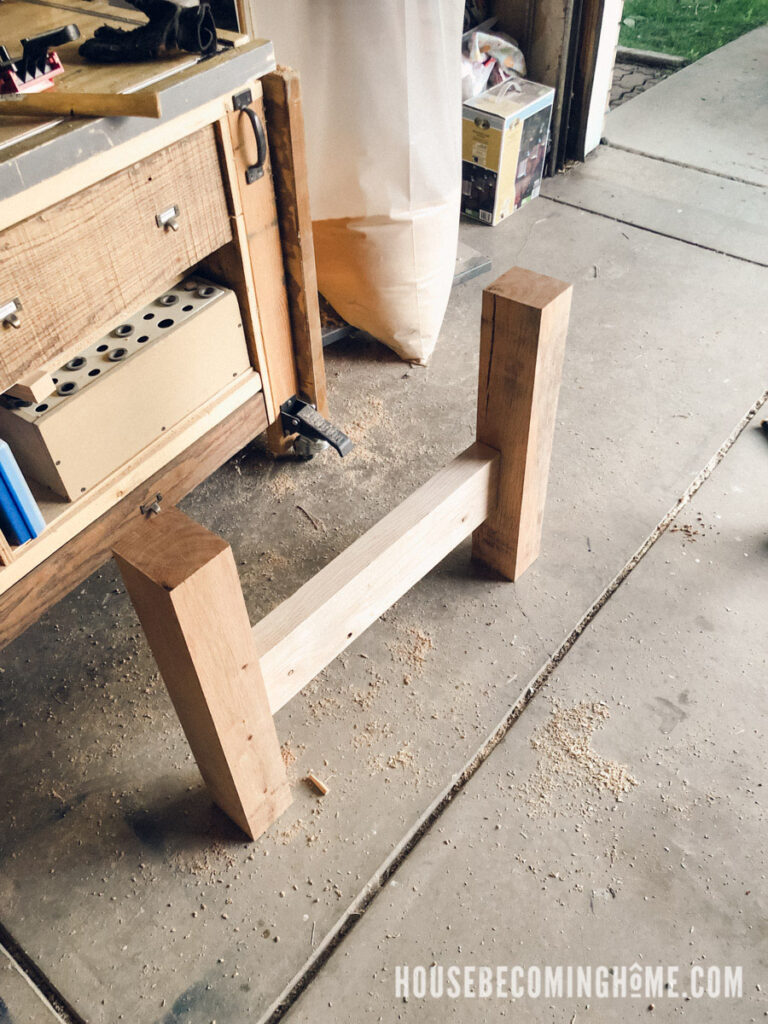
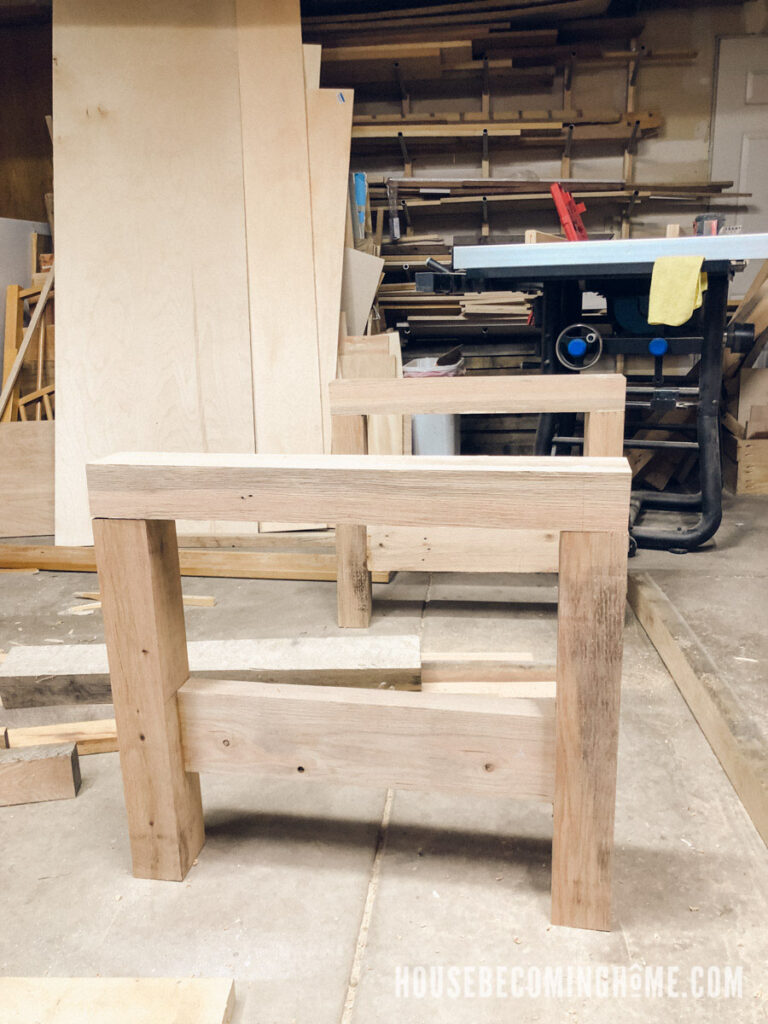
Join one side span to two legs using dowels and wood glue meant for exterior applications. The side span should be flush to the inside of the legs. I use (and highly recommend!) the affordable JointMate Jig to drill the holes for my dowels to ensure everything lines up.
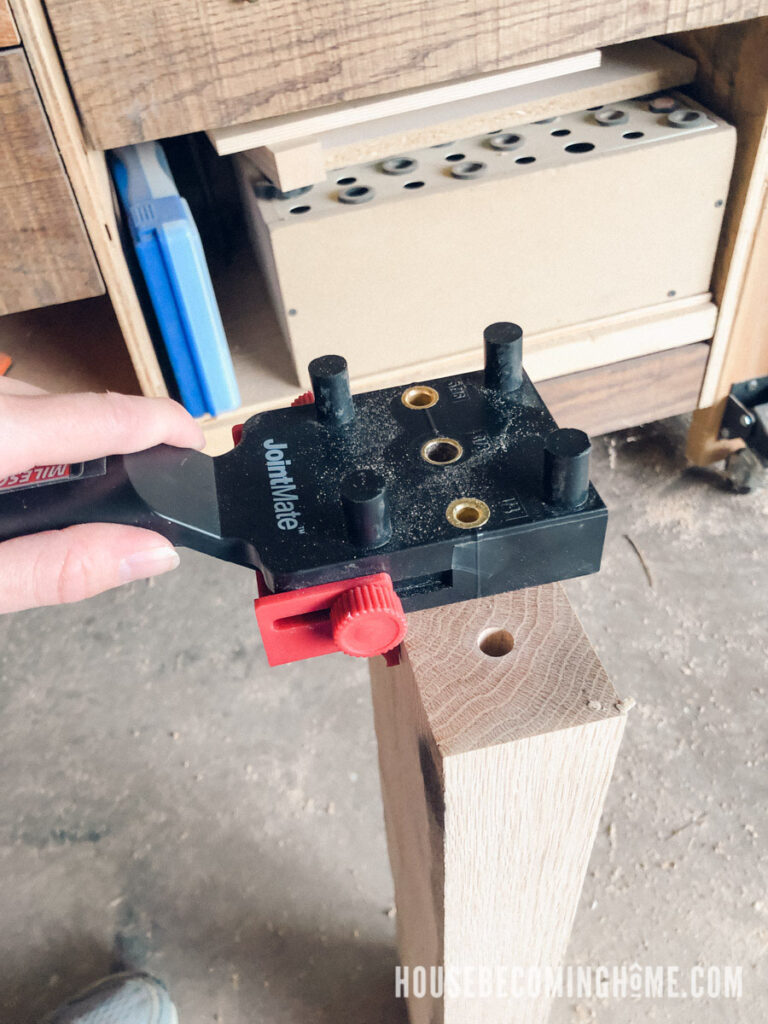
I used three ⅜” dowels for each end.
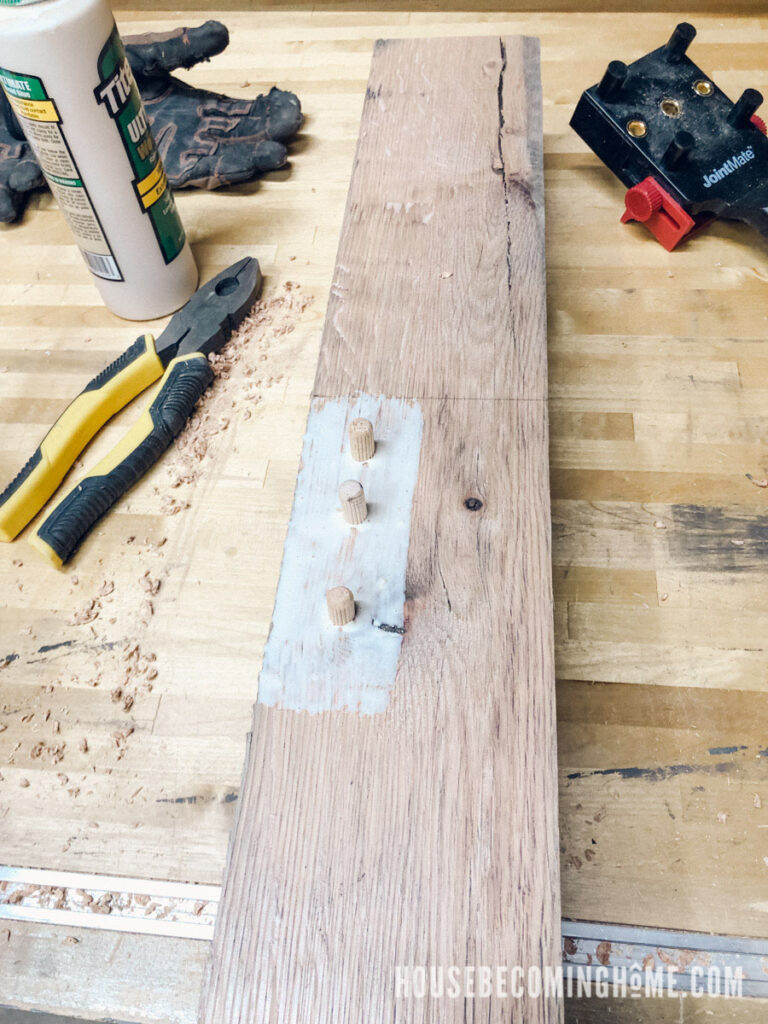
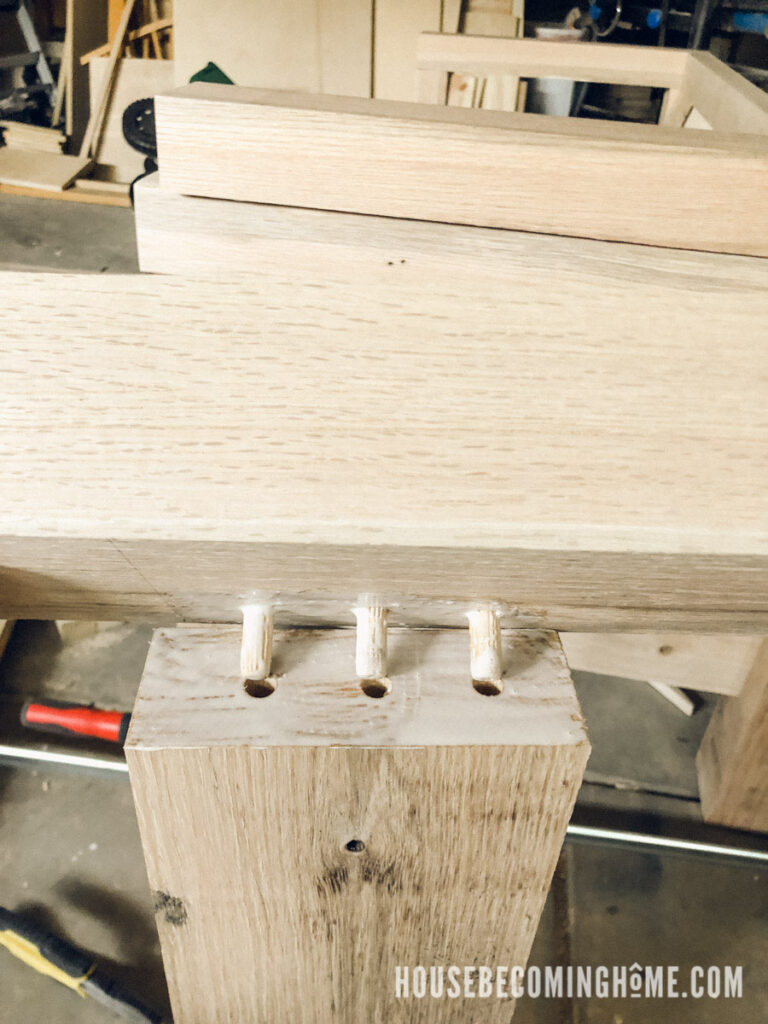
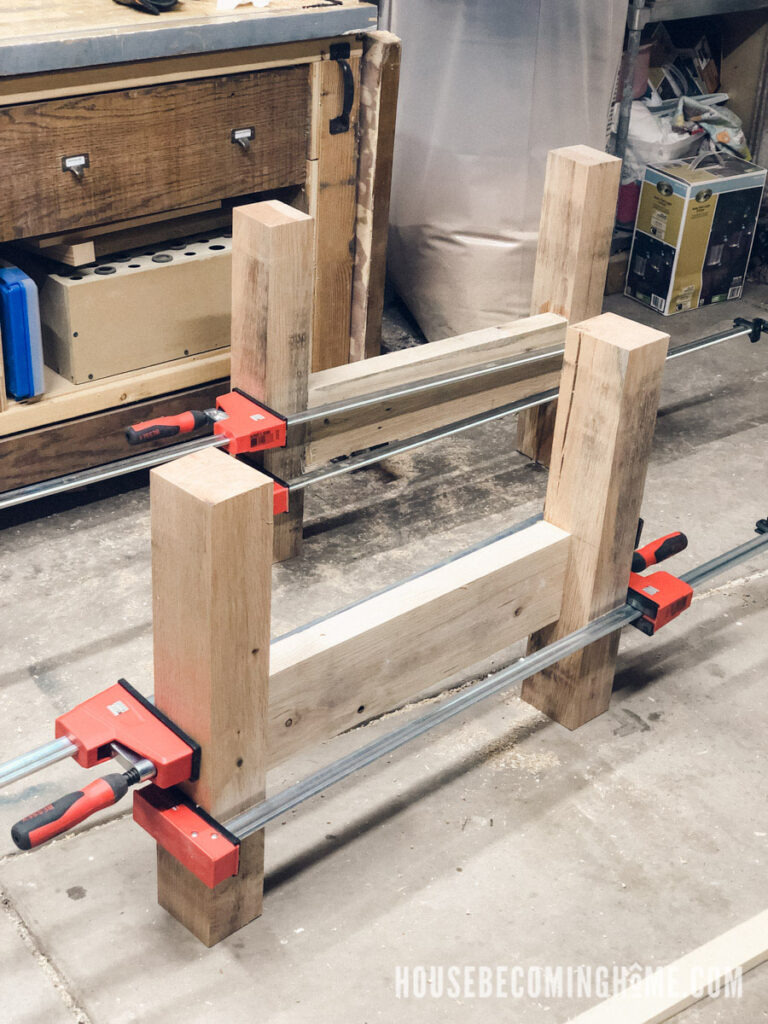
Clamp in place and let dry.
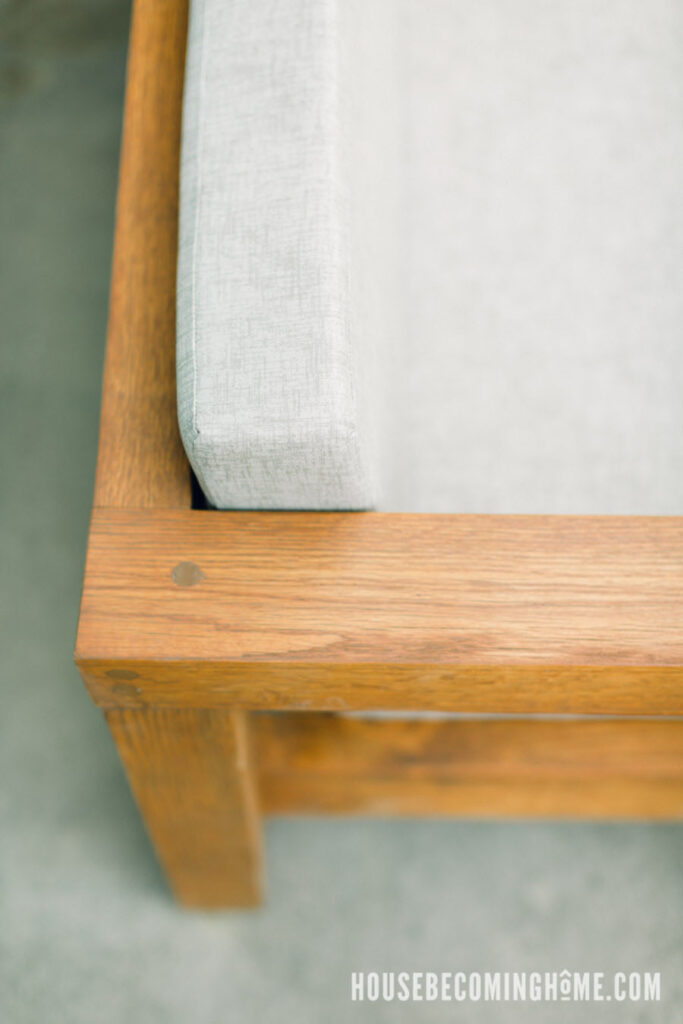
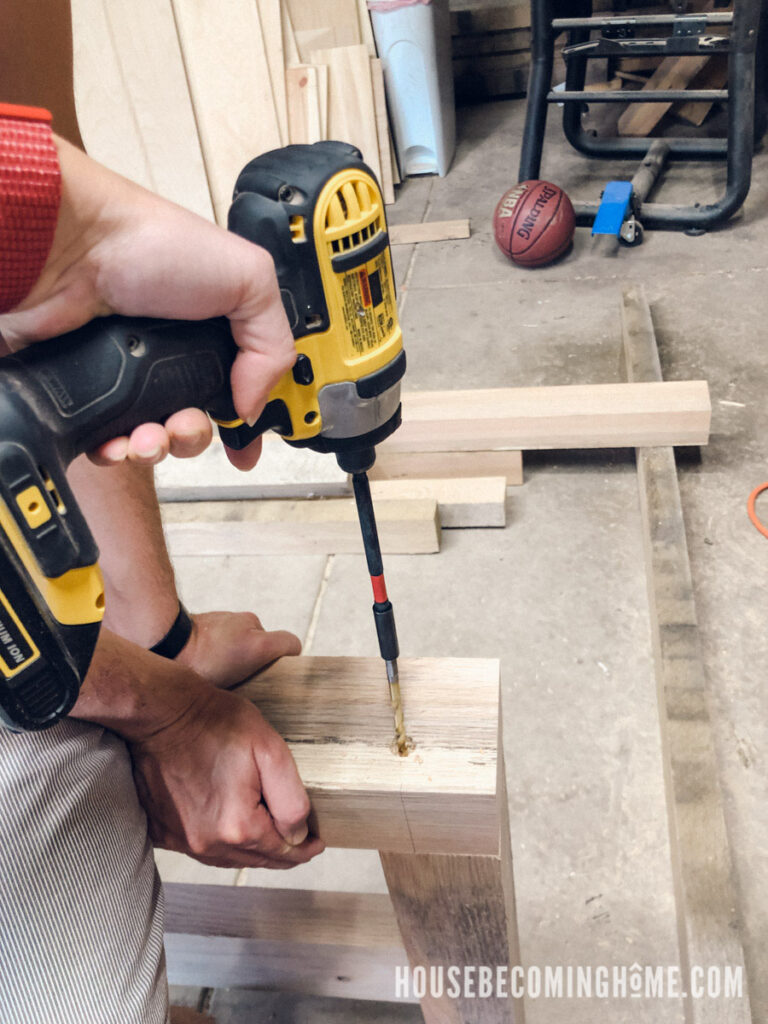
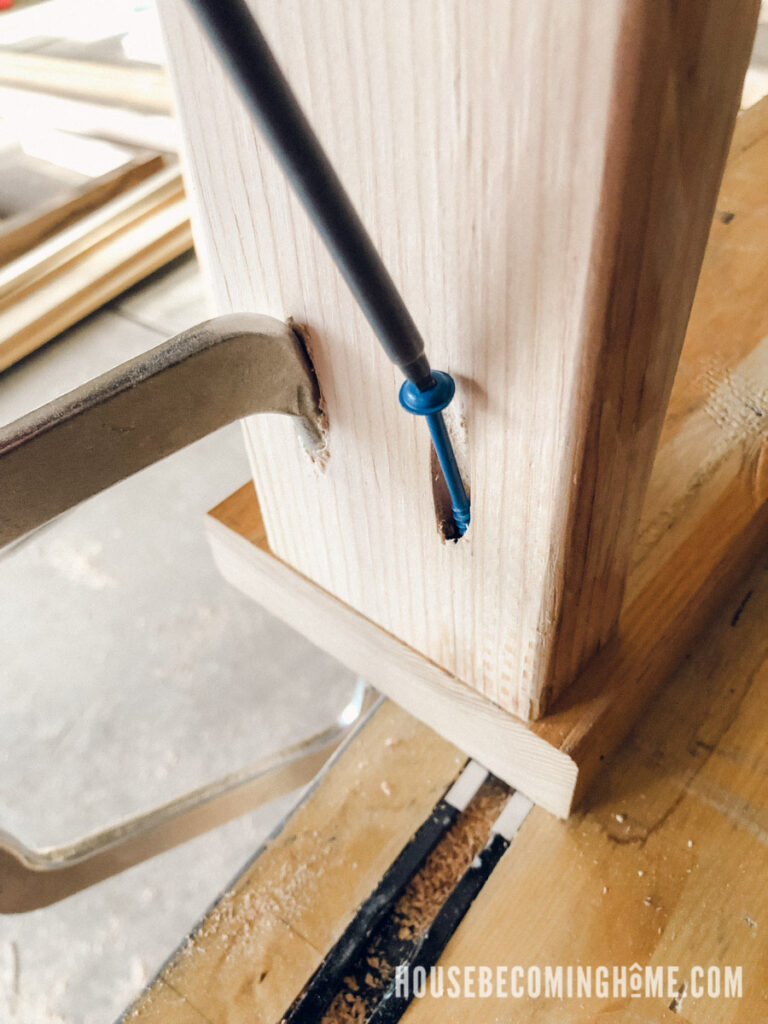
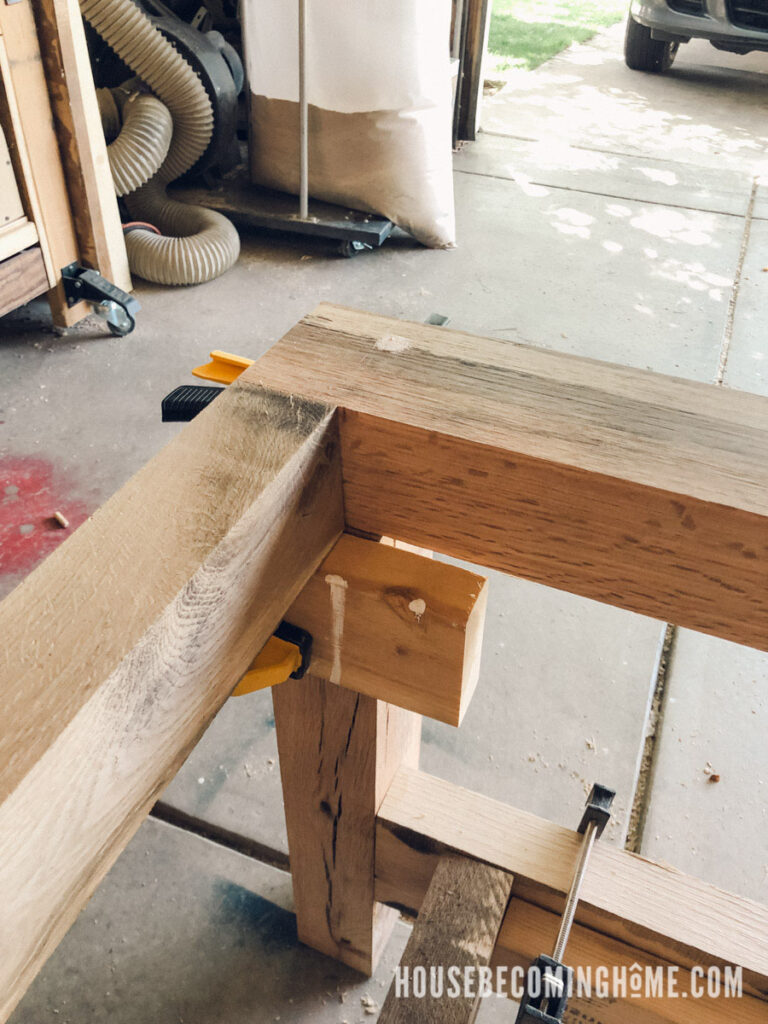
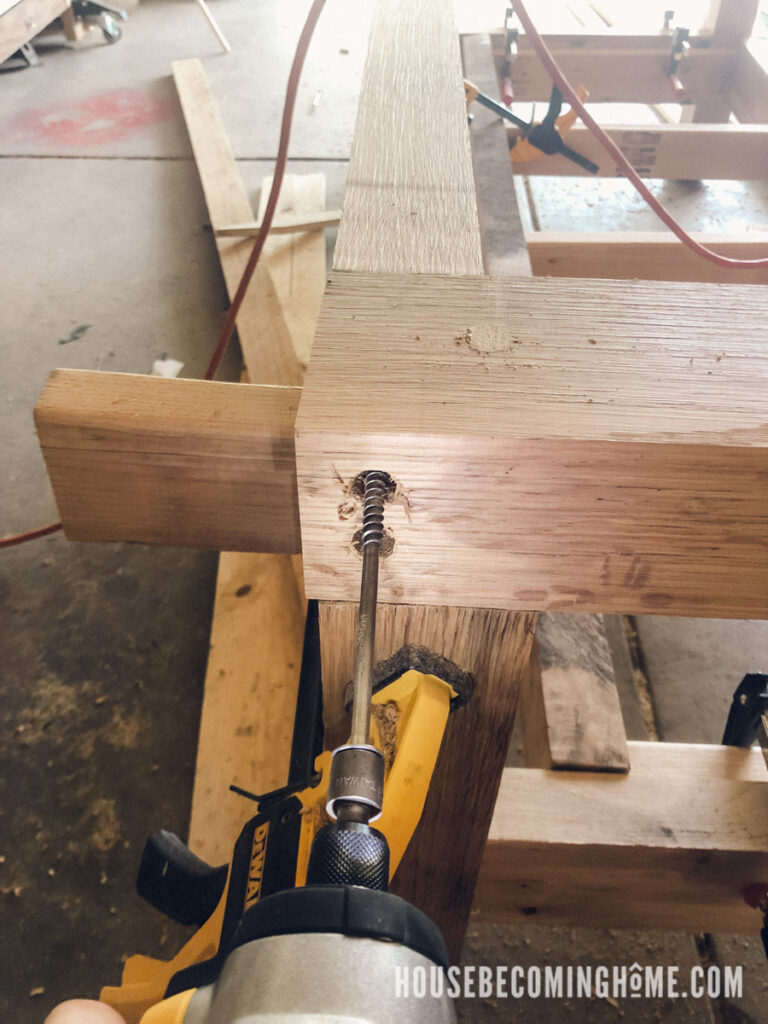
Attach an arm to the top of the legs with a ¼” x 5” hex head steel lag screw. Be sure to predrill a hole for the screw to avoid splitting. Additionally, drill a ⅜” hole about 3/4” deep into the same hole (this second hole will be filled with a dowel to hide the screw).

You can clamp the pieces together (probably the safer option), but Jim was available so I had him sit on the arm and hold it in place while I drilled the holes and then drove the screw into place. 🙂
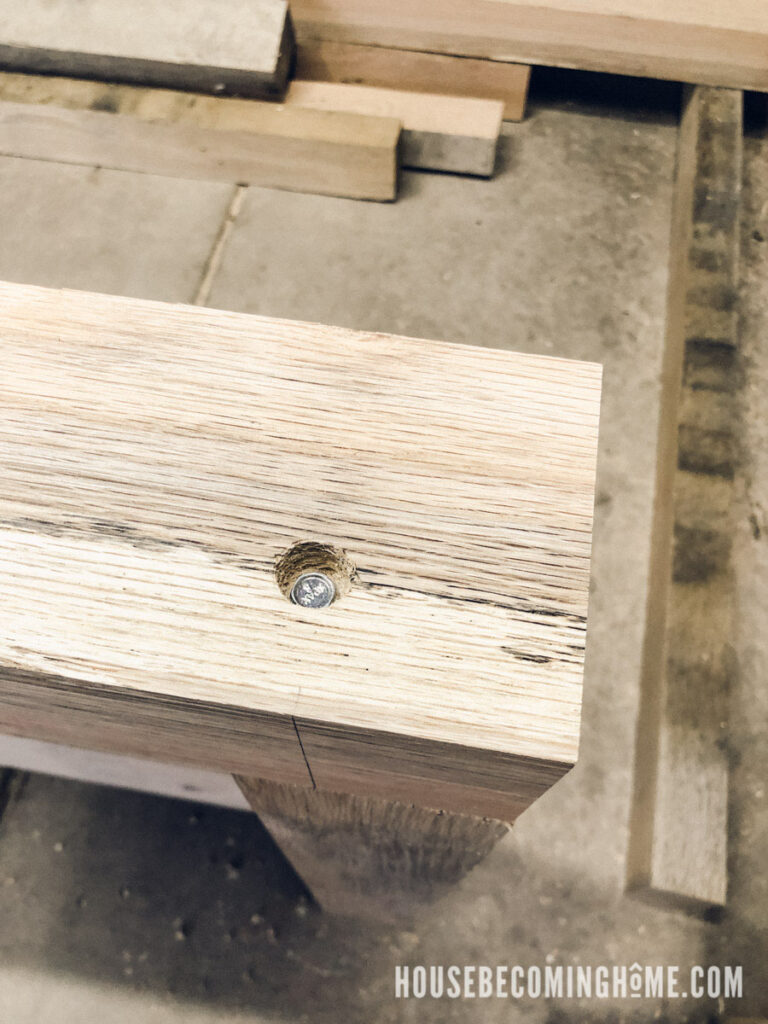
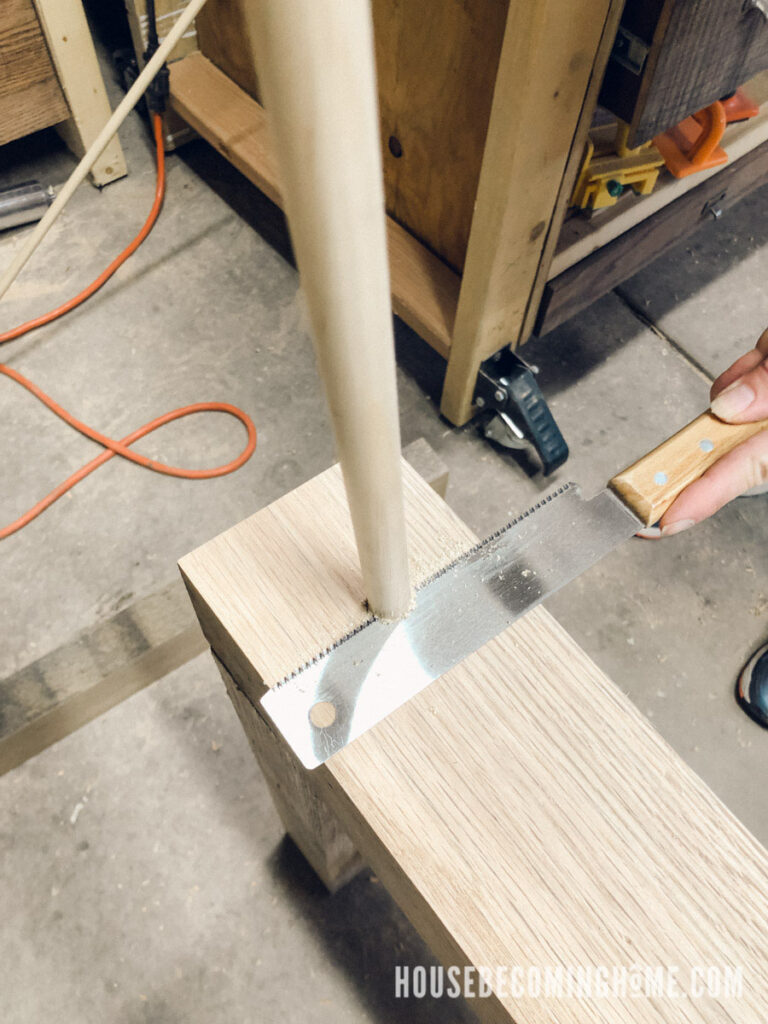
Fill the hole with wood glue and a dowel, then use a flush cut saw to remove the excess.
Add one screw to both the front and the back of the arm, so that it is attached to both legs.
Repeat to complete the other side’s legs/arm.
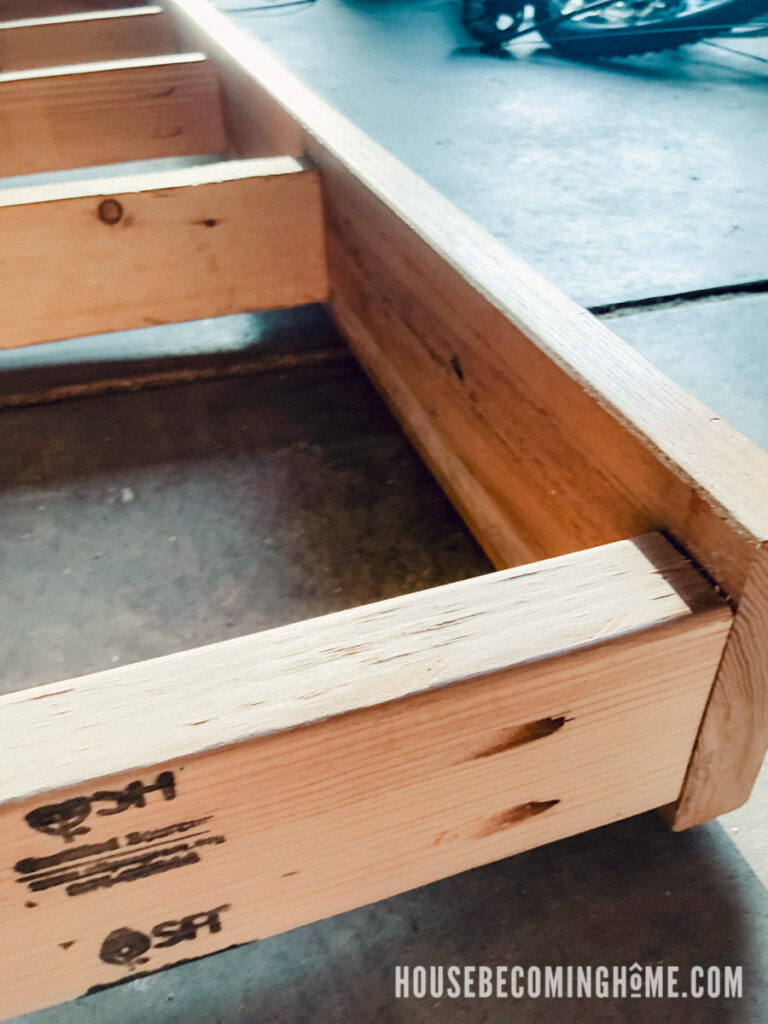
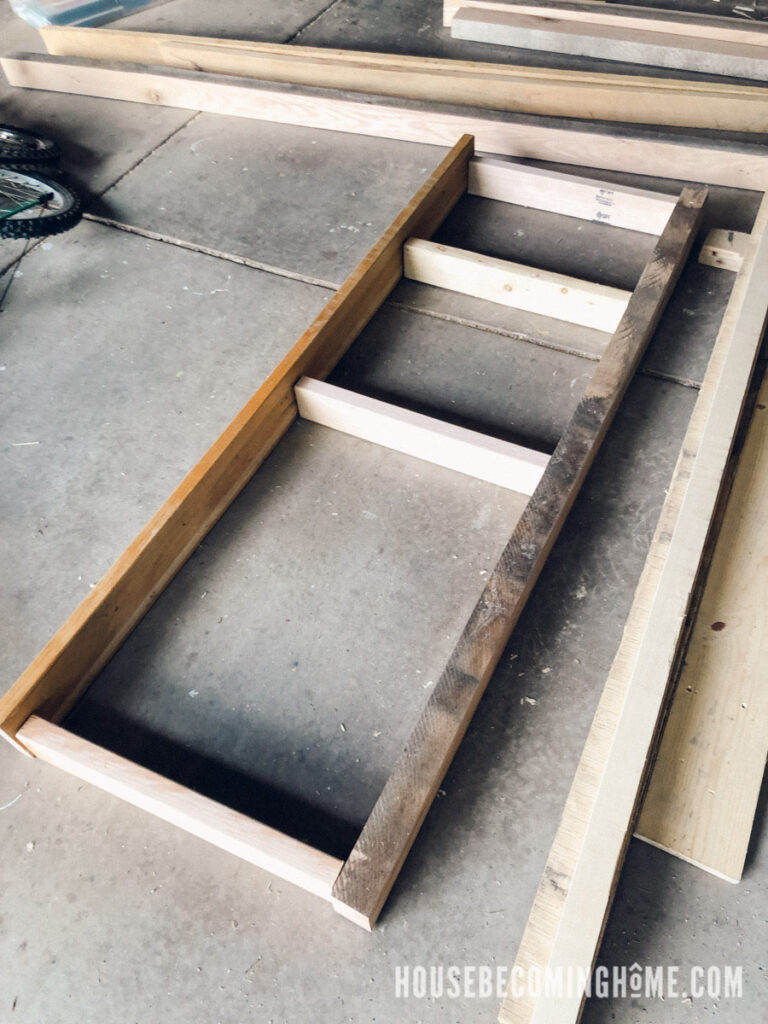
2. CONSTRUCT THE SEAT
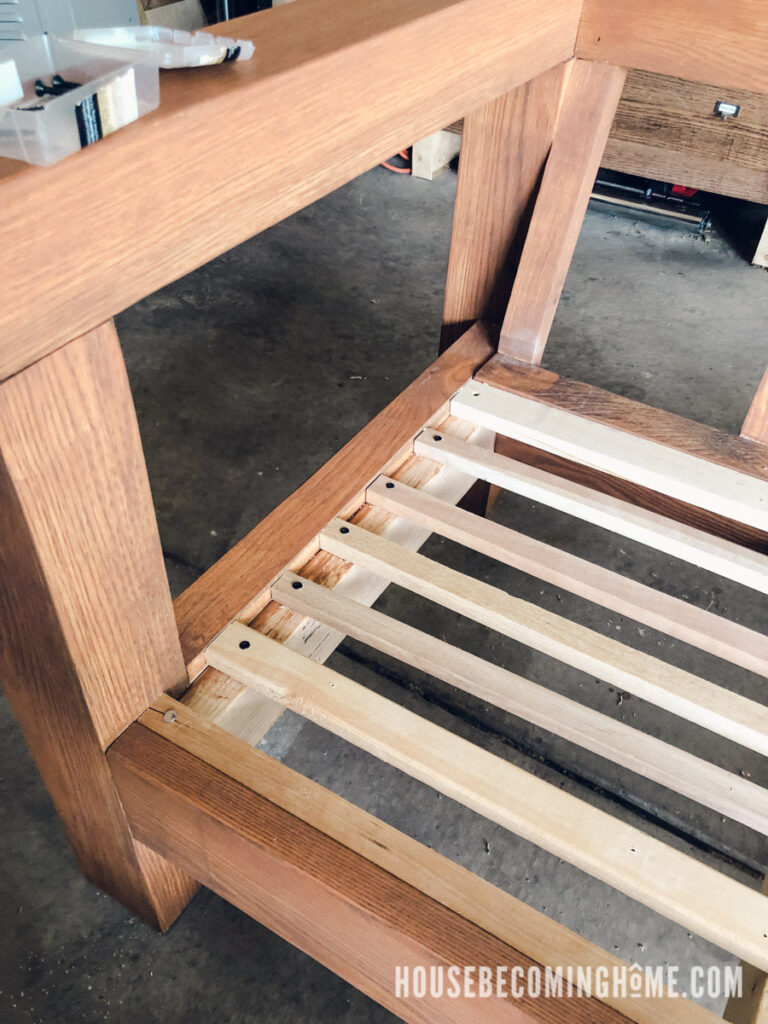
Make pocket holes on both ends of the 2×4 seat supports.
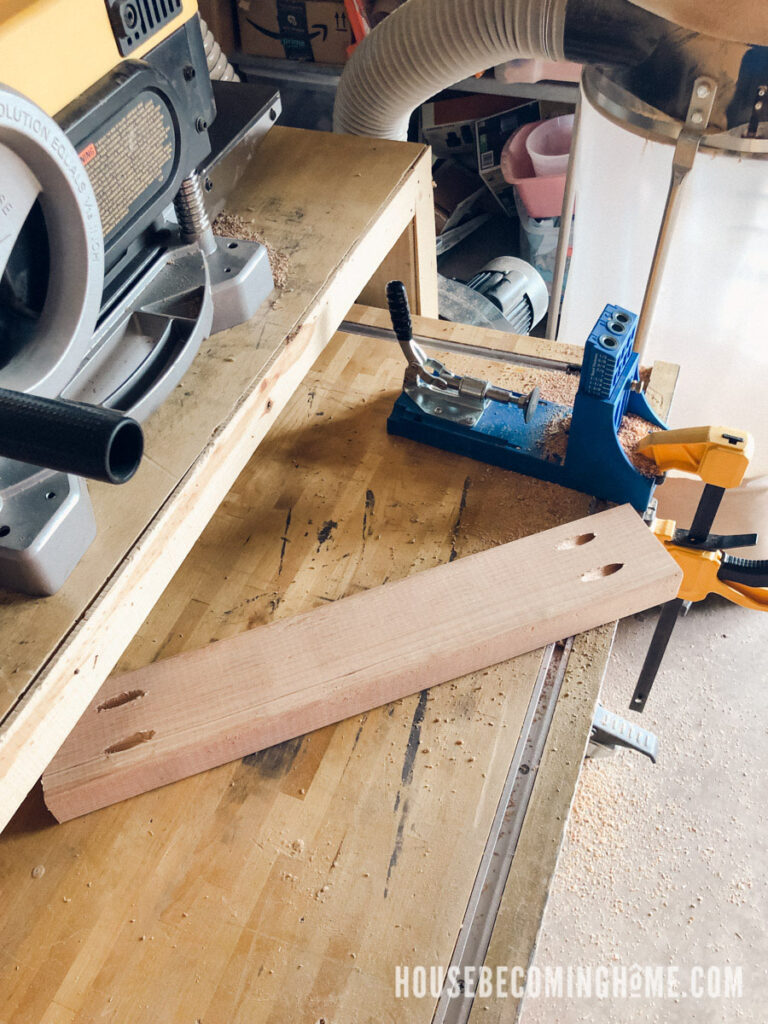
Attach the 2×4 seat supports to the front bottom and back bottom span with 2-1/4” exterior pocket hole screws. These seat supports should be placed be about ¾” from the top edge of the front and bottom span, to allow room for the seat slats that will be attached in a later step. Make sure one of the 2×4 seat supports is attached flush to the end of the front and back span, and another one is attached flush to the other end of the front and back spans. The remaining seat slats should be attached evenly, but does not need to be precise.
3. ATTACH SEAT + BACK TOP SPAN
Now it’s time to attach the seat to the legs/arms. Clamp this into place on the legs.

Before screwing the seat in place, add the top back span in place. I wanted to get them both in place at the same time to avoid difficulties getting the top span in.
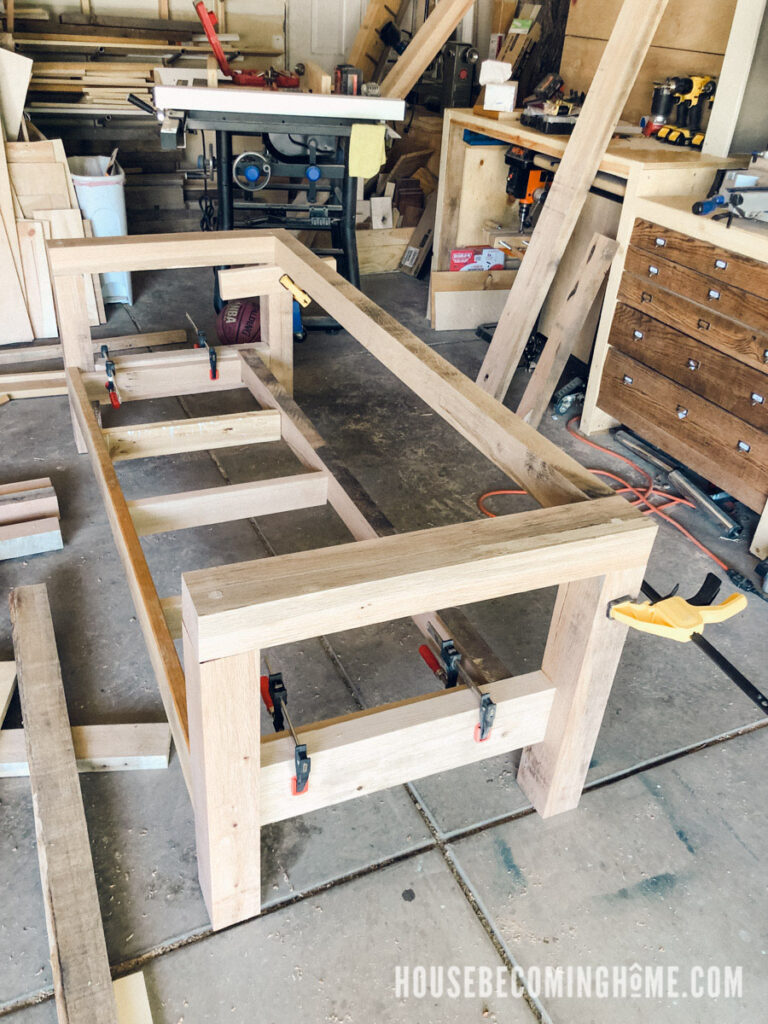
To temporarily keep the top back span in place I clamped a scrap of wood to the leg where the back span rested.
Because the seat was more securely clamped in place, I decided to screw the top back span into place first.
It was attached similar to how the arms were attached to the legs. Predrill a hole for the screw and a larger hole for the dowel, then use a 1/4″ x 6″ screw to fix it in place. A 1/4″ x 5″ screw might even be better, the 6″ length felt like a bit much.
TIP: be sure to offset this screw from the screw that runs vertically from the arm into the legs. You don’t want these hitting each other!
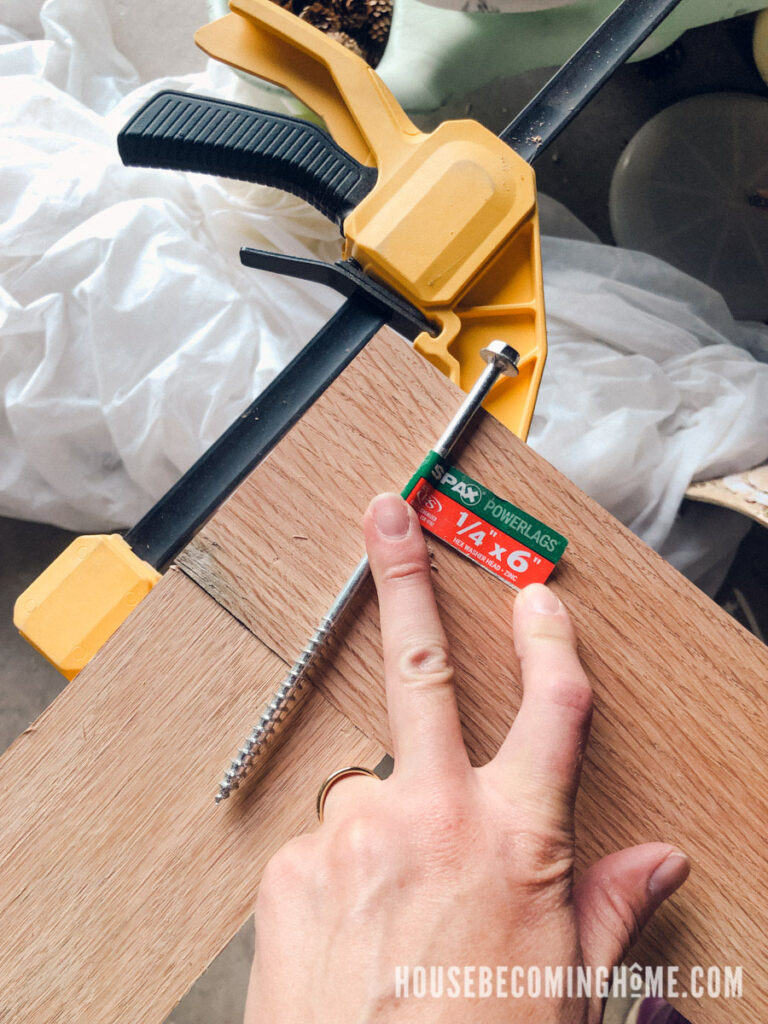
I was going to add two screws to each end, but one seemed to hold it firmly in place. Be sure to fill any holes with a dowel and wood glue to hide the screw. Repeat on the other side.
Now attach the seat to the arms and legs using 2-3/4 in. heavy-duty deck screws. Attach from the inside, going through the seat into the side spans.
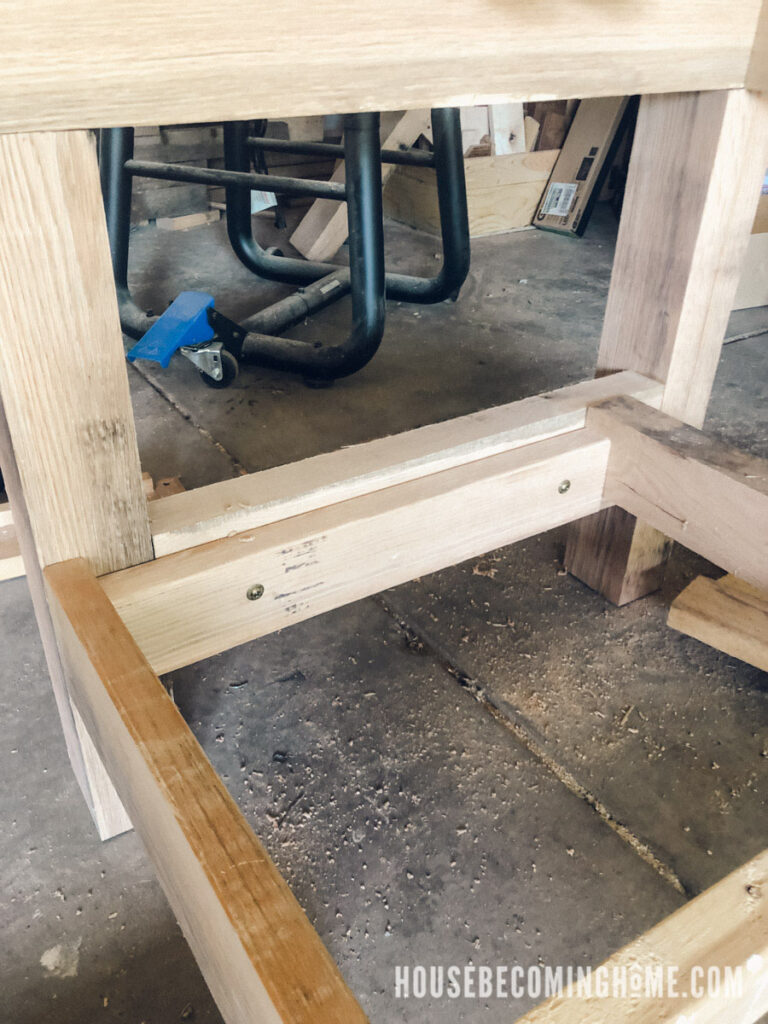
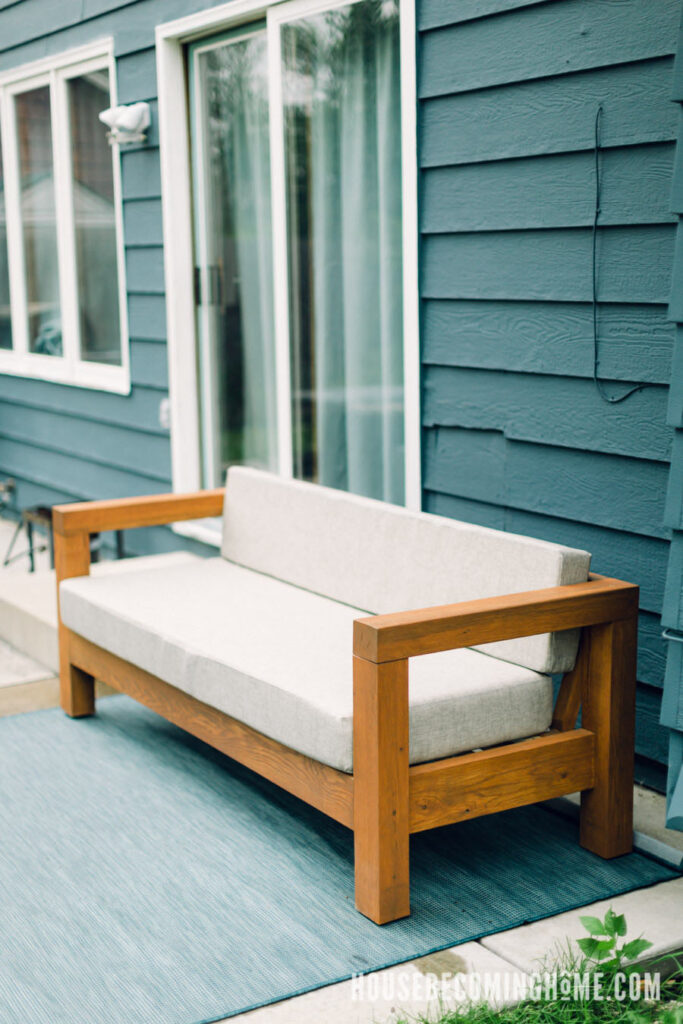
Here’s what it should look like at this point. It’s starting to look like a couch!
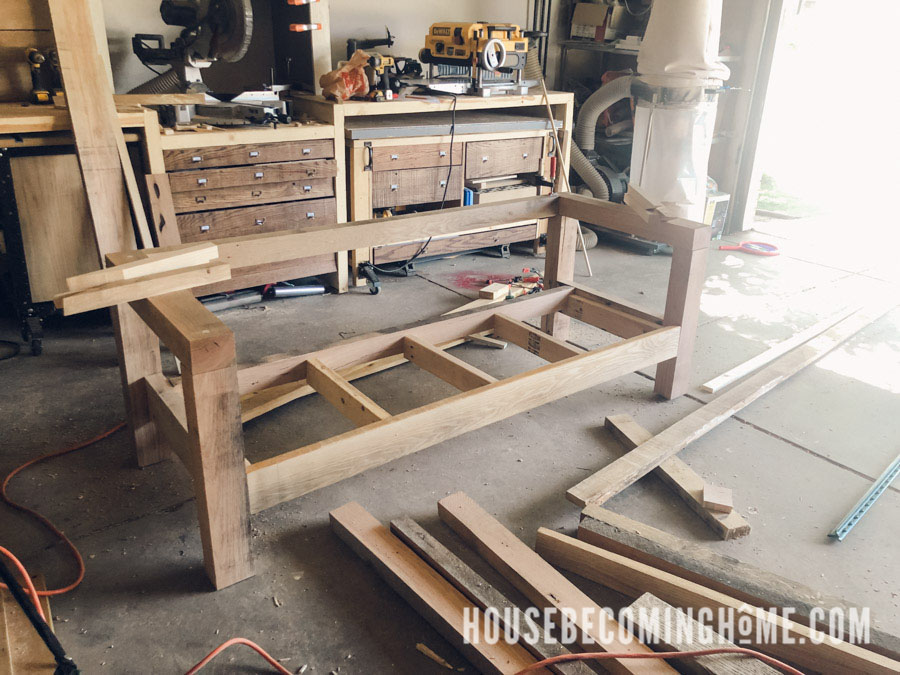
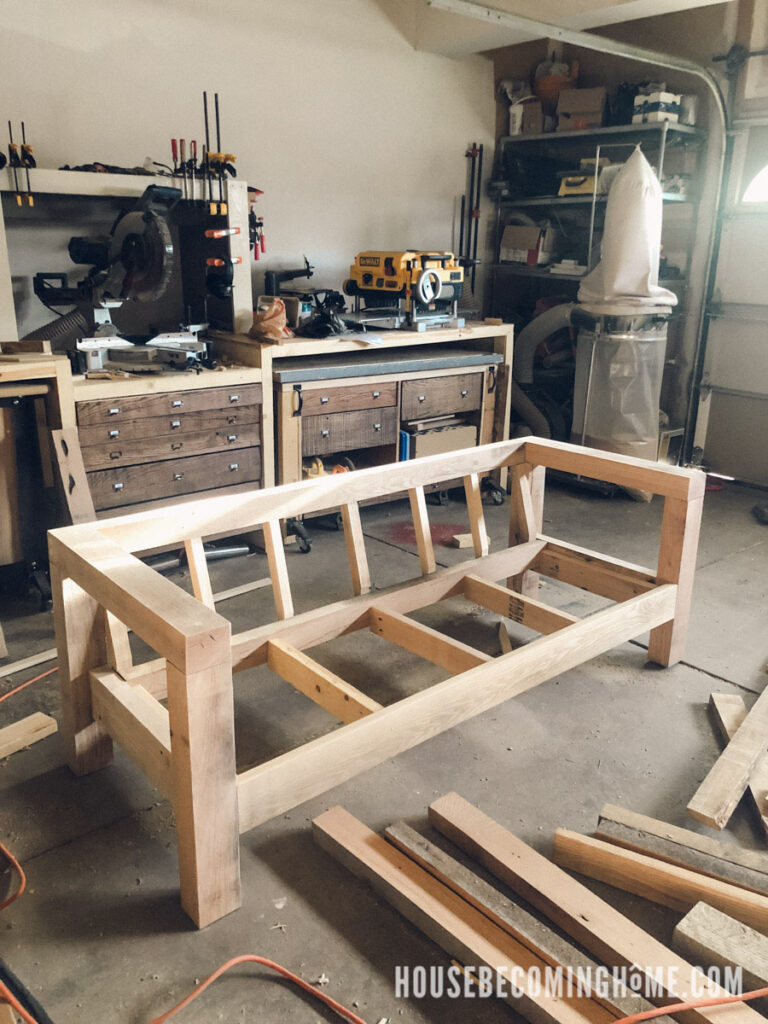
4. ATTACH VERTICAL BACK SUPPORTS
Finally, attach vertical back supports to the top back span and the bottom back span. Attach with two screws–one through the bottom and one through the top, then fill the holes with dowels.

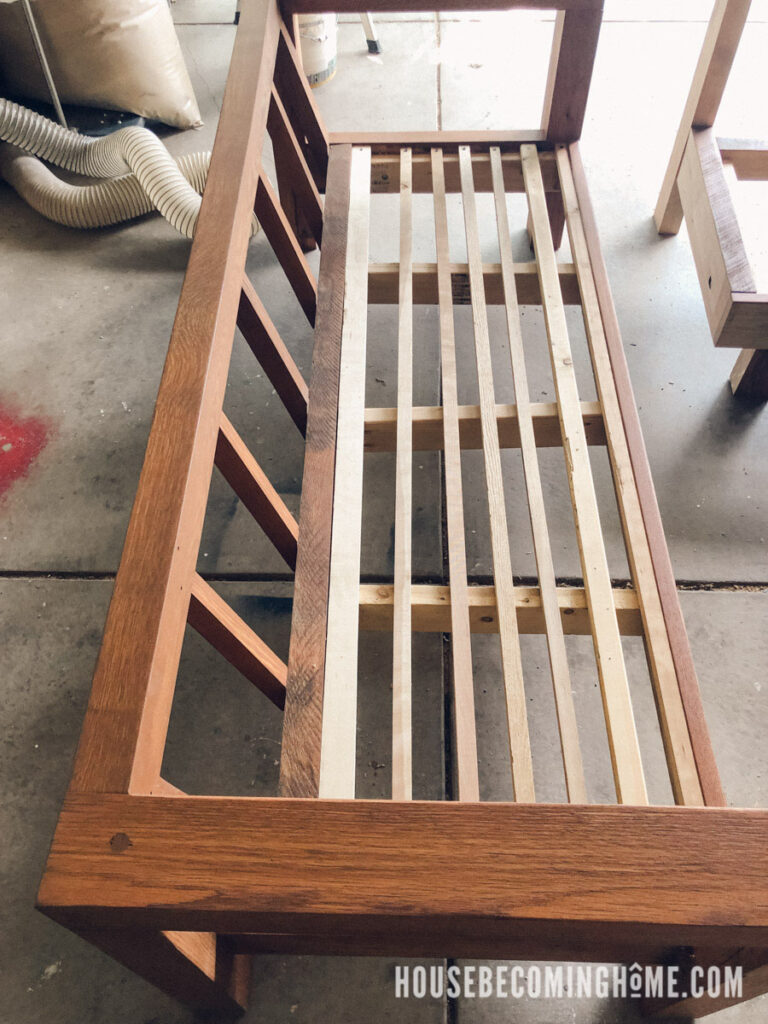
5. ADD SEAT SLATS
While I was in the middle of this project I found a free wood scraps craigslist post (my favorite!). It was a furniture shop giving away lots of hardwood scraps. Many were too small for me to use, but they did have a handful of longs strips of hardwood that I decided would work well for my seat slats. I had been planning on using 1x3s or 1x4s, but free hardwood scraps won. 🙂
Whatever you use for the slats, just make sure you leave some space in between then for water drainage. As an outdoor couch it will be getting wet from time to time and you don’t want the water to pool on the seat. Screw them into both ends of the 2×4 seat supports.
6. FINISHING TOUCHES
I applied an exterior finish on the wood, made some cushions, and added a little something to (hopefully) extend its life in the Colorado weather. If you’re interested in learning more about how I finished the outdoor couch, you can find the details in this post: Finishing Touches for the Outdoor Sofa: Making Modern Couch Cushions, Applying Finish, and More
You can find the downloadable PDF plans with exact dimensions and instructions here:
MODERN OUTDOOR COUCH WOODWORKING PLANS