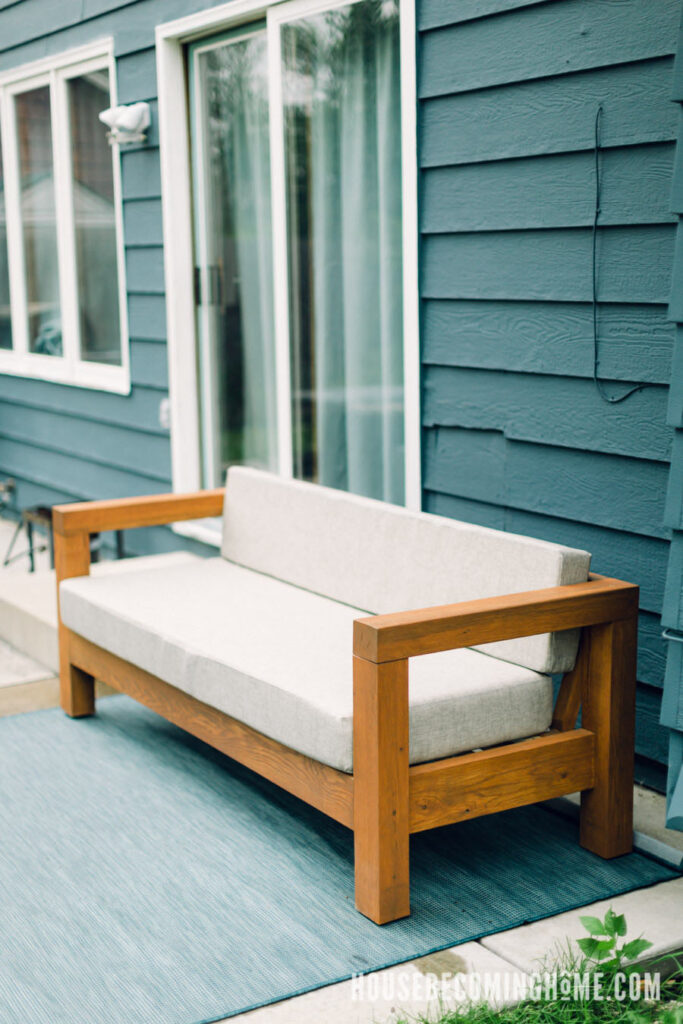
Building the modern outdoor sofa and the modern outdoor L couch didn’t actually take much time. In fact, it probably took longer to add the finishing touches. This post goes into a little detail about how I finished it:
- the exterior finish/stain I chose
- adding furniture levelers
- making cushions
1. Stain for Exterior Applications
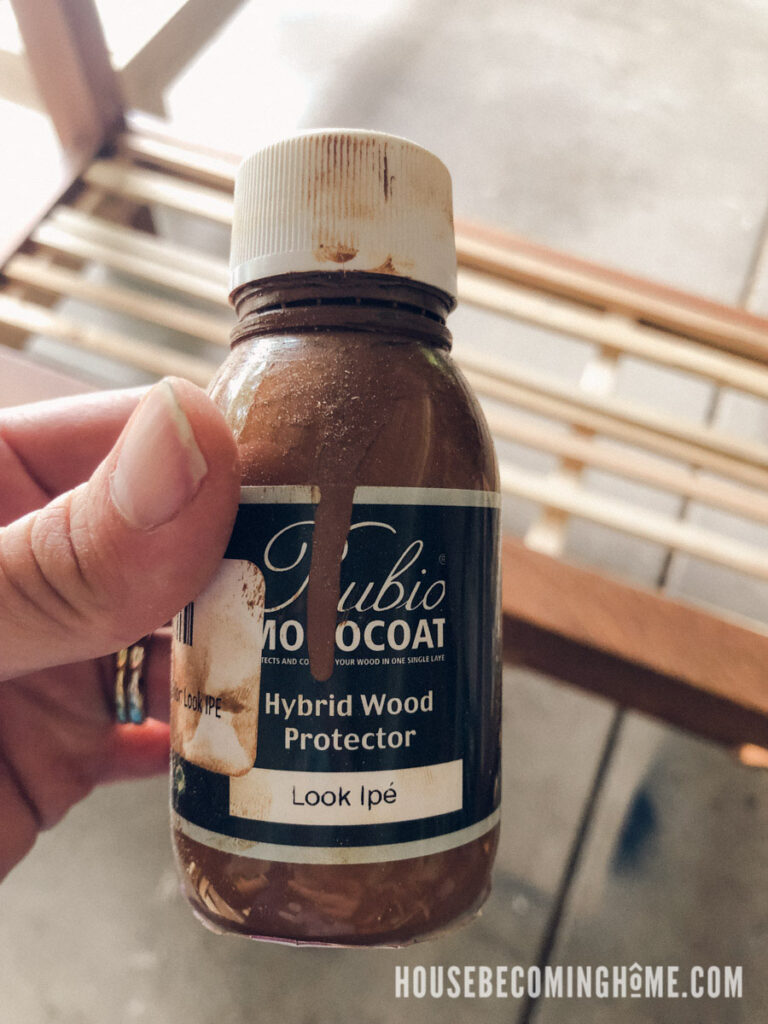
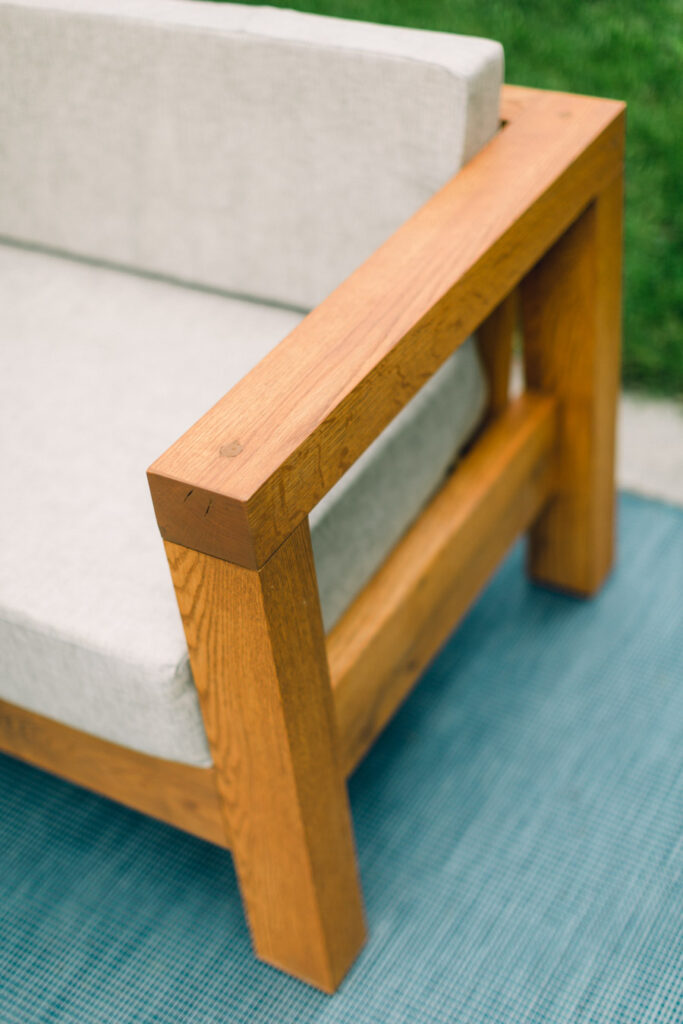
Since this is an outdoor couch, I had to make sure to apply a finish that is intended for exterior applications. We get a lot of sun, wind, and snow in Colorado, and I’d like this couch to survive for many years! After looking into lots of options I decided to use Rubio Monocoat Exterior Hybrid Wood Protector in Look Ipe. We used Rubio Monocoat on all the hardwood floors in our home, and I love the matte and modern look.
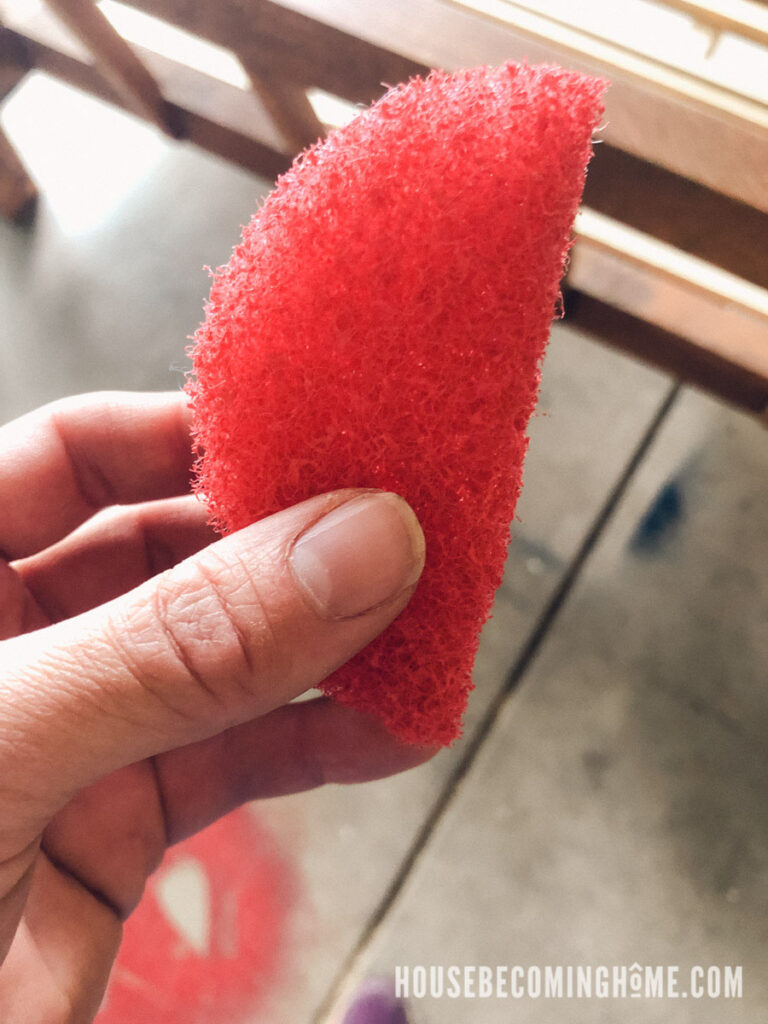
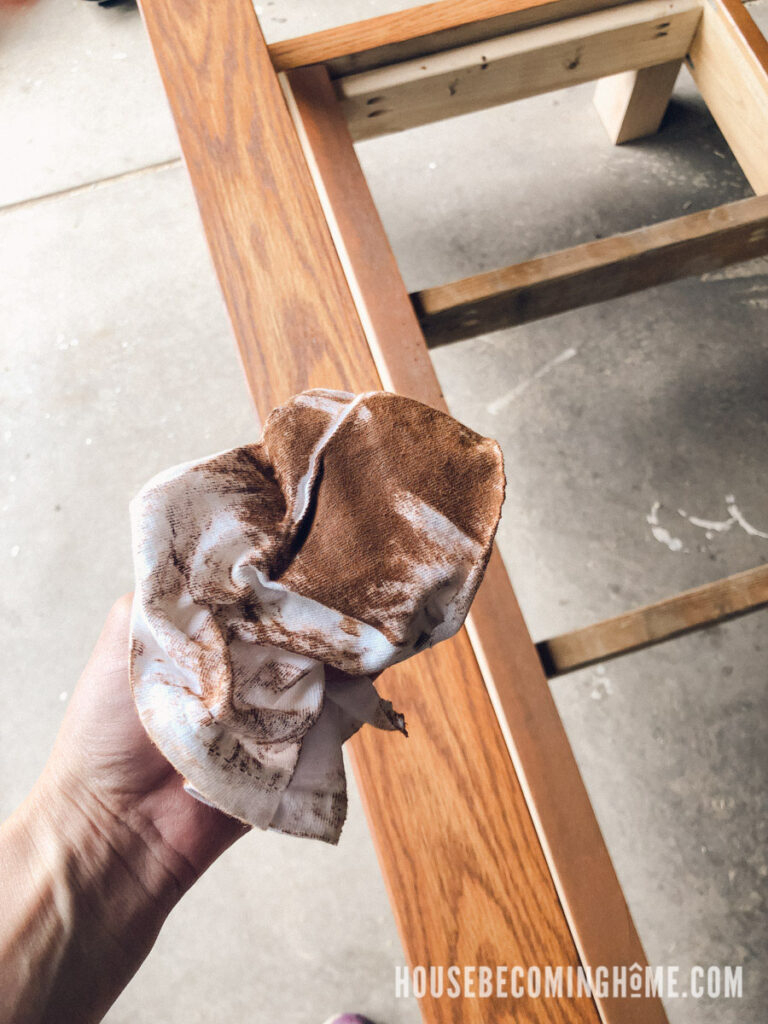
After the couch was built I sanded the entire thing, finishing with 100 grit sandpaper, and then applied the Rubio Monocoat. Pour a little bit on the wood, then spread it around with a buffing pad (something non-absorbant). Leave it on for about five minutes, then wipe down the wood with a rag.
This is what I used:
One 100ML container was enough for one sofa with a tiny bit left over. Since I made an L couch, I used two bottles.
The couch hasn’t been outside long enough for me to report back on the durability of its finish but I will try to remember to update in a year.
2. Adding Furniture Levelers
I got the idea to add levelers from Josh Hescott, a talented woodworker who makes beautiful tables, cutting boards and more. I thought furniture feet would be a good idea since the concrete on our patio likely isn’t level.
Here’s what I used:
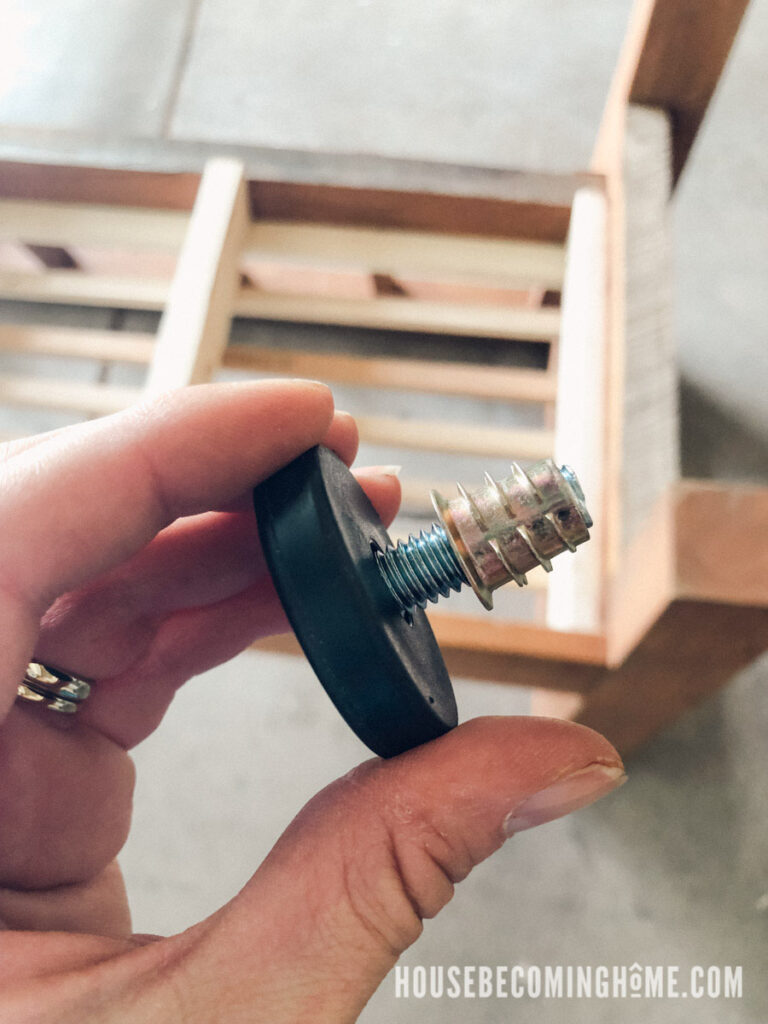
First add the screw-in nuts to the center of each leg.
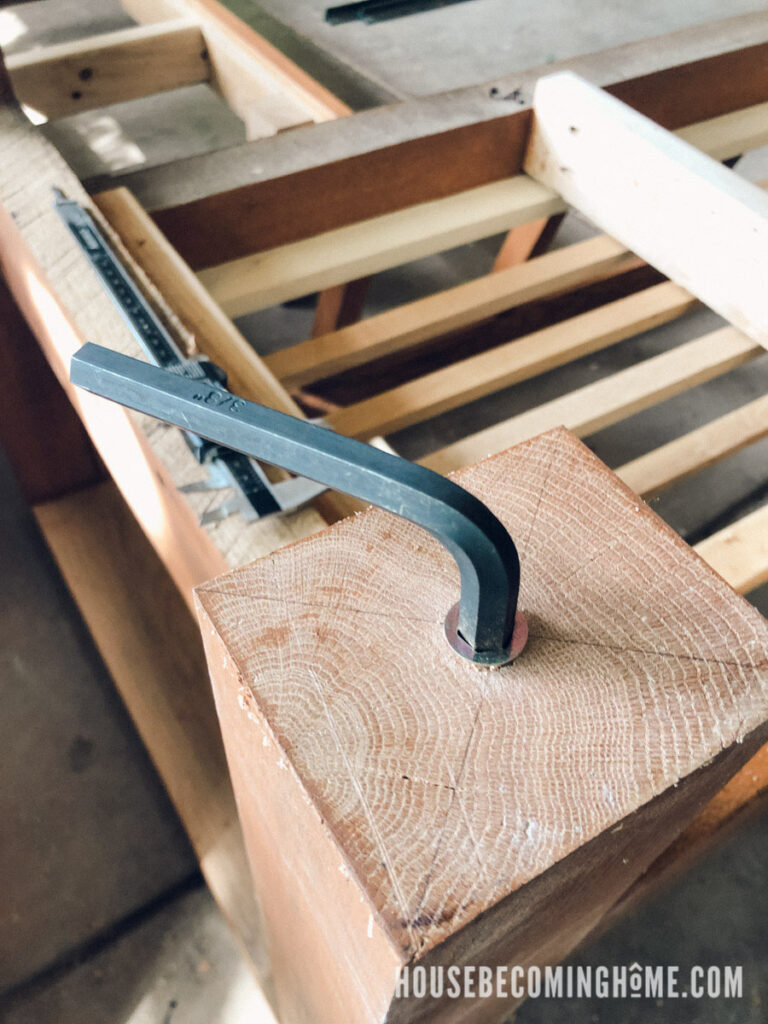
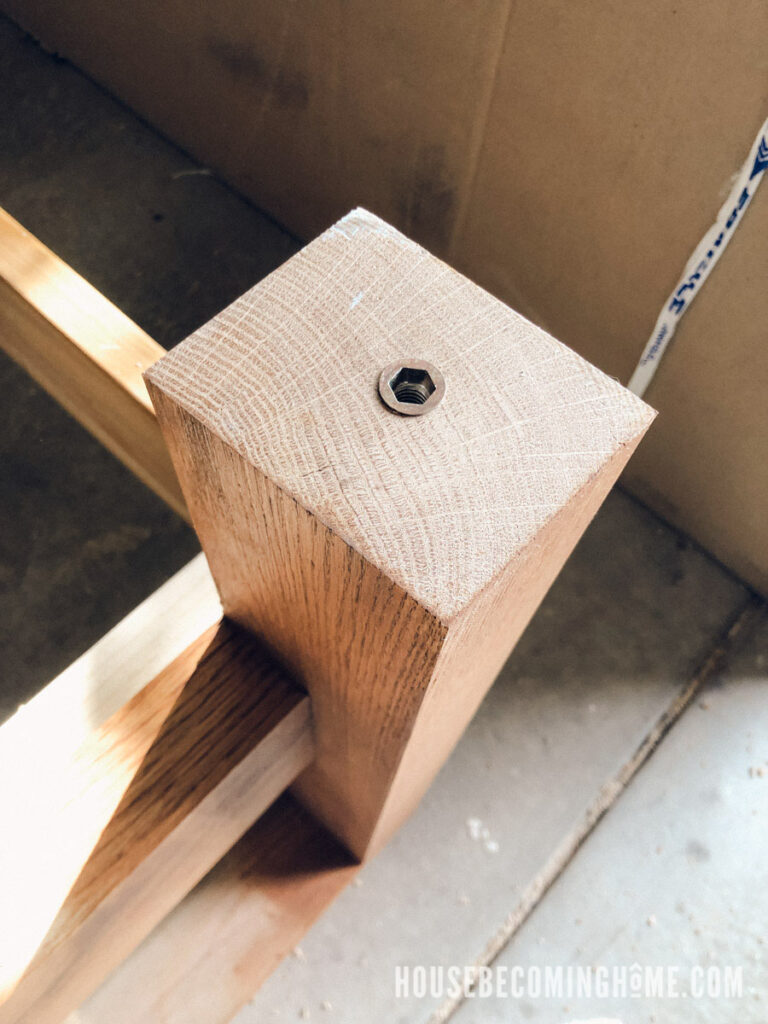
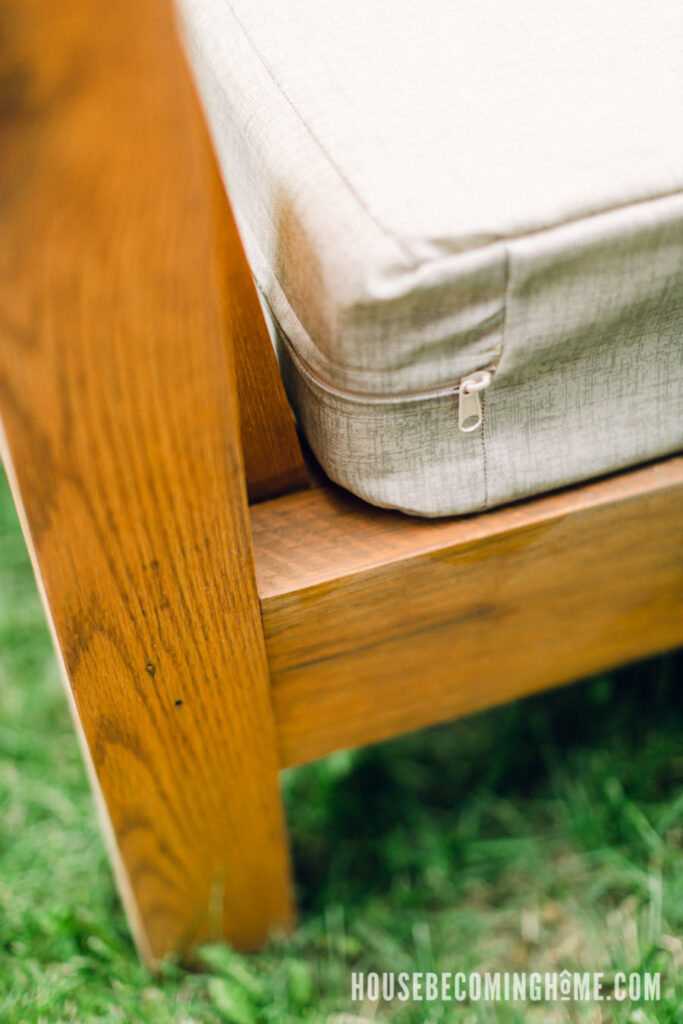
Then screw in the furniture feet. Adjust each one so that your couch sits evenly on an uneven surface. Easy!
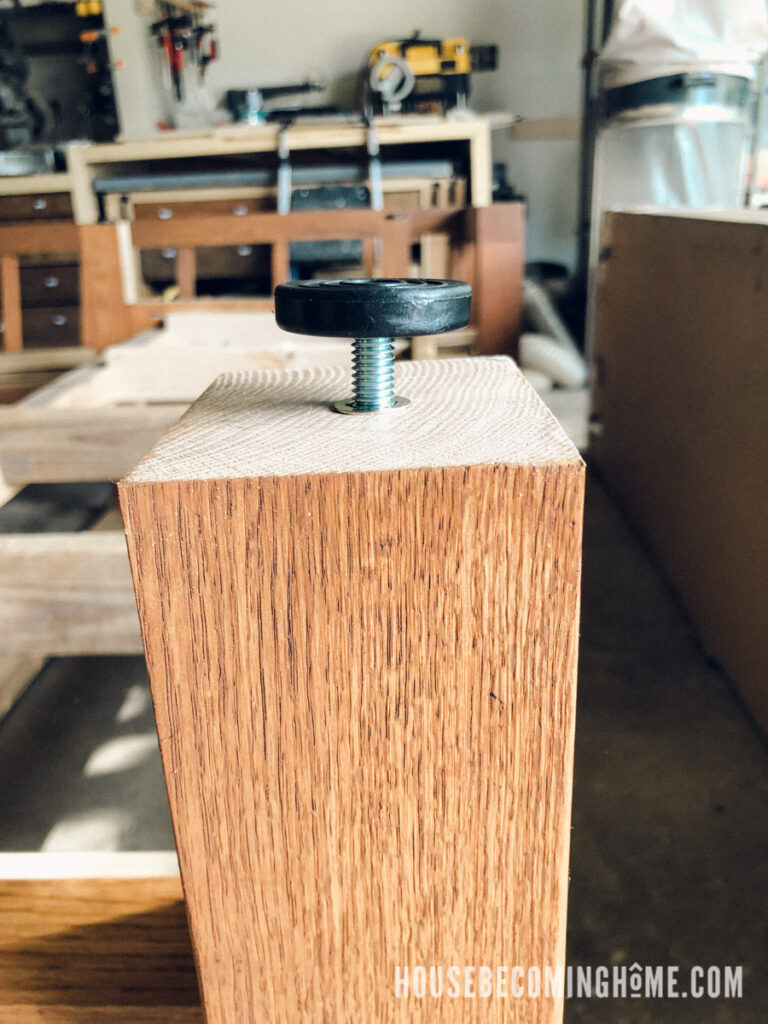
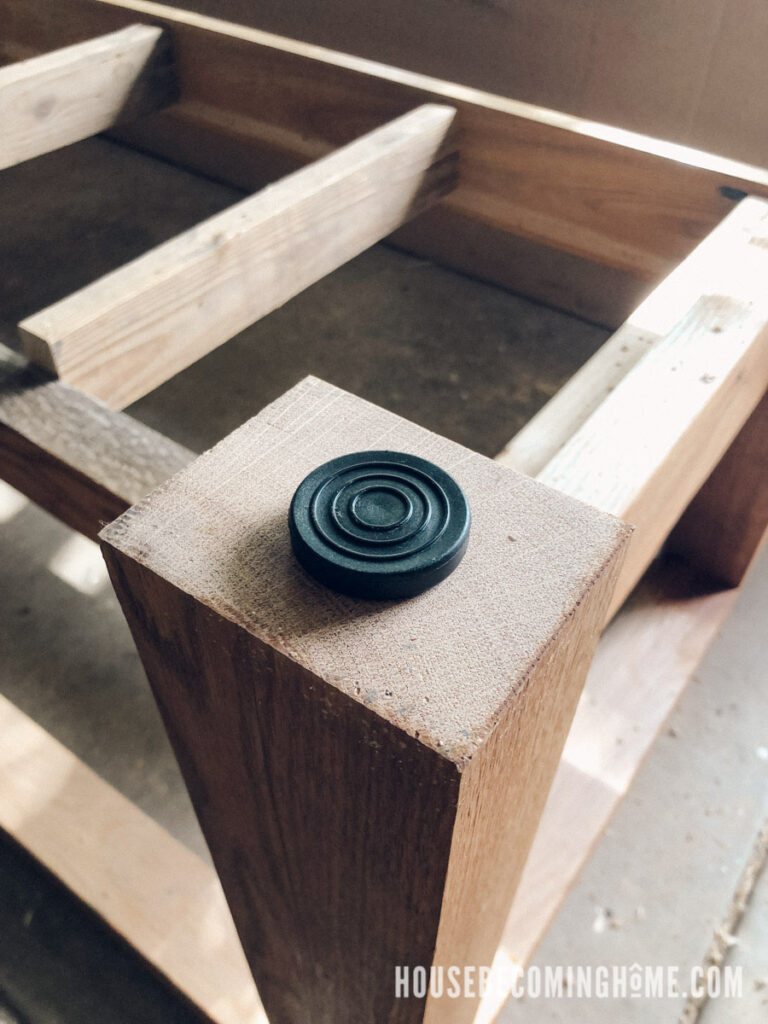
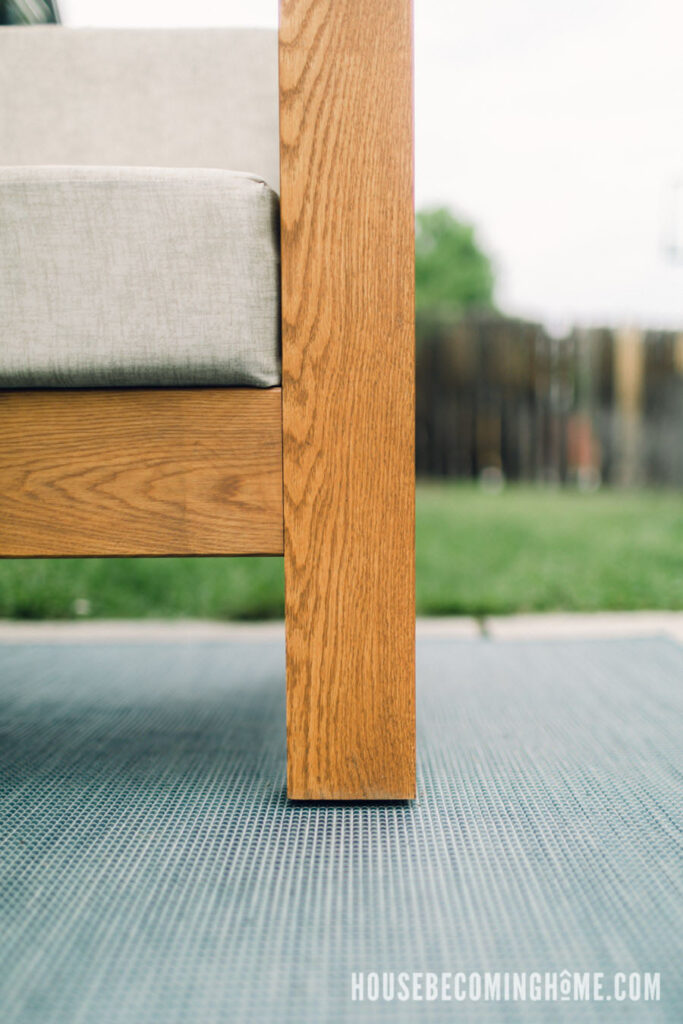
You can see in the photo below that the couch is raised off the ground ever so slightly, because of the furniture feet. I’m hoping this will help extend its life, as it will keep the bottom of the legs drier than if they were directly on the ground.
3. DIY Outdoor Couch Cushions
I designed this couch to be able to accomodate three standard-sized outdoor couch cushions, but I decided to make my own. Here’s why:
- Price. Couch cushions are expensive! They aren’t cheap to make either, but still…slightly more affordable to DIY than buy.
- Quality. I purchased a few outdoor cushions and was extremely unimpressed with the quality. A 6″ cushion squished to practically 1″ when sitting on it, and it just wasn’t comfortable. I also didn’t have much hope that those cushions would last more than a season outside before having to be replaced.
- Modern Look. I think one solid cushion looks more clean than three.
I ordered all the foam and fabric, and then almost immediately started to panic. Hold on….do I even know what I’m doing??? I have a sewing machine but I use it once every couple of years. I am definitely a novice when it comes to sewing. Luckily I found a really great tutorial that I watched several times in order to build my confidence. If you’re interested in making your own cushions (and if I can do it, I’m fairly certain you can too!), I highly recommend checking out the tutorial I followed:
How to a Make Zippered Box Cushion: https://www.fabric-calculator.com/BoxCushionExpress/index.html
The same page has a very helpful fabric calculator to determine EXACTLY how much fabric you need to order.
What you NEED TO MAKE OUTDOOR Cushions
Foam
If you are making cushions for the L Couch, this is the foam you’ll need:
- High Density Firm Seat Replacement, Upholstery Sheet Foam Padding (you’ll need two of these–one for each seat)
- 4″ x 24″ x 96″ Upholstery Foam Cushion High Density (this is for the back cushions. I only needed one of these because I cut it in half, making two pieces that were 12″ tall)
Fabric
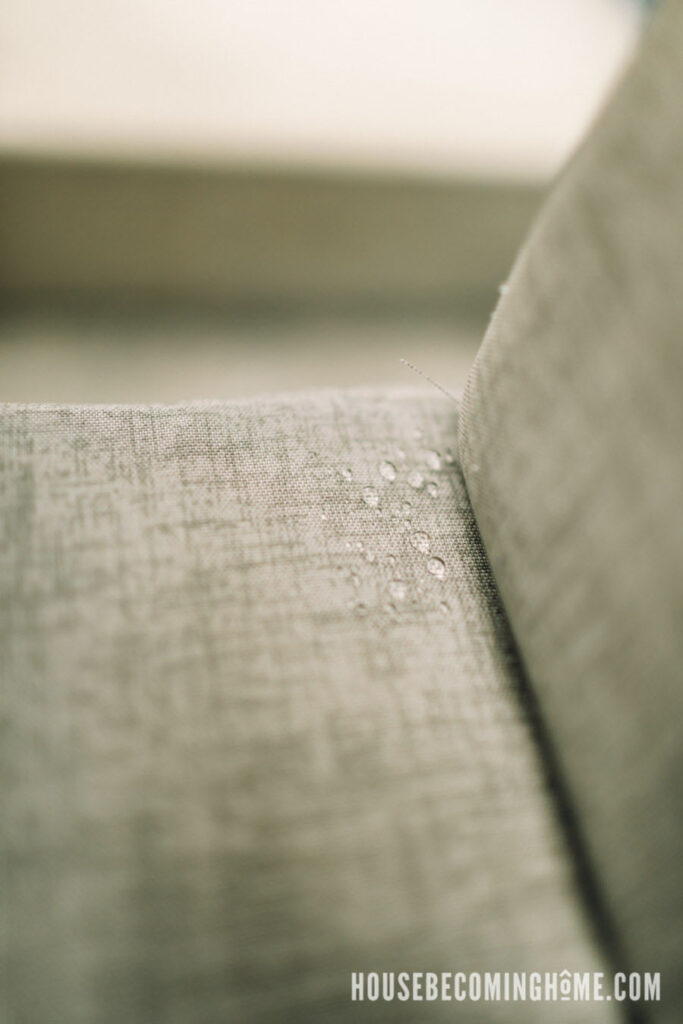
I ordered a few different samples of outdoor fabric and narrowed it down to three different colors from Premier Prints (I poured a little water over all of the samples and Premier Prints did best not letting water through). I ultimately decided on this one as it seemed like the easiest color to maintain:
- Outdoor Fabric : Premier Prints Jackson Indoor/Outdoor Beech Wood
(If you helped me pick the color on my House Becoming Home Instagram poll, thank you!)
Thread
Because these are outdoor couch cushions, you’ll need a high strength thread. This is what I used and I’m really happy with it’s durability:
Zippers
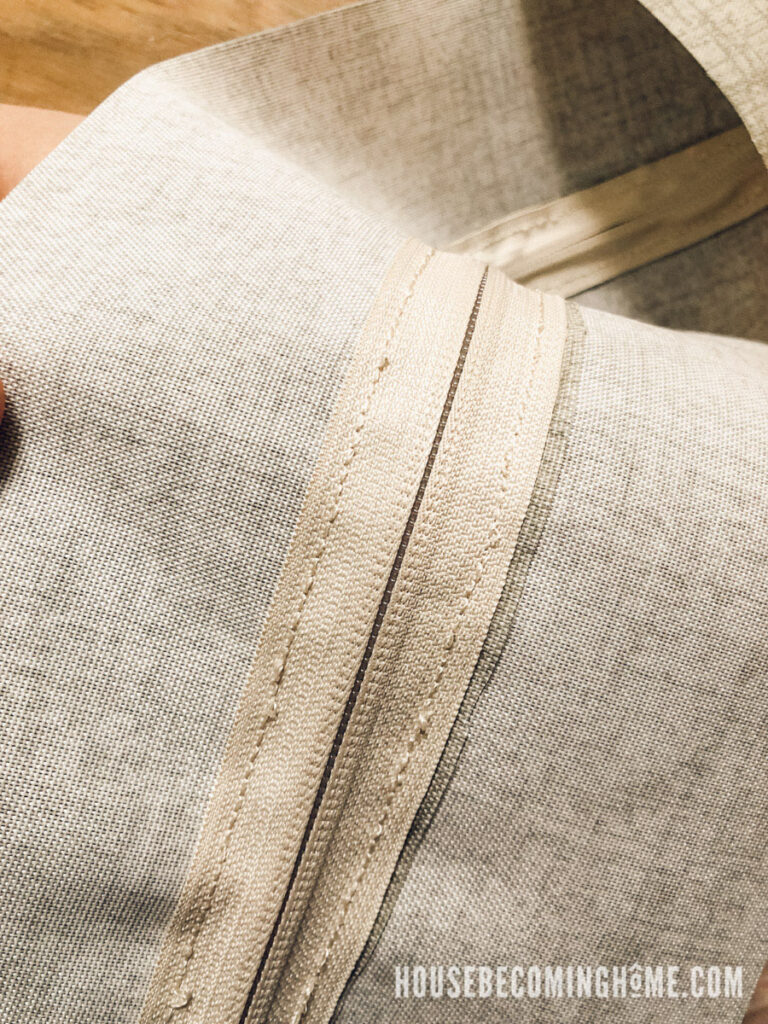
I hadn’t originally planned on adding zippers to the cushions (that seems way too complicated for a novice like me!), but the tutorial I linked to above made it look do-able, and I’m really happy I added the zippers. I can remove the foam and wash the covers if I ever need to, which wouldn’t have been possible without adding zippers. Here is the zipper I used. With 10 yards, one was enough for me to make all four cushions (two seats and two backs):
(I used a cream colored version which they don’t seem to have anymore)
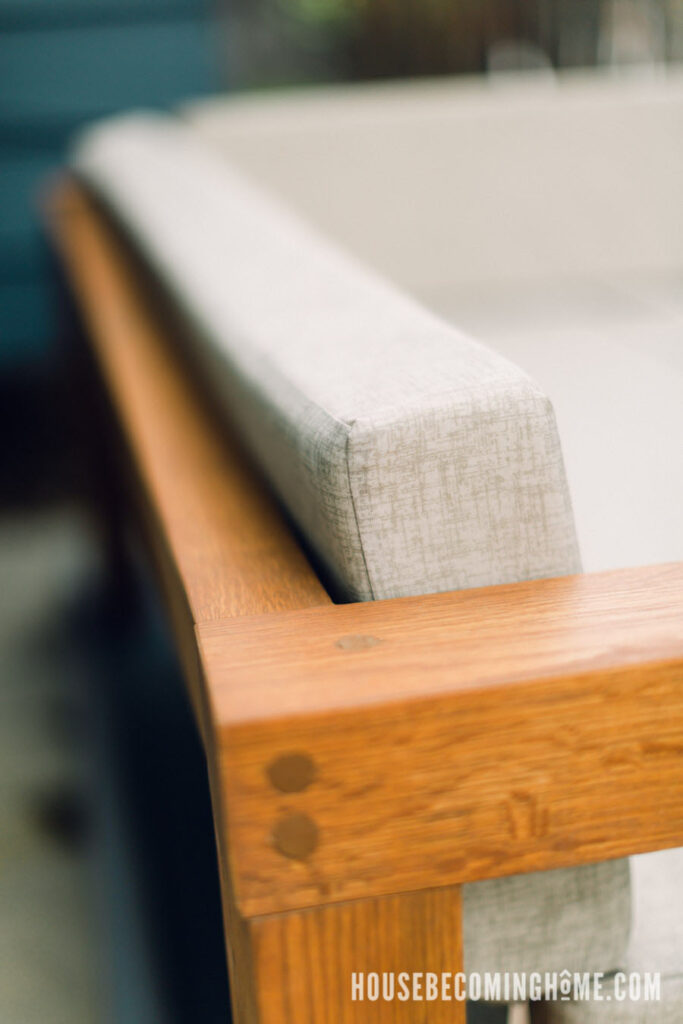
See the way the water beads instead of soaking in? I’m really happy with the quality of this fabric:
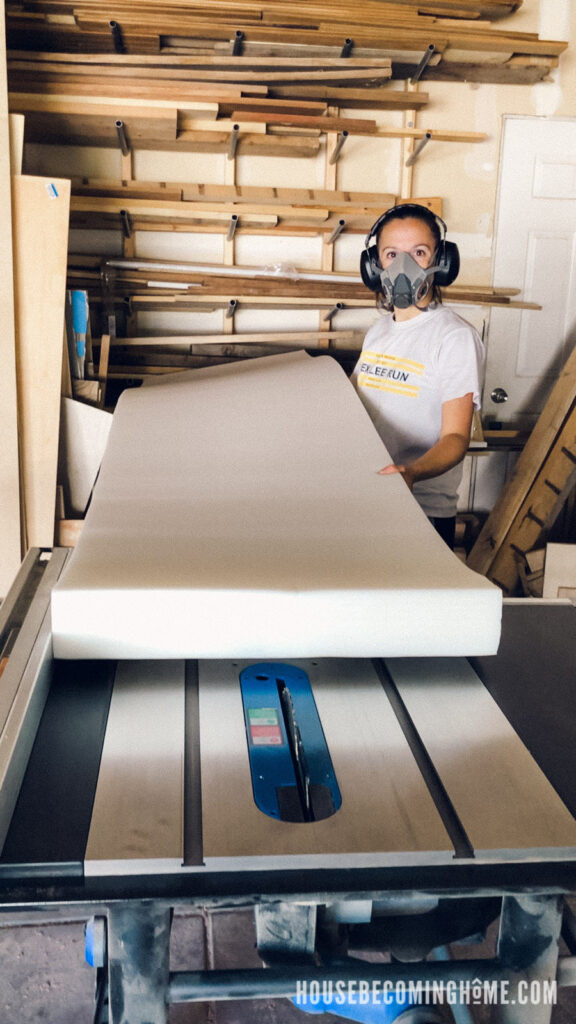
You can use a knife to cut the foam in half to make the back cushions, but using the table saw worked well for me:
Here are a few shots making one of the zipper panels. It was way easier than I imagined, it just took a little time. Each of the four cushions I made (two seats and two backs) has a zipper panel.
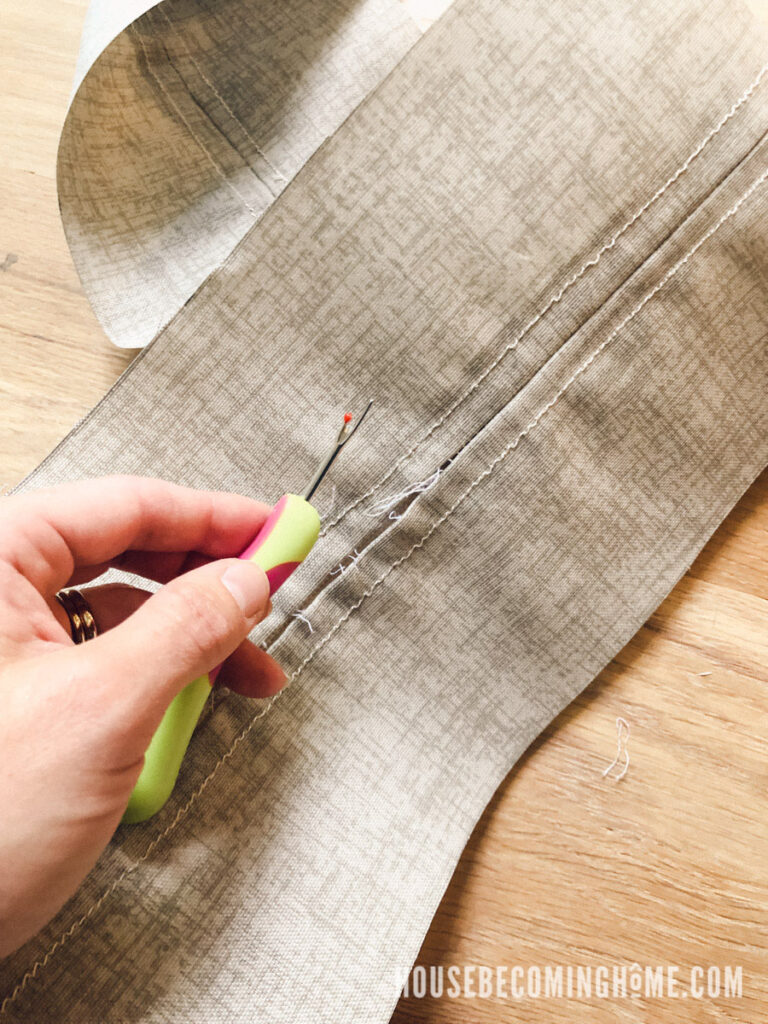
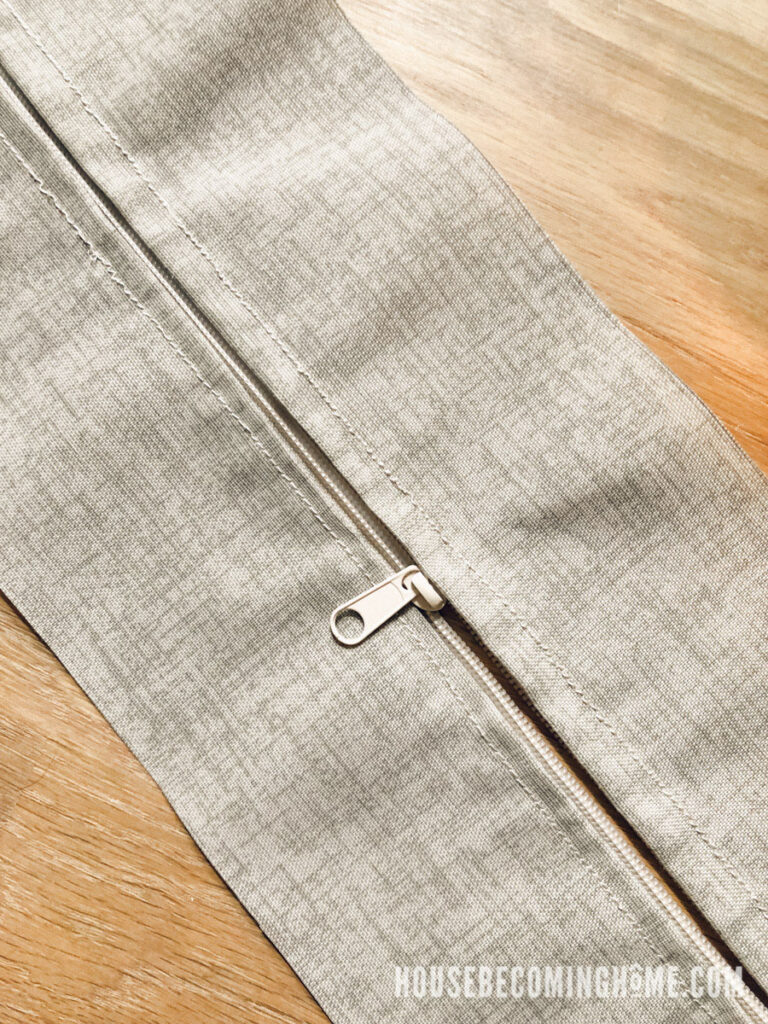
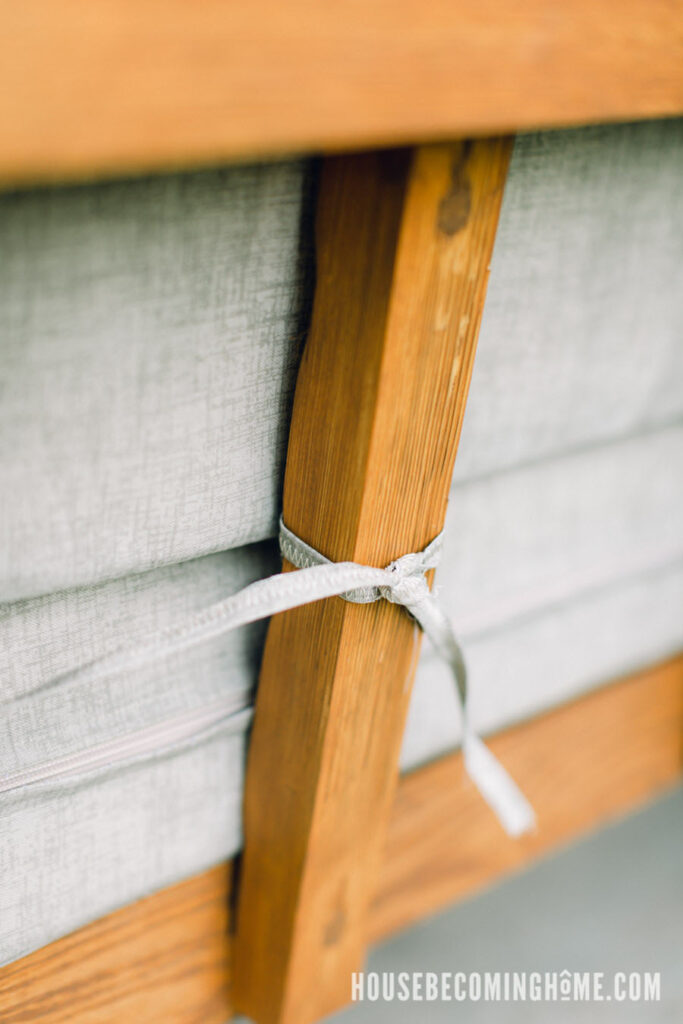
Last, I made a few cushion ties out of fabric scraps. I cut 1″ strips about 18″ long, folded them over a few times, then stitched them from top to bottom. I sewed these onto the back/bottom of the back cushions, so that they could be tied to the vertical back supports of the couch. Every once in awhile we get some intense wind and I don’t want any of these blowing away!
And that’s it! Let me know if you have any questions about how I finished the Modern Outdoor Sofa / Modern Outdoor L Couch.
