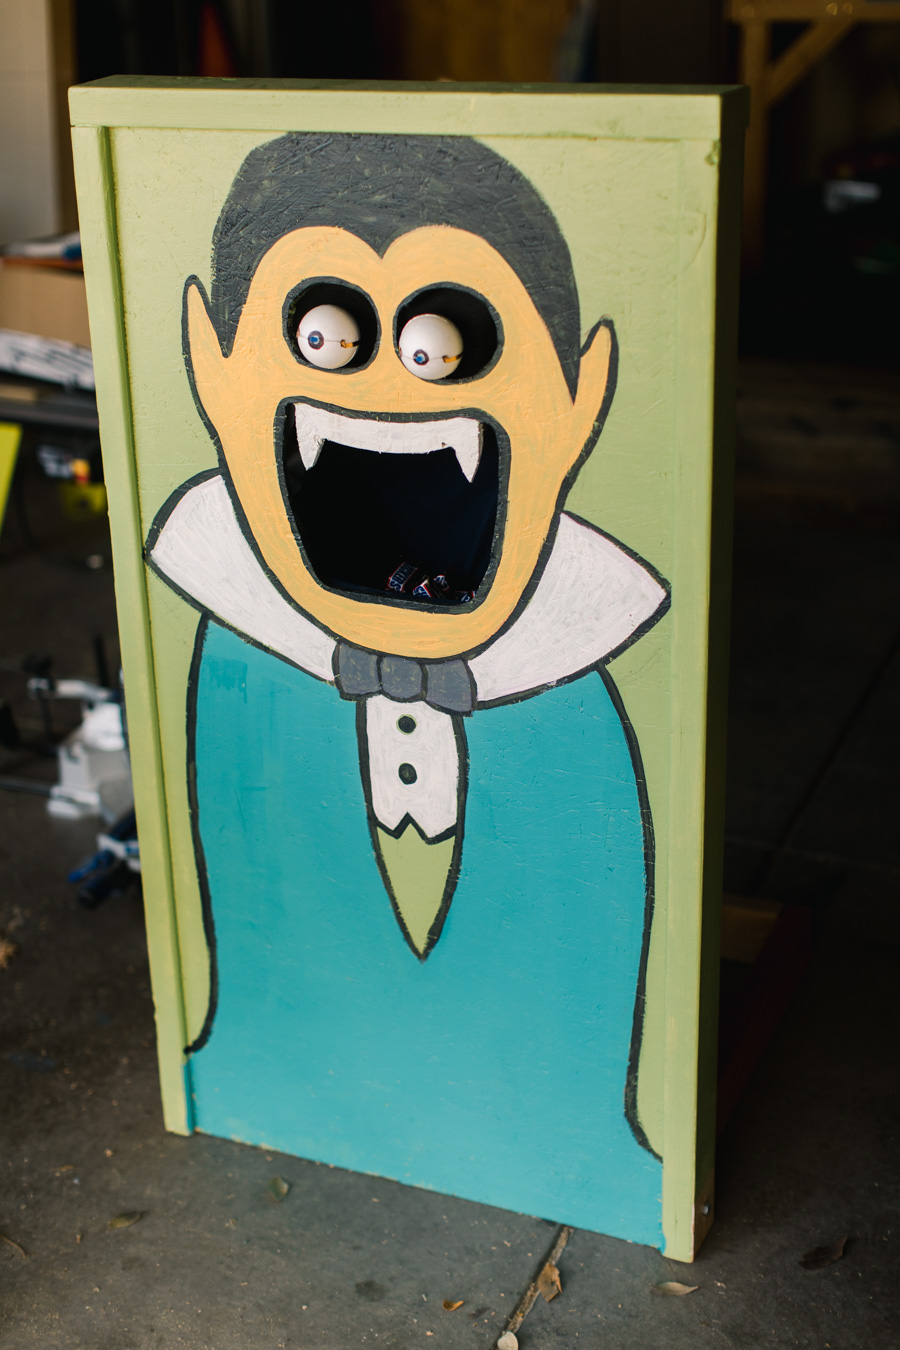
Halloween is right around the corner! This year, my electronics-loving son and I worked together to make a Halloween candy holder–a not-too-scary, open-mouthed dracula, whose eyes glow and shift when trick-or-treaters stick their hands inside to grab candy.
When sketching out the design for our Halloween candy holder, I wanted to make something that would “pack down” and store well. If it was going to take up tons of space in my garage for 364 days every year, I knew I would quickly get rid of it. I came up with something that can be stored flat, taking up far less room while in storage.
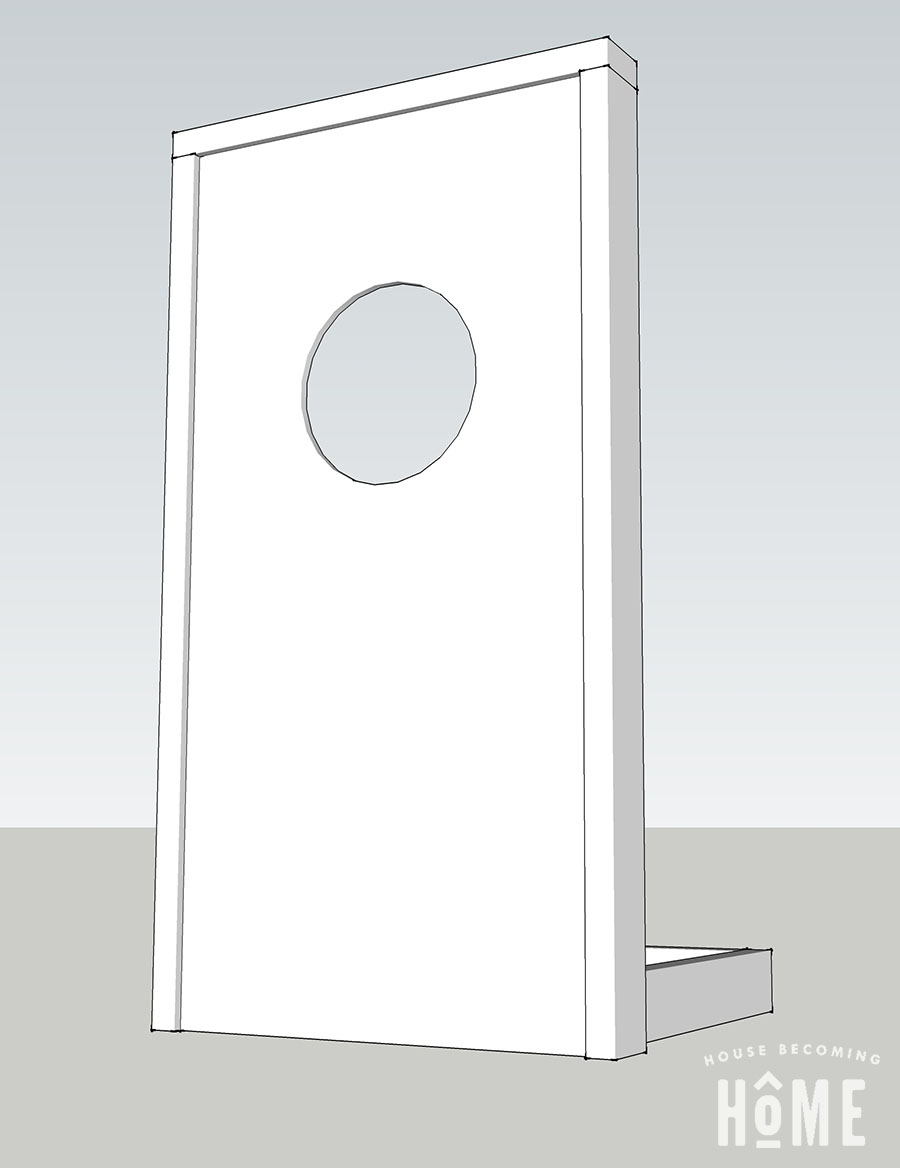
The visible part of the candy holder is a 2 foot by 4 foot sheet of OSB, framed by 2x4s attached with pocket holes.
The structure is supported with 24″ 2x4s in the back, but instead of attaching it to the framed OSB with screws, it is held in place on each side with a 3/8″ hex bolt and nut. This way, when Halloween is over we can take it apart and store it flat, then easily put it back together next year.
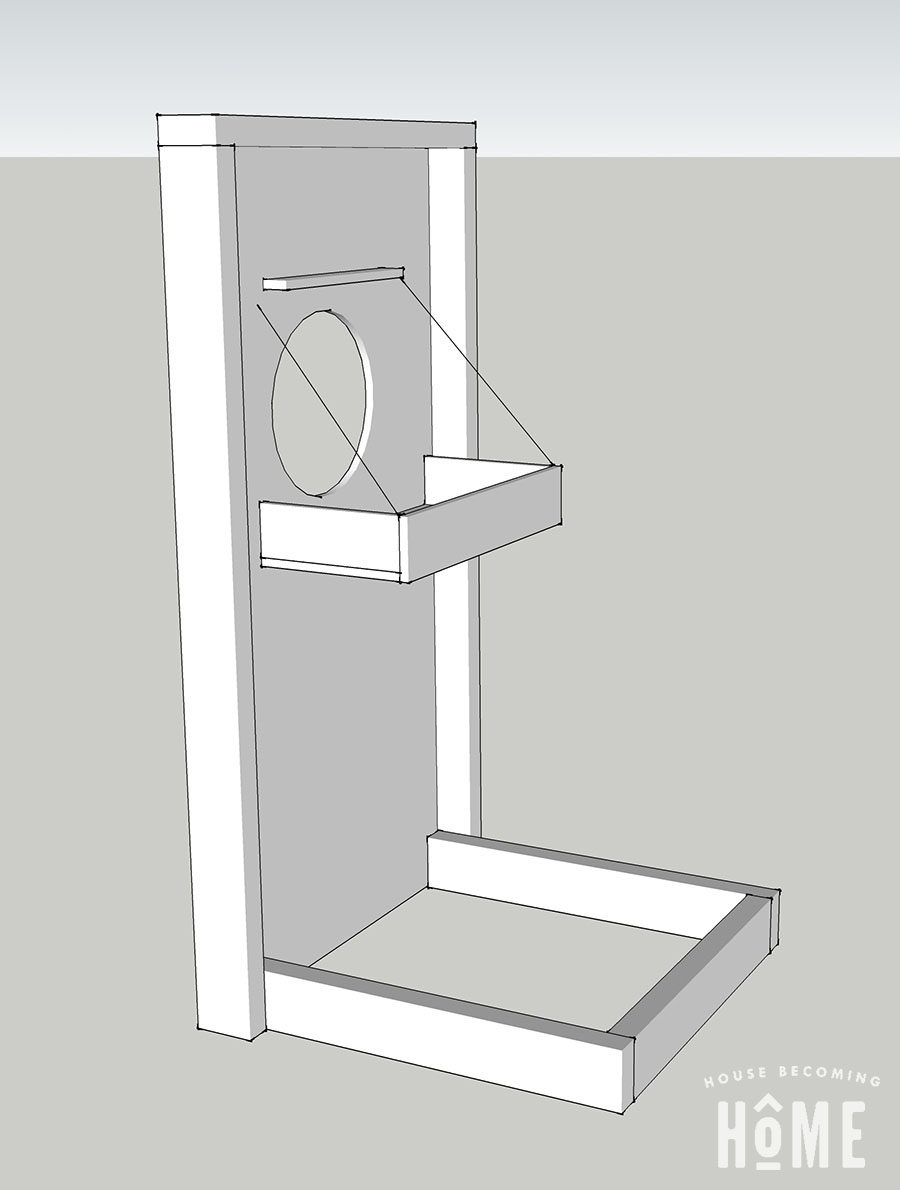
The small candy holder behind the mouth was another piece that needed to “pack down.” I built a three sided “box” out of 2x4s, with a hardboard bottom. It’s attached to the back side of the OSB with hinges so it can fold down flat when not in use. On Halloween night, rope (attached through screw eyes on the small candy holder and back of the “frame”) will keep the candy holder up and in place.
How To Make A Dracula Halloween Candy Holder
Step One: Build the Main Structure
Begin by making the front part of the Halloween candy holder. Drill pocket holes on the back side of a 2×4′ sheet of 1/2″ plywood or OSB, then attach 2x4s to the sides and top.
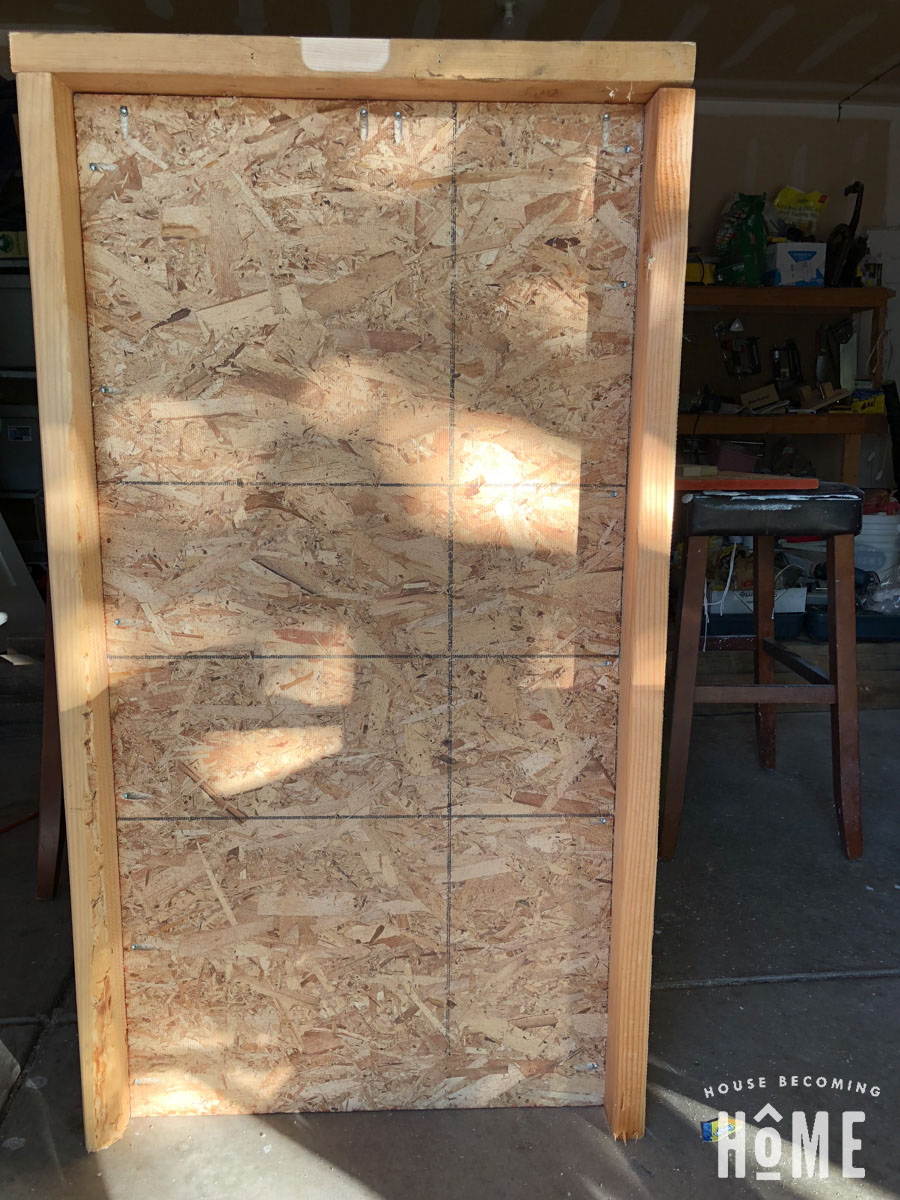
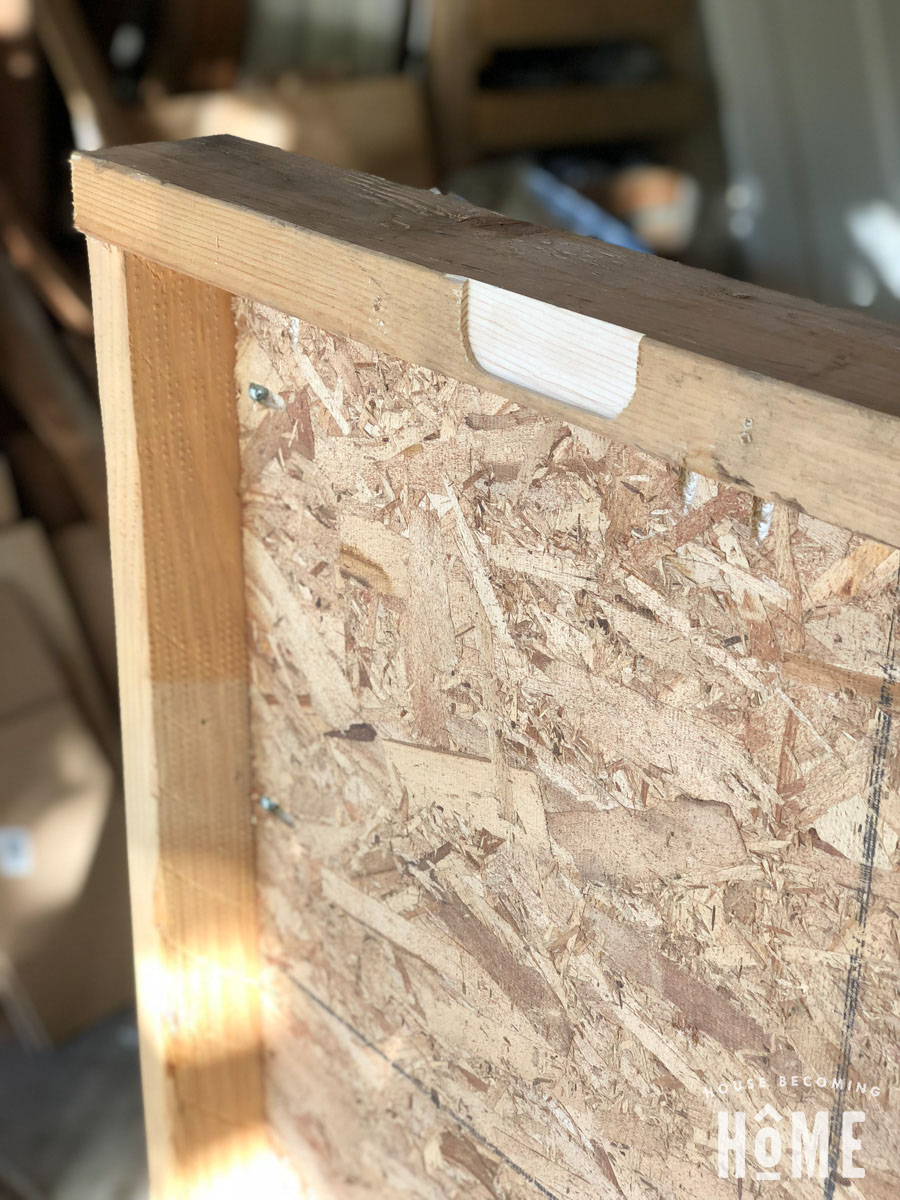
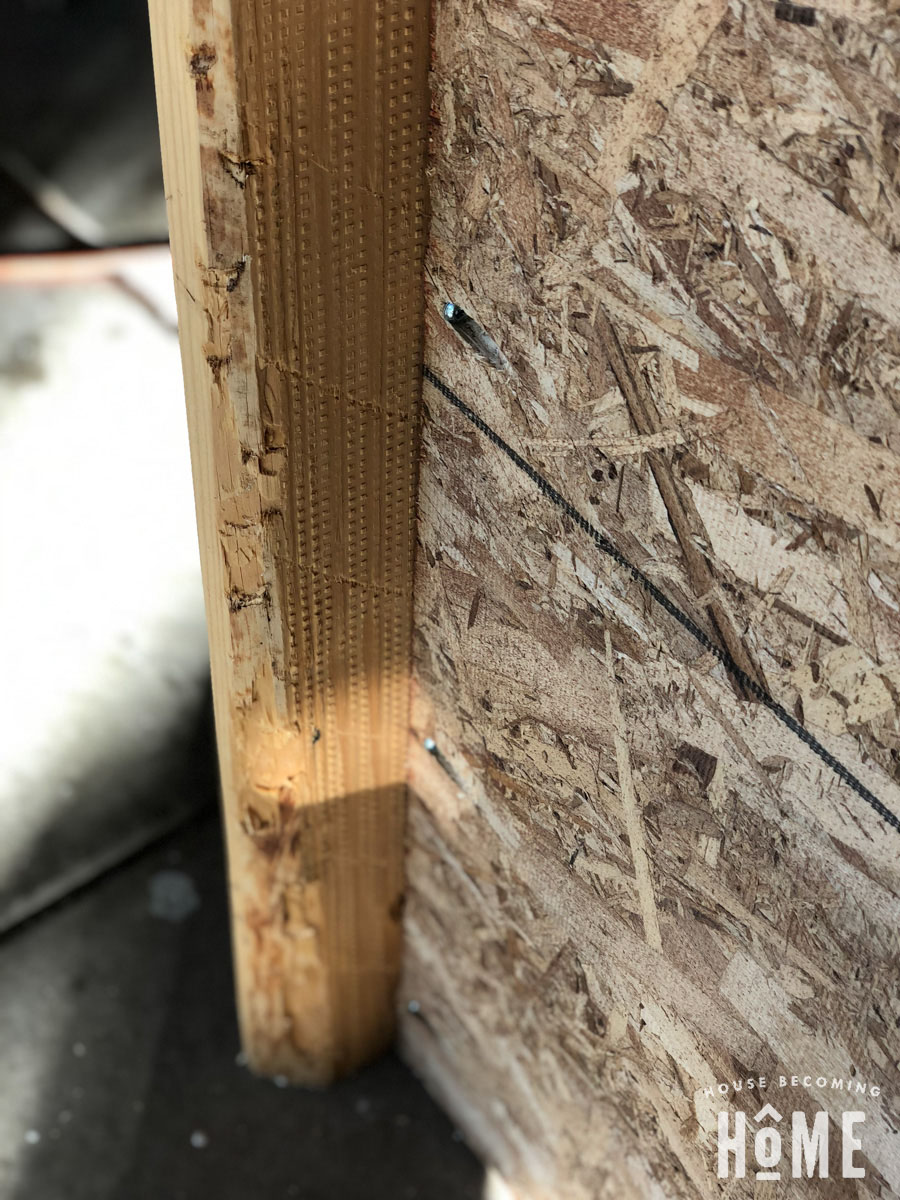
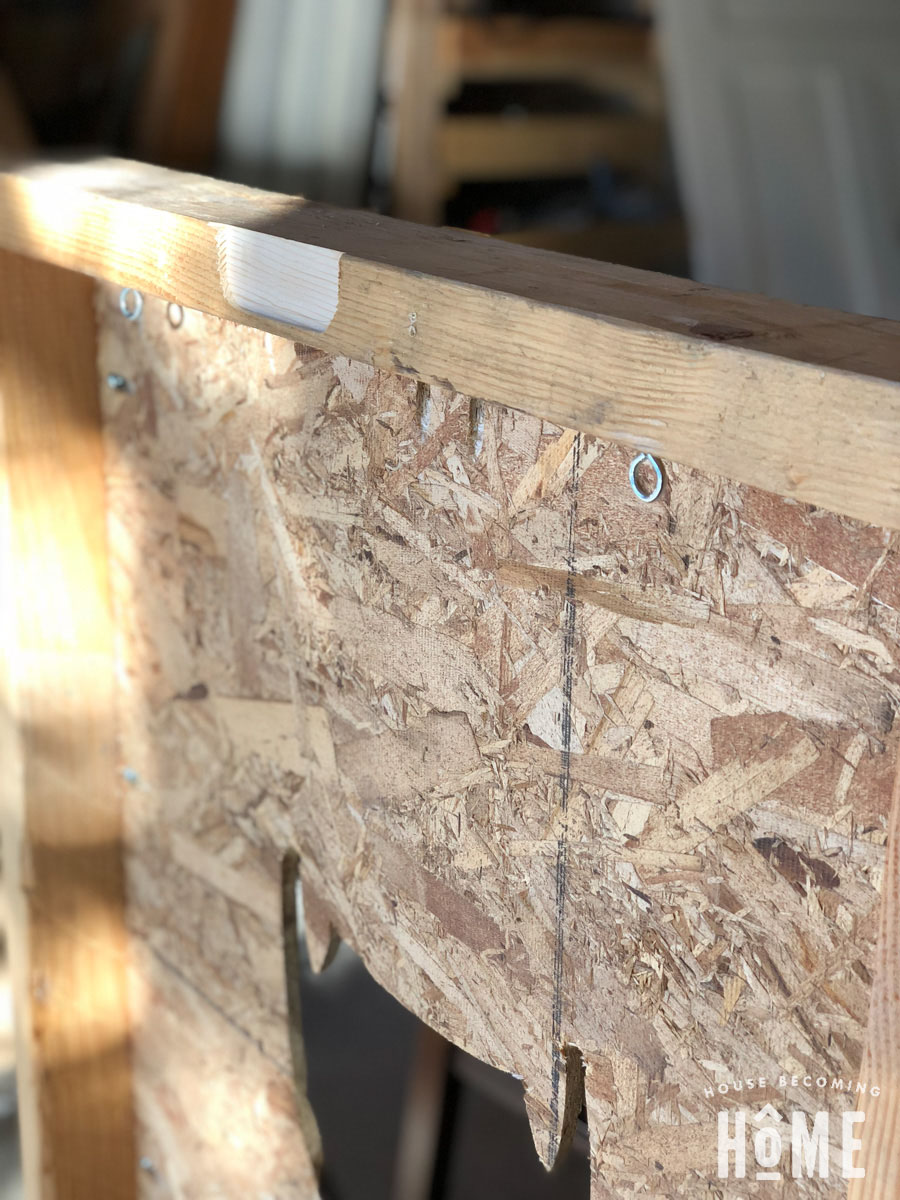
The front side of the OSB will not be flush with the front sides of the 2x4s. It should be about 1/2″ from the front so that the pocket hole screws don’t poke through.

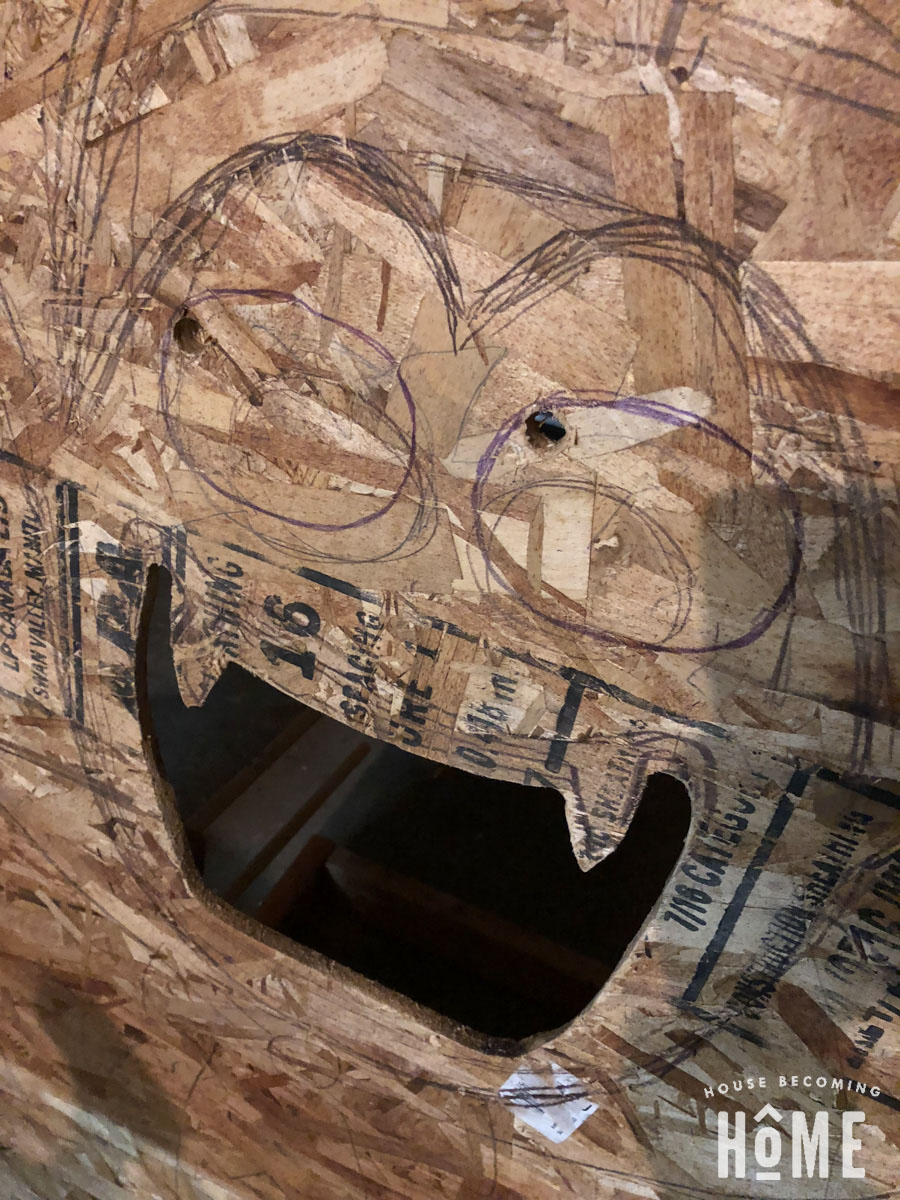
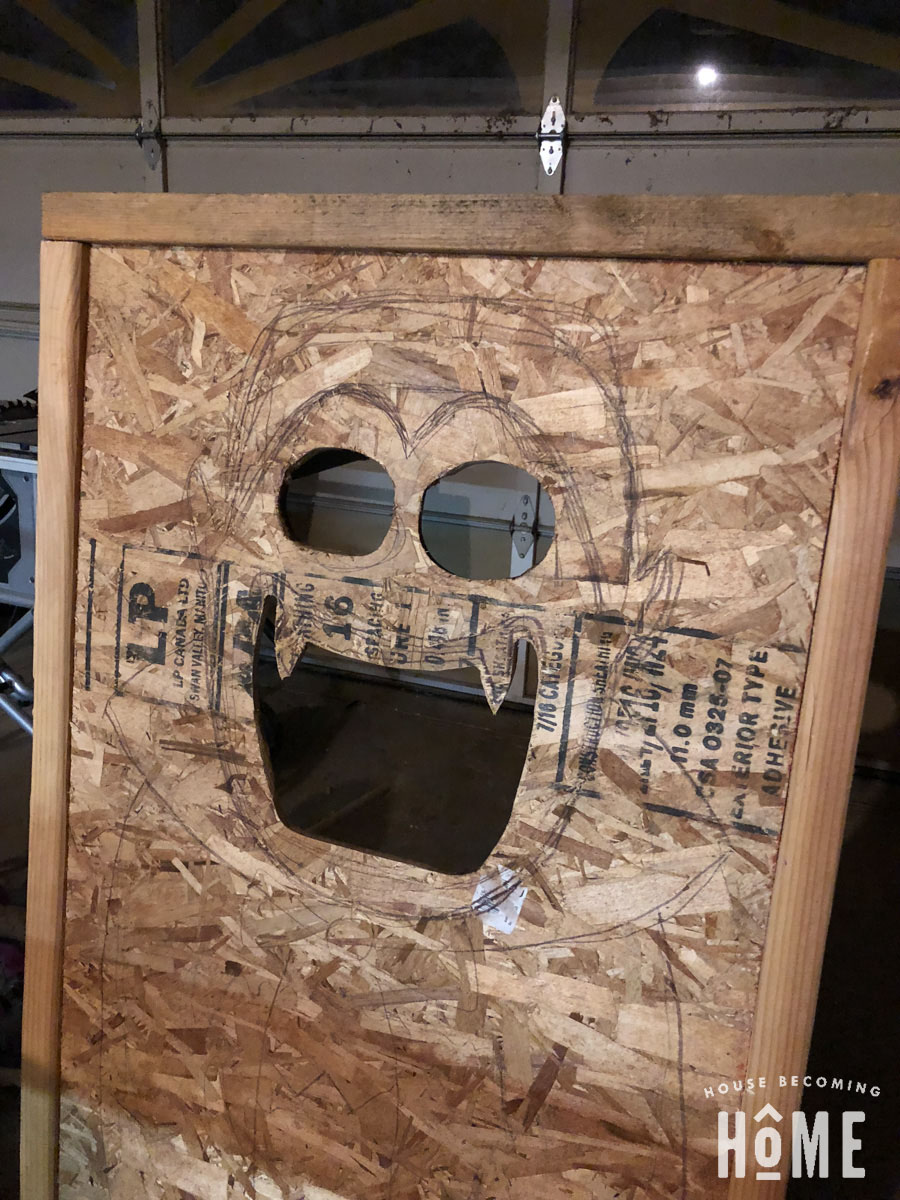
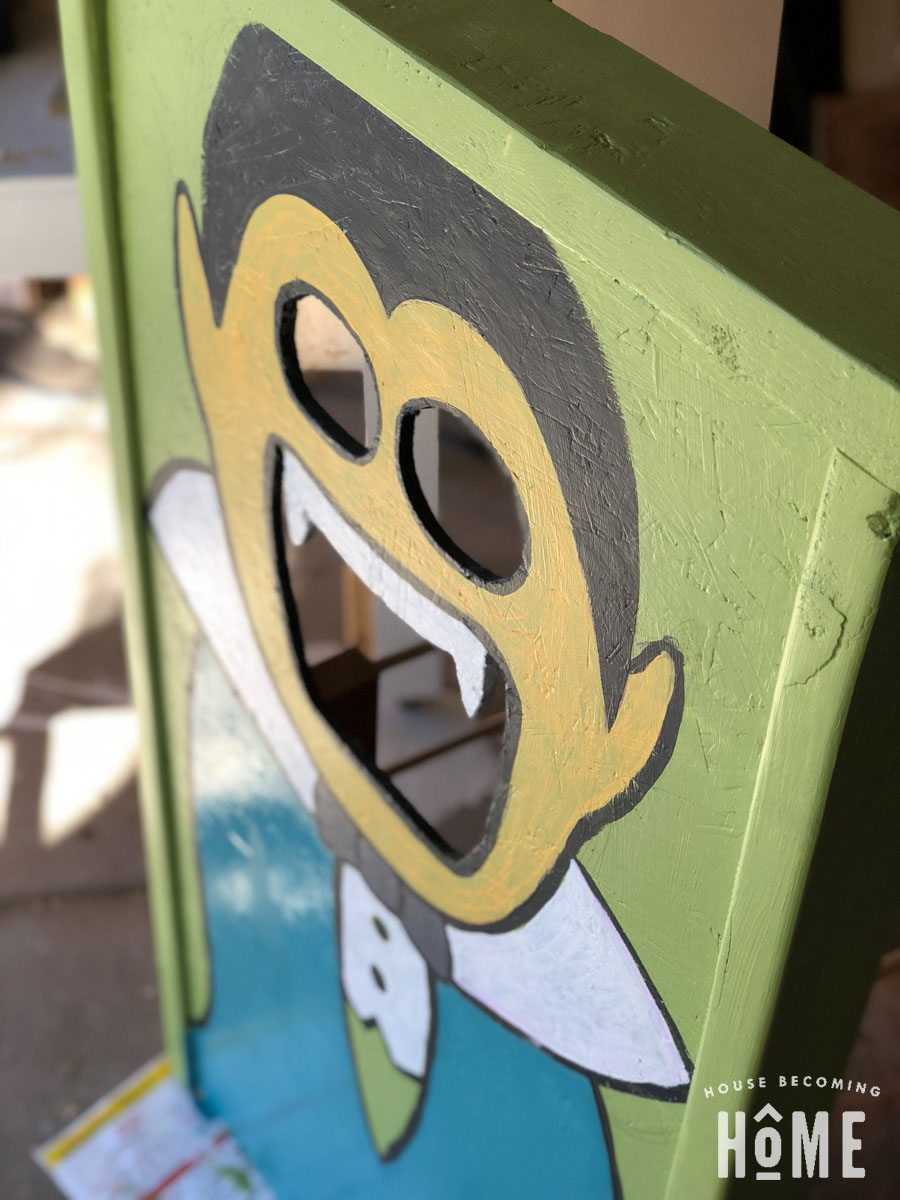
Next, sketch (I found using a washable marker worked best) your Halloween figure. Anything with a large open mouth will work. I chose to draw a friendly-looking Dracula.

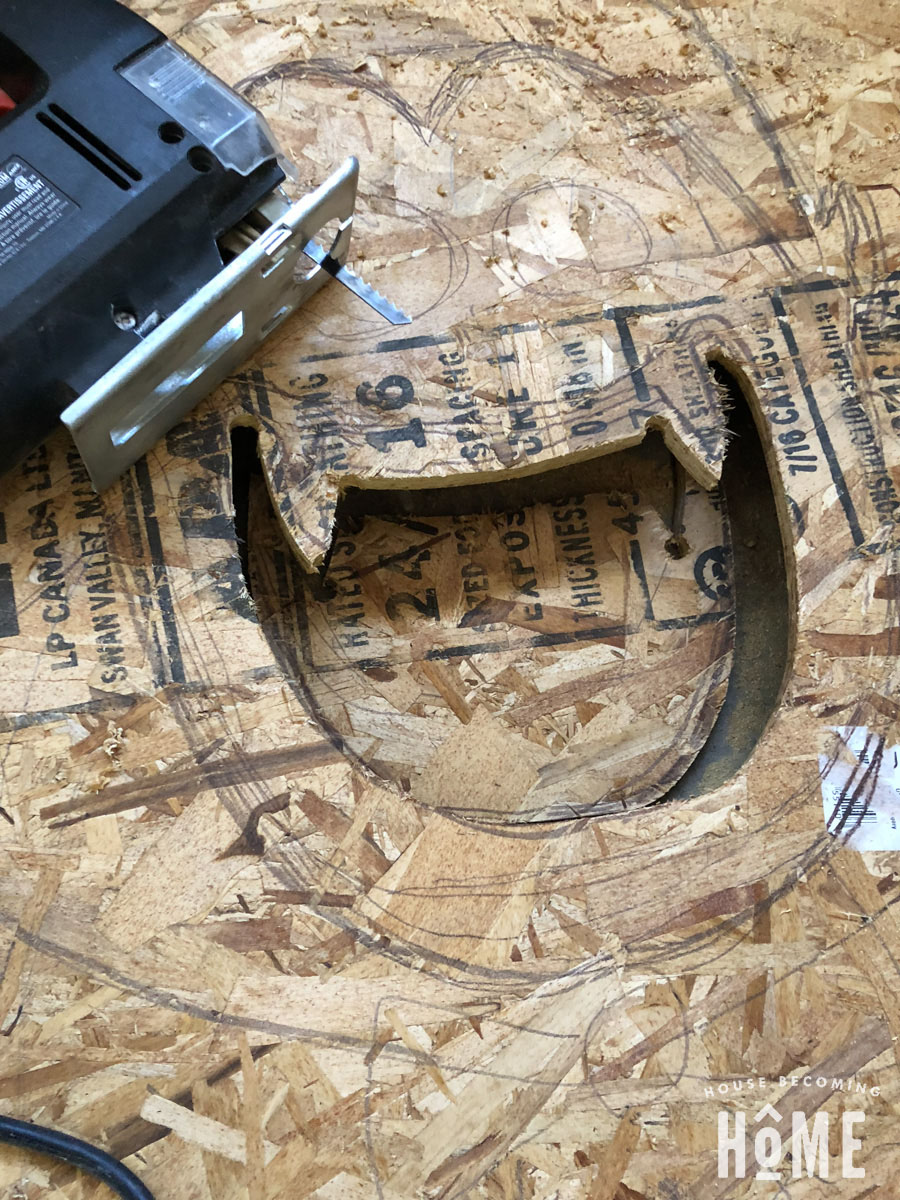
Step Two: Cut out Dracula’s Mouth
Cut out the mouth. Start by drilling large holes at the edges. I made four holes at the top and bottom of each of Dracula’s vampire teeth, then cut it out with a jig saw.

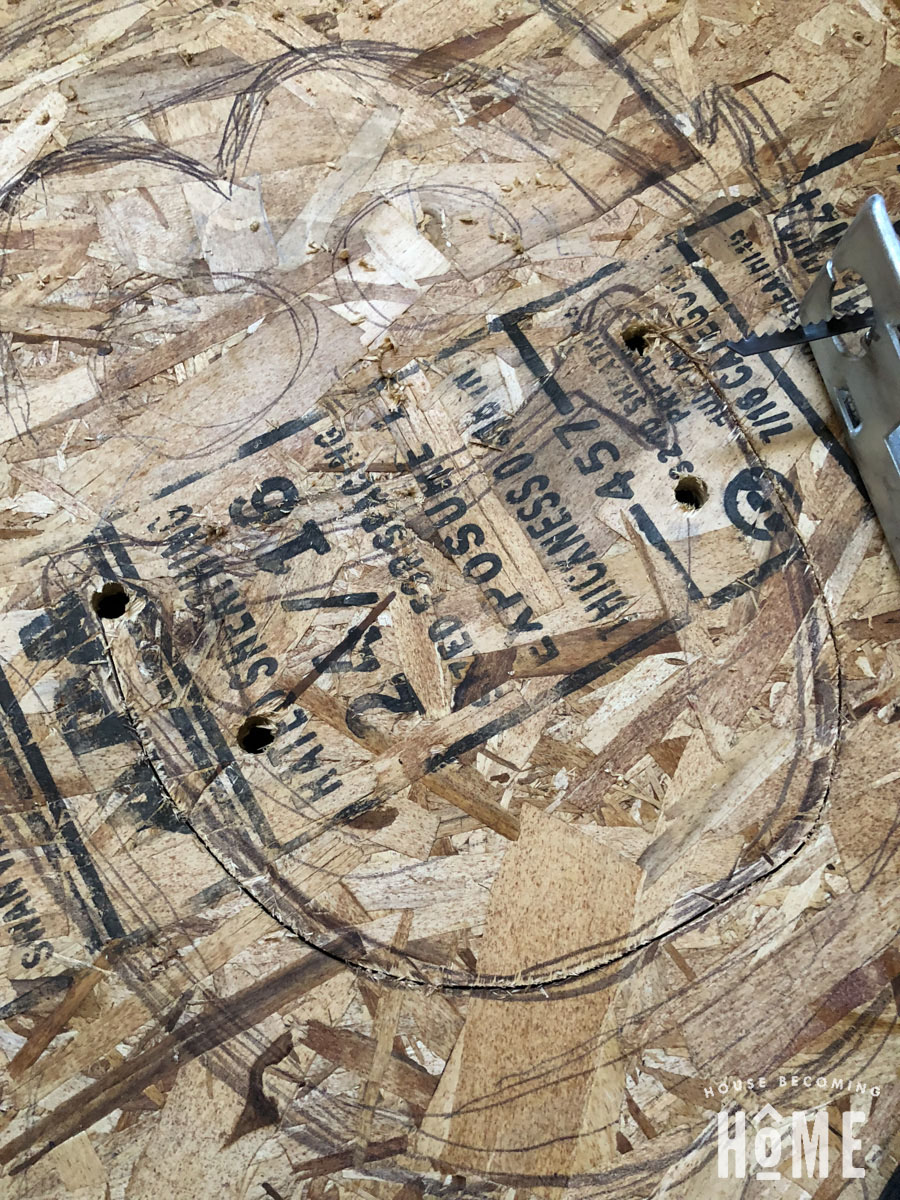
At this point you can also cut out the eyes, but I waited on this step as I wasn’t yet sure what size they needed to be.
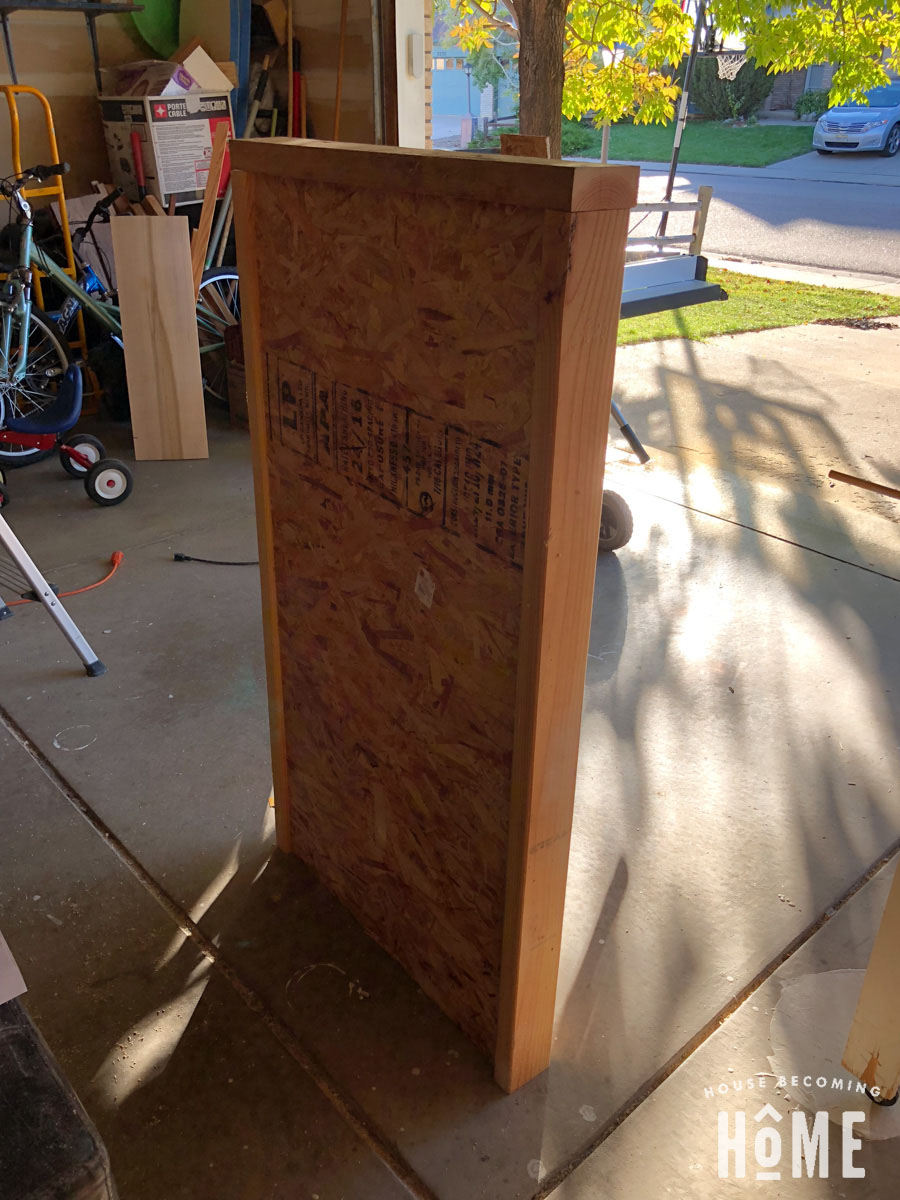
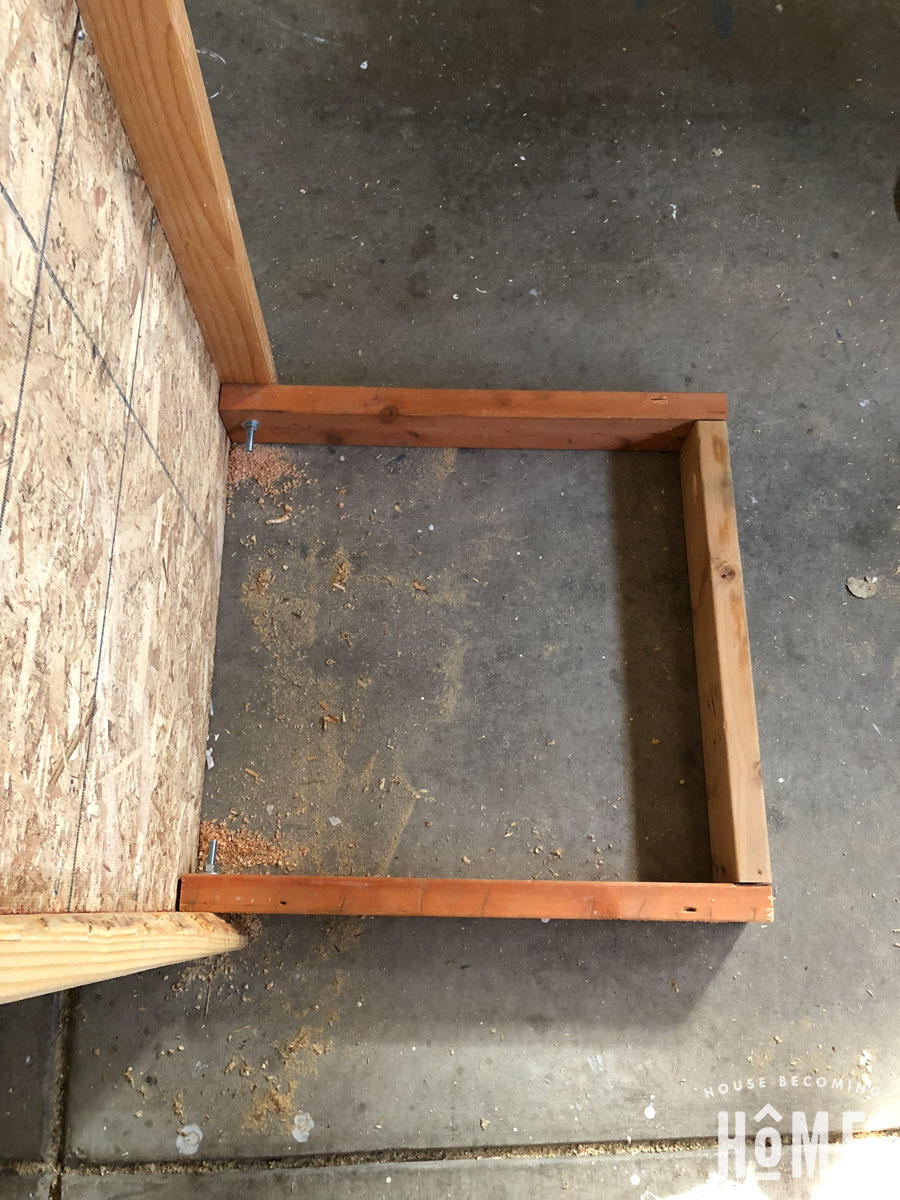
Step Three: Build + Attach the Support
Now it’s time to make the 2×4 base/support. I cut the sides 24″ long, then cut another piece to join them horizontally.
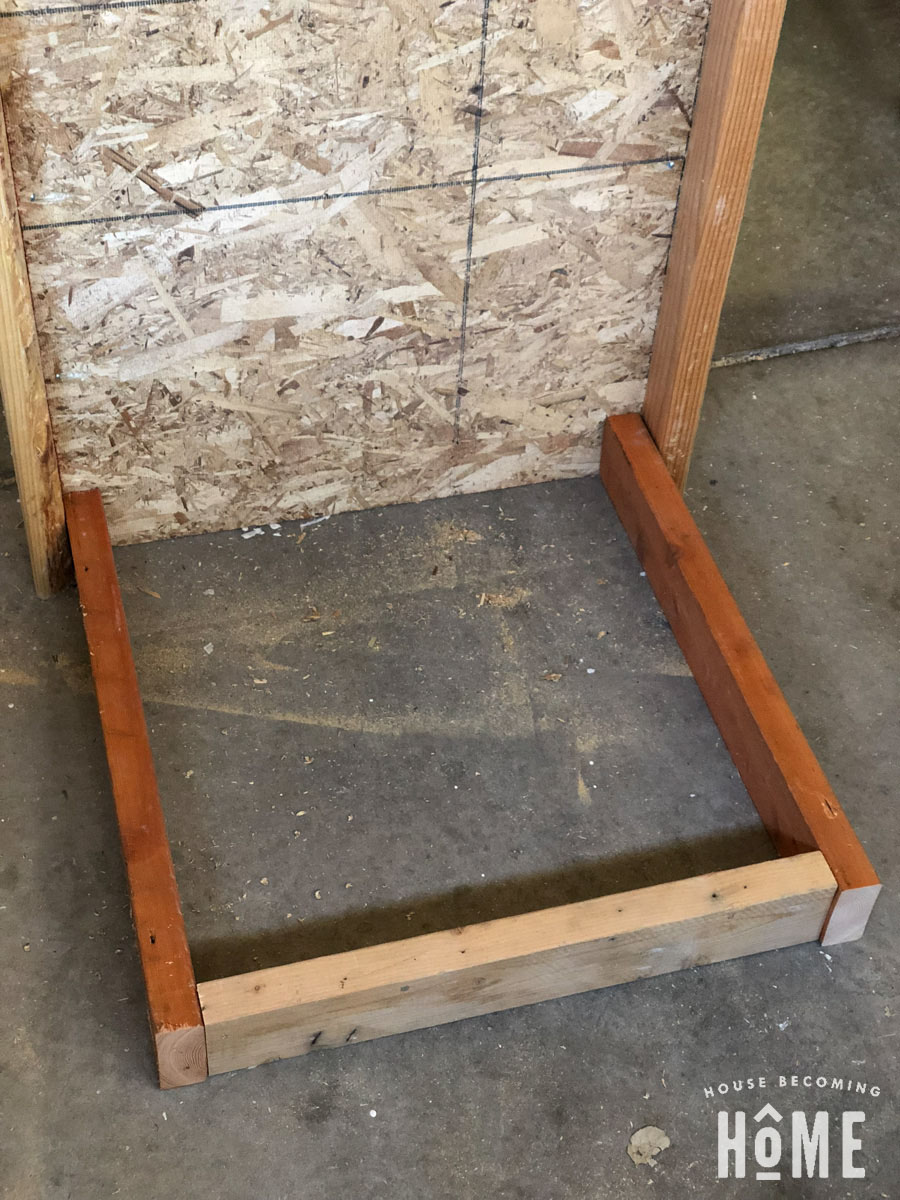
Make pocket holes, then join to the sides with 2-1/2″ pocket hole screws.
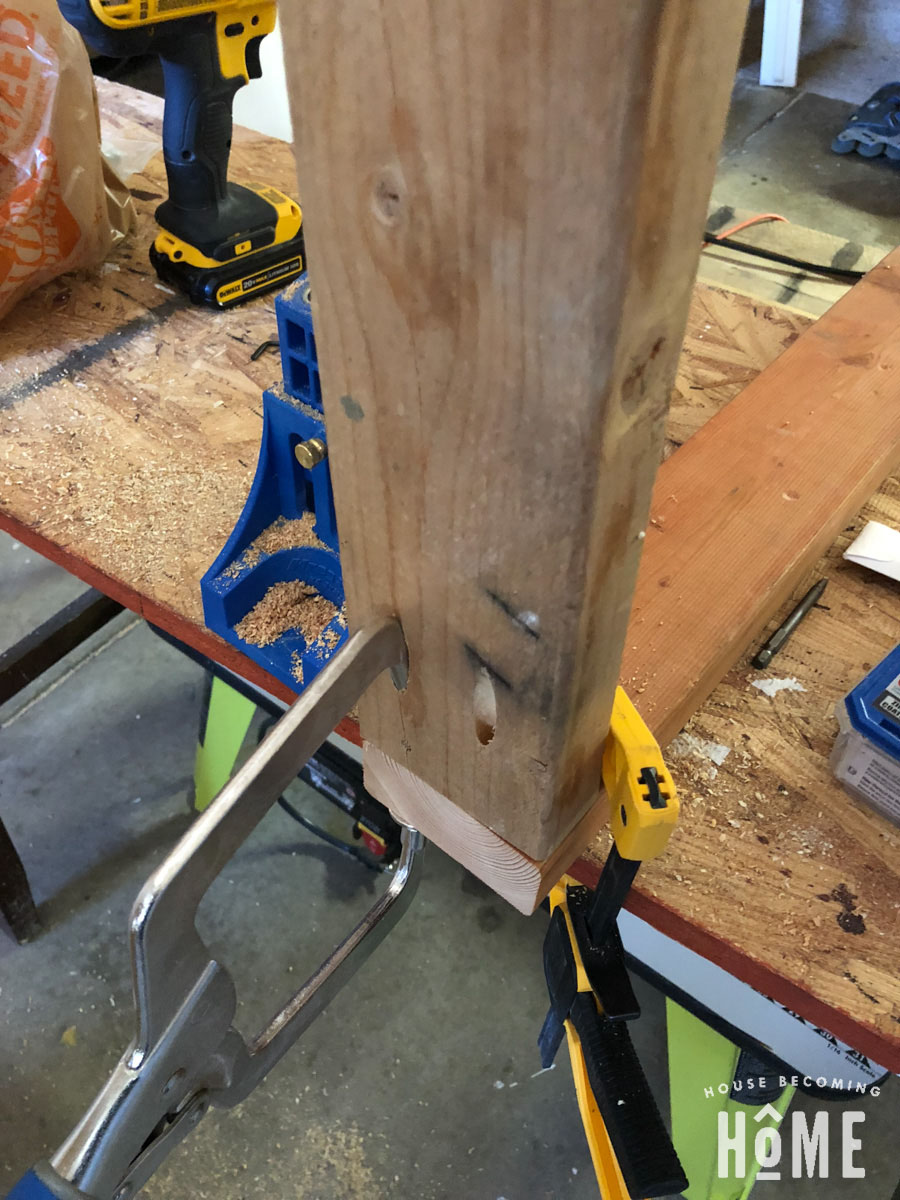
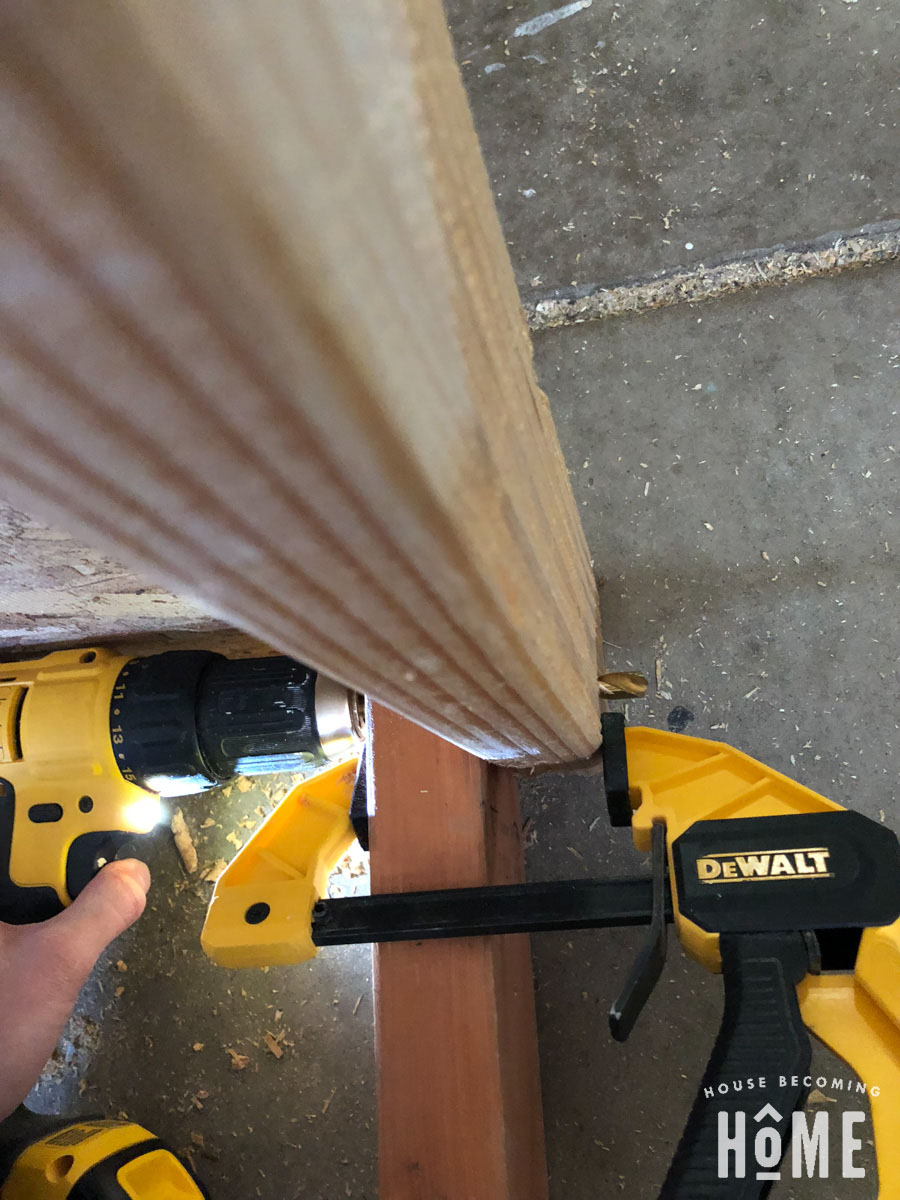
Clamp the 2×4 support to the bottom of the structure:
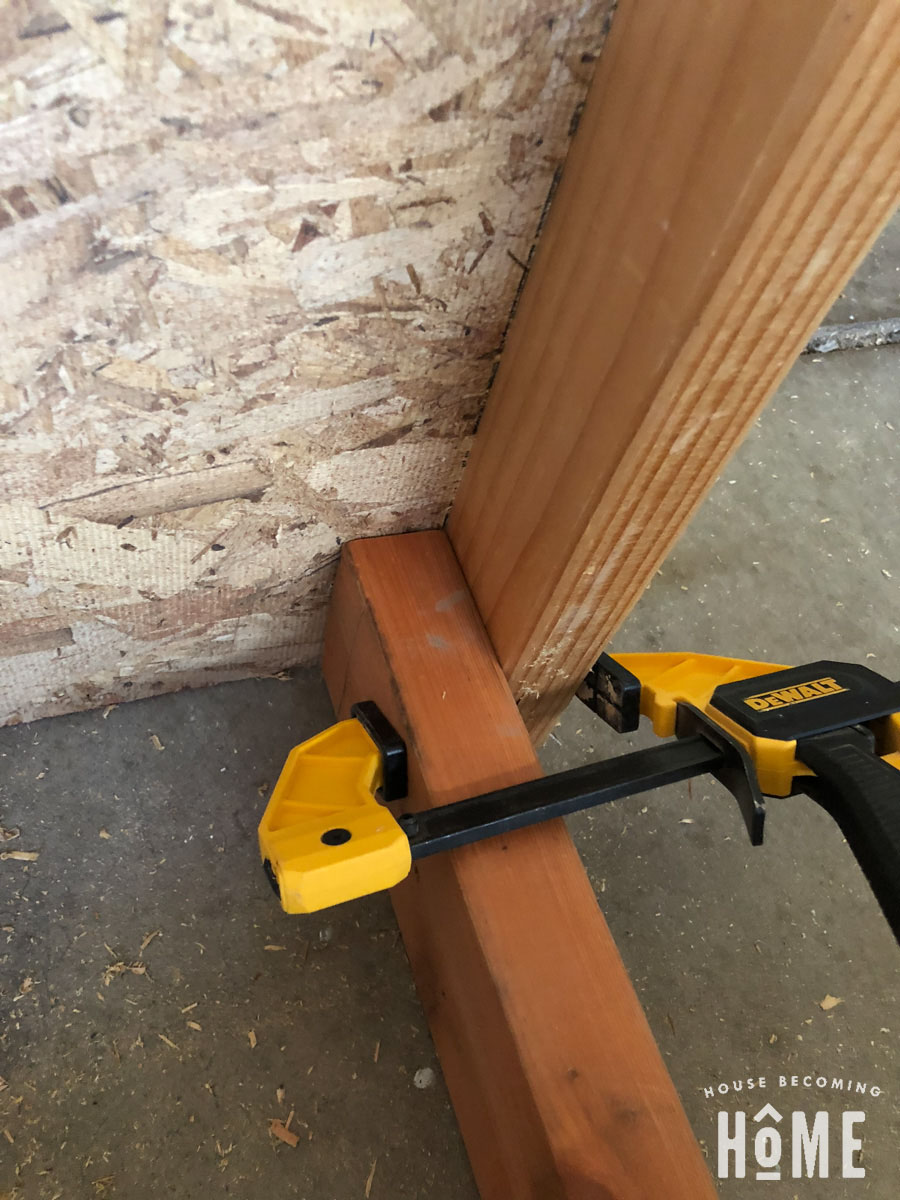
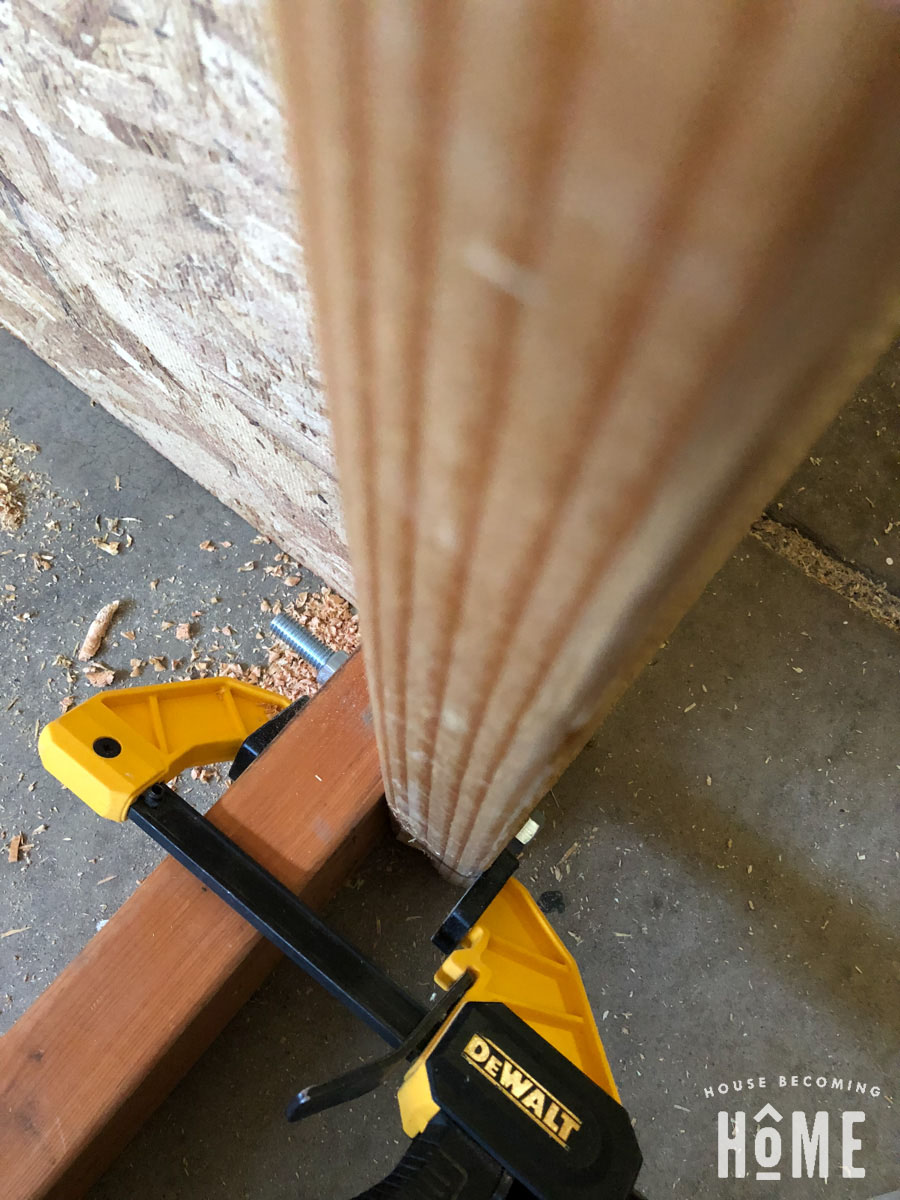
Then drill through both 2×4’s with a 3/8″ inch bit.
Add a 3/8″ hex bolt (4-1/2″) through the hole, then tighten with a washer and nut.
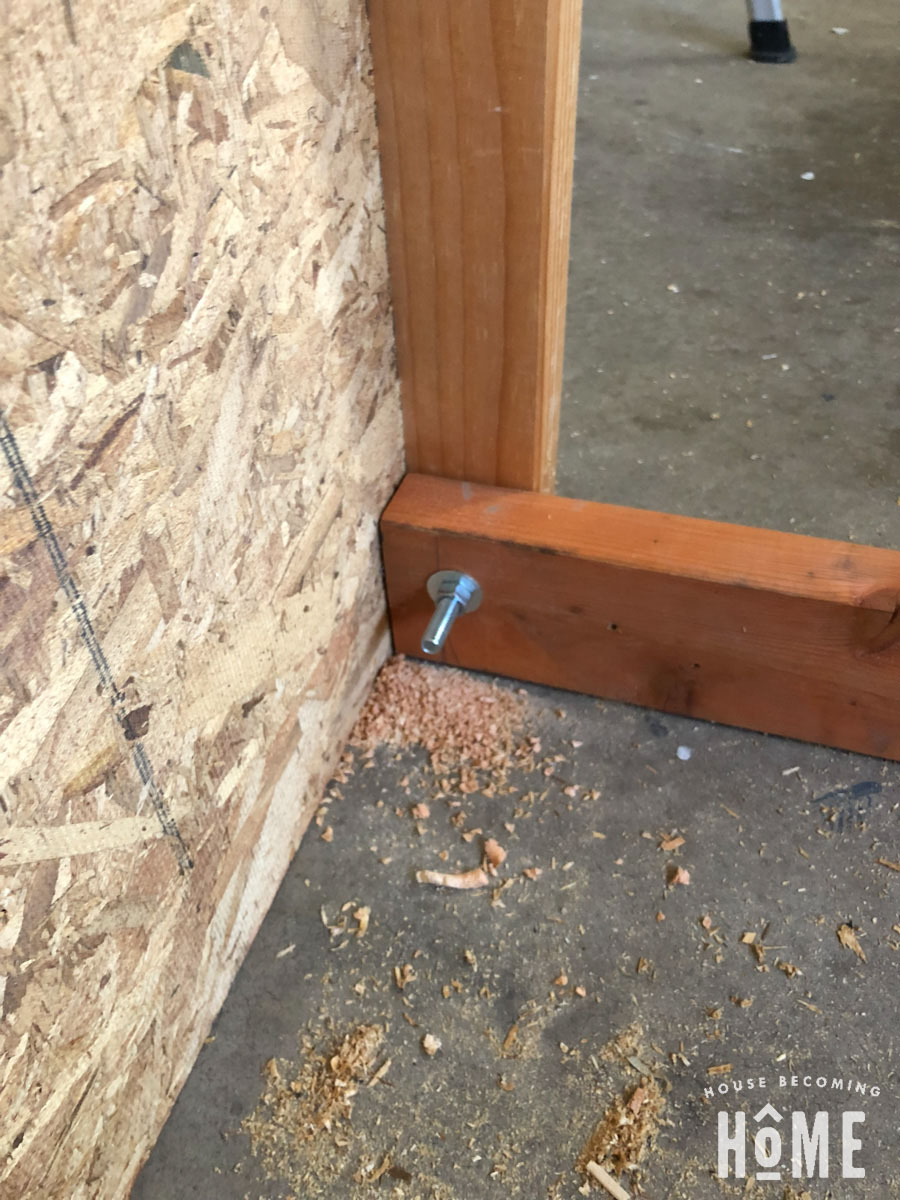
Repeat on the other side.
Step Four: Build + Attach the Small Candy Holder
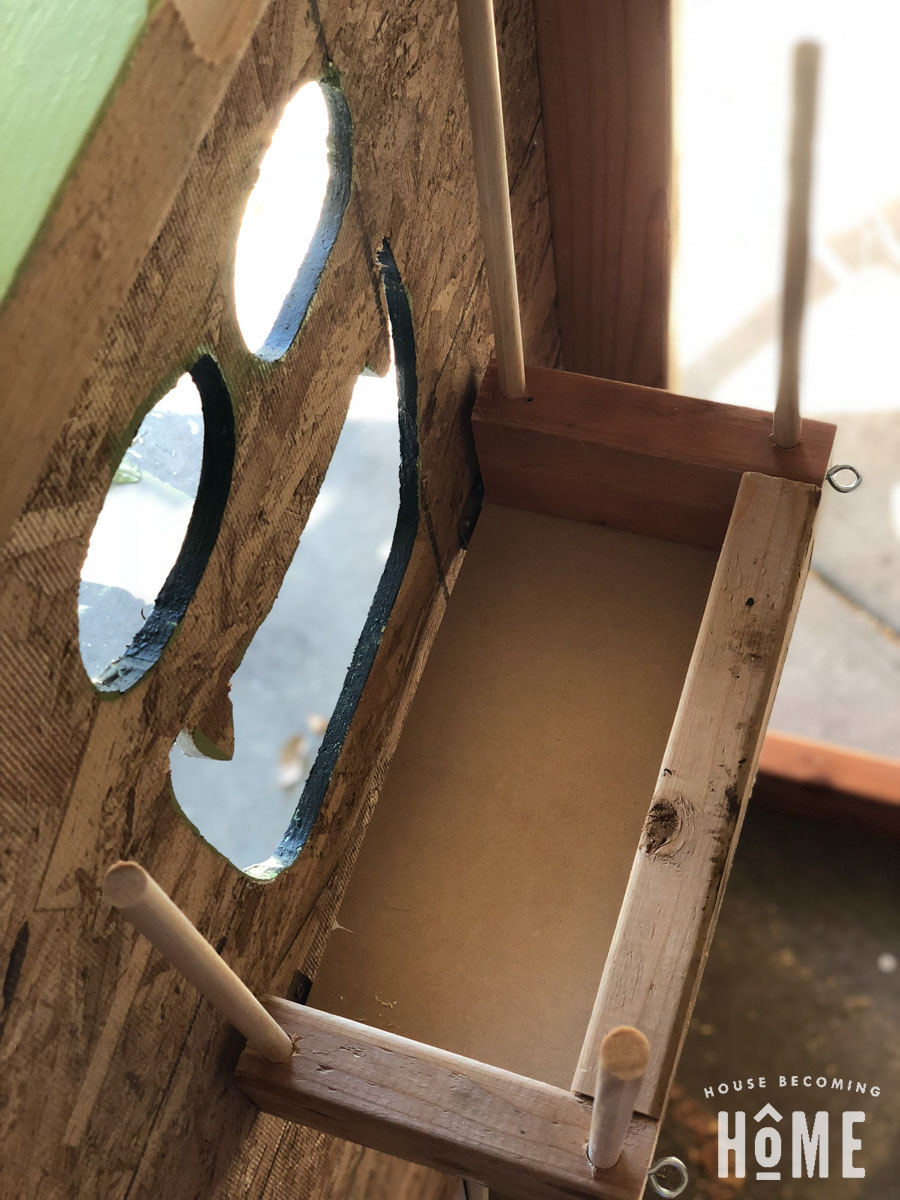
Make the inside-the-mouth Halloween candy holder using three 2×4 scraps and hardboard for the bottom.
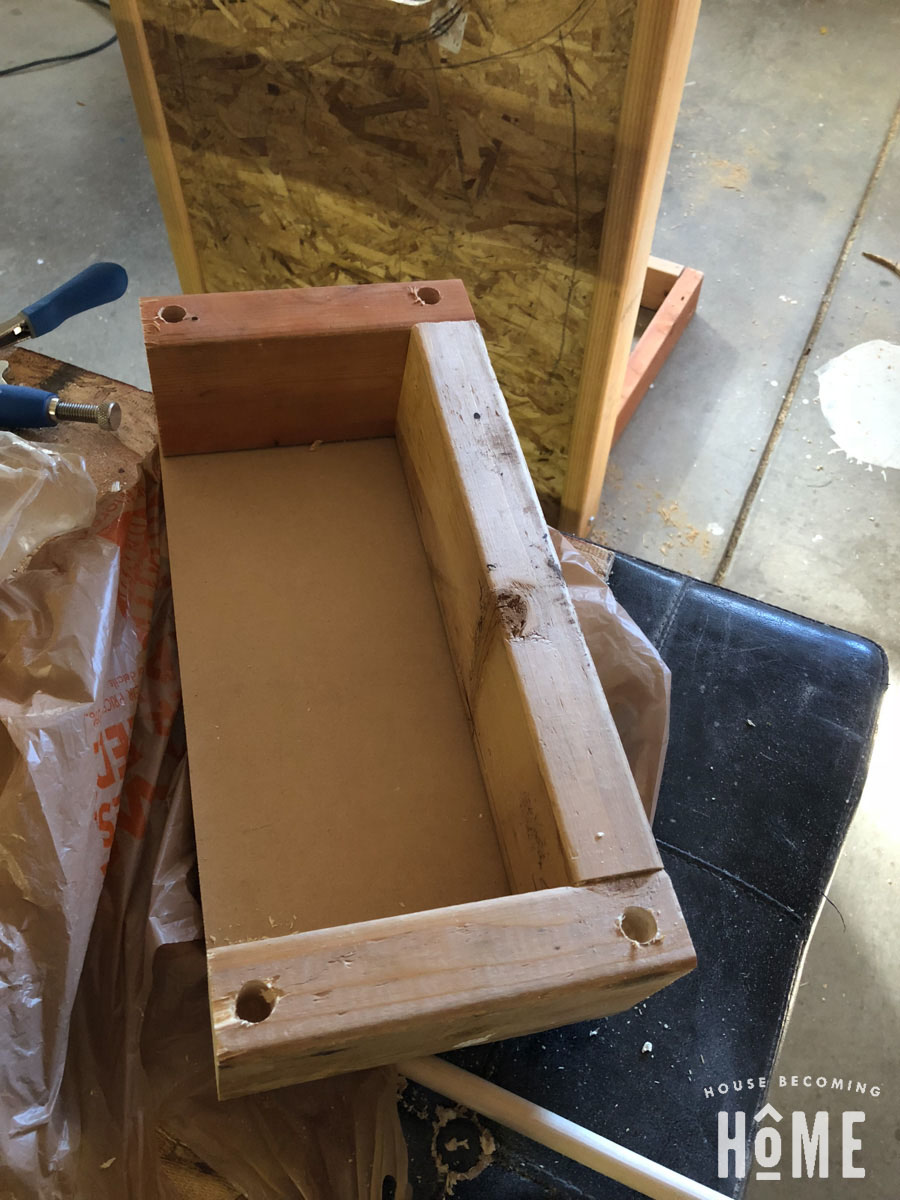
I drilled holes on the four corners with a 1/2″ bit. Eventually, dowels will be in these holes, holding in place a black cloth (or unwanted dark t-shirt), so that trick or treaters won’t see through to the other side.
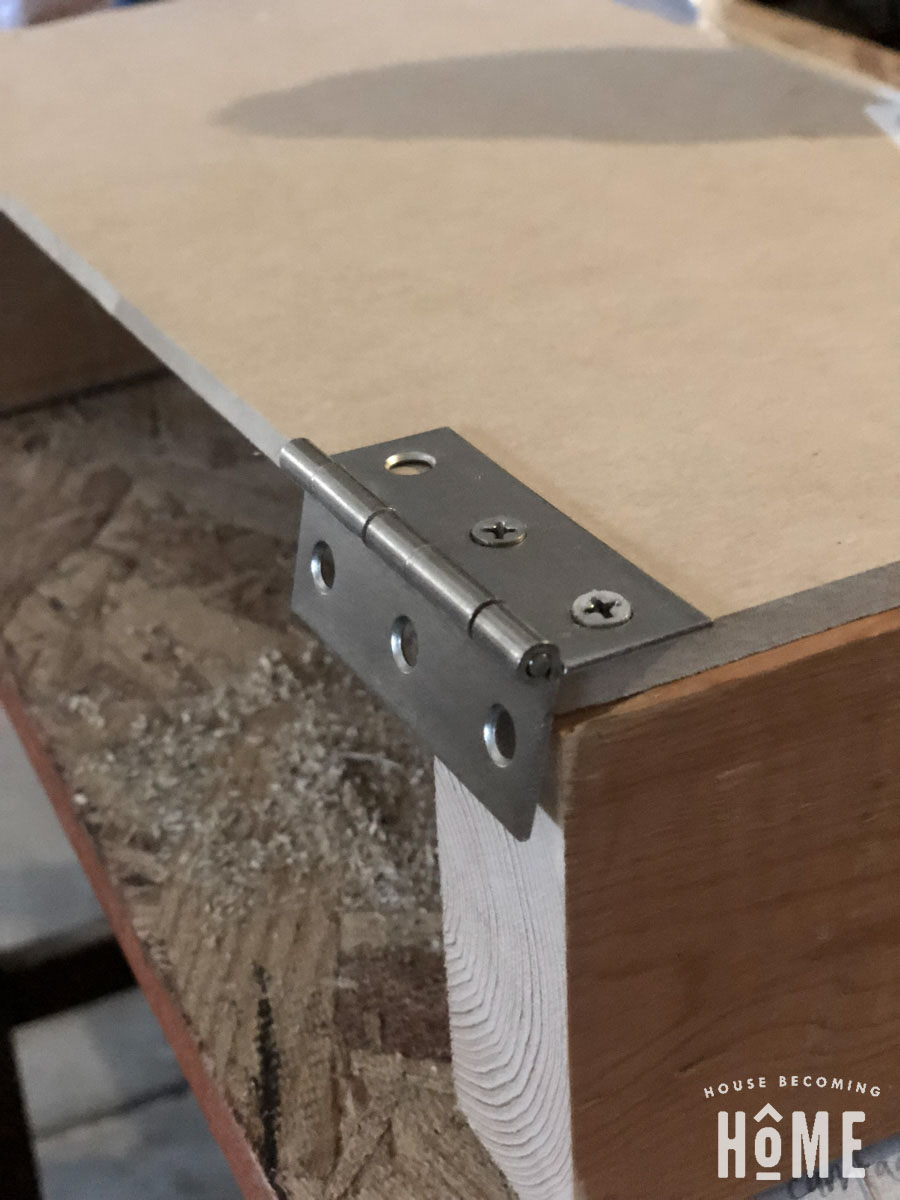
Add two hinges to the bottom of the candy holder, then attach hinges to the back of the framed structure, underneath the mouth.
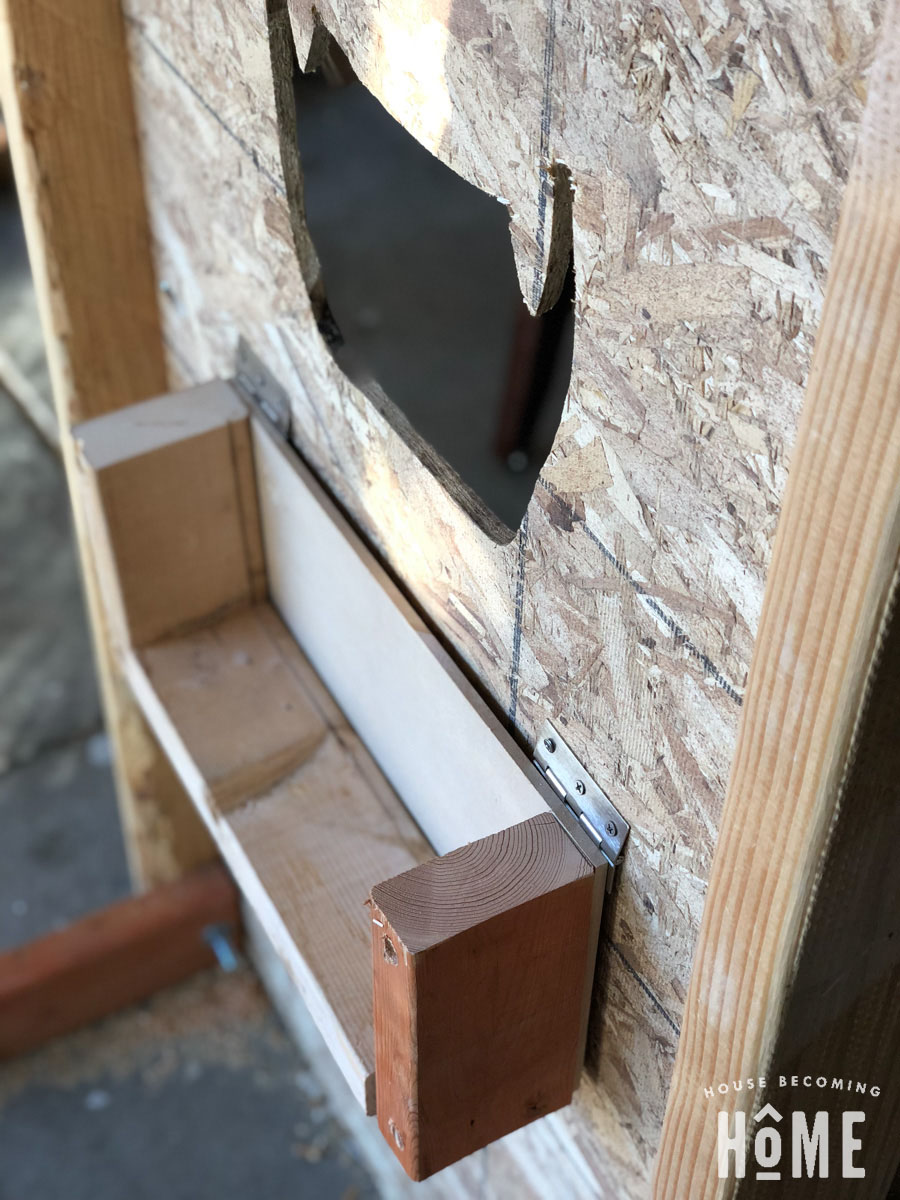
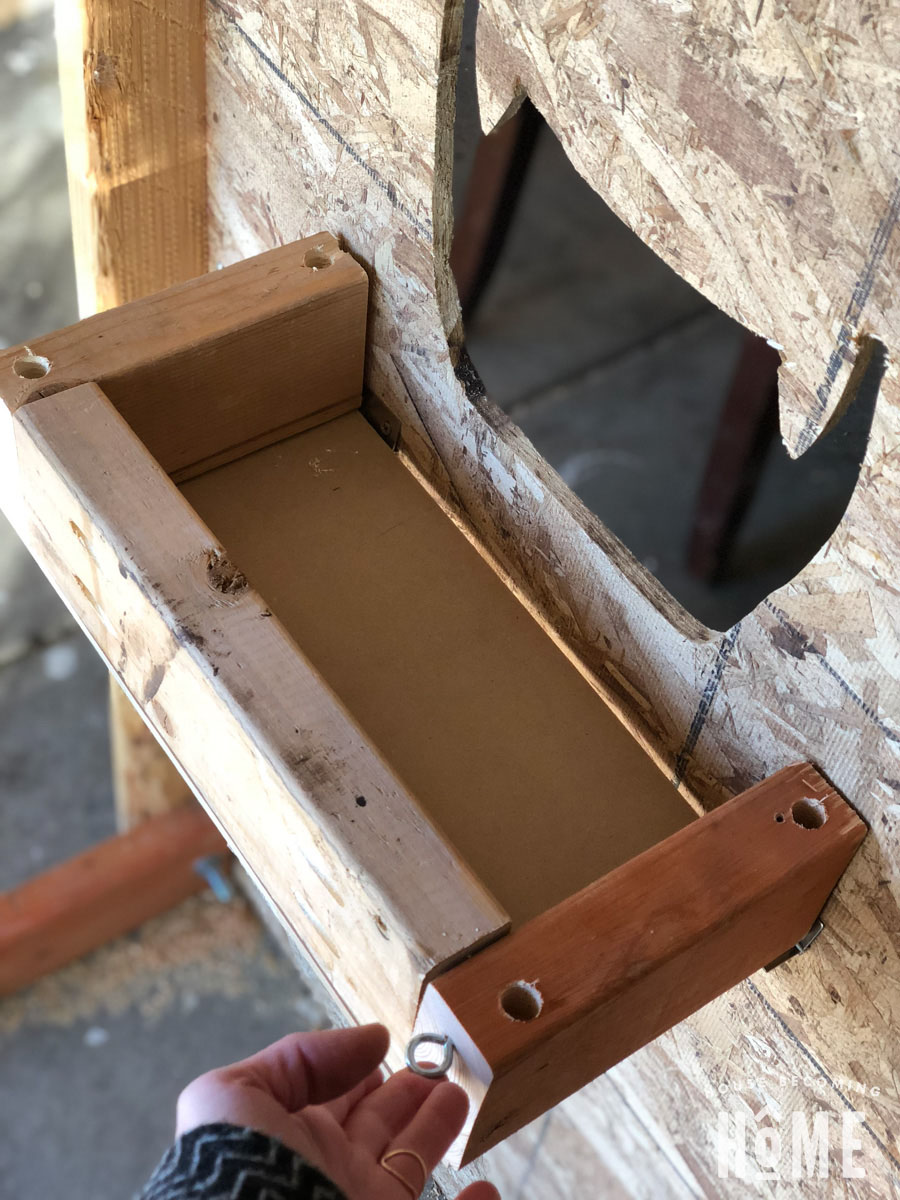
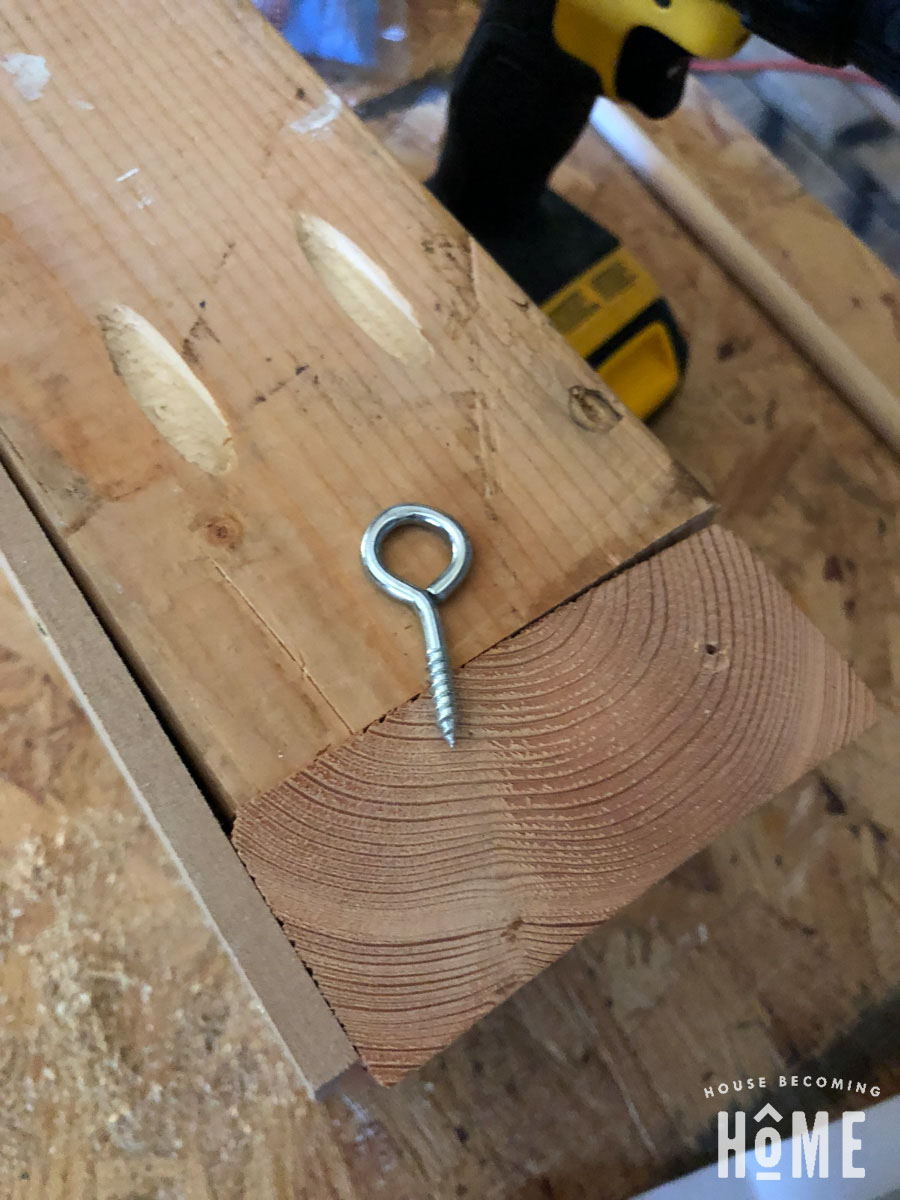
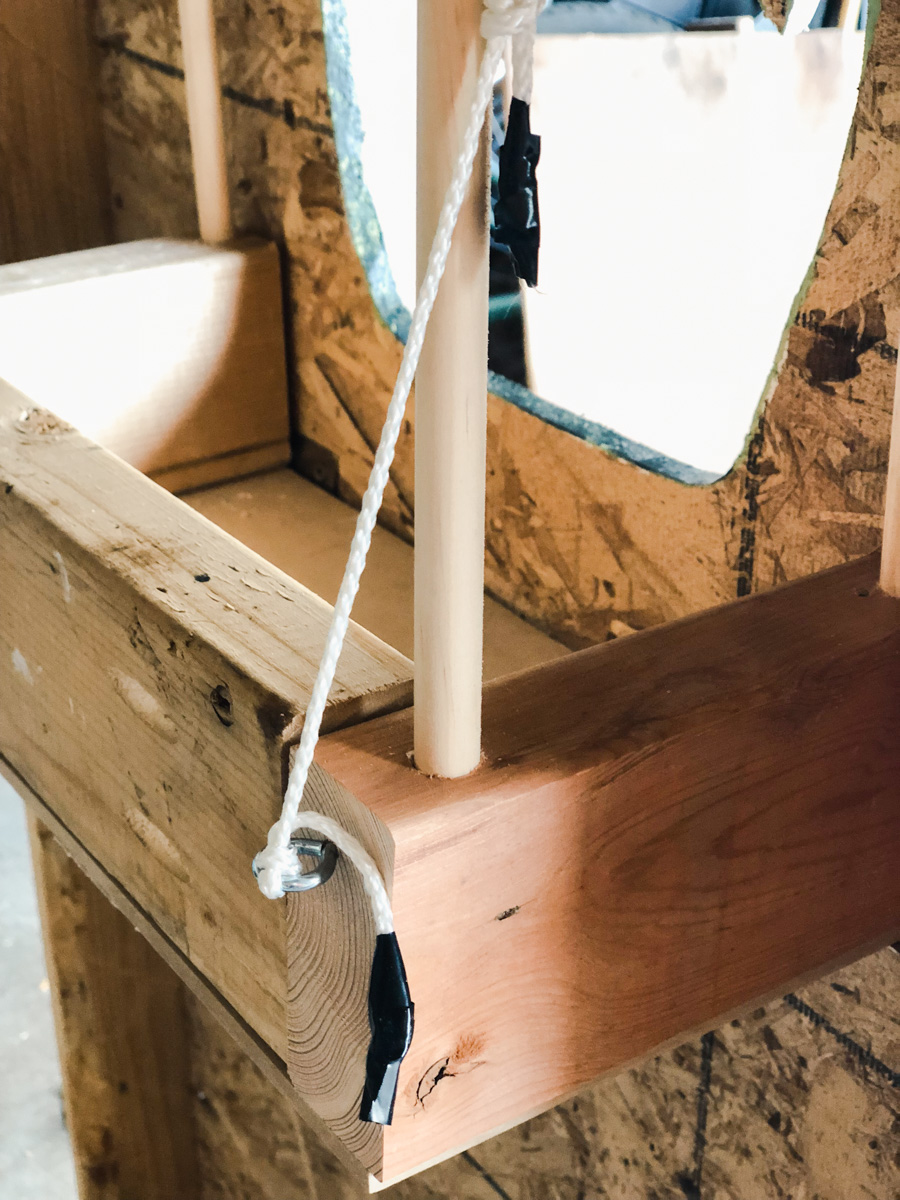
I added two screw eyes to the candy holder, and two screw eyes to the frame. You’ll keep the candy holder supported in place with heavy duty string attached through these screw eyes.
Step Five: Cut out Eyes (if making electronic, moving eyes)
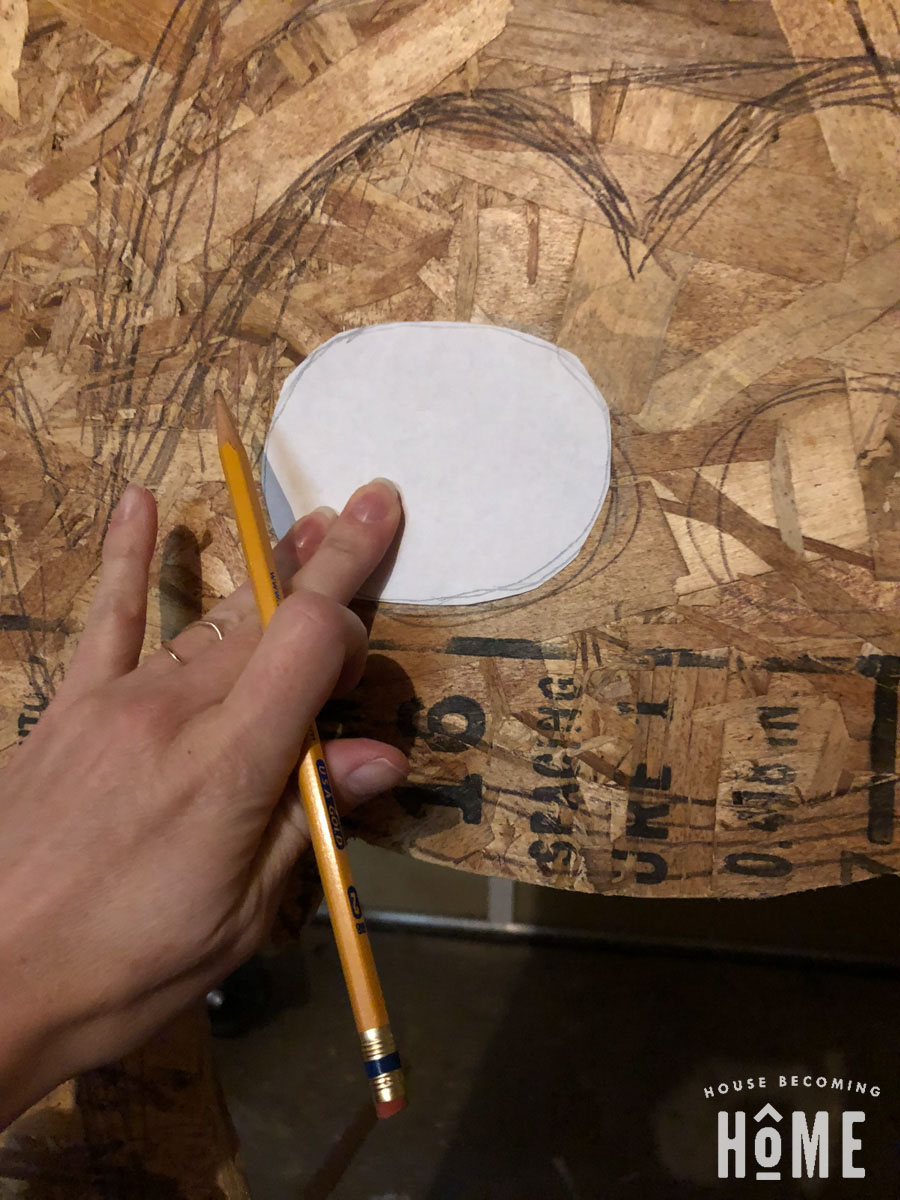
Now is when I cut out the eyes. I traced around a simple paper template to ensure each eye cutout was the same size.
Step Six: Make It Colorful!
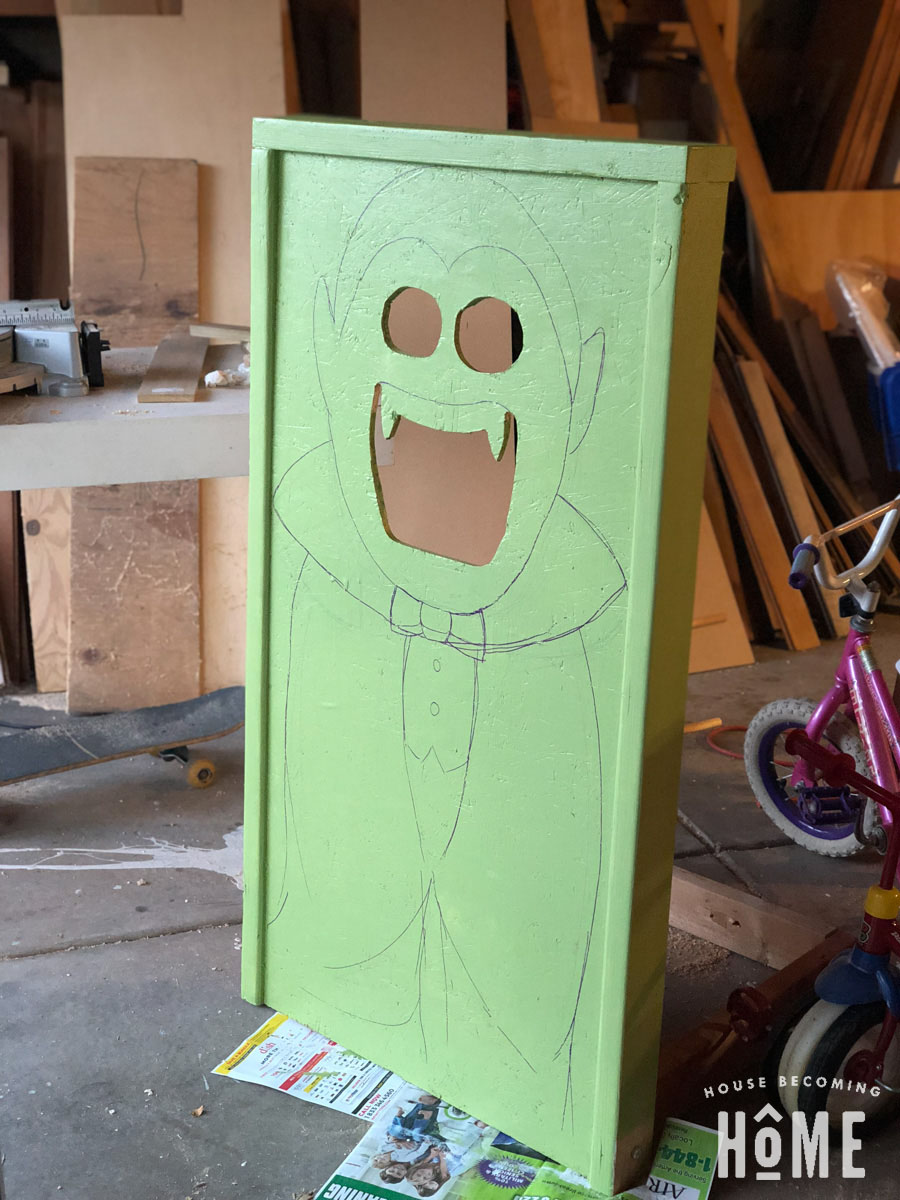
Prime it!

Paint it!
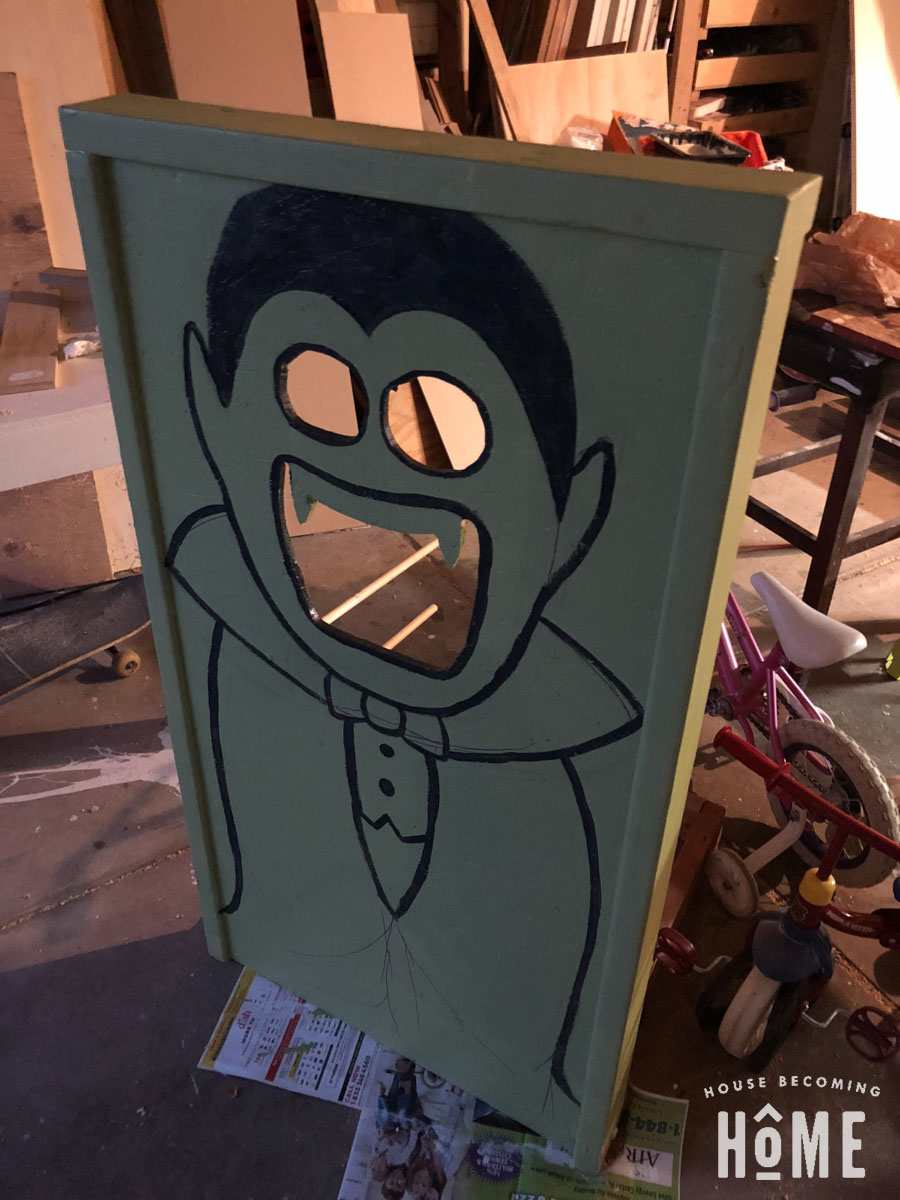
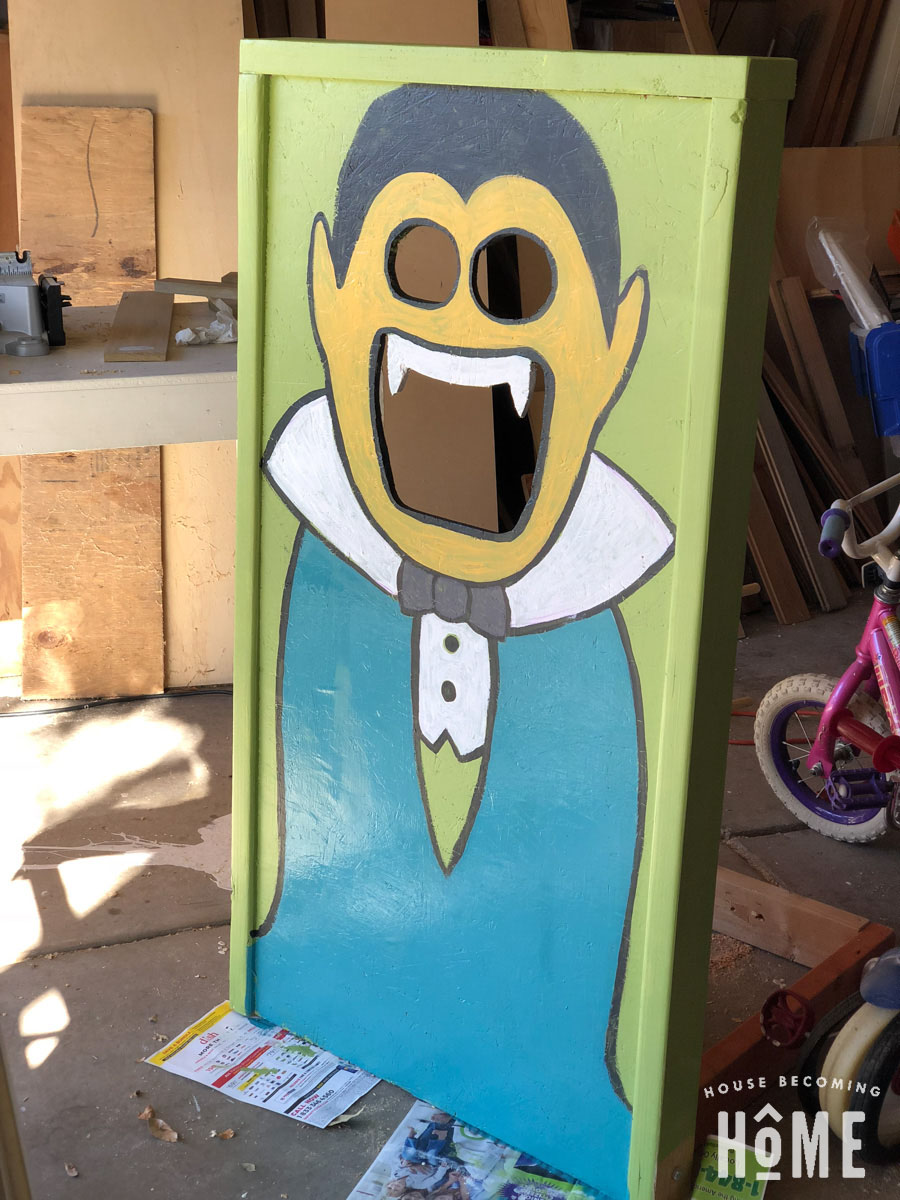
I have a couple shelves of paint a friend gave me before she moved across the country, so I had lots of good options. I tried to choose “happy” colors because I’m hoping not to terrify the little trick-or-treaters.
Add 1/2″ dowels (about 12 or more inches in height) to the small candy holder. Support holder in place with heavy duty string through the eye screws.
Drape a black cloth or black t-shirt around the dowels, and along the bottom of the small Halloween candy holder.
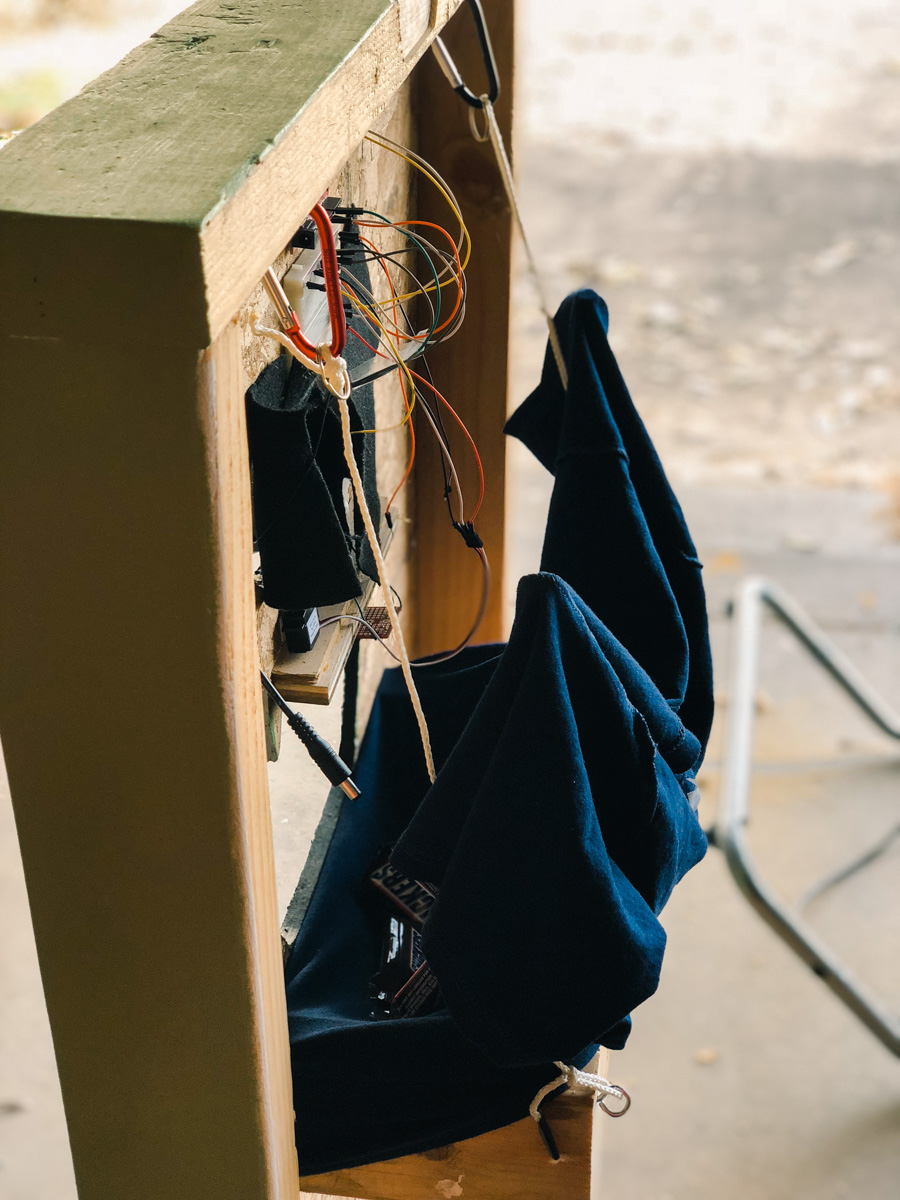
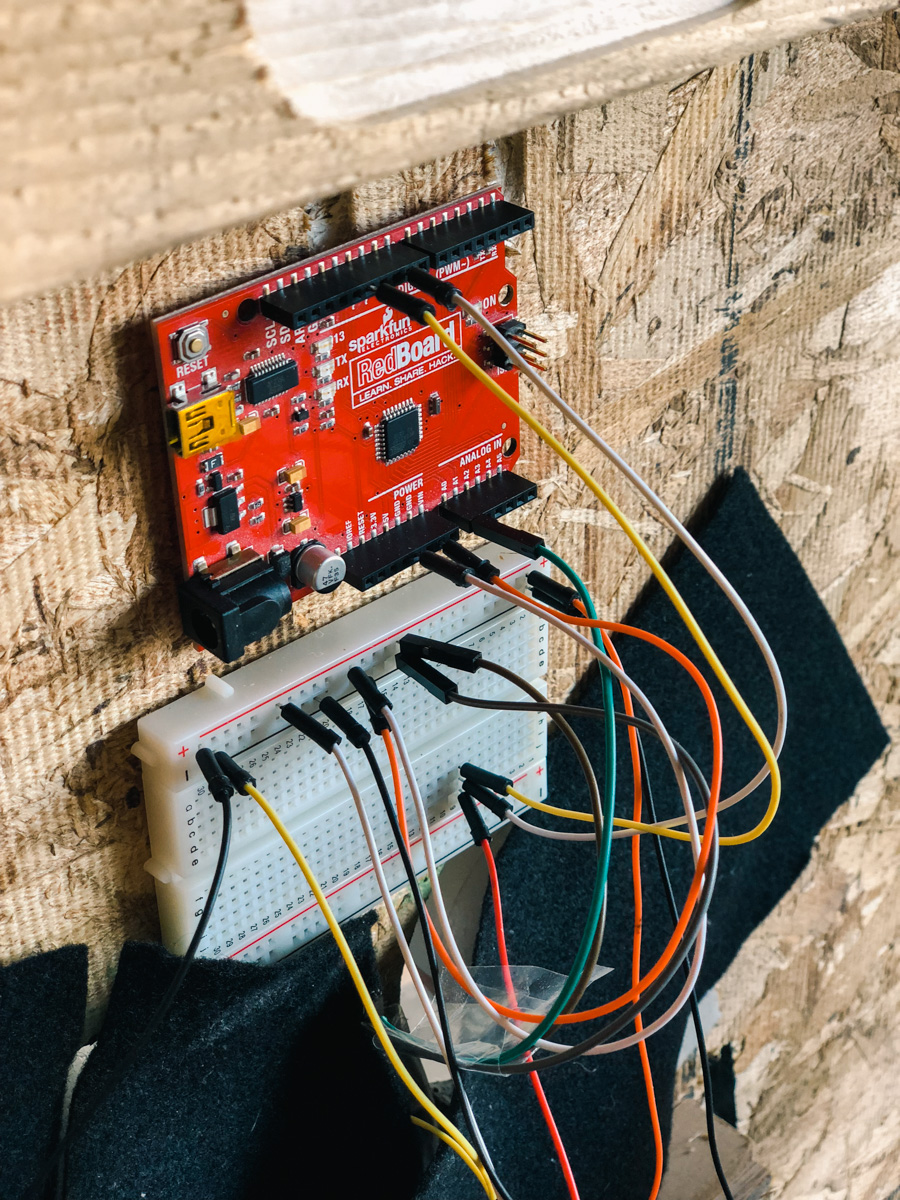
At this point I turned it over to my teenager. He added a sensor right above the mouth, that will detect when a hand enters. The eyes of dracula will move from looking away, to straight ahead at the trick-or-treater. I’ll write another post and have him put together the electronics instructions . . . because . . . I have no idea. 🙂
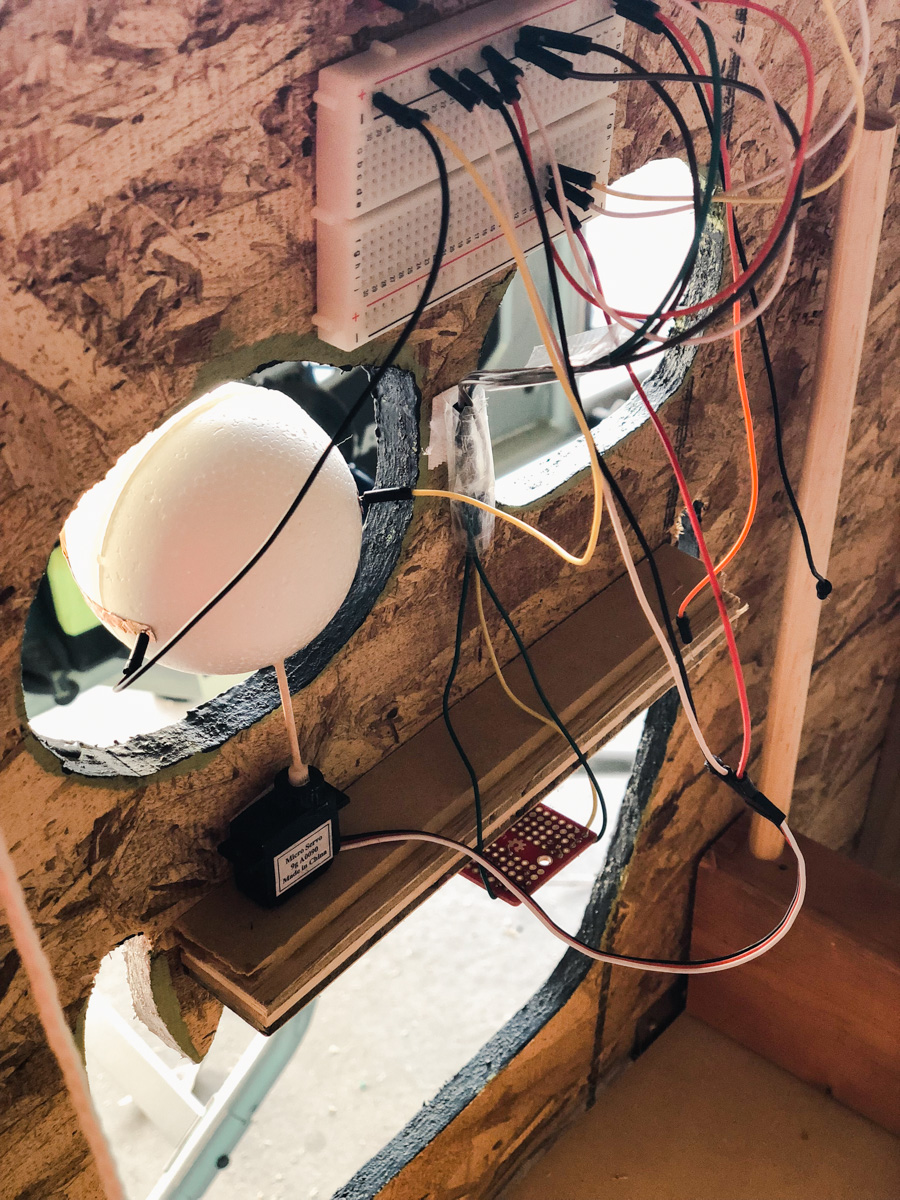
Once the styrofoam eyes were in and functional I added black felt behind them. Throw some candy inside Dracula’s mouth and you’re ready for the trick-or-treaters!