
I remember the first time I saw penny tile. I was working as a photographer, shooting photos for an interior design firm in Breckenridge Colorado. About midway through the day I stepped into their bathroom and there it was, covering every wall from floor to ceiling. It looked amazing. I’m pretty sure I decided then that someday I would find a place for penny tile in my home.
Not too long ago we brought our small, main level bathroom out of the ’90’s and into the 2010’s. (How do you say that?…the ’10’s??) I decided at the onset that THIS would be the spot where penny tile would make its appearance, and planned every other design decision around this. I love the way it turned out; there is something so cheerful about all of those little white circles.
House Becoming Home is a participant in the Amazon Services LLC Associates Program, an affiliate advertising program designed to provide a means for sites to earn advertising fees by advertising and linking to Amazon.com. Some links in this post may be affiliate links. Read my full disclosure policy here.
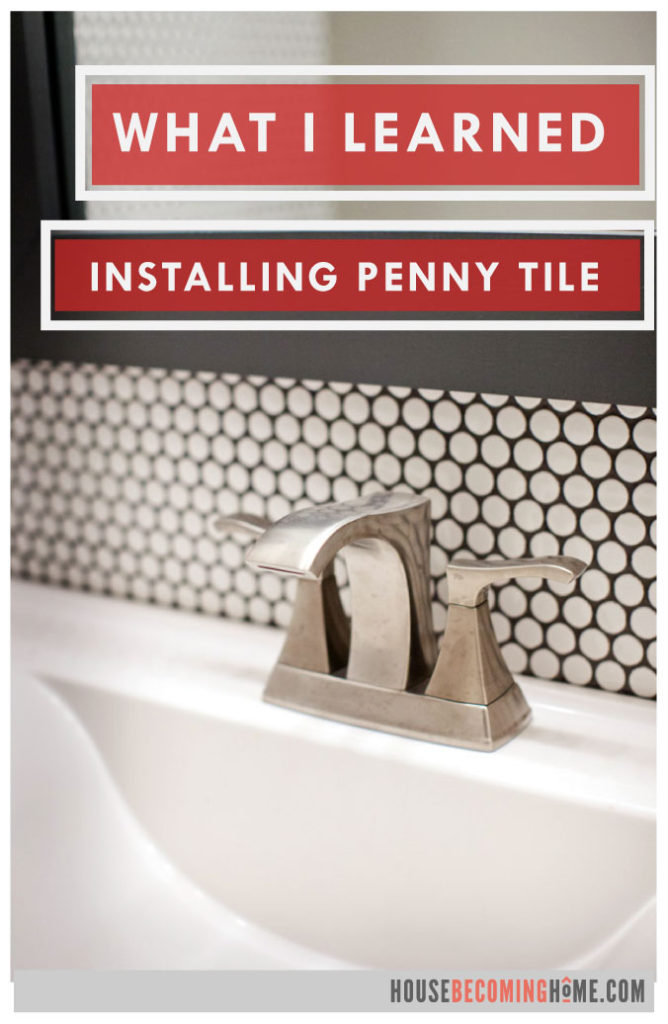
Four things I learned installing penny tile
1. Avoid The Line
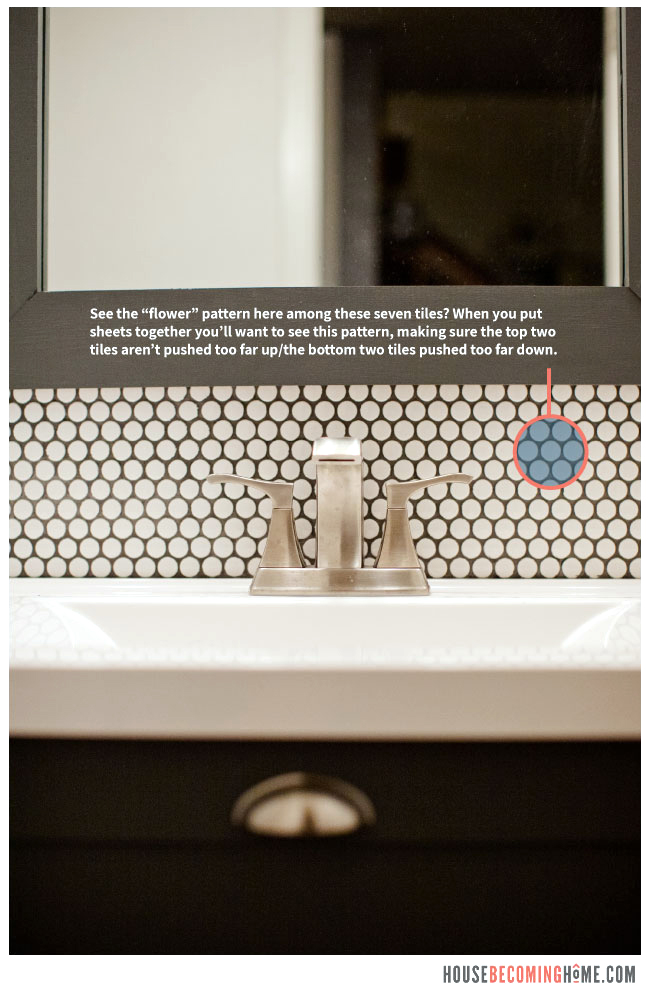
As you are laying the sheets, you want to make sure to avoid laying them in a way that shows the line where one sheet ends and the other begins. Just google image search “bad penny tile installation” and you’ll see what I’m talking about. If you don’t do it right, you’ll see lines running through your wall. You don’t want to see lines! To avoid this, place one sheet of tiles onto the thinset and then tweak individual pieces if they’re not meshing well with the previously laid tiles. Take a step back and squint your eyes…make sure you don’t see any “lines,” and then nudge pieces into place if they’re a bit too high or low.
2. Work in small sections
Don’t put too much thinset on the wall, especially in the beginning when you’re getting the hang of it. Because many of the tiles where the sheets meet will need a little bit of nudging (time!), you run the risk of thinset drying out before you get to it if you spread it out too far. You don’t want your thinset to dry before you have a chance to get to it!
3. Pre-Cut Penny Tiles In Various Sizes
We found the best way to cut penny tiles was with a pair of tile nippers. (<–affiliate link) You’ll find yourself needing half tiles, 1/4 tiles, 3/4 tiles, etc. when you get to the edges of the walls and where the wall meets the ceiling. We cut some before we started and kept them in an old tupperware container. Having a collection of various sizes meant we could usually find the exact size we needed, without having to stop and cut and try to get it just right.
I made a quick video showing how easy it is to cut penny tile. You can check it out here: How to Cut Penny Tile
4. Give yourself plenty of time to grout!
Grouting takes a LONG time so don’t start at 11pm. 🙂 I foolishly thought we could finish grouting in an hour and be in bed by midnight, but that definitely wasn’t the case. There is a LOT of grouting to do when it comes to penny tile, so give yourself plenty of time for that.
Installing penny tile certainly wasn’t the easiest project we’ve ever completed, nor was it the most difficult. Anybody else ever tried penny tile? Let us know your tips if you have any!
Hi Angie, I have just done a dry layout for my guest bath floor and I can totally see the grid lines! I staggered the sheets but I think what you’re saying is, when the sheet edges are too close together, that’s when it really shows. Is that the experience you had? If so, then you’re suggesting to just go slowly and create a little space in the edges? Also, did you find that was harder with the straight edges or the interlocking edges?
Hi Deena! The “line” between sheets of tile will be visible if you put the sheets too close together OR too far apart, since that will make for uneven staggering between the tiles. If you try to see the “flower” pattern in each of the tiles where one sheet meets another sheet, it really helps. If the tiles aren’t spaced/staggered properly, that flower will look off and you’ll see which “petal” needs to be tweaked. And I think you’ll have an easier time tweaking tiles once they’re in thinset (in a dry layout I’m guessing when you nudge one tile, the whole sheet moves, which won’t happen when it’s in thinset). I hope that makes sense. I’ll try to make a quick video demonstrating, though it will likely be way after you’ve finished your guest bath! Good luck, and tag me on social media if you post it, I’d love to see how it turns out!! 🙂
I’m currently renovating my bathroom and laying a light mint-green Hudson penny round porcelain tile, and my experience is that the regular tile nippers don’t work. I ended up buying a pair of glass tile cutters with the round wheels which work great.
Now it may be that the square nippers I have are different than the ones you’re using, they do have a rather blunt end, and I’m considering adding a bevel using my angle grinder to see if that helps, because these mostly just shatter the penny round tiles that I’m working with
Hi Gene! Did you see this post I wrote more recently on cutting penny tile? https://housebecominghome.com/how-to-cut-penny-tile/
I’ve never had any problems with the tile nippers I use, but I think they have a carbide edge on them. If yours didn’t, perhaps that’s why they were just shattering the penny tile? Either way, sounds like you found a good solution with the glass tile cutters!
Pingback: How to Cut Penny Tile - House Becoming Home
Pingback: $500 DIY Powder Room Update - House Becoming Home