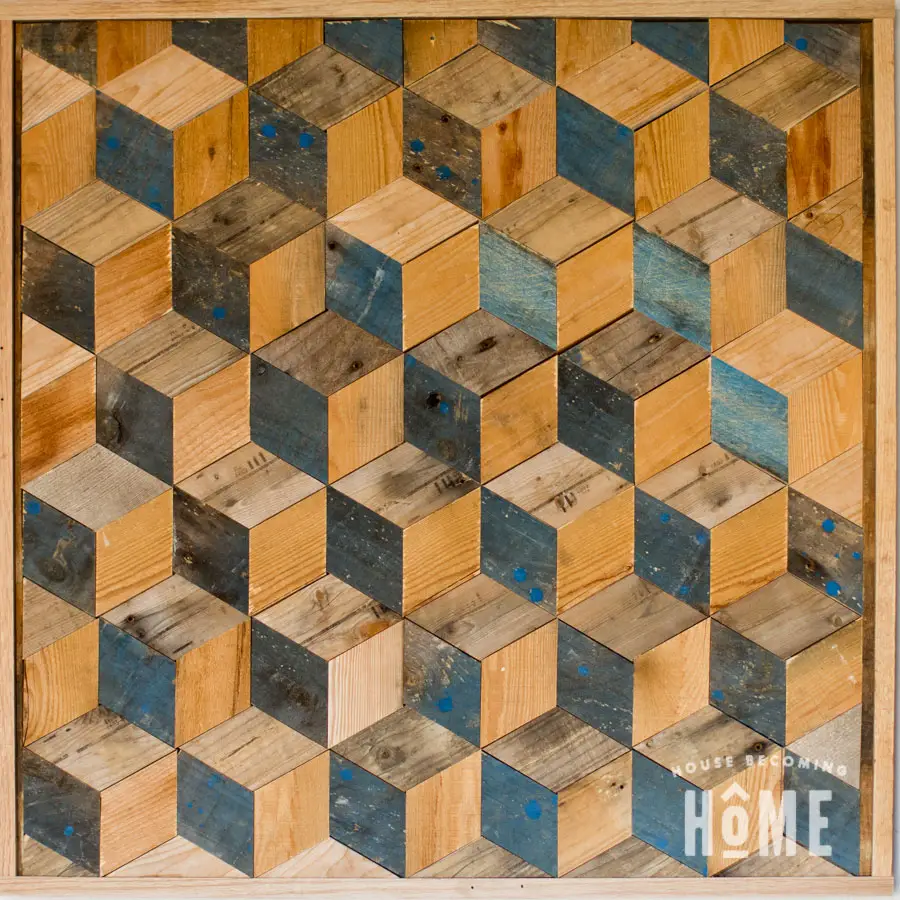
A few years ago I heard the advice–in regards to woodworking–to finish your project before starting a new one. It’s advice I typically try to follow, but when I was invited to be part of the #WoodArtChallenge with a talented group of bloggers, I decided I’d stop mid-shoe-cabinet-making and participate. Of course. 🙂
The challenge? To create wall art, in square proportions, using primarily wood. I knew I wanted to make some kind of pattern so I began browsing the web for inspiration. Eventually I found this one:
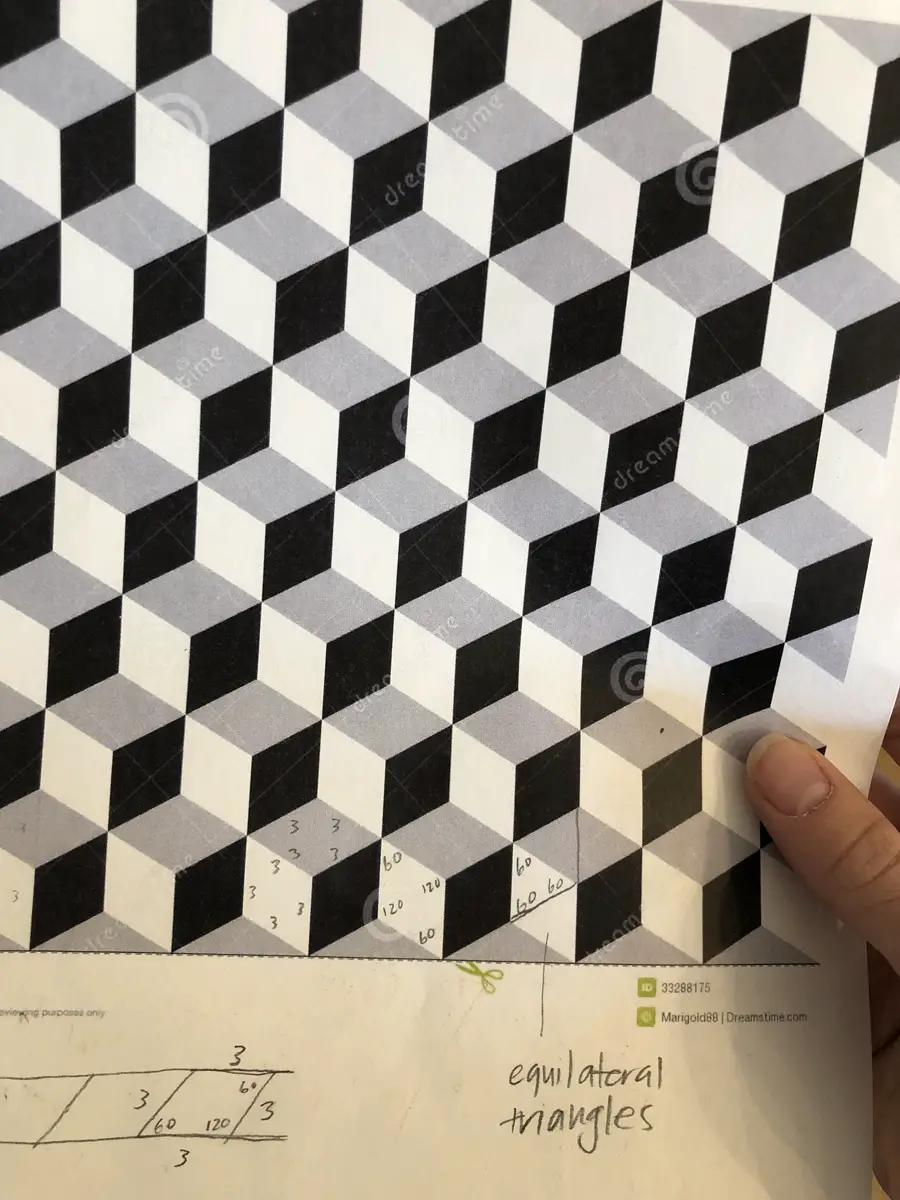
I love the modern feel of the pattern as well as the three-dimensional illusion that the simple geometric shapes create, and decided that was what I wanted to make, in wood form. What better material to use than some wood pallets from the free section of Craigslist???
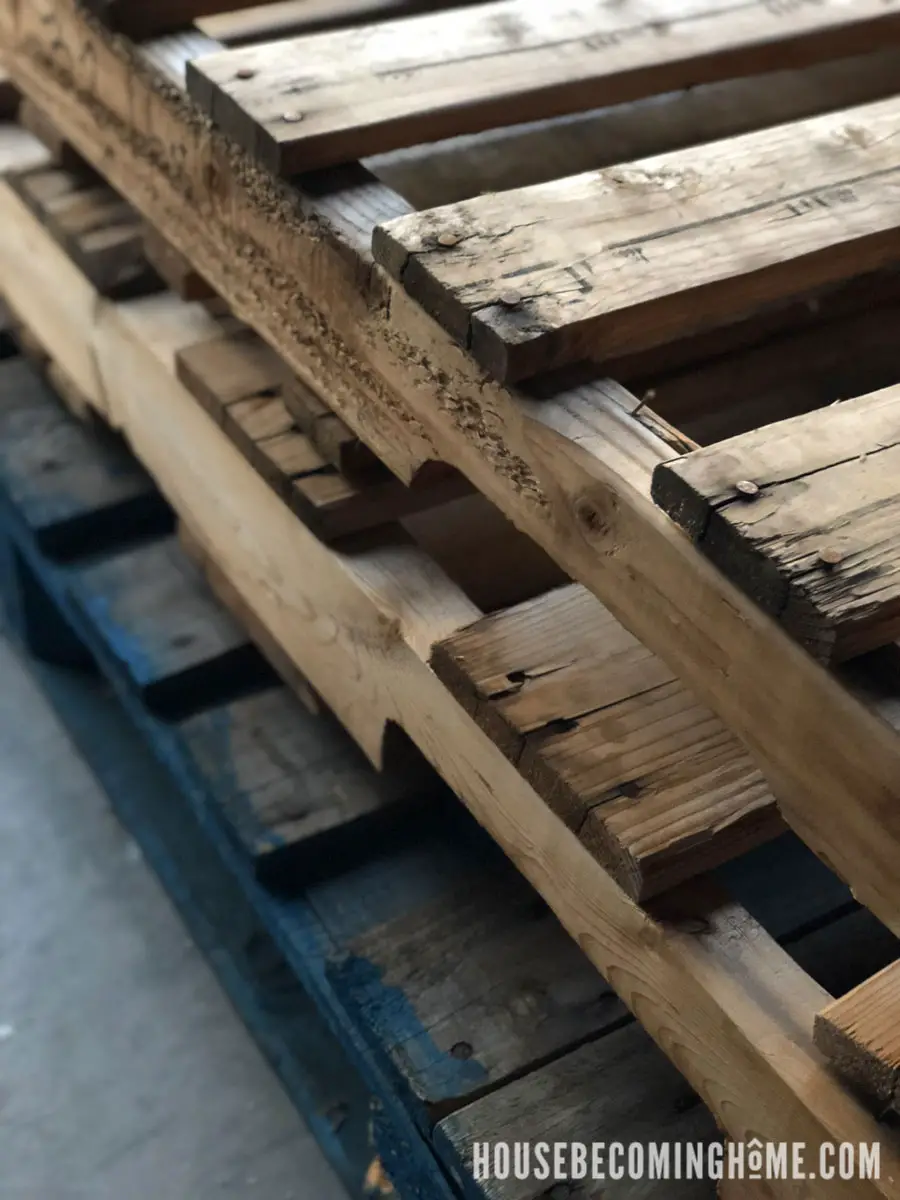
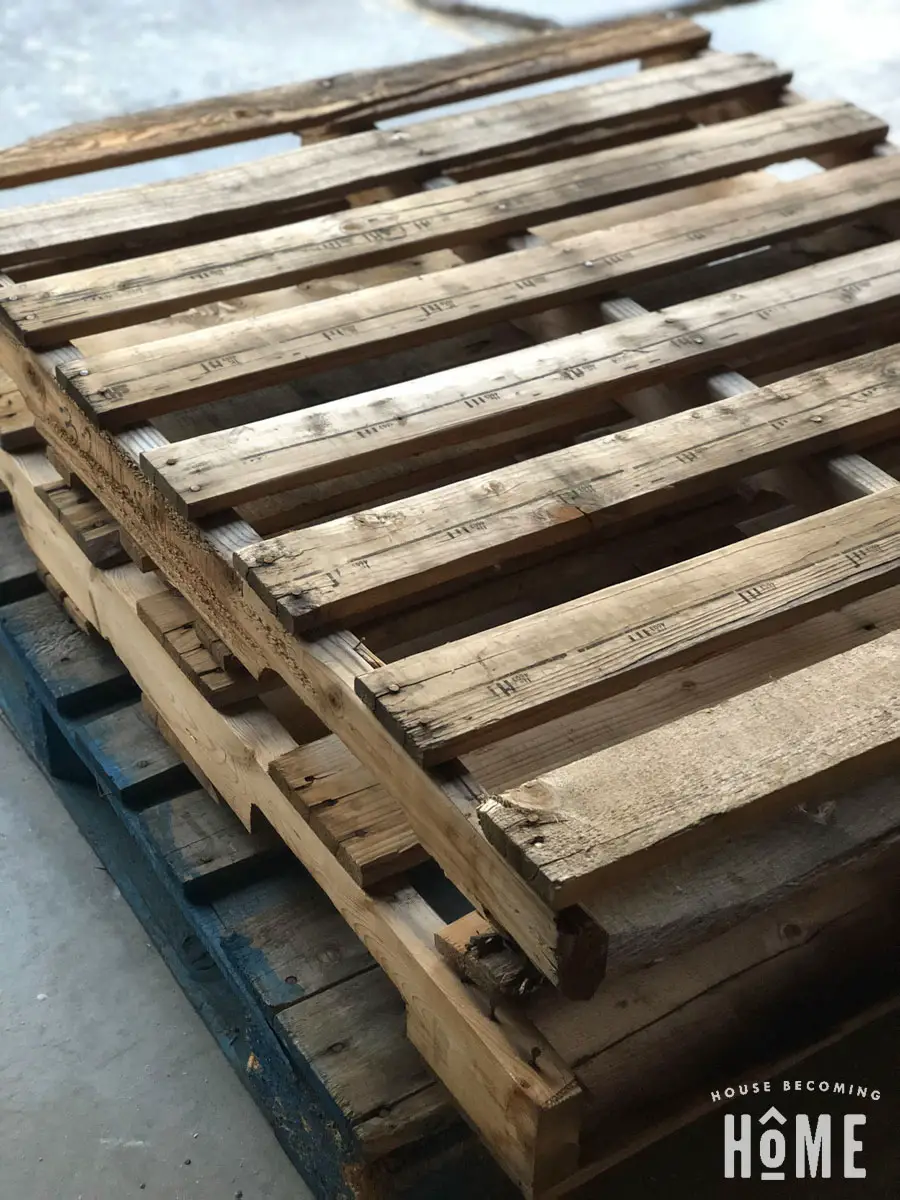
Recycled Wood Pallet Project : The Process
House Becoming Home is a participant in the Amazon Services LLC Associates Program, an affiliate advertising program designed to provide a means for sites to earn advertising fees by advertising and linking to Amazon.com. Some links in this post may be affiliate links. Read my full disclosure policy here.
Materials
3/4″ thick wood from several recycled pallets
1×2 (or similarly sized scraps) for the frame
1/4″ hardboard
20″ piece of oak or similarly dense wood (for french cleat)
Tools & Supplies
Tools for disassembling pallets (we used a combination of crowbars, mallets, hammers and a circular saw)
Miter Saw & Table Saw
Measuring tape
A digital caliper (Amazon affiliate link) isn’t 100% vital but makes finding precise measurements easy peasy
Sander + sandpaper, wood glue, power nailer and nails (for making frame)
Construction adhesive
1-1/2″ #10 screws (for attaching french cleat to wood art and wall studs)
Scraps of wood and a few clamps (to make quick work of cutting angles on the miter saw)
Step 1: Disassemble Wood Pallets
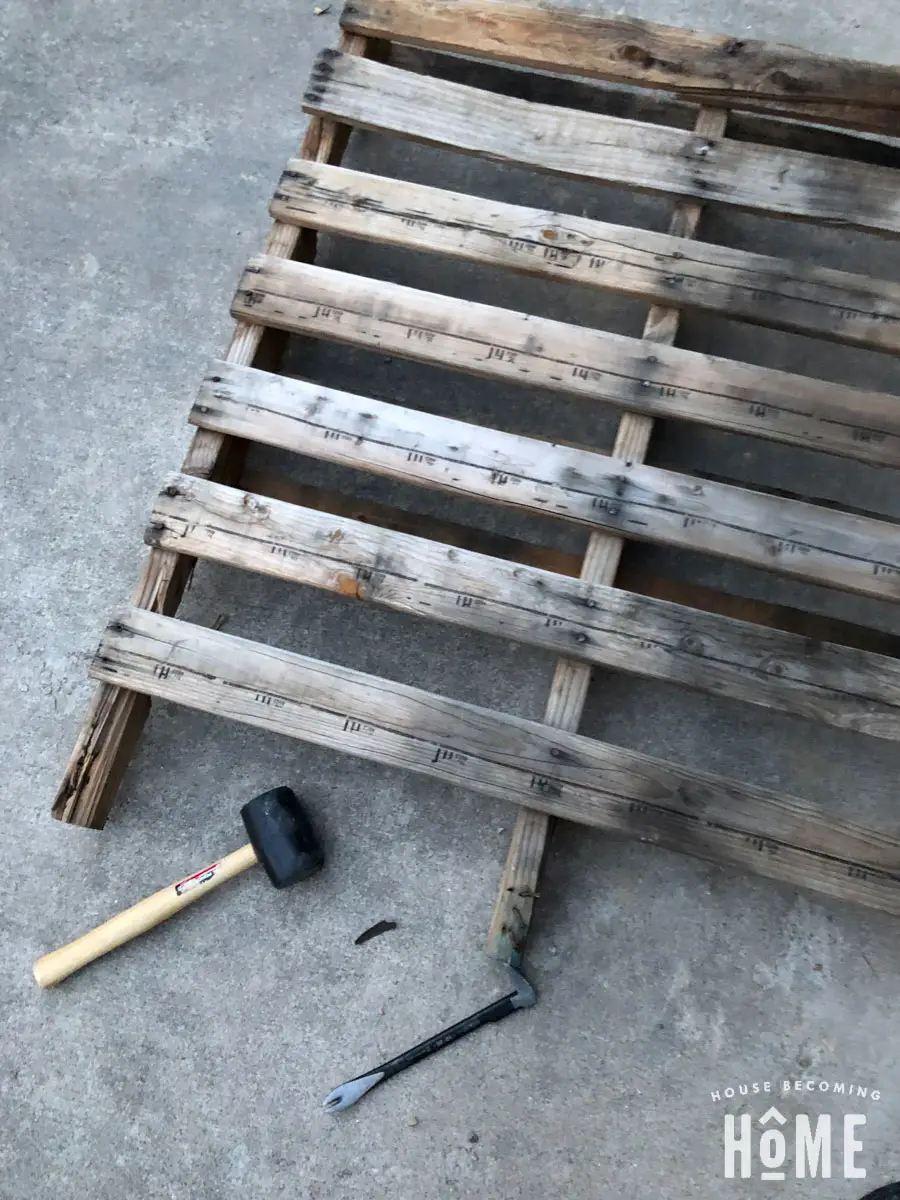
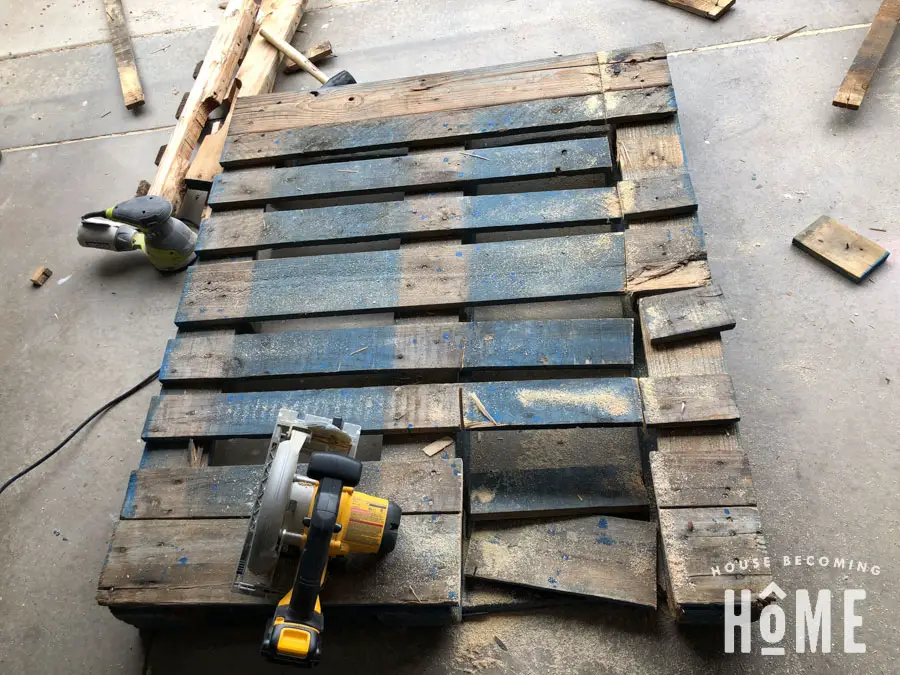
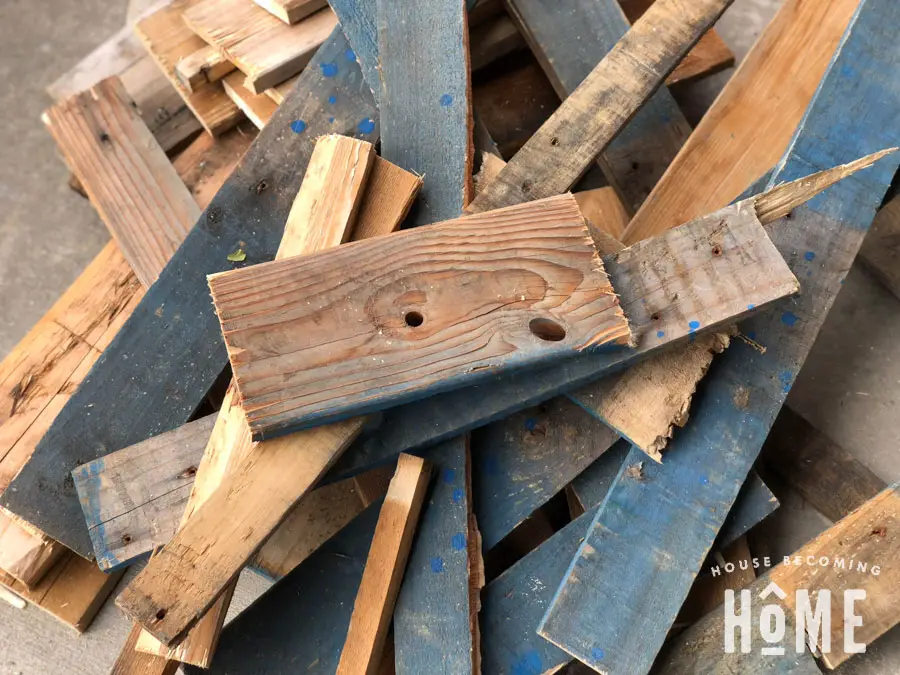
Taking apart pallets = least fun part of this project. I’m glad I started my wood pallet project on a Saturday when Jim was around to help with the disassembling. We did a combination of crowbar pulling, whacking with a hammer/mallet, and in the really stubborn areas, circular saw. Be sure to remove all the nails from the pieces you will be using.
Step 2 – Cut Wood Into Strips
Using a table saw or circular saw with a straight edge, cut all pieces to the exact same width. It is VERY IMPORTANT that all pieces are cut to the same width.
Step 3 – Cut geometric shapes (identical in size)
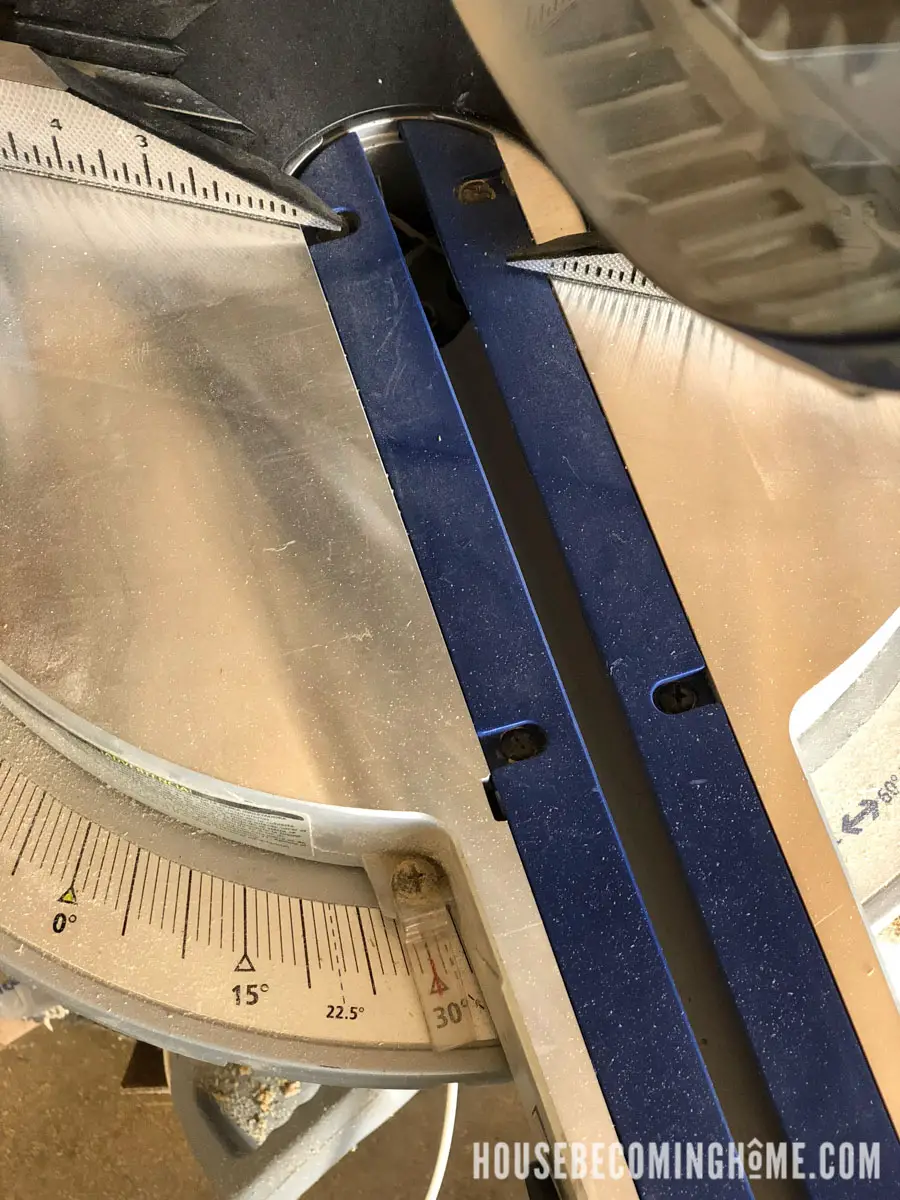
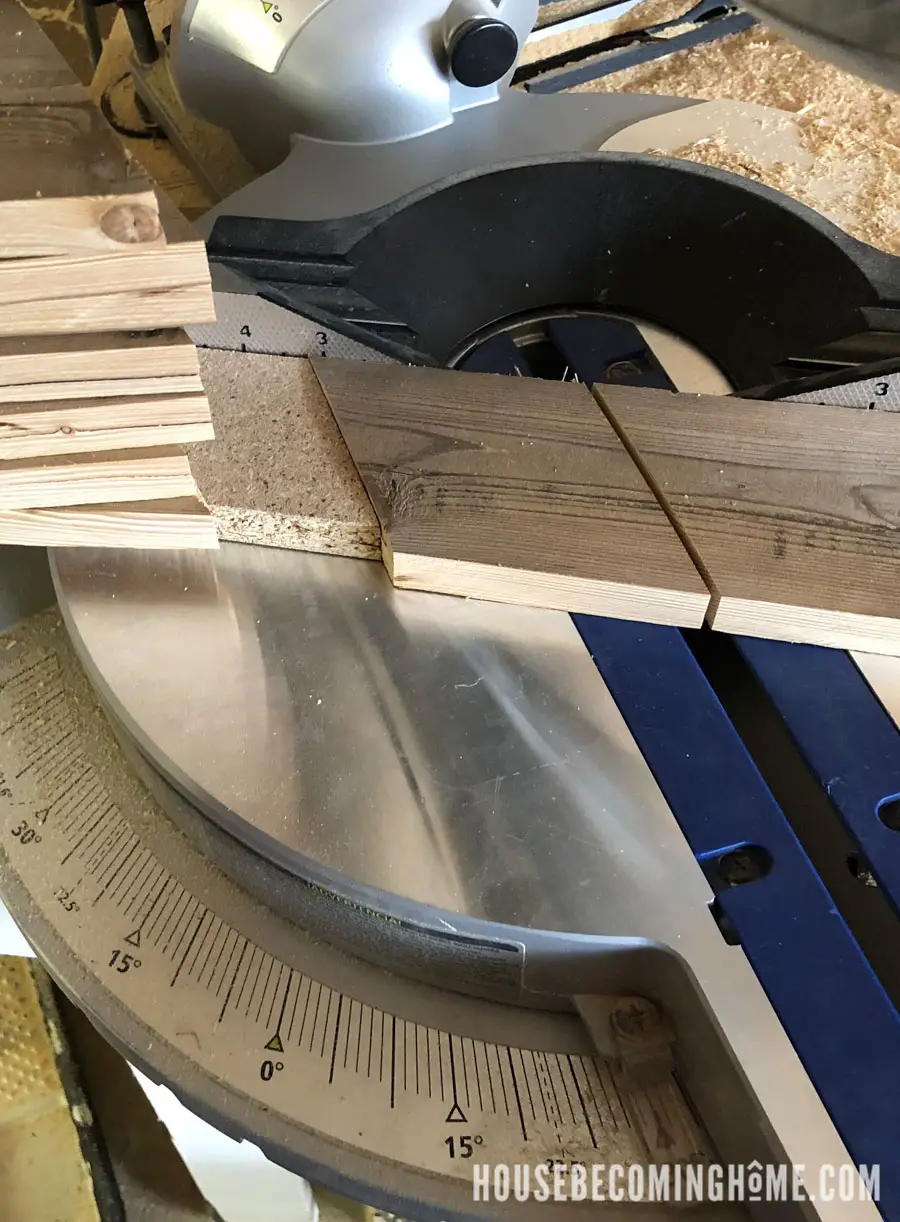
First, set the angle on your miter saw to 30 degrees. This will make a 60 degree cut on your wood. (I was confused at first too…cutting wood on an angle is a new thing for me. But a “normal” cut at 0 degrees is actually a 90 degree cut, so when you set it to 30 degrees, you are subtracting 30 degrees from 90, thus getting a 60 degree angle.) Make sense?
Take your first wood strip and chop off the end with the miter saw set to 30 degrees.
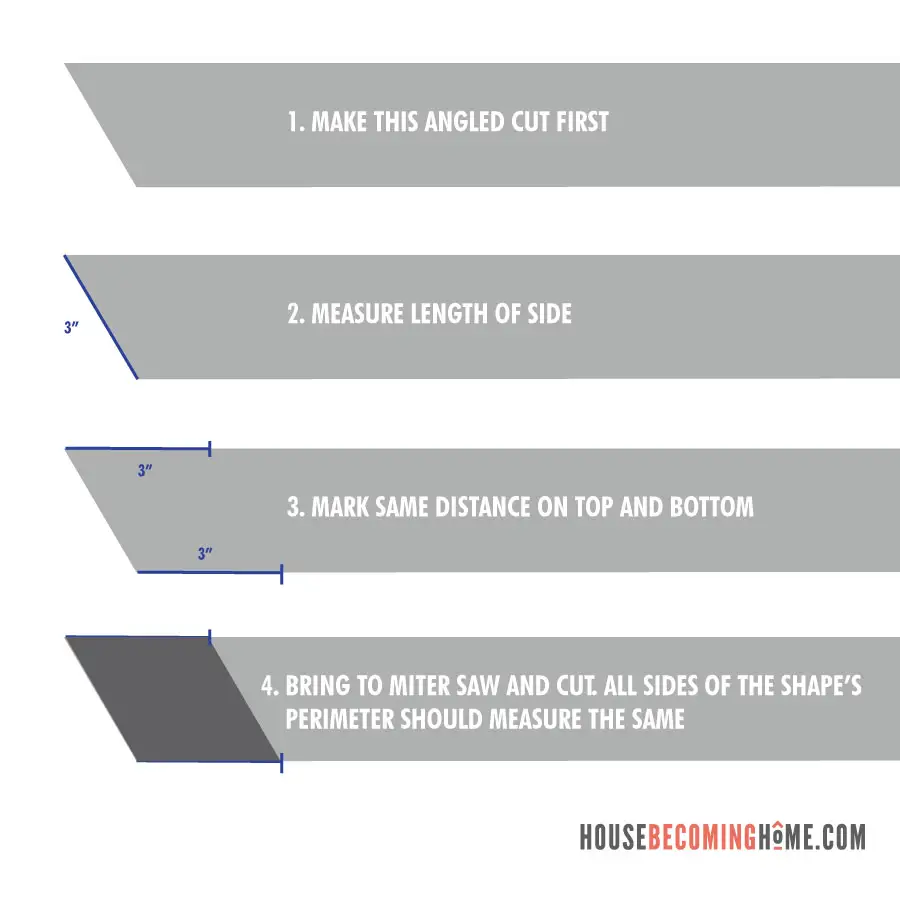
I didn’t take any photos from this next step, and it’s an important one, so I made a little graphic for you:
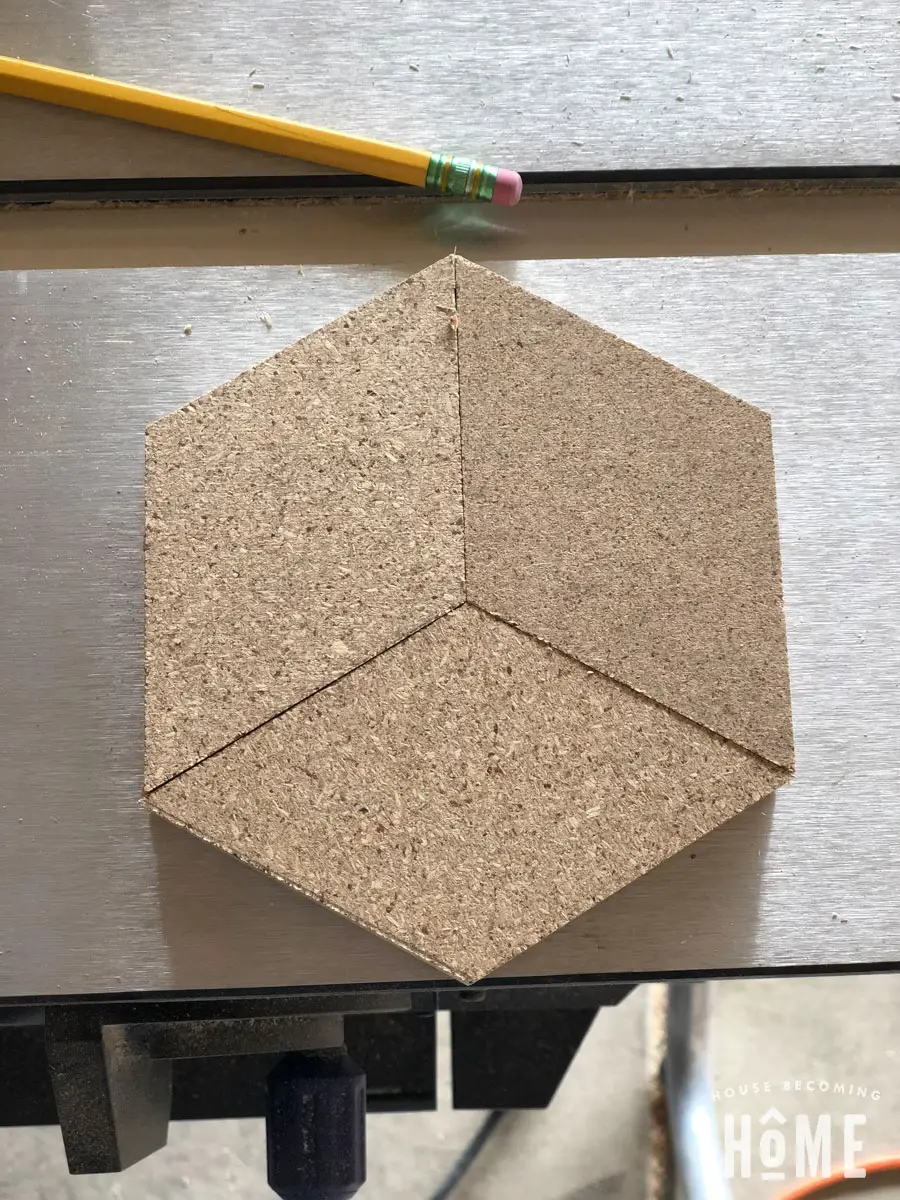
I made some tests on scrap pieces to make sure I had it right before I cranked out the whole stack of pallet wood. If all sides are equal in length, they should fit together snuggly like this:
If you don’t want to measure and mark out EVERY. SINGLE. PIECE take one of your scraps (cut at a 60 degree angle), clamp it into place (be sure to measure first to get it in precisely the right spot):
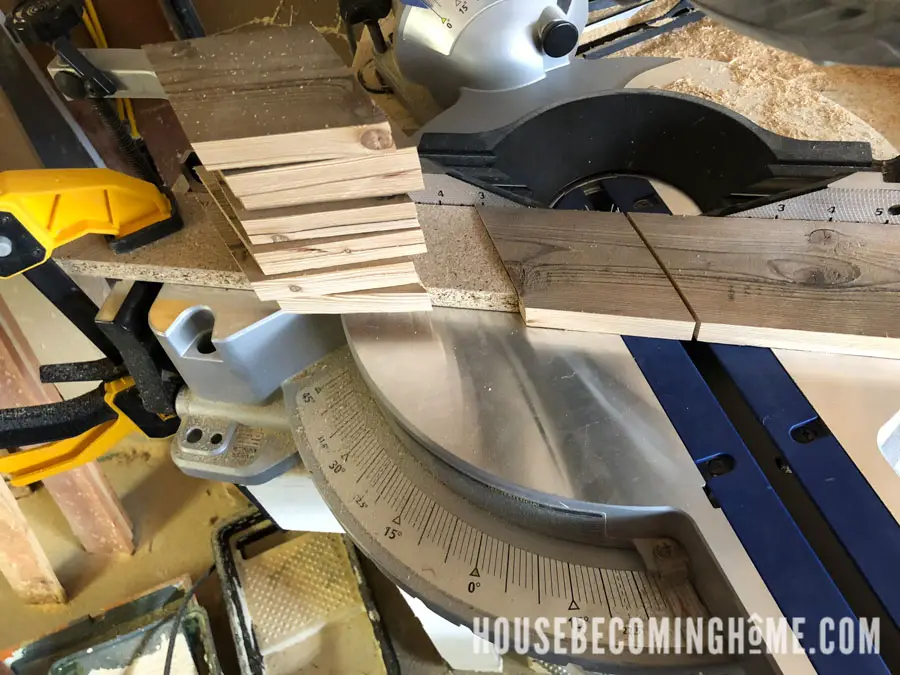
Make a cut, slide the remaining piece tightly against the scrap, cut, repeat. Easy!
Step 4: Begin assembling the pattern on a flat surface
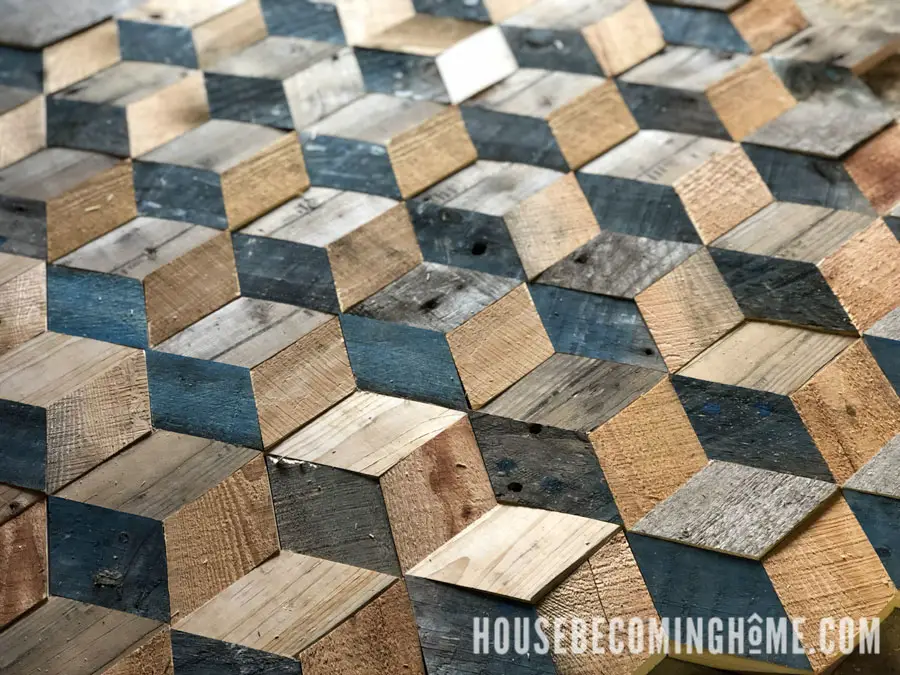
I cut a handful of pieces, assembled, cut some more, assembled some more. Eventually I ran out of blue pieces of wood, so that’s where I stopped.
Step 5: Make a “canvas” and a frame
At this point you’ll need to measure the size of your art piece. When measuring, remember that you’ll be sawing off the pointed ends on the top, bottom, and sides. I added black lines to the photo below so you can see where I measured.
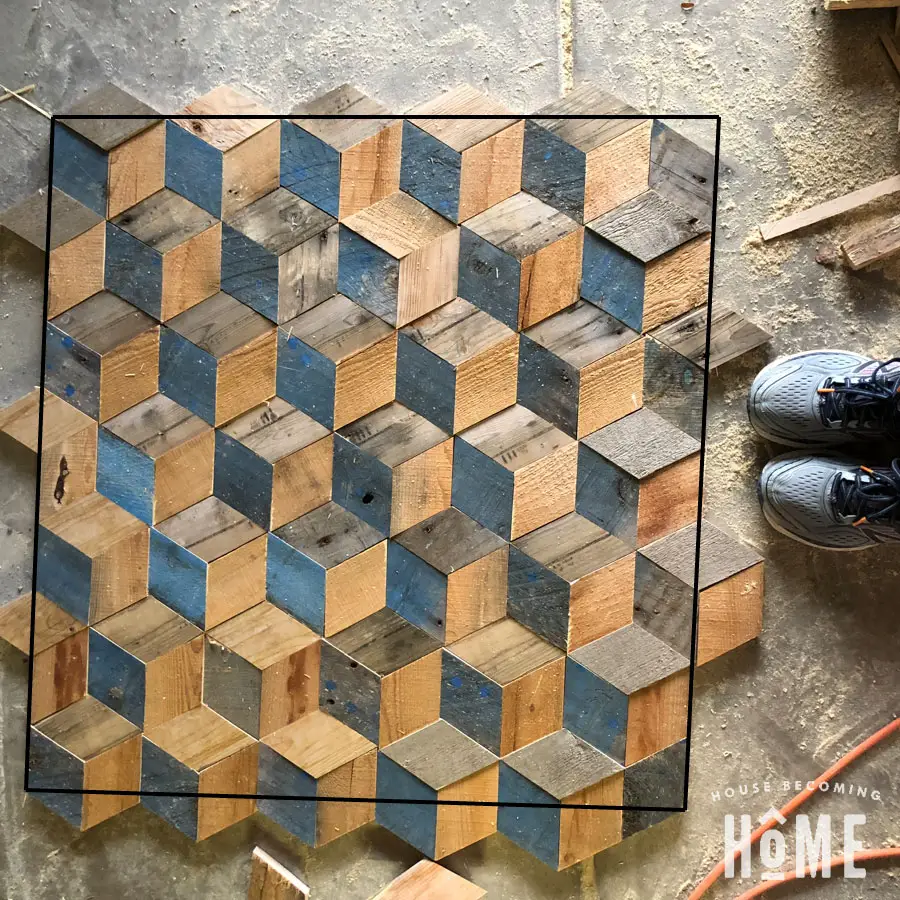
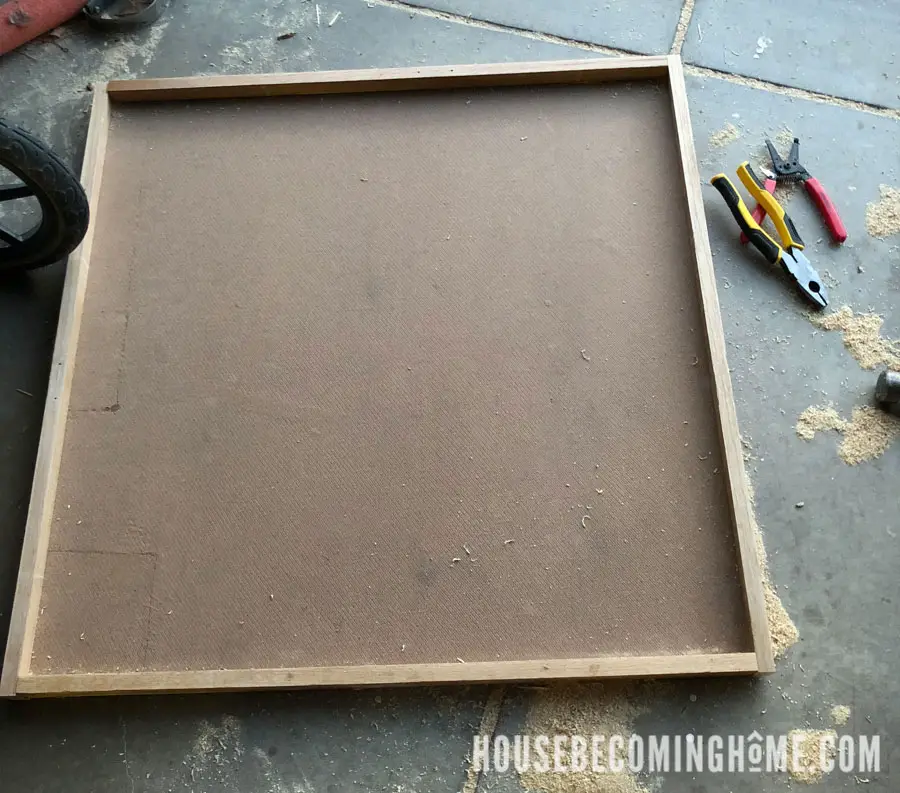
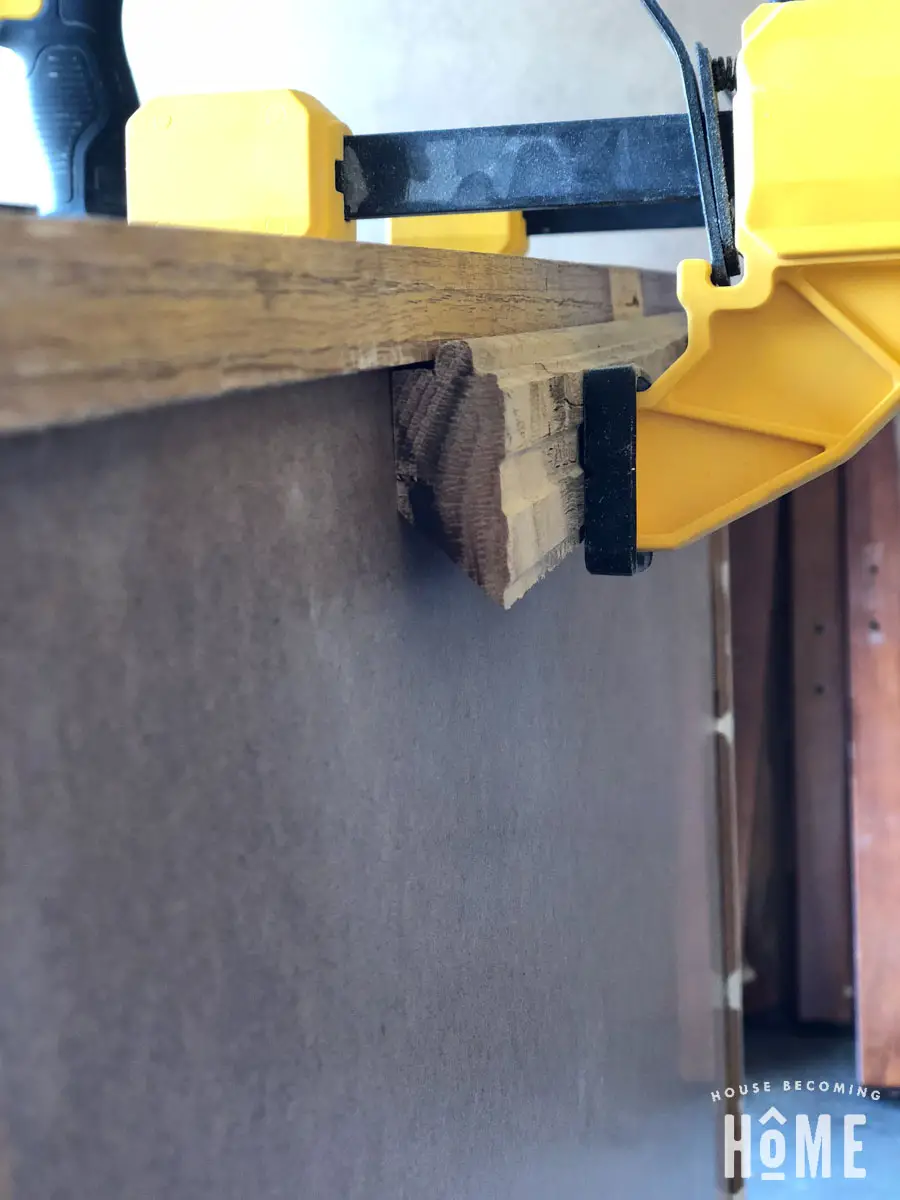
I made my “canvas” out of a piece of 1/4″ hardboard, and a frame out of scraps of oak that I saved from some old cabinets we removed from our home.
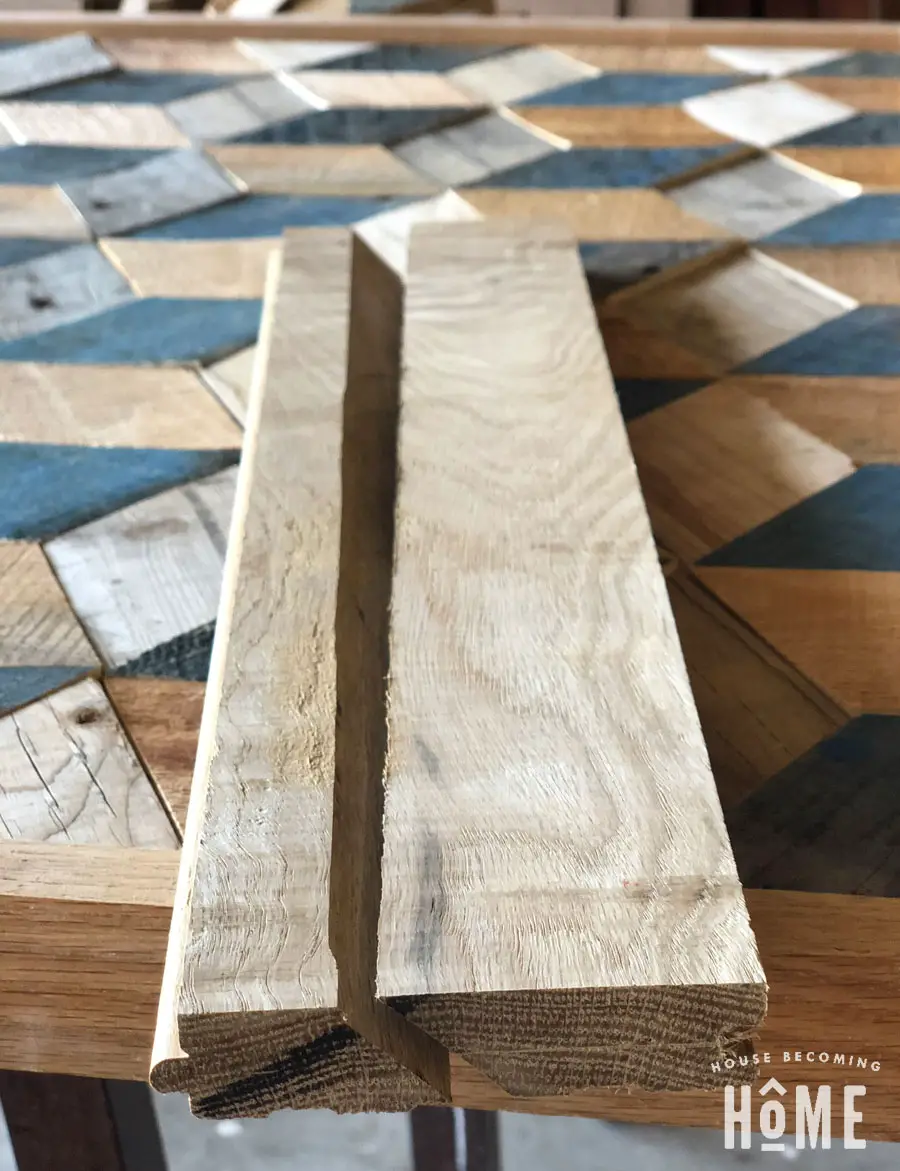
These oak scraps already had grooves cut into them, which were the perfect size to drop in the 1/4″ hardboard. If yours don’t already have grooves, you can make some using your table saw or router.
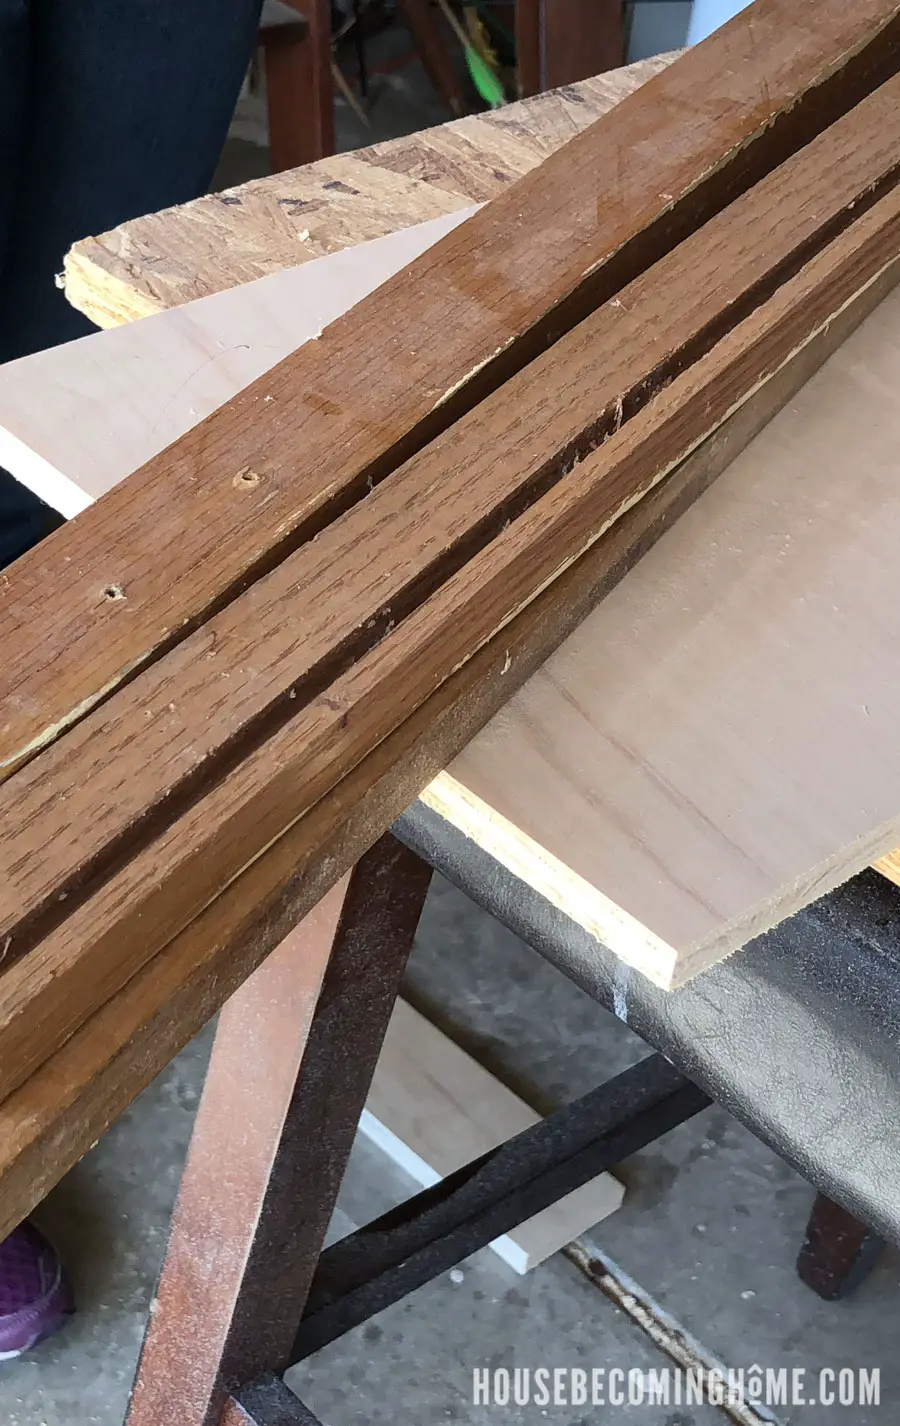
I sanded the oak frame pieces, then attached them to the hardboard using wood glue and nails.
Before you can begin attaching the recycled wood pallet pieces to the canvas and frame, you’ll need to saw off the tops so that they can sit flush to the frame.
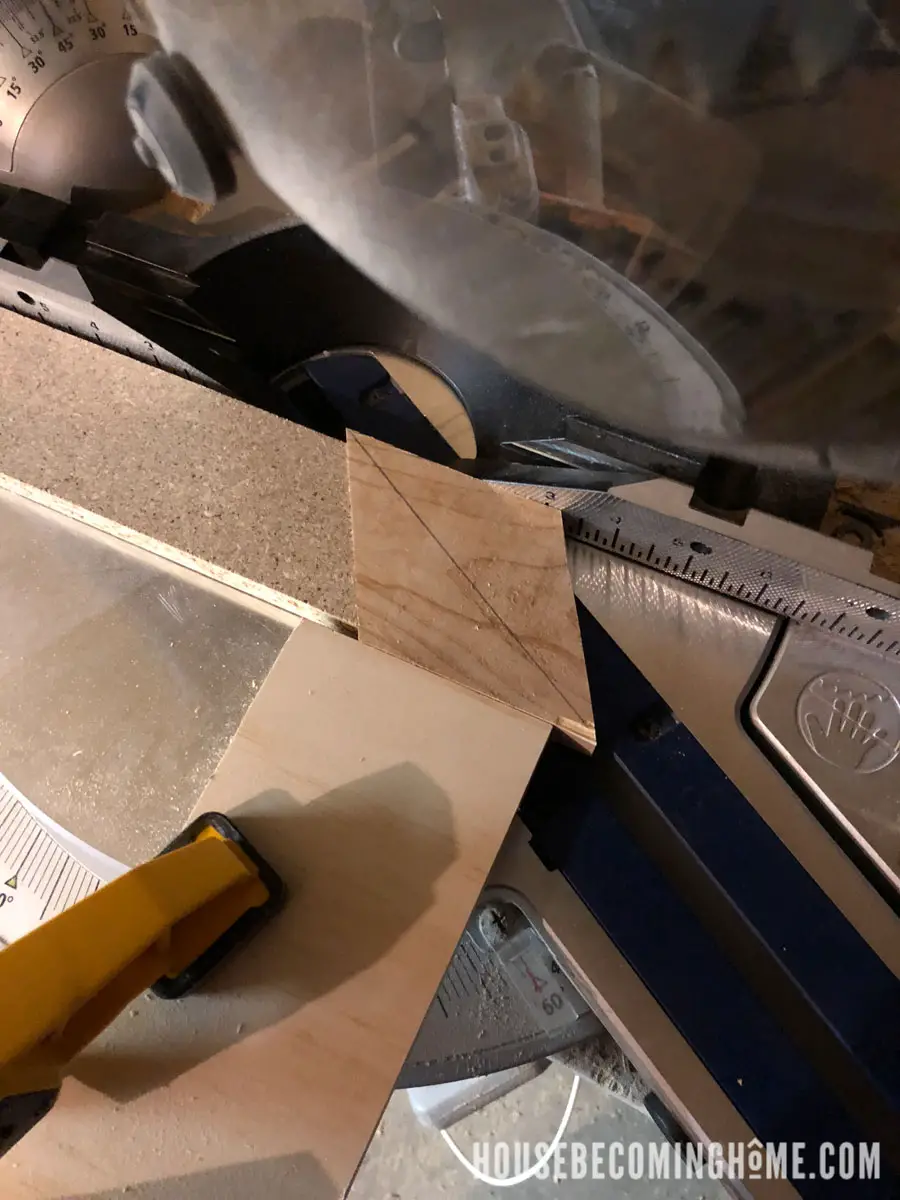
This time set your miter saw to 60 degrees. Again, clamp a scrap piece in place and then another scrap to hold the wood steady so you don’t risk losing a finger.
Step 6: Attach wood pieces to hardboard with construction adhesive.
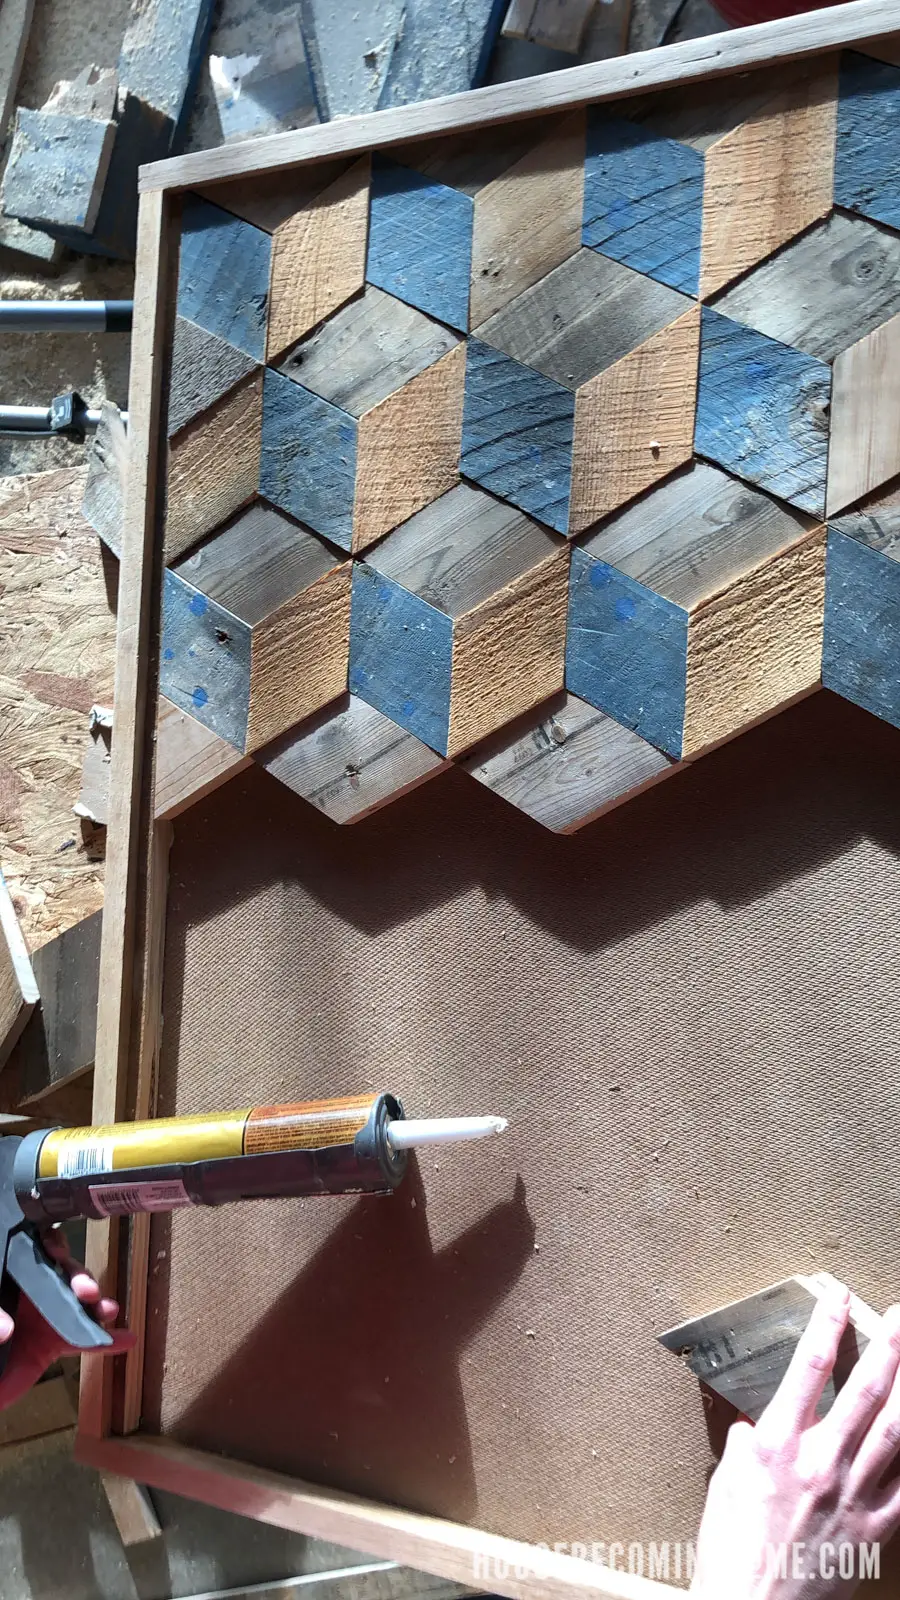
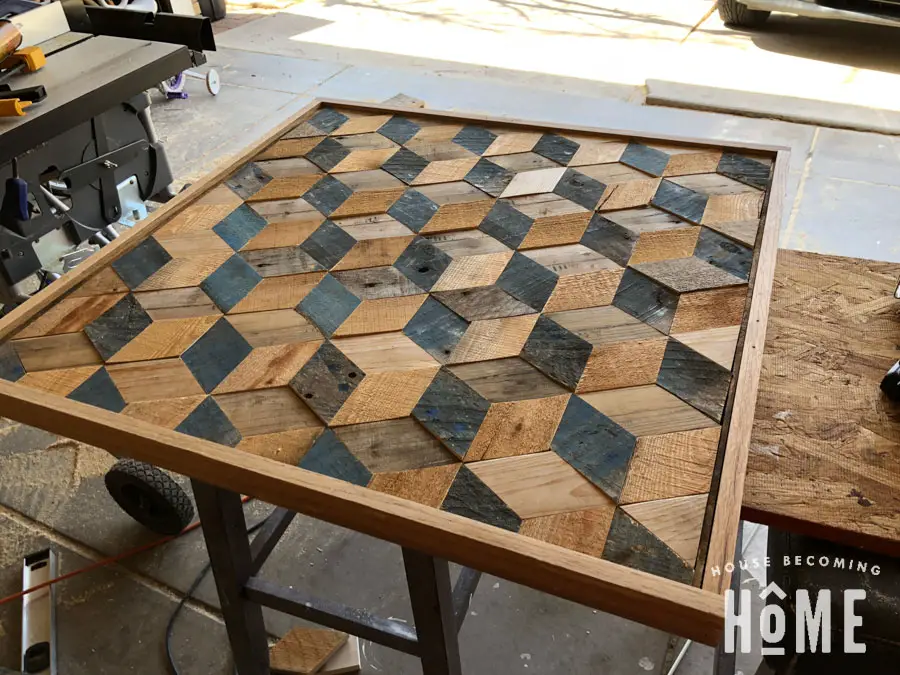
Step 7: Make a french cleat
The final wood pallet project is heavy, heavy, HEAVY, so it needs something strong to hold it in place. I looked around my garage and found a long-ish piece of leftover oak flooring. You’ll want to use something at least 20″ long so that you can attach it to at least two studs (which are typically about 16″ apart).
Cut it in half at a 45 degree angle. Attach one piece with screws to your pallet wood art, and the other piece into the studs of the wall where it will hang.
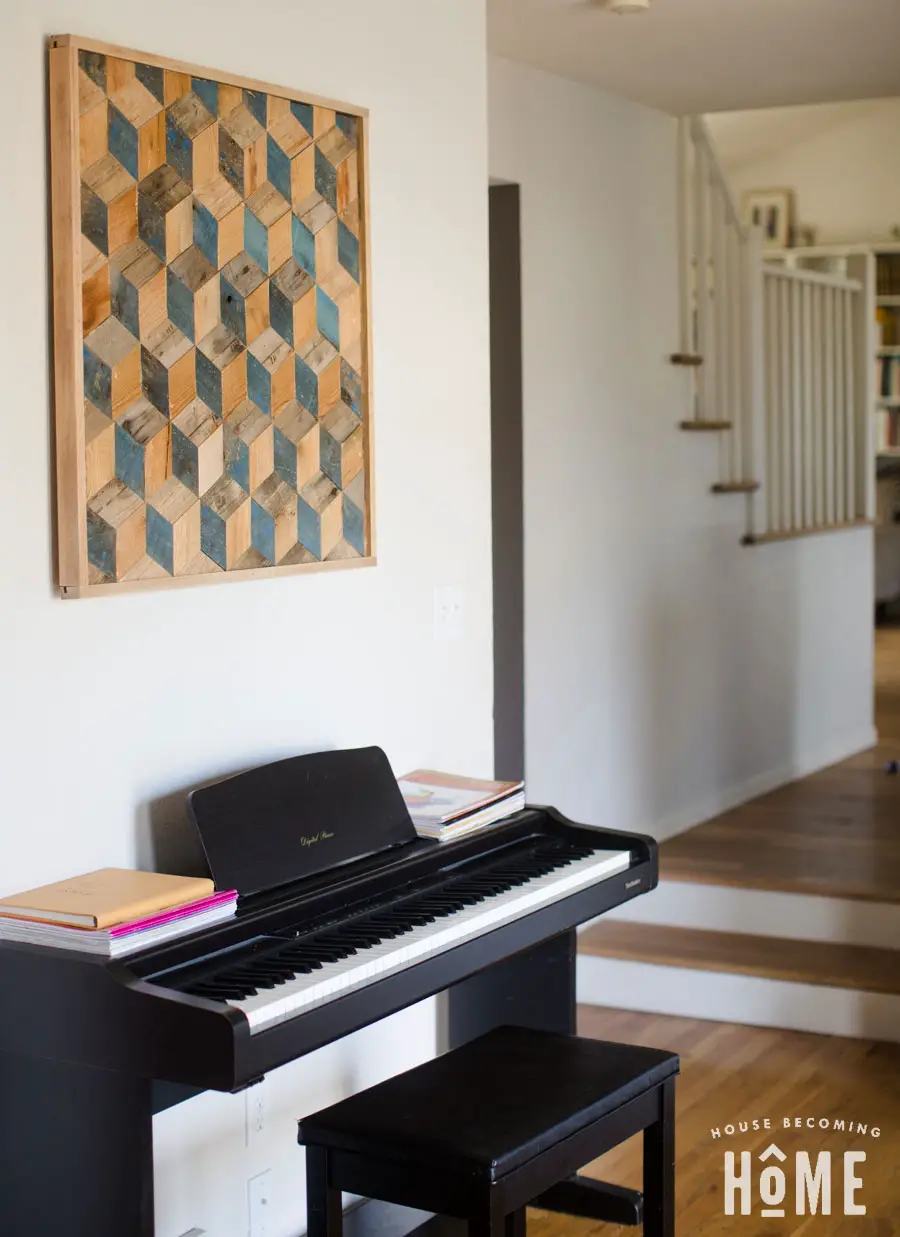
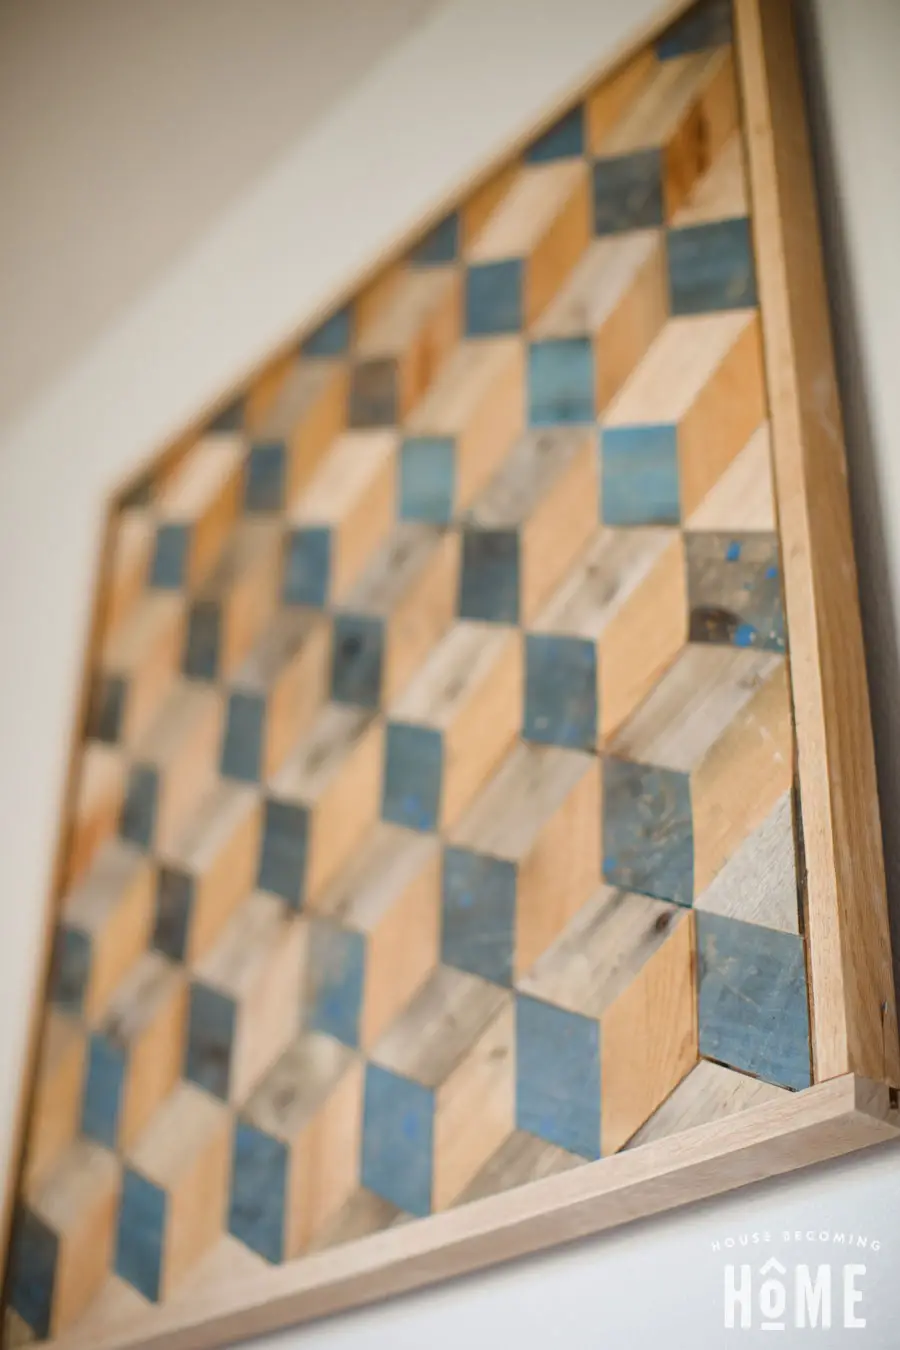
Wood Pallet Project Complete!
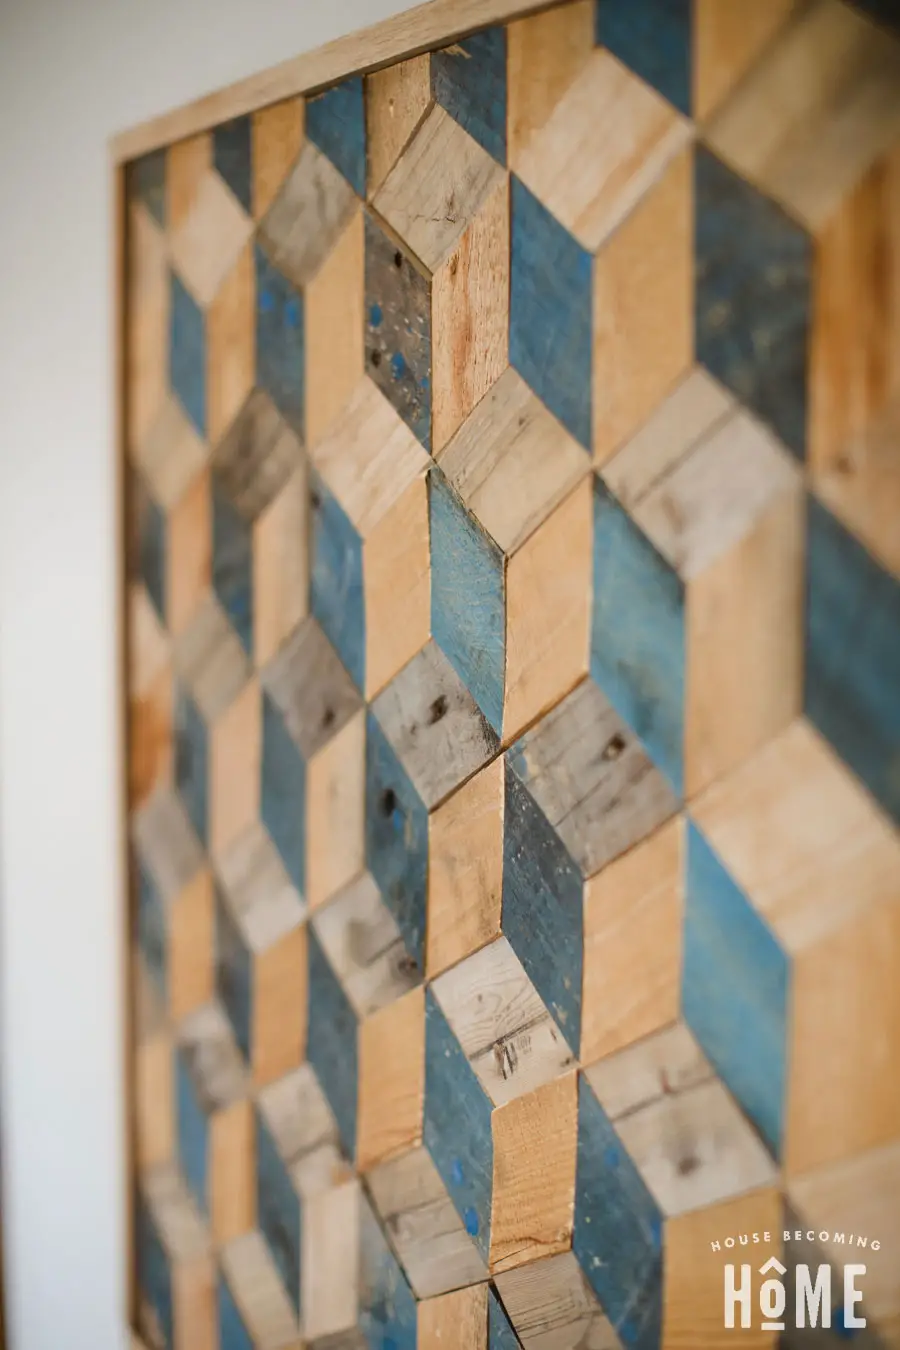
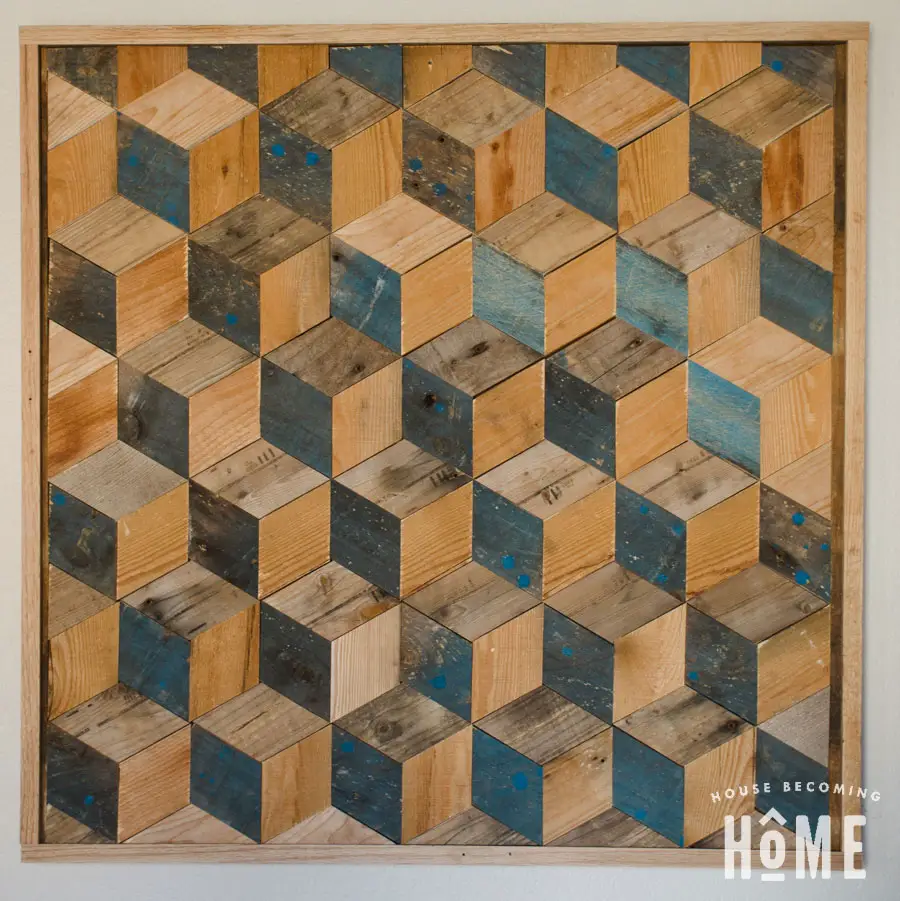
If you’re interested in seeing a video of the process, I posted one on my YouTube channel here:
Wood Art Challenge Participants
Now it’s time to check out all the other amazing wood wall art that my friends made for the #WoodArtChallenge. So very inspiring–take a look!
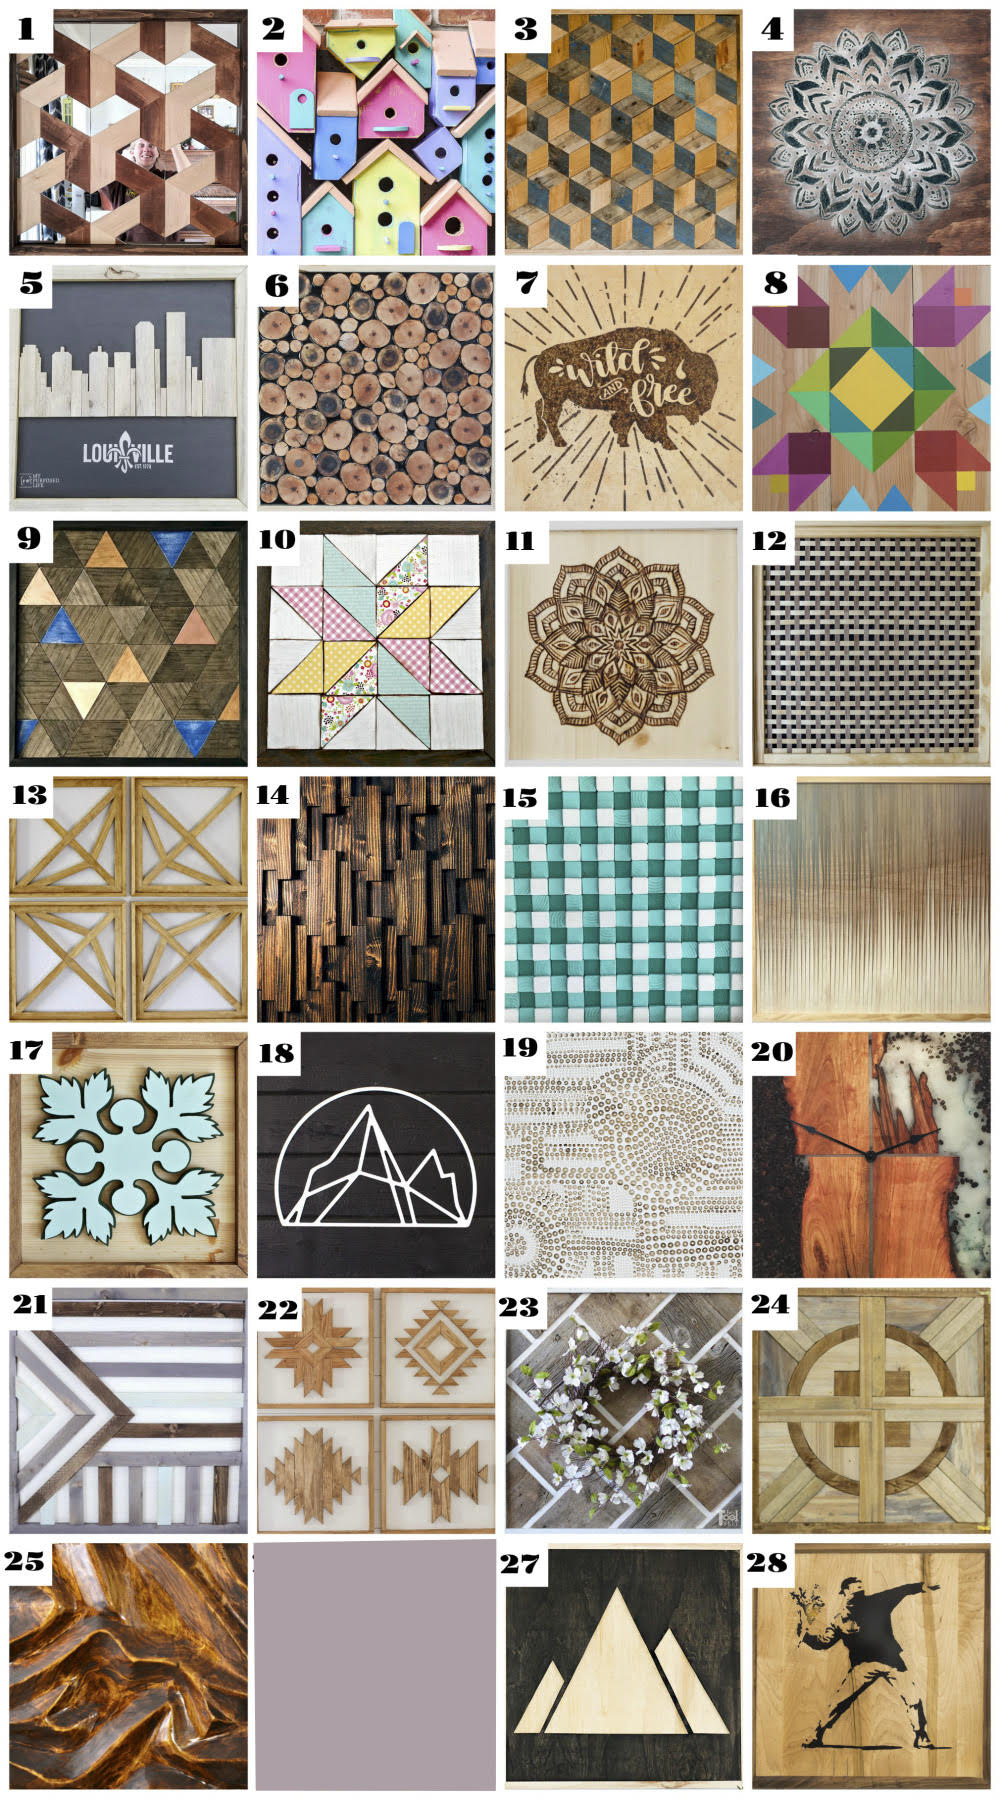
1) Reality Daydream / 2) 100 Things 2 Do / 3) House Becoming Home / 4) Anika’s DIY Life / 5) My Repurposed Life / 6) 3×3 Custom / 7) One Project Closer / 8) Merrypad / 9) Chatfield Court / 10) Create & Babble / 11) Hazel & Gold / 12) Jen Woodhouse / 13) Sawdust 2 Stitches / 14) Wood Work Life / 15) Remodelaholic / 16) Evan & Katelyn / 17) Jaime Costigio / 18) Pneumatic Addict / 19) Bower Power / 20) Lazy Guy DIY / 21) My Love 2 Create / 22) Addicted 2 DIY / 23) Her ToolBelt / 24) Shades of Blue / 25) Ugly Duckling House / 26) The DIY Village / 27) DIY Huntress / 28) Mr Fix It DIY
